
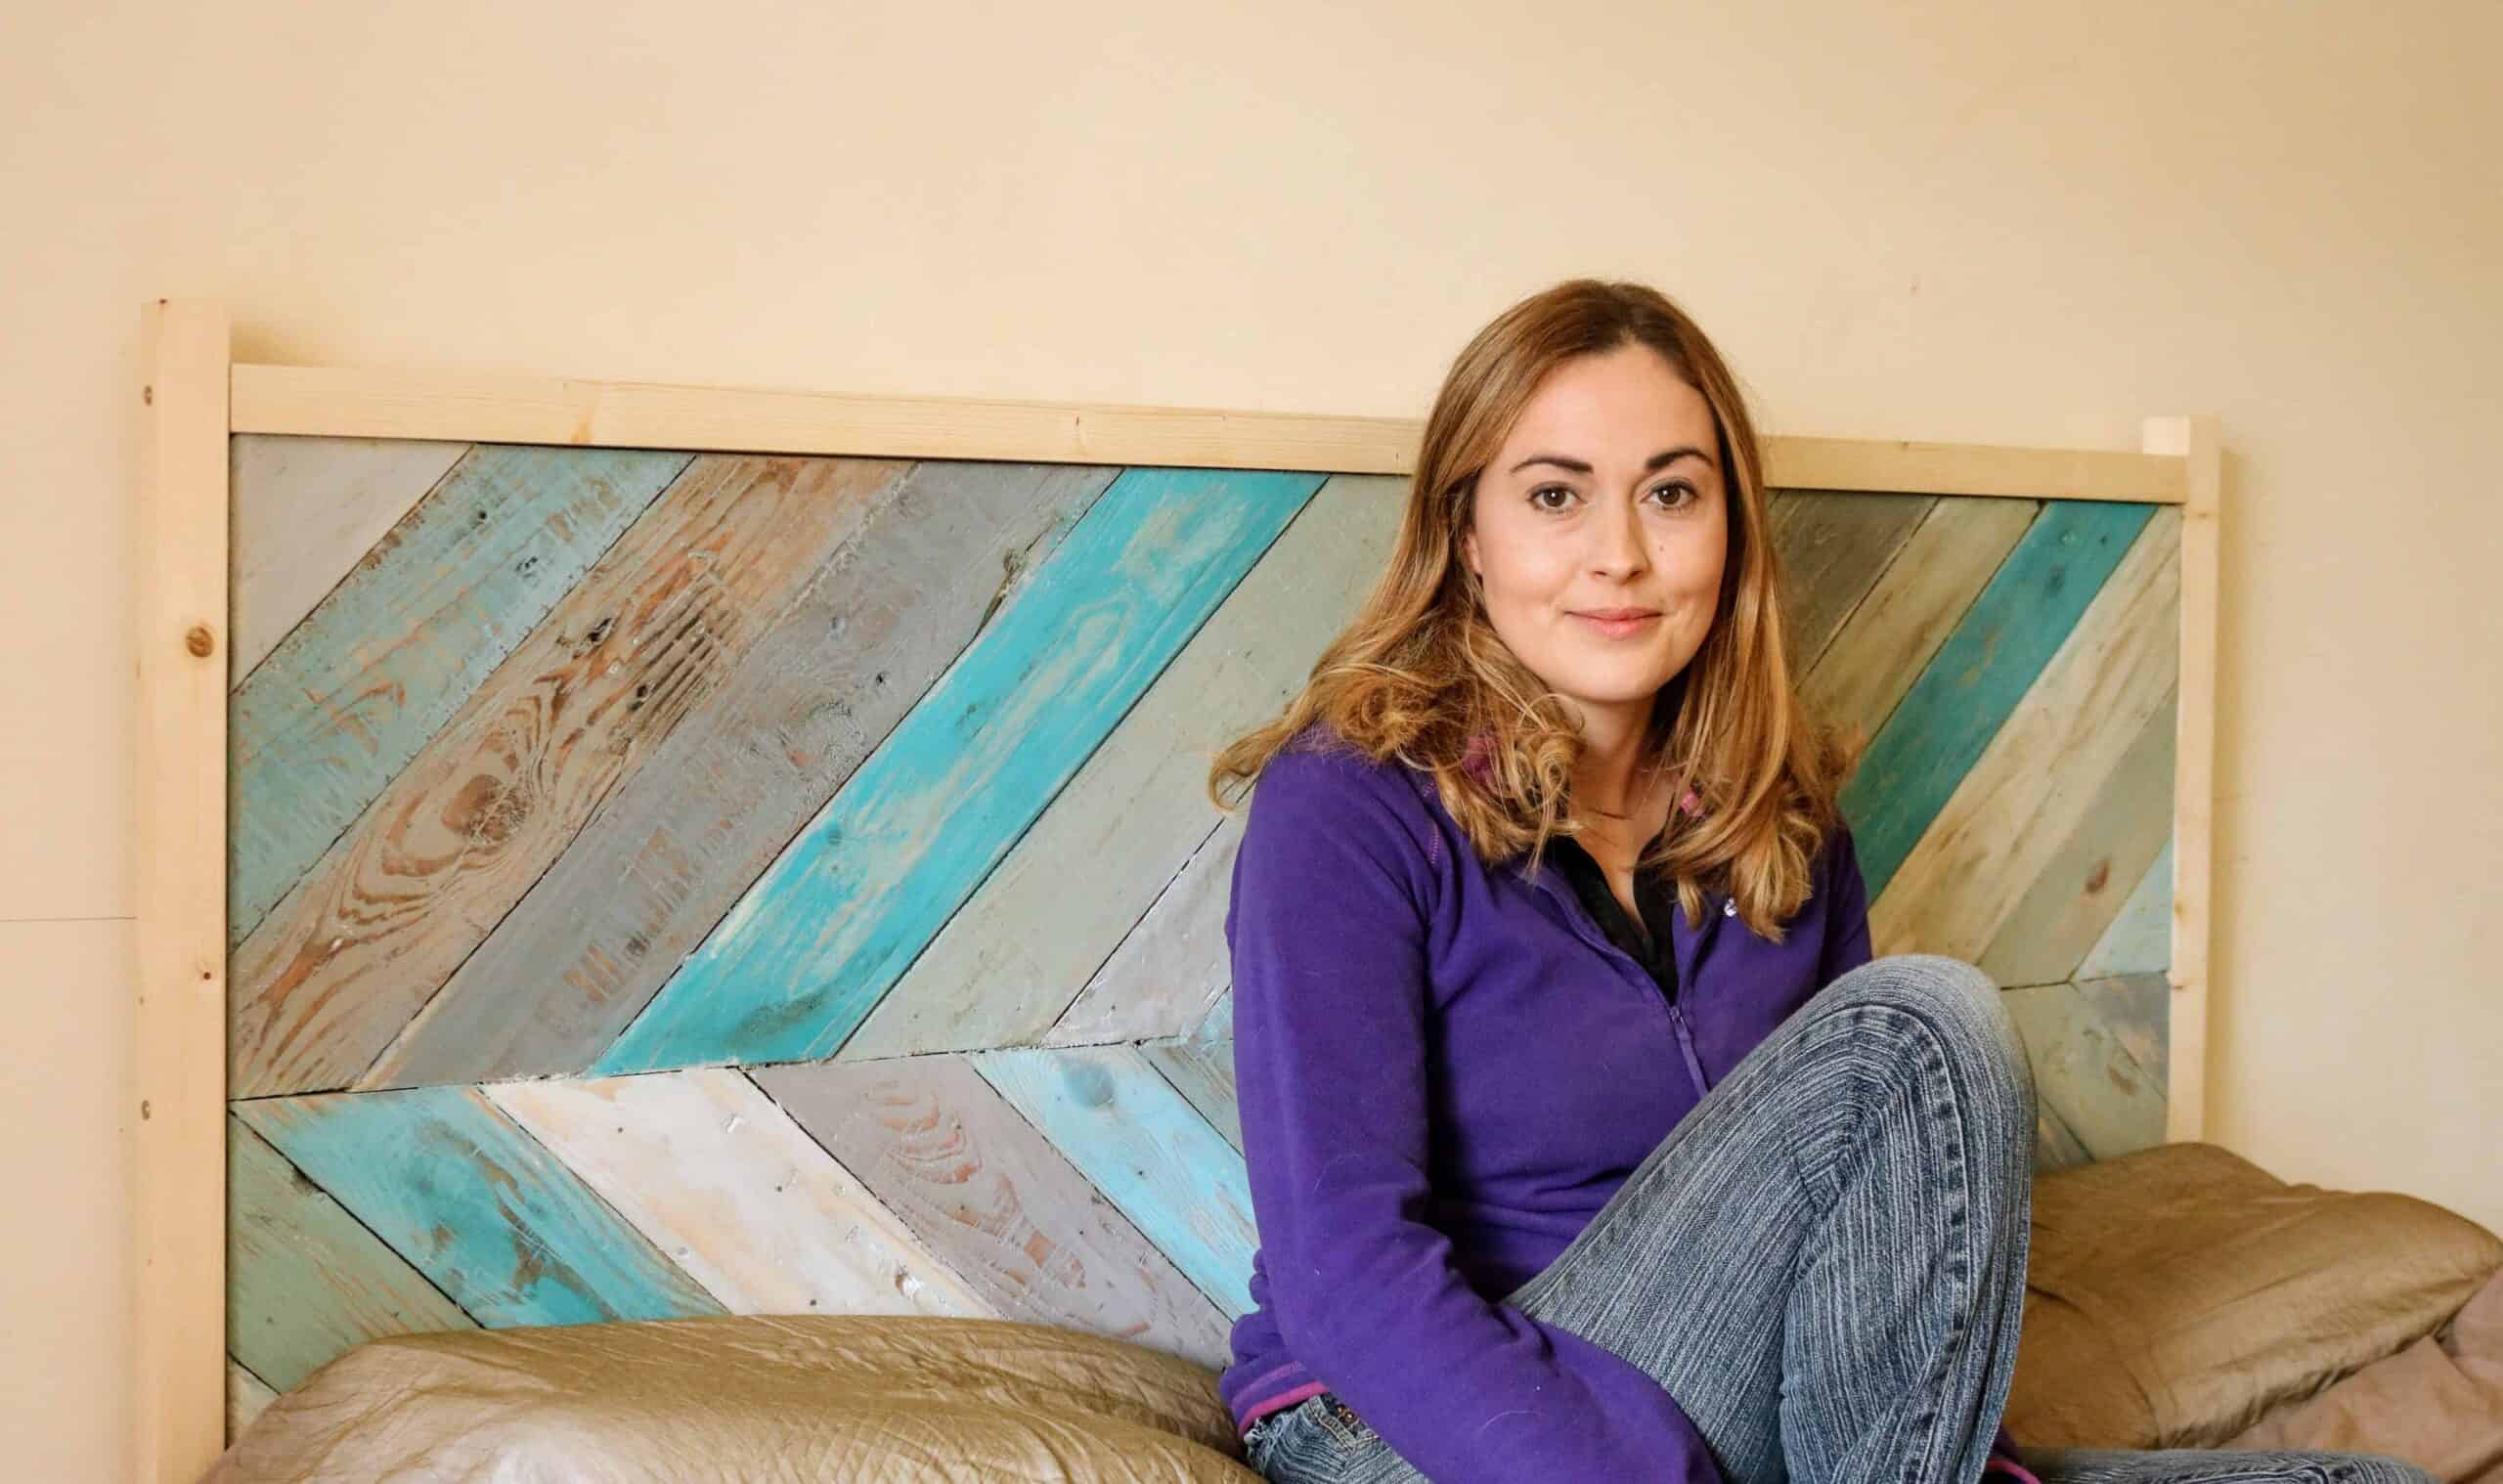
I hate chucking good wood away.
Whenever I need to buy it, I always gasp with shock at the price.
But it's one of the downsides of not living near my Dad's woodyard anymore and his prices are much more cheaper.

So when I started making my own headboard, it wasn't anything like the one I ended up with. I originally planned on copying a hotel design of plain birch plywood with some fixed cushioned sections for the head.
But after my fiance insisted I should use up wood I already had, it meant I had to resort to covering some ugly OSB with fabric, so I shelved the idea.
Then after I ordered some fencing for my last project, I was left with three pallets I couldn't part with and eventually decided to try a chevron table design as a headboard instead.

Why I kept procrastinating over it though, was whether I could securely hang it on the wall without the risk of dropping on us.
Thankfully, I had some recommendations in a Facebook group to use a French cleat (as I show in my video below). So once I've worked out how to do this, I was away!
I was fairly confident about gluing and nailing it to a board. I've been hammering things into wood since I was a little nipper. But finding a thick enough backing where the nails wouldn't show through was important important (and not using nails that were too short for good grip).


Then I realised, if I laid out some adjacent strips of my old IKEA Billy Bookcase (more wood I couldn't part with) and attached pallet strips in the opposite direction on top, it would all fix together.
What I loved about this idea was:
• It was affordable
• Gave us more space in the shed
• Recycled to cut down waste
• Allowed me to practice new techiques
• If I made a mistake, it didn't matter
• Used up my growing tester pot collection
So, to make life easier for me and you, I filmed every stage on how I made it for visual learners like me!
But here's a list of what I used:
- Old IKEA Billy Bookcase (extremely common & can be found cheap on ebay)
- Pallet wood 30mm Panel pins
- 40mm Panel pins
- Caberfix T&G Glue
- Black & Decker Jigsaw
- Dewalt Mitre saw (or just use a mitre block and hand saw)
- Makita Belt Sander
- Chisel
- Titan Hand Sander
- Respirator
- Paint tester pots from all kinds of places!
- Annie Sloan dark wax
- Lint free cloth/rag
- Applied with a rag Rustoleum Clear Wax
- Spirit level
- 2 x planed trims from B&Q (34mm x 44mm x 2400mm)

TOTAL SPEND: £10.15 as I had everything else already
Disclaimer: This is NOT a sponsored post, but some links, by chance, are affiliate links that earn me some pennies (literally), if you buy through them at no extra cost.
DIY Chevron Pallet Headboard
A cheap and easy chevron pallet wood headboard made using recycled materials.
Materials
- Backing board of some kind to attach pallet wood to
- Pallet wood
- Nails
- Paint
- ScrewsLong straight piece of wood
Tools
- Mitre saw
- Hand saw
- Hammer
- Sander
- Combi drill
Instructions
- Cut your backing board to the size you want your DIY headboard to be.
- Screw a straight long piece of wood in the centre.
- Mitre the ends of your pallet wood.
- Glue and nail your pallet strips on against the straight edge.
- Once one side is done, remove the straight edge and repeat on the other side.
- Sand any splinters out and paint your desired colour.
- Create 4 mitred wedges and screw two on the back of the headboard and two on the wall - the latter, you'll need a spirit level for.
- Screw a support block on the back bottom to prevent it from wobbling on the wall.
- Screw trim around if desired.

Douglas
Love, love, love, love the chevron design.