
Here's how I created a built-in wardrobe doors space in our walk-in wardrobe. You can apply this to any room in your bedroom or house for clothes or a cupboard. Using ready-made shaker fitted wardrobe doors from MDF, I built a frame within a recessed wall. Then hung with concealed hinges. Includes how-to video to help you along.
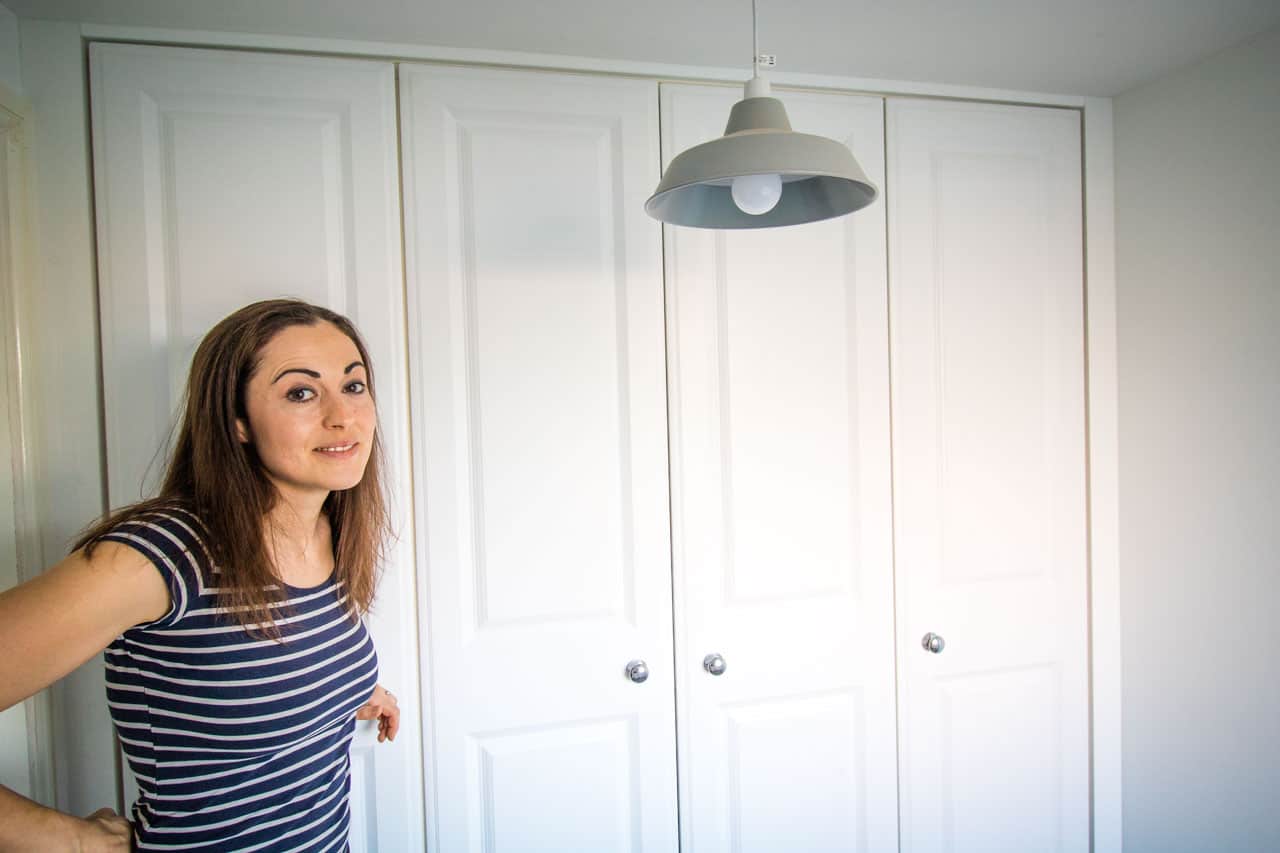
Since moving into our bungalow last year, we've been using an open wardrobe in our walk-in wardrobe (below). Some may call it trendy, but I prefer not to see our cluttered clothes on show.
It was perfectly functional. But a quick update: dring lockdown, it still belonged to our parents, so my Dad fitted the shelves using melamine MDF.
Once we were able to move in, I worked on making the clothes rail from steel I already had and suspended them. And a year on, I'm now sharing how I installed our full-height wardrobe.

Things I Used
Please note that as an Amazon Associate, I earn from qualifying purchases made through links.
- MDF railings
- Ready made shaker doors
- Batten
- Combi drill
- Impact driver
- Drill press
- Adjustable depth forstner hinge cutter
- Packers
- Spirit level
- Metal plasterboard fixings *but with 50mm 4.5 screws
- Electric plane
- Double sided mesh tape
- White silicone
- Tape measure
- Concealed hinges, including 170 degree for middle ones
- Hand saw
- white caulk
- Clamps

Measuring Your Space
The key part of my built-in wardrobe doors ideas is to build a frame first.
Similar to measuring recessed windows, I took:
- 3 measurements, top, middle and bottom, running left to right
- 3 measurements left, centre and right, top to bottom
Then rounded down my measurements so it wouldn't be too tight and could use packers. *And fill any gaps with an extra trim piece at the end.

Finding Your Doors
After taking my width measurement, another easy thing I did was source the white fitted wardrobes doors first.
Knowing my width, I could work out how many doors I could have while allowing a filler piece on either side to make up for it.
Alternatively, you could build a frame and create bespoke wardrobe doors however you wish.
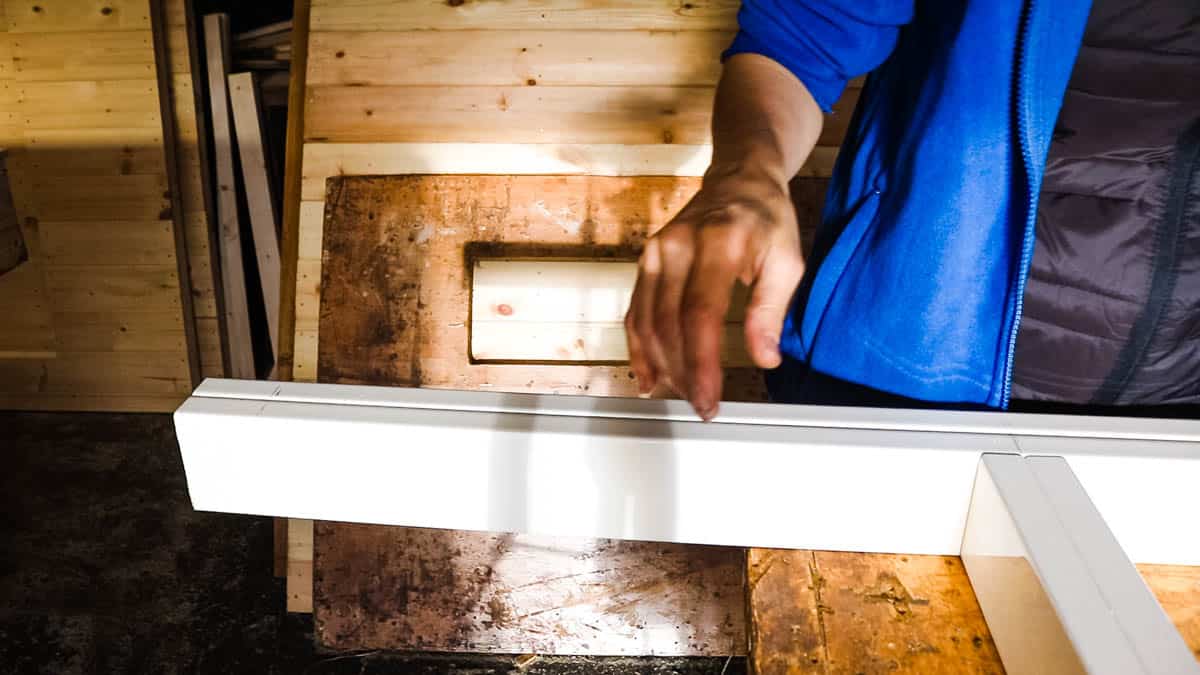
Planning the Wardrobe Framework
Now I'm building the framework using MDF railings which will hold my fitted wardrobe doors. Or, you could use structural timber and paint it if easier to find.
You can see I've made marks per upright and planning my lengths. Note: Don't put the first upright in the corner. Set it back by whatever you have left from your width according to your doors, then split it in half.
THEN you can put your upright there, and add a filler piece after.
Tip: if you aim for plain white gloss fitted wardrobes without a profile, you could cut them down, then add edge banding. Just make sure you don't chip the good side when cutting with a saw!
You can find more tips in my post about hand sawing a kitchen worktop.
Doubling the Framework's Strength
Note, I planned my doors to open in the centre so I can allow for future drawers which I plan to make.
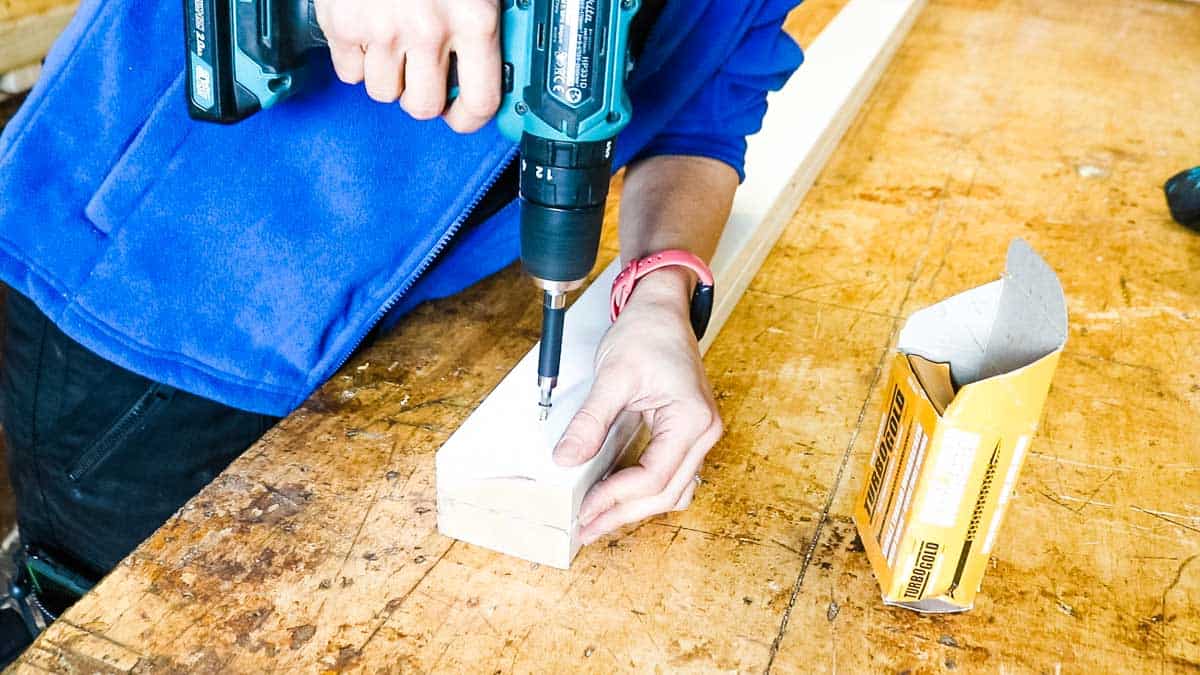
To make these stronger and hold heavy doors, I screwed two uprights together on each.
The outer ones didn't need these, as you'll see why in the next step.
Adding a Filler Piece
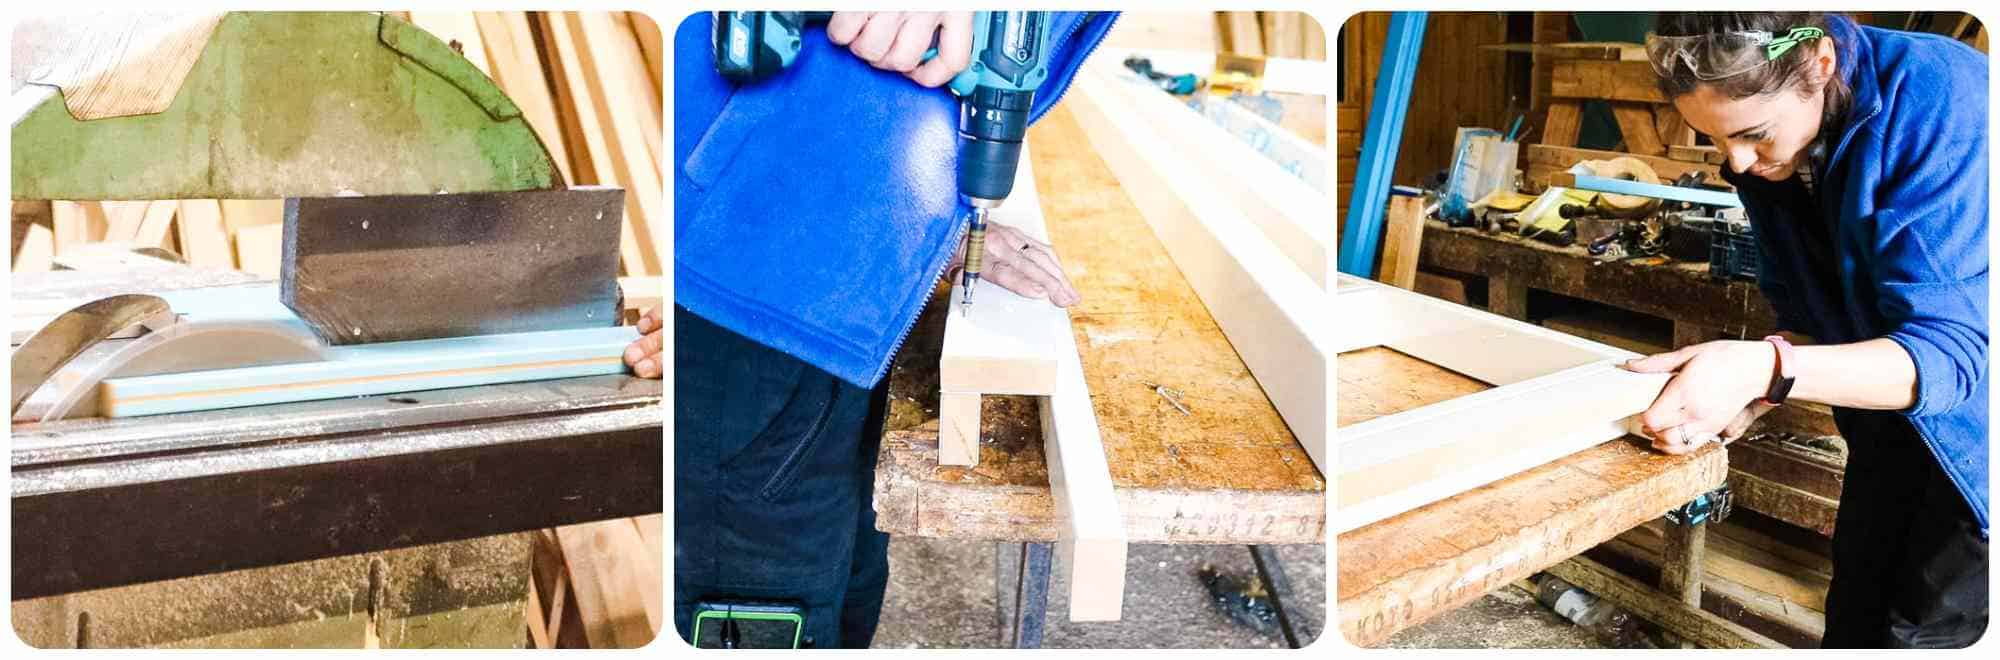
As my Dad's table saw is humongous, he ripped down two filler pieces for me, which I then screwed one to each upright.
Then I screwed each one to the corner of my bottom width piece. Note, this piece will be strengthened even more, as it will be screwed to a batten that I'll later screw to the wall on each side.
And it's this section that will be covered with trim later!
Getting a Visual
I then screwed the rest of the framework together, excluding the bottom plinth and the top section that I'll need to screw on-site.
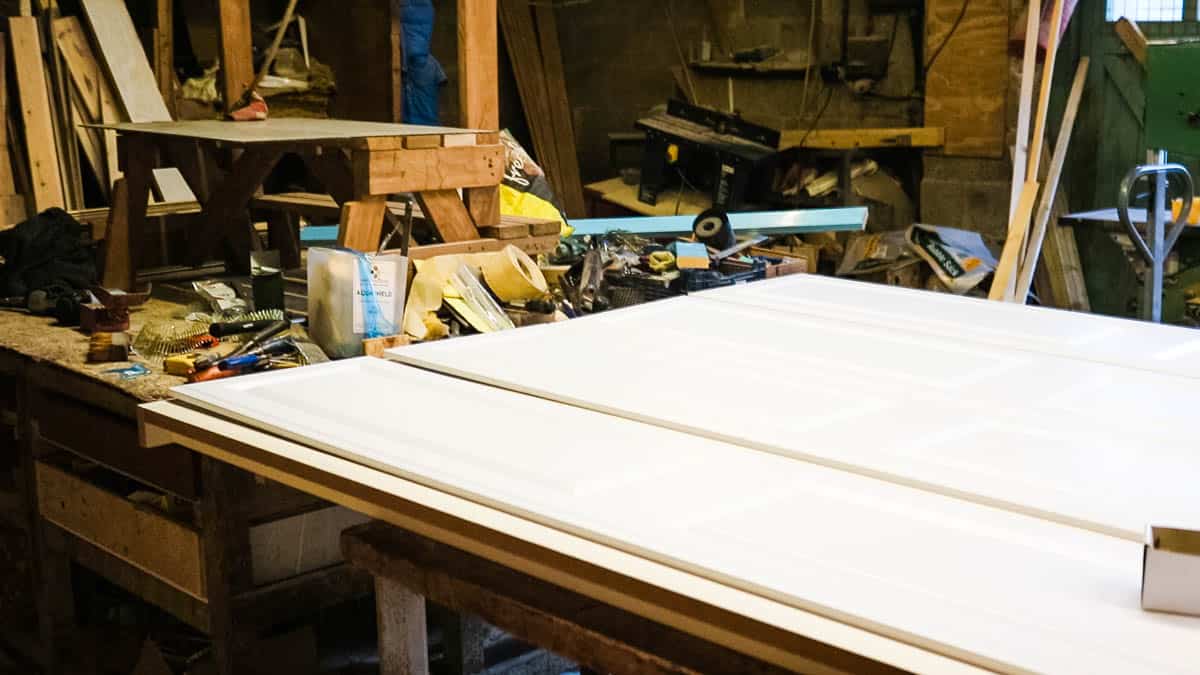
Next, I placed the doors on top to get a visual and all was looking good.
However!!
Note that when adding concealed hinges, it can move the doors slightly, so you may need to make move some uprights soon as I did!
Drilling Hinge Holes
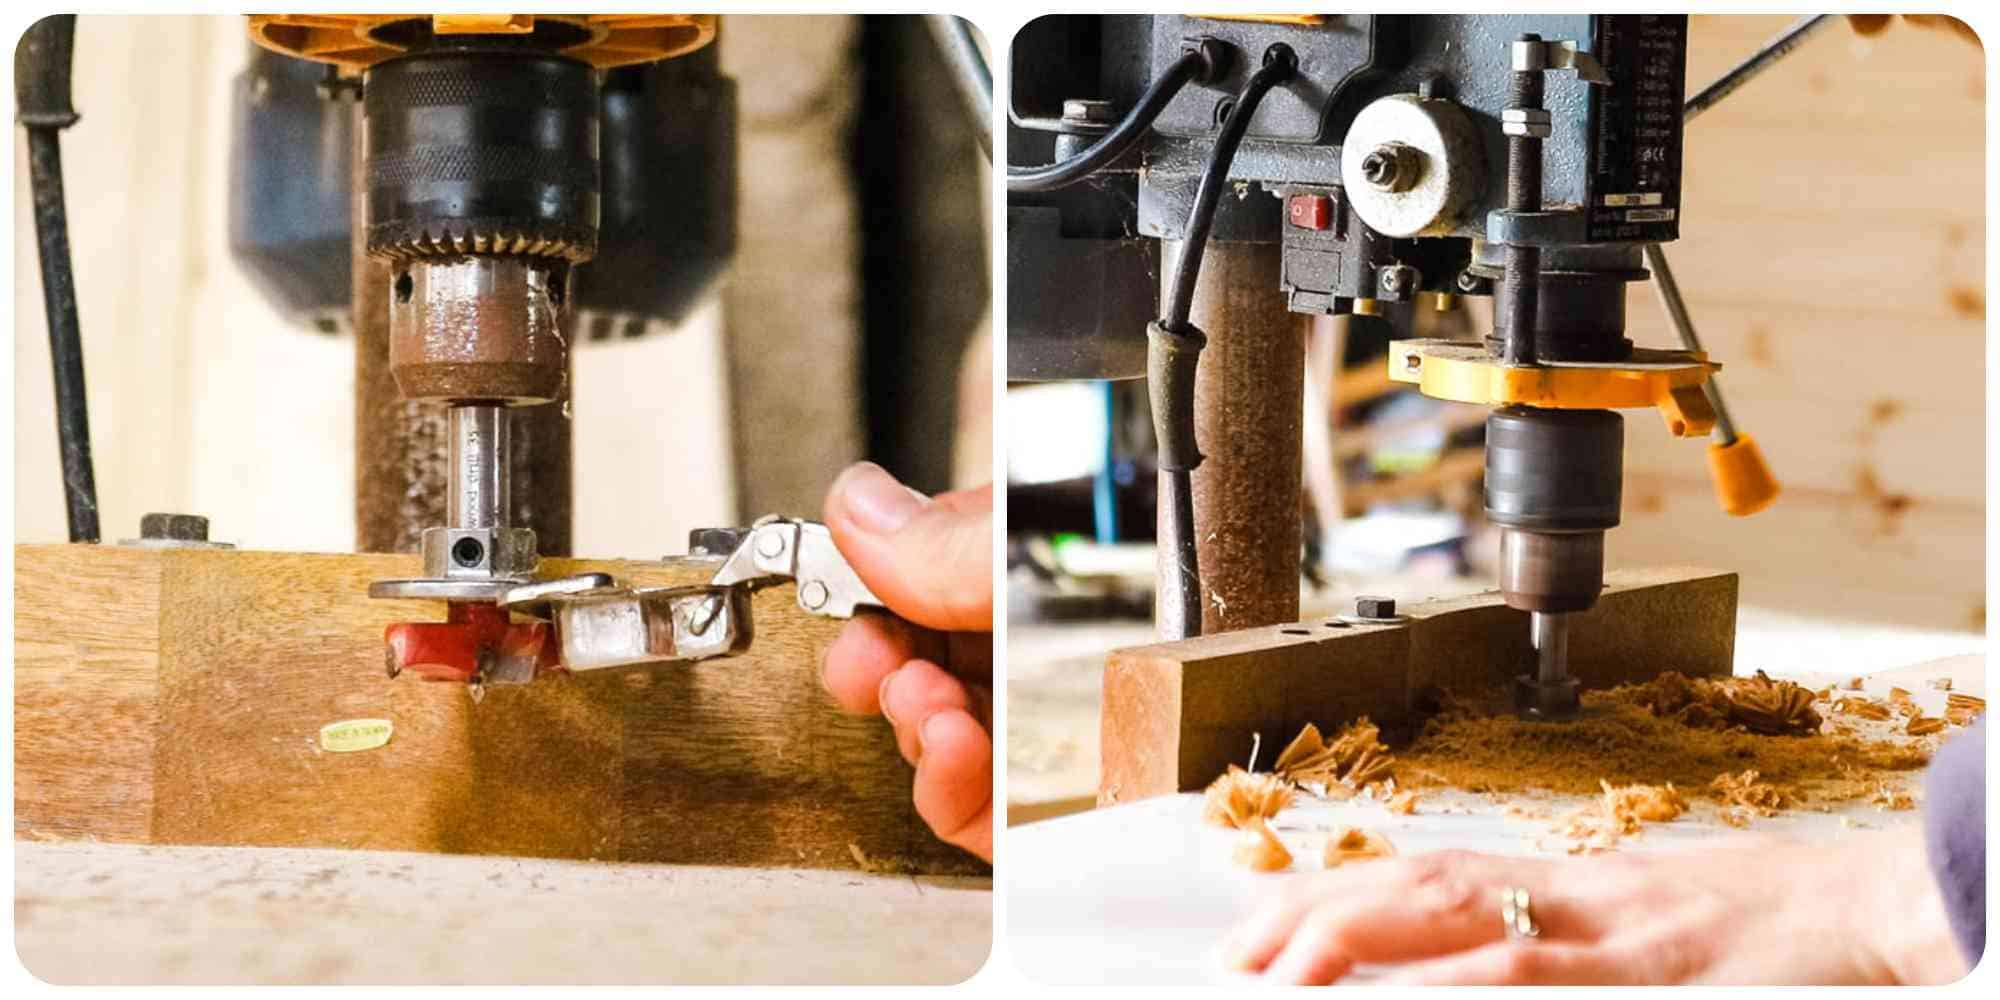
For this build, I'll be fitting concealed hinges and there are a few ways you can drill them. Above, I used a drill press with a 35mm Forstner bit hinge cutter that has a stop gauge on it.
I urge you to do some tests first on offcuts of the same thickness and on the doors, I added one 6 inches from either side and one in the centre.
Drilling Without a Drill Press
If you don't have a drill press, then you could use a concealed hinge jig, which is a much cheaper setup. I ordered one, but it never arrived on time, hence I used my Dad's drill press!
Screwing the Concealed Hinges On
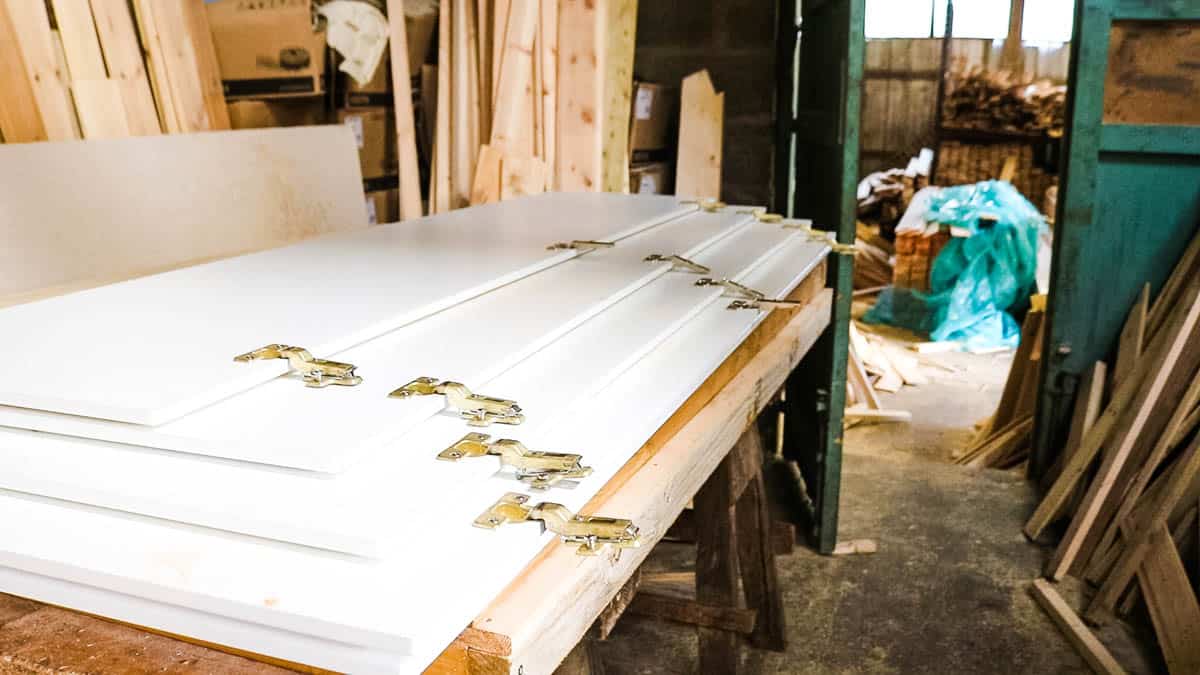
I then positioned each hinge in my new hole and screwed 3 on each door. For a more in-depth guide, read how to fit kitchen door hinges here.
But, note that there are several types of concealed hinges. Some are soft-closing, some open all the way back (170 degrees), some clip-on, some don't.
I recommend easy clip-on ones as they're easier to work with when you need to remove the doors for any reason.

Screwing the Hinge Mount Plate On
I copied the depth of an old kitchen carcass's hinge placement, which was 35mm.
And using a combination square set to that, I drew a line on each upright that will hang my doors.
Positioned the door where I wanted it. Marked where the screw holes were and drilled and screwed the plates on that line.
Dry Fit
After adding all the hinges on and clicking them into place, it's a good idea to do a dry fit.
While the frame was laid down, I placed the doors on top to see if they closed ok.
One overlapped, despite altering the hinges, which meant I needed to move an upright post.
Dismantling the Frame to Take Home
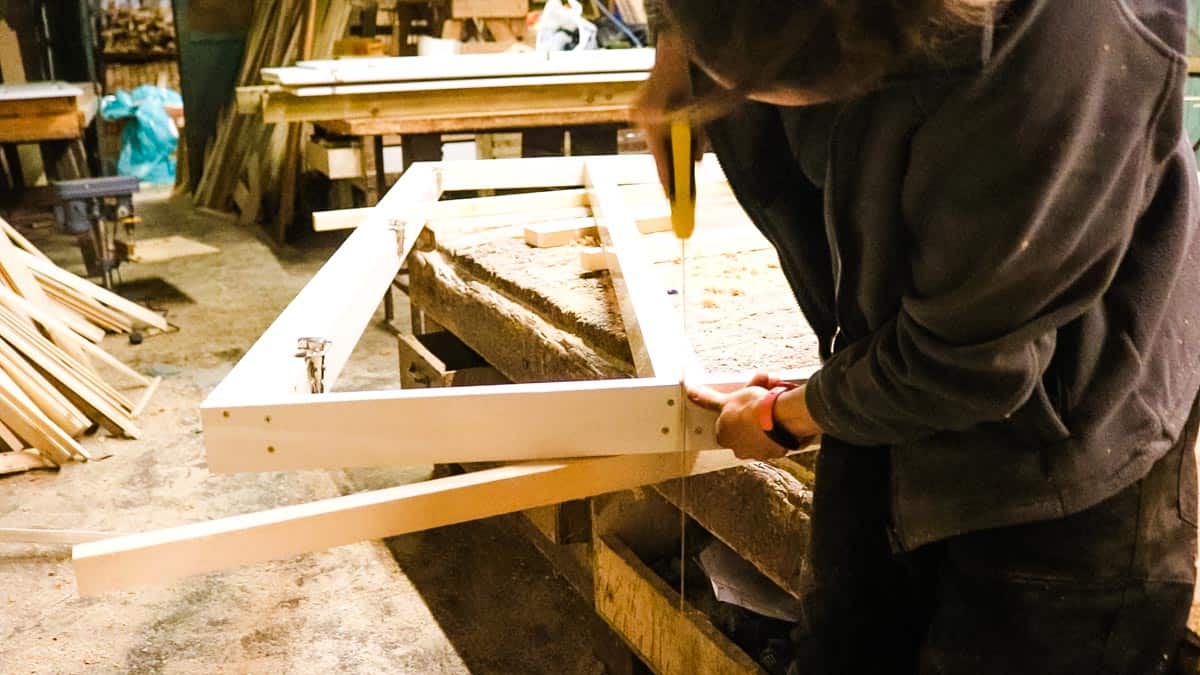
Once I was happy with the door alignment, I needed to cut it down to get it home and through my doors in the house.
I hand sawed in line where the double joined uprights were. But, you need to do this as carefully and as straight as you can as they'll be visible when opening the doors.
Tip: you could always caulk or silicone over if preferred, but I left it as is, as either can collect dust and look dirty over time.

Adding Knobs for Wardrobe Doors
There are SO many different types of door knobs you can use. Some are crazy expensive, and some are an absolute bargain.
As my wardrobe was going to be in a recessed area, I didn't want them too big and bang on the walls. I bought a pack of 5 Victorian 38mm chrome knobs from Screwfix for less than a tenner!
To fit, I used a quick jig so they were the same on each door. But measuring evenly on each is fine, then drill a hole and screw them on.

Fitting the Wardrobe in a Recess
When it came to fitting my wardrobe to the walls, I thought it was best to start on the side where some door architrave was. I then measured and marked distance for the:
- Trim's thickness
- Filler piece's thickness
- + a few mm for allowance for easy working
Then cut a notch out up to the architrave with my multi-tool. This was roughly about 2" away from the wardrobe shelves.
Once I knew my placement, I drilled and screwed the floor plinth down. *Be wary of pipes below. We knew exactly what was under as I did this garage conversion to an en suite and walk-in wardrobe 2 years ago with my Dad and husband.
Next, I measured the same distance from the skirting to my cut and copied it over on the other side. Then I could see if my bottom plinth would fit between the walls and it did! Phew!

Adding a Mounting Batten
Using a spirit level, I drew straight lines on the wall for my trim, filler piece, then behind that would immediately be my batten.
Remember when I said the architrave had a bow in it? Me leaving a few mm to work with on my skirting cut was needed to allow me to make my frame level!
To mount the first batten to plasterboard, I drilled 3 holes in the timber while away from the wall. Then lined it up on the wall and drilled just to mark where my plasterboard fittings needed to go.
Using Metal Plasterboard Fixings
I then started with the centre's metal plasterboard fixing. (This would allow me to get it level top and bottom later).
Then used a 6mm drill bit to make my drilled hole in the plasterboard bigger. This allows me to then press and twist the fixing in with a flathead screwdriver. I don't recommend doing this part with any kind of drill.
Now put the batten back and use the same thread screw, but LONGER to allow the depth of the batten. And screw the batten to the fixing on a low torque setting.
To repeat for the top and bottom ones, I marked the next hole with my drill, loosened off the middle so I could swivel the batten. I did this one at a time as wood can be slightly bowed, which I'd tease into alignment for the final one.

Doing Another Dry Fit to Work Out the Opposite Batten
Note that I've only fitted one batten on the wall at the moment. I then slotted the framework into place and temporarily clamped them all together to check for level in each direction.
You may need help holding it up, but luckily the skirting and my batten on the first side wedged it nicely.
Once all level, I could then work out where the batten at the back of the framework needed to go and fix it to the wall in the same way.

Scribing and Fitting the Top Section
I'm going to guess that you'll probably have to shave the top final piece of the framework as no plaster is absolutely perfect.
I used an offcut and marked either side how much needed planing off. And after several offering up and shaving high spots, I could slot it on.
Check for level again and draw a reference mark. Then removed the middle framework, leaving the top shaved trim suspended. I could then drill a hole in the ceiling for more plasterboard fixings.
Then screw it on and place the middle framework back. I repeated for the outer two screws but wedged packers above where there were gaps. Next, screwed it to the ceiling and screwed the framework to it.
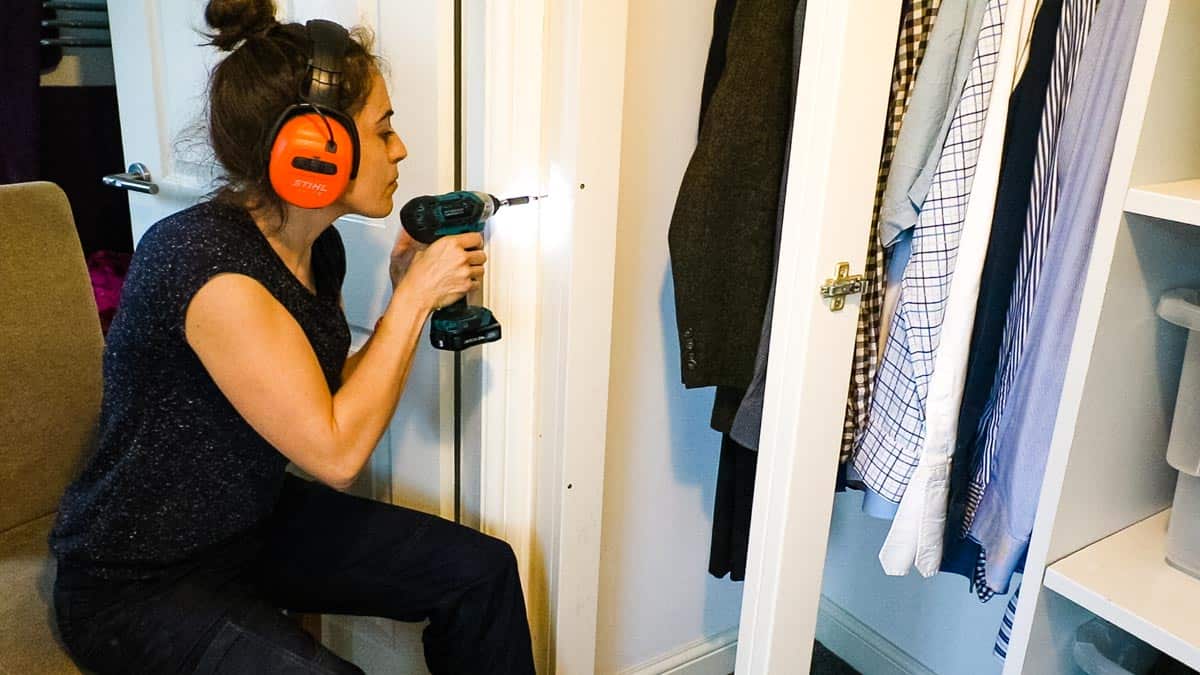
Screwing the Framework Back Together
Now I was ready to clamp and screw the framework altogether and to the ceiling.
Top Tip
If you have a gap between the top two pieces of the framework, then you'll need to loosen the top piece and wedge more packers in and screw back!
Then, screw the frame down to the plinth too, and through the filler piece to the batten. Don't worry, this will be covered with the trim shortly!
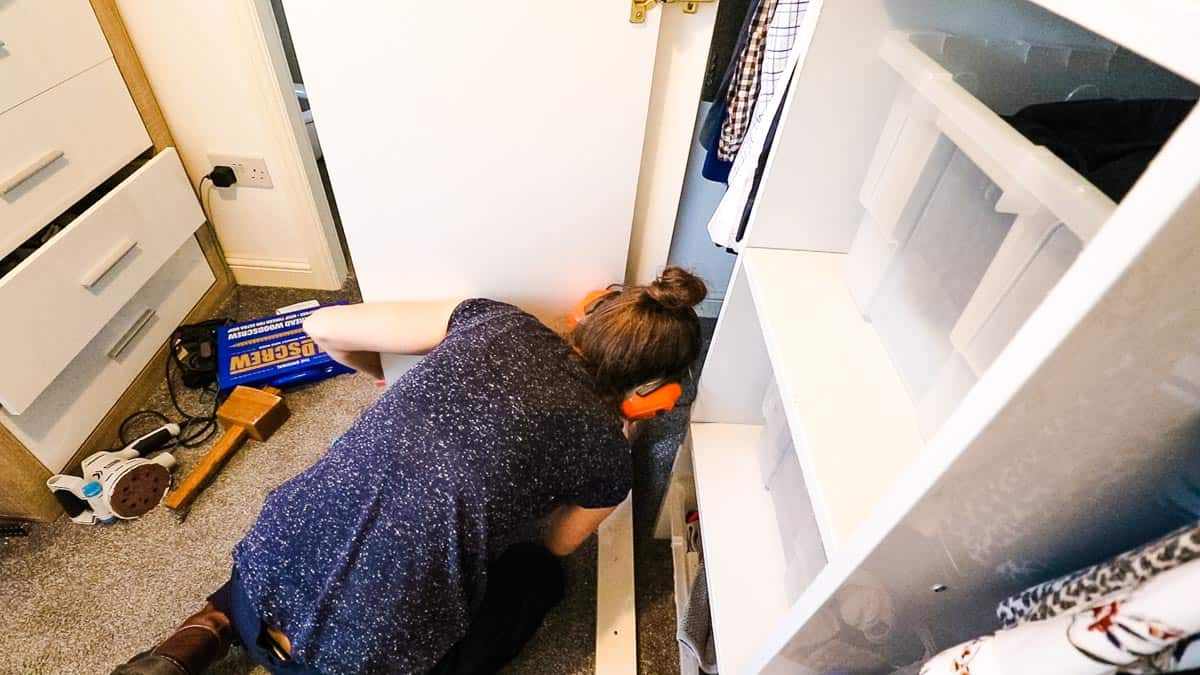
Hanging the Wardrobe Doors
It helps to have another pair of hands to hang your wardrobe doors. But if not, I used a plinth offcut and carefully clipped the hinges back together.
If yours don't, they may need tightening with a screw.
Then start adjusting them so they're all the same height and spaced out evenly. I recommend watching this how to adjust a cabinet door hinge video.
Troubleshooting
If you want to later change some of the hinges for ones that open completely back (170 degrees), as I did, then it may alter the spacing even more. A workaround I had to do was ask my Dad to rip down another upright and screw to the double pieces.
This then moved the doors towards the middle. It also meant I needed to cut another trim piece later as all the doors needed to be shuffled along.
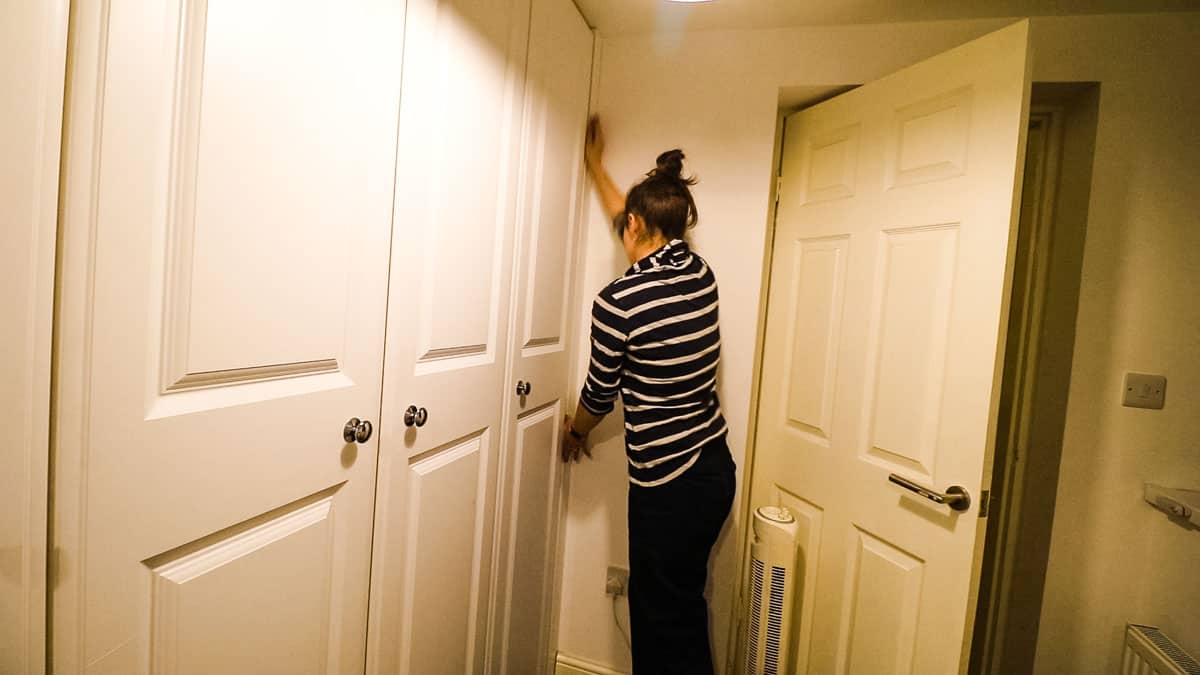
Adding Wardrobe Trims
It's time to add the finishing touches, starting off by attaching the white gloss melamine wardrobe trim.
For any tight spots like near the architrave, I recommend using silicone and wedging it in place until it's set. Alternatively, you could use really strong double-sided sticky tape.
The problem with the above is that if you get it stuck where you don't want it, it's REALLY hard to readjust. Take my word for it!
I also applied a small ripped piece at the top too but used lots of cut-down double-sided tape.

Caulking Fitted Wardrobes
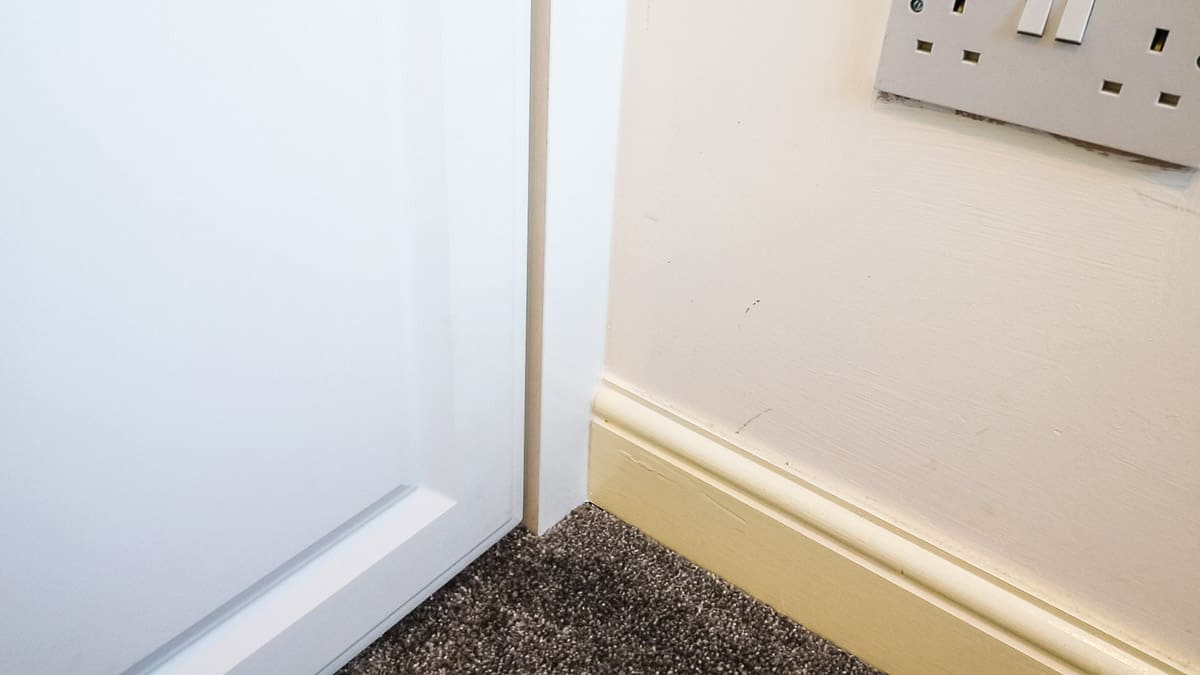
Once all the trims were stuck on and any packers removed, I went over all of the joins with white caulk. To remove the excess, I like to use decorating wipes before it's dry.
I was very impressed with how it turned out. Although my new white wardrobe really points out how our white gloss skirting boards have turned yellow from the sun!
A renovator's job never ends, I suppose!
The Final Reveal
And this is how it looked!
You may prefer a more traditional approach by building wardrobe cabinetry with doors to attach to it, but I found this easier for a beginner. And much cheaper!
Also, I purposely chose the door sequence like this as I'm planning to make drawers for the middle section soon, too.

Built in Wardrobe Doors DIY

Here's how I created a built-in wardrobe doors space in our walk in wardrobe. You can apply this to any room in your bedroom or house for clothes or a cupboard. Using ready-made shaker fitted wardrobe doors from MDF, I built a frame within a recessed wall. Then hung with concealed hinges. Includes how-to video to help you along.
Materials
- MDF railings
- Ready made shaker doors
- Batten
- Metal plasterboard fixings *but with 50mm 4.5 screws
- White silicone
- white caulk
- Concealed hinges, including 170 degree for middle ones
- Wood screws
- Double sided mesh tape
Tools
- Combi drill
- Impact driver
- Drill press
- Adjustable depth forstner hinge cutter
- Packers
- Spirit level
- Electric plane
- Tape measure
- Hand saw
- Clamps
Instructions
- Measure and build the framework as shown in my diagrams, but with the uprights to match the doors you choose.
- Drill holes for concealed hinges - 3 per door
- Screw on the hinges to the door, then the mounting plates to the uprights
- Test fit the doors to see if they hang ok and whether you need to alter
- Hand saw it in sections between the double uprights if you need to fit it through your bedroom door, etc
- Watching my YouTube video, position and screw the framework to the recess
- Hang the doors
- Adjust the door hinges to align everything
- Add the trim pieces with industrial strength double side tape or silicone and wedges to wait until set if you can
- Apply caulk on any gaps

John Reed
Hi Nikki,
Please could I ask where you sourced your white wardrobe doors from? I want to do a very similar project; covering over open clothes rails in a recess.
Many thanks in anticipation,
John Reed
johnhreed@btinternet.com