
Here's how you can make railway sleeper raised beds cheap for flowers, veg patch or a herb garden. Featuring upright sleepers cut on an angle around blockpaving and finished with DIY decking trim to save you money.
Includes a "how to make garden bed with sleepers" video to follow along with.

While digging up the topsoil to lay the base for our DIY Summerhouse, we needed somewhere to dump it. Or pay for someone to take it away.
We also had an unusually shaped section of lawn between our block paving that didn't really serve a purpose.
My Dad suggested making a raised garden bed with sleepers. His idea was instead of building a tall one where they're stacked, why not install them on their shortest sides? This didn't cost us any extra and found it the perfect cheap solution on a budget.
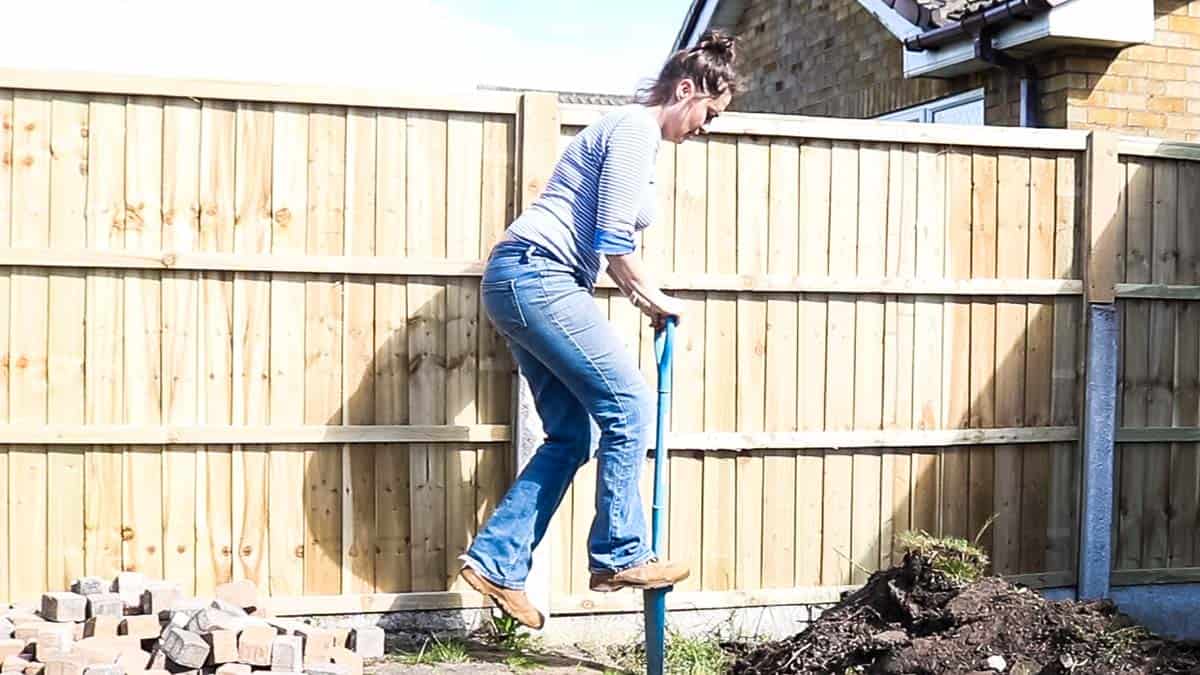
Tools Used to Make a Raised Garden Bed
Please note that as an Amazon Associate, I earn from qualifying purchases made through links.
- Old sleepers
- Trend T18S router *Gifted
- Trend router bits *NOT gifted
- Automatic Centre Punch
- Hand saw
- Packers
- Wheelbarrow
- Digging spade
- Post hole trench shovel/spade
- Tape measure
- Rigger boots
- Ear defenders
- Goggles
- Combi drill
- Damp proof course
- Riddle
- Clamps
- Sawhorses
Sleeper Flower Beds Step by Step
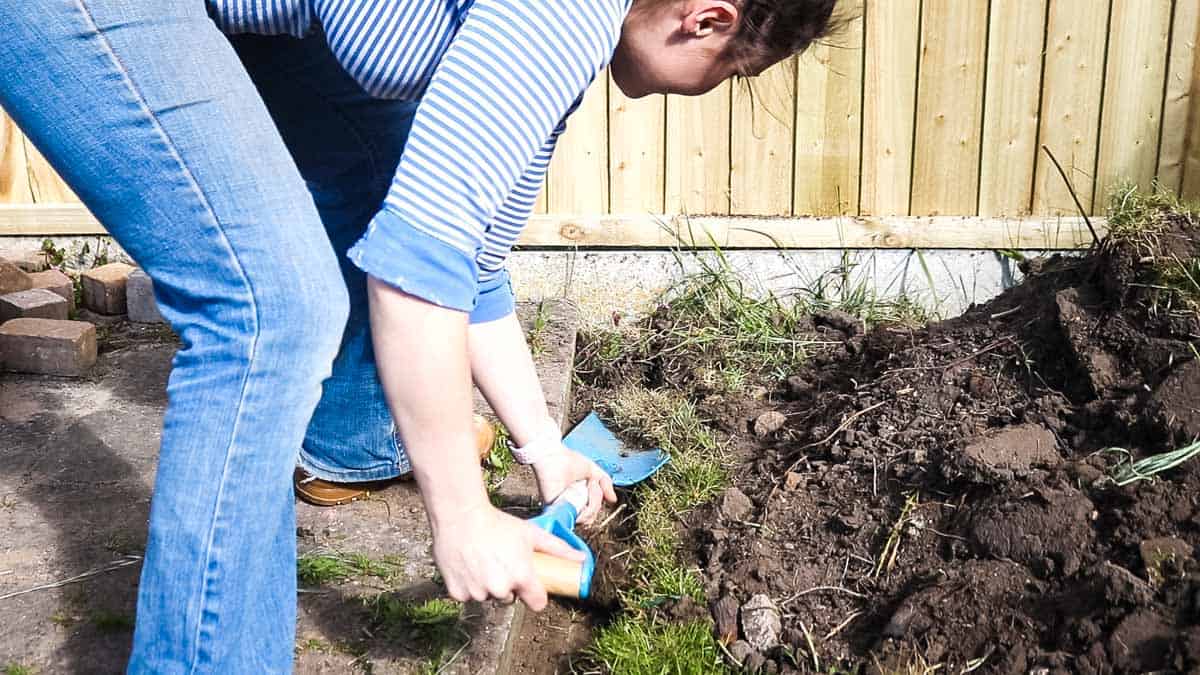
First, work out where you want your railway sleeper planters to be.
You could use a straight edge to dig along it, or set up a string line as seen in my DIY garden path. I recommend digging a trench of approx ⅓ of the height of your sleeper and wide enough for them to sit on.
Then dump the topsoil in the middle.

Cutting Sleepers
Hopefully, you'll be building a square raised bed as our angled area was rather unique. There are several ways to cut them:
- With a hand saw
- Circular saw (from both sides if too thick)
- Mitre saw (you may need to finish by hand)
- A chain saw
I've often cut sleepers by hand, but on this occasion, my Dad cut them off-camera with a chain saw
Note, the cuts don't need to be perfect if you're adding dpc and trim.

Screwing Sleepers Together
After cutting and positioning the sleepers in the trenches, note you could add a mortar bed if you're concerned to set them in. But as ours are wedged in between block paving, here's what we did:
- Drilled and screwed them together on an angle
- You might want to use a spirit level and pack them from underneath with soil
- Screwed mounting plates from the inside for an extra support*
We recycled old hinges as ours were mitred, so they were easy to bend to the correct angle.

Protecting the Railway Sleepers
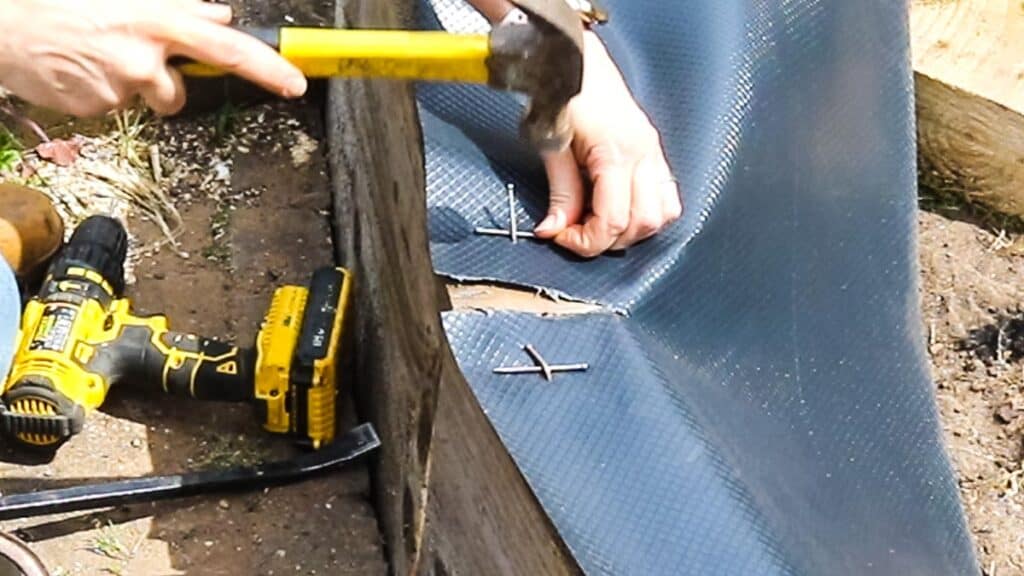
Next, we added a layer of damp proof course all the way around, that tucked inside the sleeper garden bed.
You could staple it down, but a trick my Dad uses is to:
- hammer a nail in halfway
- place another nail in front of it laid flat
- hammer the first nail over it so it bends in half and traps the 2nd nail
Creating Faux Deck Board Trim
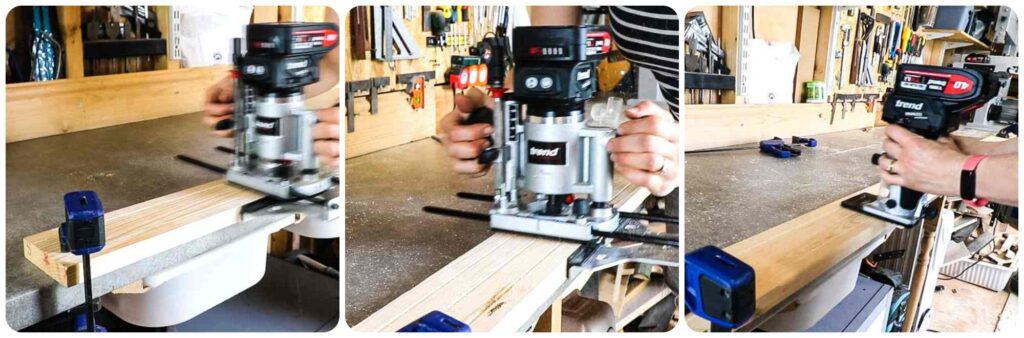
As deck boards seem to have doubled in price over the last ⅔ years, I decided to mimic some decking with my new gifted Trend cordless router.
Using a v-bit, I created 3 straight grooves/lines on the top face of some softwood planks, then rounded the edges off with a round-over bit.
Mitring Decking Easily
If you're using decking trim, or creating your own with a router, then with a bit of luck, you won't need to mitre any.
For the straight runs and right angles, I didn't bother.
See below if you've got random angles you need to cut without a sliding bevel.

For areas where I needed to mitre, I:
- Placed the deck board on top, proving the edges were plumb to the sleepers
- Transferred the mitre of the sleepers to the first piece of decking and cut by hand
- Note, the first mitre doesn't need to be perfect because:
- Next, I lifted the first mitred piece up and placed my next piece underneath
- Then I could draw where the first mitre lay
- Now cut along this pencil line and it should butt together perfectly
Note, it's much more forgiving if your trim is wider than the sleeper's top edge as you'll have more play. Mine was the same size, so I needed to be accurate.
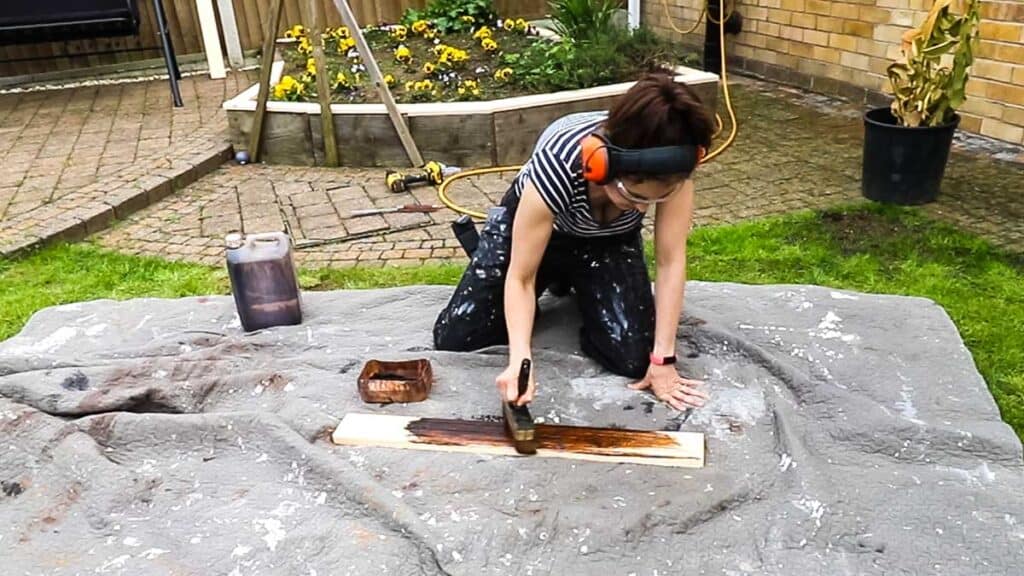
Treating Wooden Sleeper Planters
I then treated each one at a time while screwing it on top of the sleepers.
I used a wood stain and preserver in one called Aquashield in Chestnut which is water-based and free from VOCs.
However, unfortunately, I can never find a stockist for viewers to buy easily.

Fixing Decking Trim to the Sleeper Bedding
I could have glued and nailed my deckboard trims on. But for ease, I decided to just screw it on instead. Note, throughout, I kept away from the edges so I didn't have to predrill first (providing I used thin enough screws too!)
Try to use stainless steel screws so they don't rust. Also, if you used nails instead of staples, you may want to add packers underneath to ensure the trim is all level.
When screwing, make sure you also screw through the packers and cut any protrusions with a flush trim saw.

Filling Your Raised Bed with Soil
If you're reusing top soil from another area of the garden, I highly recommend buying or making a handmade riddle with a wooden frame and mesh.
Place the riddle on top of your new garden bed and shovel soil on top. Shake it to separate the soil from grass sods and weeds.
You can then discard the sods or consider composting weeds. Now, you can use it for railway sleeper flower beds or sleeper vegetable beds.

Can You Use Sleepers for Raised Beds?
Something I found surprising from a viewer was that he'd heard sleepers are now illegal to use as flower beds due to the creosote contaminating soil.
However, I haven't been able to find any official legislation on this as of yet.
How to Make Railway Sleeper Raised Beds

Here's how you can make railway sleeper raised beds cheap for flowers, veg patch or a herb garden. Featuring upright sleepers cut on an angle around blockpaving and finished with DIY decking trim to save you money.
Materials
- Packers https://geni.us/BjRI [Amazon]
- Wheel barrow https://geni.us/uvaR [Amazon]
- Digging Spade https://geni.us/vSeHIT [Amazon]
- Post hole trench shovel/spade https://geni.us/770BA [Amazon]
- Tape measure https://geni.us/VnTk [Amazon]
- Rigger boots https://geni.us/WkzEWav [Amazon]
- Ear defenders https://geni.us/SqeaEG6 [Amazon]
- Goggles/safety glasses https://geni.us/ybBDFs [Amazon]
- Combi drill https://geni.us/fN8isKn [Amazon]
- Riddle https://geni.us/gardeningriddle [Amazon]
- Clamps https://geni.us/4eDCEE [Amazon]
- Sawhorses: https://youtu.be/h-d4gi8-ci0
- Wood preserve
Tools
- Trend T18S router: https://geni.us/TrendRouter [Amazon] *Gifted
- Trend router bits https://geni.us/routerbits [Amazon] *NOTgifted
- Automatic Centre Punch https://geni.us/0KZKn9A [Amazon]
- Hand saw https://geni.us/V3TDlK [Amazon]
- Damp proof course https://geni.us/dampproofcourse [Amazon]
Instructions
- Using a string line or straight edge, mark where you want your sleeper-raised bedding.
- Dig a partial trench out - ours is also wedged in with block pavers, then dump the soil in the middle
- Cut your sleepers and screw together on an angle
- Add supports or sleeper pins from the inside
- Nail down damp proof course on top, with the overlap on the inside of the flower bed
- Now fill the raised bedding with more top soil or existing soil from another part of the garden while using a riddle to separate the grass sods.
- If turning planks into faux decking, use a v bit and router guide to make a series of grooves
- Mark and cut the top trim
- If needing irregular mitres, see my main notes above, or watch my video for an easy visual.
- Stain all of the trim cuts, then screw to the top of the sleepers

Comments
No Comments