
It might come as a surprise to you that I'm not the biggest fan of social media platforms. Well, at least scheduled sharing, anyway. It's forced, it feels fake and hours spent scheduling is time I doing more DIY jobs in my house.
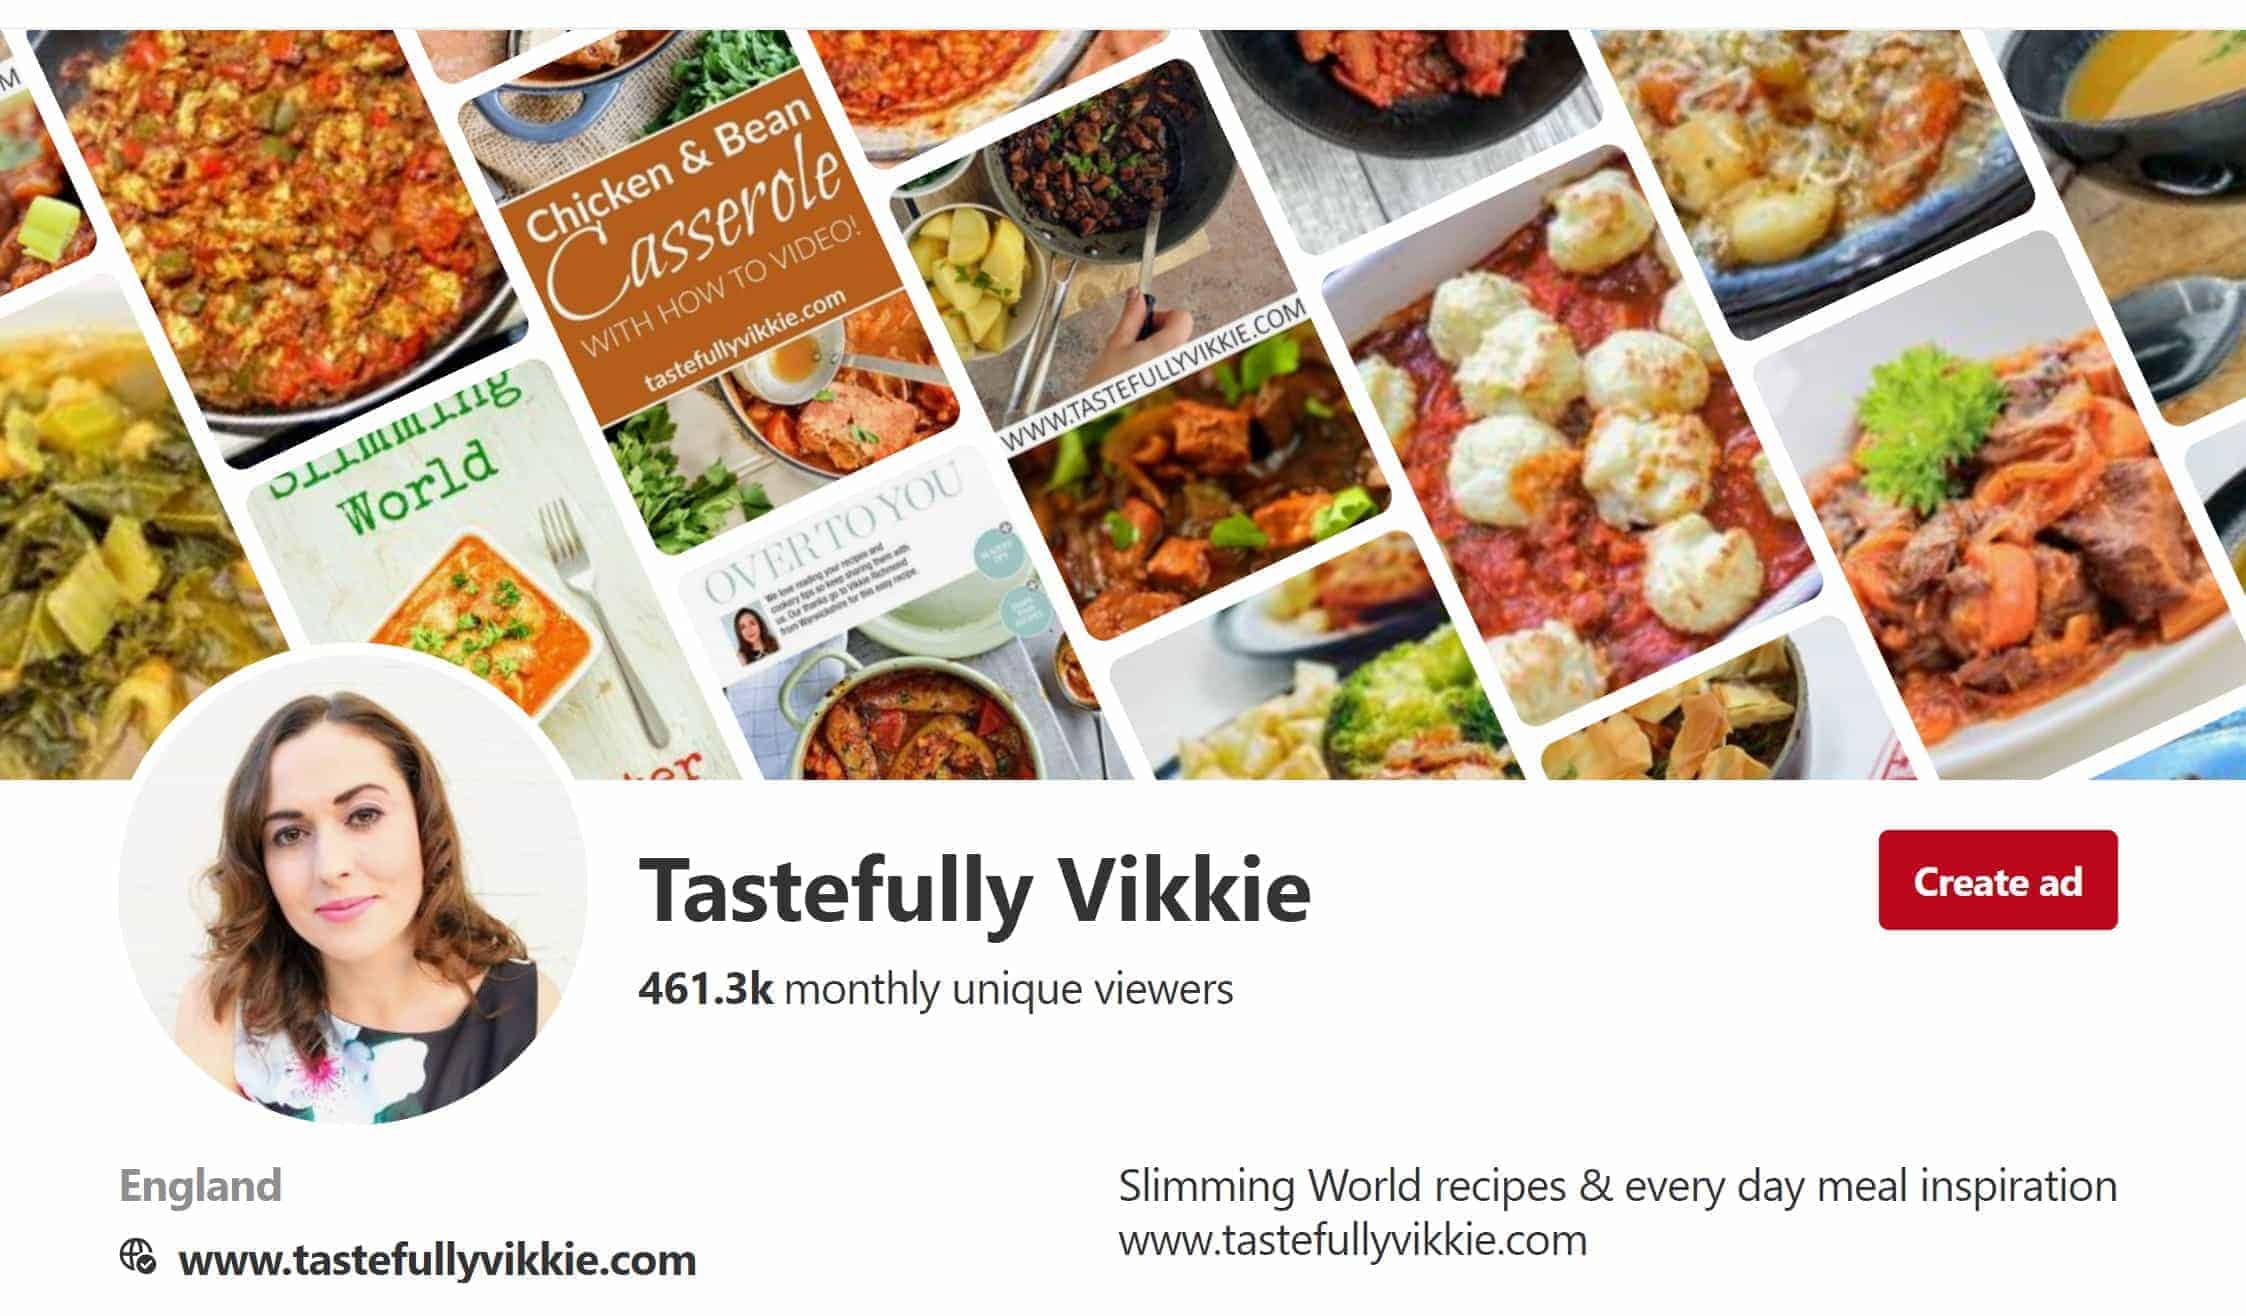
But one platform that has been invaluable is Pinterest. With all new things social sites, I didn't want to embrace it. But after attending a blogging conference, one of their ambassadors explained how to create pins to draw traffic to your site.
So that night, I took her advice and created pins for 10 most popular posts, then continued to make them going forward with new posts. I didn't see immediate changes, but then a few months later, I was reach 1k extra hits from it which by that time was my highest form of referrals.
IF YOU LOOK AFTER YOUR PINTEREST ACCOUNT, IT WILL LOOK AFTER YOU
So, you might know that they changed their algorithm around April 2018. I noticed an unusual decrease in traffic which resulted in me earning half the money I was bringing in.
Just take a look at my Tastefully Vikkie food blog's Pinterest referral life for like in July 2017 & 2018. There's a 50% difference.

It was a bit of a concern as I relied on through ads placements on my site as a full time income, but didn't rush to fix it as my Carpenter's Daughter monetized YouTube videos were making up for the loss.
But, as nothing is ever reliable, this week I took notes in an free annual online seminar organised from Food Blogger Pro, so I'm jotting them down here for my DIY YouTube makers in an attempt to also encourage to embrace blogging for extra pocket money.
It's worth noting though, I've been very lazy with Pinterest. I don't pin like a mad woman and I didn't have organised boards. I'd put all of my pins in one board that was far too broad. But what little I did really made a difference.

My new pin format.
KEY THINGS I LEARNT IN A NUTSHELL
- You've got to be in it for the long haul.
You won't see changes straight way (bit of a bummer), but if you follow these rules, you should see some changes. - Create boards that aren't too broad.
By creating more specific boards like "noodle bowls", rather than "recipes", you'll help people find you quicker and stand out in specific searches. - Naming your boards
You can type, say, "chicken" in to Pinterest's search bar and it will come up with popular suggested names, like "Easy Chicken Dinners" to focus on tight niches. Well, you get the jist. - Write descriptions that are natural with keywords.
You have a 500 words, which isn't recommended, but shoul fit your key words naturally within two or three sentences about what it is. - Never replace keywords with descriptions.
About 2 hashtags should be your limit, but you can use a maximise of 5. - Pin to relevant boards so you're clear on the type of content.
Although a no brainer, this is where it helps to narrow down the types of topics it is. - Make sure your pins are vertical and a 2:3 aspect ratio.
Originally there was a loophole where the longer the vertical pin, the more it took over the page and stood out. I really took advantage of it, but these now called "giraffe pins" are being penalised. Also, canva is a great free tool for this. Any ever so slightly bigger will get scaled to size. Also, never use pins longer than 1260px in length. Ideally it should be 600px x 900px. - Make sure all pictures in your blogposts are also 2:3
Some may pin any of your pictures, so ideally they need to be the same size to be found. - Never delete old pins.
Apparently they can still become very popular, and you won't be penalised for duplicating pins, so it doesn't hurt to leave them. - If your old pins are much bigger, then go and change your most populars pins as a matter of urgency.
This is my next new task as I know this worked when I started setting my first ever pins. - Always add complimentary text to a pin.
It helps identify immediately what the pin is about. - Use branding
Focus on branding to help others identity you and pins from the rest. It's best to use branding that is similar to your blog and place a logo bottom left or right of the pin. Make sure it's not too big or small. I personally just type www.tastefullyvikkie.com as it's easier and it says who it's from instantly. - Your pin should be your best pic
But you could use two or three shots to create a collage. This is great for sharing process shots to help someone realise "actually, I could do make this!" This is ideal for food and DIY projects. - It doesn't matter what time you pin.
As long as you're consistent and pin content from your blog daily to build your traffic. - Focus on great content.
Pins aren't going to be effective if you're content isn't great. - Use tools to help.
Use tailwind to schedule pins which saves you time. You can use a Tasty Pins plugin, but I need to look in to this. And don't rely on
Pinterest analytics. In fact, if you go in to your Google Analytics > Aquisition > Referrals, it will show you much more accurate numbers of which pins are directing traffic. - Check to see if you account has been flagged up as spammy.
Apparently this is easy to identify as by clicking on your pins will pop up saying they suspect the site to be suspicious. I don't know how true it is, but email them right way, but you'll get an automated reponse first. Reply again and keep chasing.
So, that's it! I think there's quite a bit of homework for the long haul, but I will definitely get on updating my most popular blogposts asap.
If you have any tips for me, or future readers needing help, then please share your tips in the comments.

Comments
No Comments