
Here's my easy mud kitchen DIY tutorial that anyone can make out of old dresser drawer, some pallet wood and household objects you probably have. It also makes the perfect DIY toy kitchen as a personalised gift on a budget in 1 hour.
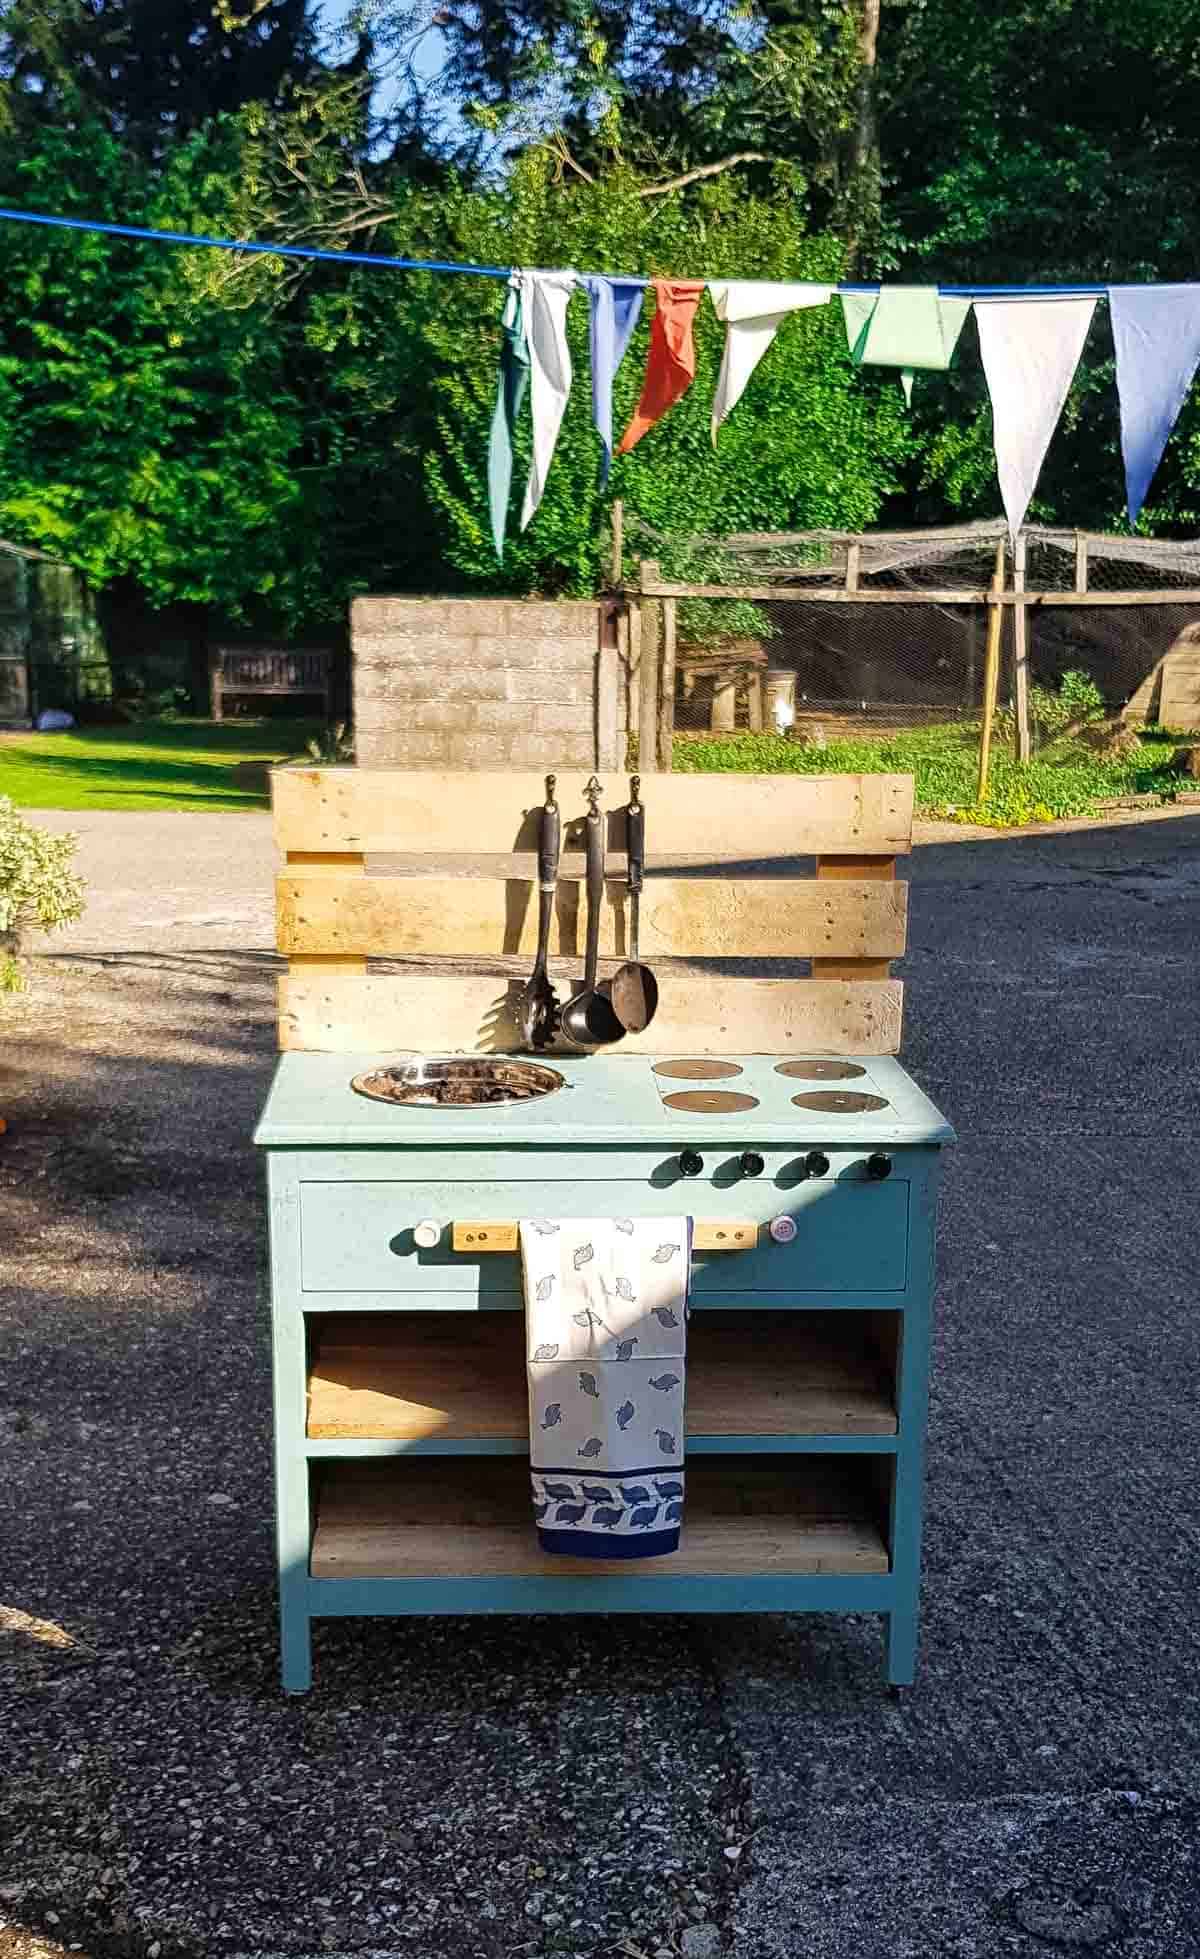
Mud kitchens have become increasingly popular over the last few years. So much so that I was asked to make one for the ITV TV show, Love Your Weekend with Alan Titchmarsh.
And the aim was that you could make your own mud kitchen, cheap, using household objects. In fact, I ended up creating a free mud pie kitchen for kids, because you'll be surprised how easy you can transfer junk for a mud kitchen hob, mud kitchen sink and so on.
So, I am going to show you how you don't even need any mud kitchen plans with my design. As long as you can source a free or cheap coffee table, chest of drawers or a box shape, you're half way there!

What is a Mud Kitchen?
If you don't have children, there's a chance you might not know what a kids' mud kitchen is. A mud kitchen usually comes in the form of a DIY backyard kitchen for pretend play where the mud is kept outside.
An outdoor DIY kitchen can be made, or built using a range of materials, but most commonly, wood. Some come with a faux oven. You can buy or make a double sink mud kitchen and create a working tap and a water pump.
And, what I love about making a mud kitchen for kids, is that you can be your own DIY kitchen designer for the day to create one to match someone's personality. And for any age. Or, even treat this part pallet mud kitchen as a DIY potting table in the garden.

Benefits of a Mud Kitchen
We believe that there are many mud kitchen benefits when building on:
- It encourages children to connect with nature
- Boosts the immune system by playing with dirt
- Develop their imagination, creativity and problem solving
- For mental health and doesn't rely on technology
- Making one can be a joint effort and come up with the best mud kitchen ideas together and learn how to be resourceful
- Have fun during sensory play
- It includes the family, playing mud kitchen activities together in the garden
Equipment to Make a DIY Play Kitchen for Free
Please note, as an Amazon Associate, I earn from qualifying purchases made through links. However, I never suggest products that I consider rubbish.
- Old dresser drawer
- Pallet wood
- Offcuts for DIY hanging kitchen towel
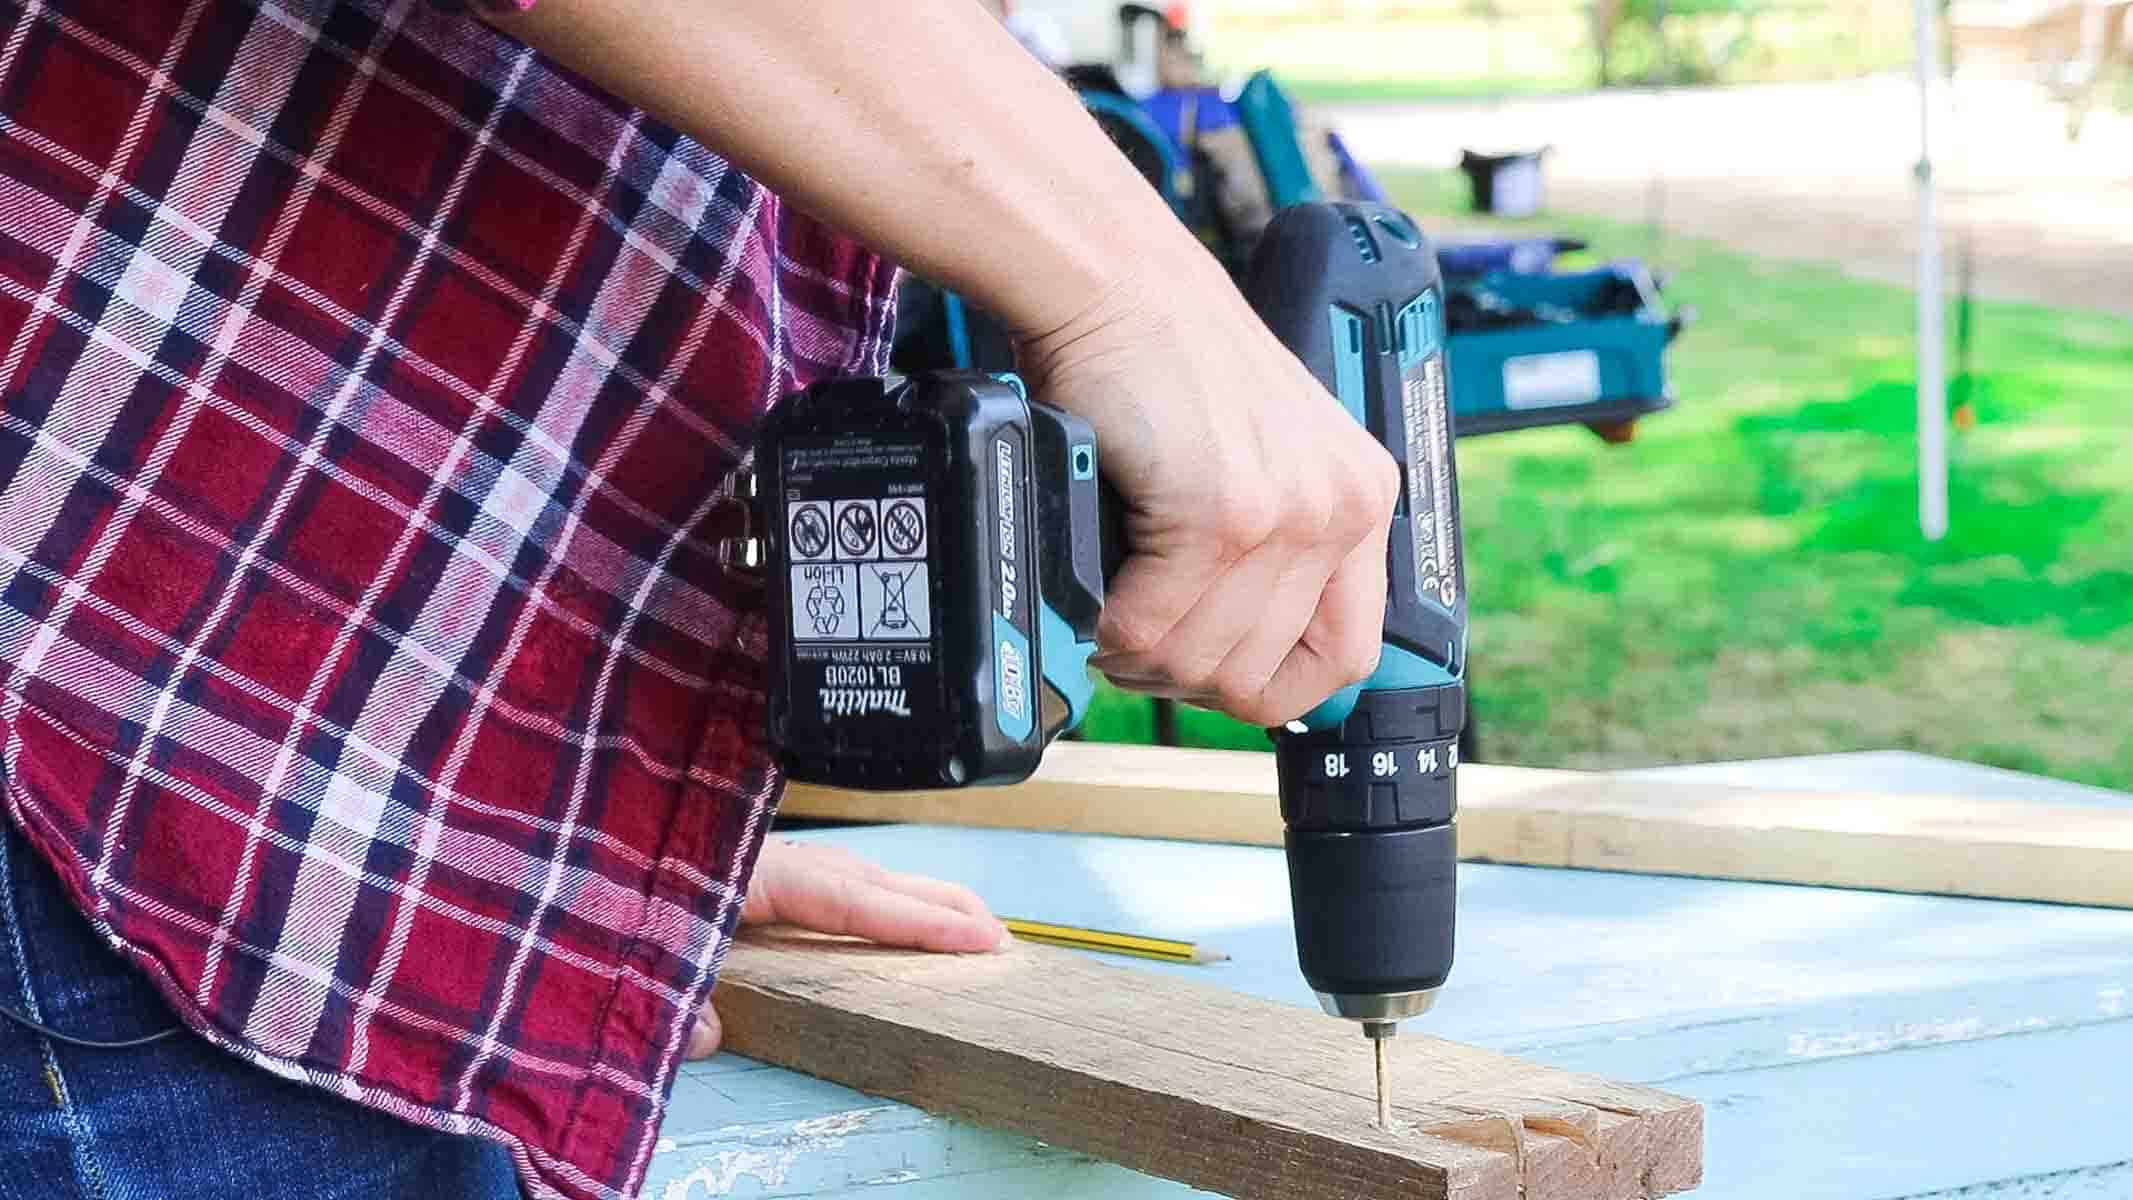
- Combi drill
- Impact driver (optional)
- Drill bit
- Wood screws
- Jigsaw
- Old plastic or metal mixing bowl with a lip (or old plastic washing up bowl)
- Second hand or tatty mud kitchen utensils
- Old CDs
- Black spray paint or black paint
- Grab adhesive
- Caulking gun
- Old drawer handles for hob dials (or large buttons)
- Curtain tie back hooks or coat hooks
Note, if you want to personalise your kid kitchen, then I recommend you reading how I wrote names in my DIY coat rack with a router. Or, you could carve out other kinds of mud kitchen signs, symbols, words or add a banner.
How to Make a Mud Kitchen Out of Pallets and Old Drawers
First, I focused on the all-important job of cutting a round hole for a DIY kitchen play-sink.
Before even attempting this, I advise you do a test fit with some cardboard or a scrap piece of wood as I did away from the TV set.

Mud Kitchen With Sink
Cutting a Round Circle for a Homemade Outdoor Sink
If working with a round bowl, this is definitely the harder of the two, but I find it's more fun!
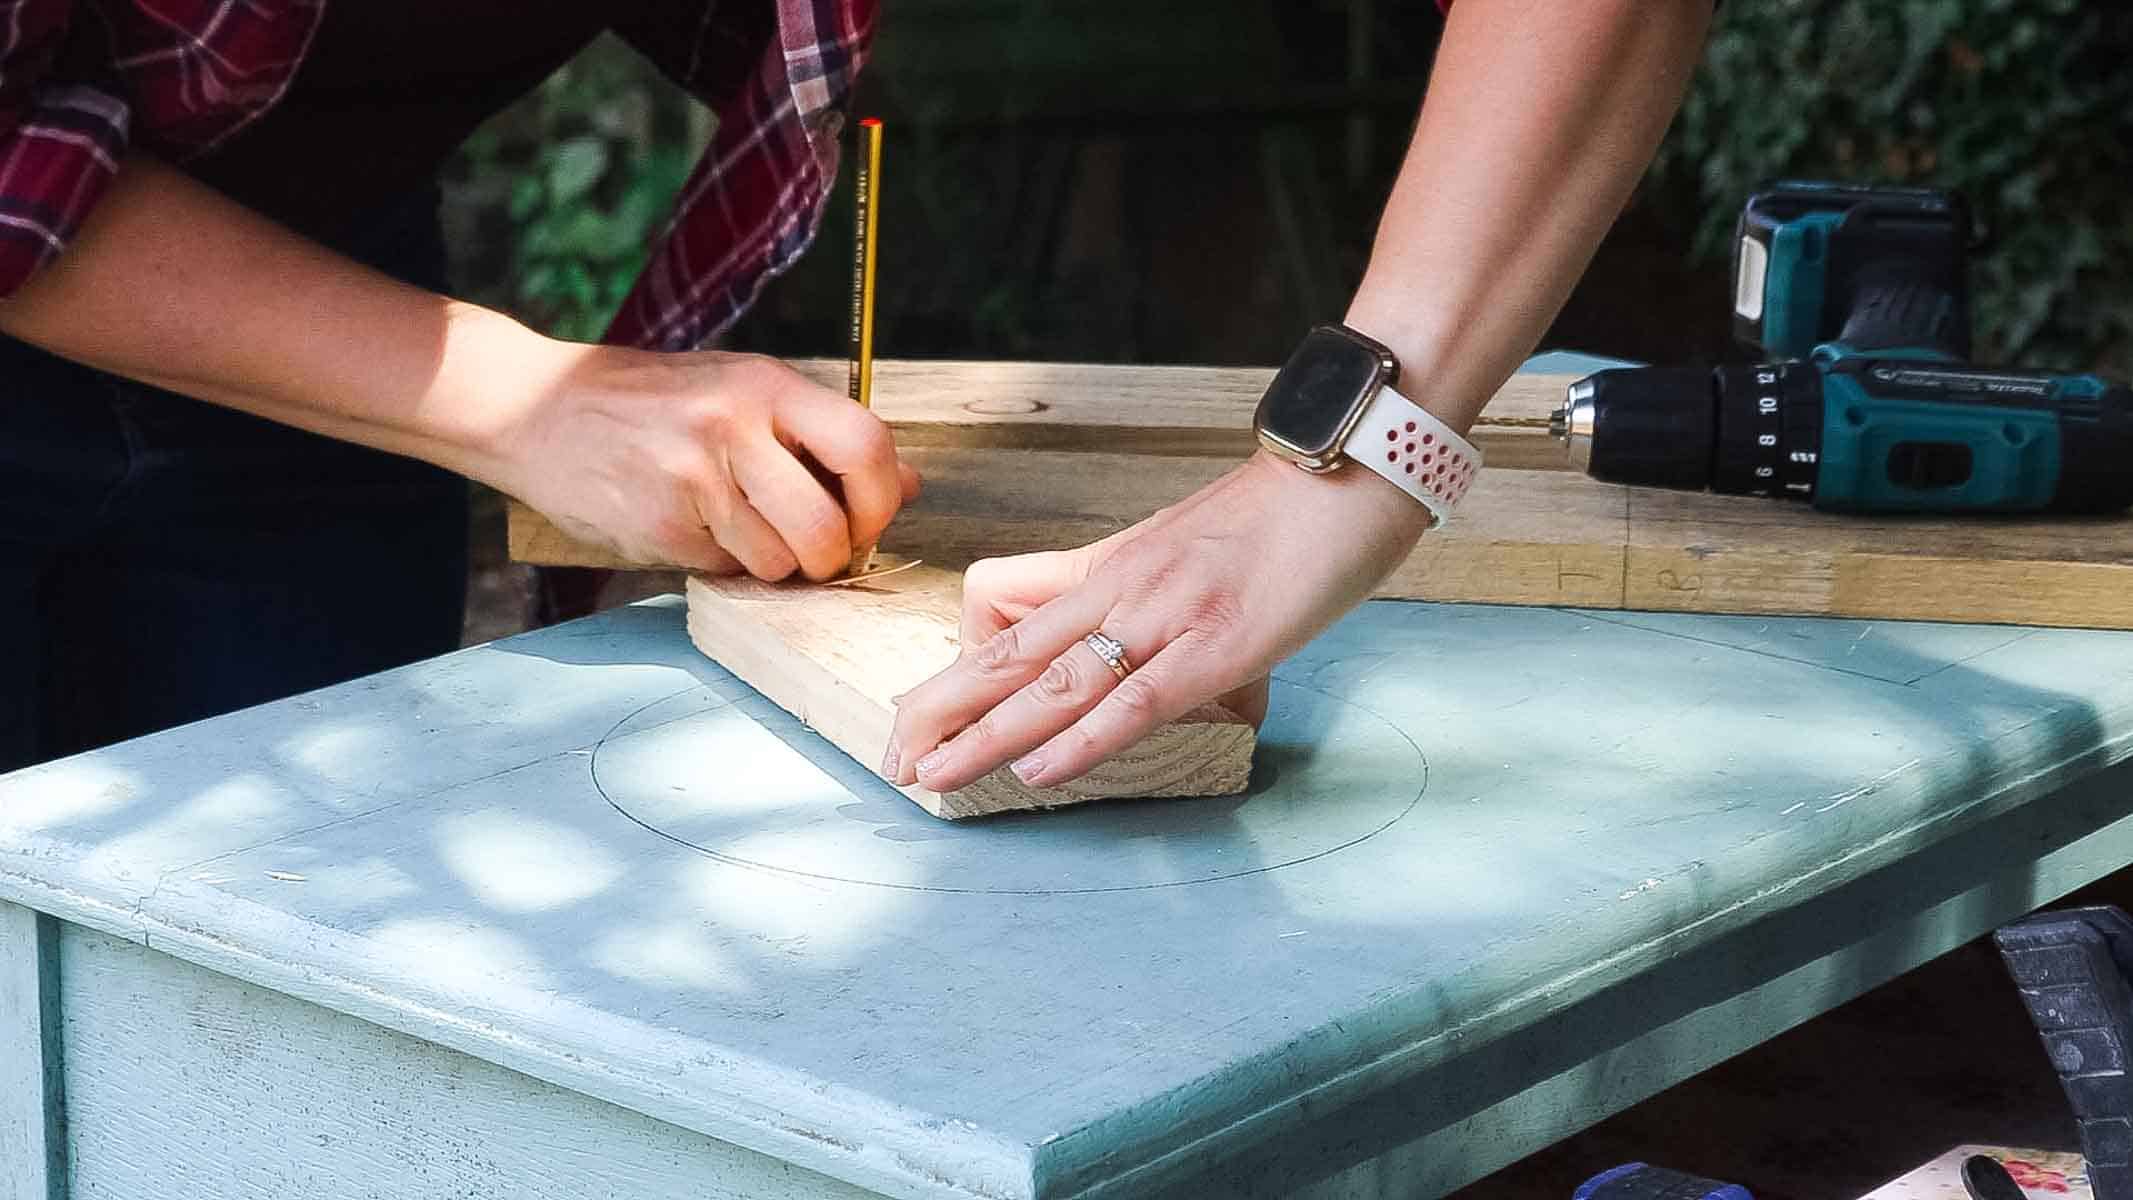
- First, you'll need to measure the diameter of the bowl, including the lip
- Grab a scrap piece of wood longer than this measurement
- Drill a hole for a pencil towards one end, making sure it's a tight fit
- Measure the distance to the other end and screw a screw where it is as in the picture
- Now you can screw the scrap wood to a surface to draw a perfect circle
Using a Square Washing Up Bowl
Cutting a square or rectangular hole for an old washing up bowl is similar to installing a kitchen sink in a laminate worktop. And much easier, providing you have enough area worktop area around the bowl.
- Simply place the children's mud kitchen washing up bowl facing downwards where you want it.
- Draw around it (this should be around the lip)
- Then make 10mm marks inside it, or more if the lip on the washing up bowl is bigger
- Connect the marks together with a pencil
- DO NOT CUT THE OUTER PENCIL LINE otherwise your washing up bowl will fall straight throughs
Other sink shapes
There are many other funky kitchen sinks on the market you could buy, such as Mickey mouse Shaped!
Cut Your Sink Hole In Your Wooden Mud Kitchen
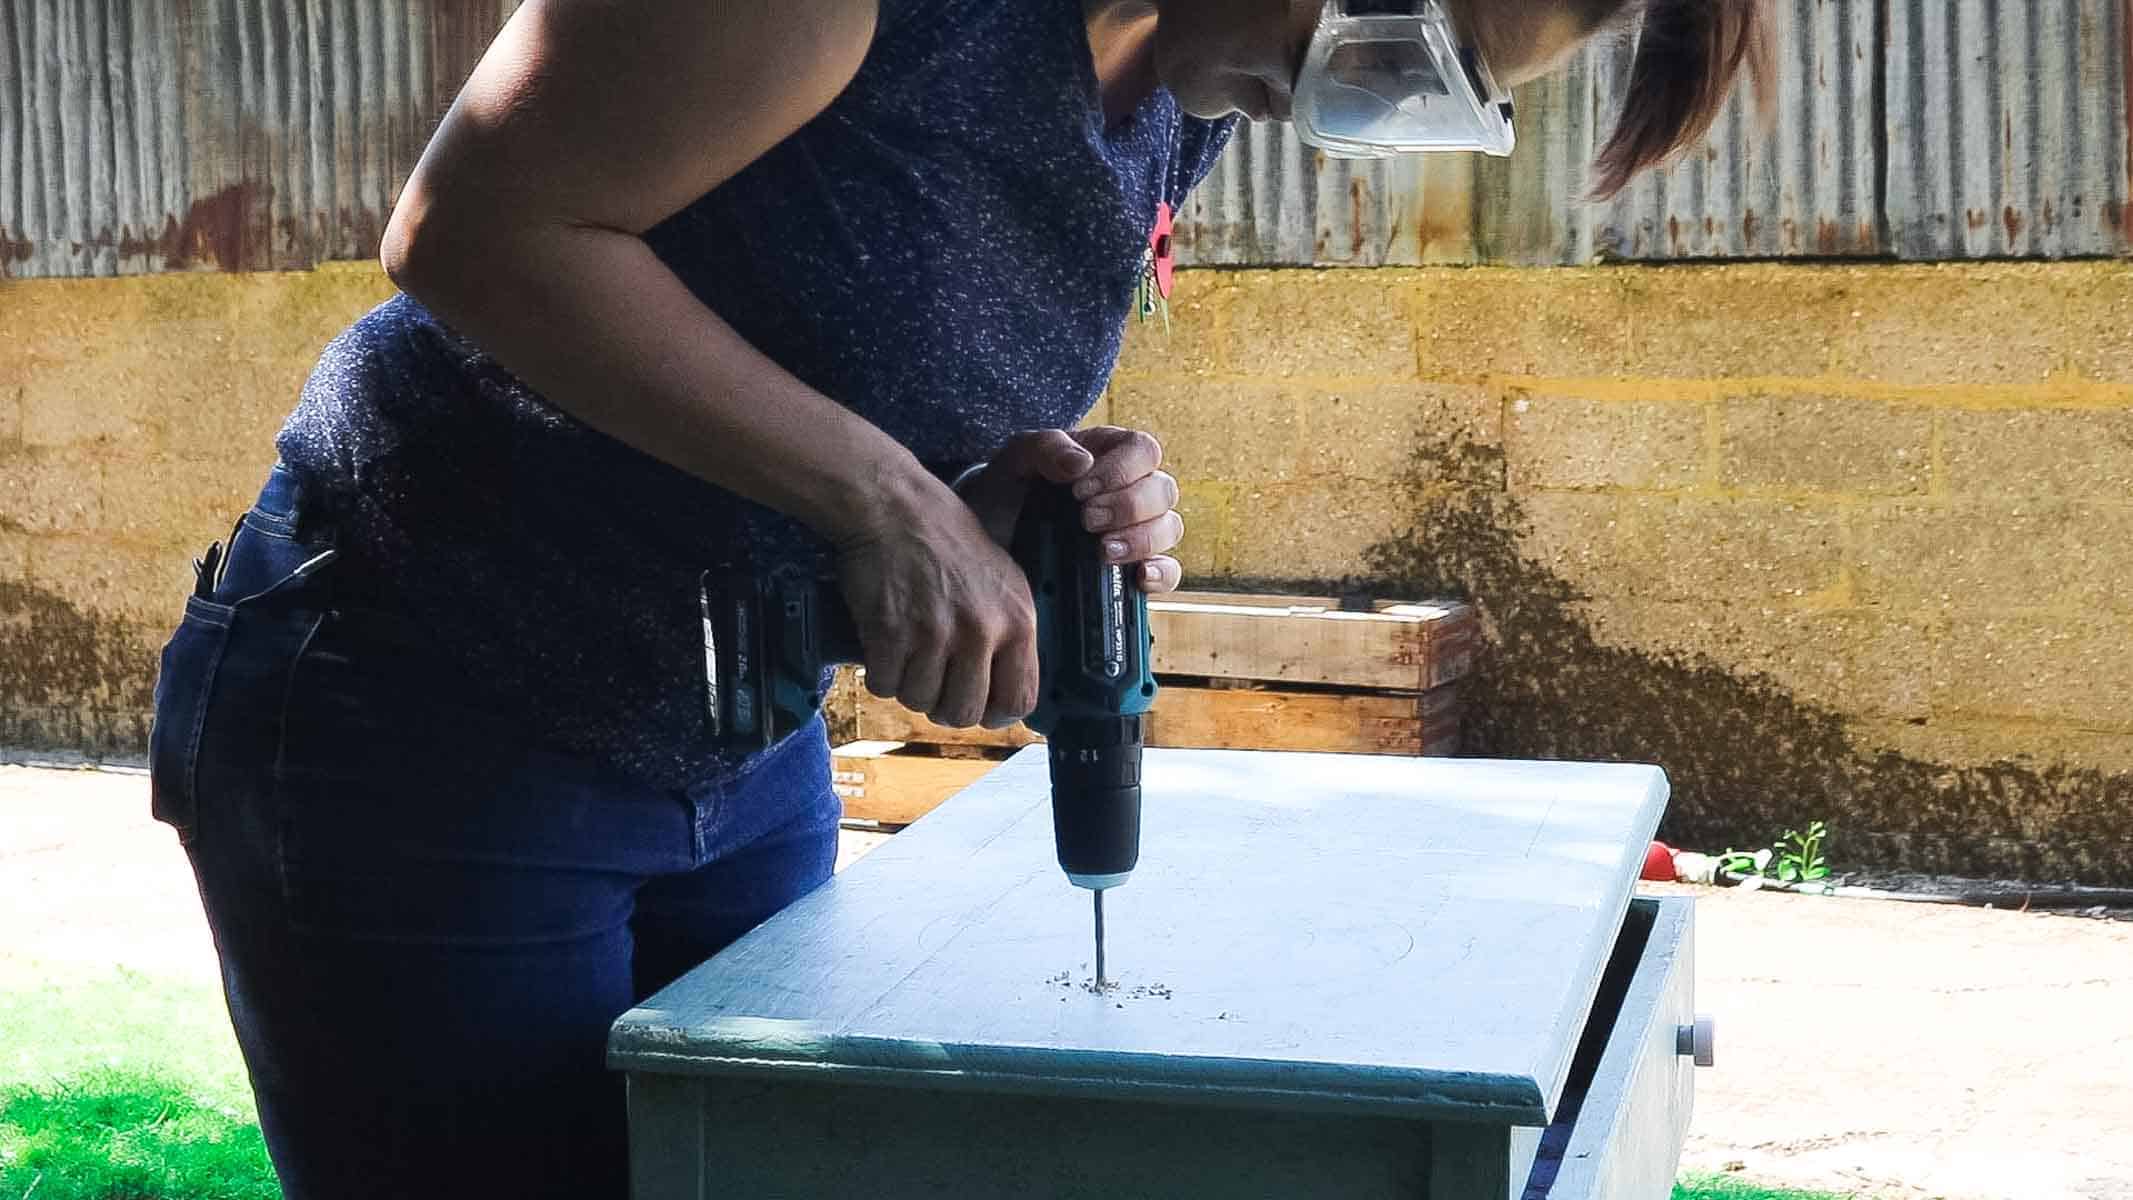
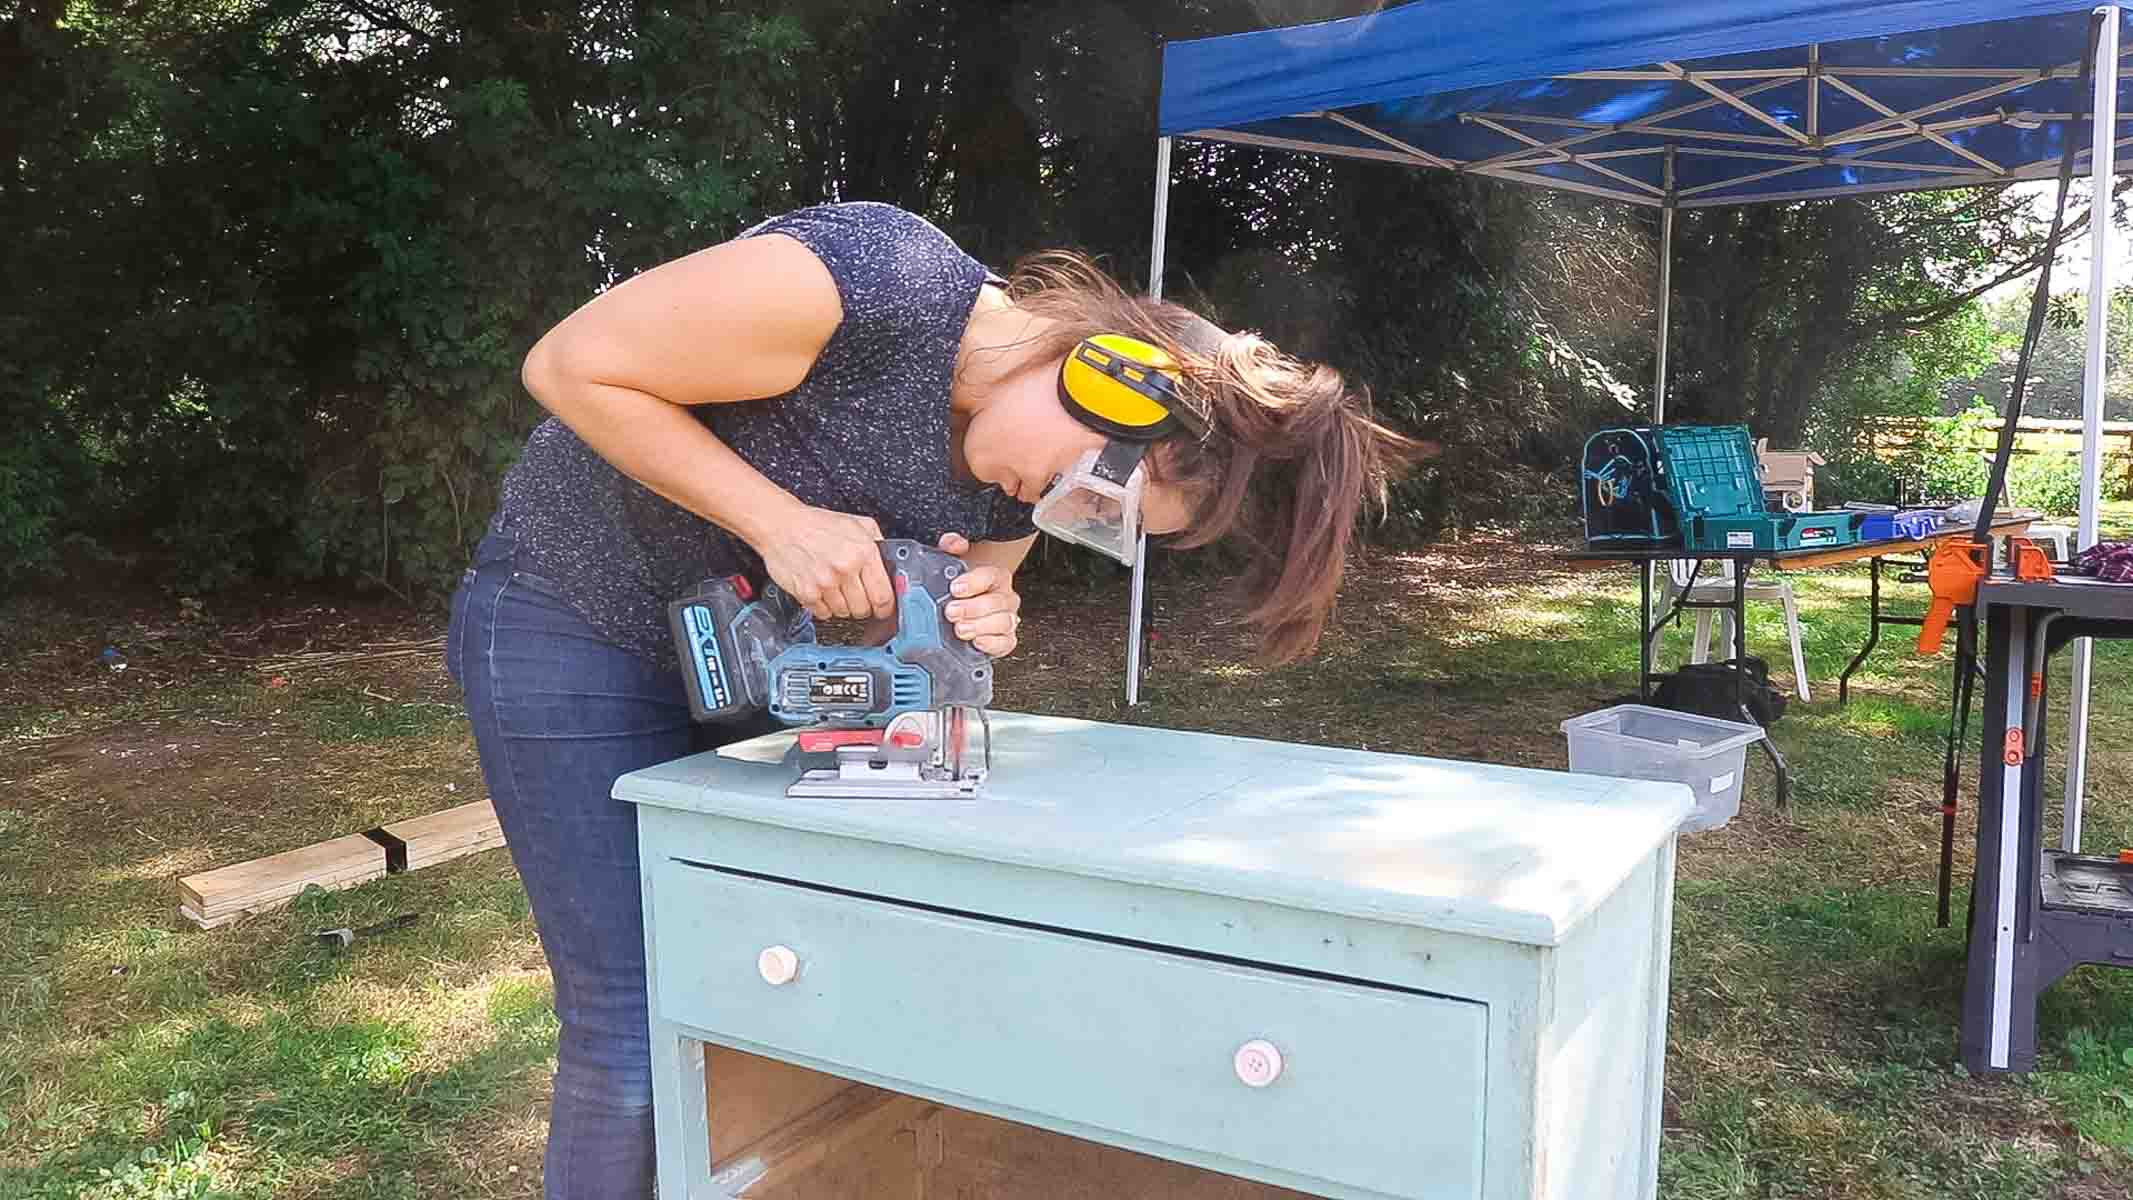
Now to cut the hole for the sink you're fitting in your DIY mud kitchen.
Whichever you decide, you will need to drill a starting point for your jigsaw's blade to fit through. Then continue cutting the circle.
Make sure your drawer is closed throughout this time. I say this, because even I forgot to close it at one point to check things as I went.
If You Don't Have a Jigsaw
Jigsaws may seem intimidating initially. I've been there too. But once you get a feel for one, you'll realise it's a very useful tool and I would use it above all.
But if you don't have one, you could drill some holes in the corners of a square bowl of your pencil mark. Then finish off the straight pieces with a hand saw. You may need to clamp it in areas to keep it steady. If you want a round bowl, then I would only use a jigsaw.
Mud Kitchen With Water Tip
Note, I didn't glue the bowl in. That way, it's easy to take out and clean. However I do recommend sealing the cut wood underneath with clear silicone so it doesn't expand.

Enhancing a Mud Kitchen Out of Pallets
Next, I moved on to the mud kitchen made from pallets. Now, if you don't have a chest of drawers, I would build a DIY mud bench like this. But have the back legs be much taller than the front to clad it.
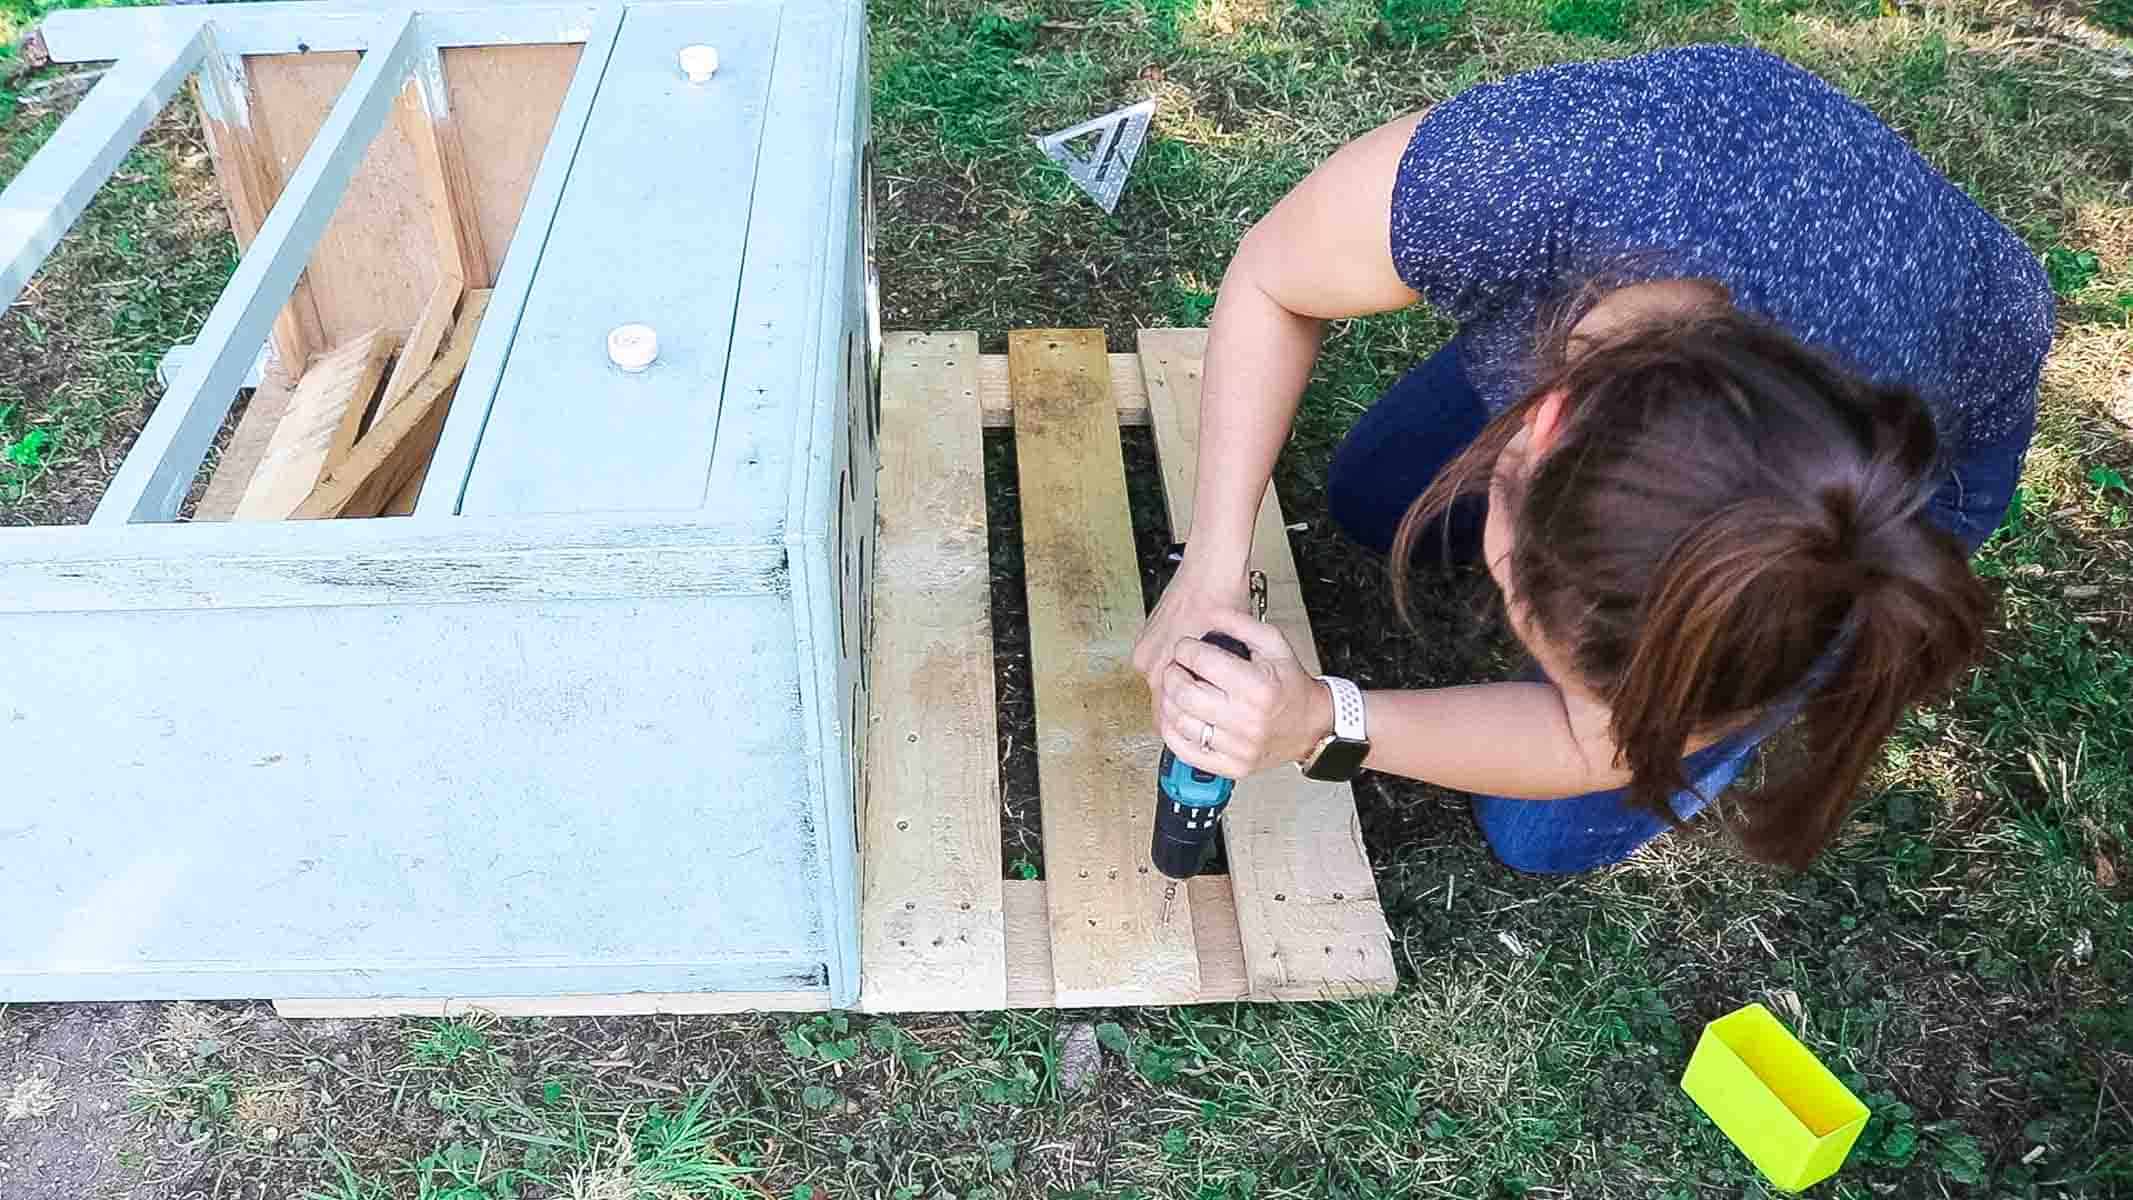
Instead, I predrilled and screwed some long pallet pieces that were roughly the same height as the chest of drawers.
And then screwed one either side, but making sure it covered most of the back, so it wouldn't be top heavy and potentially fall. An impact driver was useful for this.
Then I could three strips of pallet wood across the back to use as a utensil hanging area. I cut these three strips so they had a little bit of overhang for feature. But remember, these are loose plans for a outdoor kitchen from pallets. You could even create a pallet shelf at the top here.
Pallet Mud Kitchen DIY tips
There are a few pointers I need to raise when working with pallet wood.
- Make sure you all old nails have been removed
- Sand any rough patches to prevent splinters
- Find out whether it's safe for kids as it may be toxic, depending what it's been used for
- Or, add parts of a mud kitchen made from decking, which is ok for outdoor use
In some cases, it may be best to use finished wood. But the beauty about pallet wood is that it's often cheap, free and easily replaced if it rots in the rain.
Creating Homemade Mud Kitchen Hobs
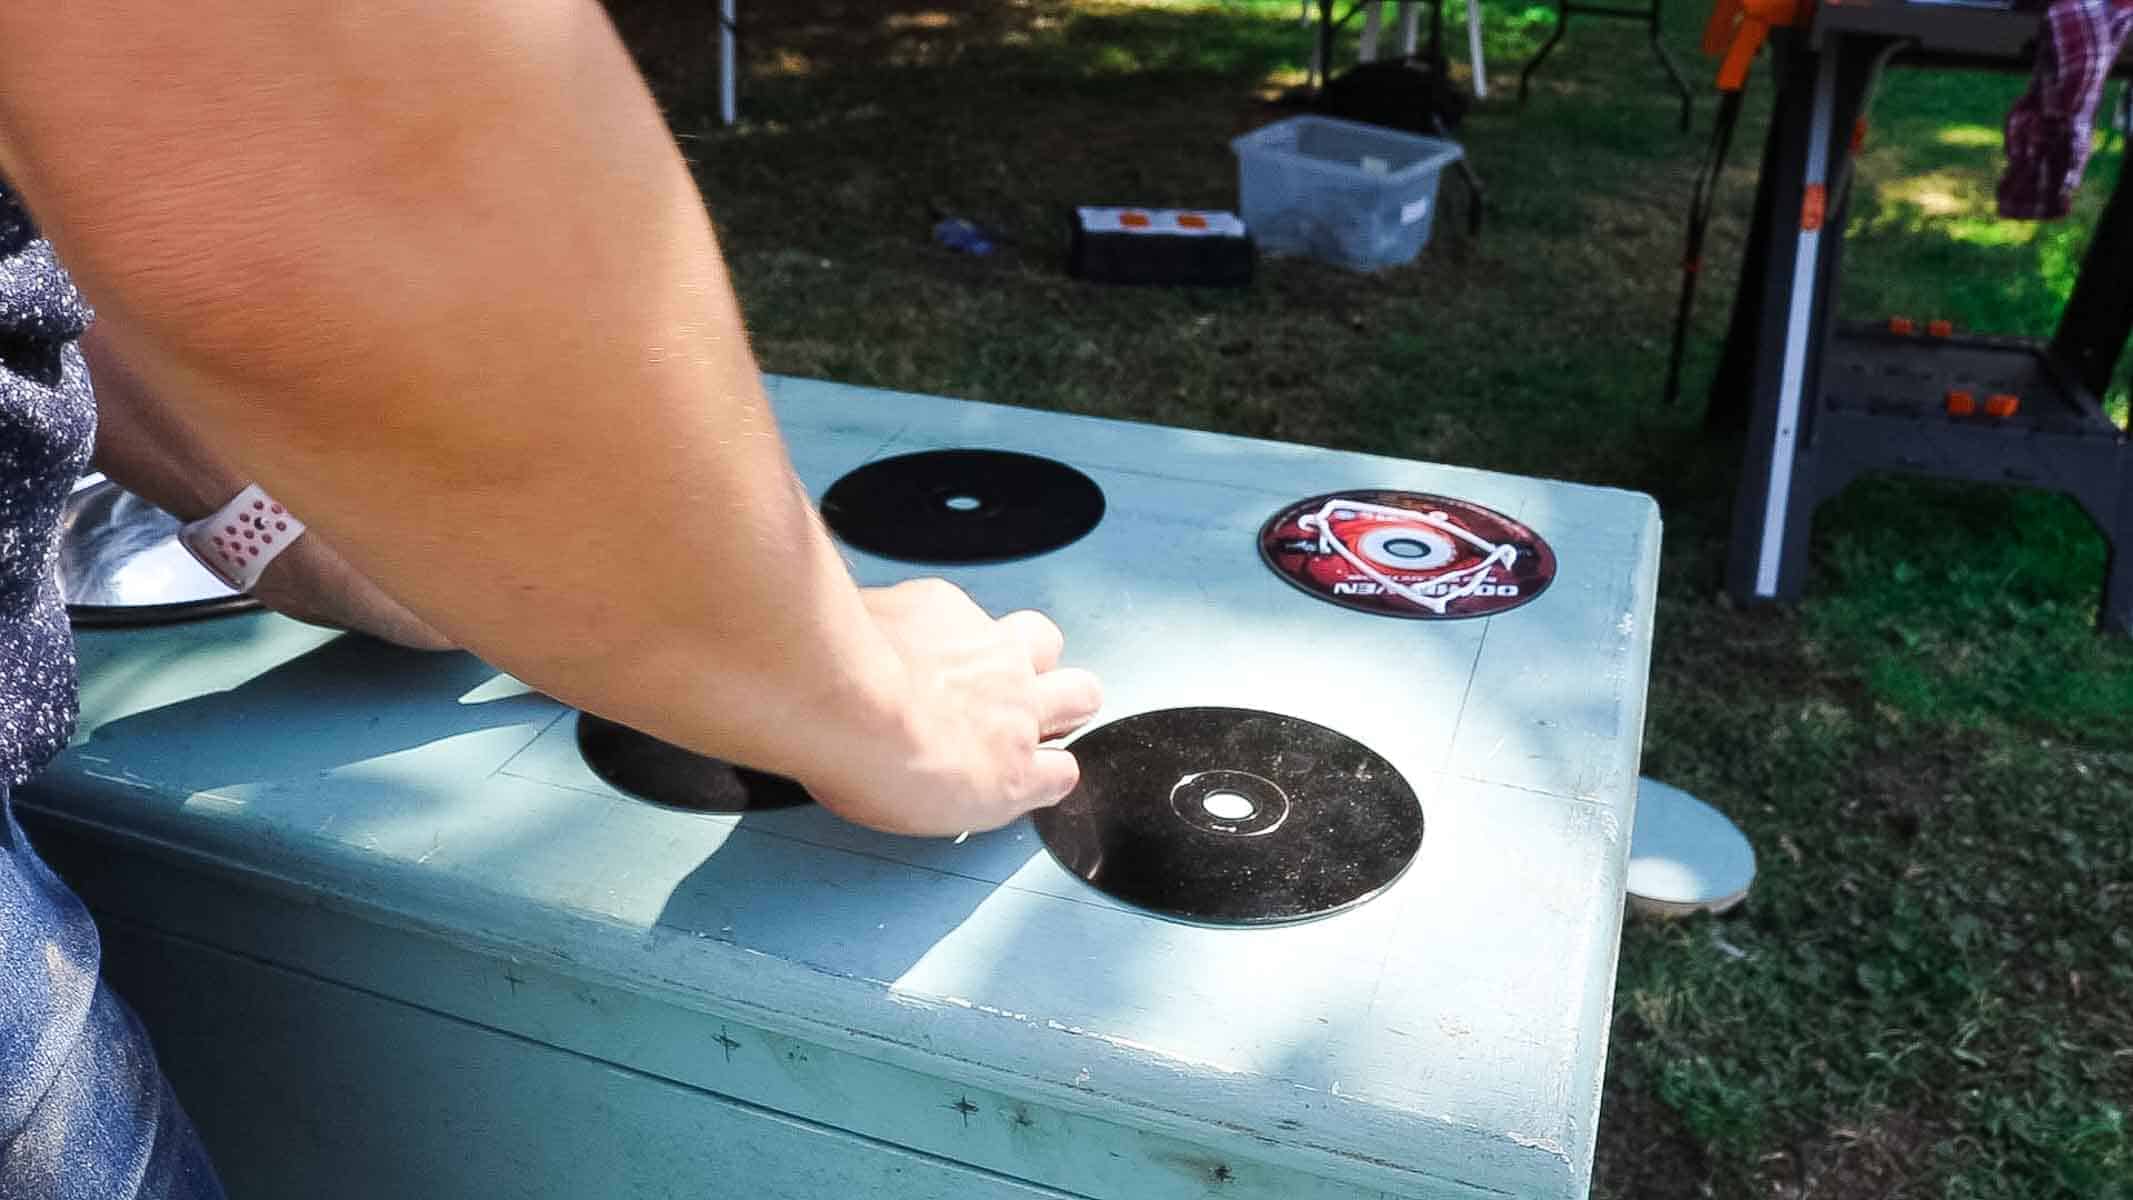
To create a hob area, I spray painted some old CDs I found. Some where scratched and no longer worked. Others were freebie promotional ones that came with newspapers.
I spray painted the plain side, then marked exactly where I wanted them on my DIY kids play kitchen with a combination square and pencil. But ensure there's plenty of space for your mud kitchen pans!
I then squirted grab adhesive on the printed side and pressed them down in all four corners. You could also use things like round wooden circles, but I felt this was the cheapest and easiest hobs to make.

Installing a Children's Utensil Holder
Next, I worked on adding some utensils to play with. Or you could design simliar mud kitchen toys to hang.
For this, I just screwed on some curtain tie backs that I've had for years and never used. Or you could use coat hooks.
These were placed in the middle so the pans wouldn't knock them off.
Other Steps I Did
With this being an old chest of drawers, I'd previously recycled the bottom two drawers for other upcycling projects. These were an insect hotel from an old drawer and a DIY plant stand.
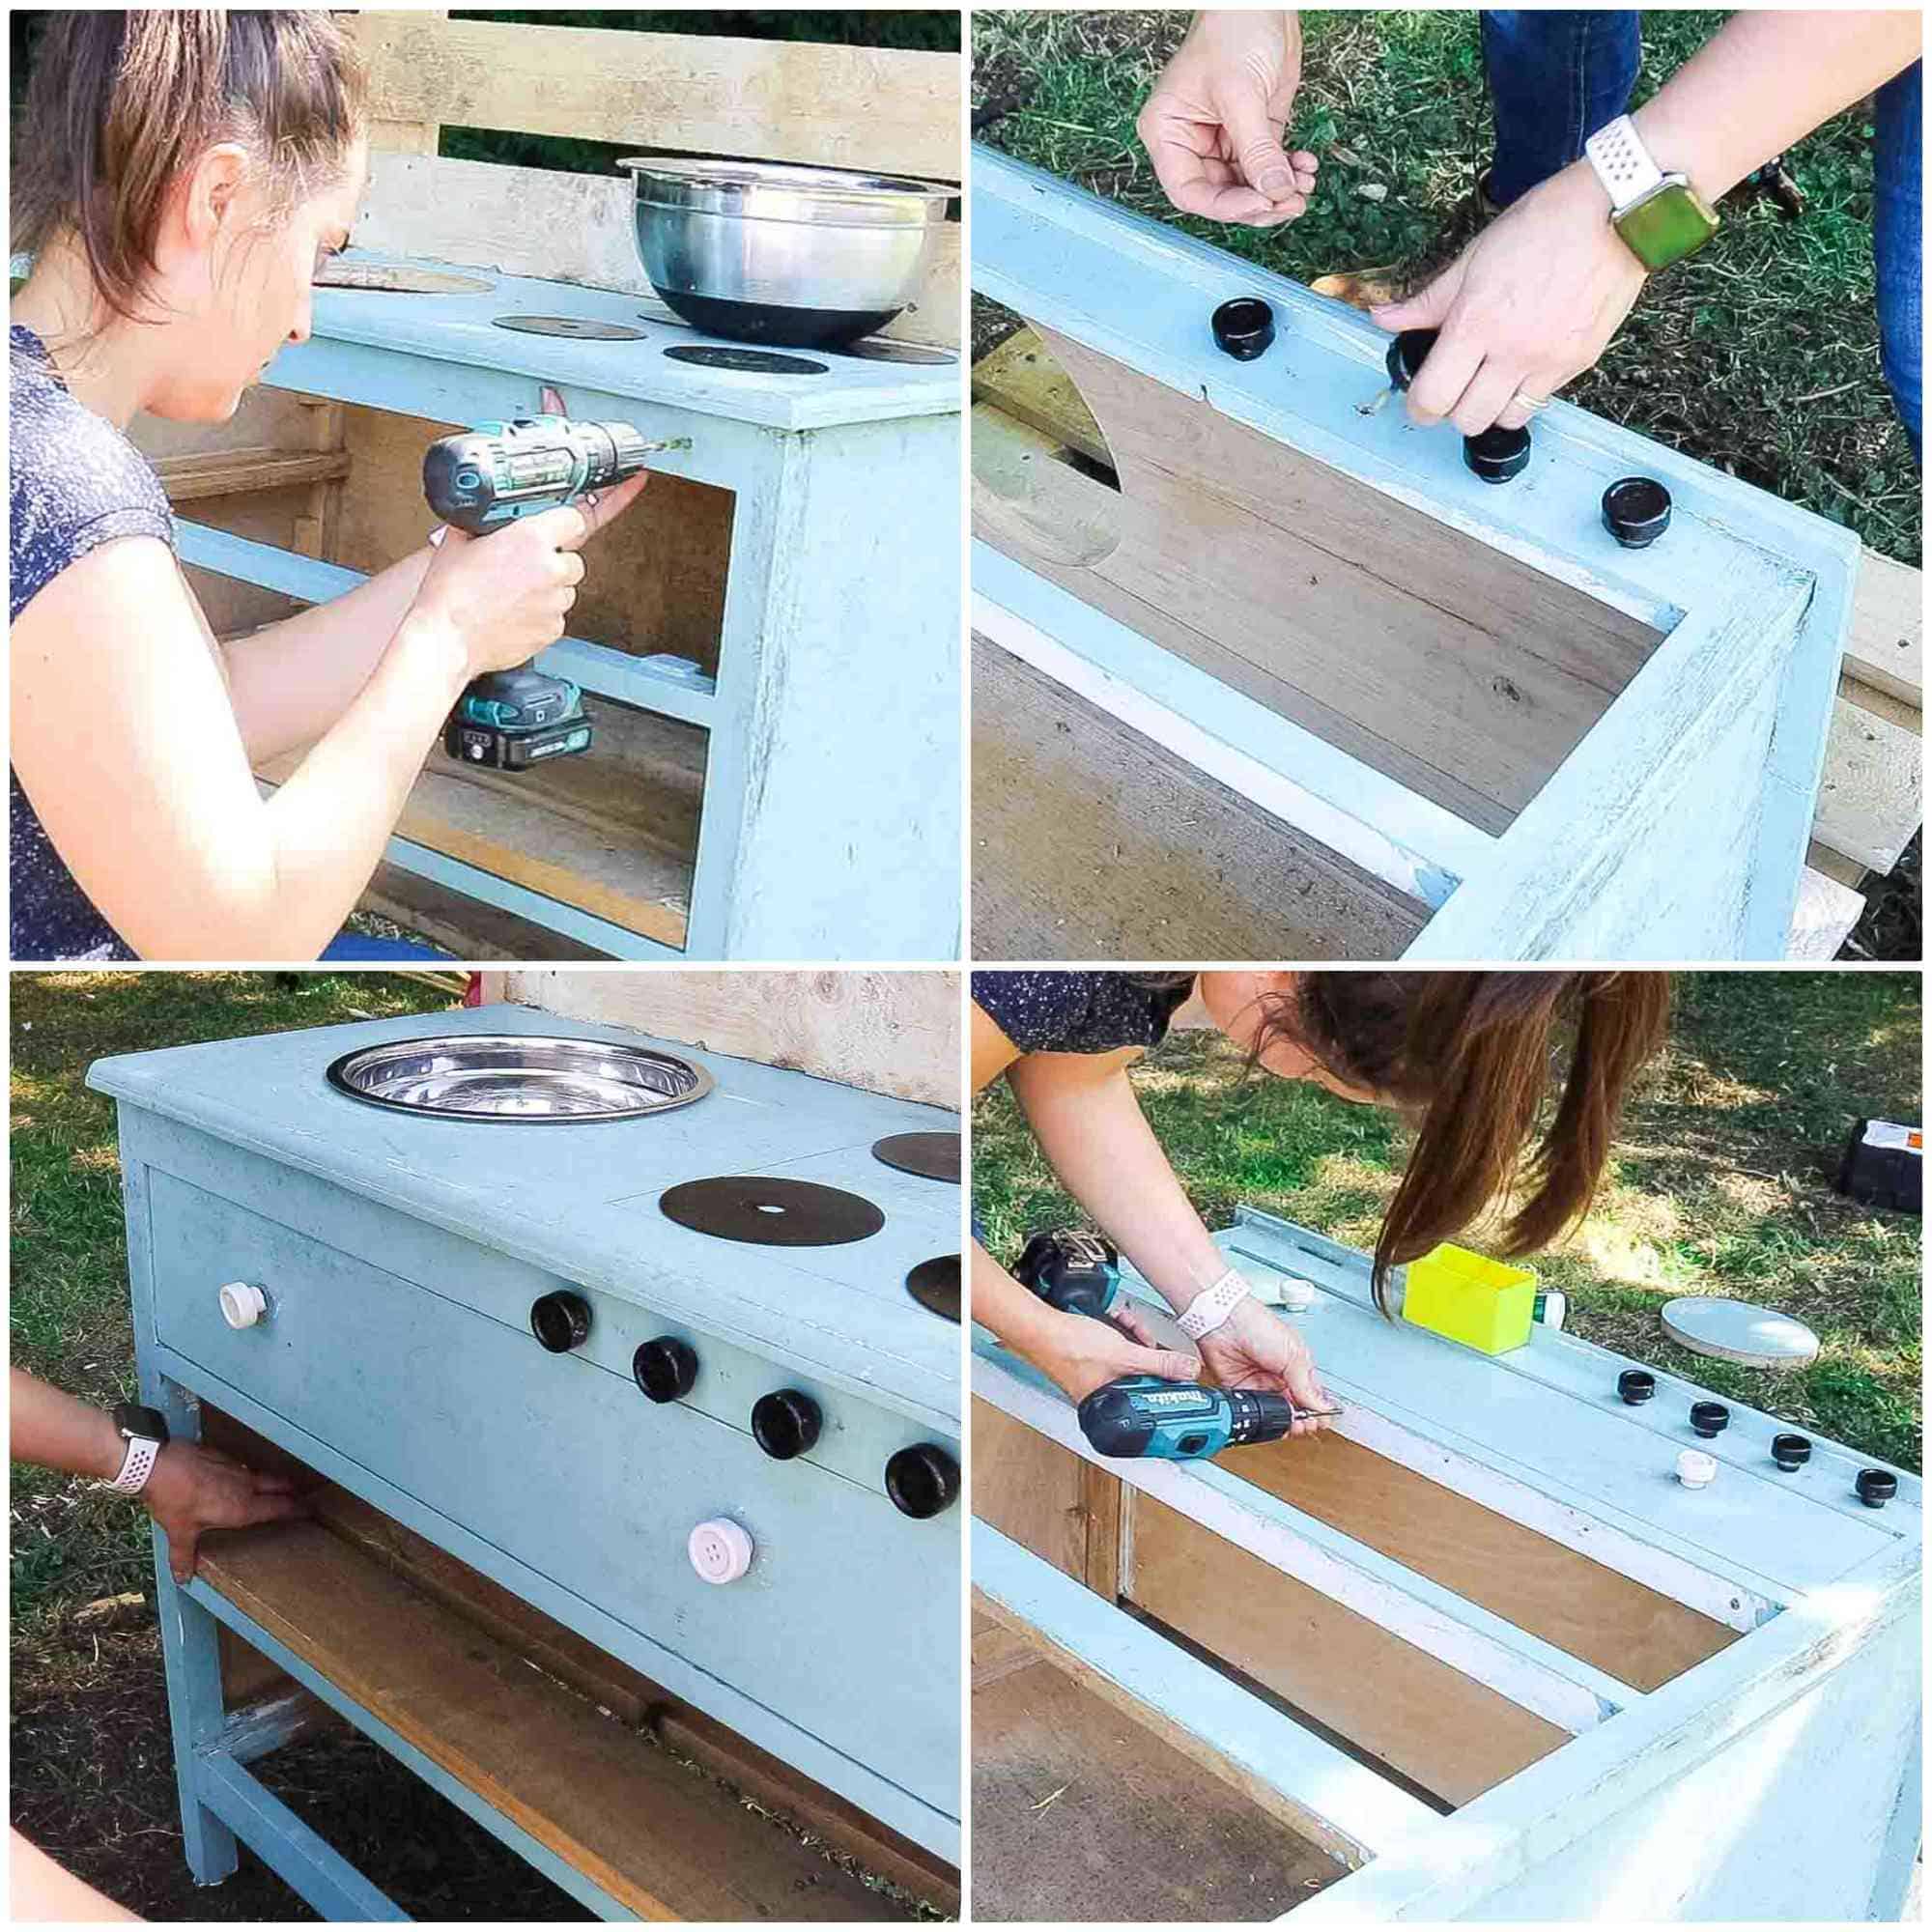
So, because I was left with bottomless drawers, I also cut up pallet wood planks for easy mud kitchen under the sink storage. It also gave it a DIY farmhouse kitchen decor look to match and perfect for mud kitchen toys!
I also drilled holes for hob dials. The knob dials were also taken from the other drawers, which I spray painted black and screwed to the hob area and twist freely. Note, you could recycle and glue on large buttons if you wish as an alternative.
And to keep the top drawer safe from catching on the bowl, I screwed it shut. But of course, with the bowl being removable, you can still use this space for mud kitchen supplies.

Adding a Holder for Mud Pie Kitchen Towels
To try and keep dirty clean, I also used some offcuts to screw on the front, centre. Or, you could even add a dowel rack on the side for a DIY kitchen towel rack.
DIY Kitchen Décor
When it came to decorating, I already had a painted mud kitchen with it being a second hand chest of drawers. But this is where you can really personalise it and make a child's dream come true!
You could decorate in a pink Barbie or peppa pig mud kitchen theme. Or paint it with someone's favourite colours and/or add a name!
If you take the time, ensure you use a weather proof paint, or use exterior wood varnish. Or, keep it in a sheltered garden space so it becomes a mud kitchen with a roof!

More Possible DIY Kids Kitchen Alterations
If you wanted to make this as a suitable toddler or preschool mud kitchen, then I could have:
- Made it a small one by hand sawing off the legs to adjust the mud kitchen height
- Sanded any rough edges making it less like a DIY rustic kitchen island
- Ensuring the back was wall mounted so it can never be knocked over
- Sourced two old sets of drawers to build a corner mud kitchen
- Made a simple DIY tiny kitchen by using one of the drawers, flipping it upside down and creating a basic hob and sink with mud space
Note, you can also use my project as DIY outdoor kitchen plans to build a:
- Large DIY kitchen bench
- Create your own IKEA hack with a small table or drawer of some sort form with your own mud kitchen dimensions
- Quick DIY kitchen bar and create a double sink to use for ice and drinks
- Design it as a DIY camp kitchen box. Once you know how to cut a hole for a sink, you could do follow it for a gas hob.
If This Garden Project Isn't for You
I'm hoping that you don't feel that making a mud kitchen is beyond your skillset. But if so, there's no harm to build a mud kitchen that's flat packed.
You can even buy very affordable ones these days, such as a Lidl mud kitchen for £49.99. You've just got to keep your eyes peeled as to when they're available next.
There's nothing stopping you painting it whatever colour you want and buying wooden letters to glue on and spell a child's name!
More Projects You Could Make for Children
- A scrapbook gift of your family tree
- An easy DIY DVD shelf (or bookshelf)
- Hairpin leg marble desk with easy IKEA hack drawers underneath
- How to make fabric earrings
- Quick personalised rings
- Personalised Sharpie pens set in the oven
- Build your own bird feeder station and teach children more about nature
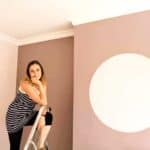
- Painting a circle wall feature without a stencil
How to Build a Mud Kitchen
Mud Kitchen DIY From Pallets & a Dresser Drawer

Here’s my easy mud kitchen DIY tutorial that anyone can make out of old dresser drawer, some pallet wood and household objects you probably have. It also makes the perfect DIY toy kitchen as a personalised gift on a budget in less than an hour.
Materials
- Old dresser drawer
- Pallet wood
- Offcuts for DIY hanging kitchen towel
- Wood screws
- Old plastic or metal mixing bowl with a lip (or old plastic washing up bowl)
- Second hand or tatty mud kitchen utensils
- Old CDs
- Black spray paint or black paint
- Grab adhesive
- Handles for hob knobs (or reposition drawer knobs)
- Curtain tie back hooks or coat hooks
Tools
- Combi drill
- Impact driver (optional)
- Drill bit
- Caulking gun
- Jigsaw
Instructions
1. Draw around the washing up bowl and drill and hole before cutting with a jigsaw and slot in.
2. Screw the back panel pallet wood strips on and clad.
3. The the hooks for the utensils.
4. Spray paint and glue old CDs for hobs
5. Drill holes for the hob knobs and attach.
6. Screw the upper drawer closed.
7. Cut pallet strips for the old drawer areas.
8. Screw offcuts on the front for a towel rail.
9. Paint in your desired colour. You may want to sand the pallet wood for safety and enjoy!
Pin My Outdoor Mud Kitchen


cece
Thank you so much for this! For some reason mud kitchens are so expensive to buy new. This looks awesome and totally doable!