
Forget a French cleat tool wall. This cladded OSB section is an easy DIY tool wall storage idea for beginners. Or those short of time! Ideal for most used tools which you can customise it for your workshop and needs!
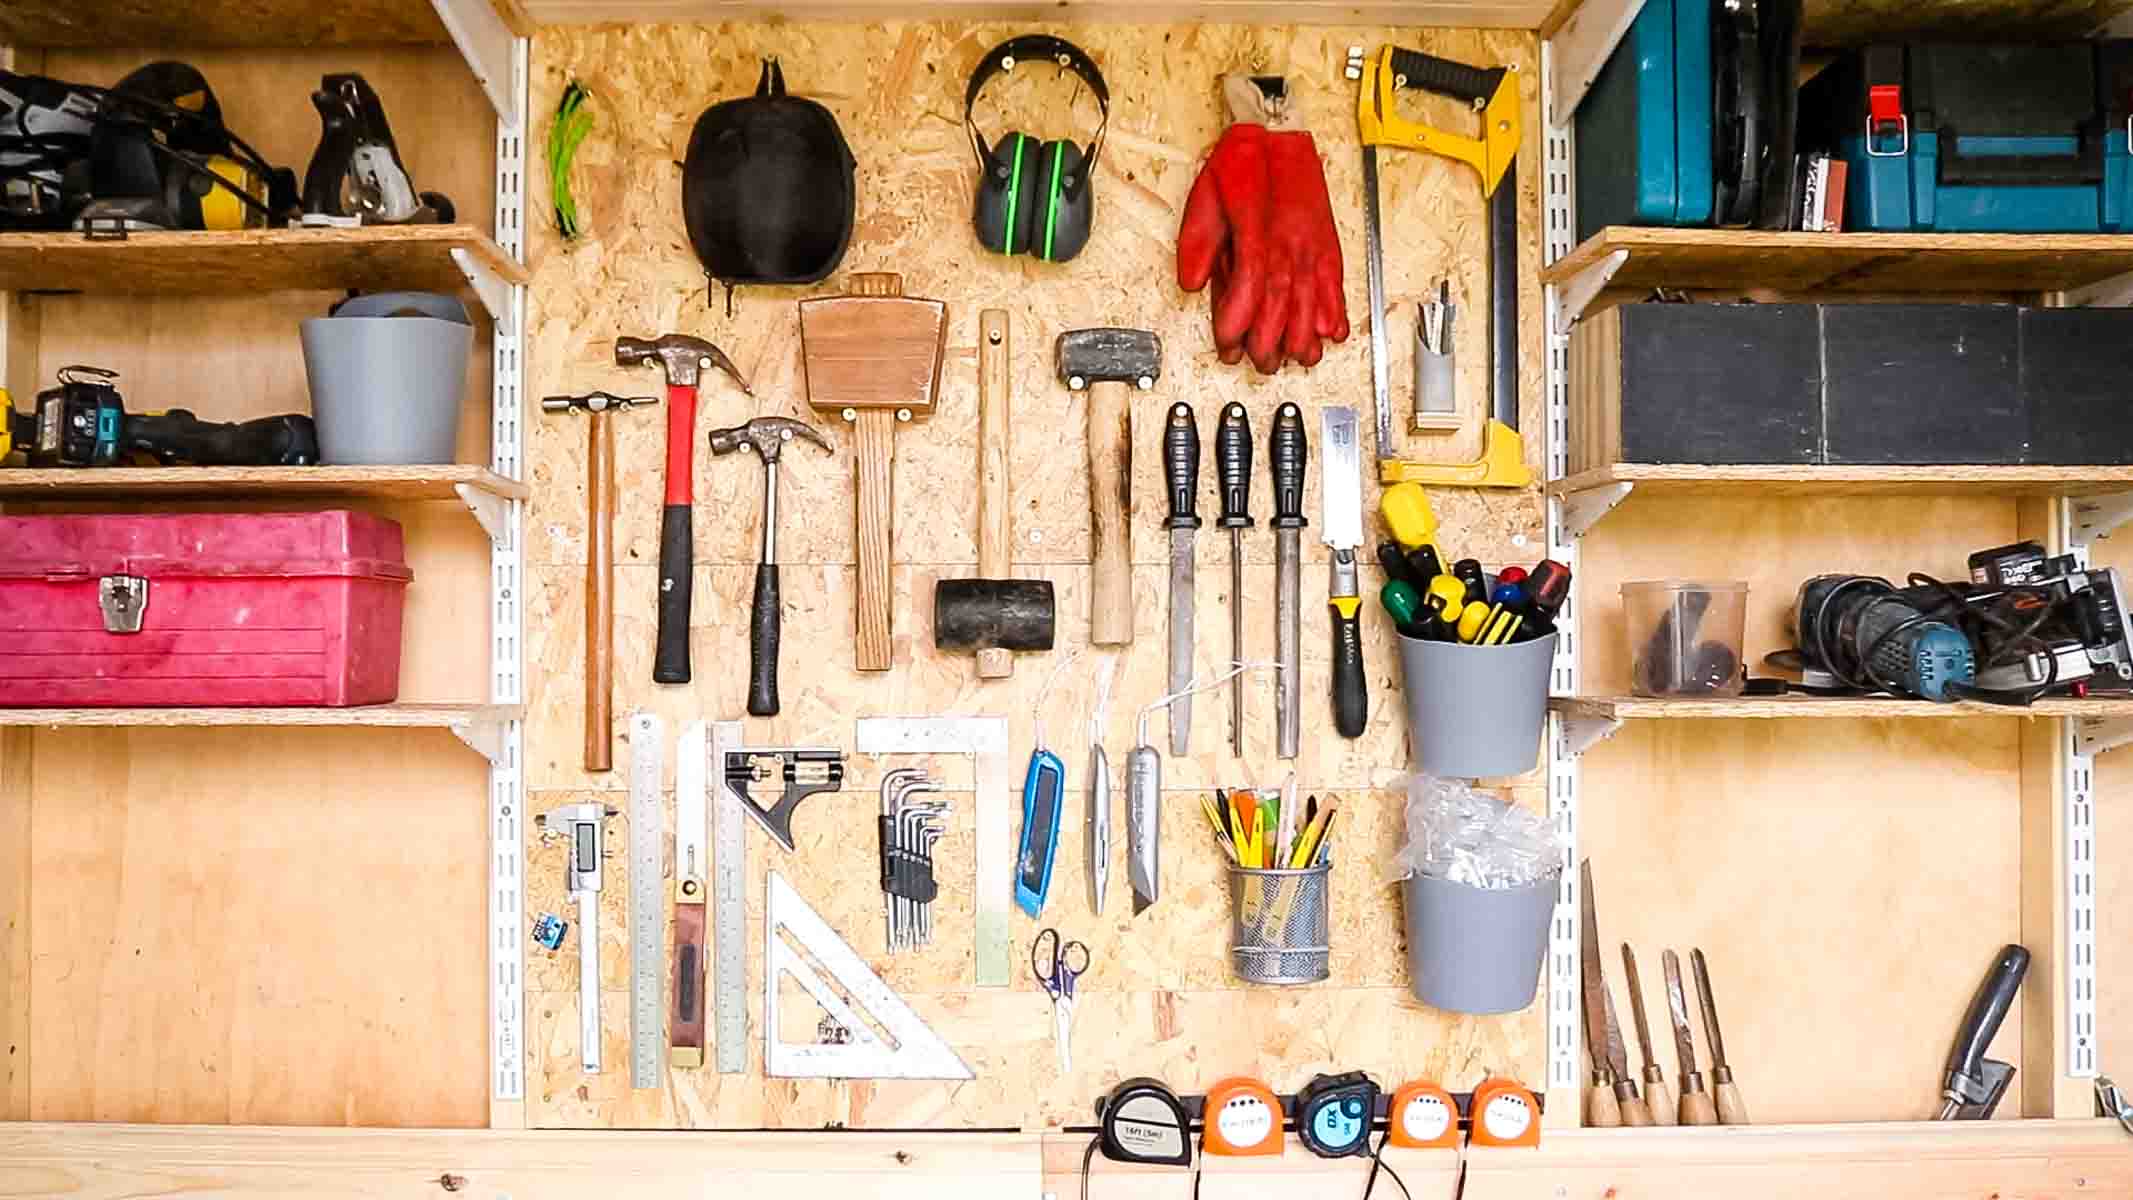
When you search tool wall ideas on the internet, it's so easy to get lost. Yes, there's a LOT hanging around. But I found most complicated and over the top.
Take the French cleat system, for example, which are strips wood cut at an 45 degree angle as I did with my DIY pallet headboard. Yes, you can move things as and when. But you'll need a lot of time and material to use for building tool holders.
With this easy tool wall, all you'll need is somewhere to clad a wall and a series of screws or nails. And it's great for beginners to do and tidy up your workshop in minutes.
Things Needed to Create a Tool Wall Board
- Sheet material and studs (offcuts are fine!)*
- Impact driver or Combi drill
- Hand saw or Circular saw
- Wood screws
- Washers and scrap strip metal (optional)
- Rawl plugs if screwing studs to a brick wall first, ie, for a garage tool wall organizer
- Old plastic pipes, pen pots, small buckets etc
Alternative Ideas
*Although I use OSB, a plywood tool wall will work in the exact same way. Just use what you have!
Or, you could use the same idea with a pegboard tool wall. But, this means drilling lots of holes or sourcing a pegboard. AND, paying more for pegboard hooks.

How to Create a Tool Wall for Beginners
As I created a shed tool wall, I wanted to attach it to the existing studwork that's not cladded. But, I already had twin slot shed shelves screwed to the spars.
To work around this, I used CLS structural timber offcuts and used an impact driver to attach some to it.
It doesn't matter about them being offcuts, because they'll be hidden shortly. *And ignore the drill bits below. I later removed these.
Cladding Your Tool Wall
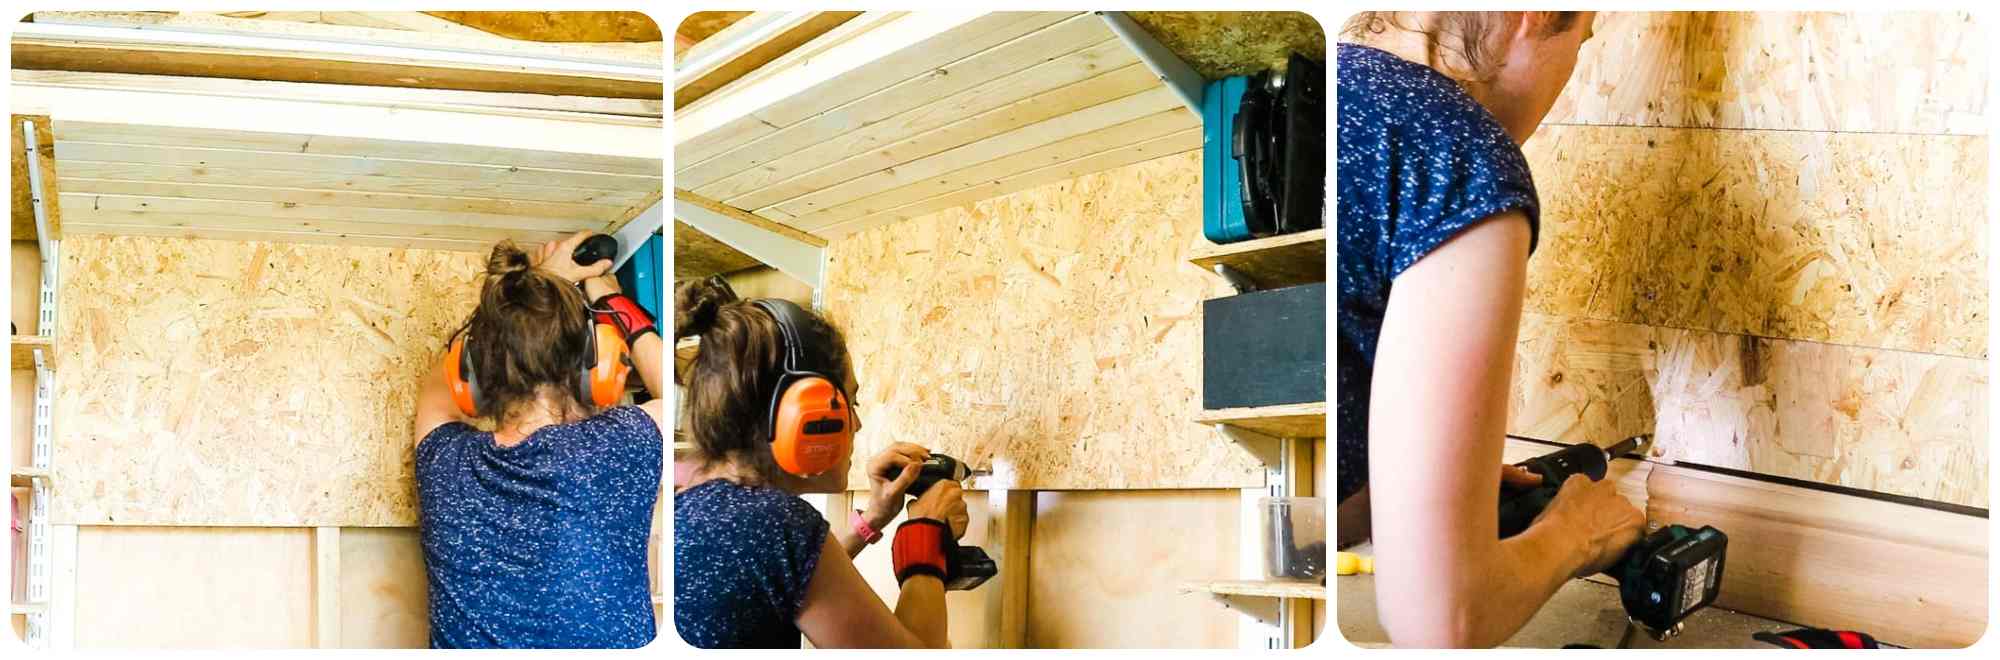
Next, I use approximately 9mm thick OSB offcuts to screw directly to the shed studs (spars) I'd added.
You may prefer a whole sheet cut down, but a workshop is a practical working environment. I'm not interested in it looking pretty. It's to make my tools more accessible.
And I worked my way down until I'd finished covering the spars.
If Mounting a Tool Wall to Bricks
If I were to create a tool wall on a brick wall, I would rawl plug batons to it, to give me some screw depth.
That is unless I'm using something like a 20mm+ thick cladding.
Adding Screws to Hang Your Tools
You could be obsessive and plan where you want to hang your most-used tools for a more Instagram friendly approach. But that's not me.
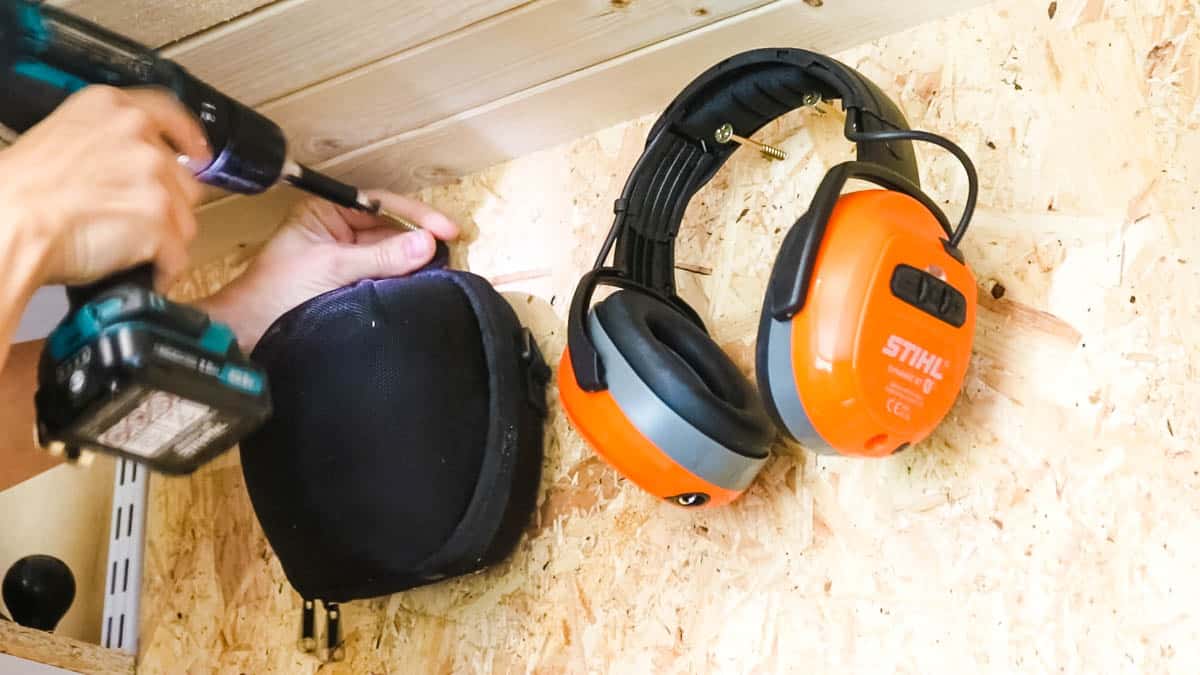
Instead, I gathered all the tools I wanted to hang and screwed them up one by one.
It's just wood and screws. If you make a mistake or aren't happy, you can move things around.

Tool Wall Tips
- Peronsally, I would avoid nails as opposed to screws. They tend to fall out over time.
- Drill holes in wooden handles to hang if not precious1
- For heavier items, try to make sure the screw is ¾ of the way through the wood
- Obviously, avoid screws that are longer than the depth of the shed's spars as you don't want them poking out of the wall!

More Tool Board Ideas
A tool wall is always a work in progress, because you'll often find you accumulate things.
For screwdrivers, I originally drilled holes in blocks and mounted to the shed, but they got in the way. I don't use these much, so I screwed small buckets to the tool wall.
You could do the same for plastic pencil case boxes, etc. Or even a mesh pen pot, which I store pens, pencils and Stanley knives in.

Hanging Tape Measures to a Tool Wall
One of my favourite things about my tool wall is my tape measure hanger.
Why? Because I don't like to throw parts away and managed to salvage a piece of metal strip and rubber washers to create distance to hang them.
Or, you could hang them by their looped handles.

Storing Jigsaw Blades
One of my first workshop organisation ideas was recycling an old plastic waste pipe from a plumbing job.
I cut it on an angle and glue gunned a scrap piece of wood to the base. Then drilled and screwed it to the side of some stud work.
Later, I ended up moving it, and it now works just as perfectly on my homemade tooll wall itself.

And like I said: who needs a peg board or French cleats for a DIY tool storage wall?
Sometimes we need quick easy wins to keep us organised and tidy.
Draw Around Your Tools
If you're absolutely content with your tool wall, you can now draw around each tool with a marker pen so you know what is missing at a later date.
However, instead, I took a photo because I may change it later.
Quick & Easy DIY Tool Wall Storage Idea

Forget a French cleat tool wall. This cladded OSB section is an easy DIY tool wall storage idea for beginners. Or those short of time! Ideal for most used tools which you can customise it for your workshop and needs!
Materials
- Sheet material (plywood or OSB), or clad with pallet wood strips
- Screws
- Recycled parts, ie rubber washers, pen pots, etc
- Rawl plugs if screwing to brick wall
Tools
- Impact driver'
- Combi drill
- Hand saw
- Circular saw
Instructions
- Find a section of wall
- Cut and screw sheet material to shed studs or drill, rawlplug and screw studs to a brick wall before screwing on cladding
- Hang each tool at a time using screws
- If desired, once finished, draw around each tool with a marker pen, or take a photo of it so you know what is missing at a later date.

gloria b
What a great and simple idea!
Joeann
I need this badly!!🤣
Glynis Giddings
I'm doing this in one of my sheds! Thank you. 🙂