
Here's a step-by-step on how I made this DIY garden bar as a community snack shack for my home village's Armthorpe Welfare Junior Football club. It's an 8x7 shed with a serving hatch, door and window. It's versatile as a garden drinks bar, bbq shed etc. Includes free plans and YouTube video to follow along.
You can sign up to my mailing list here to instantly download my free plans and build this DIY outdoor garden bar shed. Then follow my step by step video on how I built it.

During lockdown, my local kids' football club had all of the equipment, including storage, vandalised or burnt. They had to start from scratch, with the help of the rest of the community.
My Uncle in America has seen their devastation and wanted to contribute. And I decided to put my willingness to learn how to make a shed with serving hatch to good use.
I've built a Summerhouse, lean to shed, DIY bike shed, but never one with a bar on the front. I was keep to add to my list of serving hatch ideas! And if I can offer some free garden bar plans too, so you can make it at home, then everyone's winning!

Materials & Tools I Used to Make an Outdoor Garden Bar
- Base = 38mm x 63mm CLS (and some labelled CLS in plans
- Ripped CLS for remaining
- Tongue and groove of your choice
- Sawhorses *Gifted
- Belt phone pouch
- Gel knee pads *Gifted
- Large drill holster
- Hammer loop belt
- Angle grinder *Gifted
- Hand saw *Gifted
- Tape measure *Gifted
- Stanley Fatmax drill *Gifted
- Stanley finishing nailer *Gifted
- Stihl bluetooth ear defenders
- Oval padlock bolt
- Router (similar one)
- Flush trim router bit
- Bostitch nail gun
- Hammer
- Safety goggles
- 5 lever lock
- Door handle
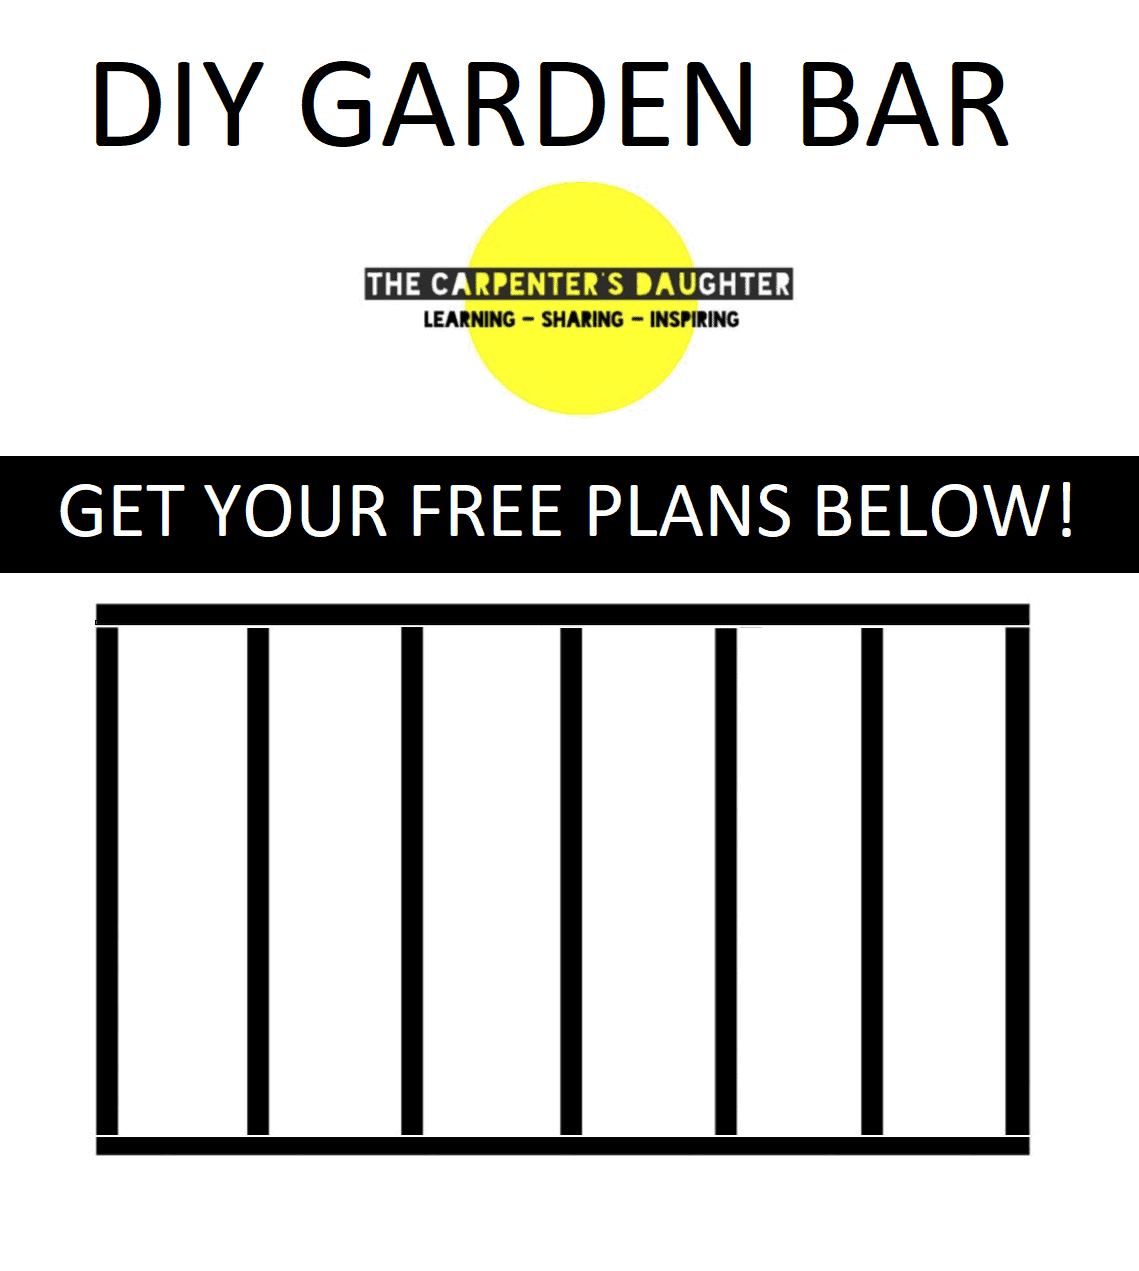
Free DIY Outdoor Bar Plans
If you want to make this exact DIY backyard bar, then you can sign up to my mailing list at no cost to download my free plans. This is for the framework only.
Do You Have a Cutting List?
Unfortunately not. These are free plans and I really don't have the time.
I tend to try and do my maths as best as I can, which can take time. Then buy what I think I'll need while keeping my receipt for any future refunds.
What Timber Do I Need?
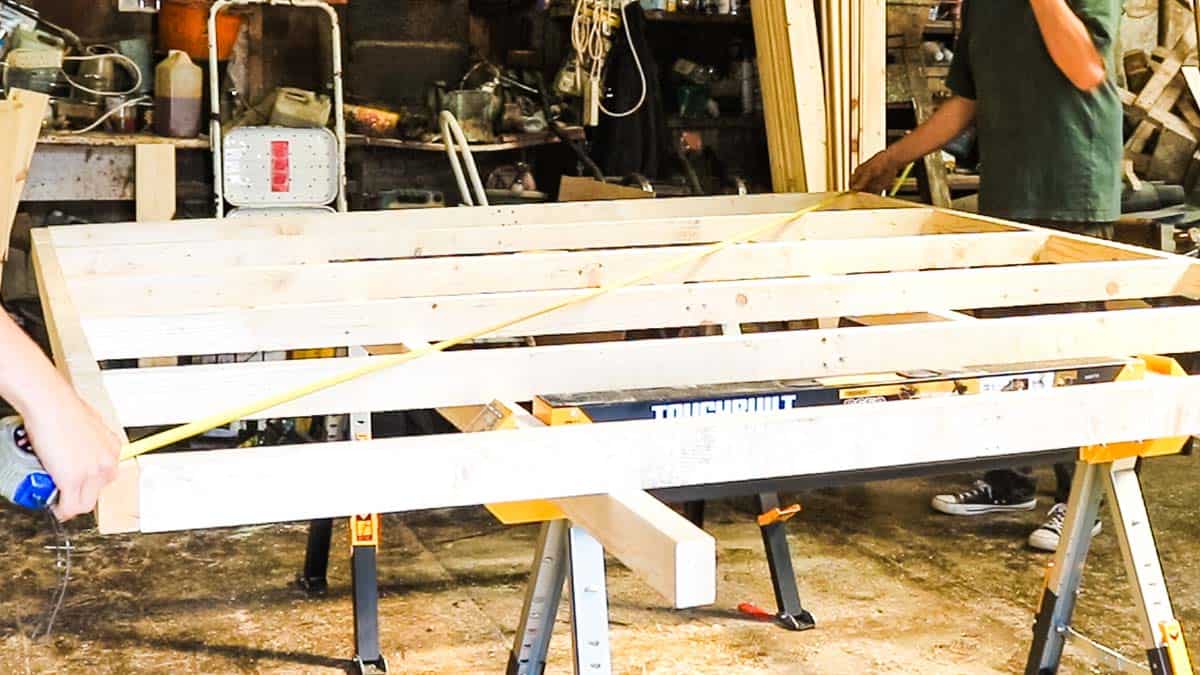
My DIY backyard bar uses 38mm x 63mm CLS for the base (above) and anywhere in that stats CLS in the plans. For the rest of the framework, it's the same stuff, but ripped in half.
If you don't have a table saw to rip them down, then I recommend looking for 38mm x 40mmm or 30mm x 30mm studs for spars. Once you know what timber you'll be using as spars, then I recommend counting them all on the plans to get an idea of how many lengths.
Then source your tongue and groove, or similar cladding. Again, I buy what I think I need and return what I don't use. It's all part of the fun! Note, you can get a bit crafty with the roof using only offcuts to save money. *More on that later!
How to Build an Outdoor Wooden Bar
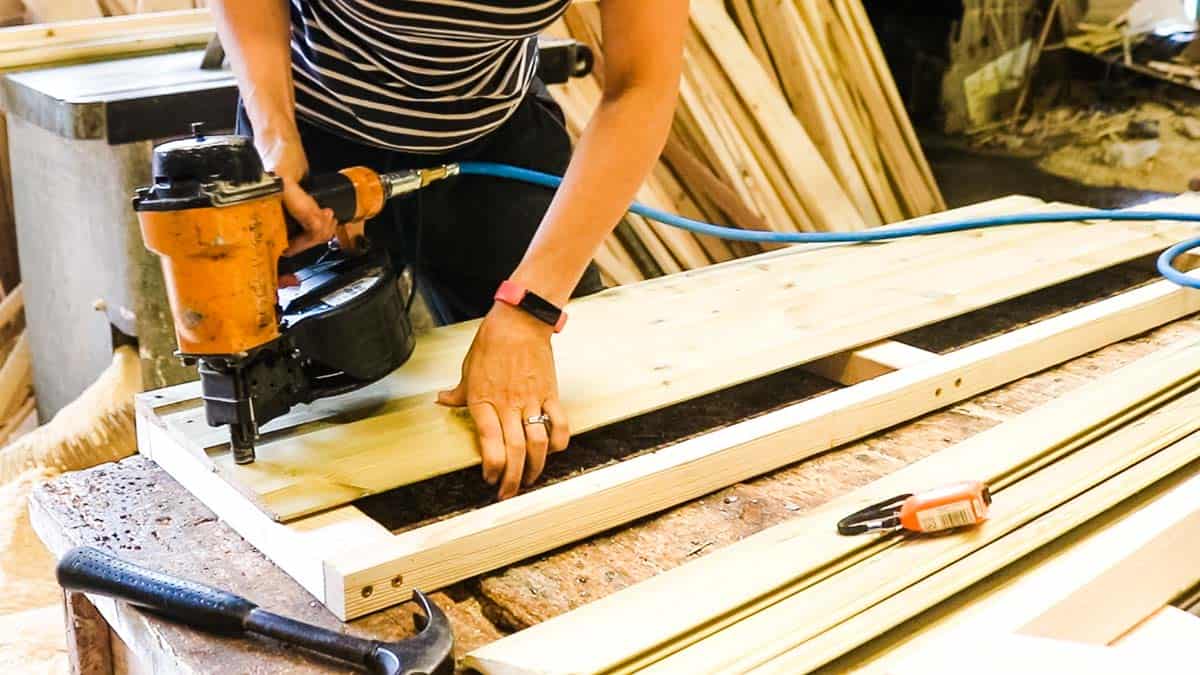
Building a Shed Base
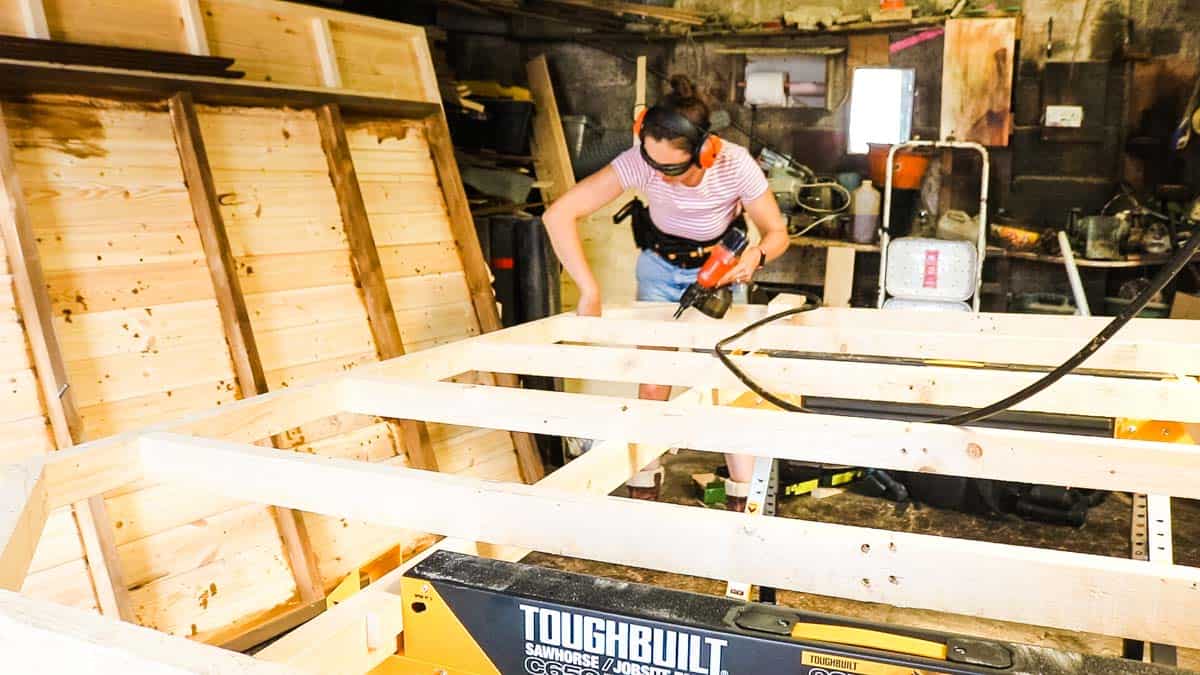
Following my plans, evenly position your spars for your base. A few tips are:
- Hold your two longest lengths together and measure and mark at the same time
- Check each spar running the opposite way to see if any are bowing. If so, face them upwards
- Predrill and screw all together
- Check for square by holding a tape measure in a diagonal (as above) to check if they match
- If not, knock the larger measurement with a hammer until it's even
- *It helps to fix one side down to a table first though
- Keep it square by nailing mitred corner offcuts in each corner
Treat Your Shed Base
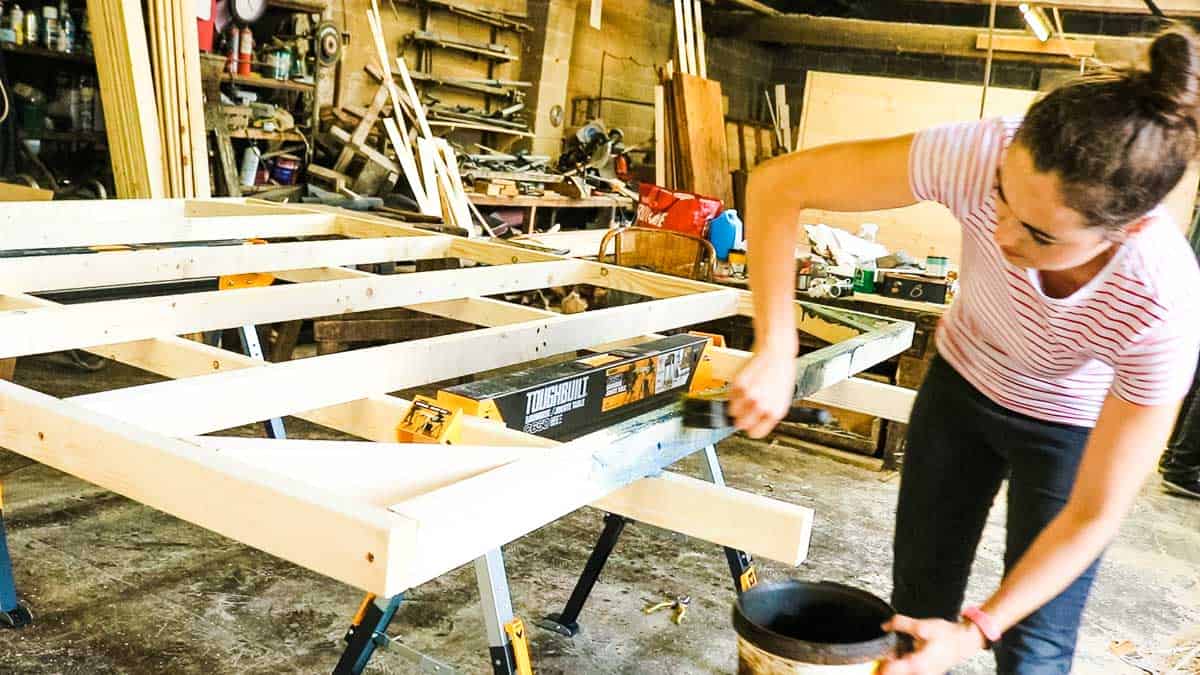
If you can use pressure treated CLS, then that's even better. But either way, all of the cuts you make will need to be treated.
Wood is extremely expensive right now, so I used standard CLS and treated with a colour changing preserative. It starts blue, then dries green.
But my biggest tip here, is: only use a stain that states preservative. Otherwise, it's just coloured water.
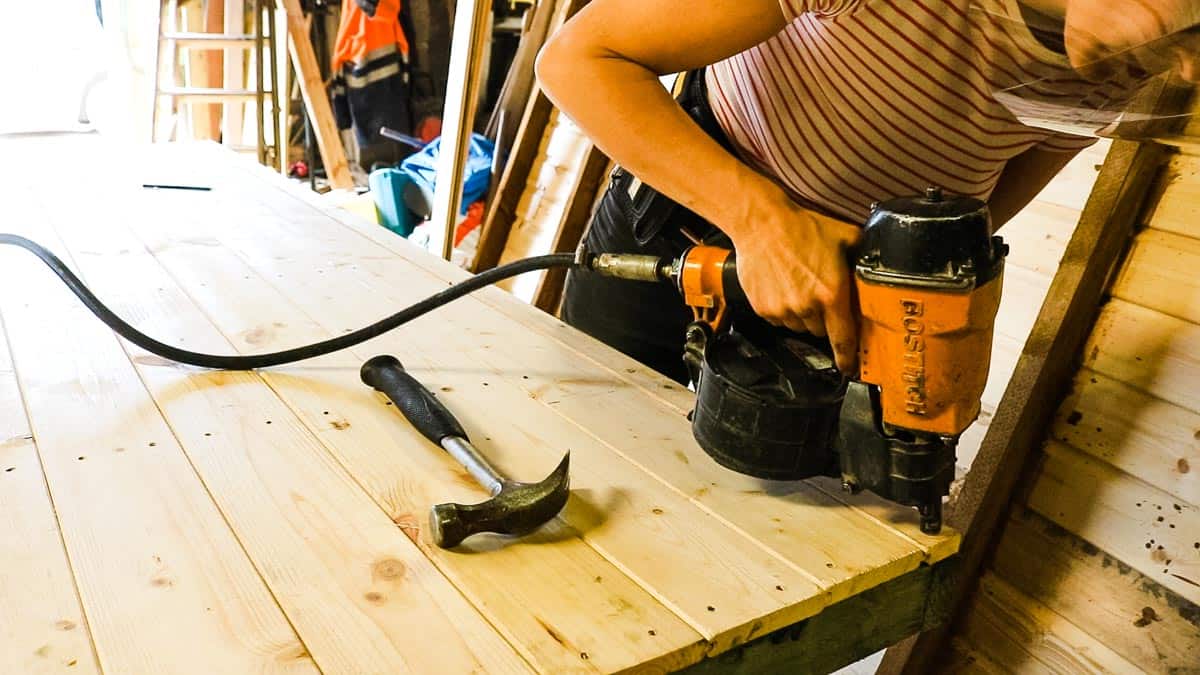
What To Line Your Shed Base With
Once the framework is dry, it's time to line your shed base. This is personal preference.
In my large DIY Summerhouse, I used plywood. For my DIY dog kennel, I used spare OSB.
But here and my homemade bike shed, I used tongue and groove as it was much cheaper. You could even use pallet wood, providing you leave enough overhang on your shed panel's cladding to allow covering the thickness of what you use.

Planning The Size of Your Shed's Panels
A key point I've learnt over the years is to decide the size of your shed base and build it first. Once you know what you're working with, you can then work out what size you'll need for your panels.
However, the next thing you need to work out is which side of the shed do you want your trims to be visible?
Above, you can see my trims (AKA flashings) planner to help you. Which side you want them will also determine the length of your panels. Let me show you another way.
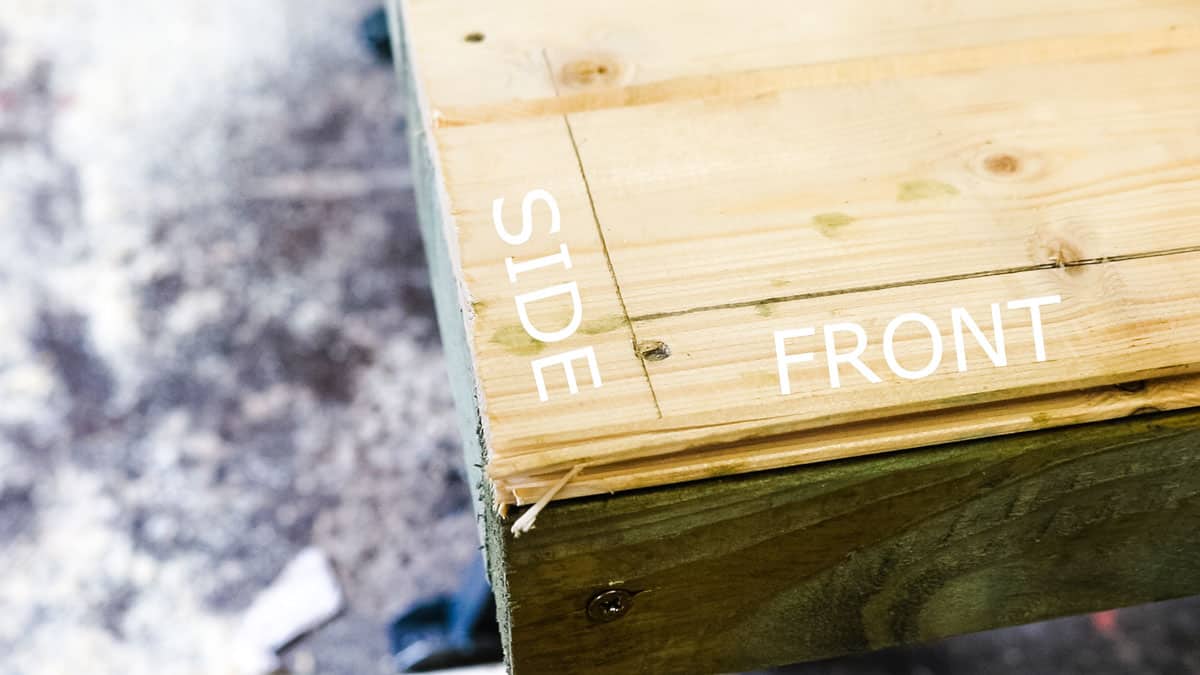
For our drinks shed, we wanted the flashings to be at the front. That means the two side's panel's ends needed to be exposed.
Then, using an offcut of the same studwork I'll be using, I held it about ¼ inch off the edge and drew along it. Then repeated on the opposite to create a corner.
Again, ¼" set back to give us some allowance when screwing the whole shed together. You don't want it to be too tight. Once you've drawn these measurements in each 4 corners, you know exactly how long your spars need to be. You don't even need a tape measure if you hold your timber up against them!
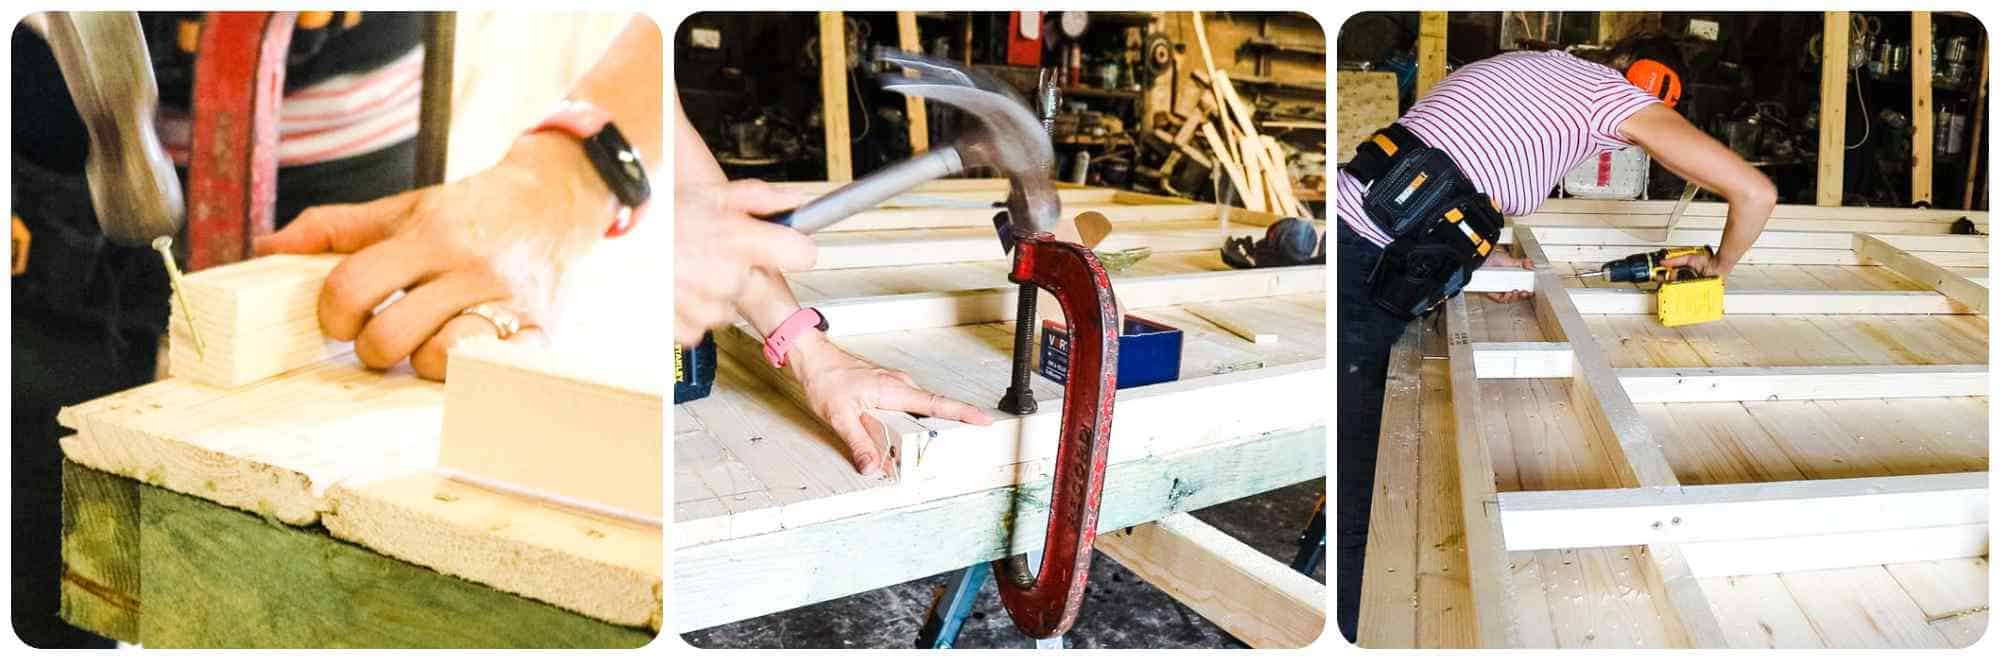
Build Your Framework
To start building your framework - remember, we already have a squared base. So to save myself checking each frame as I go, I'm toenailing two sides (like an L shape) inline with the base.
I repeated a similar framework screw up as the base, but started with the back panel.
Then toenailed the next one on top to the bottom and screwed that together, too. See my plans or YouTube video to see how to screw them all together.
Tips on Screwing Framework For a Window
When wanting to add things like a glass window, or even double glazed doors and windows, I recommend looking for secondhand ones first. Lots of people are selling them on eBay or ex-display ones.
That way, you can work around what you have, If you start building it first, THEN look for something specific, it's probably going to cost you a lot more!
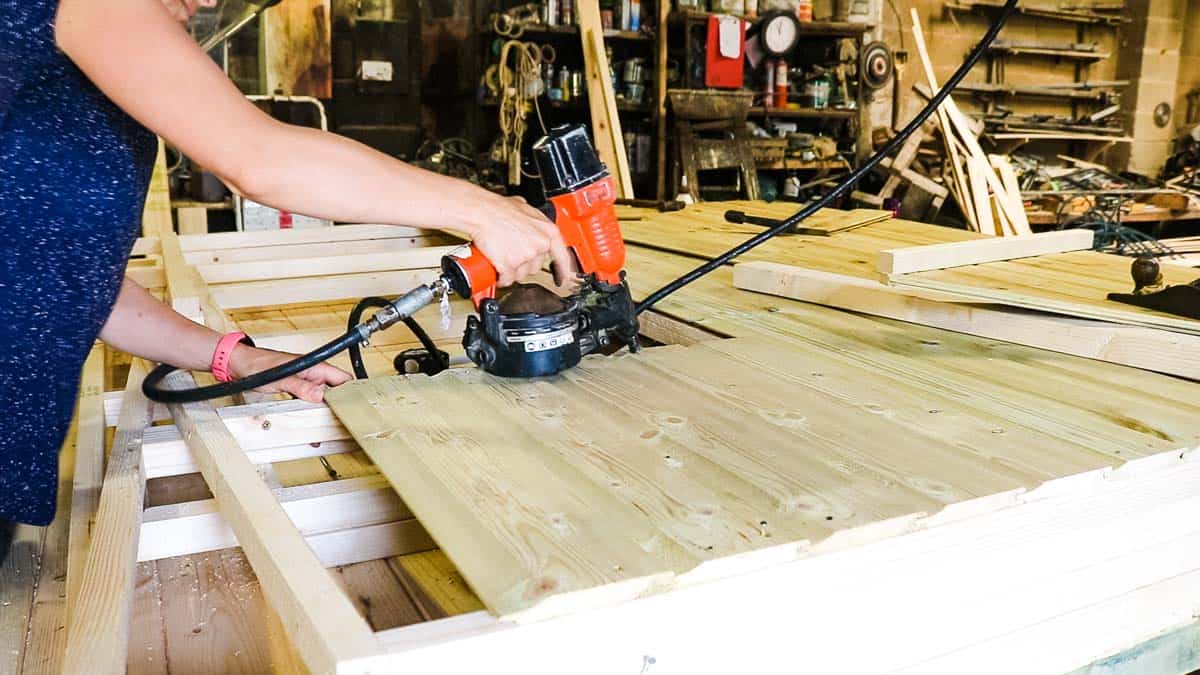
Cladding a Shed
You can clad your shed using various types of wood, from sheet material, to lap panels. Above, I cladded the football tea shed with tongue and groove.
But as it's hard to get right now, or more expensive, I had to be resourceful, sorting through the best bits for the most visible.
And start cladding with an overhang on the bottom, to create a skirting around the base and prevent water from getting in.
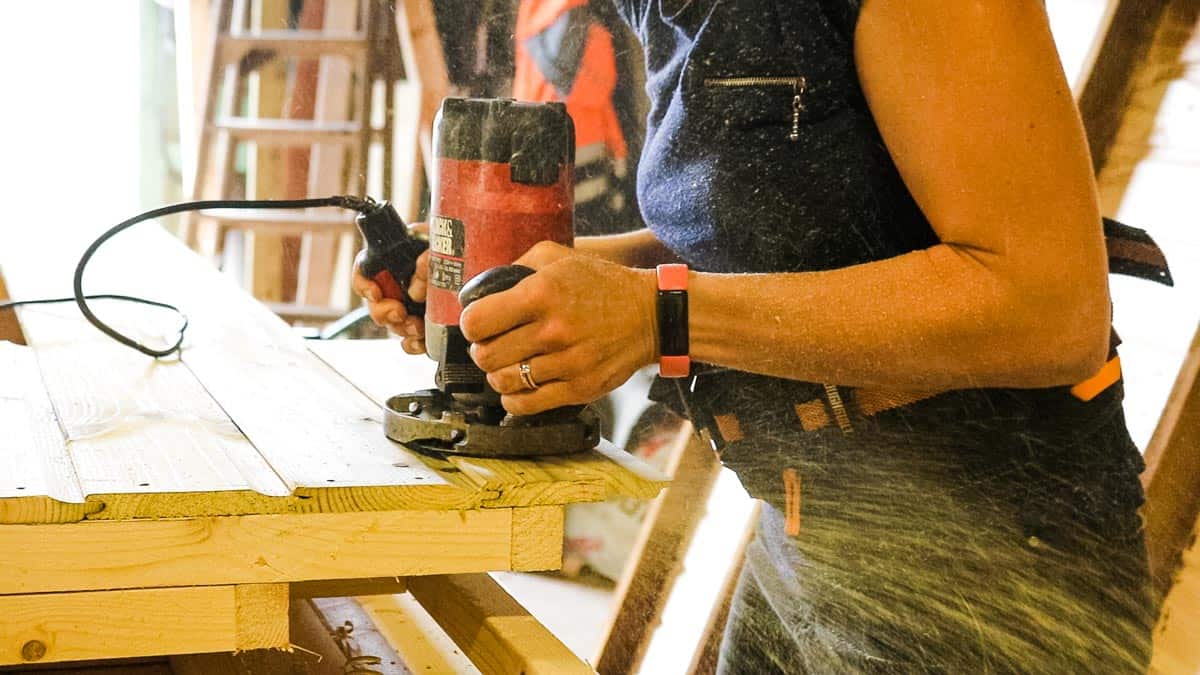
Cladding Tips
- Ensure the tongue and grooves are slotted in properly, to avoid misalignement around doors, windows and adjacent panels
- If tongue and groove won't slot together, you can hand plane the tongues slightly
- If using warped panels, have some sash clamps ready to clamp and nail until you're back on track (although you might need a lot!)
- For excess cladding around windows, doors, tops or sides, you can trim later with a jigsaw, hand saw or flush trim router bit
You can find more during my DIY garden room build.

Temporarily Building Your Flatpack Shed
As I've essentially built a flat packed shed, but one that's better quality(!), it's time to screw the panels around the base.
Then the panels square up the shed build to the pencil marks you drew on your base.
Now, you can cut and nail any trims around the shed door opening, windows and serving hatch.
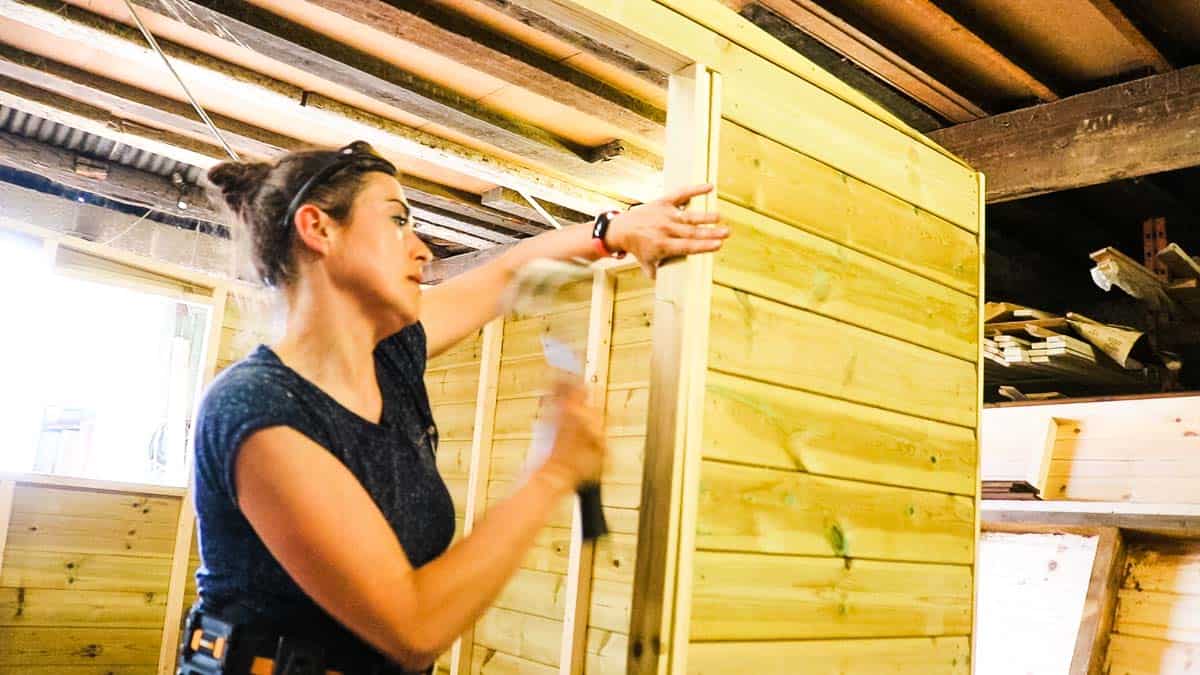
How to Build a Shed Door
The next job was to make a wooden shed door from scratch. As I've already talked about this in full detail, I'm just going to share some new tips here instead.
To get the measurements, the easiest way to find out the door framework is to temporarily nail 4 trims to the door opening. (That's 2 for the door, 2 for the opening).
Then measure the width you have left and deduct 12mm clearance if using flush hinges, or 15mm if using outside hinges. And THAT'S how wide you need your top and bottom two widths to be.
Measuring for the Height of Your Shed Door
Once you've cut your shed door's top and bottom 2 horizontal pieces, stack them on top of the shed's opening and measure the height left. Then deduct 20mm for a clearance.
Tips on Securing a Shed
Something worth noting is that when using flush hinges, they become hidden when closed. This is perfect for security and don't require drilling holes for bolts, unlike outside hinges.
However, I'd recommend 3 hinges minimum for strength. Also, when screwing the door to the shed by the hinges, I recommend only screwing one in each first.
Then you can test fit it and move them until you're happy. Otherwise, you've created lots of weaker holes if you want to move them all a fraction. This could then require bigger screws.
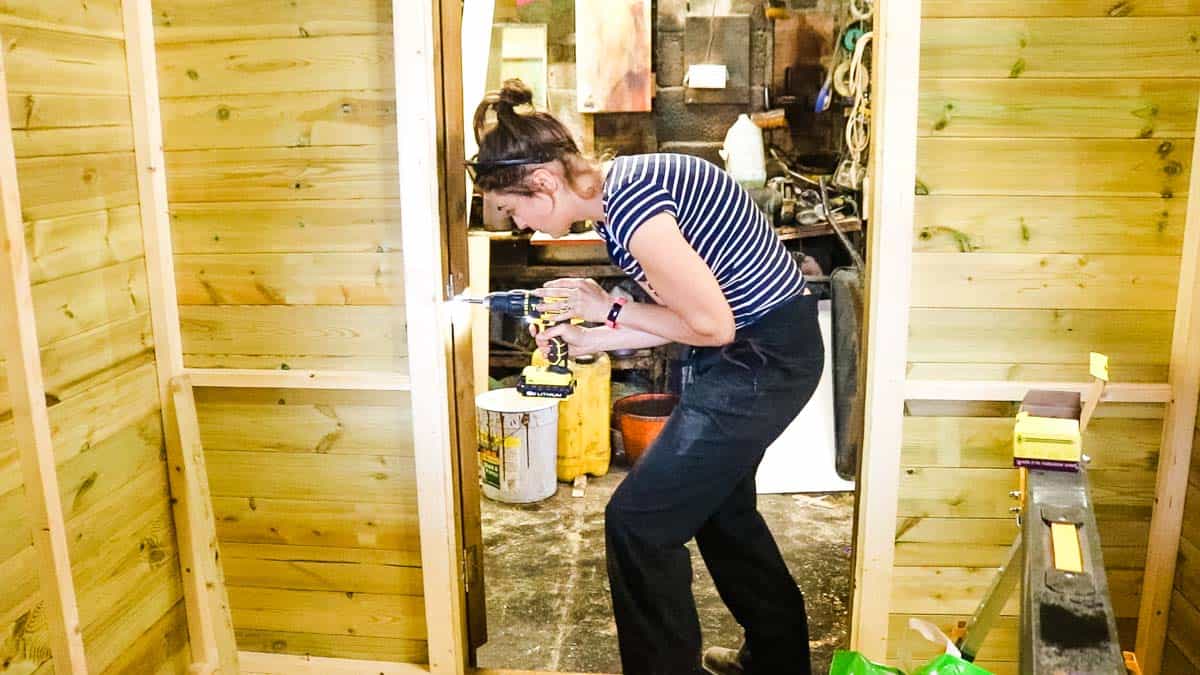
Adding a 5 Lever Lock
Instead of a traditional padlock, you could fit a 5 lever mortice lock on a shed door. In my previous tutorial, you'll see that I glued and screwed a C16 block to the inside of the frame.
And after nailing on the trim, I drew around the lock before drilling holes withn an auger drill bit.
You could also use a mortice and tenon machine, but it's not really an everyday home DIY tool.
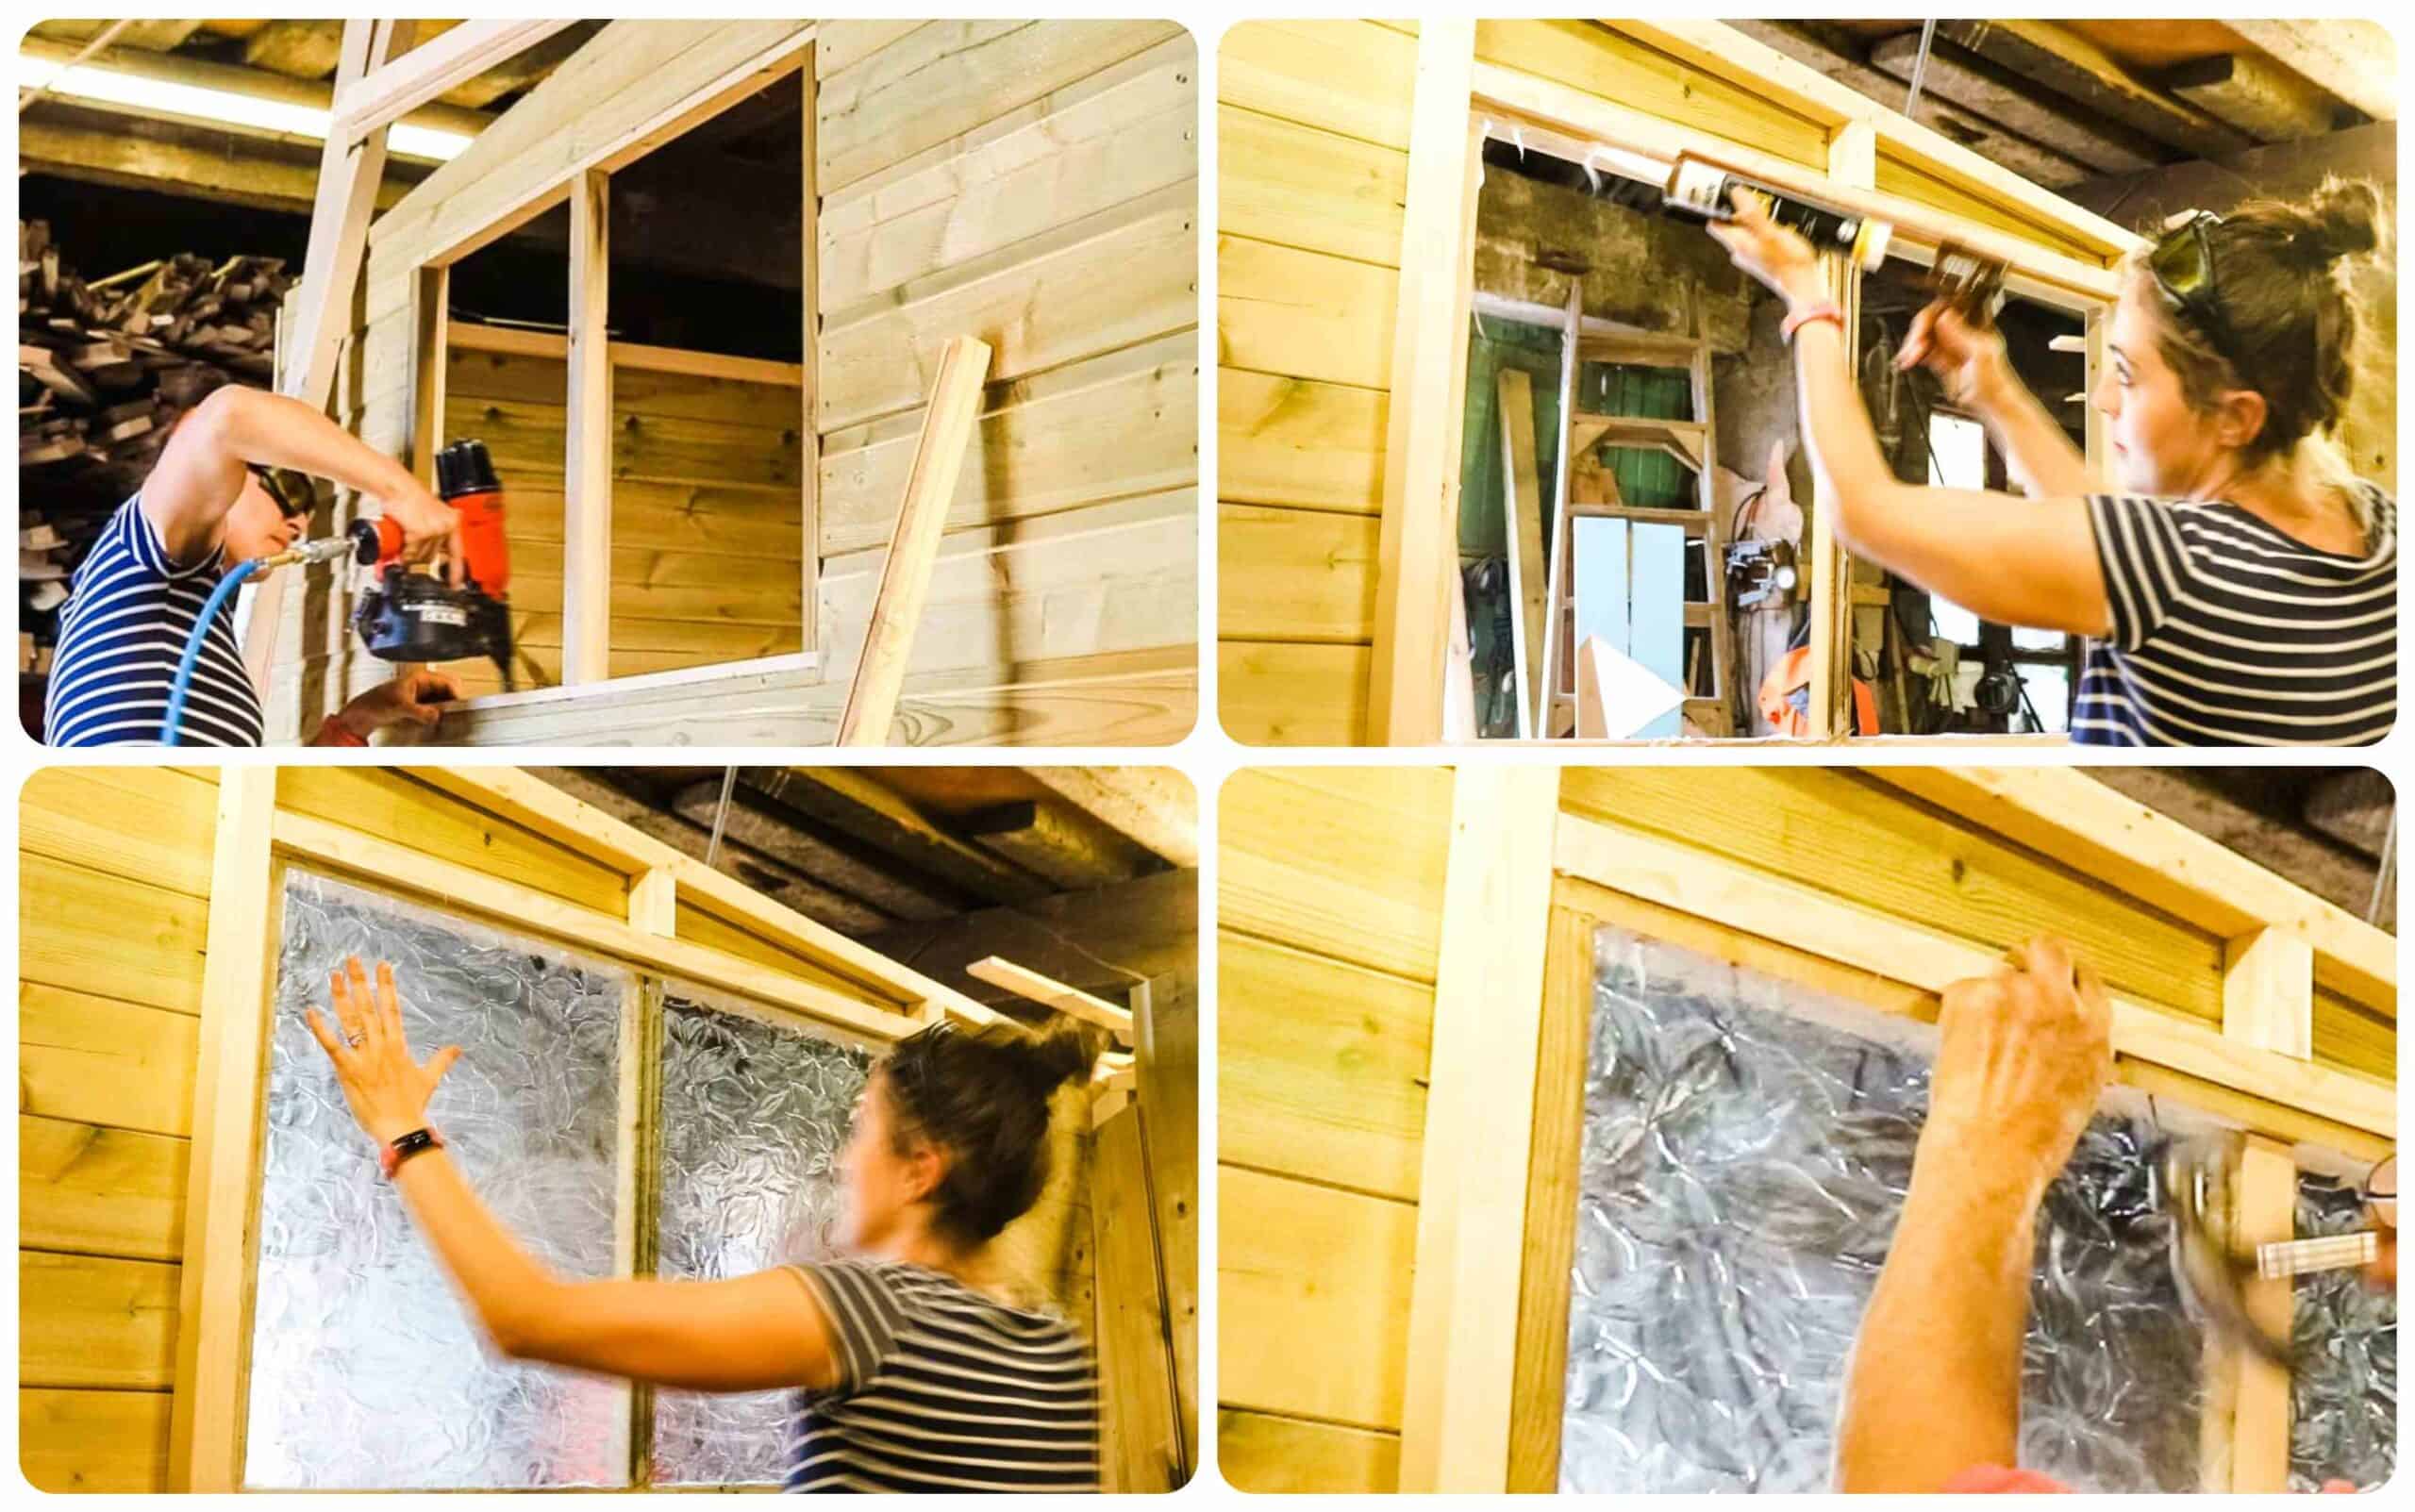
Installing a Shed Window
Note, building a shed with windows is completely optional. But, before even building your shed's framework, I urge you to source your glass window first to save money. Otherwise, note building around it and buying an exact size will probably cost you a lot more!
If using perspex, like in a Wendy house for safety reasons, it'll be easier to cut later. But, above, I'd nailed some framework together that was shallower than the shed's framework to form a recess.
Then slotted and attached it to the frame while flush with the cladding. Next, I ran a continuous bead of clear silicone/adhesive around, leaving no gaps. And slotted in obscured safety glass and fixed beading in. Then also ran silicone on the outside, to prevent rain from getting in.
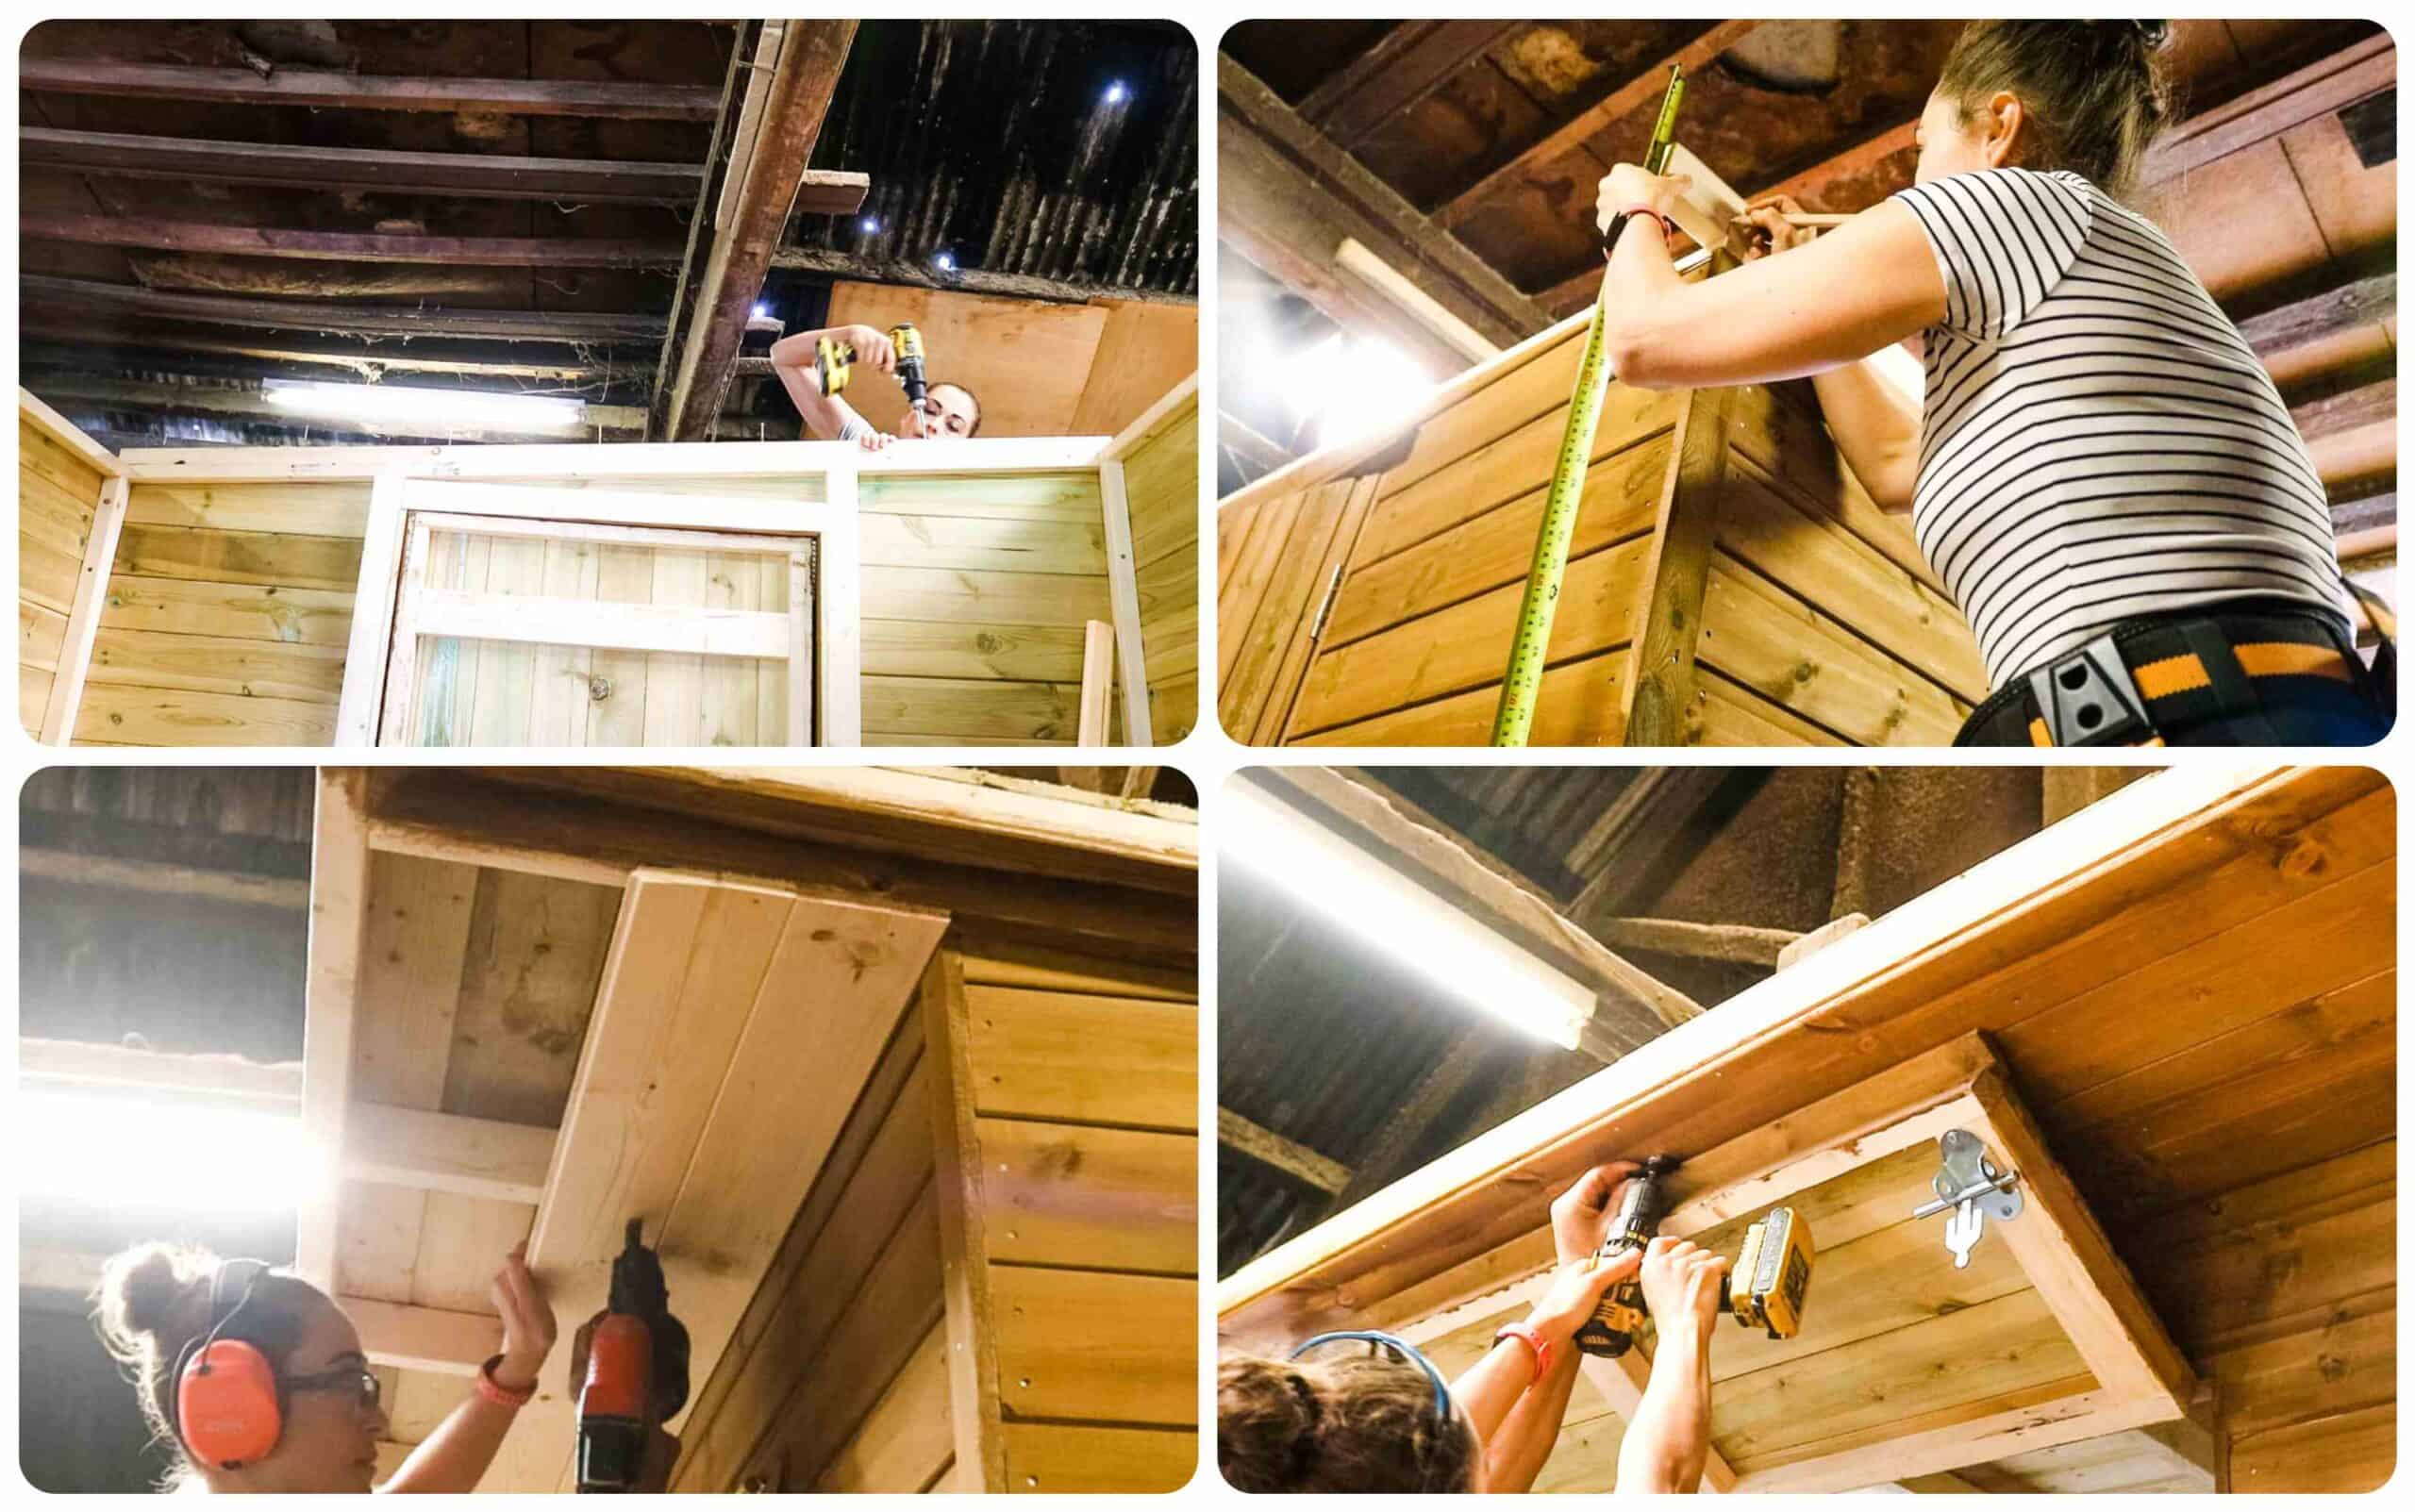
Making Tuck Shop Shed Serving Hatch
For the serving hatch window, above, you can see I made it split open. That meant to screw together two frames, then clad to match.
Another tip to measure your hinge clearances is to stack your 4 widest length of frame on top of the shed opening. Then measure and deduct your clearances so you know what height to cut them.
Then screw heavy duty hinges on both. And again, have someone help you hold one up while you're screwing them on. Or prop up, if you can, with timber.
Building the Shed Roof
- First, drill and screw 2 roof locator blocks directly on the two sides of the shed. The should be the same length as the top spar, excluding the shed's trims
- Hold another piece along the back that's longer than the width of the shed and mark 100ml from one end, the line that up with the start of the shed.
- Keep it still!
- Mark each spar on that same piece, including the end of the shed
- Add another 100mm after that - and that's your cut line
- Cut another to the same length and transfer the same marks
- Build your shed's roof by screwing your spars to those marks. Lengths are in my downloadable plans!
- For cladding the roof, I nailed on offcuts that met in the middle of each spar and placed it on top of the shed.
The next job was to nail another trim on the back of the roof, from underneath. This will keep the roof still. Then clad the remaining on the front.
Next, I screwed a catch to one of the spars to keep the top serving hatch door open when desired.
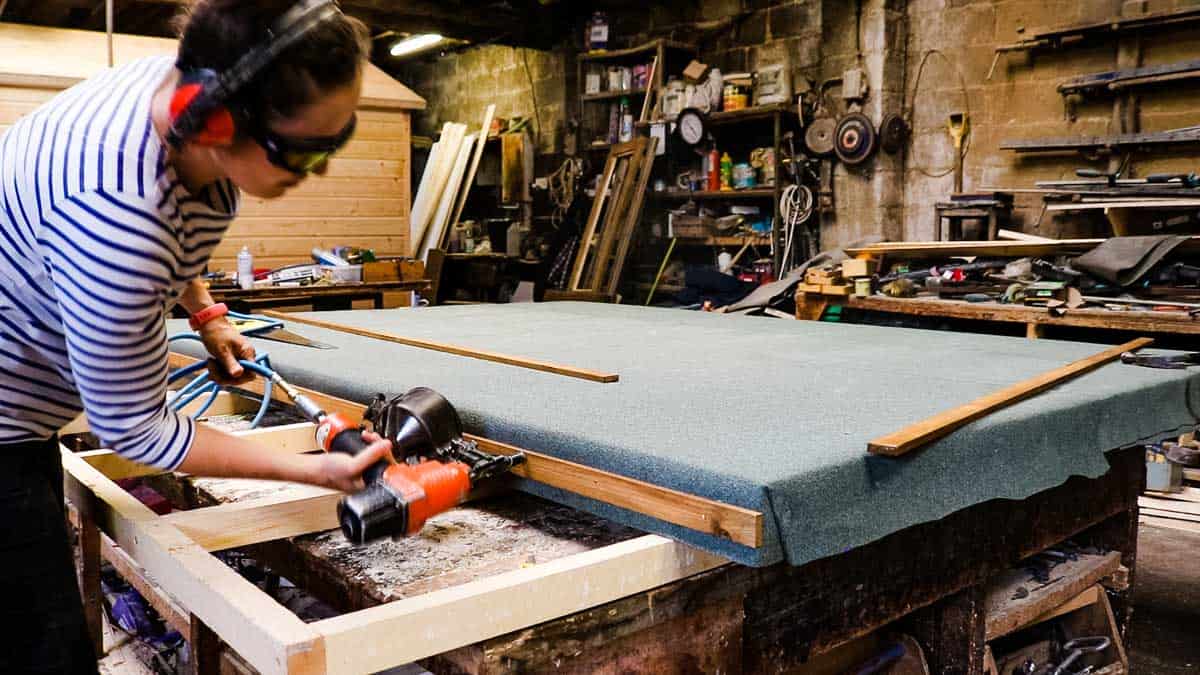
Felting a Shed Roof
Again, you can find a separate, in-depth tutorial on how to felt a shed roof here.
However, you need to bear in mind that felting a roof before placing it on top makes it heavier.
So, if you don't have help to lift it, you may want to do it in situ.
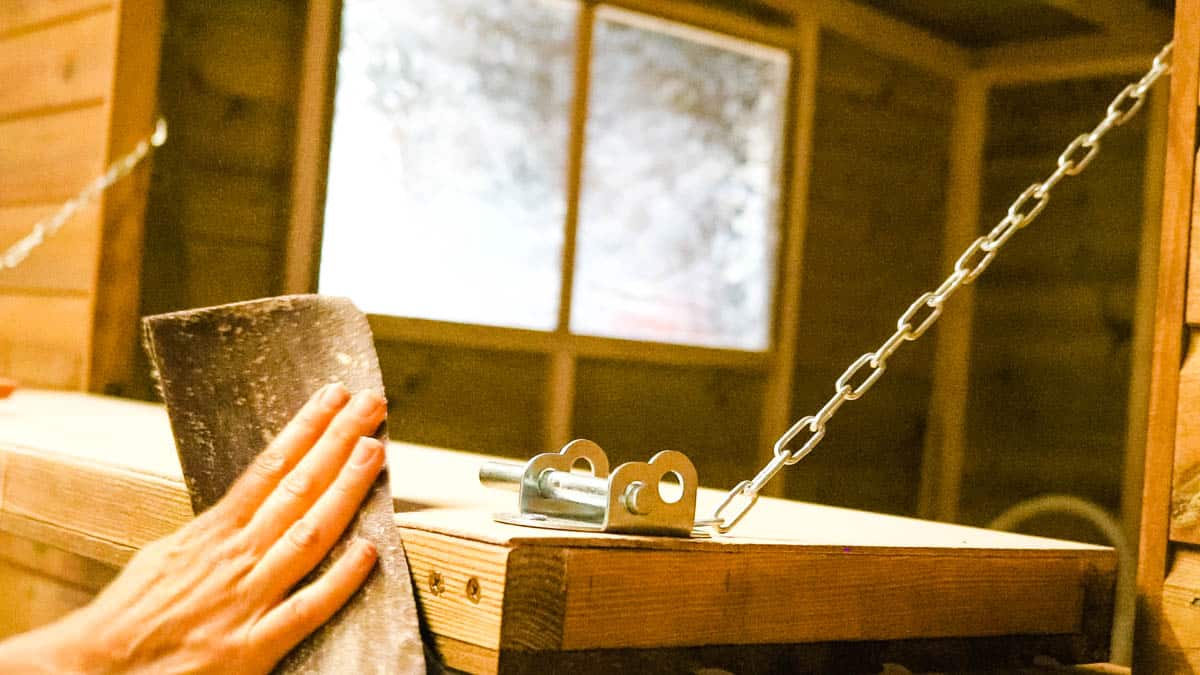
Lining the Bottom Shed Serving Hatch
To create a drop down shed table, I cut and nailed some plylining on.
Then screwed on some oval padbolts with some chain on each, which wass also screwed on the inside with two more bolts.
And hand-sanded any sharp edges to prevent splinters.
Bolting the Shed Together
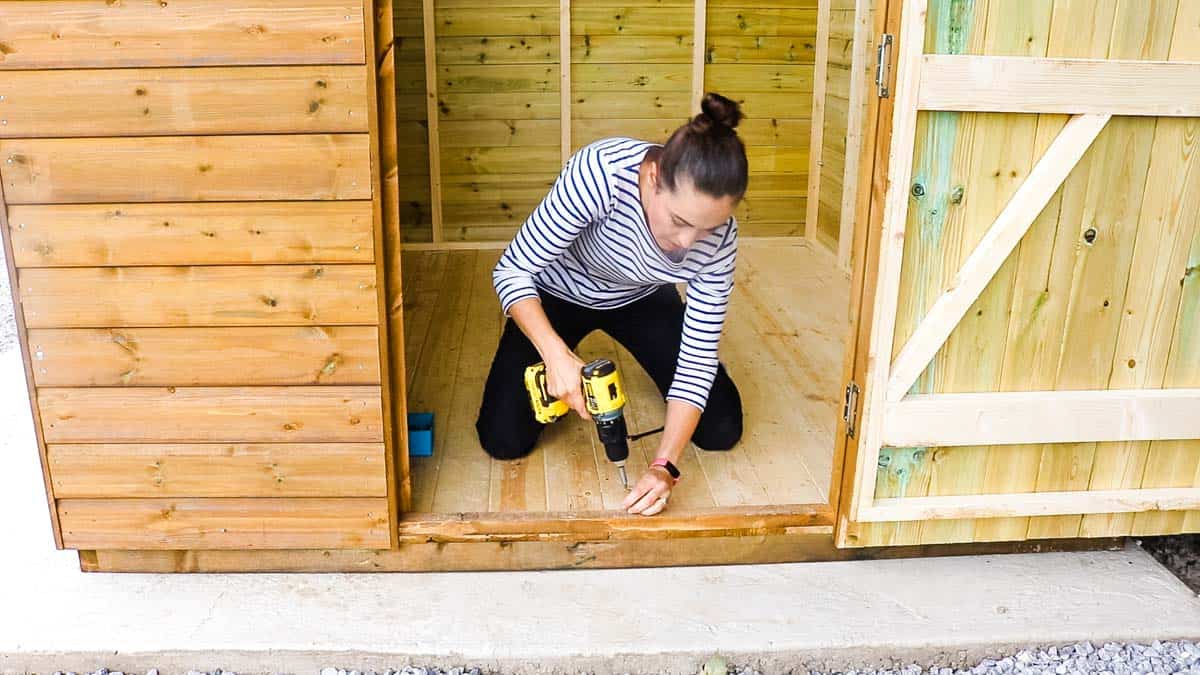
Once I'd built all the pieces to my shed, we took it to its future home to place on a concrete base.
After making it square on the base again, I bolted all the panels together. Then screwed the panels to the base and roof.
Treating Your Shed
If you haven't done so already, I suggest treating your shed before it goes on the base to prevent staining the shed foundations you use.
Building Shelves in Shed
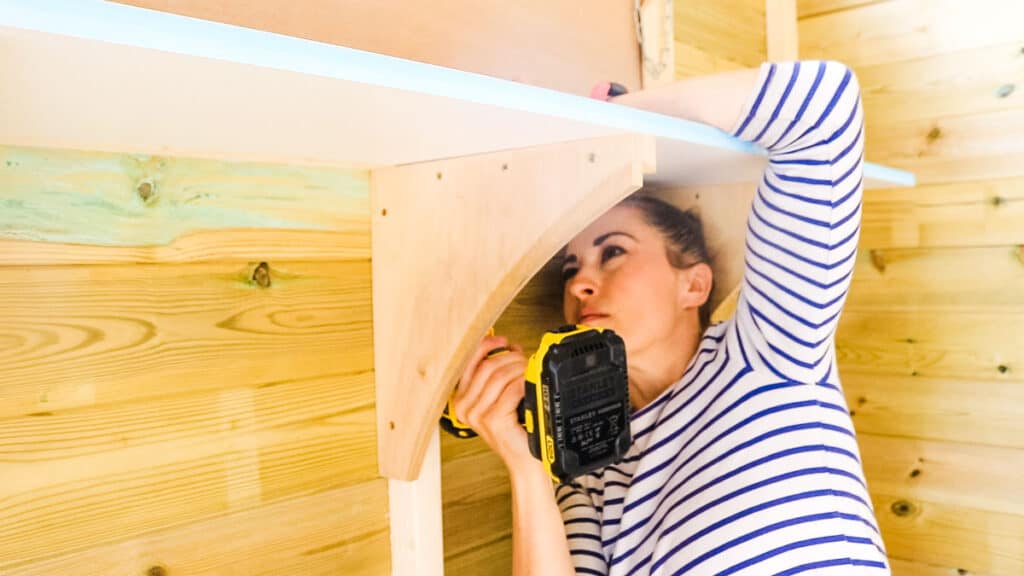
Above, I screwed some simple plywood gusset pieces, with studs screwed on while offset by the thickness of the shed's spars. Then a flat shelf screwed on top from underneath.
More DIY Shed Shelving Ideas
- Twin slot shelves in a shed, which are adjustable
- London brackets, which aren't adjustable, but they're easy and strong
- Simple DIY shelf with CLS
- Screw shelves within shed spars
- Make a workbench table with a shelf underneath so you can move it around
- 21 more DIY shed shelving ideas can be found here!

Follow How to Make a Garden Bar
How to Build a Shed With Serving Hatch
OUTDOOR DIY GARDEN BAR SHED (8X7)+ FREE PLANS

Here's a step by step on how I made this DIY garden bar as a community snack shack for my home village's Armthorpe Welfare Junior Football club. It's an 8x7 shed with a serving hatch, door and window. It's versatile as a garden drinks bar, bbq shed etc. Includes free plans and YouTube video to follow along.
Materials
- Base = 38mm x 63mm CLS (and some labelled CLS in plans
- Ripped CLS for remaining
- Tongue and groove of your choice
- 5 lever lock
- Shed felt
- Bitumin
- Screws
- Nails
- Glass or perspex window
- Door handle
- Padbolts
- Chain
- Catch
Tools
- Sawhorses *Gifted
- Belt phone pouch
- Gel knee pads *Gifted
- Large drill holster
- Hammer loop belt
- Angle grinder *Gifted
- Hand saw *Gifted
- Tape measure *Gifted
- Stanley Fatmax drill *Gifted
- Stanley finishing nailer *Gifted
- Stihl bluetooth ear defenders
- Router (similar one)
- Flush trim router bit
- Bostitch nail gun
- Hammer
- Safety goggles
Instructions
- Build the frame and panels as per my free downloadable plans, ensuring they are square.
- Clad the panels
- Use a flush trim router bit to remove excess
- Temporarily screw the shed together so you can nail shed trims on
- Measure the shed door width to make. See how to make a shed door here.
- Fit a 5 lever lock if desired. See how-to here.
- Build the window frame and slot in, ensuring flush with the cladding.
- Silicone the back of the opening and slot the glass panel, sescuring with nailed trim and seal on the front.
- Screw roof locators on top of two side panels
- Measure, cut, screw and clad the roof.
- Place on top of roof and nail rear trim and cladding on front.
- Screw together serving hatch frames and clad before screwing on to shed's opening
- Screw on a top serving hatch catch.
- Line the bottom serving hatch and screw on bolts with chains also attached and screwed to the inside of the shed
- Stain everything and leave to dry
- Remove the shed roof and felt
- Dismantle the shed to take it its desired shed foundations.
- Level the shed base on top of foundations and screw and bolt the panels together and on top of it
- Place the roof on top and screw the shed to the roof
- Add any shelves if desired and enjoy your shed!

Nic
Hi could you tell me what colour changing preserative you used please. Many thanks