
Here's my latest cast iron bench restoration project where I prep and repaint the rusty iron framework and replace the wooden slats on two garden benches. You can also follow my how to restore cast iron garden furniture video for a helping hand.
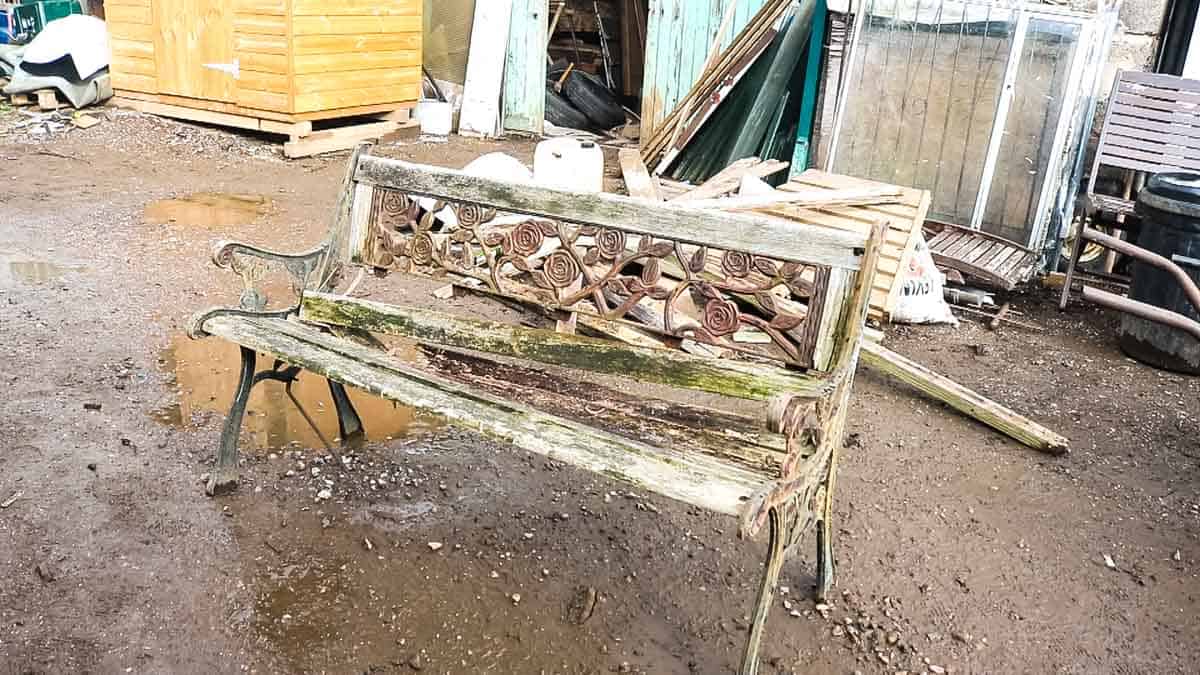
Something my Dad keeps telling me is to look for a rusty old cast iron garden bench with wooden slats around car boots. Apparently, many won't or don't know how to restore cast iron garden furniture.
What's your time worth? And can you source the materials cheap enough?
Anyway, in short, my Dad found two. One was for his customer which just needed some updating, the 2nd was in my brother's back garden where the wooden slats were completely rotten.
Let me talk you through how I did it and what tools you can use and how long it should expect to take.
Tools I Used (+ Suggested Alternatives)
- Wooden slats - I used oak planks that I ripped down *(see note 1)
- Table saw* (see note 2) and a chop saw
- angle grinder *(see note 3)
- Screwdriver
- Spanners for removing bolts
- Safety gloves
- Ear defenders
- Safety glasses/goggles
- Wood preserver - note some wood stains don't offer protection!
- Wire brush *(see note 4)
- Direct to rust metal spray paint *(see note 5)

Note 1 - Alternative Woods
Alternatively, you could try a softwood, like pallet wood if you can source them long enough. BUT, it'll require lots of treating and won't be as strong as a hardwood.
Note 2 - Table Saw Substitute
It's only the last few months I've been using a table saw. If you don't have one, you could:
- Clamp the wood to a workbench and jigsaw, then sand straight
- Hand saw, although it's harder with hardwoods
- Rip down timber with a bandsaw - my favourite method these days where possible
- Use a track on a circulaw saw or cut with a clamped straight edge
Note 3 - Angle Grinder Alternative
I know angle grinders can be quite intimidating to remove the bolts. Especially the sparks, so it's vital you wear PPE. However, you could:
- Use WD40 penetrant and leave it to work overnight before unbolting
- Cut with a hack saw - but you'll need LOTS of time and patience!

Note 4 - Wire Brush Substitute
If you want to speed up the job, then I'd highly recommend checking my rusty metal gate restoration on how I used gifted Abracs poly abrasive discs in my angle grinder.
Or, you might love the Worx MakerX mini angle grinder with sanding disks which I used in the same metal gate restoration on intricate detail. BUT, how much rust you need to remove depending on note 5:
Note 5 - Other Paints
If you want to do this job in a day, then I personally would favour a spray paint as opposed to applying metal paint with a brush. It's easy to build up the coats and quicker drying on a nice day.
ALSO, I recommend using direct to rust paint that is a primer and paint in one.

How to Restore an Iron and Wood Bench
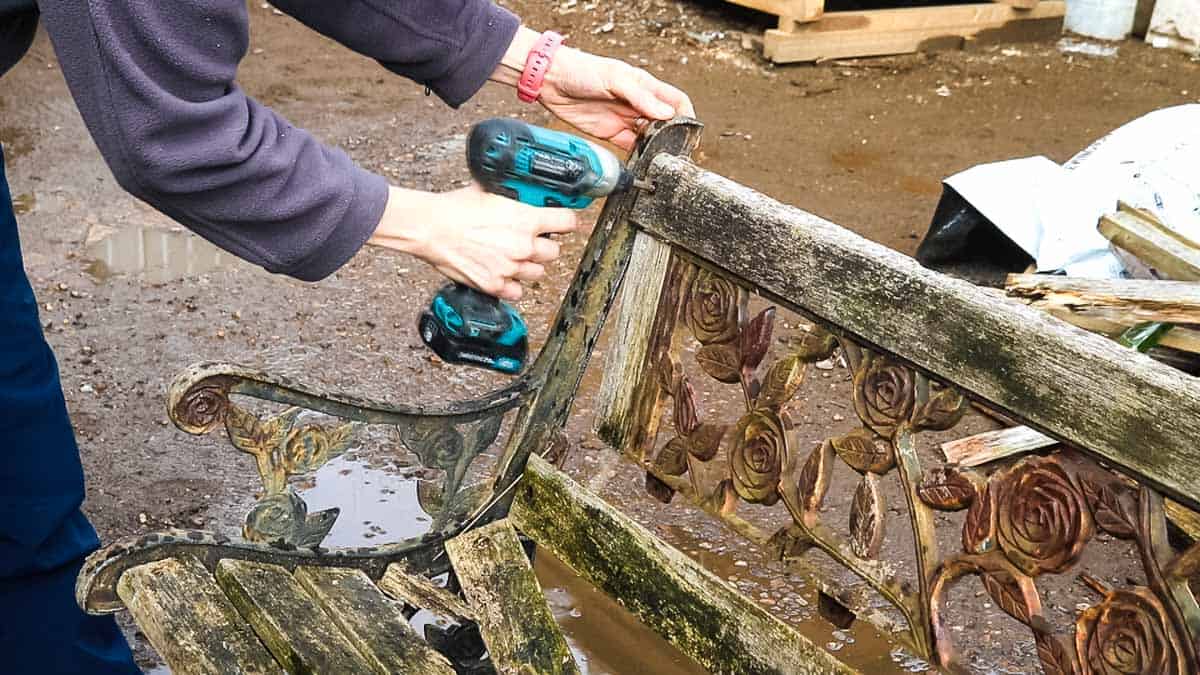
First and foremost, you'll need to remove the hardware. This may sound easy, but if your cast iron wood bench restoration starts with it being in poor condition, the screws and bolts may be rusty and seized up.
With some planning, you can spray the bolts with WD-40 penetrant the night before to work into the rust and repeat on stubborn ones. You'll also need spanners or anything to grip the nuts while unscrewing bolts.
BUT, don't destroy the wood in the process as you'll benefit from using them as a template for drilling bolt holes later.
Removing Rust (And How Much You'll Need To)
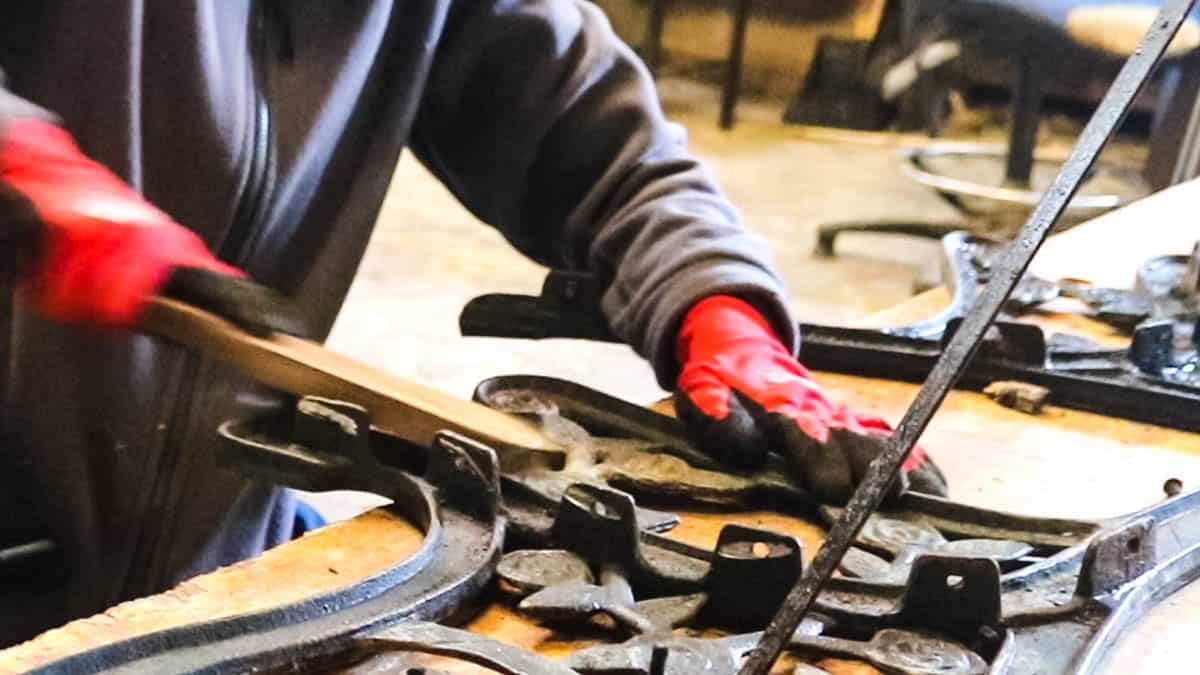
When restoring a bench with rusty cast iron, my tip is to think first regarding the type of metal paint you're planning on using.
As tempting as it is to strip back to bare metal, for quickness, you can use a direct to rust metal paint without the need for primer. In this instance, using a wire brush to flaky rust and paint would be ok.
If you're opting for primer and paint, you'll need to take back to bare metal. In this case, the best way to get the rust off cast iron in my opinion is using abrasive disks in an angle grinder. You'll save yourself hours of time.
Now clean it a good clean and leave to dry.
Replacing the Wood on a Cast Iron Garden Bench Seat
The type of wood you choose will make a huge difference in how long it lasts. You could opt for softwoods and even pallet wood, but it won't be as strong and will require regular treating while out in the elements.
Where possible, try to opt for hardwood which is more resistant to water and rot. If you can't find any timber at a local woodyard or DIY store, consider checking out affordable replacement bench slats.
Or even rip down an old oak coffee table, etc that you might have found at a local charity shop, jumble sale, or skip.

Cutting Bench Slats
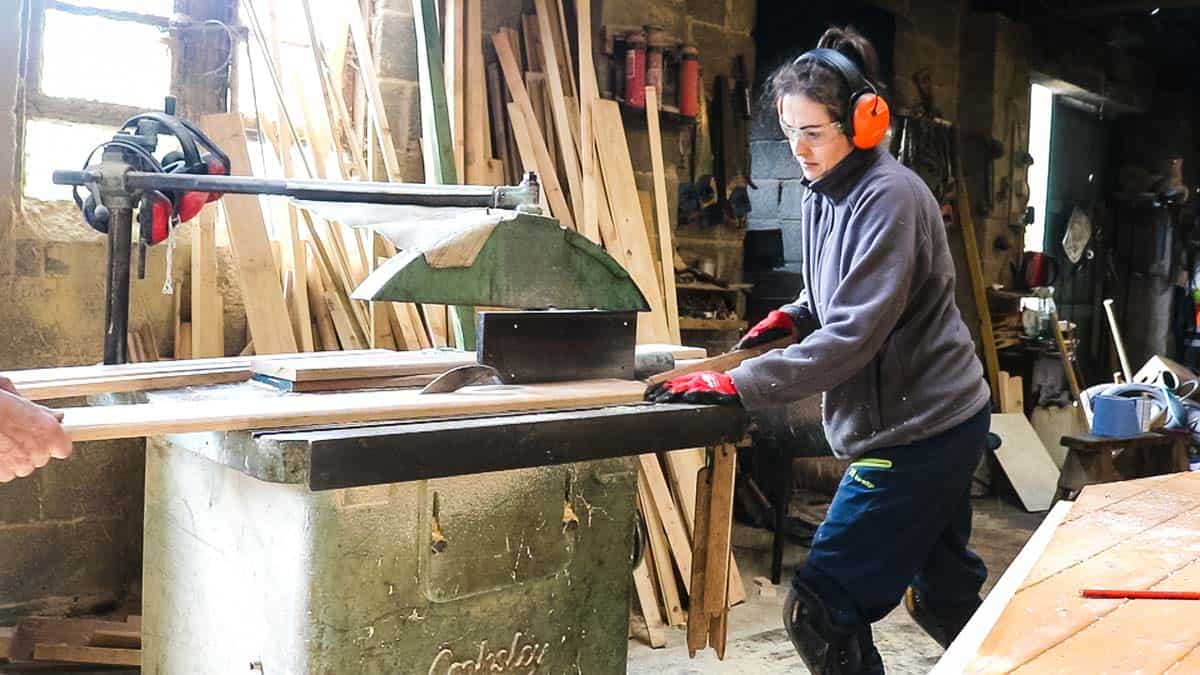
Above, I ripped down some oak planks on my Dad's table saw all to the same depth as the original planks. Note, some will vary around the curved areas or near backrests that have cast-iron detail.
As for the back rest, my oak slats were slightly shorter than the original. This didn't matter for the bum area, but it did to mount around the cast iron back.
I had to line it up with the start of the floral cast iron section to see how much it protruded. Then divided it by half to determine the thickness. This also needed cutting down to the right length.
See note 2 above in bold regarding substitutes for a table saw.
Adding a Profile Edge to Your Bench Slats
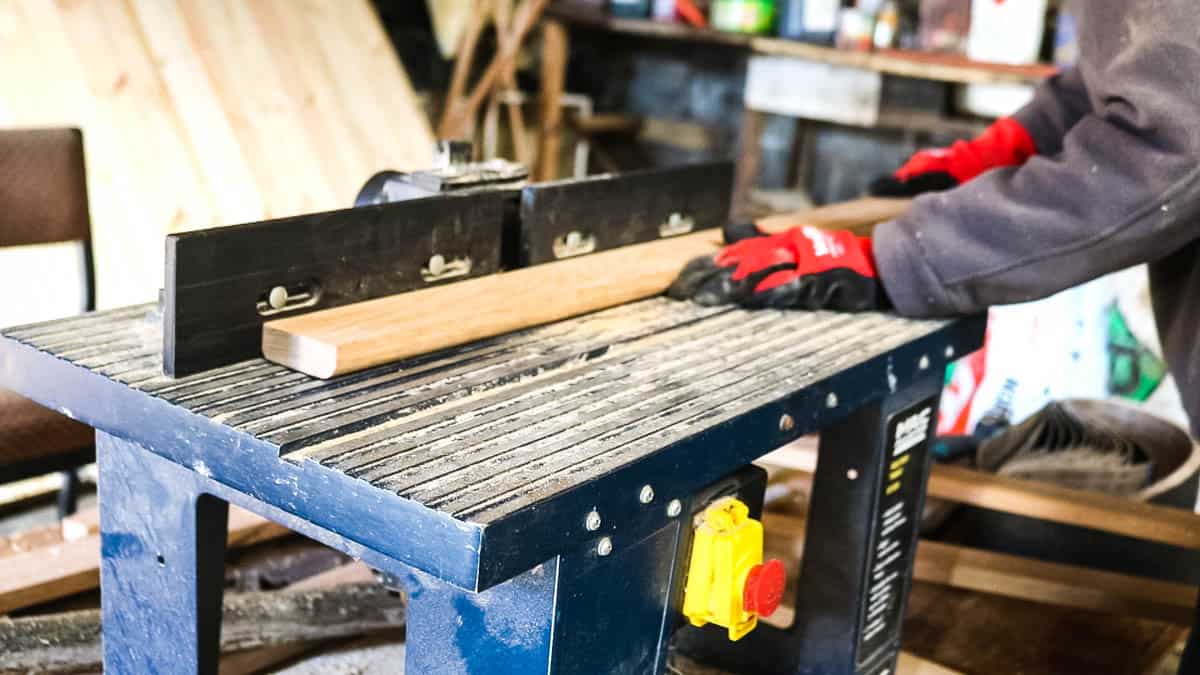
To give your cast iron bench with wood slats a more professional look, I recommend using a palm router (or router table) to take the boxy edge off using a curved bit.
This will reduce the chances of splinters and be more comfortable to sit on.
Alternatively, you could hand sand the sharp edges while sitting, which admittedly, can be a great time to rest your knees(!)
Treating Your Iron and Wood Garden Bench
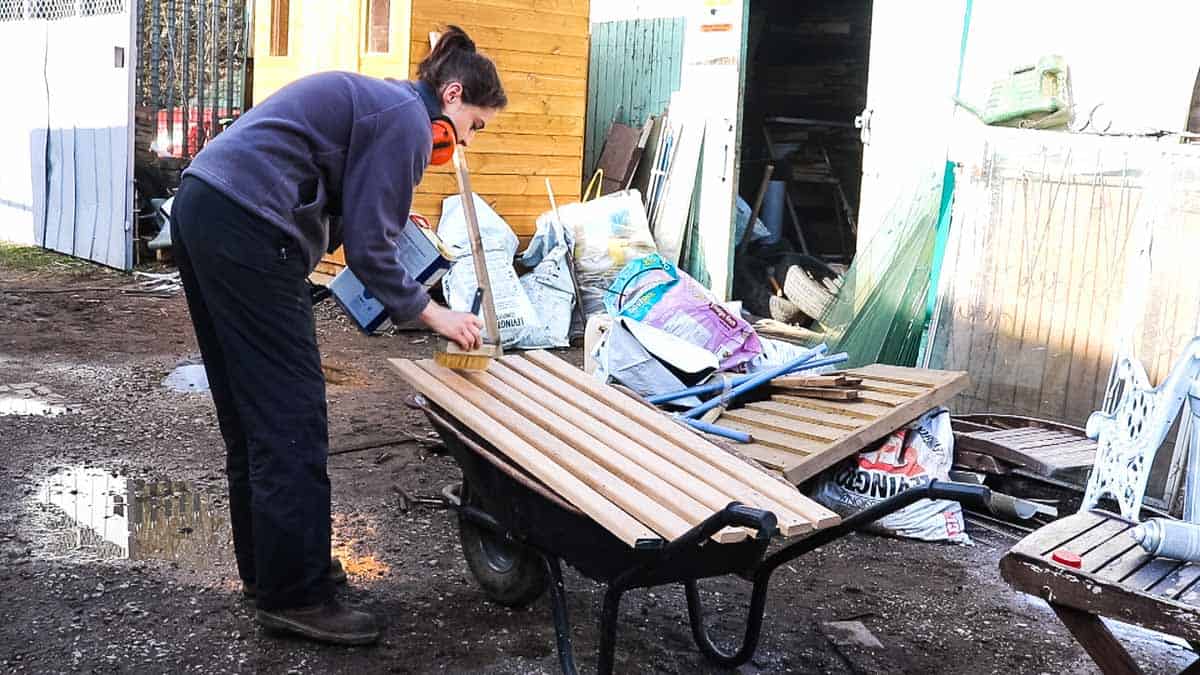
While you have easy access to the end grains (the thirsty bit of wood), I highly recommend to take the time now, to treat your bench slats.
I always favour Ronseal's Total Wood Preserver in clear as it's good quality and if I splash some on the cast iron's paintwork, it won't stain.
Pro Carpenter's Tip
Avoid products that simply don't say preservative or preserver on the label. My Dad informs while staining my fence panels it's just coloured water. Also, once stained, you'll need to keep it up when it fades.

Painting Cast Iron Bench Ends
For my next refurbish cast iron bench step, I painted a couple of thin coats of direct to rust metal spray paint the seat's frame. This allowed it to dry quickly and less waiting time between coats.
Alternatively, you could apply metal paint with a brush that is more hardwearing. But, it's thicker and takes longer to dry.
However, I think regular cans of paint are cheaper to use, reduces waste and are less harmful on your lungs and environment.

Drilling Holes for Wrought Iron Bench Wood Slats
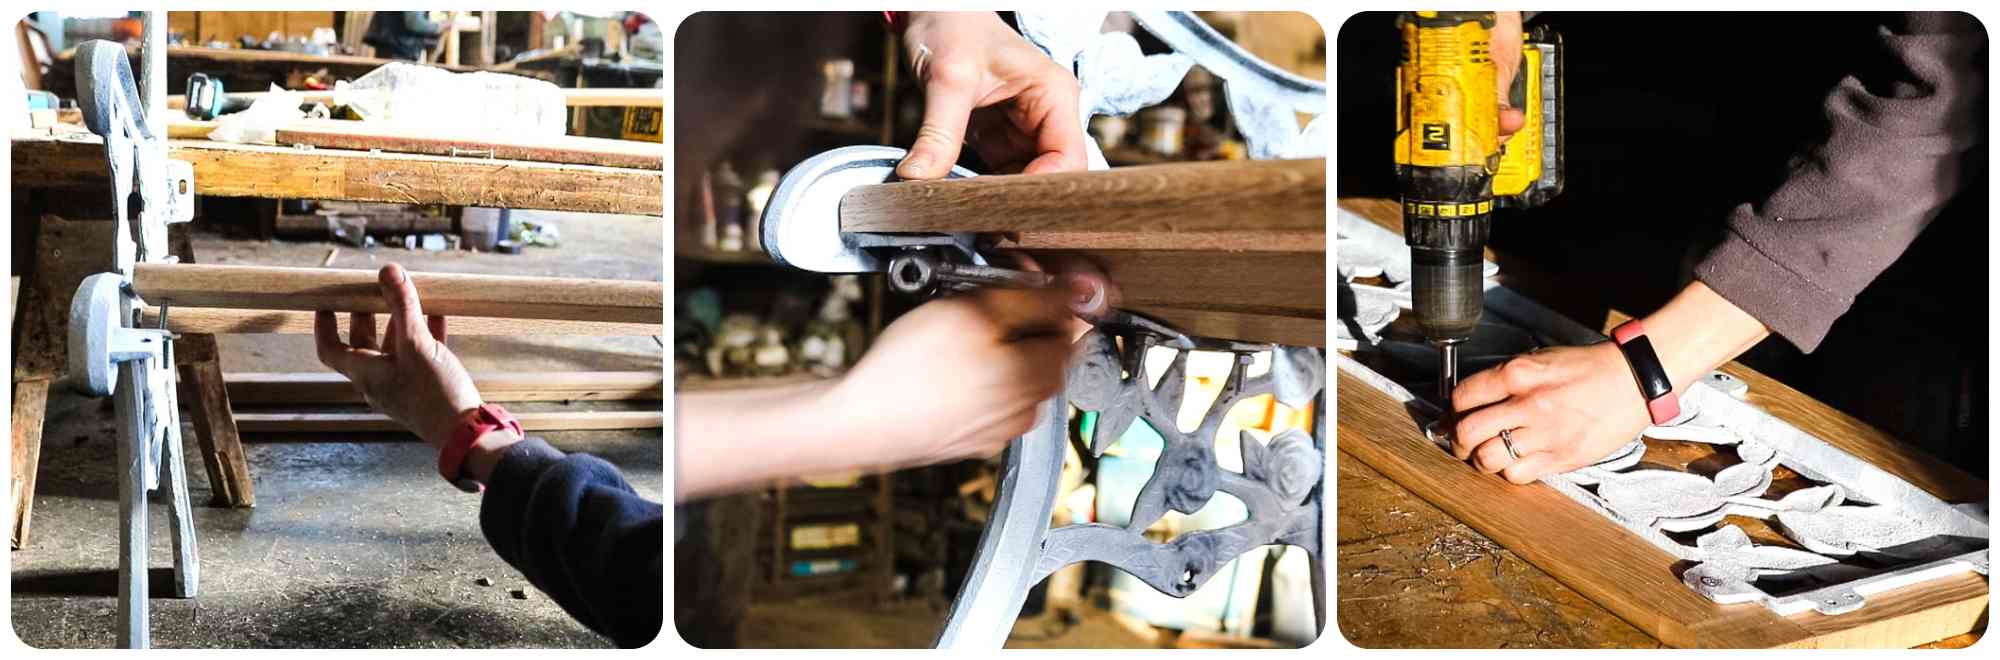
Now, remember when I said keep hold of the old wood? Well, now you need to line them up with your newly cut ones and mark where the bolt holes are.
My oak bench slats were shorter, so I needed to line up one end, then line up the other.
I recommend drilling with a small drill bit first for better accuracy, then move on to a bigger one.
Building the Garden Bench with Cast Iron Ends
This can be quite the juggling act if you're rebuilding your newly restored garden bench! I recommend pushing one end against a wall so you can slot and bolt your first wooden bench slat in so it's stable with the rest.
As for the backrest, I then predrilled and screwed the cast iron backrest to all my previously cut framed pieces.
BUT, if yours is ALL wooden bench slats, then slot them all in first after the initial one and THEN bolt it all up. If not, you'll struggle to get the last few in on an angle and will need to unbolt some.

Making Your Park Bench More Stable
The final steps you need to take are to add bench supports which stabilise the slats and prevent them from sagging.
I bolted one on either cast iron bench end and screwed the opposite side in the middle.
Then a middle strip, which I predrilled and screwed to the slats.

How to Restore a Wooden Bench
Cast Iron Bench Restoration with Wood Slats

Here's my latest cast iron bench restoration project with step by step and a how-to video to follow. I prep and repaint the rusty iron framework and replace the wooden slats and bring two garden benches back to brand new.
Instructions
- Remove all garden bench hardware and set old wooden slats to one side - (you'll need them later!)
- Remove all flaking rust - read post above for tips on how much you need to remove
- Clean and leave the cast iron ends to dry
- Rip timber down into wooden slats to match the old ones - read post above for which timber to use
- Cut the timber framing section for around cast iron backrest if needed
- Router or sand sharp edges off each slat
- Treat all wooden slats with wood preserver
- Spray paint cast iron ends with metal paint and leave to dry before adding another coat
- Line up new slats with the old ones to locate original bolt holes and drill through
- Bolt the bench slats to the cast iron ends
- Add the supports
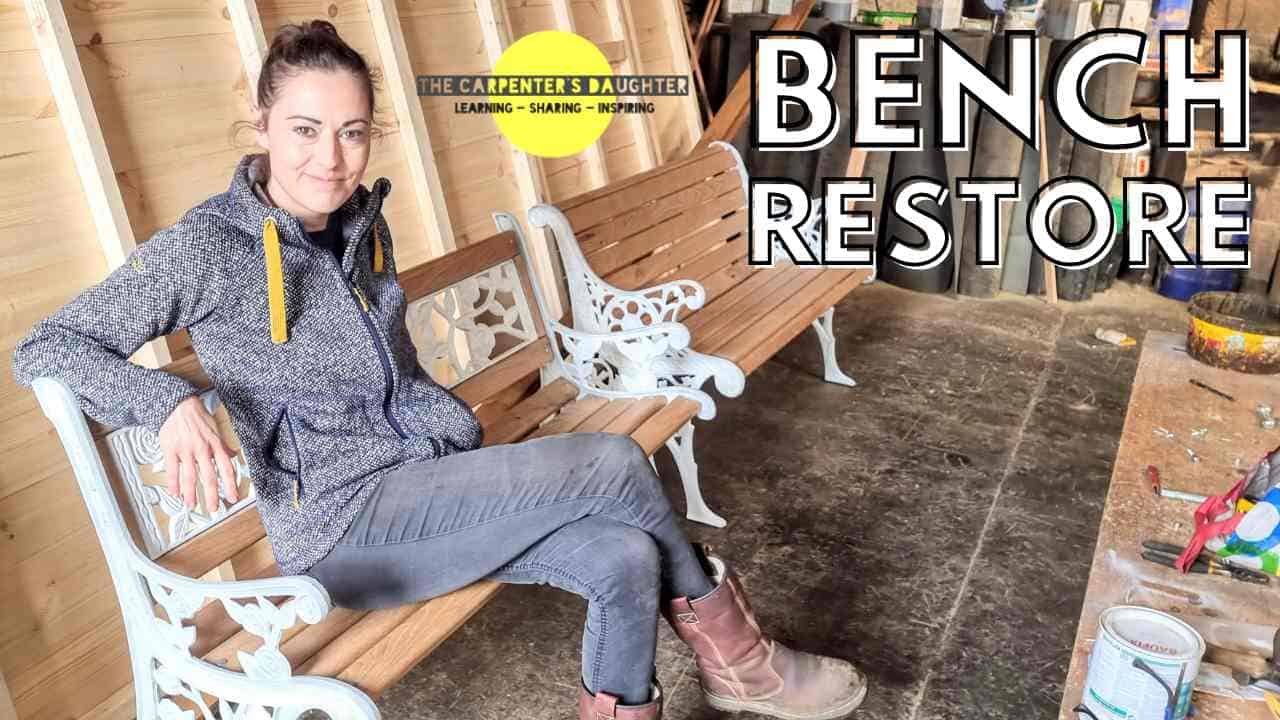
Pin This Park Bench Restoration Project

Dan Ouellet
What type of metal do you use for your bolts,nuts,washers, & screws?
Vikkie Lee
Hi Dan, these were probably zinc plated, but for the most durable, I'd use stainless steel.
MARY LAIUPPA
I used galvanized carriage bolts with washers and nuts but I painted them with the same stain/sealer I used on the wood.
Mrs Oxley
Just about to take my old cast iron back and sides to the tip, what ashame I didn't see your site earlier.
Darren
I have some bench ends from an old park bench. Where the wood bolts onto the ends the metal is curved and the slats were originally made to follow the curved profile. Most projects I've seen use flat slats, which is OK, but I'd really like to restore the bench to close to its original condition.
Do you have any idea where I can find curved slats?
Nadja Stevens
hi Vikkie Lee from Ontario, Canada!
I am planning on restoring my park bench with composite deck boards...no restaining - no rot - ever! LoL
Since I was gifted only the sides/arms, I have no slats to use as a template and I don't have the support pieces.
I can make the bench as big or as small as I want! wooohoo!!
I can figure out the hole positioning for the slats easy enough but what should I use as the supports underneath??
I was debating about using galvanized pipe strapping...
do you think that would work??
~ Nadja ~
Dee B.
Would you re assemble mine?
Only needs supports and hardware. Dropped by movers twisted support & broke hole in 1 slat.
MARY LAIUPPA
I just finished doing this. I've had my bench for around 30 years. The boards were rotten (even though I treated them when I bought it and repainted the iron white) and the iron was showing rust. I had to cut the bolts off and I used a reciprocating saw with a metal cutting blade. The original boards were 4 ft long and 3 inches wide. I bought boards at my local big box store but they were only 2.75 inches wide. I bought a wider board just for the top piece and cut it down. I didn't have a router so I used a hand plane to take the edge off the top and front boards and then a sander to round them. I used the sander to take the sharp edge off all of the seat boards. I treated them with Coppercoat for pest and water and then put two coats of a stain sealer on them that is guaranteed for 25 years. For the iron I used a wire brush on a drill to take off as much surface rust as I could, then used some sandpaper, cleaned it and then treated all of the iron with a rust "reformer" and then applied two coats of a color to match my cafe table and chairs. I had to buy longer bolts but I couldn't reuse the original ones anyway. I just finished reassembling it today and I love having my bench back and even more beautiful to match my other patio furniture.
I wouldn't hesitate to buy a bench that needed work providing the price was extremely low and I would definitely pick one up for free from the side of the road. All together I probably spent less than half the amount in supplies that a new bench would cost me. I really enjoyed the process of restoring my bench and I'm proud of the result.