
A super easy DIY bench jook for Japanese wood block carving and linocut printmaking with an anti-slip mat. Includes free plans using 12mm MDF offcuts to make it as cheap as chips!
Follow along with my how to make a bench hook video here.

I'll be honest, buying a ready-made linocut bench hook is dirt cheap for linoleum block carving, which you can pick up between £6-13 depending on the size you want.
But, if you're like me and you're inundated with offcuts and you know some basic woodworking skills, then this tutorial is probably for you!
I wanted to make mine to take on my narrowboat to carve linoleum over Christmas, while also adding a couple of extra easy features.

How is a Bench Hook Used?
A wooden bench hook is a very simple device that consists of a
- flat piece of wood
- lipped piece of wood on the edge of the bottom to "hook" onto the end of a workbench.
- another lipped piece of wood on top's opposite edge
You could call it a flat S hook that's designed to push against a work surface and the other edge stops your project from moving.
What is a Bench Hook Used For?
There are loads of different types of bench hooks you can make. But they have the same purpose of keeping something steady while creating an additional workspace, to prevent damaging what's underneath.
You can make one for woodworking and cut crosscuts and mitres with accuracy using a Japanese pull saw, etc. But my bench hook is for wood carving offcuts as I have SO many, and relief linocut carvings.

What's Unique About This Bench Hook for Lino Cutting?
Although not vital, my lino bench hook plan was to give it a:
- right angle mitre shaped hole along the top so I can push my lino against it to angle.
- Another mitred side piece to rest a4 lino or Japanese ply on an angle, or hold in the corner
- An optional non-slip mat if I want to work closer to my body
- I've also created a horizontal design to reduce back ache as oppose to a vertical bench hook

Things I Used to Make a Lino Cutting Bench Hook
Please note that as an Amazon Associate, I earn from qualifying purchases made through links.
- 12mm MDF offcut for the table section (see below for alternatives)
- 18mm MDF offcuts for the lipped pieces (see below for alternatives)
- Anti slip mat
- Titebond glue
- Spring clamps
- Combi drill
- Impact driver
- Nail gun
- Band saw to rip offcuts, but you could use a hand saw or jig saw, etc
- Stanley knife
- Carpet adhesive
Free Bench Hook Plans

How to Make a Bench Hook

The main thing you'll need is a table part of your bench hook. Mine is 300mm x 400mm (30cm x 40cm) piece of 12mm MDF, which was already in my offcut pile.
Then after cutting a bit of non-slip matting to the same size, I used carpet spray glue and pressed it on top.
Do I Need to Use MDF?
Absolutely not! MDF is just a really cheap material, which I believe most produce with it because it keeps costs down.
Also, it's not great with moisture, so you may want to seal it with PVA solution or varnish if you're using it for wet projects.
Alternatively, you could use plywood, softwoods like pine - providing your lipped pieces are thick enough to hold screws.
The flat piece could be thinner material, but not, it's likely to be more flexible which isn't as great for transporting or storing.

Cutting Timber for the Hook
Next, I reached into my offcut pile and roughly a 2" wide piece that I ripped in half with my band saw.
You could clamp a wider piece to a workbench and use a jigsaw to trim off bits you need. Or use a hand saw.
Better still - buy some batten and just cut what you need. You'll need two pieces first to the same width as your piece. Then, add a 45 degree mitre to one end of each of them to create a v-shaped holder.
What Tools Could I Use to Create Mitres?
- Mitre box with a hand saw
- Roofer's square, then a hand saw
- Band saw with 45 track
- A mitre saw
Mounting the 45 Degree Lips on the Top
Next, work out the centre point of the edge, which is where your mitre joins will kiss. I recommend holding a piece of perfectly square lino here for accuracy.
Then mark where you need to cut the two pieces down to match the width in total.
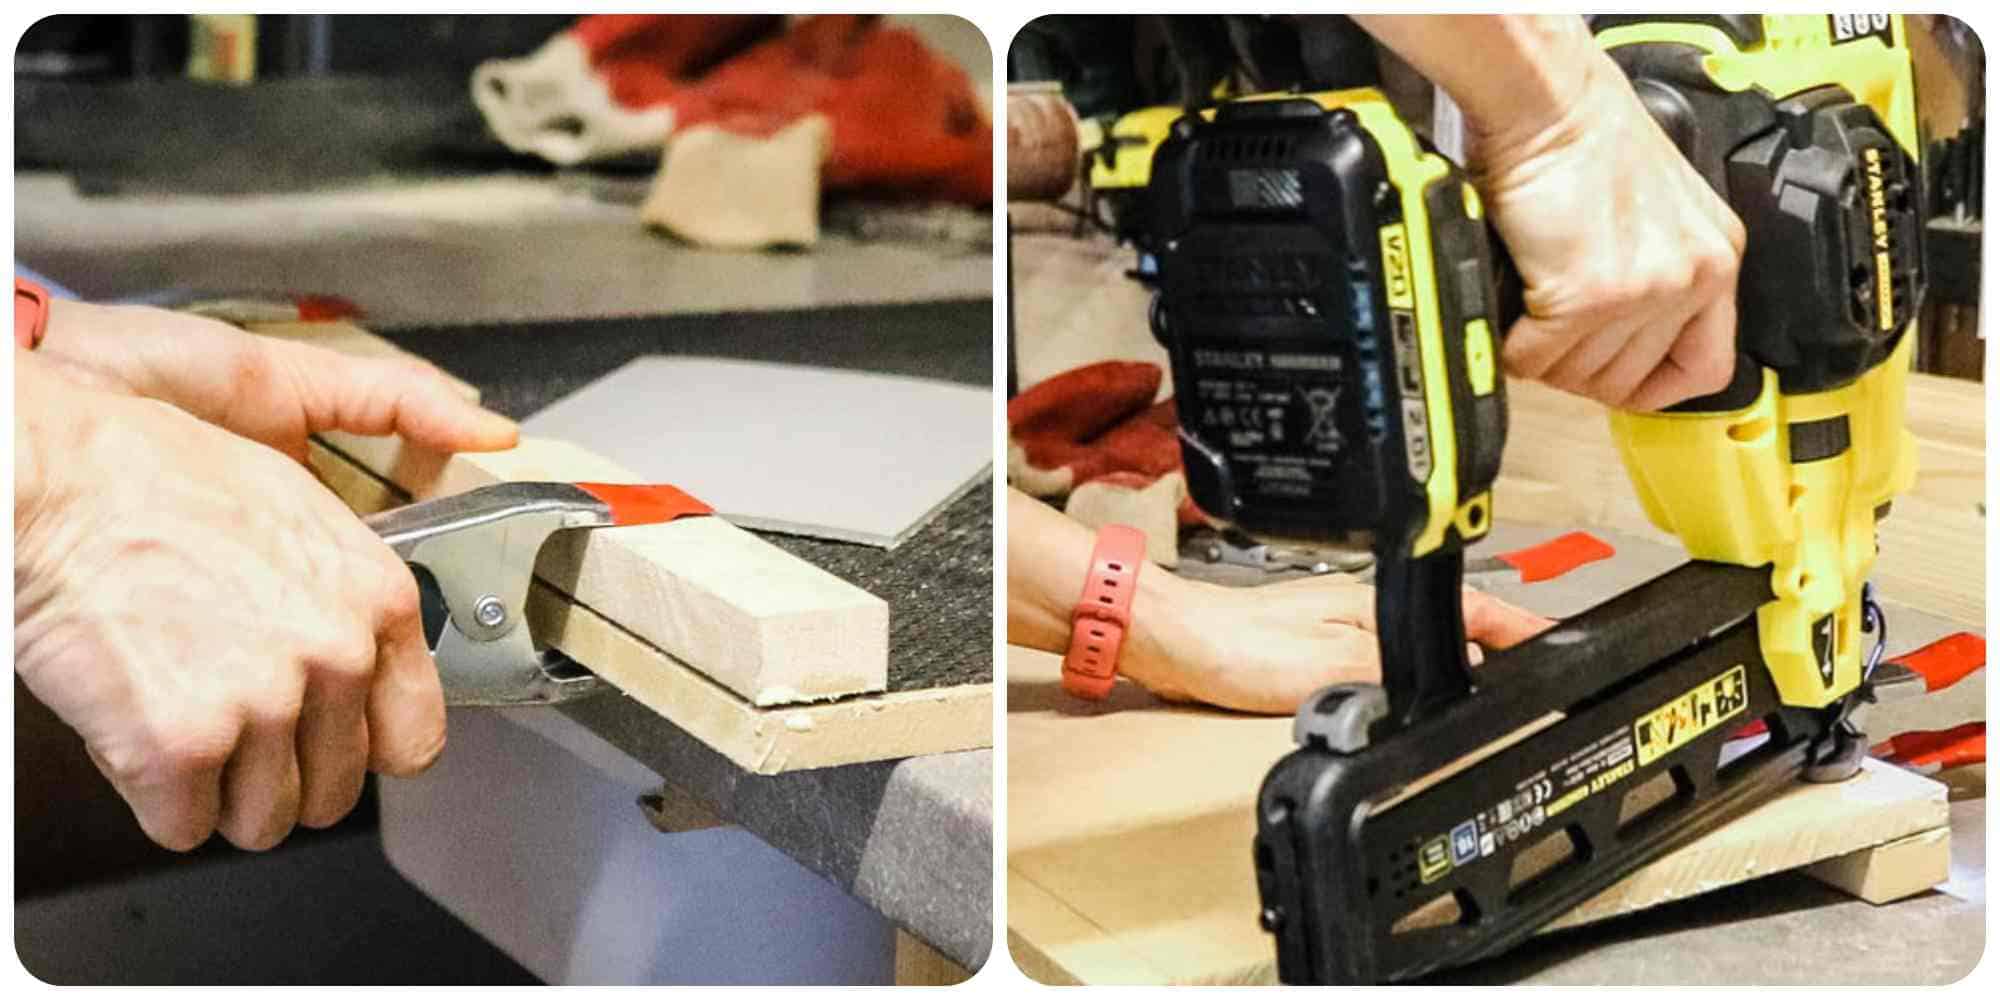
Once cut, glue and clamp the pieces together so you can nail or predrill and screw the table section to the lips.
*Heads up! Be careful with a nailgun, despite using short nails. The MDF has to go somewhere and I got some little bumps on the good side. Annoying if fussy, but not the end of the world!

Adding the Workbench Resting Piece for the Linocut Bench Hook
This next step is dead easy as there are no fancy cuts. Unless you want to make it reversible without a non-slip mat? *In fact, I use this side to blu-tack lino down, then sellotape any prints face down that I want to transfer using the back of a spoon.
You need to cut a piece to the same width as the bottom of your board, then glue, clamp, pilot hole and screw to the end.
Note, you'll need to pull back some of the non-slip while it's still tacky, then press it back down. Although you could still screw through it I suppose as it's usually an open weave.

Creating a Mitred Corner Support
As the mitred corner only supports about 1.5" of the top corner of my lino block, I thought it would be more beneficial to add another mitred piece in the corner.
Note, I am right-handed, so I positioned mine on the left. If you're left-handed, you might want to do the opposite.
I held a piece of A4 lino block in my V-shape and measured and cut another mitred piece

Alternative Bench Hook Use
For those who don't know, my printmaking linocut designs start while taking time off on our 57ft narrowboat. I pack my whole linocut kit, along with my linoleum linocut bench hook!
My best linocut tool set up while in my armchair is to hook it upside down on an angled overchair table. Other times, I use it in the traditional way on our dinette table.
Linocut Prints I've Designed With My New Bench Hook
Here are all of the lino carvings I've designed now available in my dedicated CarpentersDaughterGB Etsy lino print shop, featuring our favourite travel moments using my bench hook!
- Sleeping dog linocut
- Tri Border Collie linocut print with tennis ball
- Linocut boat with canopy
- Narrow boat linocut
- Brittany beach, France linocut boats art
- Coffee linocut art captured in France
- Gibraltar lighthouse linocut print
- Eiffel tower linocut
- Carpenter art for creative workshops
Similar Tutorials You Might Like
- Linoleum block printing onto fabric, including how to carve linoleum!
- Carving signs into wood for a DIY coat hook and dog leash holder
Quick Steps For an Easy Linoleum Block Printing Bench Hook
Non-Slip DIY Bench Hook for Wood Block Carving and Linocut Printmaking

Materials
- 12mm MDF offcut for the table section (see below for alternatives)
- 18mm MDF offcuts for the lipped pieces (see below for alternatives)
- Anti slip mat
- Titebond glue
- Carpet adhesive
Tools
- Spring clamps
- Combi drill
- Impact driver
- Nail gun
- Band saw to rip offcuts, but you could use a hand saw or jig saw, etc
Instructions
- Cut the pieces as per my free bench hook plans
- Spray glue the anti-slip mat to the top of the largest piece
- Clamp, glue and screw the two mitred pieces to the top section, creating a v-section for your lino blocks or Japanese ply
- Clamp, gue and screw the longer lipped piece to the bottom of the bench hook that will be closest to you
- Clamp, glue and screw the final mitred corner piece to the left if you're right handed or right if you're left handed
- Enjoy using!
Notes
Alternative Materials
I used 12mm and 18mm MDF as it's super cheap and I have a lot of offcuts. Note, you should be wearing dust masks when cutting!!
However, you could use softwood like pine if more accessible, or plywood, etc.

Comments
No Comments