
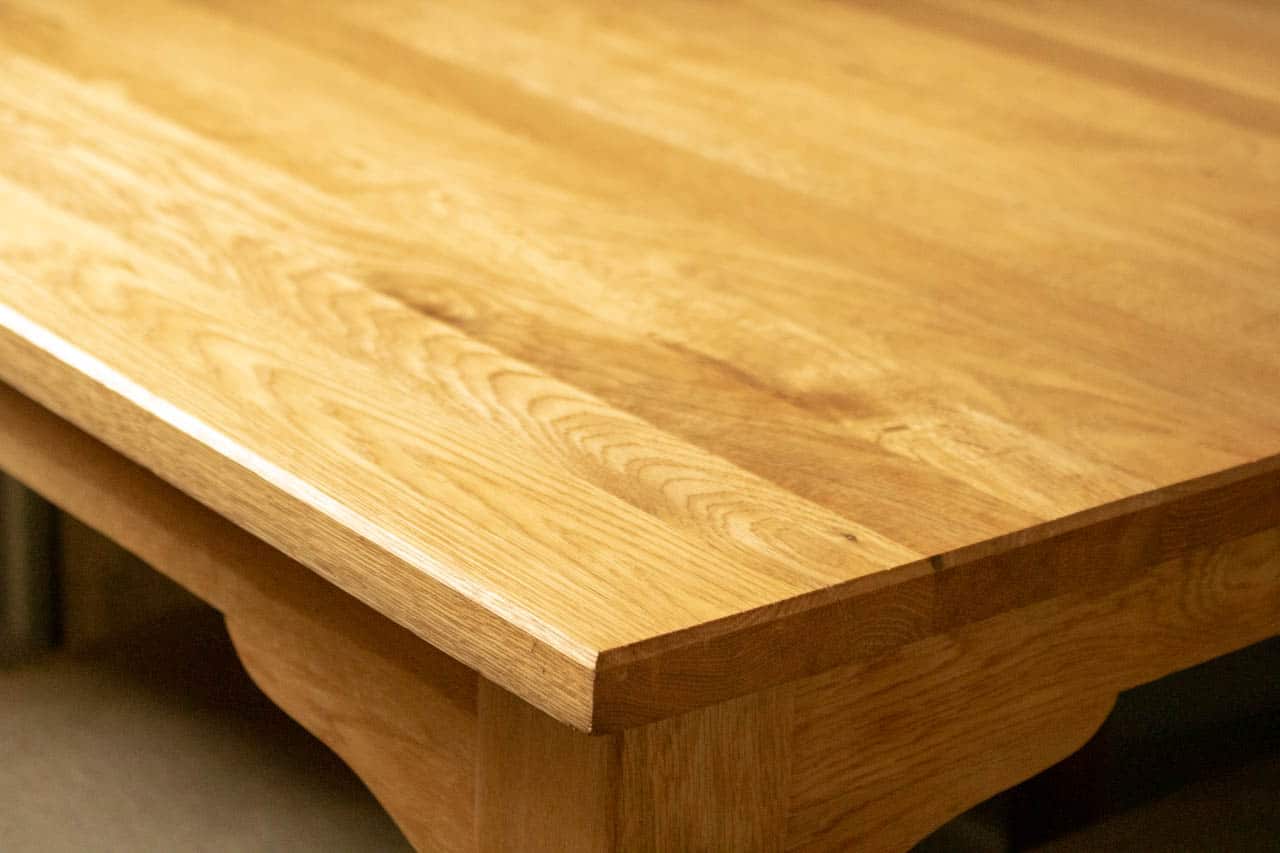
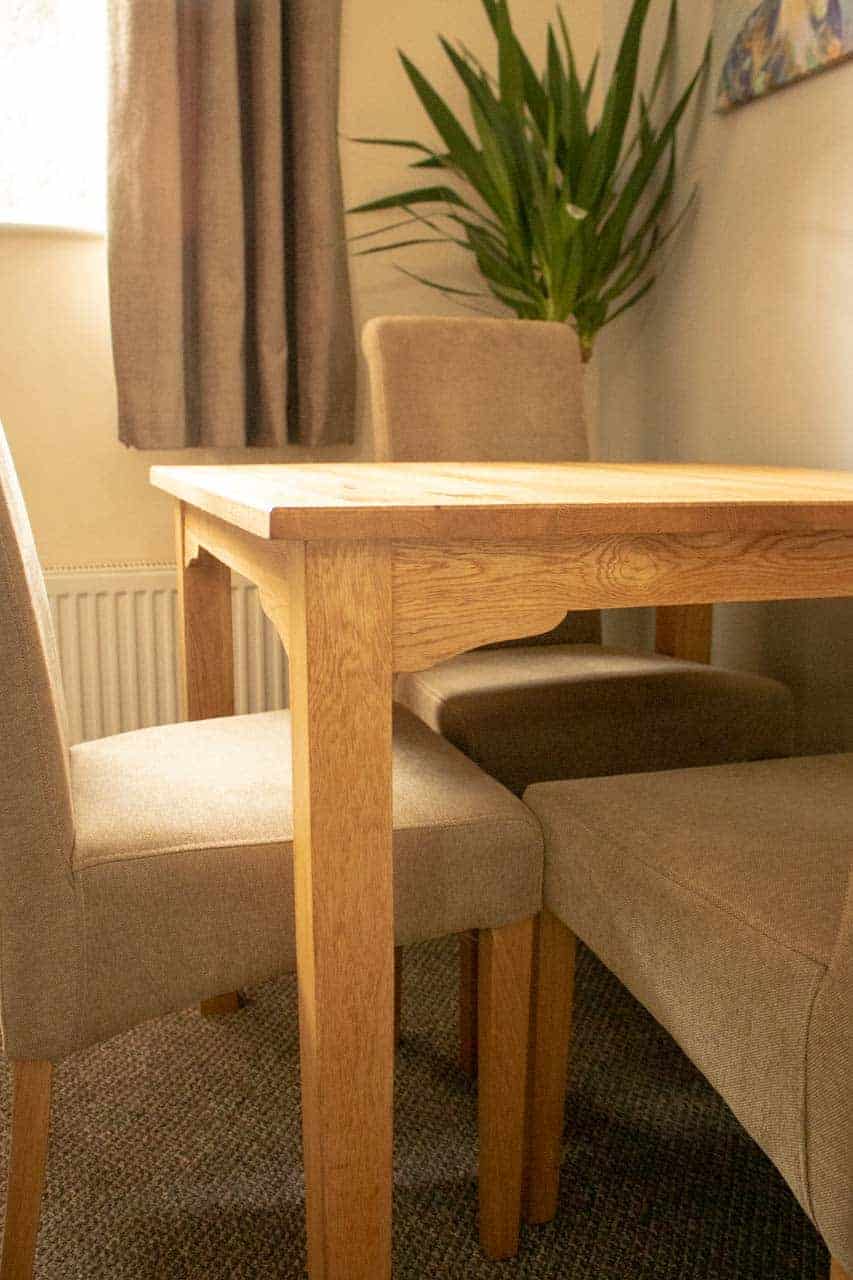
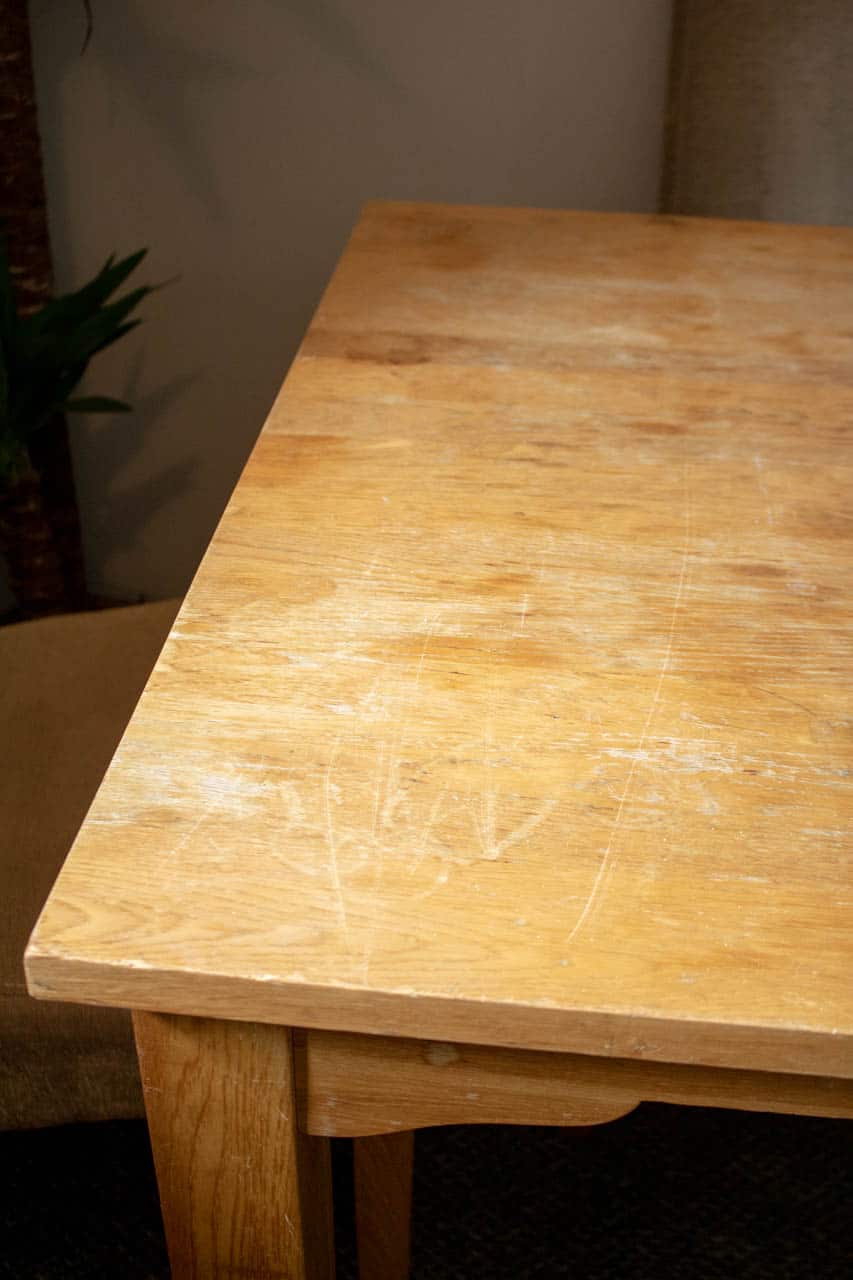
Here I show you how to restore oak furniture easily to bring something like this dining table back to life. It had a lot of scratches and grey patches which I scraped away. Then after minimal sanding, sealing with Danish oil.
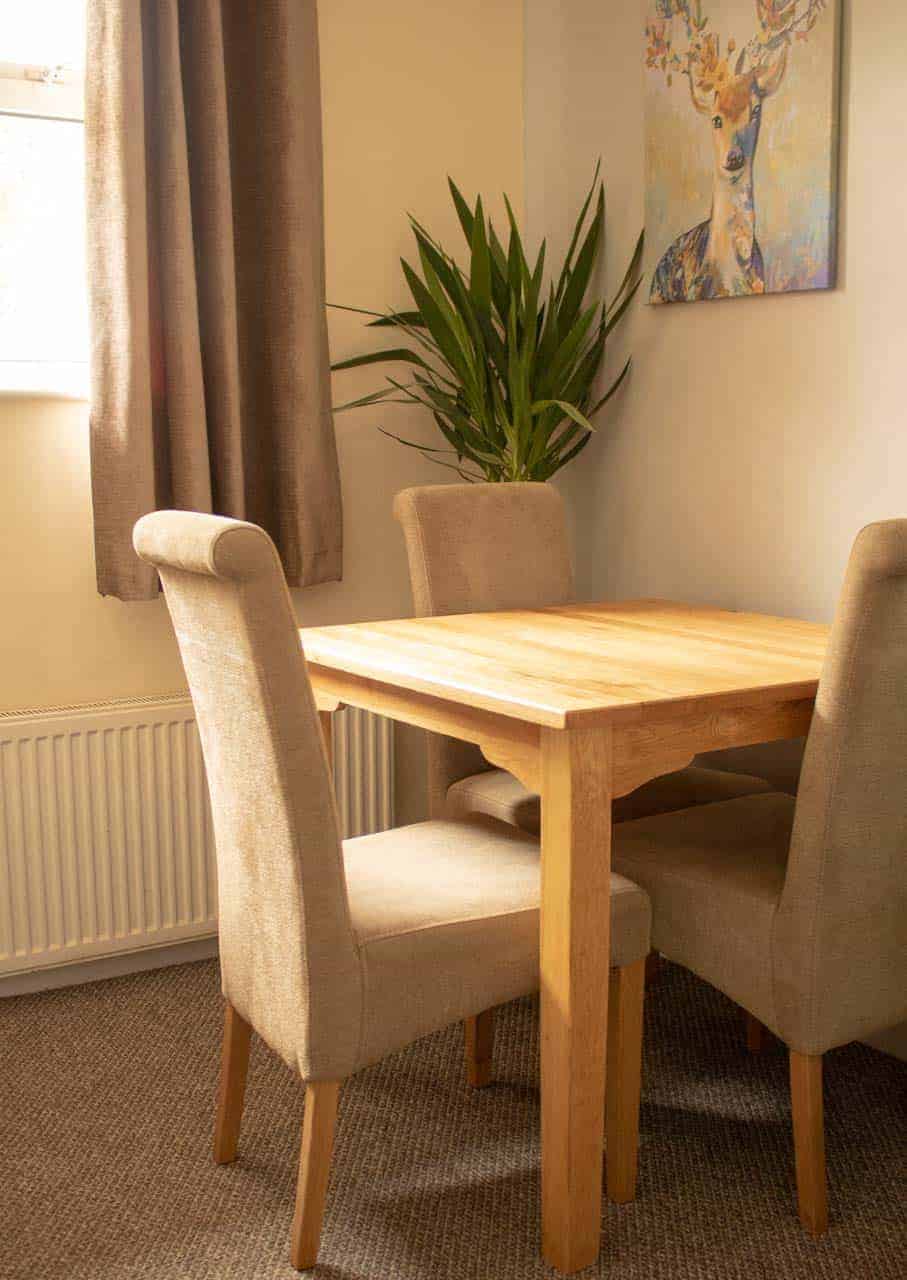
I never knew how much I'd appreciate finer woods after I restored this second hand oak dining table. I bought it on a whim at my local dump it site shop for £3. With my finishing a lot of DIY projects, I didn't feel wood restoration was beyond me.
I quickly noticed when tackling my furniture restoration project that although it had a lot of surface damage and stains, it was quality oak. In no doubt it was currently a rustic wood dining table, which perhaps would suit some. And it was a good build at that! Although as it was dismantled, I wasn't even sure all the parts were there.
But we had a larger one (also 2nd hand) with matching chairs and needed to downsize. So I was sure I'd fine some nuts and bolts if needed. But worst case scenario, I could cut it up to make some handy kitchen pieces.
Thankfully everything was all there. But as I've only really been surrounded by pine and soft woods for sheds and fencing, I didn't know how to restore. At least using more professional methods.
So I asked on my Facebook page. (I am extremely grateful that I usually get replies within half an hour). And one of my favourite suggestions was to use a carbide scraper.
This proved extremely effective because it cut down on annoying sanding time. It prevented any over sanding in areas which can leave uneven surfaces. And I found it really therapeutic caring for an old timer.
Things You'll Need for Refinishing Oak Furniture
- Bahco carbide scraper - this makes restoring oak furniture less messy!
- Orbit sander
- 120 grit sanding pad
- Router *optional to add profile to edges of table top
- 45 degree router bit *optional
- Danish oil
- Lint free cloth (old shirt or bed sheet will do)
- Large rag or sheet to catch shavings to save on hoovering up
How to Restore Oak Furniture
One of my oak furniture restration tips is to put a blanket or sheet down as a work surface to help catch shavings as you go.
This will cut down on your hoovering later while you restore an oak table.

Remove the lacquer with the carbide scraper in long strides and in the same direction as the grain. Luckily the scraper is already set up for you and can be used straight out of the packaging.
To use it, push down on the knob while pulling it towards you. Note I was careful to not put too pressure on it as I read some reviews of the blade breaking on them. Thankfully I never had this issue as I feel my project was quite small.
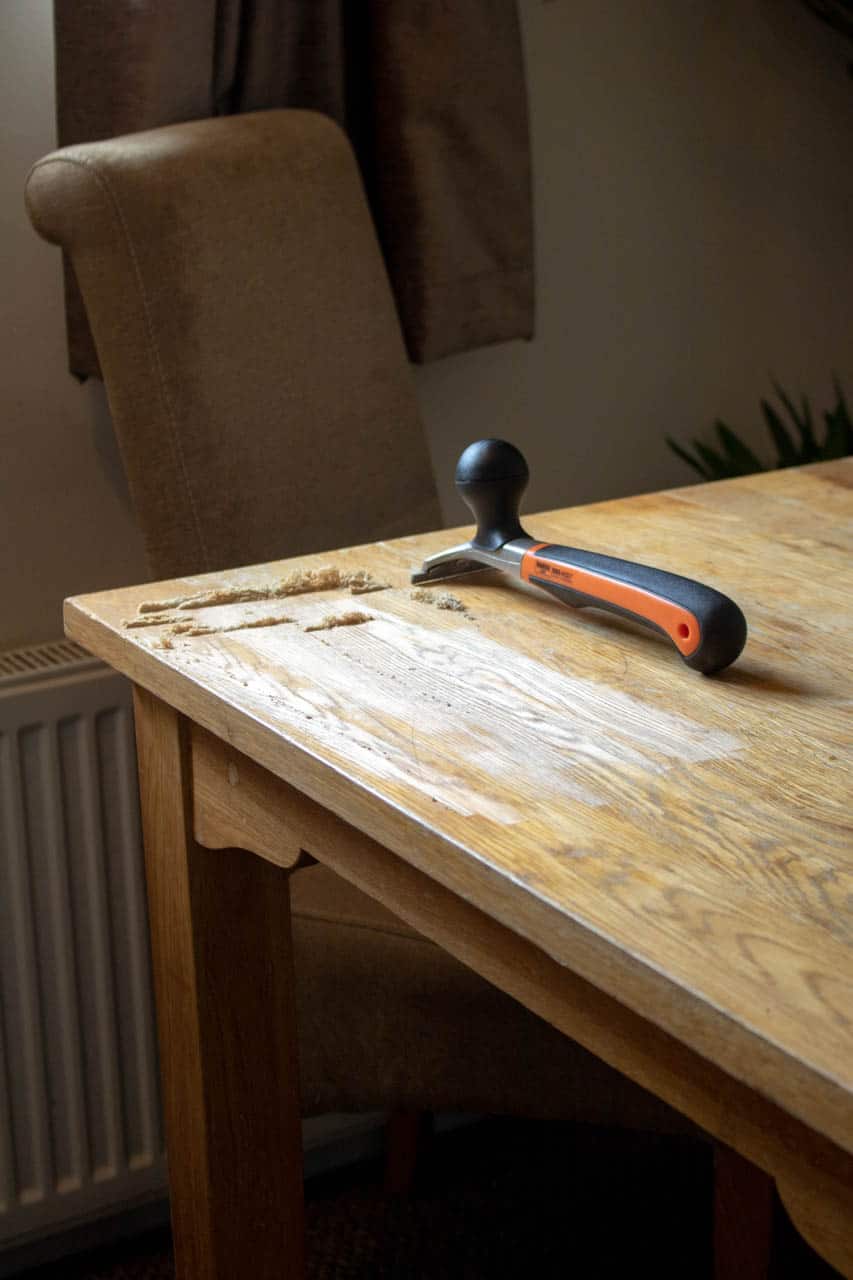
Repeat this all over your project, removing any shine, scratches and shaving out as many stains as you can. I did this until Or at least until I was happy enough.

Then sanded everywhere with 120 grit sanding pad on my orbital sander.
Routering the Edges For a Less Sharp Edge
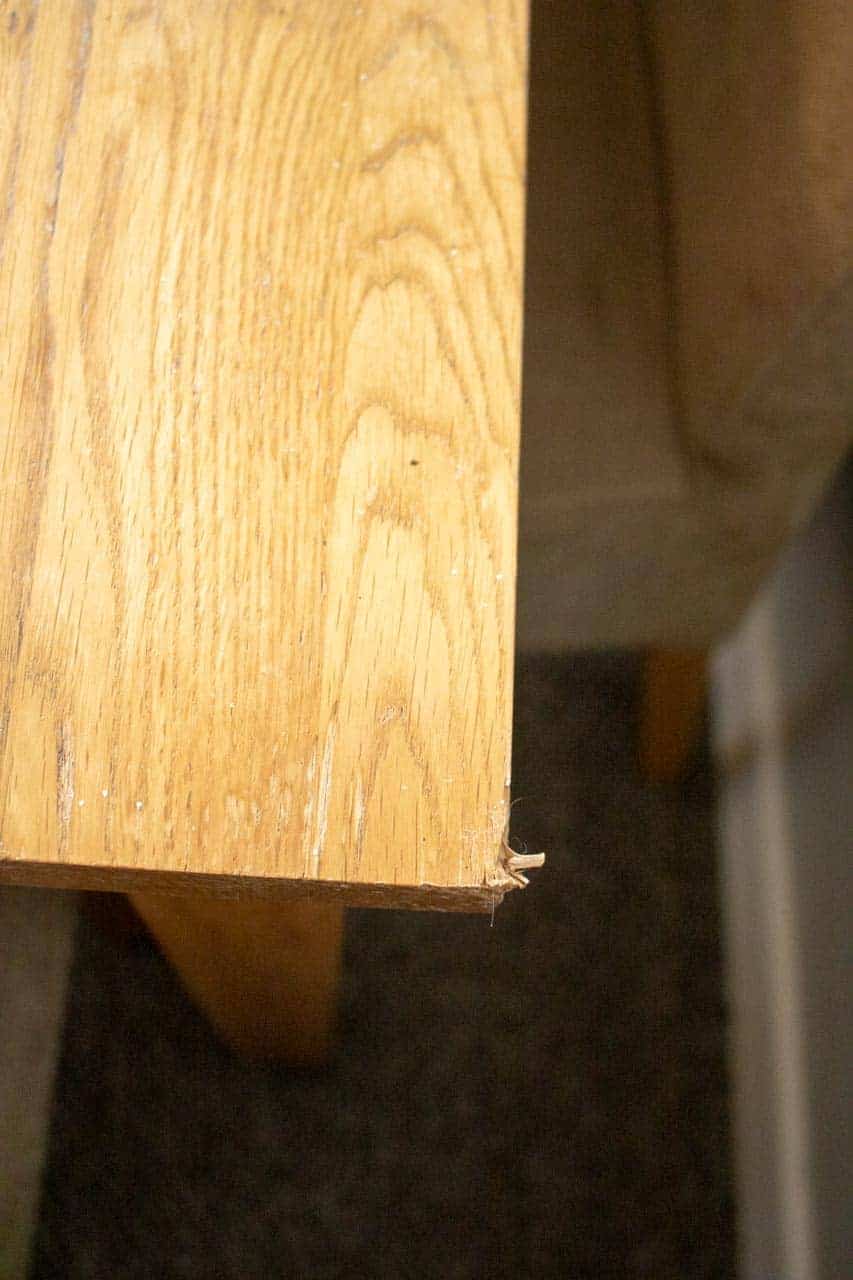
If the edges of my oak dining table weren't damaged, then I probably wouldn't have softened the corners.
However, I now love the end grain showing after oiling and it adds a more sophistication and interest.
To do this, I put a 45 degree bit in my router and removed the sharp edges and went around it twice.

Finishing My Oak Dining Table
Not knowing what the best finish product to use for this furniture refinishing table project was also a question I had. Many recommended Osmo on my Facebook page, but it was rather pricey for me to justify.
Although I love an elegant dining table, we're secretly food tray in front of the TV people. So I decided to treat it with Danish oil.
While researching, I found Danish oil offered a waterproof and stain resistant finish. Or it could be treated as a primer before using a varnish to prevent scratches. But, you will need to leave it for two week afters wiping with Danish oil.
Idea: Make a DIY Board Table Instead!
Another way you could it is to turn it into a DIY gaming table which is a new project for 2022! By designing a homemade chess table cut out on my Cricut Maker 3, I was able to create something for some cheap family fun!

HOW TO APPLY DANISH OIL TO OAKWOOD FURNITURE
To restore my reclaimed wood dining table, I ensured it was dust-free. You can do this with a hoover, brush or wiping down with a tack cloth and leave to dry.
Then, after opening my door and window (although should really be done outdoors, I liberally applied with a lint free cloth.
I rubbed all over. (You may want to test on an off cut first). Then left for 20 minutes before removing the excess with a clean lint free cloth.

I left it overnight, or you can leave for about 6 hours before applying again. Although you'll nee less on the 2nd round as it won't absorb as much.
Again, leave for 20 minutes and buff the excess away again. My tin recommended a 3rd coat if wanting to use your table outside.
I also repeated this whole method, but this was after paint scraping about 5 layers of colours on our entryway electric cupboard. I've always wanted to do this, but think a heat gun would have made it quicker.

I just love how my newly refurbished furniture turned out! I took a chance and it paid off. I found to buy one similar brand new would have cost me about £339. And how convenient we already had some spare old wooden chairs that matched!
My total spend was £29.49. Here's my breakdown:
- Oak dining table £3
- carbide scraper £21.49
- Danish oil £5
Verdict: It was completely worth my time to redo furniture!
How to Restore an Oak Dining Table
Equipment
- Bahco carbide scraper
- Orbit sander
- 120 grit sanding pad
- Router *optional to add profile to edges of table top
- 45 degree router bit *optional
- Lint free cloth (old shirt or bed sheet)
- Large rag to help collect wood shavings
Ingredients
- Danish oil
Instructions
- Put a rag or sheet down directly underneath your project.
- In long strides, scrape the furniture with a carbide scraper, in the same direction of the grain. *See notes above or follow video below on how to use it.
- Repeat until you have removed all shiny lacquer or paint, scratches, ring marks etc. If you have any dints, you may need to fill with a natural colour wood filler.
- Once you're happy with your piece, sand everywhere with 120 grit using an orbit sander until smooth.
- If you have any damage on the edges or your piece, you may want to consider routering them out. I.e., I had to use a 45 degree router bit to remove damage, while giving it a new profile.
- Now take the piece of furniture outside if possible and providing the weather forecast is dry. Remove any dust off your piece and apply Danish oil liberally everywhere with a lint free cloth.
- Leave for 20 minutes for the wood to soak in as much as possible and then wipe away any excess with a clean lint free cloth.
- Leave to dry for a minimum of 6 hours before applying another but thinner coat and repeat the timings.
- If you would like to use your piece outside, you will want to add more coats. But, if you want to varnish it, you will need to leave it to dry for a minimum of two weeks. If two coats is enough, put your newly restored furniture in place and leave it.
Video
Pin This Oak Furniture Repair

More Furniture Restoration for Beginners
- How to paint furniture quickly
- Make cheap homemade chalk paint with calcium carbonate
- How to restore and paint an oak door with glass panels
- Upcycle a drawer into an insect hotel
- Painting furniture for profit
- Repainting a washing machine with enamel paint
- Whitewashing wood painting tutorial
- How to paint a wooden plant stand for indoors
- Wood turning basics for beginners

Malc Alder-Smith
Thanks for your advice on this Vikkie
I just bought a large second hand oak dining table and chairs and want to renovate them over the winter months.
Your advice has been really useful.
Vivian
That looks great, I have a 'high street' store oak table about 10 years old, the surface has been damaged by cold items placed on it especially glasses of ice water. I always protected it from hot items.
Do you think the scraper will be too fierce? It has a low sheen lacquer which is starting to flake off where the damage is.
David Larey
Thank you for the advice.
Can I use raw Linseed Oil on my oak chair instead of Danish Oil ?
I live in South Africa and cannot get Danish Oil.
Vikkie Lee
Sorry I haven't replied sooner. I didn't know the answer, but a friend on facebook has come back with his, if it helps:
Certainly but keep in mind that raw Linseed oil will be very slow to fully polymerize. Whatever the instructions suggest (48 hrs./72 hrs./etc) double it. Temperature and humidity will also affect "drying" time.
Also, the wood surface will not harden as it would with Danish oil. It will be only slightly harder than the original wood. It will harden a bit more over time.
Annette
A brilliant well written article and very helpful thank you.