
Here's my simple tutorial on how to shabby chic a table without using Annie Sloan for a vintage style. This can apply to any shabby chic furniture. Includes a how-to video guide to help.

Some of you may know I used to run a vintage eBay business. And I enjoy scouring the internet or jumble sales near me for unloved pieces of furniture.
So it made sense to learn a new skill last year and restore my finds into loveable pieces again.
It doesn't matter how big or small your table or other old furniture you want to update. This will still work for you!
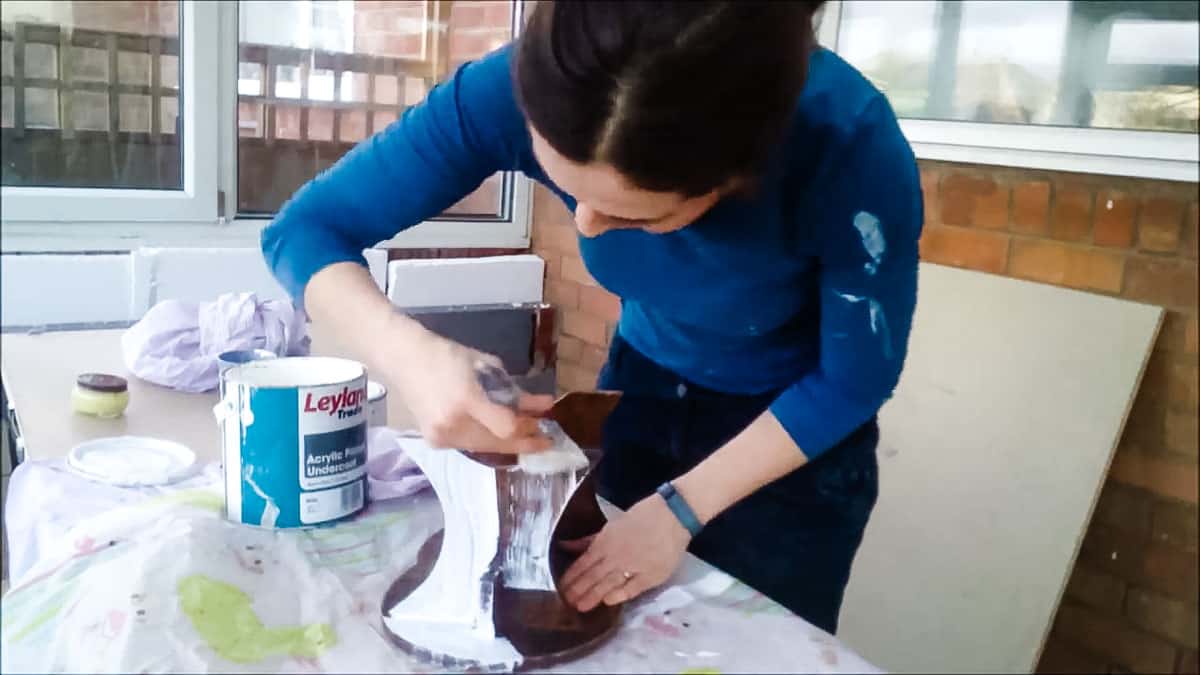
Why Shabby Chic an End Table?
There's a few key reasons I often choose painting shabby chic style. And I think the following reasons are also why lots do this for quick wins when selling shabby chic furniture on Etsy, or Ebay, too:
- It prevents the need to fill chips or damage to furniture
- There's no need to aim for the perfect paint job
- It's quicker to do - don't always need to prime
- Dries really quickly
- Any future chips will create a more rustic furniture feel
- You don't always need primer.
- Chalk paint is often not toxic
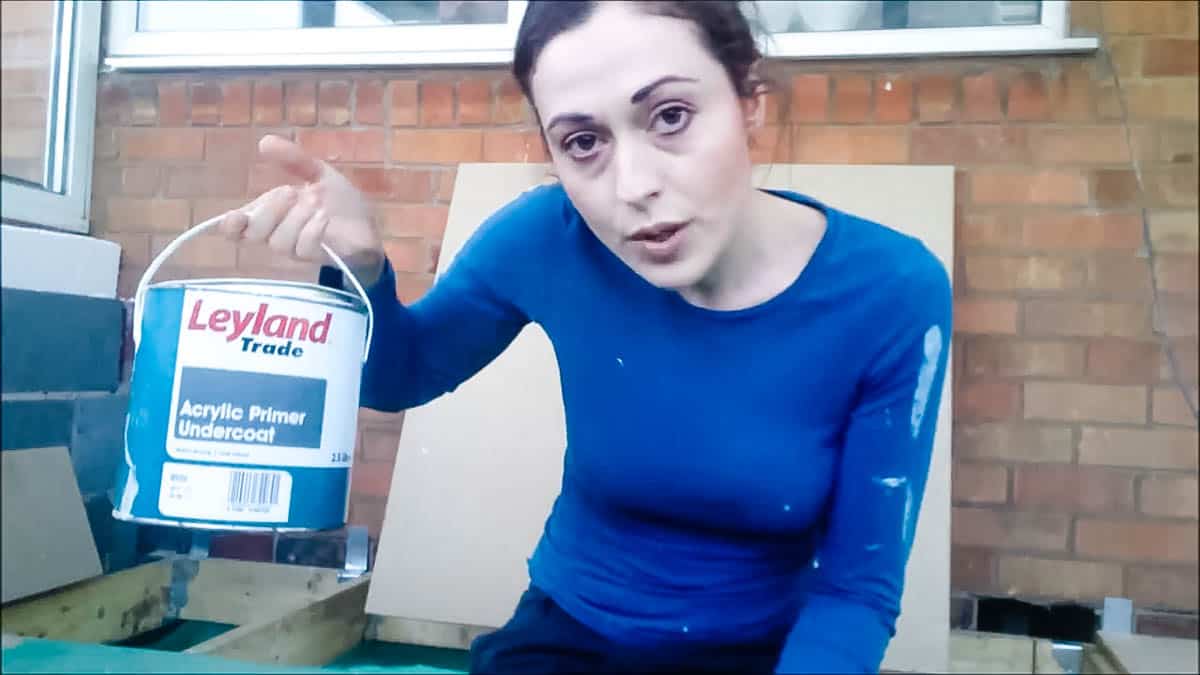
What's the Best Shabby Chic Paint?
Firstly, the great news is that there are often new products coming on the market. Some are self-priming, some are self-sealing. 2022 Update: I love using Rust-Oleum's Chalky Furniture Paint if I'm in a rush.
BUT, if you want to save money you can make my own chalk paint recipe for pennies! I do this with calcium carbonate a lot because you can mix it with leftover coloured emulsion, making it perfect with tester pots, too!
Some like Frenchic, Annie Sloan and more. But I feel they're more like boutique paints, so expect them to be much more expensive! However, if in doubt, use a primer!
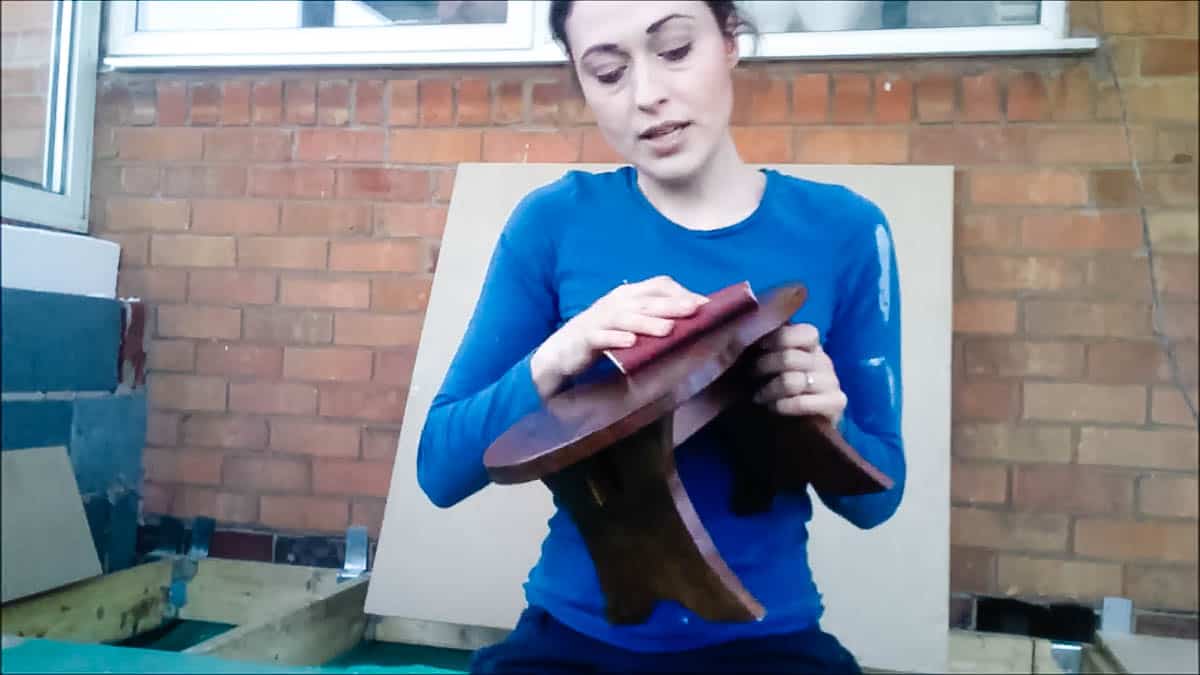
Tools Needed for Easy Shabby Chic Painting
- Sandpaper to key (if not using self-priming chalk paint)
- Primer (if not using self-priming chalk paint)
- Wickes' Chalk Matt Emulsion Paint (or similar)
- Clear furniture wax*
- Dark furniture wax if you want an aged look*
- Or varnish instead of wax*
*Top tips:
- Lord Sheraton's Caretaker Balsam is very accessible in supermarkets
- You can either varnish or wax - one or the other
- If you prefer varnish on a vintage look, I recommend dabbing over with a stain and wiping it off immediately
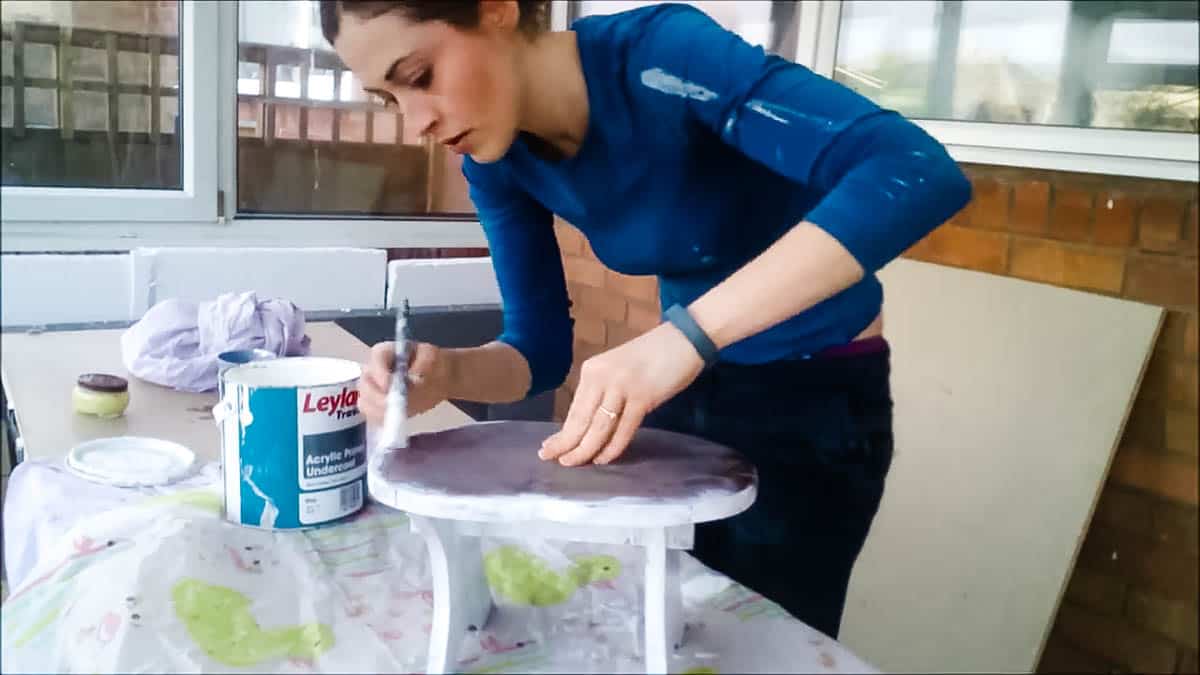
Step by Step for Painting Shabby Chic Style
If you're unsure about the paint you're using, you're best keying the whole piece with sandpaper and giving it 2 coats of primer.
Shabby Chicing on Old Paint Layers
If your piece already has paint on it, you don't necessarily need to strip it back to bare wood, which may mean you need primer.
However, if the paint job is bad, like drips, chips and flakes, you'll need to sand down, fill or remove anything loose.
Adding paint on top of paint can be as simple as a light keying and degreasing. And during any distressing, the contrasting layers will add more interest.
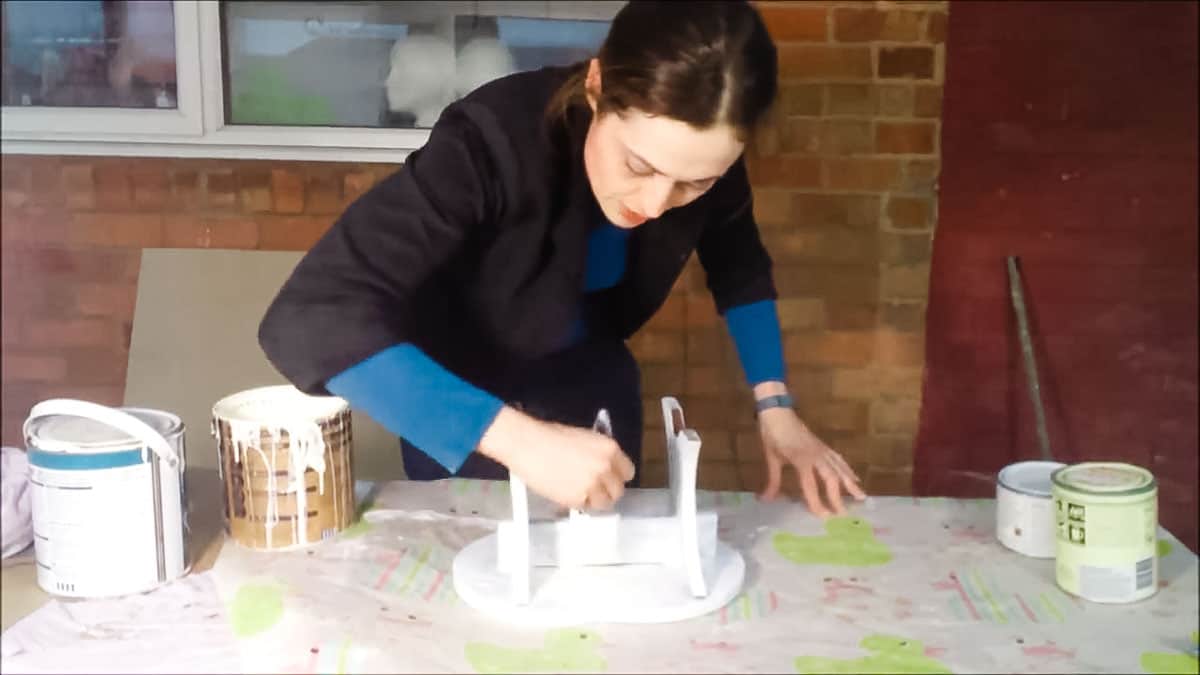
Painting with your Chosen Chalk Paint
As I'm using Wickes chalky matt emulsion paint, I started off with primer.
Then for my colour, I gave it two coats of paint with a brush, which will offer more texture.
If you want a very smooth finish, I recommend using a smooth HD foam roller.
Tips for Painting Shabby Chic Furniture
- If you want a heavily distressed and vintage coverage, you may prefer only adding one coat of paint as any dark wax will enhance the look
- Leave the coats to be touch dry in between and avoid overbrushing, which can lift the first layer
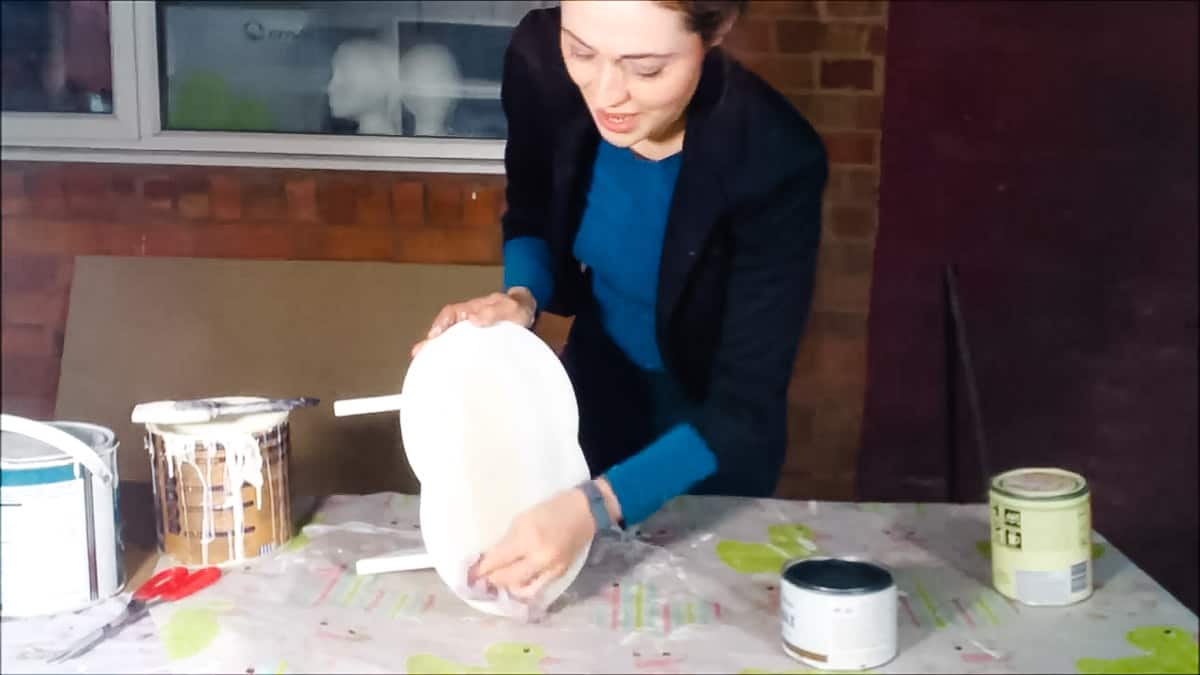
Choosing a Finish for your Shabby Chic Table
First, I hand sanded any edges to give a worn, aged look. I don't recommend doing this AFTER sealing your table, as the edges will look too new.
Start light and keep taking a step back.
Sealing Your Furniture Paint
If you need something hardwearing that can cope with water spillages, I recommend using a water-based stain and gently wiping on and off. Then once dry, use something like polyurethane.
You can buy water-based varnish as I did in my drop down floating desk, but after several coats, found it has turned quite gummy, so I now longer recommend it.

More Painting Furniture Tips
You might also like my more in-depth post on painting furniture without sanding. It's also a guide on painting furniture with chalk paint I make myself, which I think is the best paint for upcycling furniture.
Or, you could follow my how to make whitewash paint tutorial for even quicker upcycling.
I also show you how I used to make money upcycling furniture with my old flipping furniture business here in the UK.
More Table Projects You Might Like
- How to upcycle a cable reel into a picnic bench table
- Quick and easy coffee table inspired by IKEA
- DIY side table
- Upcycling a table into a DIY board game
- DIY console table with hairpin legs
- How to restore an oak table easily
How to Shabby Chic a Table Vintage Style

Here's my simple tutorial on how to shabby chic a table without using Annie Sloan for a vintage style. This can apply to any shabby chic furniture. Includes a how-to video guide to help.
Materials
- Primer (if not using self-priming chalk paint)
- Wickes' Chalk Matt Emulsion Paint (or similar)
- Clear furniture wax*
- Dark furniture wax if you want an aged look*
- Or varnish instead of wax*
- Lint free cloth (old cotton shirt)
Tools
- Paint brush
- Sanding block
- Sandpaper to key (if not using self-priming chalk paint)
Instructions
- Remove any flaky paint or drips from existing paint layers with sandpaper
- Key the entire piece with sandpaper and degrease if not using a self priming paint
- Brush with 2 coats of primer if needed and leave to dry
- Paint with 2 coats of chalky matt furniture paint (see notes)
- Once dry, sand any areas for a a distressed look if desired.
- Rub the whole piece with clear wax using a lint free cloth *OR skip and coat with stain and varnish.
- Repeat with a small amount of dark wax

Comments
No Comments