
Here's what I learnt when installing guttering for the first time on my parents' bungalow renovation.

Guttering has always looked like a very uninspiring job to me. So, with that in mind, I forced myself to learn how to do it.
If there's a job you don't like or want to do, then you know there's always room for improvement and to learn.
And I'll show you how my parents taught me on their bungalow. FYI, my parents bought all guttering supplies from Quay Plastics. Please note, I have absolutely no experience with upper floors, so treat this as a entertainment only.
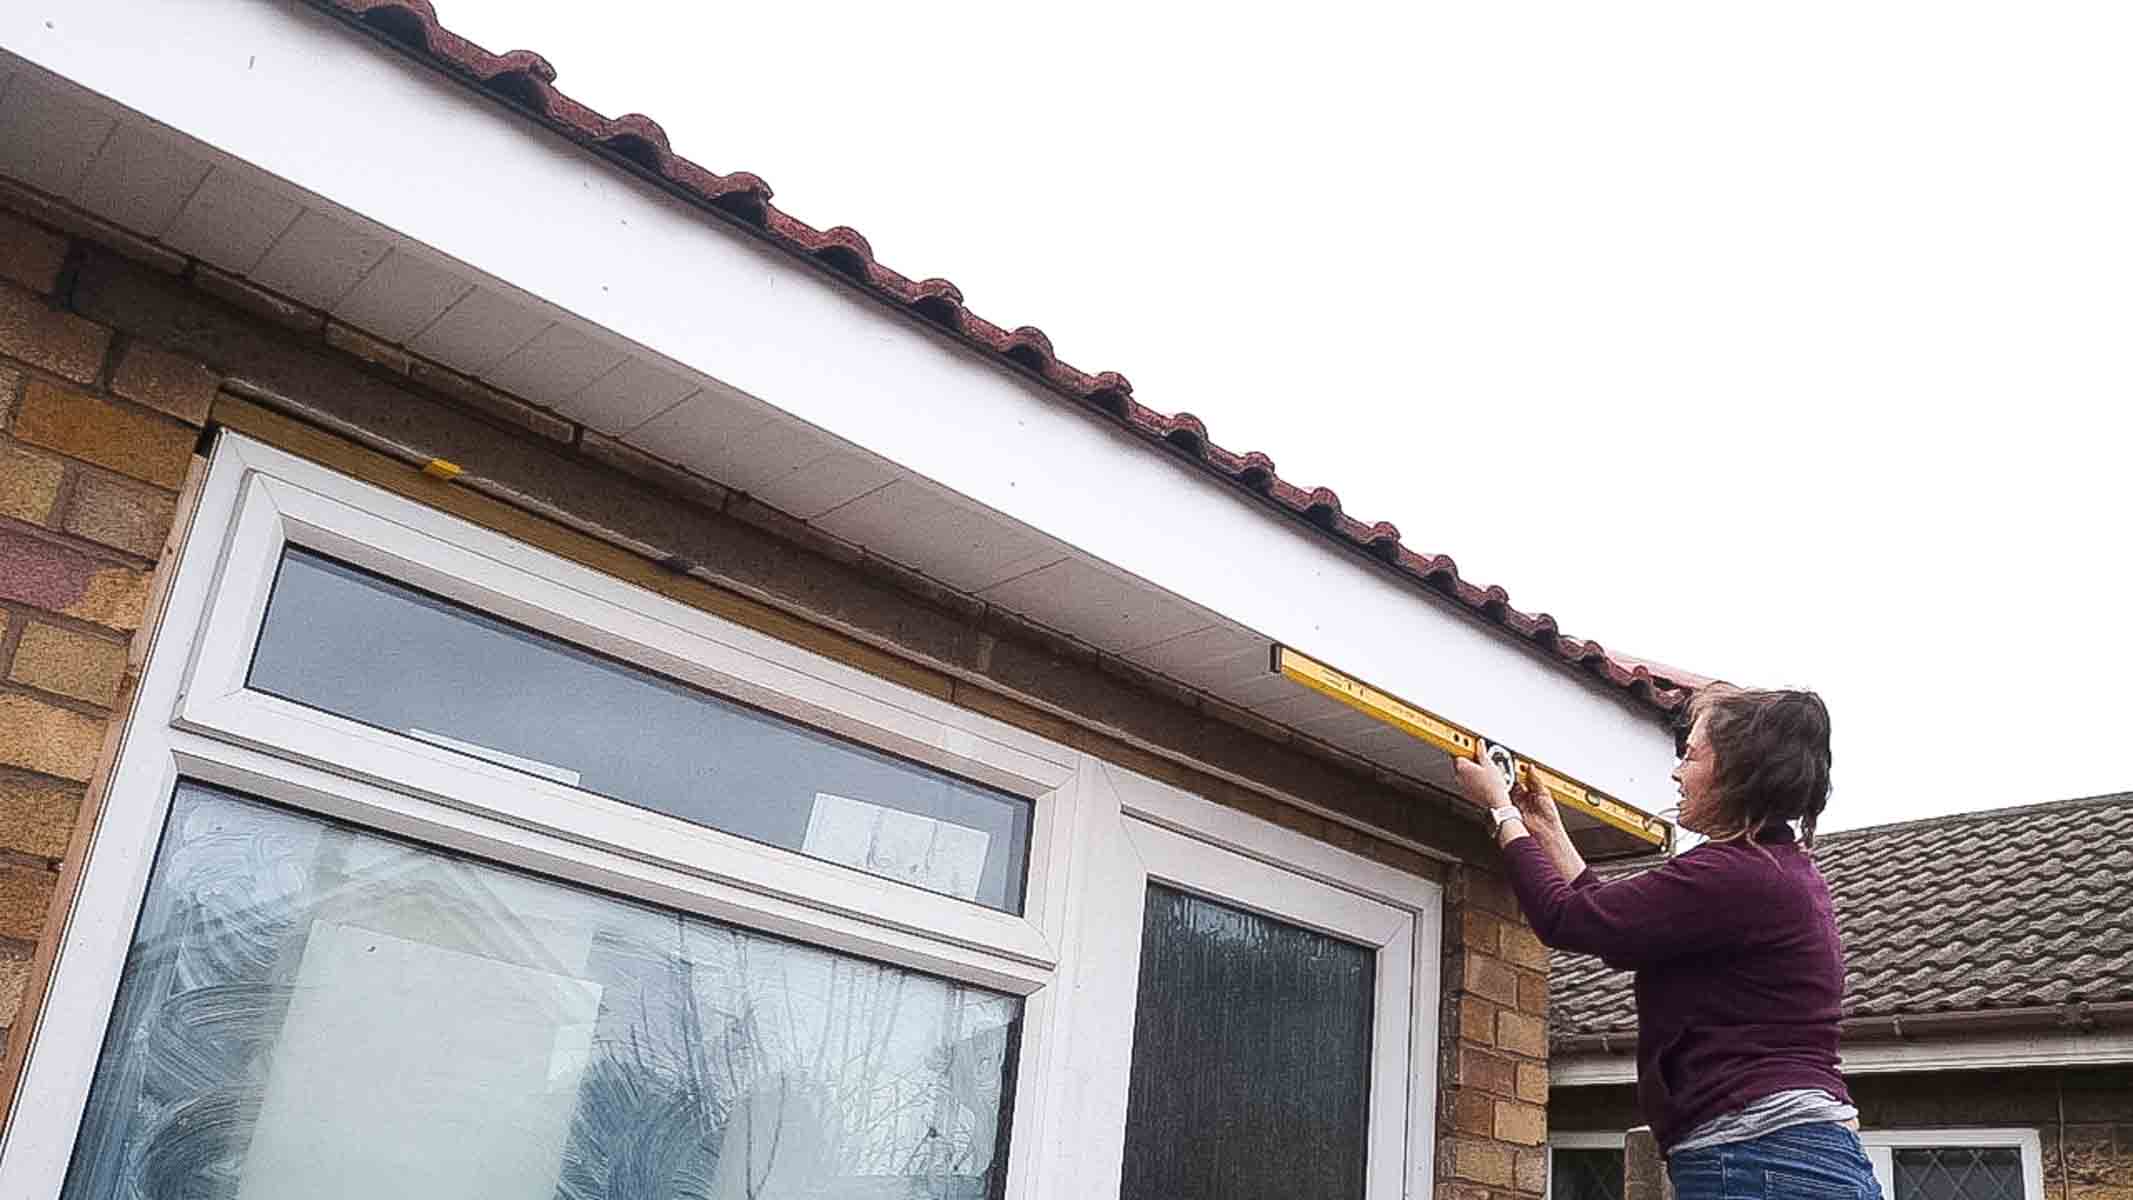
A Guide on Installing Guttering
First, my Dad instructed me to check whether the fascia was level. If so, we can use it as a reference.
Ours was!
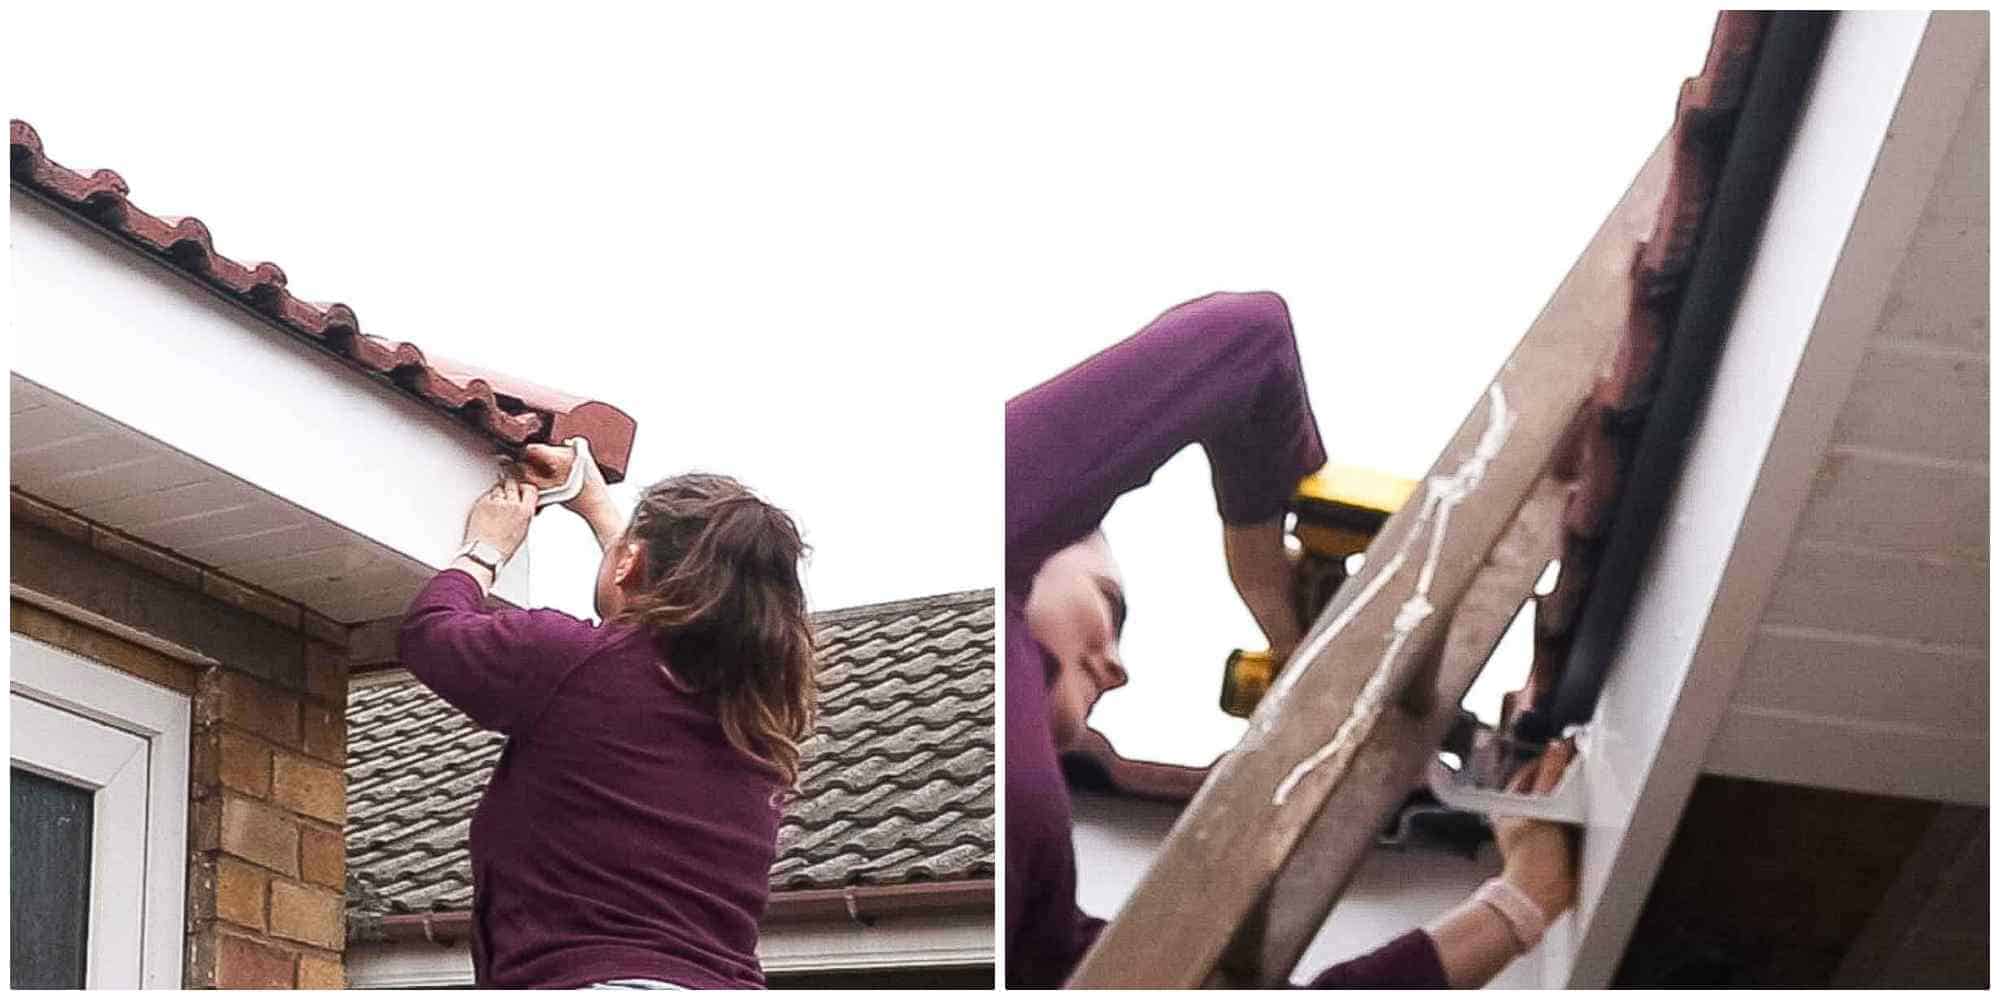
Starting From the Furthest From the Drain
Before installing guttering, I predrilled and screwed a guttering clip furthest from the drain. This also meant it needed to be higher.
Then I mounted the bracket on the opposite side about 1cm lower, leading towards the drain. Note, I left room for the corner join too.
Too steep would look ugly and it's good to have a self-cleansing drain to water can wash away debris where possible.
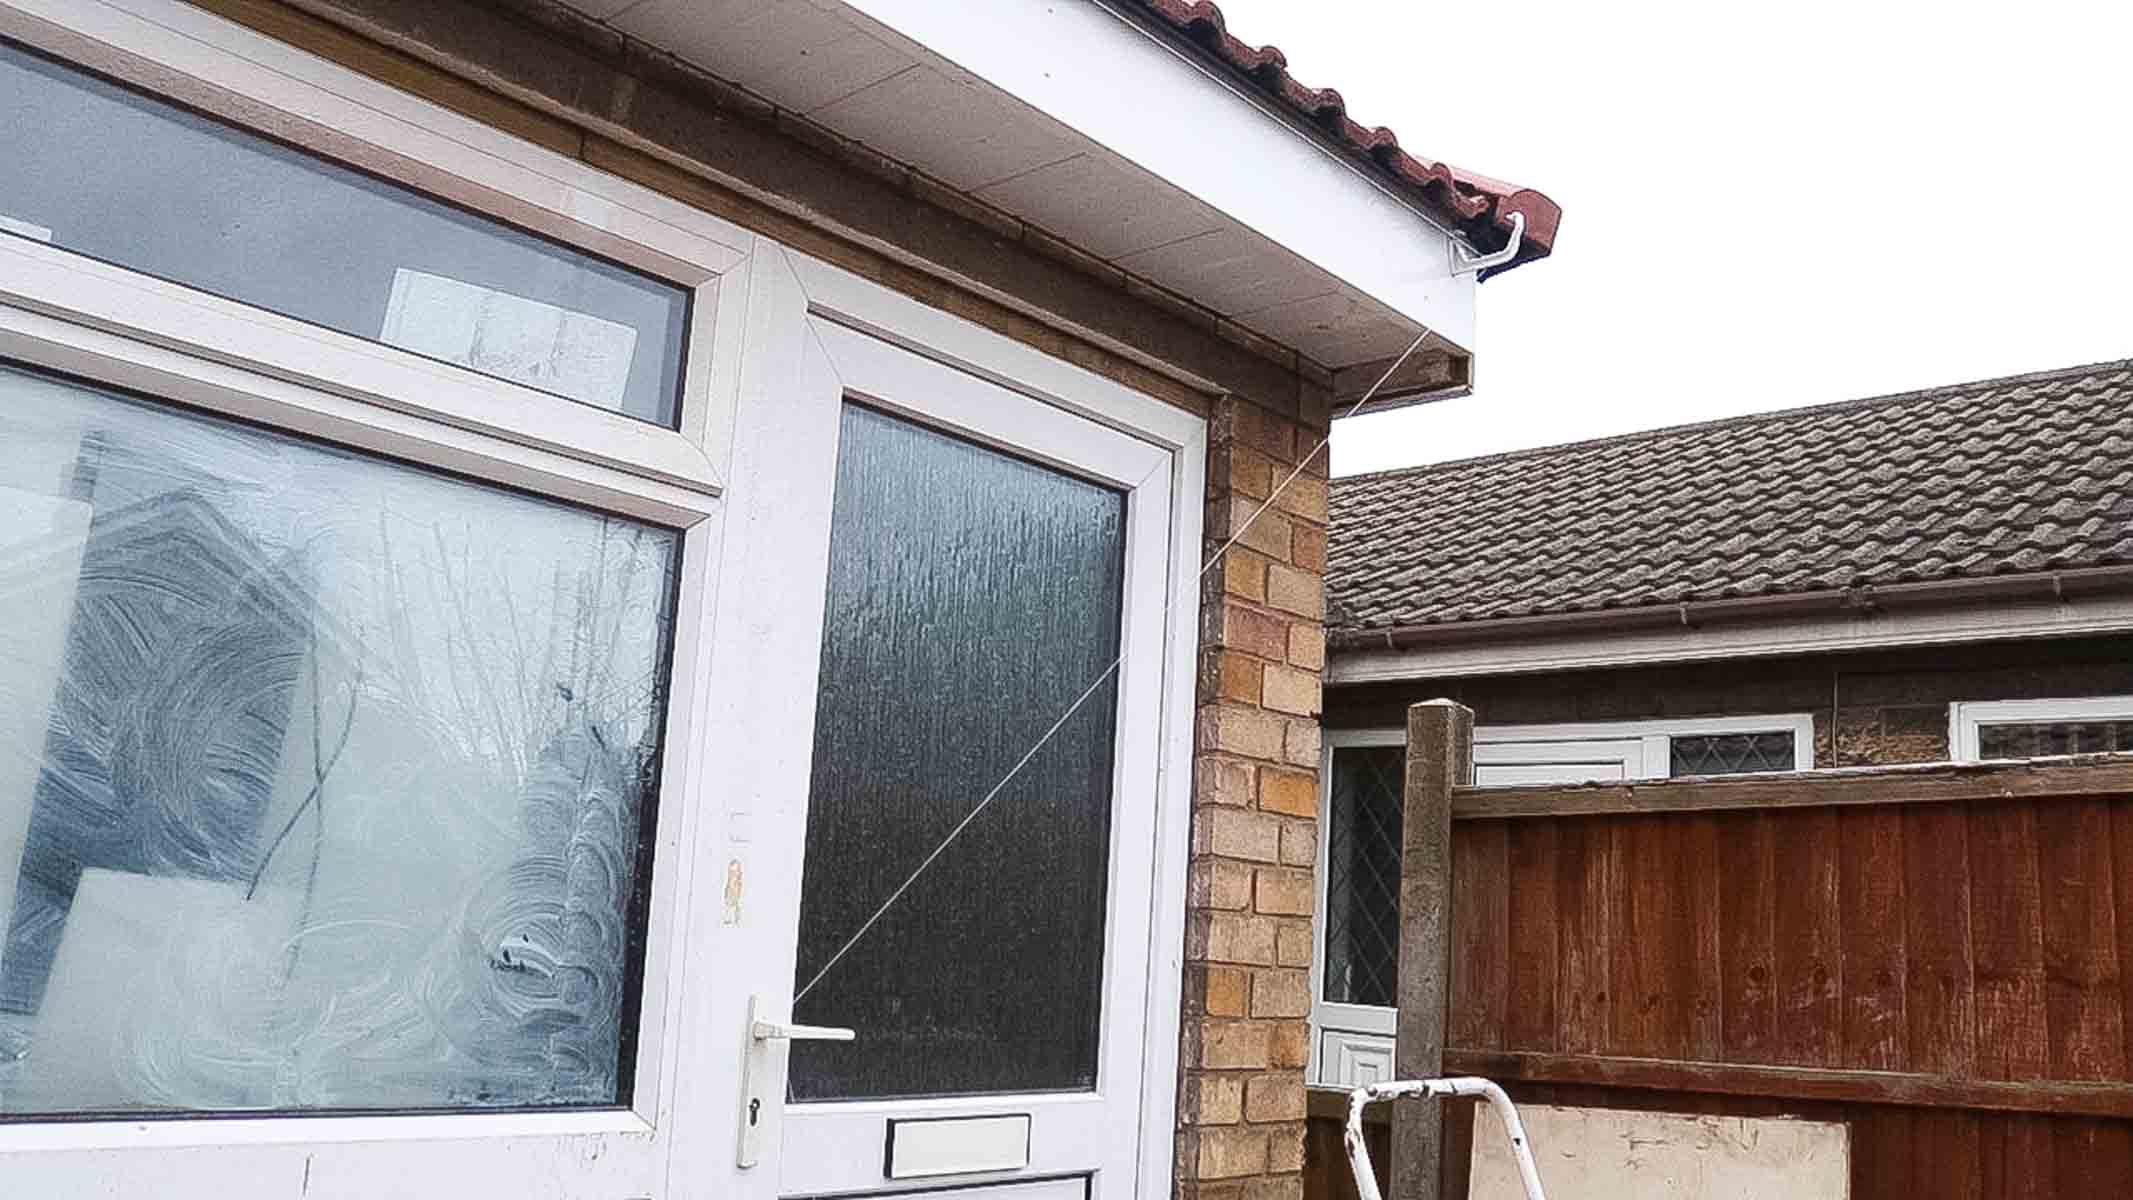
Adding a String Line
Now to add a string line so I could work out the position for the rest.
I tied a string line to both brackets which has a natural slope I set. This needs to be very tight!
It was then secured to a door handle.
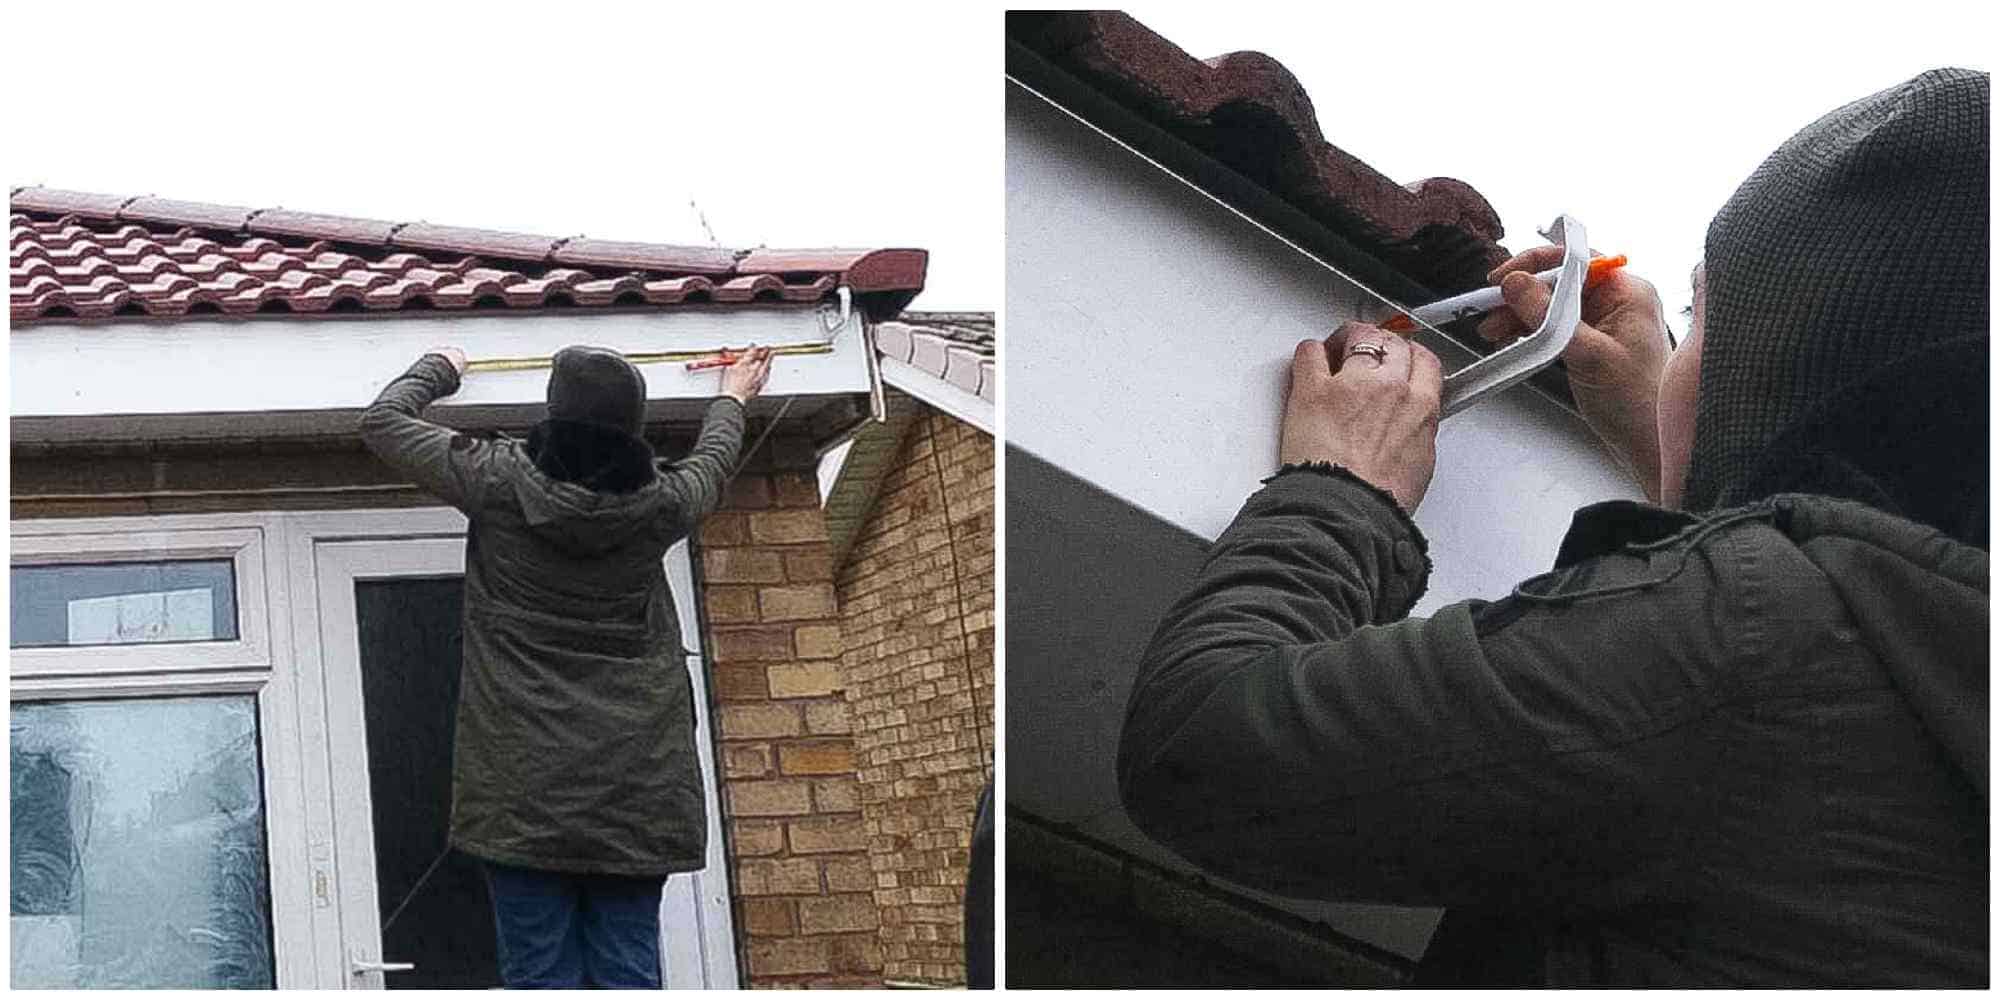
Mark Your Brackets For In Between
I then measured and marked about every 40 or 50cm for the next bracket. However, later I used an offcut of wood to the same length for quickness.
Then line a bracket with the measured mark and hold it up to the string line and pencil the screw holes.
Mark all the screw holes first to ensure you don't knock your string line out of place.
Measuring the Length Before Installing Guttering
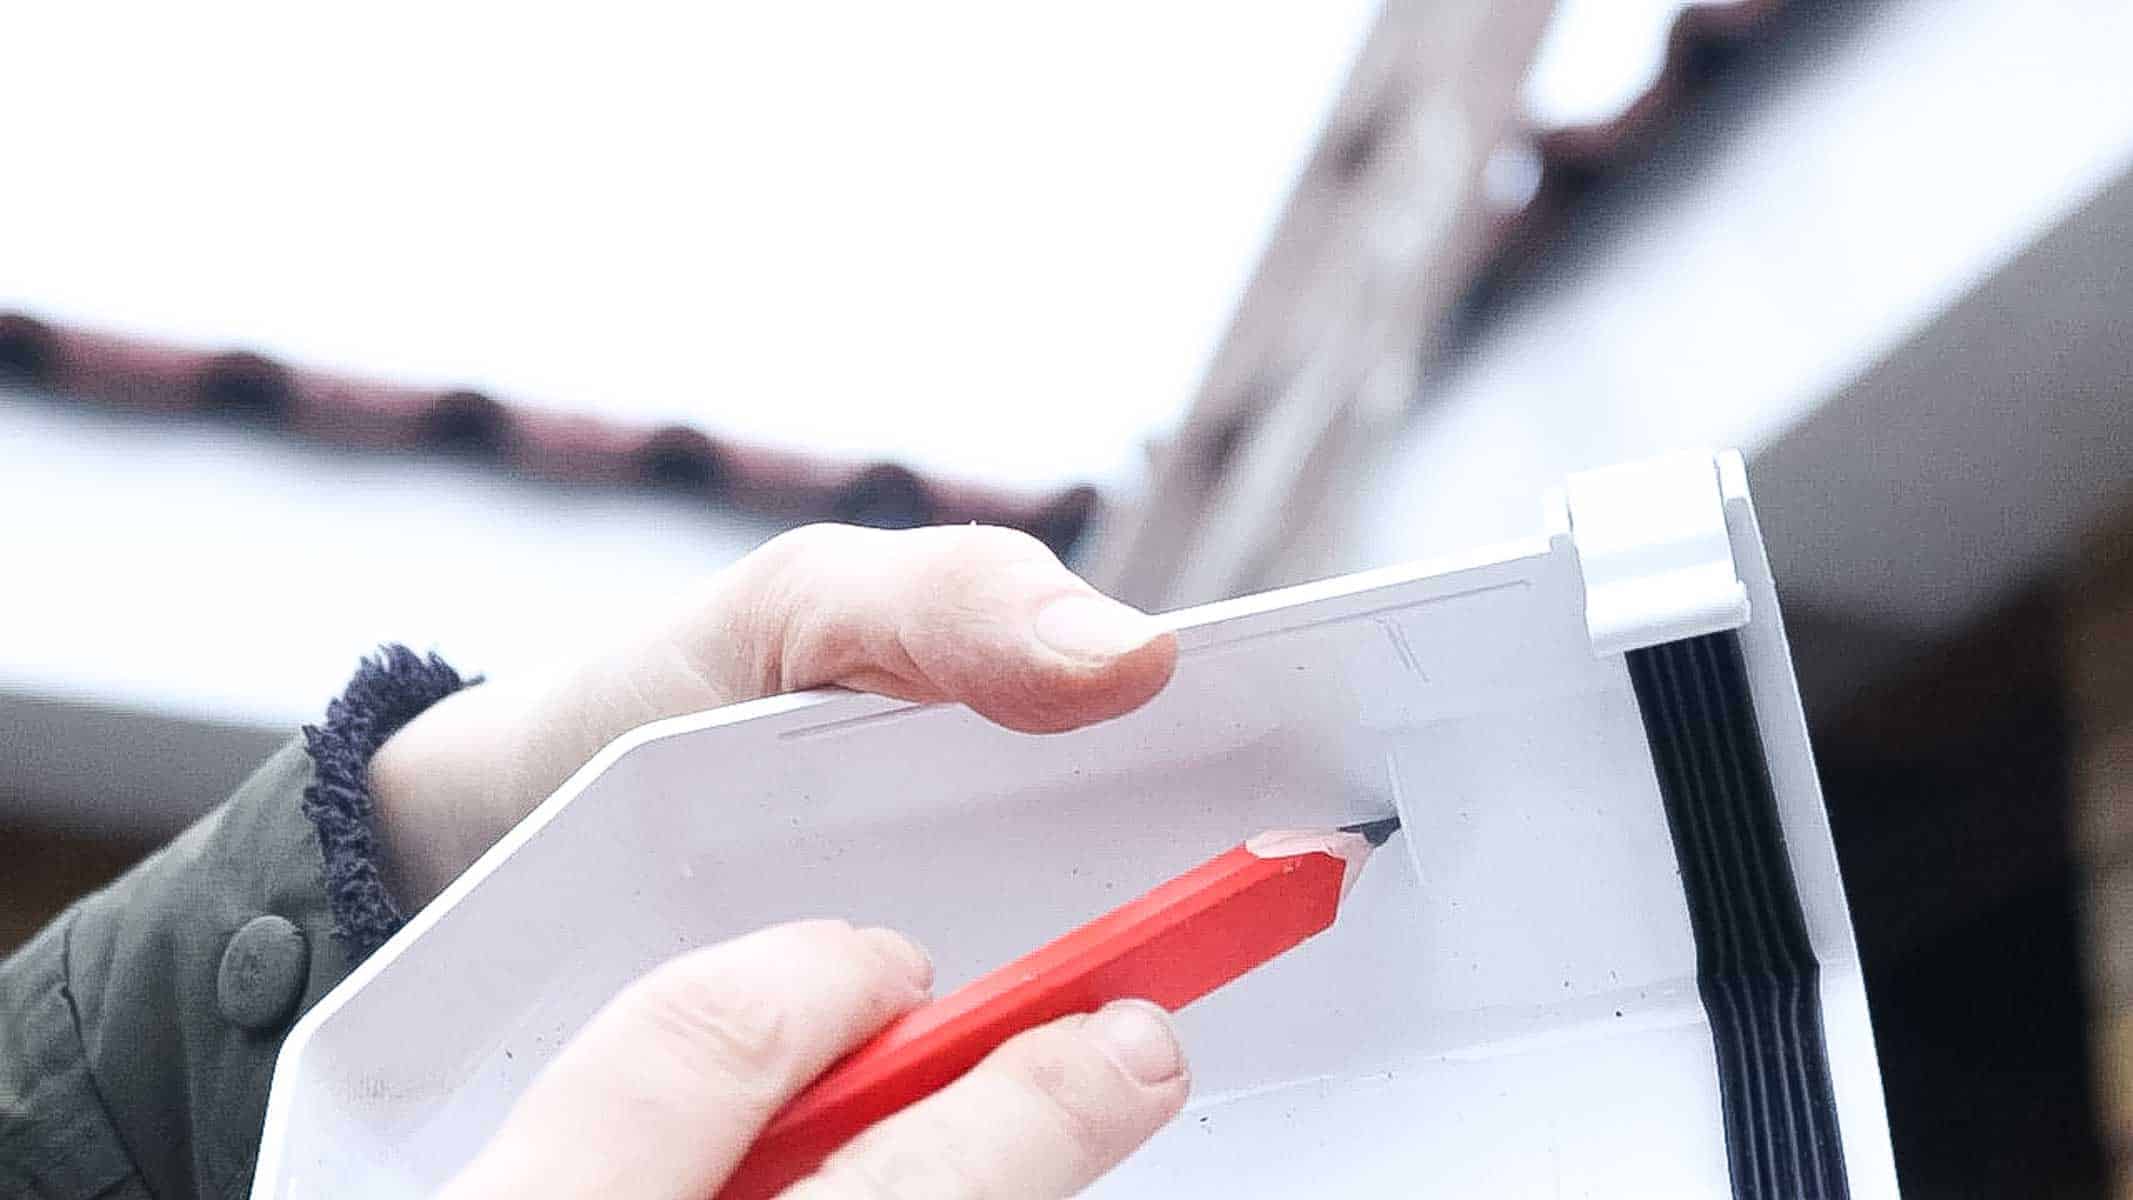
First, note that inside the corner join, it has a line.
This line is where the guttering length needs to go upto, but not past it.
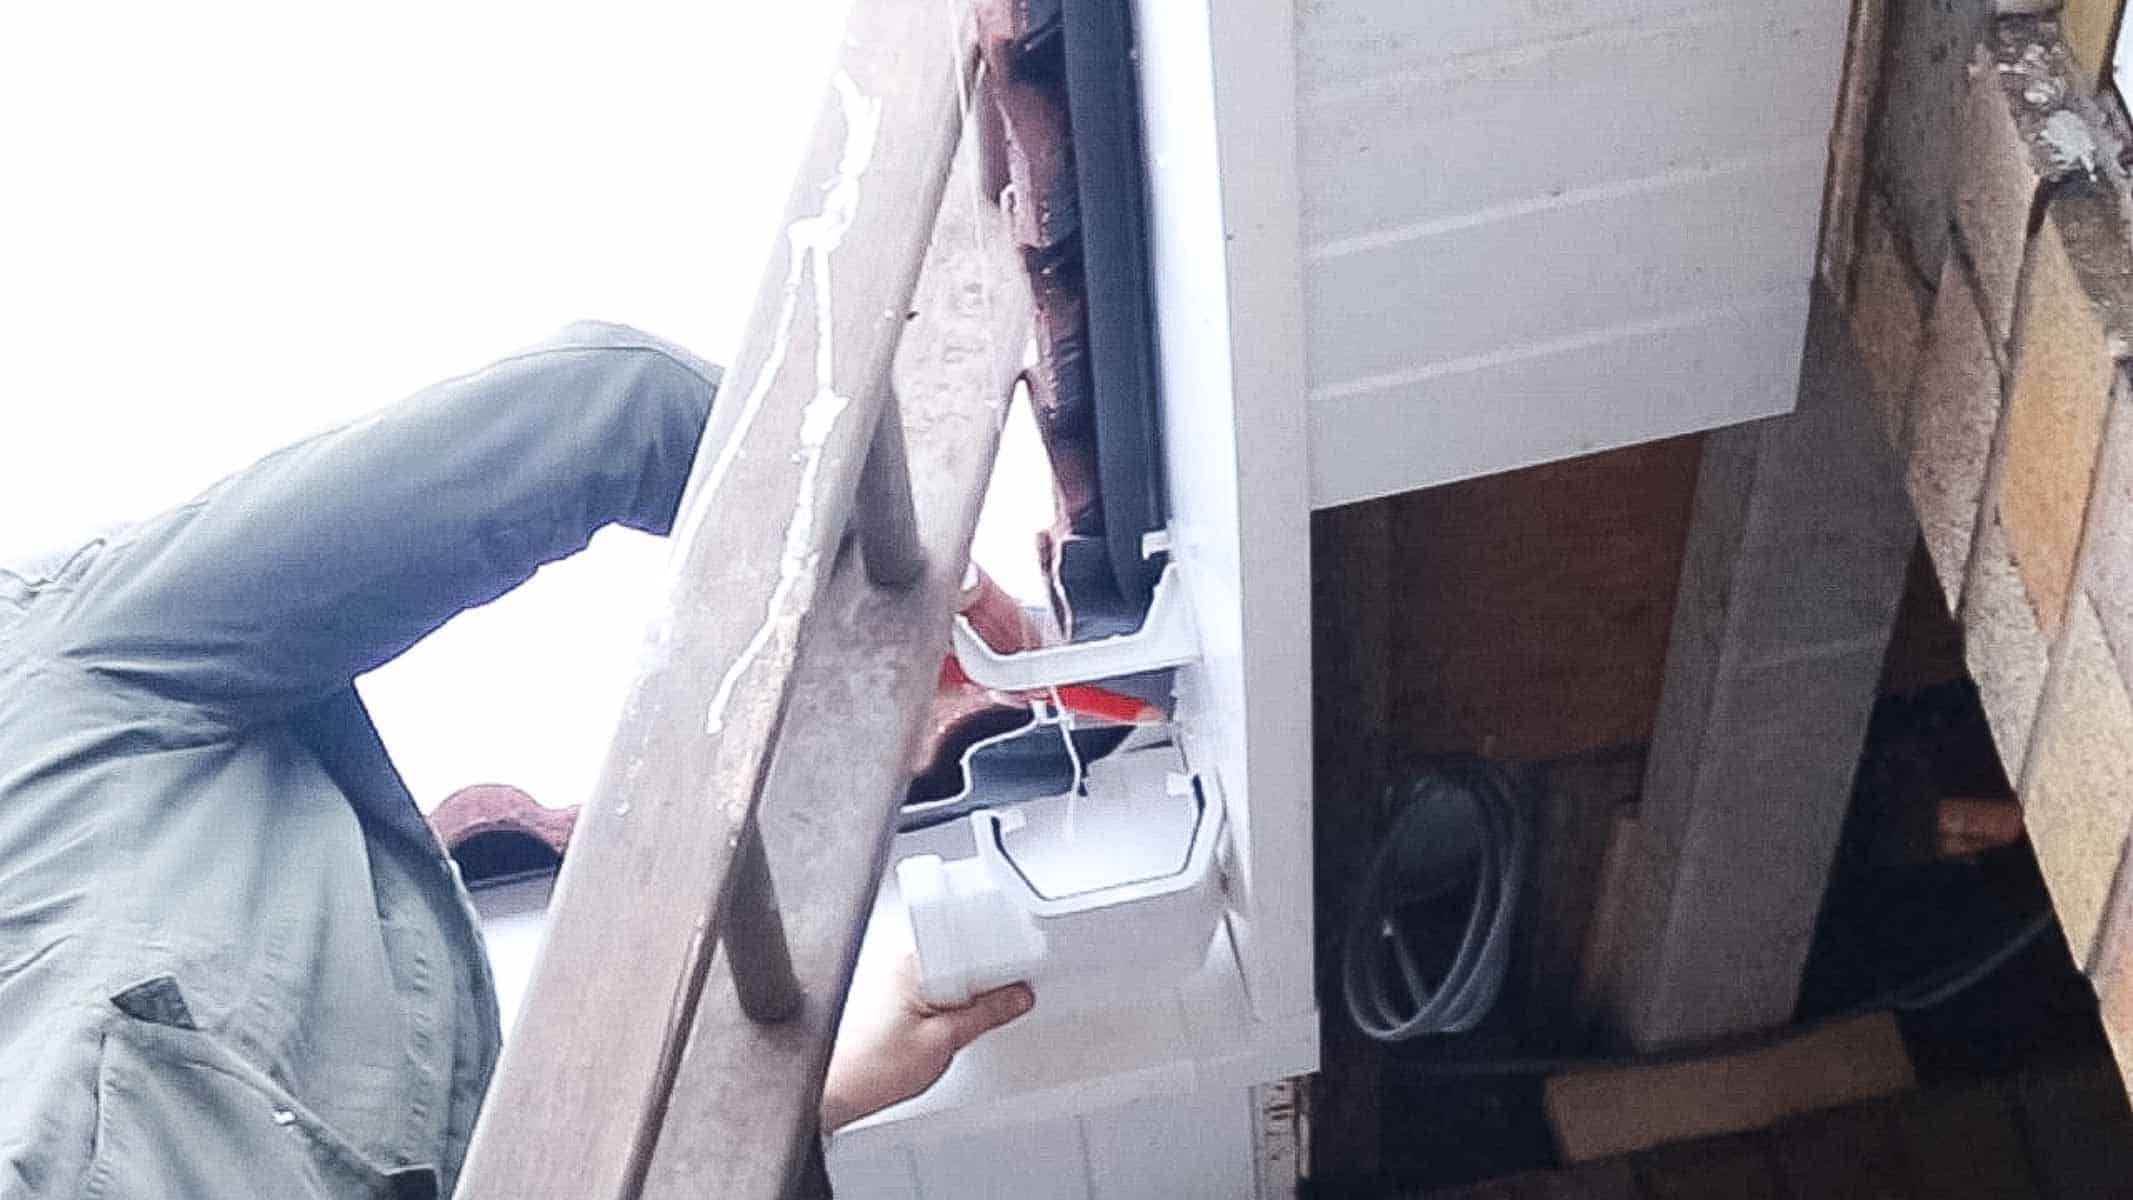
I then held the corner join in the corner of our bungalow and was passed a tape measure.
My Dad has the tape measure from one end while I'm holding it up to that line inside the corner join.
Then take that measurement and transfer to the length of your guttering. Note, if the length is longer than the guttering itself, you'll need to attach and mount a join piece.
Cutting the Guttering
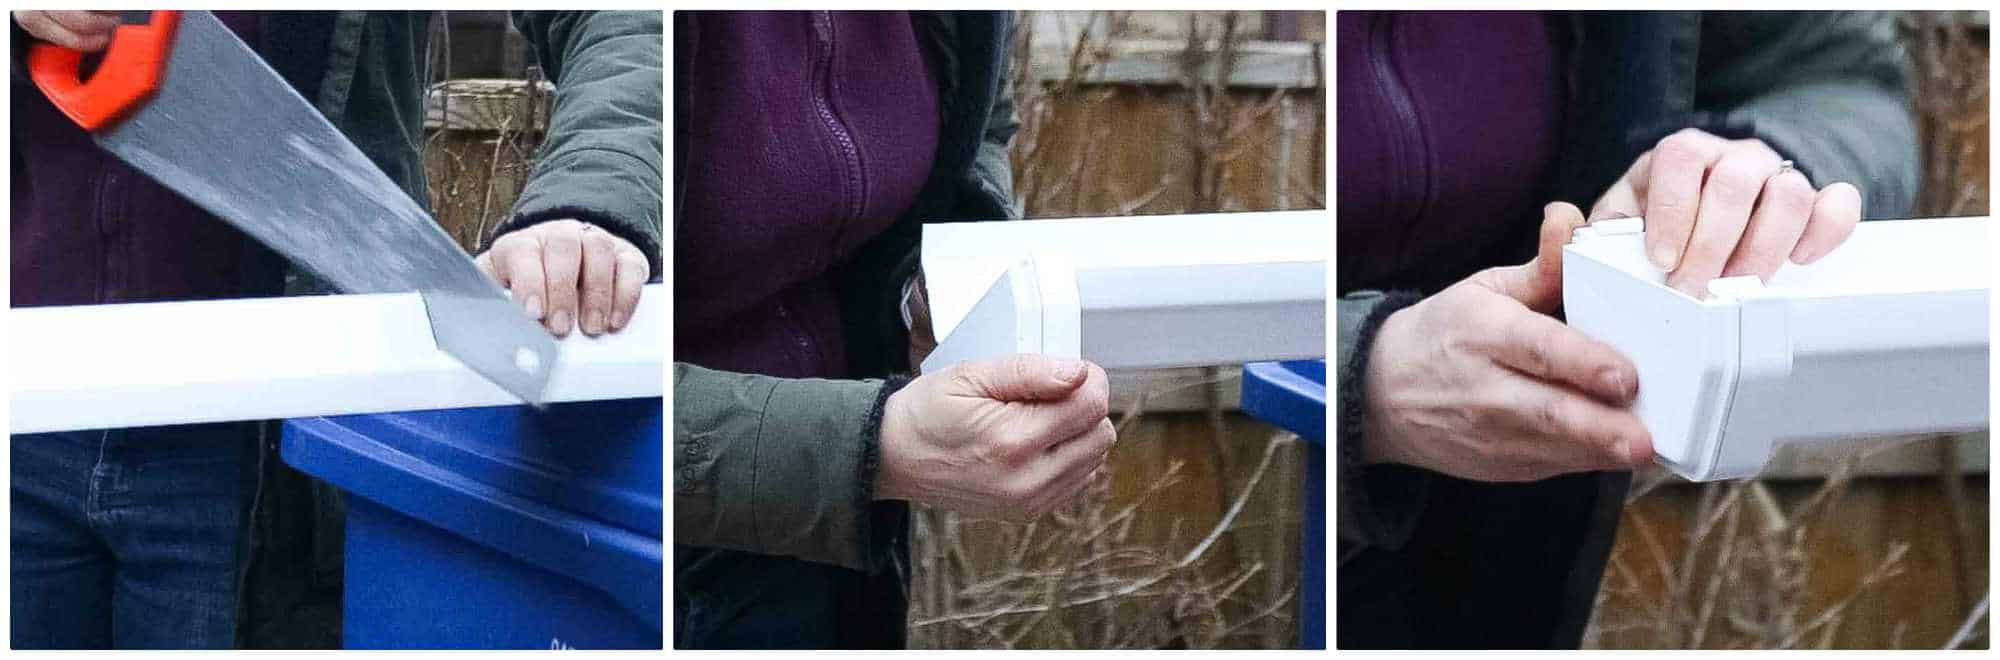
To cut the plastic guttering, I used a handsaw and sand any burrs off the end. Or you could use a hacksaw for a cleaner cut.
Then to add an end cap, or any join in fact, I found it's better to hook the clip on at an angle from the opposite side (see middle pic above).
Now tease it around the opposite end closest to you. The same applies to the corner join below.
Installing Guttering Tip
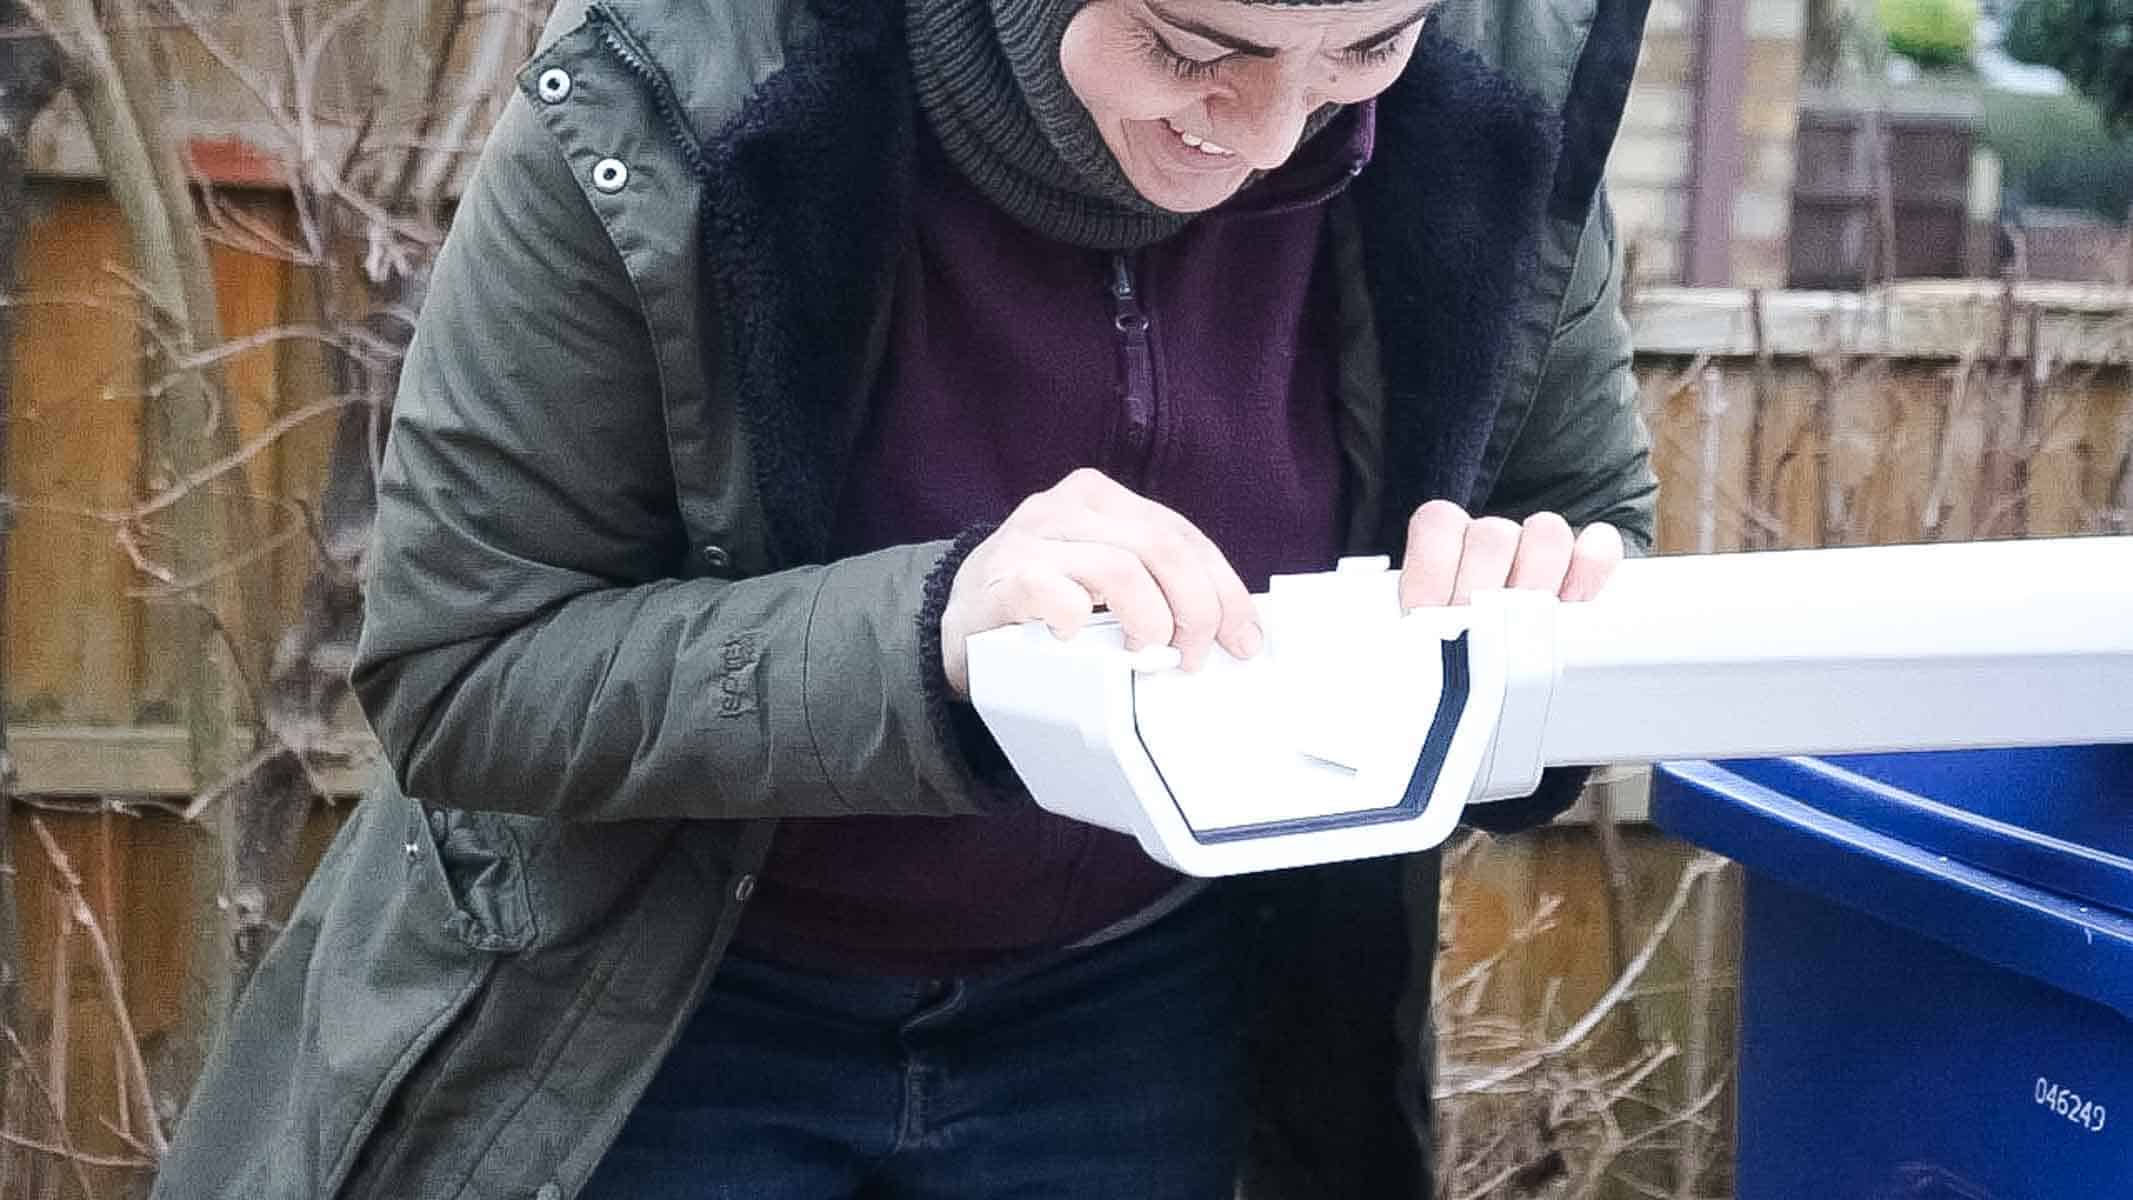
You'll see that all joining pieces have a black rubber seal trim inside. Make sure they're pushed in as they have a tendency to come out which can cause leaks.
Then hook on again at an angle until both clips have hooked. It can be tricky, hence my dog-with-a-bone grin. And yes, I'm wearing a balaclava... it was extremely cold that day!

Hook and Slide the Guttering into The Clips
When placing your guttering length in, this is where it's best to do it as team effort.
We're using the same hook and tilt angle trick. But, bear in mind, it's so easy for any of the clips to block you.
You may need to go up an investigate.

Continuing the Guttering Length
So here, we're now working away from the corner and leading towards the drain.
Again, we repeated the slight sloping method with chalk line and had to use a join piece.
There's also a screw hole at the back of the join to attach to the upvc fascia.
Screwing the Guttering to the Eave
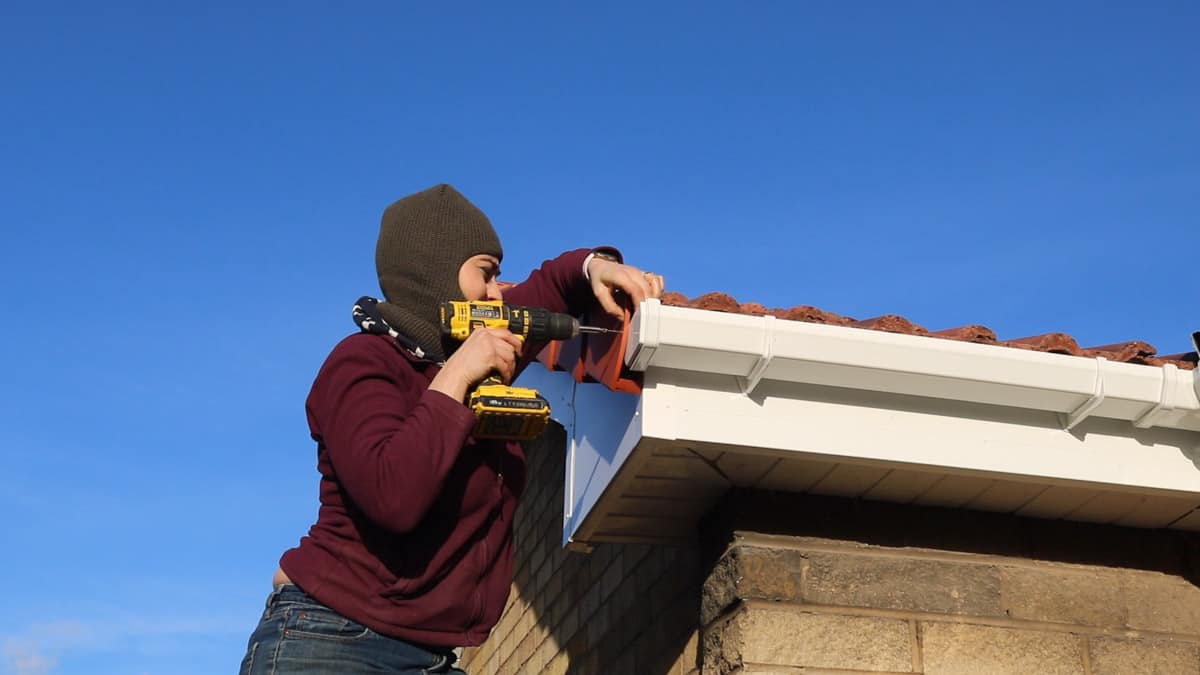
To prevent more unwanted drips, I then screwed the end of the plastic eave roof trim to the end cap.
I actually pre-drilled the hole using a drill bit nail hack, but ensured it was towards the top of the end cap. Then screwed together.
If you drill too low, it will leak before the guttering is even close to being full.

Cutting a Hole for the Drain Pipe
After we fitted our guttering and all joins and end caps were in place, we needed to mark where the down pipe needed to be.
Above, I'm drilling a hoe with a hole saw until I'm through.

Then after cutting a short piece of down pipe, I'm working my way around the roof lip. Note that all corner pieces have a lip facing upwards to prevent leaks.
Then while holding the opposing corner join about half an inch away from the wall,, I measured the gap PLUS both lip edges.
Then cut it again with a hand saw.
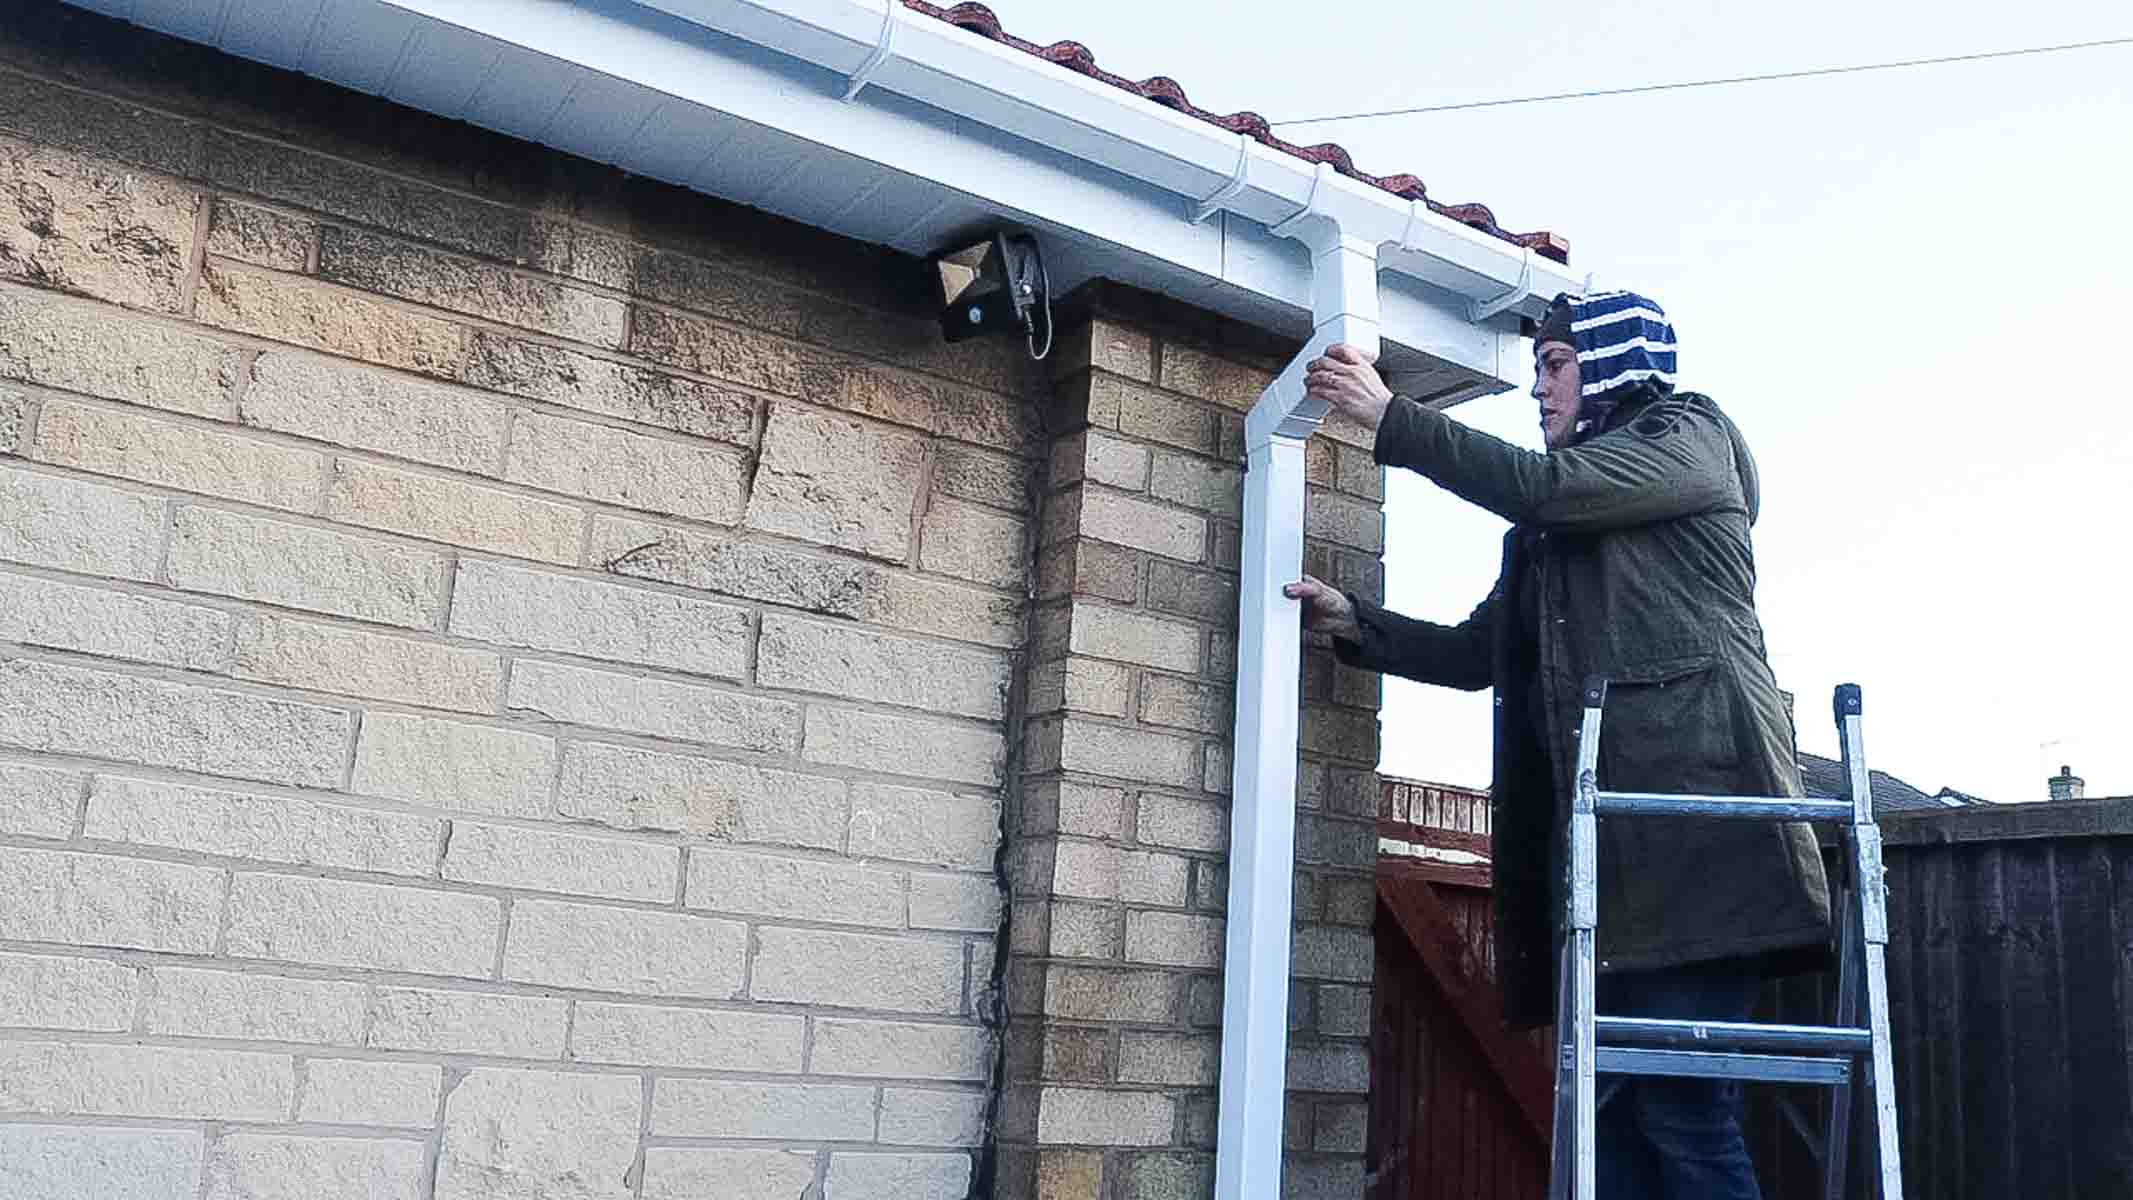
To get the length of my main down pipe, my Dad held the corner pieces in situ while I measured from it and about 3 inches in to the drain.
Then cut again.
Mounting the Down Pipe to the Wall
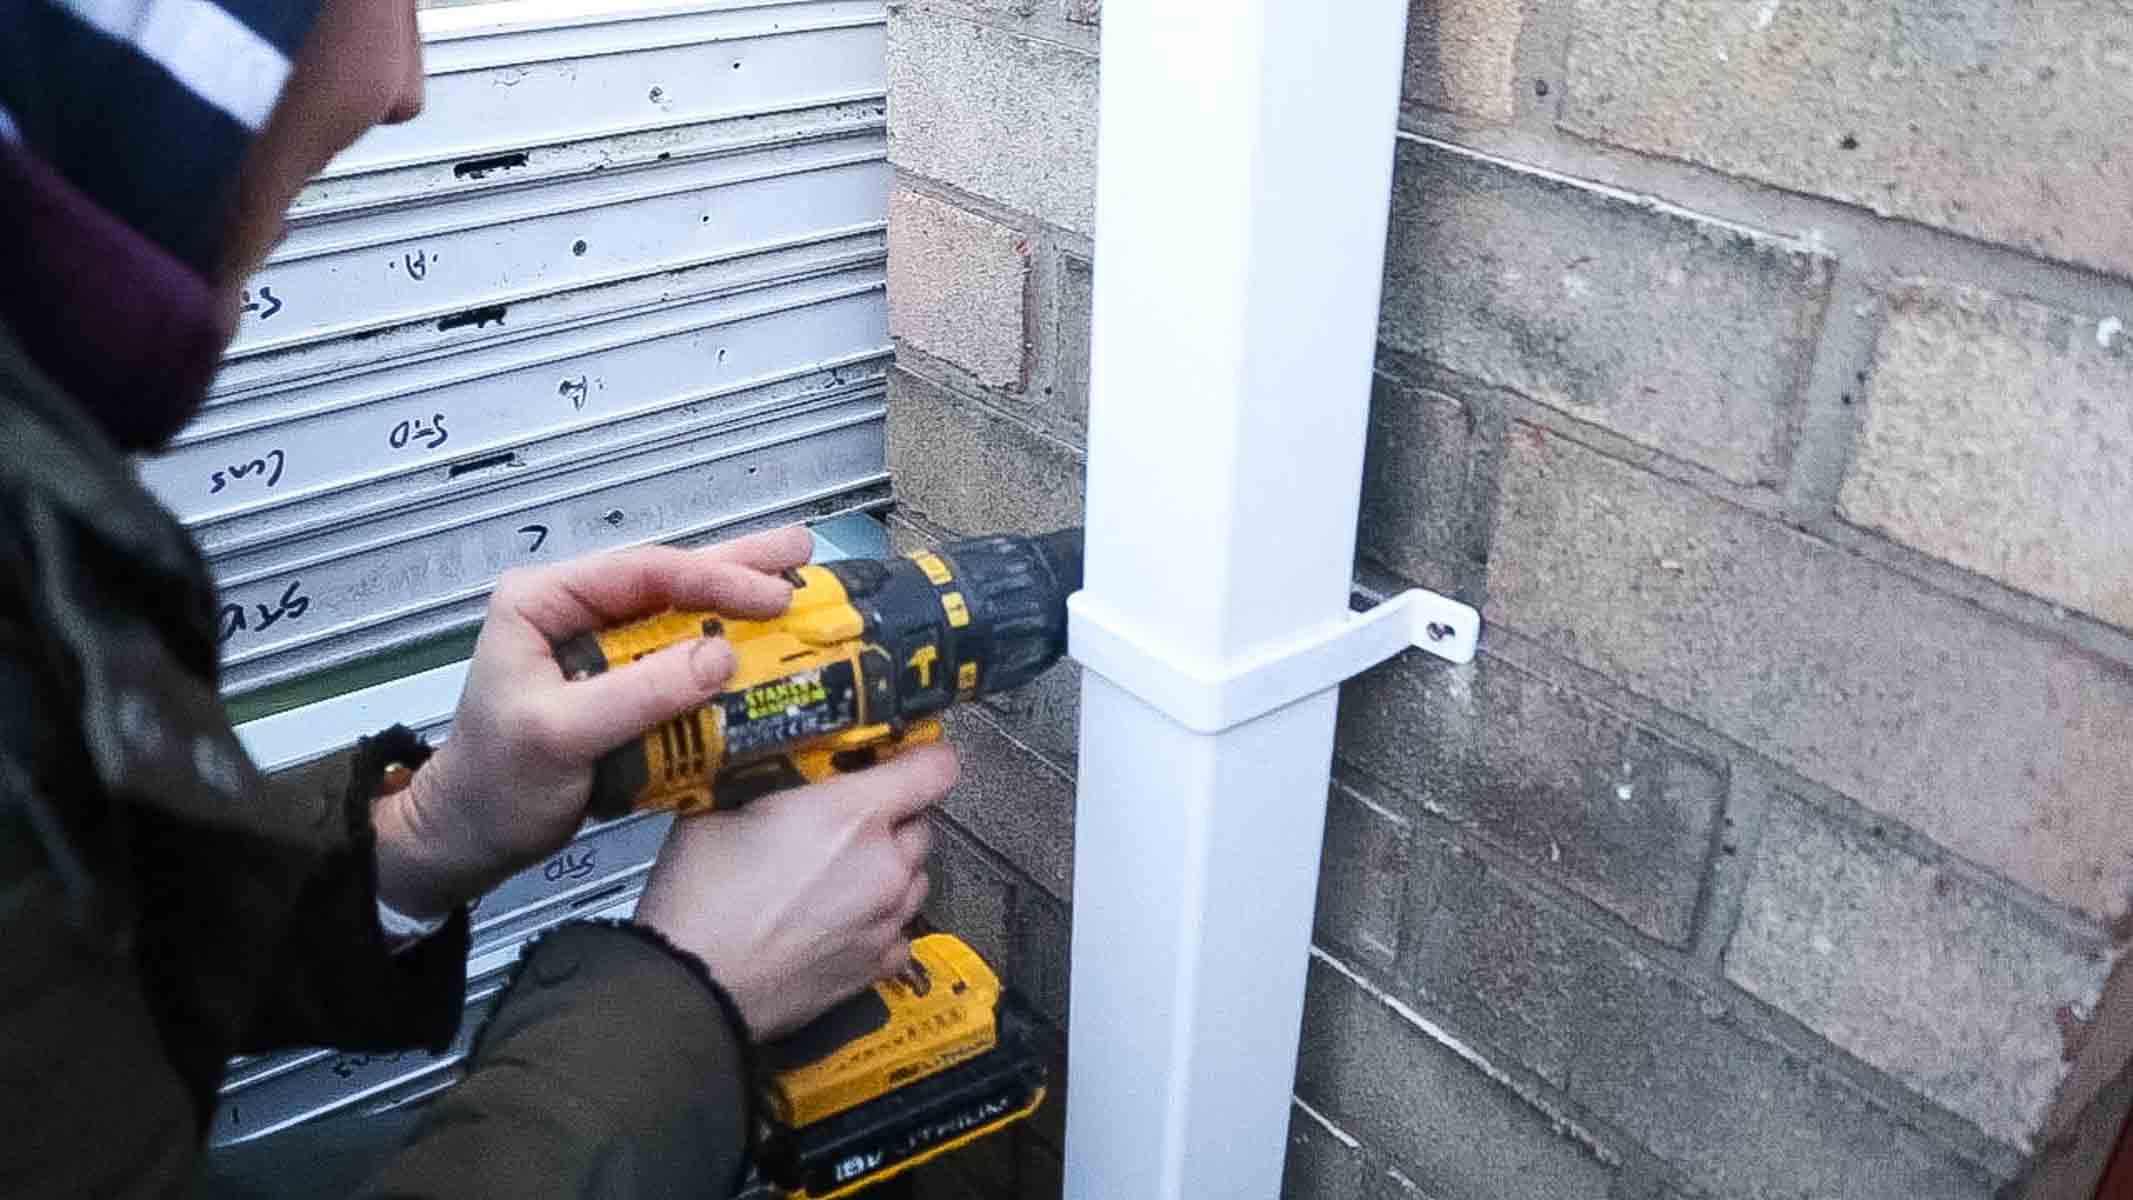
The last thing I needed to do while installing guttering was attach the clips that hold it to the wall.
I held the clips in place, marked the screw holes, then drilled with a masonry drill just inside it for better grip.
Then add rawl plugs and screw the clip to the brick wall. I used two clips per down pipe and repeated at the back of the house!

Comments
No Comments