
Here I show you how to build a shed base (aka subframe) with pressure treated timber. This is to lift a shed off the ground, prevent rotting and also add more stability to your shed base.
This DIY tutorial contains a paid AD for Wickes. I have been a regular shopper for years as I can find everything I need to complete both small and large projects.
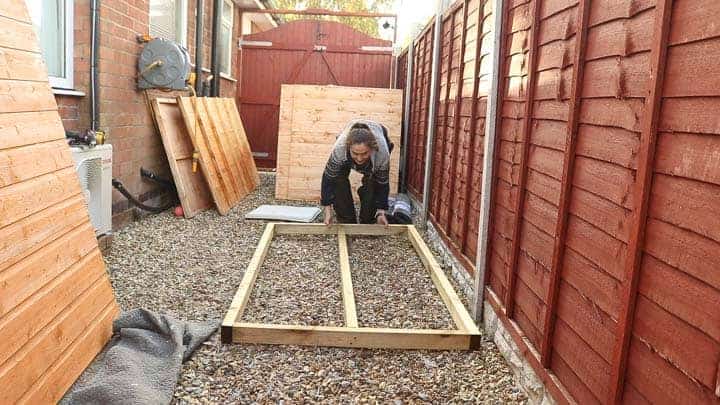
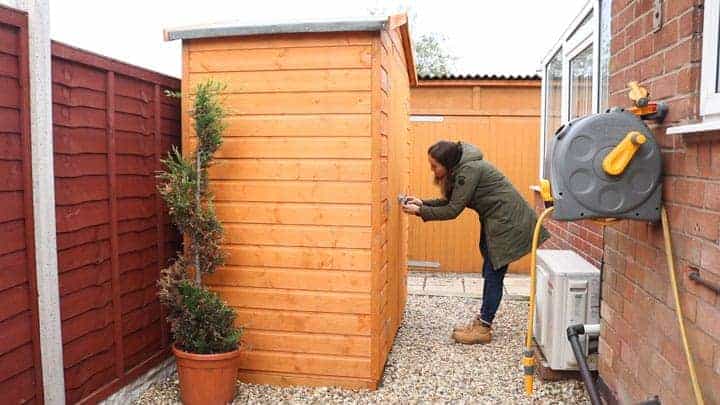
Last week I built a 6x3 Wickes shed dedicated for all of our camping gear. But before you get started, you need to think about the ground your shed will be stood on. Also, it's important regarding the size and weight.
So because mine is smaller than average, a timber sub-frame is a great, cheap solution. A pressure treated shed base to sit on gravel is also extremely quick and takes no more than 30 minutes to make.
But if you're in doubt, Wickes also sell a range of shed base kits along with products and tools depending on your size and needs. They're also suitable for amateurs like myself to professionals.
TYPES OF SHED BASES TO CONSIDER
- Concrete shed base with rebar: great for very large sheds
- Ecobase plastic shed base: great for grass ground. Remove turf and toil soil, then level builder's sand and position and fill grids with gravel
- Lay paving slabs: Remove turf and topsoil as number 2, add aggregate, tamper down, then screed with sharp sand and level with slabs
- Pressure-treated subframe or treated sleepers/fence posts: to rest on gravel ground and one of the cheapest solutions that I'll show you below
If in doubt, a good tip if to check one of their many how-to guides, either via YouTube or pamphlet in store. I always like to watch and read them for support and advice when researching my home improvement projects.
THINGS YOU NEED TO MAKE A PRESSURE TREATED SHED BASE
- Structural pressure treated timber
- Hand saw
- Wood preserver
- Paintbrush
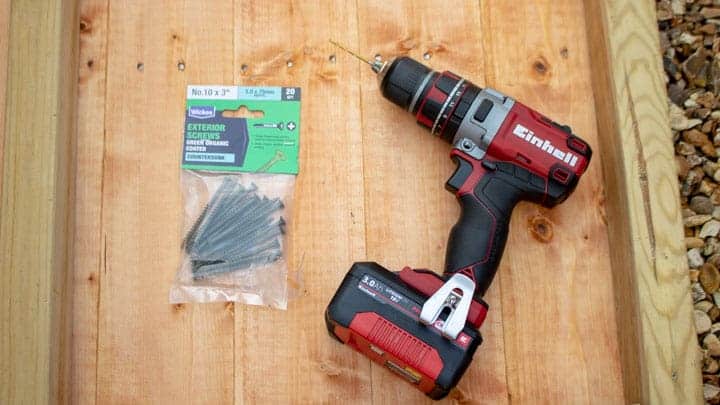
- Combi drill
- Drill bit
- Exterior screws
- Spirit level
When creating my shopping list, something I particularly find useful is to check their online stock levels. If there's only a handful of something, I like to take advantage of their click and collect service to guarantee it's mine before going in to store.

STEPS FOR MAKING A WOODEN SHED BASE
First, you need to make your shed's subframe is running in the opposite direction of your shed base's studs.
In my case, I'm marking them to the longest length of my 6x3 shed's base as above.

Cut two identical lengths with a handsaw, or you could use an electric mitre saw while clamped to a sawhorse or similar.
It's also important to only use pressure-treated structural timber to prevent it from rotting.
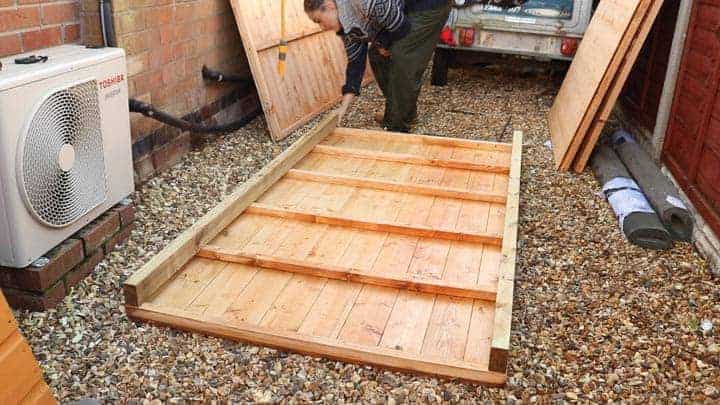
Hold your two lengths either side of the Wickes' flat-packed shed base.
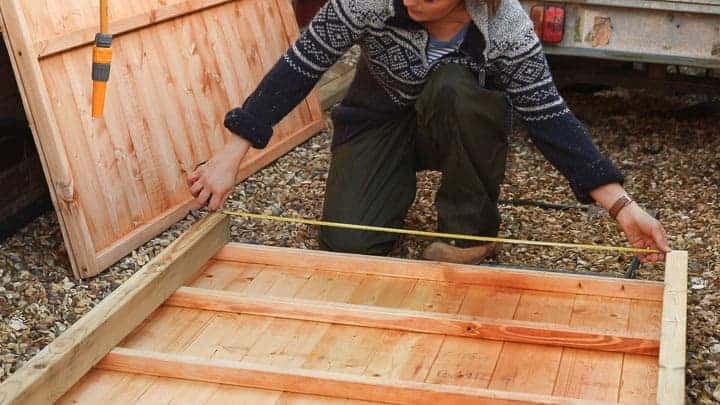
Now measure the gap in between to work out your next two cuts to make.
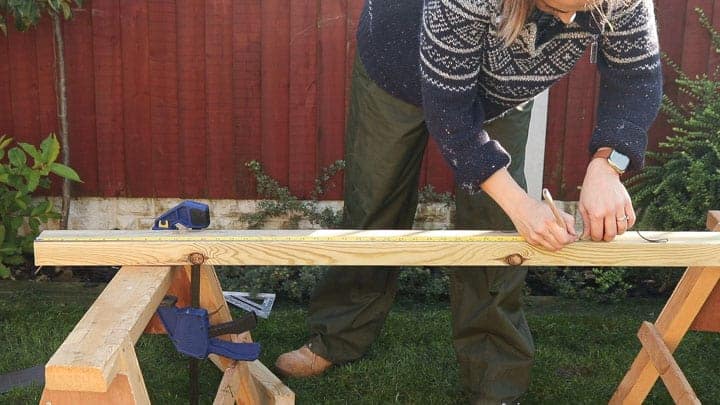
Mark and cut this measurement twice for another two sides.
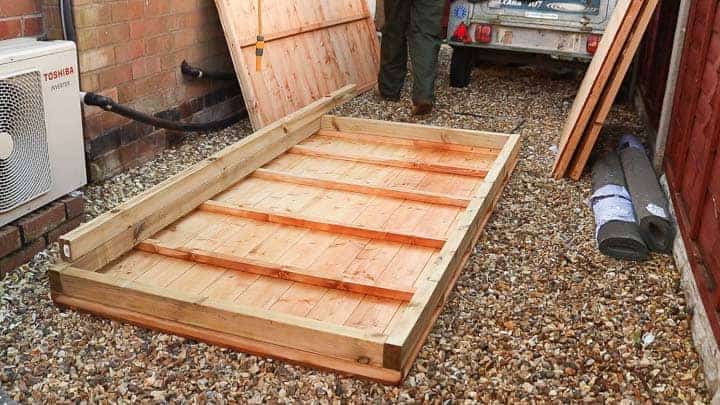
Lay your shed's subframe perfectly on top of the shed's base.
Then hold another length ontop.
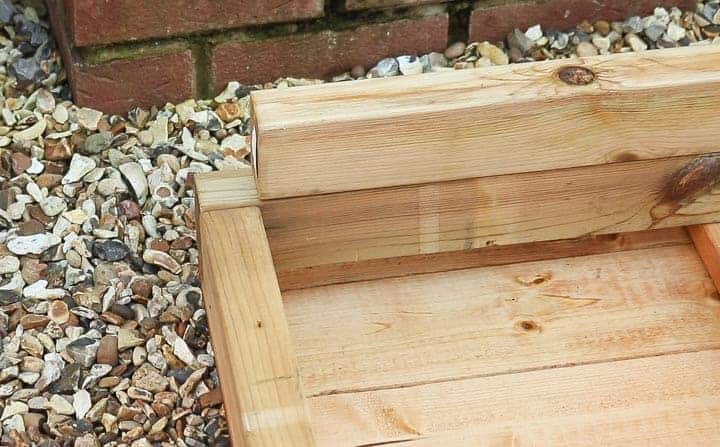
But make sure it starts where the internal area starts.

Then, on the other end, mark where the opposite internal area ends.
This is now your new cut to make.
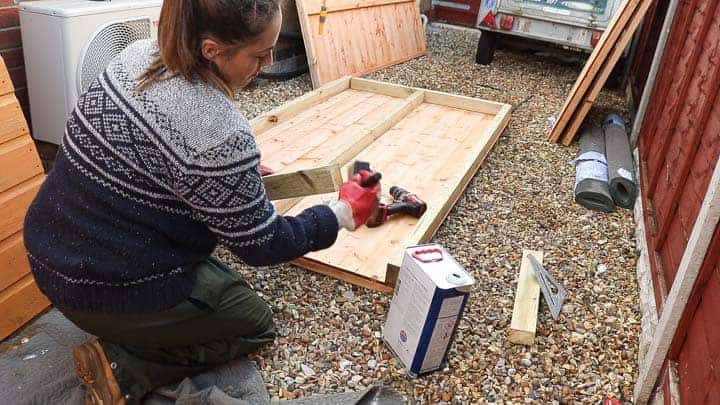
Treat all cuts you made with wood preserver for extra measure. You can find many woodcare products in Wickes including shed and fence treatment.
You can buy them in a variety of colours, but I've been buying my Ronseal Total in clear from them for years. I think it's great for all kinds of outdoor woodworking.

Place your new stud inside the frame. However, the gap between the studs should be about 30-40cm. If any bigger, you'll want to cut another stud and distance them equally between.
However, because mine is a 6x3 shed, I had one in the middle instead.
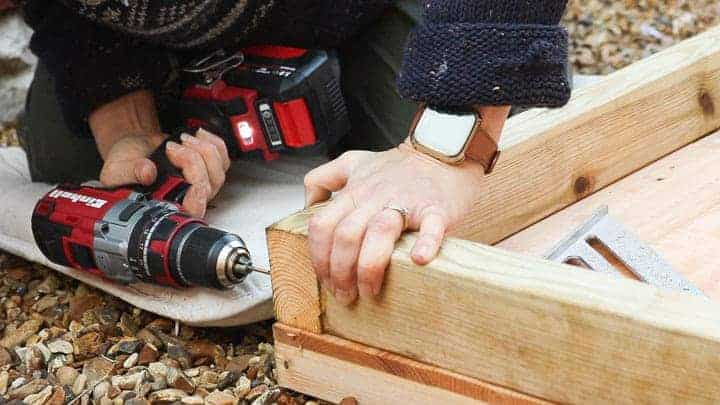
Now hold the corners together, ideally with a speed square. Then pre-drill two holes per end.
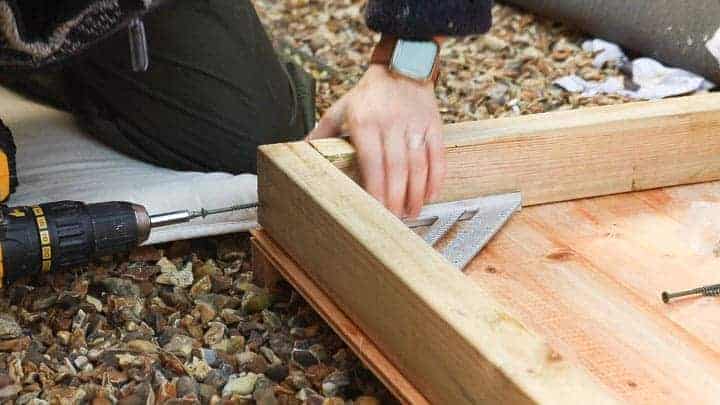
Now screw together with long Wickes exterior screws. I picked these as they're more suited for all weathers.

Once all screwed together, make sure it's level in every direction on compacted ground.
Above, we have gravel on top of whacked aggregate.

Now you can pre-drill and screw the base down to the subframe you've just made.
Then build your shed on top as per the manufacturer's instructions.

YOU MAY ALSO LIKE...
- How to Build a Wickes Shed
- Fitting a Twin Slot Shelving in a Shed
- How to Fit a Shed Lock
- DIY building a shed for bikes
- How to Easily Organise a Tool Shed
how to Make a Shed Base
Here I show you how to build a shed base (aka subframe) with pressure treated timber. This is to lift a shed off the ground, prevent rotting and also add more stability to your shed base.
Materials
- Structural pressure treated timber
- Wood preserver
- Decking screws
Tools
- Hand saw
- Paintbrush
- Combi drill
- Drill bit
- Spirit level
Instructions
- To make your shed base subframe, see which way the studs run on the base that comes with the shed. Then hold pressure treated timber along the side, running the opposite way.
- Cut two pieces of pressure treated timber to this length.
- Now hold them against the edges and measure the internal space and cut two lengths again.
- Treat the newly cut ends with wood preserver for extra measure.
- Place all together to form your square and pre-drill two holes on the corners before screwing together with exterior screws.
- Now measure the internal space again for your next stud, making sure it will continue to run the opposite way to the shed base's studs.
- Cut another piece to this length and place in the middle. Note: you'll need more lengths cut (every 30-40cm) if the gap between lengths are too big.
- Treat the cut ends again, then pred-drill and screw together.
- Lay on gravel or hardcore where the rain can run off and ensure it is level with a spirit level before building your shed on top. You may want to use treated packers for this on uneven ground.
Notes
Full video here: https://www.youtube.com/watch?v=ceaq9guULBk

Comments
No Comments