
This DIY mitre saw stand with wheels is what you need in your workshop! It has everything like extendable arms, storage and a homemade t-track for a quick change stop block.
Includes a how-to build a folding mitre saw stand video you can follow along with available plans.
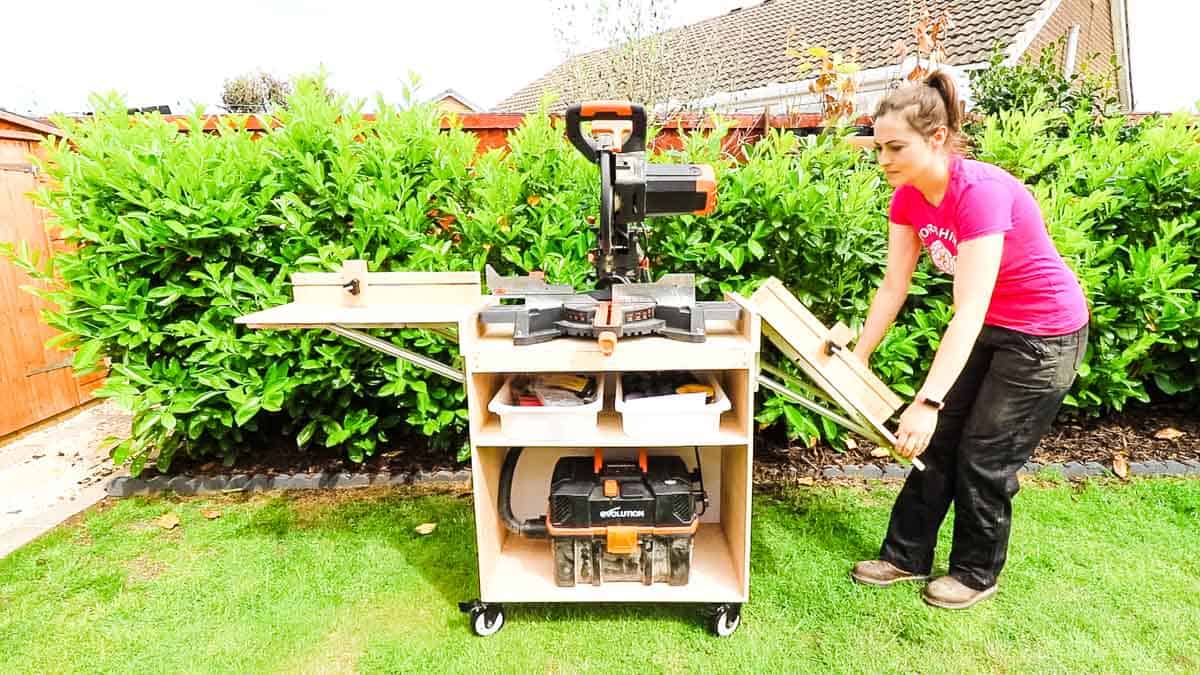
Firstly, what comprises the best miter saw stand in your workshop really is down to personal preference.
A few years ago, I was gifted this Evolution R255SMS+ compound mitre saw and this heavy duty stand with folding legs. I was truly grateful that it encouraged me to develop some more woodworking skills. You can watch me making this garden chest box with it.
But while I've been fine-tuning my workshop space, (aren't we all?), my tool collection keeps growing and my needs have changed.

Why I Designed a Mobile Mitre Saw Stand
The main reason I opted for a mobile mitre saw station was because my workshop is quite small. It sits in the corner against the wall and at times, I could do with moving it to make a cut on the other side.
And because it's really heavy and robust, it's hard to move. Life's too short for struggling, but I'll still find a use for the old one as the mounting section is adjustable.
With a DIY portable mitre saw stand, I could create:
- something I can take anywhere
- additional storage
- space saving arms that fold down
- a homemade t slot for a stop block*
*My favourite bit! I know it's going to save me lots of time!

Mitre saw Stand Plans
If you want to follow along, you can buy my mitre saw plans in my Etsy store. Or, get them along with other exclusive perks by becoming a YouTube member or Patron.
As with all mitre saws, they all have different features and come in many different sizes. So you'll need to adjust them a bit if you're not treating it as an Evolution mitre saw stand.
Mine is longer than many, but this DIY mobile mitre saw stand is easily customisable for others by either Dewalt, Ryobi, Makita, Milwaukee and much more!

Tools I Used to Make a Homemade Mitre Saw Stand
- Evolution Mitre Saw
- Evolution stand
- Erbauer circular saw
- Folding brackets
- Trend T18S router
- Trend router bits
- Automatic centre punch
- Packers
- Clamps
- Tape measure
- Rigger boots
- Ear defenders
- Goggles/safety glasses
- Combi drill
- Wood glue
- Glue bot
- Rockler glue spreader
- Drill bits
- Set speed square
- Combination square
- Stanley Fatmax nailer
- Tenon hand saw
- Heavy duty castor wheels
- T-square
- Hammer
- T-slot cutter IF preferred *(see video from here)
- T screw bolts with nuts/handle
- Ferrex bandsaw (Aldi)
- Carpenter's square
- Drill press
- Hole saw

Build a Mitre Saw Stand Step by Step
Once I'd cut all of the 12mm plywood materials for my mitre saw cart, I drilled, glued and screwed the main carcass together, except for the top shelf.
Note, in an ideal world, you'd use 18mm+ plywood, but it's perfect with the supports I added to my mitre saw table along with other ways I ensured it was rigid.
Alternative Methods
Pocket Holes: If you're more comfortable with a pocket hole jig, then feel free. My old Trend pocket hole jig doesn't work with anything thinner than 16mm.
Rebates/Dado Rails: You may prefer to cut a rebate for the two upper shelves as well as add screws or dowels. *I plan on doing that for my upcoming DIY bandsaw stand or drill press.

Aligning the Chop Saw Stand's Top Shelf
Despite measuring in advance for the top shelf of my DIY mitre saw table, I still needed to find tune things. *I found the black overhangs on the Evolution dipped.
So I recommend clamping offcuts where you can rest your top shelf on top, then fine-tune using a straight edge, like a spirit level. I then added packers until I was happy.
Things to Check Before Gluing and Screwing
Note, it's vital that you fully check all your bevel, mitre and sliding functions before screwing your top shelf on. If you have any handle protrusions, you could:
- lower the shelf slightly, then prop it up with packers (drill through the packers and bolt through so they don't move when mounting)
- OR, get it level and router any allowances with a straight bit in the top shelf
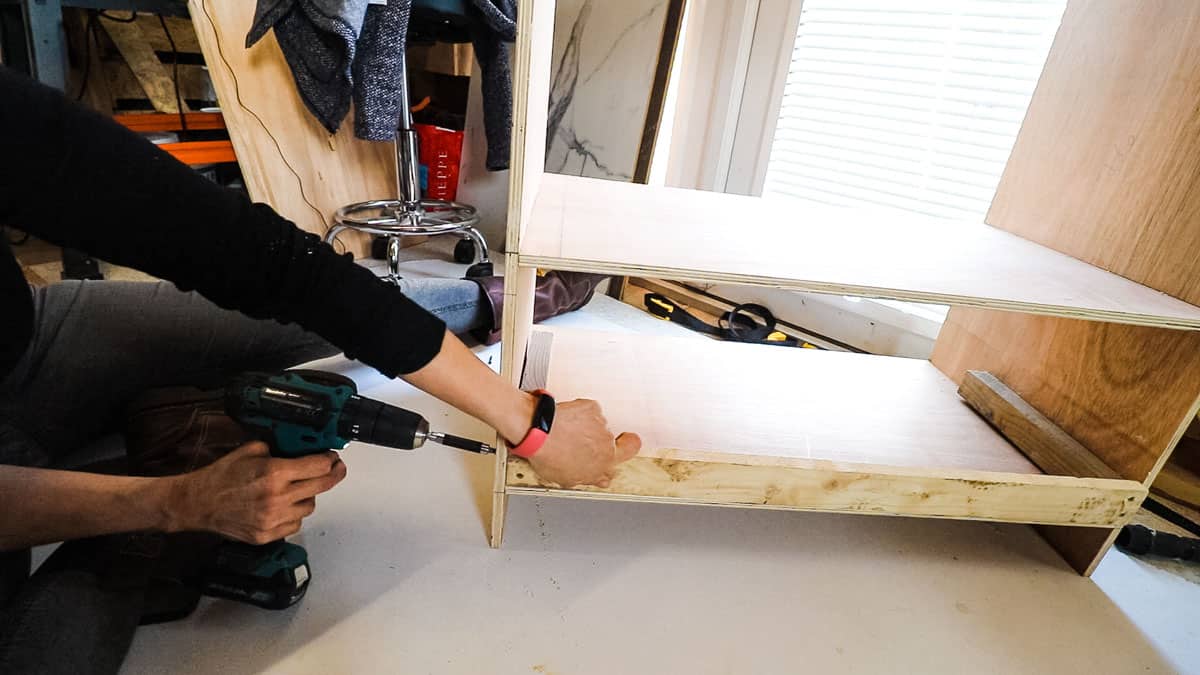
Prevent a Bowing Top Shelf
Due to mitre saws being heavy in general, (and it's going to get heavier while you load and cut wood), I didn't want any bowing.
Bowing is likely going to affect any precise cuts, and, who wants the screws to dangerously snap under pressure while you're working on it.
So I felt it was vital to glue and screw some studs together to the same internal width, then screw it directly underneath the top shelf. These supports will take the stress away from the shelf screws.
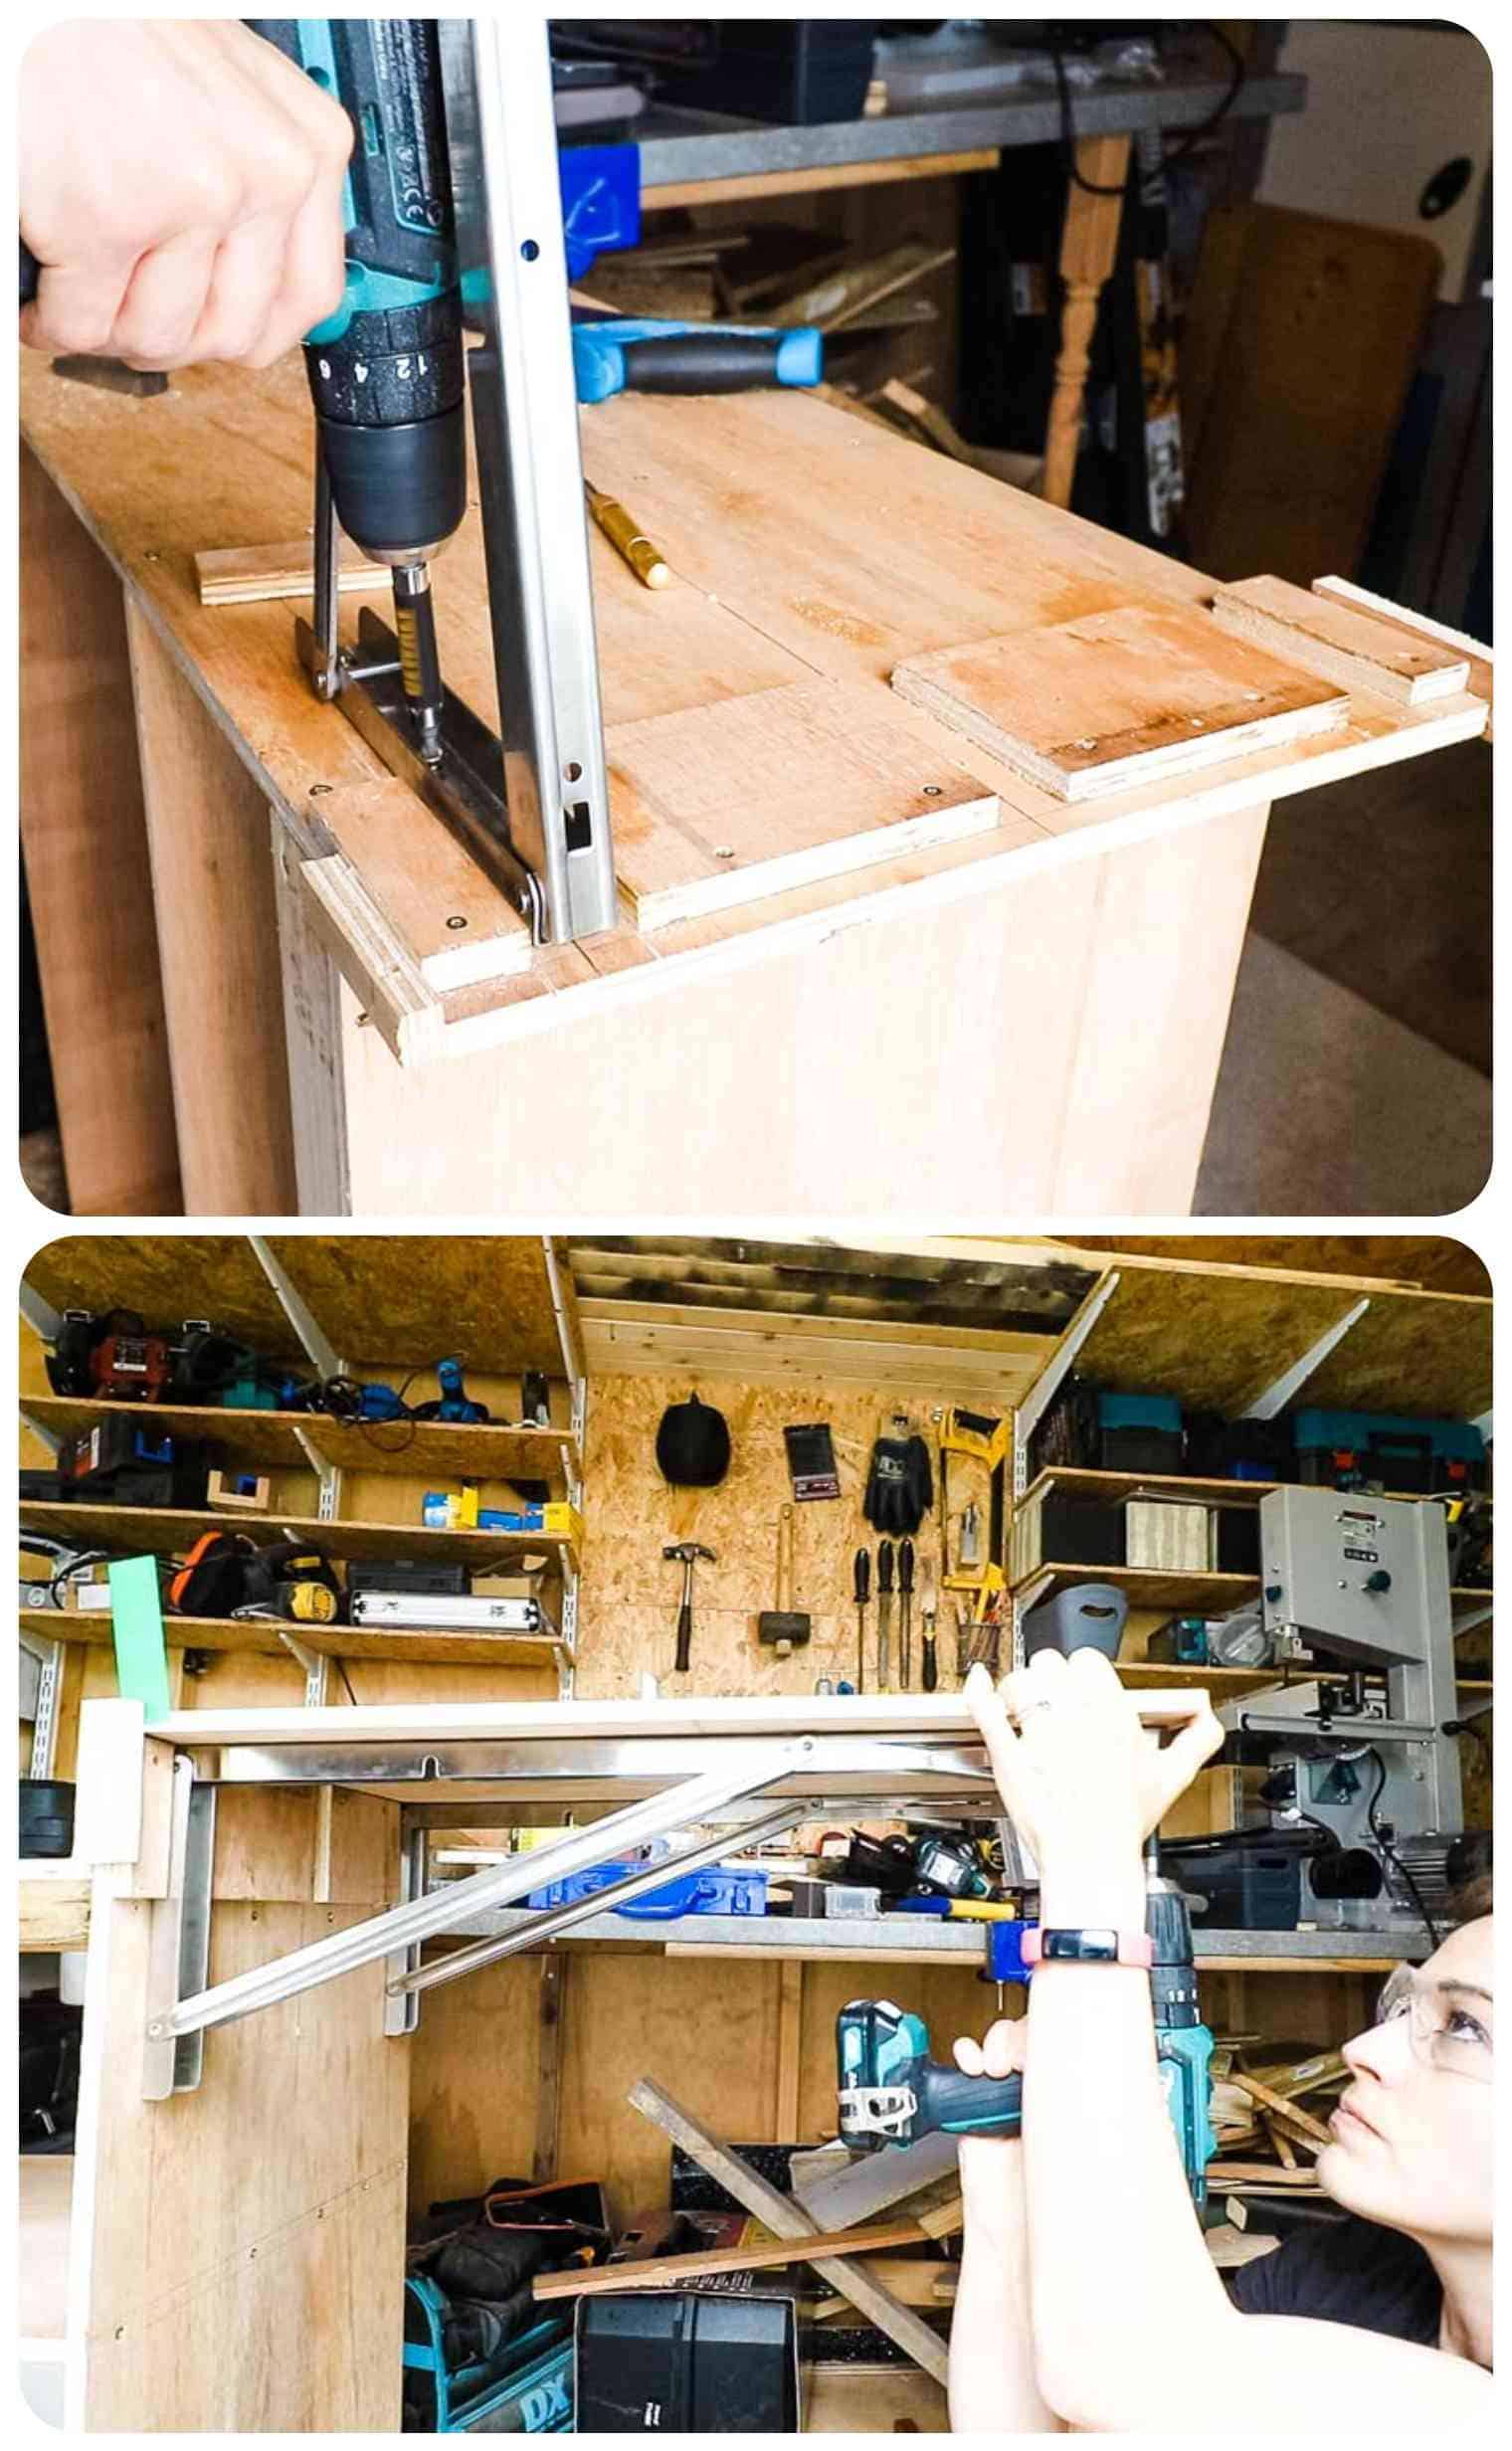
Making Folding Extension Arms to a Stand For a Miter Saw
To feel comfortable chopping longer pieces of timber with ease, I offset some heavy-duty folding brackets to allow the thickness of the top.
Then screwed them to the sides and then the top from underneath.
*Initially I was going to try and get away with 1 per side, but even with a support piece underneath, I didn't like the wobble. I'm sure it would have been fine, but I wanted it to be sturdy for accuracy.
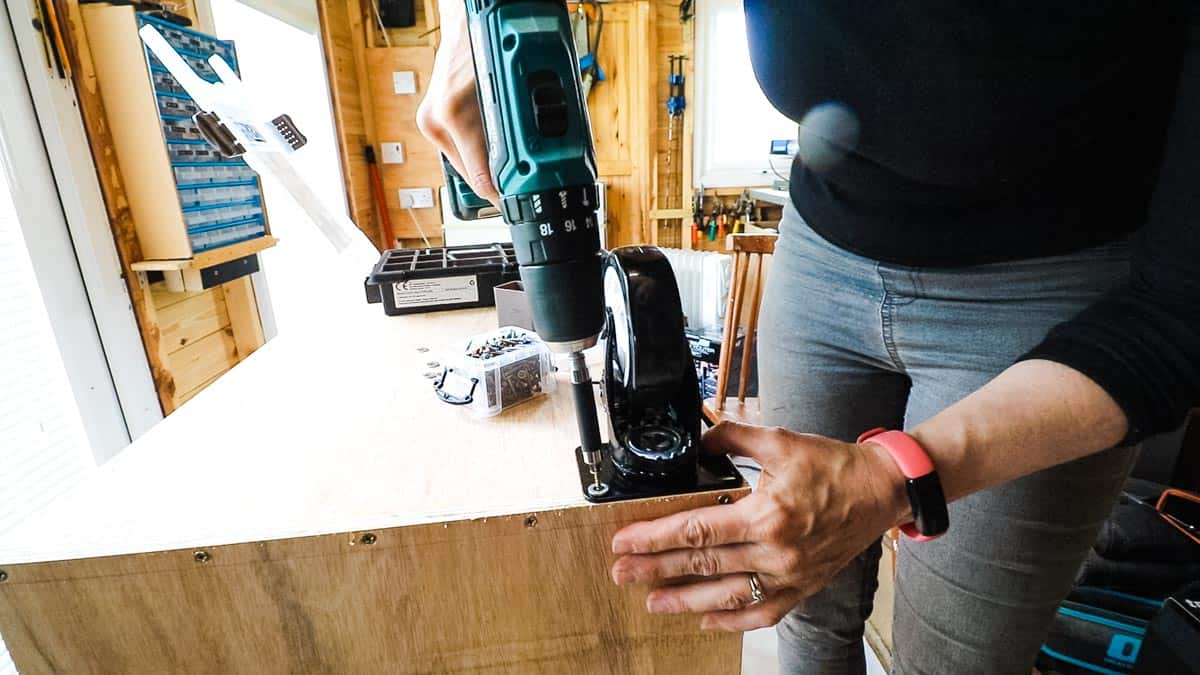
Adding Castor Wheels with Brakes
My next job was to screw 4 heavy duty castor wheels with brakes at the front.
As I'm using 12mm ply and I'll be moving this chop saw stand a fair bit, I took a note from when I built kitchen carcasses and their legs.
And that was to have the mounting plate of the wheels overlap where the sides and the bottom shelf join. The sides allowed longer screws, too, as an extra bonus.
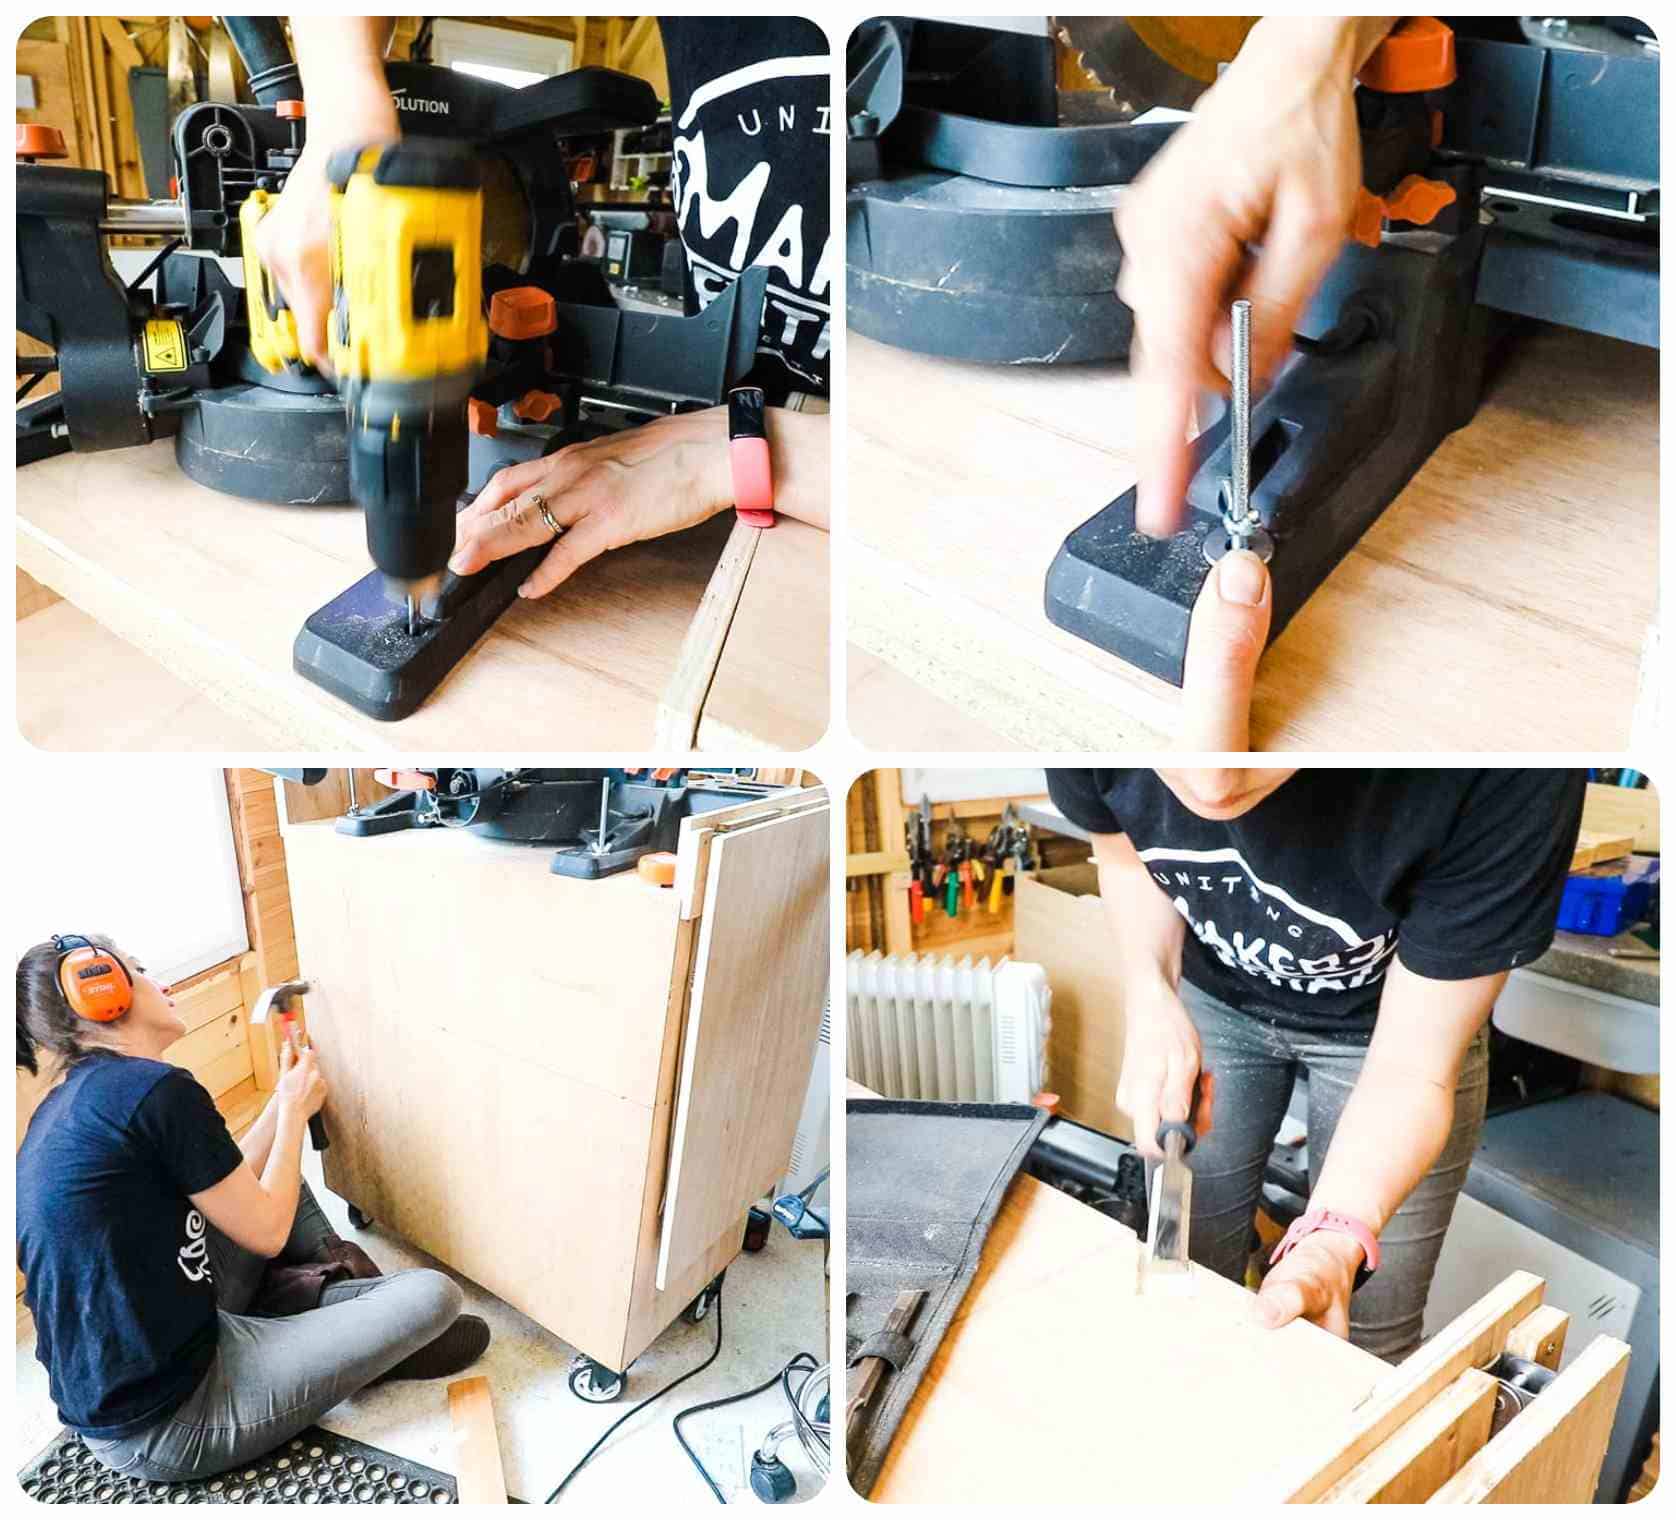
Mounting the Mitre Saw & Other Bits
- The next few steps were to position the mitre saw evenly on the top shelf so I could drill and bolt it down.
- Then, I hand saw and nailed a backing on for extra rigidity before drilling holes for the plug and hose on my Evolution wet and dry shop vac.
- Finally, I needed to router and chisel smooth a section on the top shelf for my mitre saw's lever.
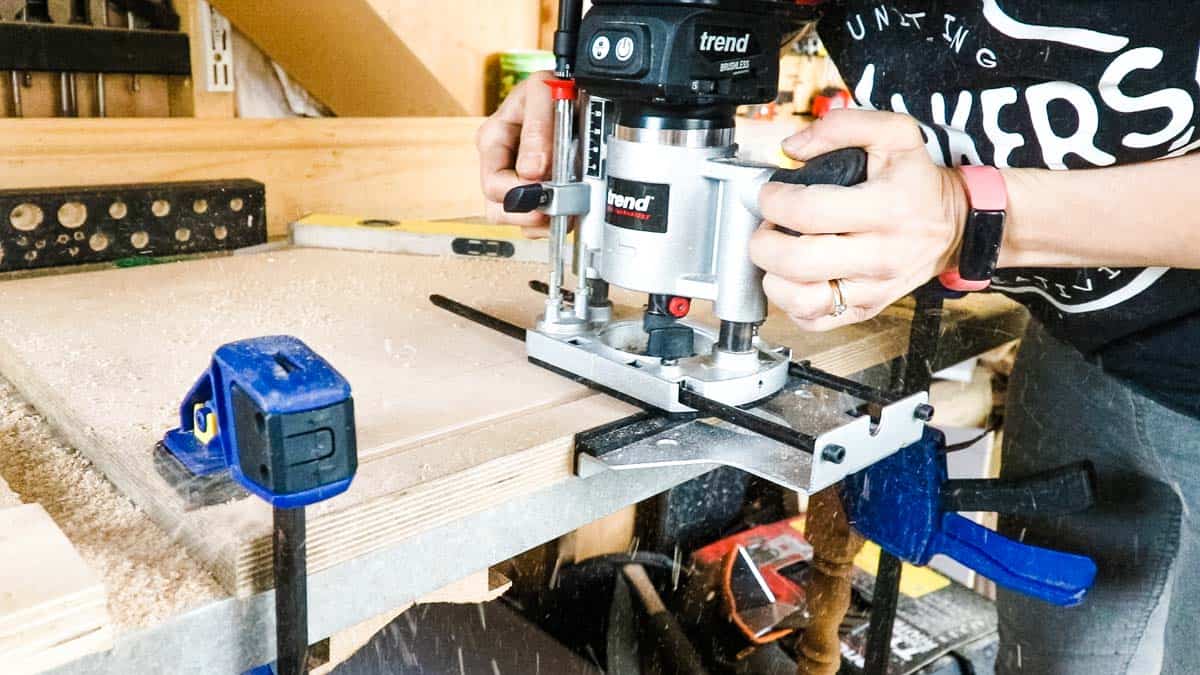
Creating a Mitre Saw Fence with Stop Block
The real star of this project was adding a chop saw fence with a stop block so I can make repetitive cuts quickly.
Above, you can see how I opted to create a homemade wooden t-track (AKA t-slot). I rebated a shallow straight groove to allow space for the head of a t-bolt in some 24mm birch plywood before ripping them down.
You can buy t-tracks, but this is MUCH cheaper.

Adding Fence T Track Coverings
Instead of using the t slot cutter I bought and tested, I opted for an easier way to glue strips of plywood on top.
You need to do this while trapping the t-bolts and constantly checking they'll move side to side.
Tips:
- Add plenty of nails or screws in
- Don't add too much glue so it doesn't drip into the track
- Allow it to dry flat on the worktop
Once dry, router with a flush-trim router bit, then add a chamfer along the bottom for sawdust to go under and not push out your wood when cutting.
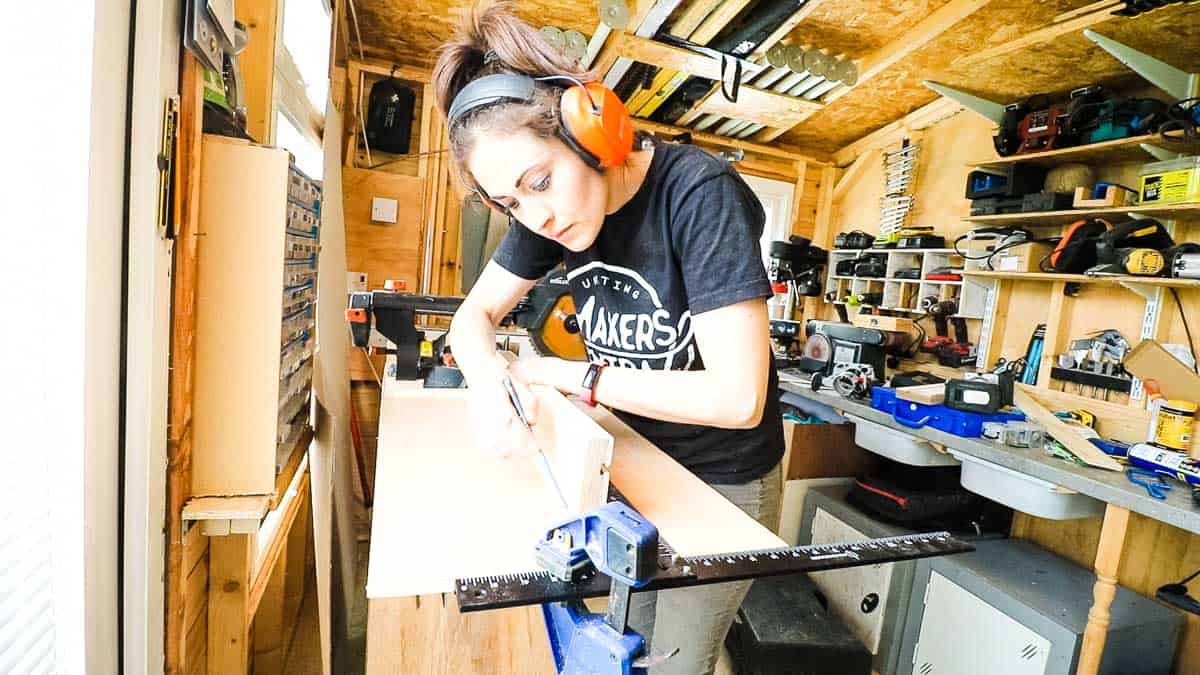
Lining the Fence with Your Existing Mitre Saw Fence
I lined a large t-square with my existing fence while also clamping it to the extending mitre saw table arms and drew a line there.
Then held my new fence against it (make sure the chamfer doesn't overlap it), then draw behind that.
Then you can remove it to drill a series of holes. Note, my holes were slightly bigger than the screws so it could clamp it tight to the fence.
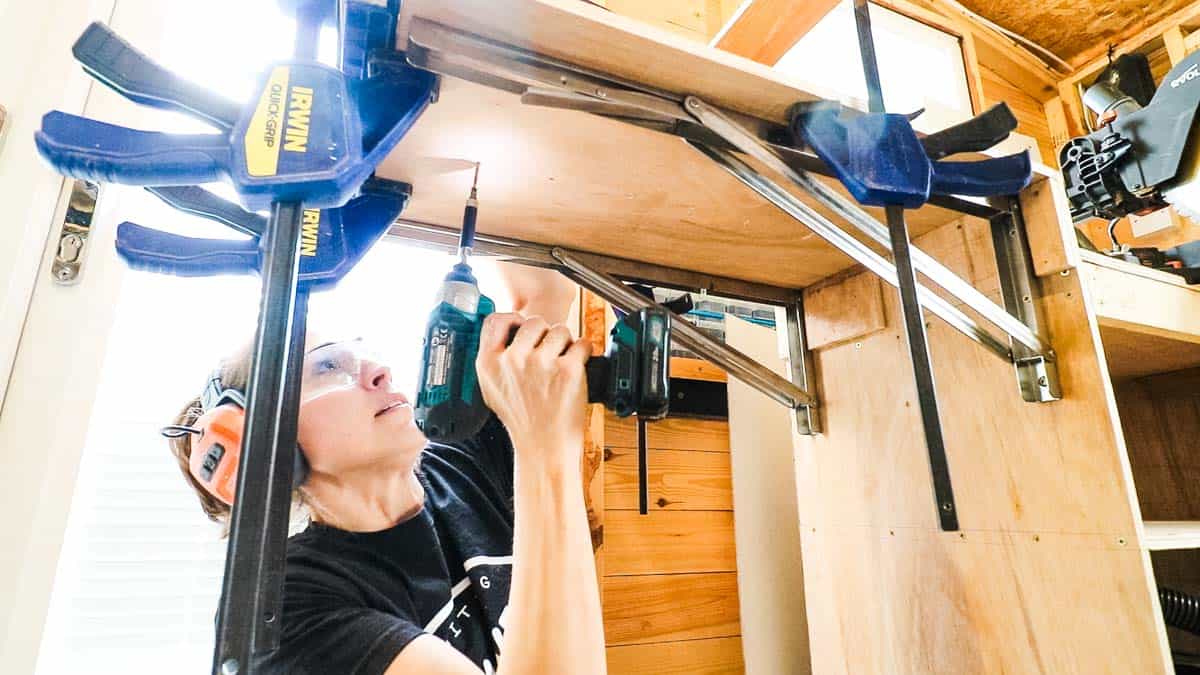
Screwing the Fence to the Mitre Saw Stand
I then clamped the fence from above.
Checked with a right angle from both sides and screwed together with an impact driver.
Note, I didn't glue this down as I may want to change it over the years. Hence, why I put a LOT of screws in instead!
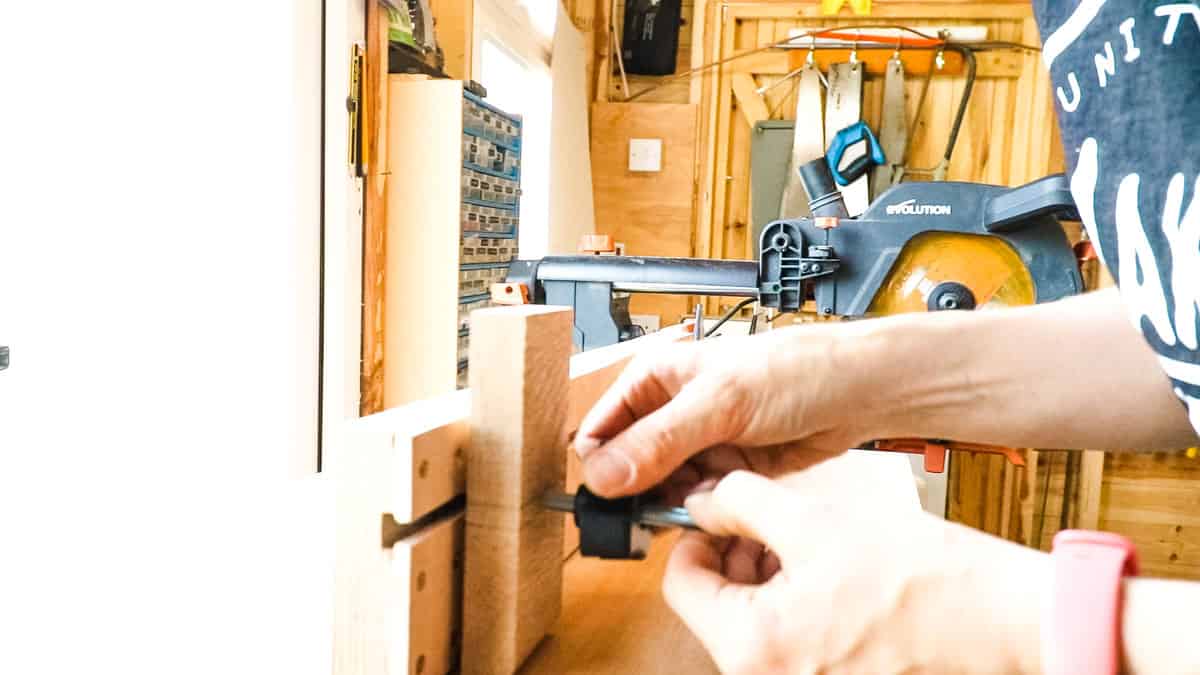
Adding a Stop Block
For the stop block, I had an offcut of oak with a rounded edge, so I cut it in two pieces on my bandsaw.
Then offered it up to the fence to mark where the track was and found centre before drilling a hole in my drill press.
Note: for accuracy, I started with an automatic centre punch, then drilled with a small drill bit, followed by a larger one.
Removing Sharp Edges
The last thing I did was go over the sharp edges with my favourite 45 degree chamfer router bit.
It gives it a more professional finish, and reduces the chance of splinters or catching myself on sharp edges.
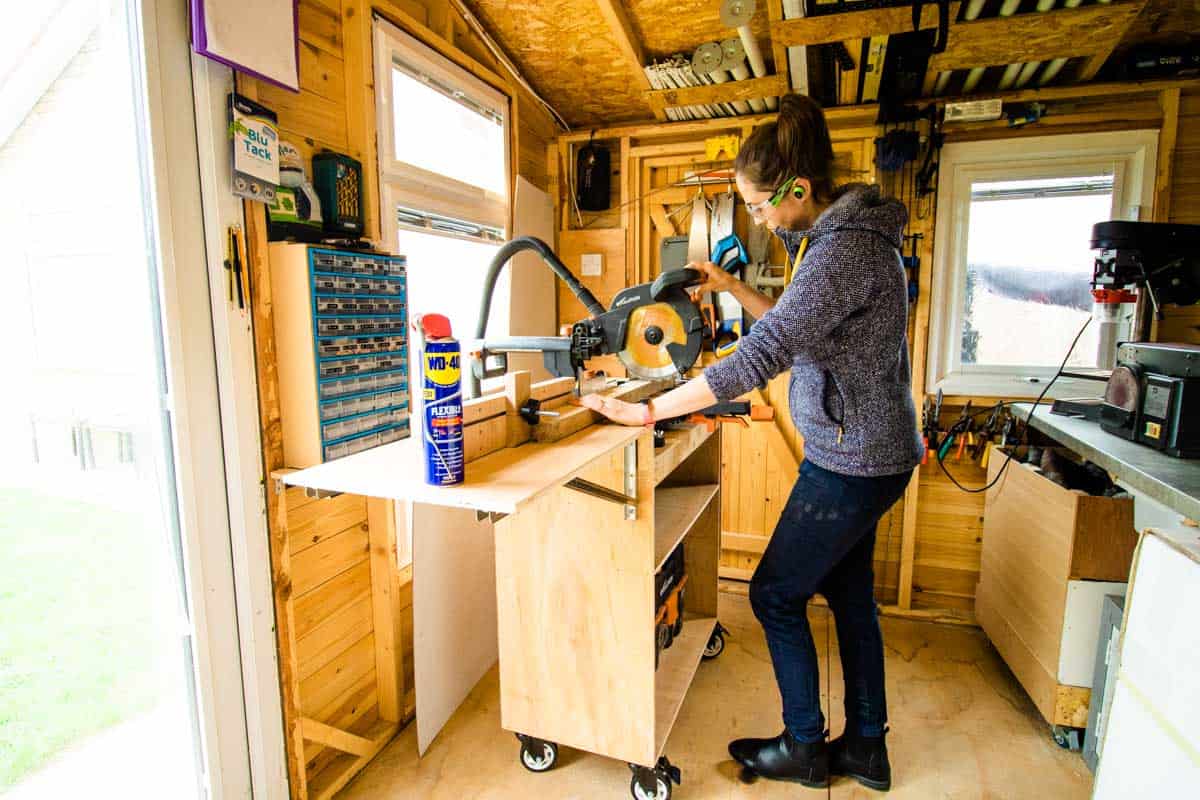
Above, you can see how it turned out. I'm extremely happy that I now have a sturdy mobile chop saw mount. And more storage, surface area, and some stop blocks to speed up my cutting process!
How to Build a Mitre Saw Stand

This DIY mitre saw stand with wheels is what you need in your workshop! It has everything like extendable arms, storage and a homemade t-track for a quick change stop block.
Materials
- 12mm plywood
- 24mm birch plywood for fence (or glue 2 x 12mm plywood together)
- Folding brackets
- Heavy duty castor wheels
- Wood glue
- T screw bolts with nuts/handle
Tools
- Evolution Mitre Saw
- Evolution stand
- Erbauer circular saw
- Trend T18S router
- Trend router bits
- Automatic center punch
- Packers
- Clamps
- Tape measure
- Rigger boots
- Ear defenders
- Goggles/safety glasses
- Combi drill
- Glue bot
- Rockler glue spreader
- Drill bits
- Set speed square
- Combination square
- Stanley Fatmax nailer
- Tenon hand saw
- T-square
- Hammer
- T-slot cutter IF preferred *(see video from here)
- Ferrex bandsaw (Aldi)
- Carpenter's square
- Drill press
- Hole saw
Instructions
- Cut the wood as per my plans as seen in my Etsy store here.
- Screw together as per my step by step above
- Mount the folding brackets on the sides, then the extending arm plywood flaps
- Router a rebate in the fence material to house the t bolt
- Glue on the strips while making sure the t bolts still move
- Line the fence to the existing mitre saw fence and screw the fence down to the extension tables
- Cut two blocks for a stop block
- Hold it against the t-track and mark where it is.
- Find centre to drill an 8mm hole for your t-bolt and screw a washer and nut on.

Comments
No Comments