
Here's my step-by-step on how to make a radiator cover for the first time. It's great for awkward radiators you can't find a cover for and it's easily adaptable with a plan suggestion below. You can also find a follow-along video at the very bottom of this page!
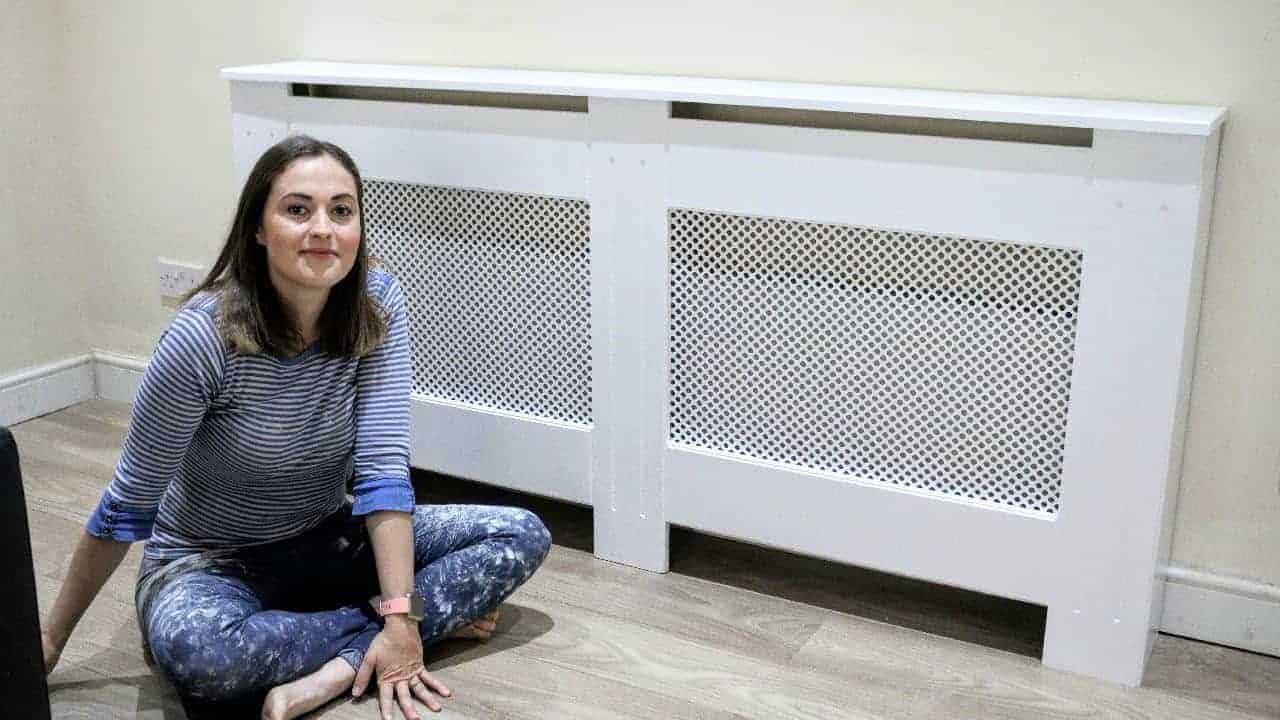
A while ago, we decided to move TV on a wall with a radiator underneath. The only problem is, it didn't look as stylish as I felt it could.
So here, I'm going to show you how I designed and built my own DIY radiator cover and how you can replicate it in your own home.
My free plans with guidance will also show you how to make it custom made, depending on the size of your radiators.
Jump to:
🪵Which Wood for a Radiator Cover?
For a radiator cover to cope well under heat, it is recommended that you use MDF. It loves to keep dry and it hates moisture. You can also see in my plans below that I used 18mm MDF to it is strong. I prefer buying it in large 2440 x 1220mm sheets as it tends to be much cheaper.
However, with my van being a camper van, I can't fit them in, so always ask B&Q to cut the size down. So if you've only got a car, you could go along with a cutting list to fit them all in.
But, with MDF, the sawdust is dangerous to breathe in. So it's vital you wear safety gear, such as a respirator as well as your usual goggles, ear defenders and grip gloves.

Standard Height
I found there are many different radiator cover heights depending on your radiator. But on average, I found them around 82cm tall, externally.
During my research, it was recommended to me to ensure I have a 3cm vent above my radiator. Then, after adding my top, it was 85cm high. As for the depth, I made mine deeper if we were to use it for perhaps a DVD player on top. You get the idea!
Ass both my radiators in my living room aren't the same height, I wanted them to match. So, in this project, I'm actually making it taller to match my other one.
Do You Lose Heat?
Whether a radiator cover loses heat is a hot topic! While it's very difficult to prove, many people are very opinionated on the matter.
It's important you have a sufficient vent at the top and bottom for the cold air to be sucked in and the heat can escape.
But, the confusion may be that it takes slightly longer to heat the room. Yet I wasn't particularly worried about delays as I had two radiator covers to make for our living room.
🪛Tools
- 18mm MDF sheet
- MDF screen
- Tape measure
- Erbauer cordless circular saw (gifted for previous collab)
- Erbauer battery
- Irwin clamps
- 1m spirit level for a straight edge
- Face mask
- Ear defenders
- Goggles
- Glue gun (gifted)
- Glue gun battery (gifted)
- Combination square
- Speed square
- Grip gloves
- Erbauer palm router
- Chamfer router bit (45 degree) from this set
- Round core box router bit (18mm) from this set
- Erbauer biscuit jointer
- No. 20 biscuits
- Titebond 2 wood glue
- 2 x 1200mm sash clamps
- Angle brackets
- Combi drill
- Fatmax combi drill
- 2mm wood drill bit
- Erbauer cordless jigsaw (gifted)
- MDF sealer
- Satinwood paint (although some just use emulsion)
- Sawhorses
📋Instructions
First I cut my front panels, all to 15cm wide. Note, I already had B&Q cut the width down to 85m which was the exact height of my strips.
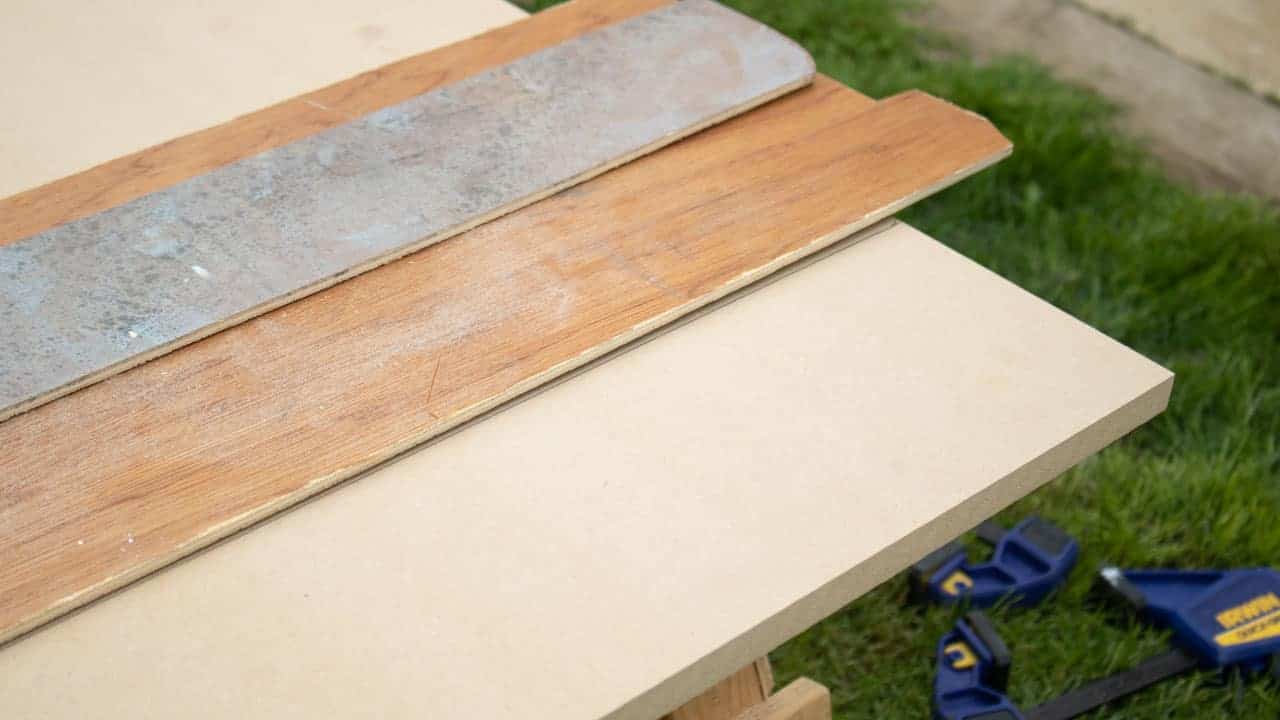
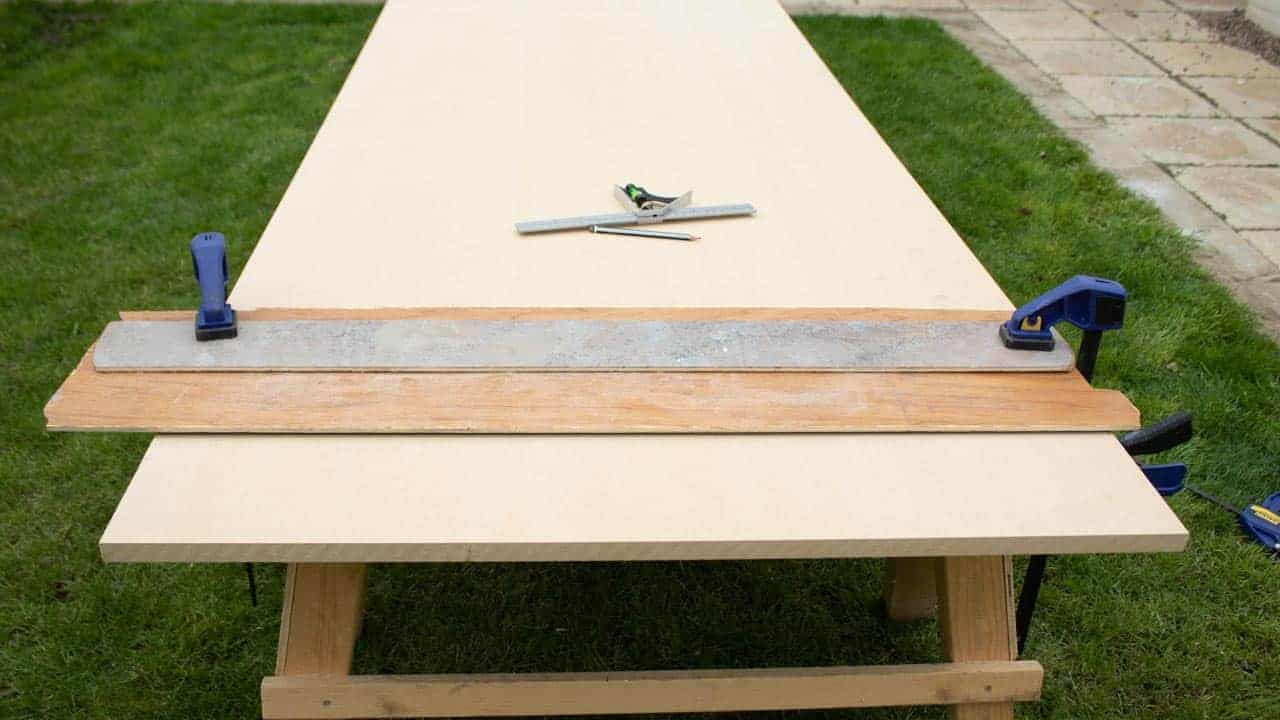
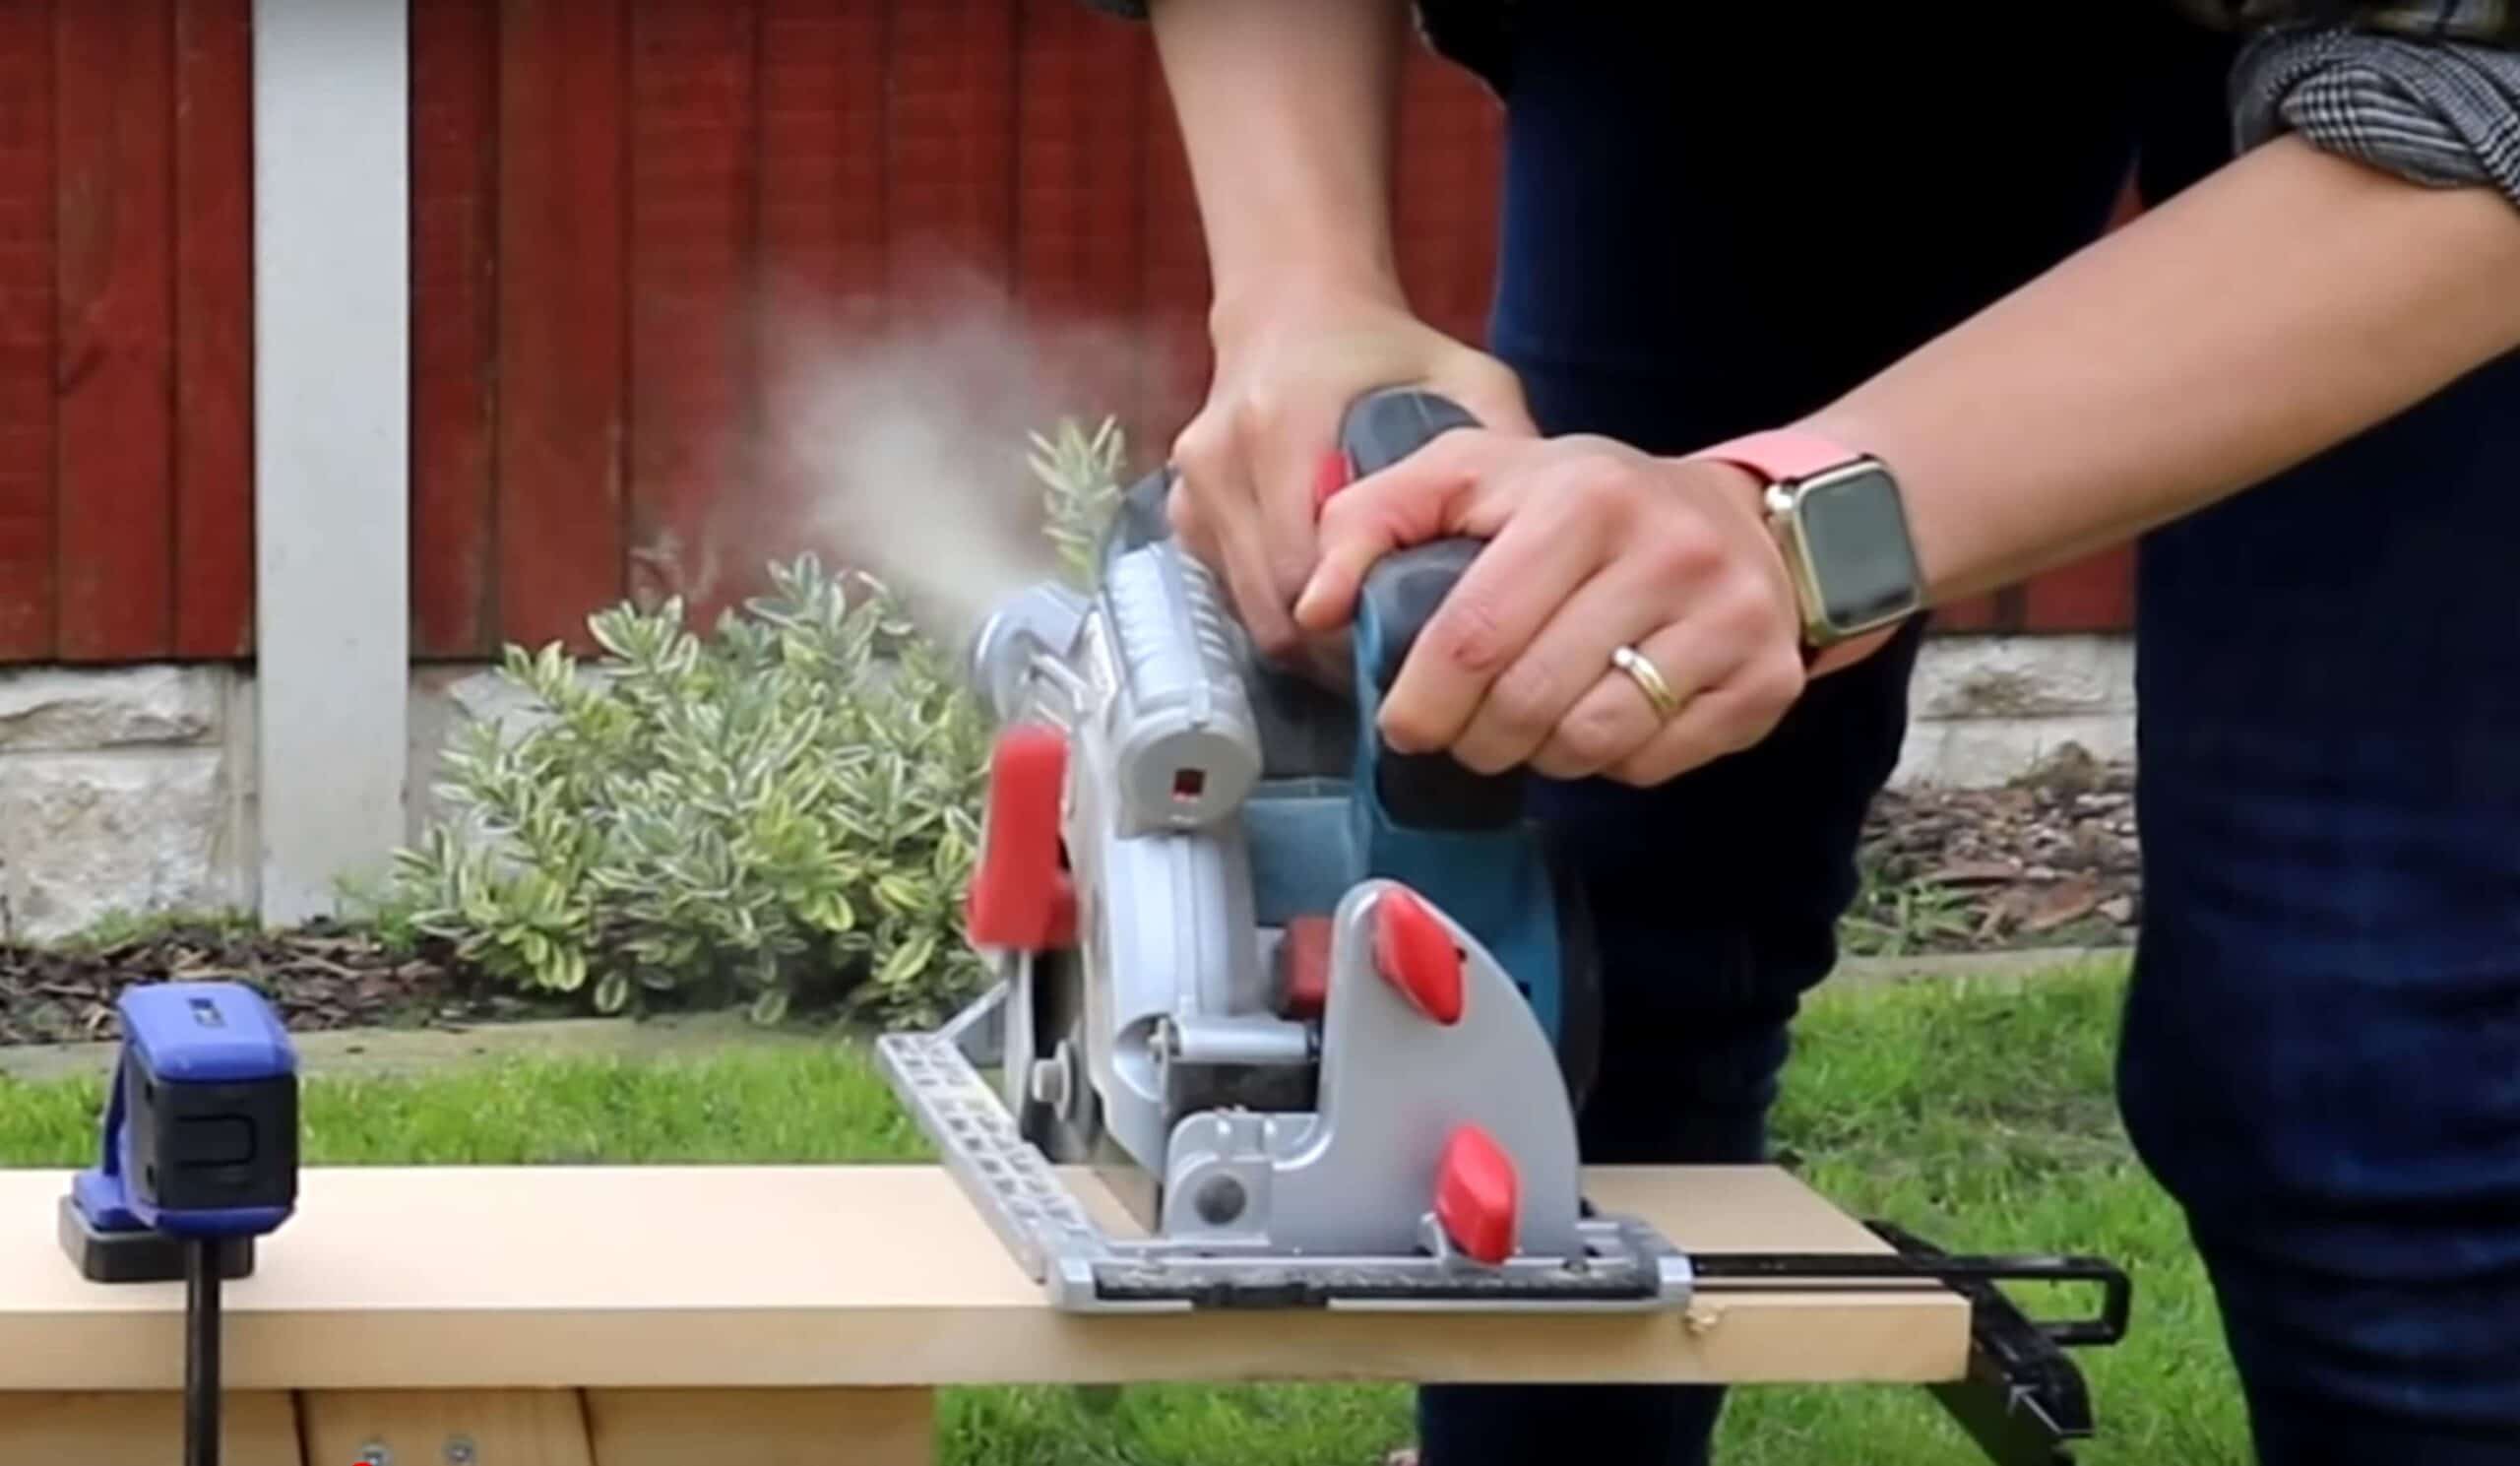
I knocked up a quick DIY fence for my circular out of ¼ inch plywood and hot glued them together.
This prevented the need to keep measuring my saw's offset to the blade. You could, however, use a straight edge (a 1m+ spirit level. Note, I'm wearing safety gear as MDF dust is dangerous.
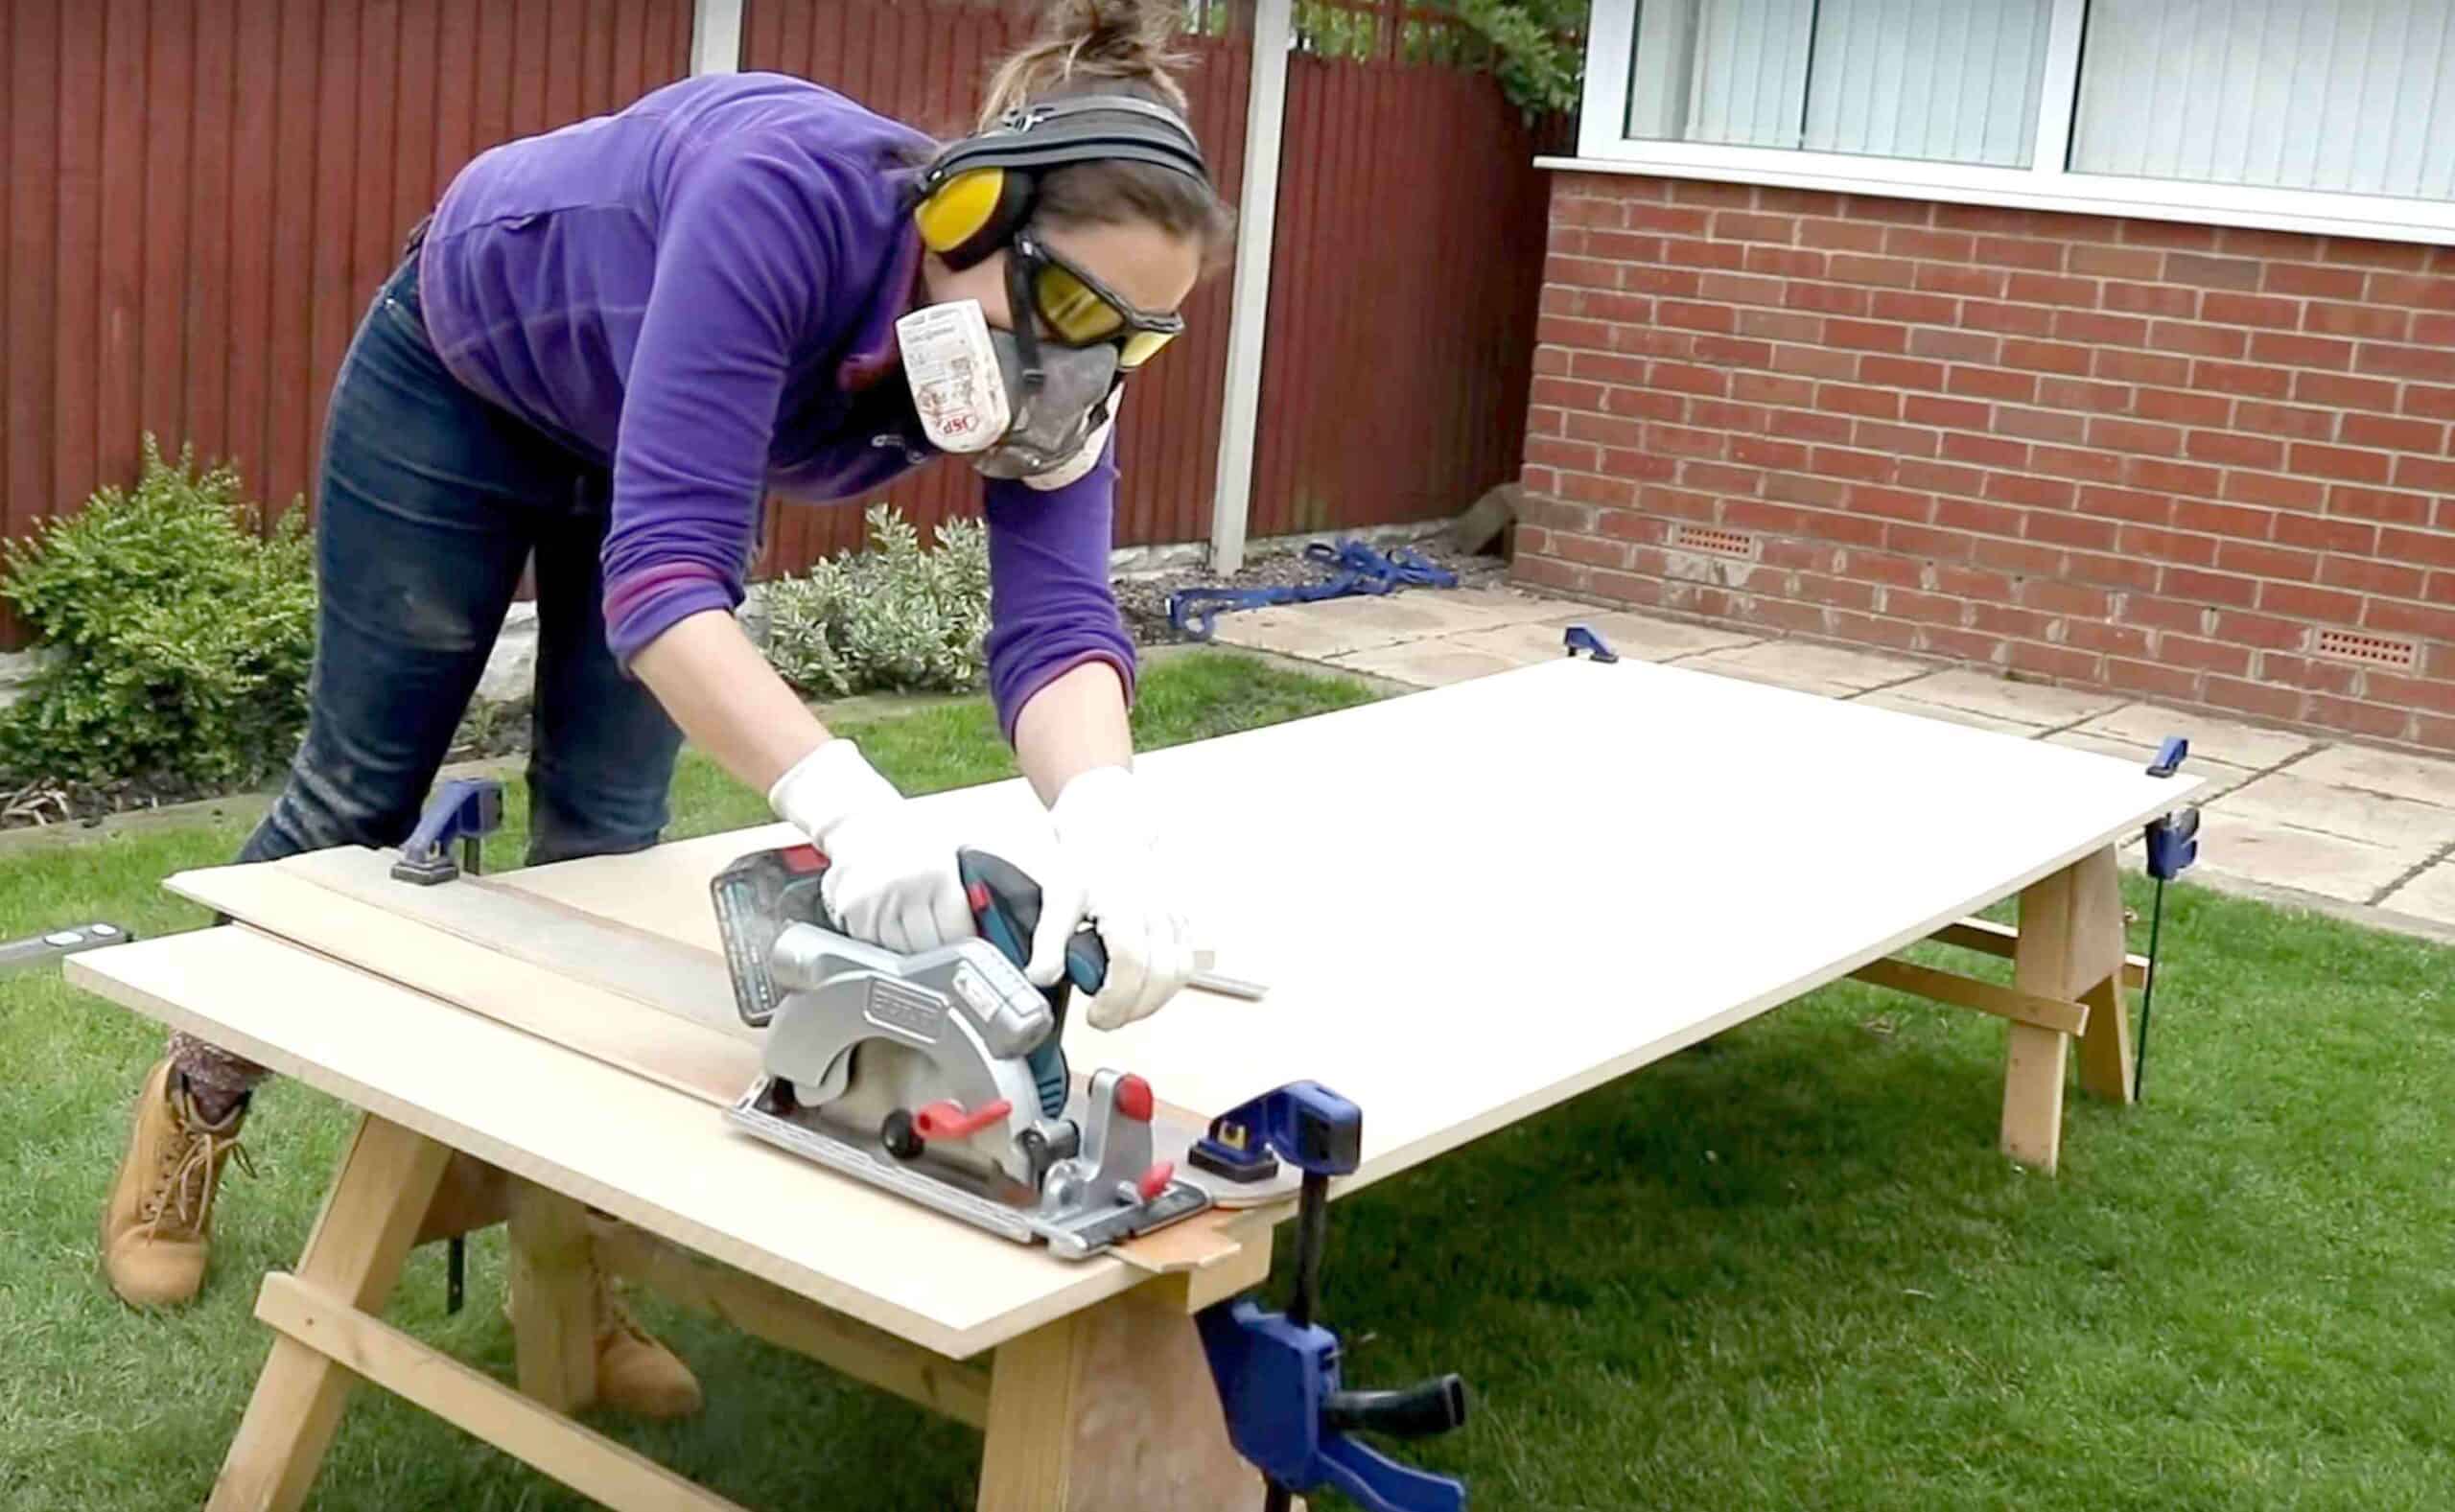
I also worked using my sawhorses. You can find a video link on how to make them in the materials list above.

Working Out the Width
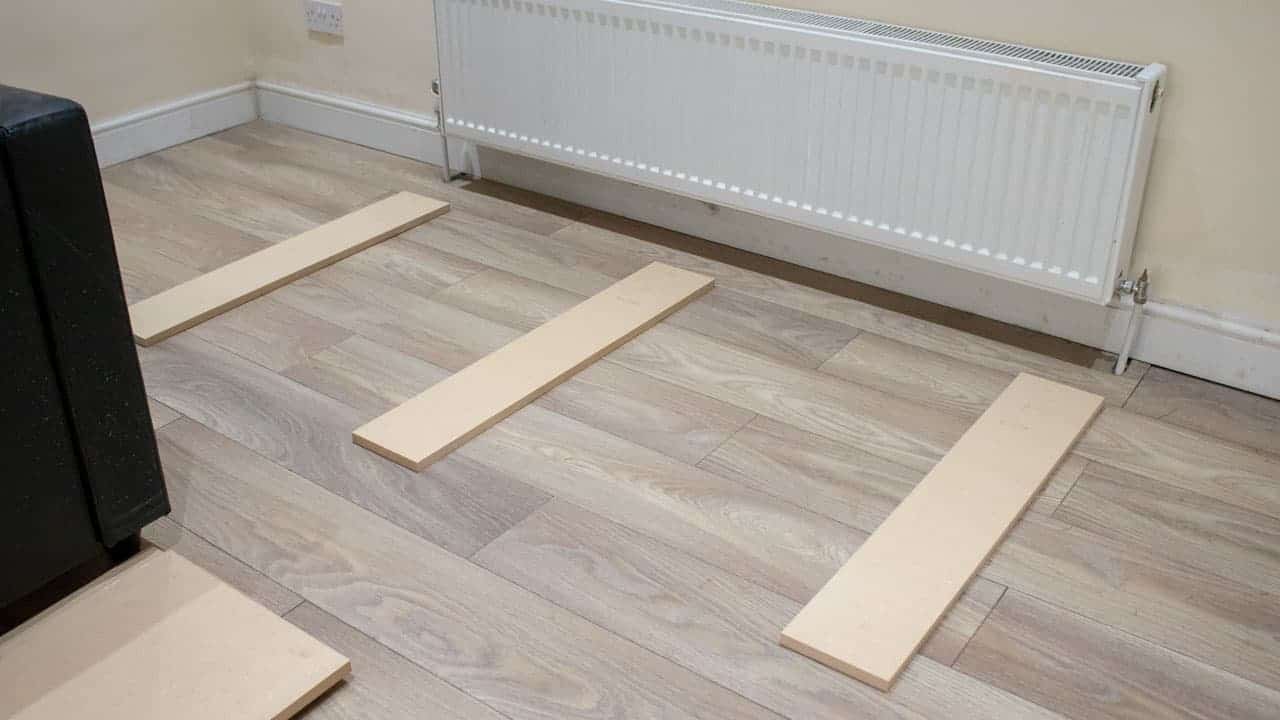
You'll need to now work out how wide you need your radiator cover. For this, I laid my pieces flat and spread them out, leaving the two outer ones to cover the radiator pipes.
Also, it's important to remember that either end will have a 18mm thick panel attached from behind it. So make sure you allow for that.
Then with your total length, in my case, I deducted 3 x 15cm wide panels. Then divided it in half and rounded up the figure. This then should be the width of your horizontal strips.
Labelling the Radiator Cover Panels
There are several things to mark on your panels to make life easier. Firstly, I recommend writing which is top, middle and bottom.

Marking Radiator Cover Vents
I was advised by a carpenter, (Rob at Spend Time, Save Money DIY) to allow two vents as demonstrated above.
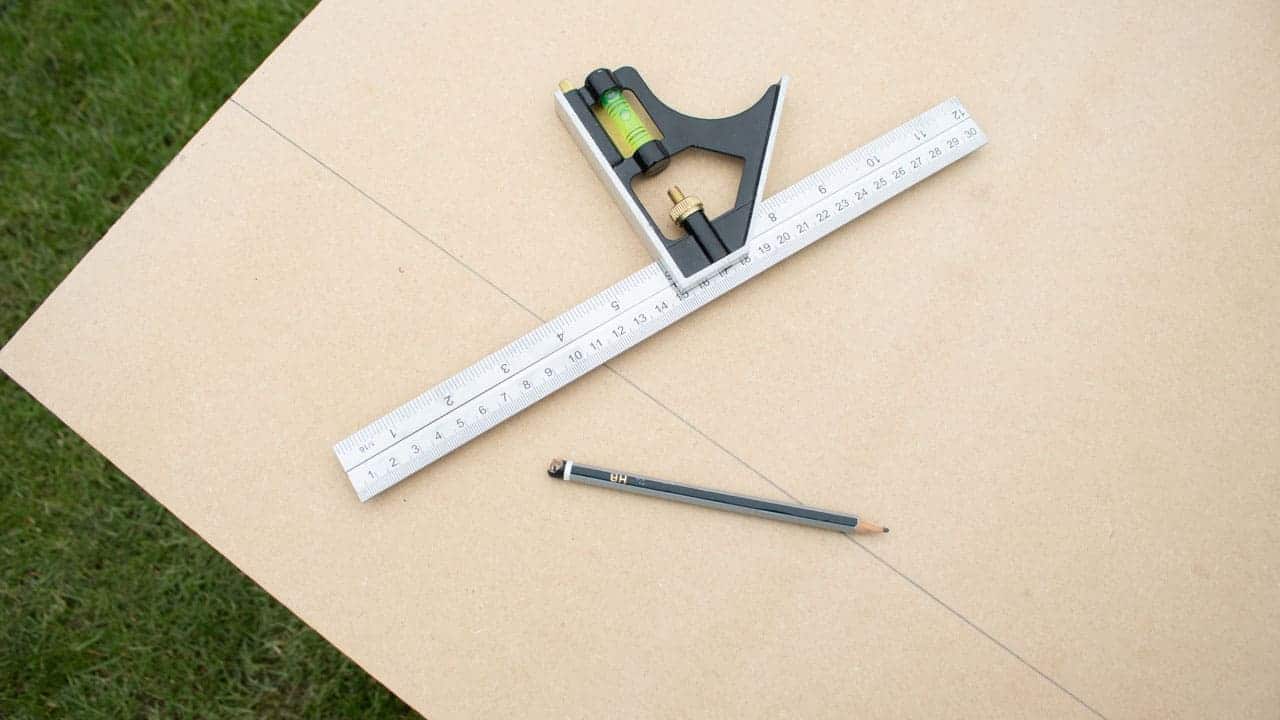
And to get this, I lined up all my vertical panels. Then I set a combination square to 30mm and marked it at the top for reference.
And repeated for the bottom, but marked at 100mm.


Marking Your Routered Edges
In short, I didn't router the top and bottom edges of the vertical edges. However, it's very easy to get carried away as I ended up recutting a panel as I got obsessed with perfection.
You can see below, I marked little crosses to say "router this edge", but do whatever works for you. But firstly, I want to point out not to assume this is difficult. It really isn't and I've only used a router a handful of times.
But I ALWAYS test on offcuts first and play around with the depth until I go for gold.

How to Router with a 45 Degree Chamfered Edge
To soften all the edges on my radiator cover, I used my gifted Erbauer palm router with a 45-degree chamfer bit from my Silverline tools collection. (You can find the link in the list above).
I also set the speed to 3 on my router and depth measurements as featured below.
This photo was originally just for me so I can replicate the look on my 2nd radiator cover.

And then go along the edges working from left to right with the bearing at the bottom so it runs along a straight edge. But make sure your wood is clamped down.
Note, if your cuts aren't straight, ie you've used a hand saw of jigsaw, they may look noticeable, so you may want to sand first. I've also been told since that you shouldn't go in back and forth directions.
And don't forget to wear safety gear! You are, however, fine to go over the same area more than once as the bearing and router plate prevent removing more than you wish.

How to Carve Flutes on Your Radiator Cover
I think my flute lines are my favourite detail on my radiator cover. For this, I used an 18mm core box router from a different set ordered on Amazon.
I kept the same depth, then clamped each of my three vertical panels on my sawhorse. Then clamped a deeper offcut along side it to act as a fence/stopper for my router plate. Followed by clamping more offcuts on top of either side as seen below.

Then I ran along the longer edge for a straight line. Be careful of any sudden movements. Especially when stopping and pulling away while the machine it still on.
Again, just practice scraps if you're nervous. And unclamp and clamp in reverse, then repeat to create a pair of lines.
If you mess up, you could always flip it over and start again.

Marking for Biscuit Joins
I've since learnt that cutting slots with a biscuit jointer is not only fun, but such a useful skill to have!
Make sure you panels are all lined up, not forgetting the vents. Then mark anywhere near the middle of each join with a pencil line.
And copy that mark on the opposing panel that meets.

Cutting Slots with a Biscuit Joiner
Using my Erbauer biscuit jointer (not gifted, unlike my other Erbauer tools), I twisted the knob to cut slots for number 20 biscuits. These are suitable for wood 18mm + thick.
I clamped each piece to a flat surface, but with the panel set back so I could rest my biscuit jointer on. Then turned the machine on, lined up the centre mark on the biscuit jointer to my pencil line and pushed it in to the wood.
The reason I prefer clamping is it allowed me to push down without me needing to support the wood. This meant I could keep my fingers away from the powerful cutter.

Building Your radiator Cover
Before you put your radiator cover together, lay down a rag or similar to catch any glue drips. Then, here I've set up 2 x 1200mm pro sash clamps. These are worth EVERY PENNY!
I was also advised to use Titebond 2 Premium wood glue by carpenters and it starts to set between 30 minutes to 3 hours. However, it's best to leave for 24 hours if you need to put any strain on the joins.
If you don't wait long enough and weaken a join prematurely, then my tip would be to screw nail plates on the back and leave overnight.

Adding the Biscuits to Join
I then squirted the glue into the slot, although it's so easy to add too much. Then add your biscuit.
Note the biscuits are designed to expand with glue.
I've also since put my remaining biscuits in an air-tight container as they expand from moisture in the air.

Once one side's slots have glue and a biscuit, I then added glue in the opposing panel and along the straight edge.

Then I slotted all the panels together and tightened my clamps.
However, a tip I learnt but not shown here, is to also clamp with scraps along the edges. This is the prevent the clamp from crushing your chamfered edges.
But as my radiator was rather big, I had to clamp mine in sections. This is where the 3 hour setting allowed me to still work with it.

Making it Square
After tightening my clamps, I measured from corner to corner, diagonally, to see if my radiator cover was square. If these measurements are the same, then it is square.
If not, you may want to adjust your clamps until it is.


Taking Shape
Note if you haven't read above, you may not know that have two radiator covers. This is the shorter one.
As there was a possibility I may want to make another for them to match (which I did in the end). So I made the one below for the height of my taller one.
I now have two radiator covers that match in height, otherwise it wouldn't be aesthetically pleasing.

Joining the Side Panels
After cutting my side panels to my plan, I then lined them up with the radiator cover front and marked for 4 biscuits.

I then laid the side panels down and extended my pencil lines on the back of the main front panel.

Then clamped and added biscuit slots with my pencil line on the side panel.

And made more joins on the back of my main panel but in a downward position.
But before you do this, check on a crap bit of wood to see if they line up. If not, you'll need to adjust your router.

Attaching the Side Panels
Here, I glued and biscuited the side panels of my radiator cover.
But to ensure they were square, I clamped while checking with my speed square.
And repeated along the side with more clamps before leaving for a few hours.

Attaching the Top
To attach a top to your radiator cover, I discovered two methods.
One was by Average Joe's Joinery using dowels. The other was with angle brackets. I opted for the latter as it was so quick and had plenty in my garage.
So here, I'm lining the brackets along the top, then pre drilling pilot holes before screwing.

More Chamfered Edges
After cutting my top piece with a 1.5cm overhand, I used the same chamfer routered bit as before.

Then ran along the edged excluding the side that will be touching the wall.

And after placing the top upside down on the floor, I put the radiator cover on top, again with bottom facing up.
Now I'm screwing the other side of the angle bracket down to the top.

Fitting an MDF Radiator Cover Screen
After marking my radiator cover screen, I cut it down with a jigsaw.

Then lined up evenly and attached at the back.

🪚Scribing to Fit
I decided to scribe the back of my radiator cover as opposed to cutting and removing a section of my skirting board.
However, this is my little cheat. I have lots of offcuts of my skirting, so I held it in the corner and drew around it.
Then cut along with a coping saw. However, I slowly used a jigsaw, hand saw and a rasp as I don't own one yet. A coping saw would be much better though.

🖌️Sealing MDF
To seal the MDF before painting, I used this quick drying MDF clear sealer. MDF is notorious for absorbing moisture, then expanding,
And although this product has great reviews on Amazon, I've spoken to many people who tell me this is a waste of money.
Some say to simply use a PVA solution. Others just paint with a cheap undercoat followed by paint.

🎨What Paint Should I Use For Radiator Covers?
During my research, I learned that many people use a undercoat followed by:
- oil based satin wood
- water based satin wood
- regular emulsion as you would with a wall.
Here, I chose my favourite oil base Dulux Trade satin wood in brilliant white. It's oil based, so hard to clean up, but it smooths out on its own after using a mini foam roller. It's also self-undercoating and very hard wearing.
I painted all over with 2 and a bit coats.

🪛Mounting to a Wall
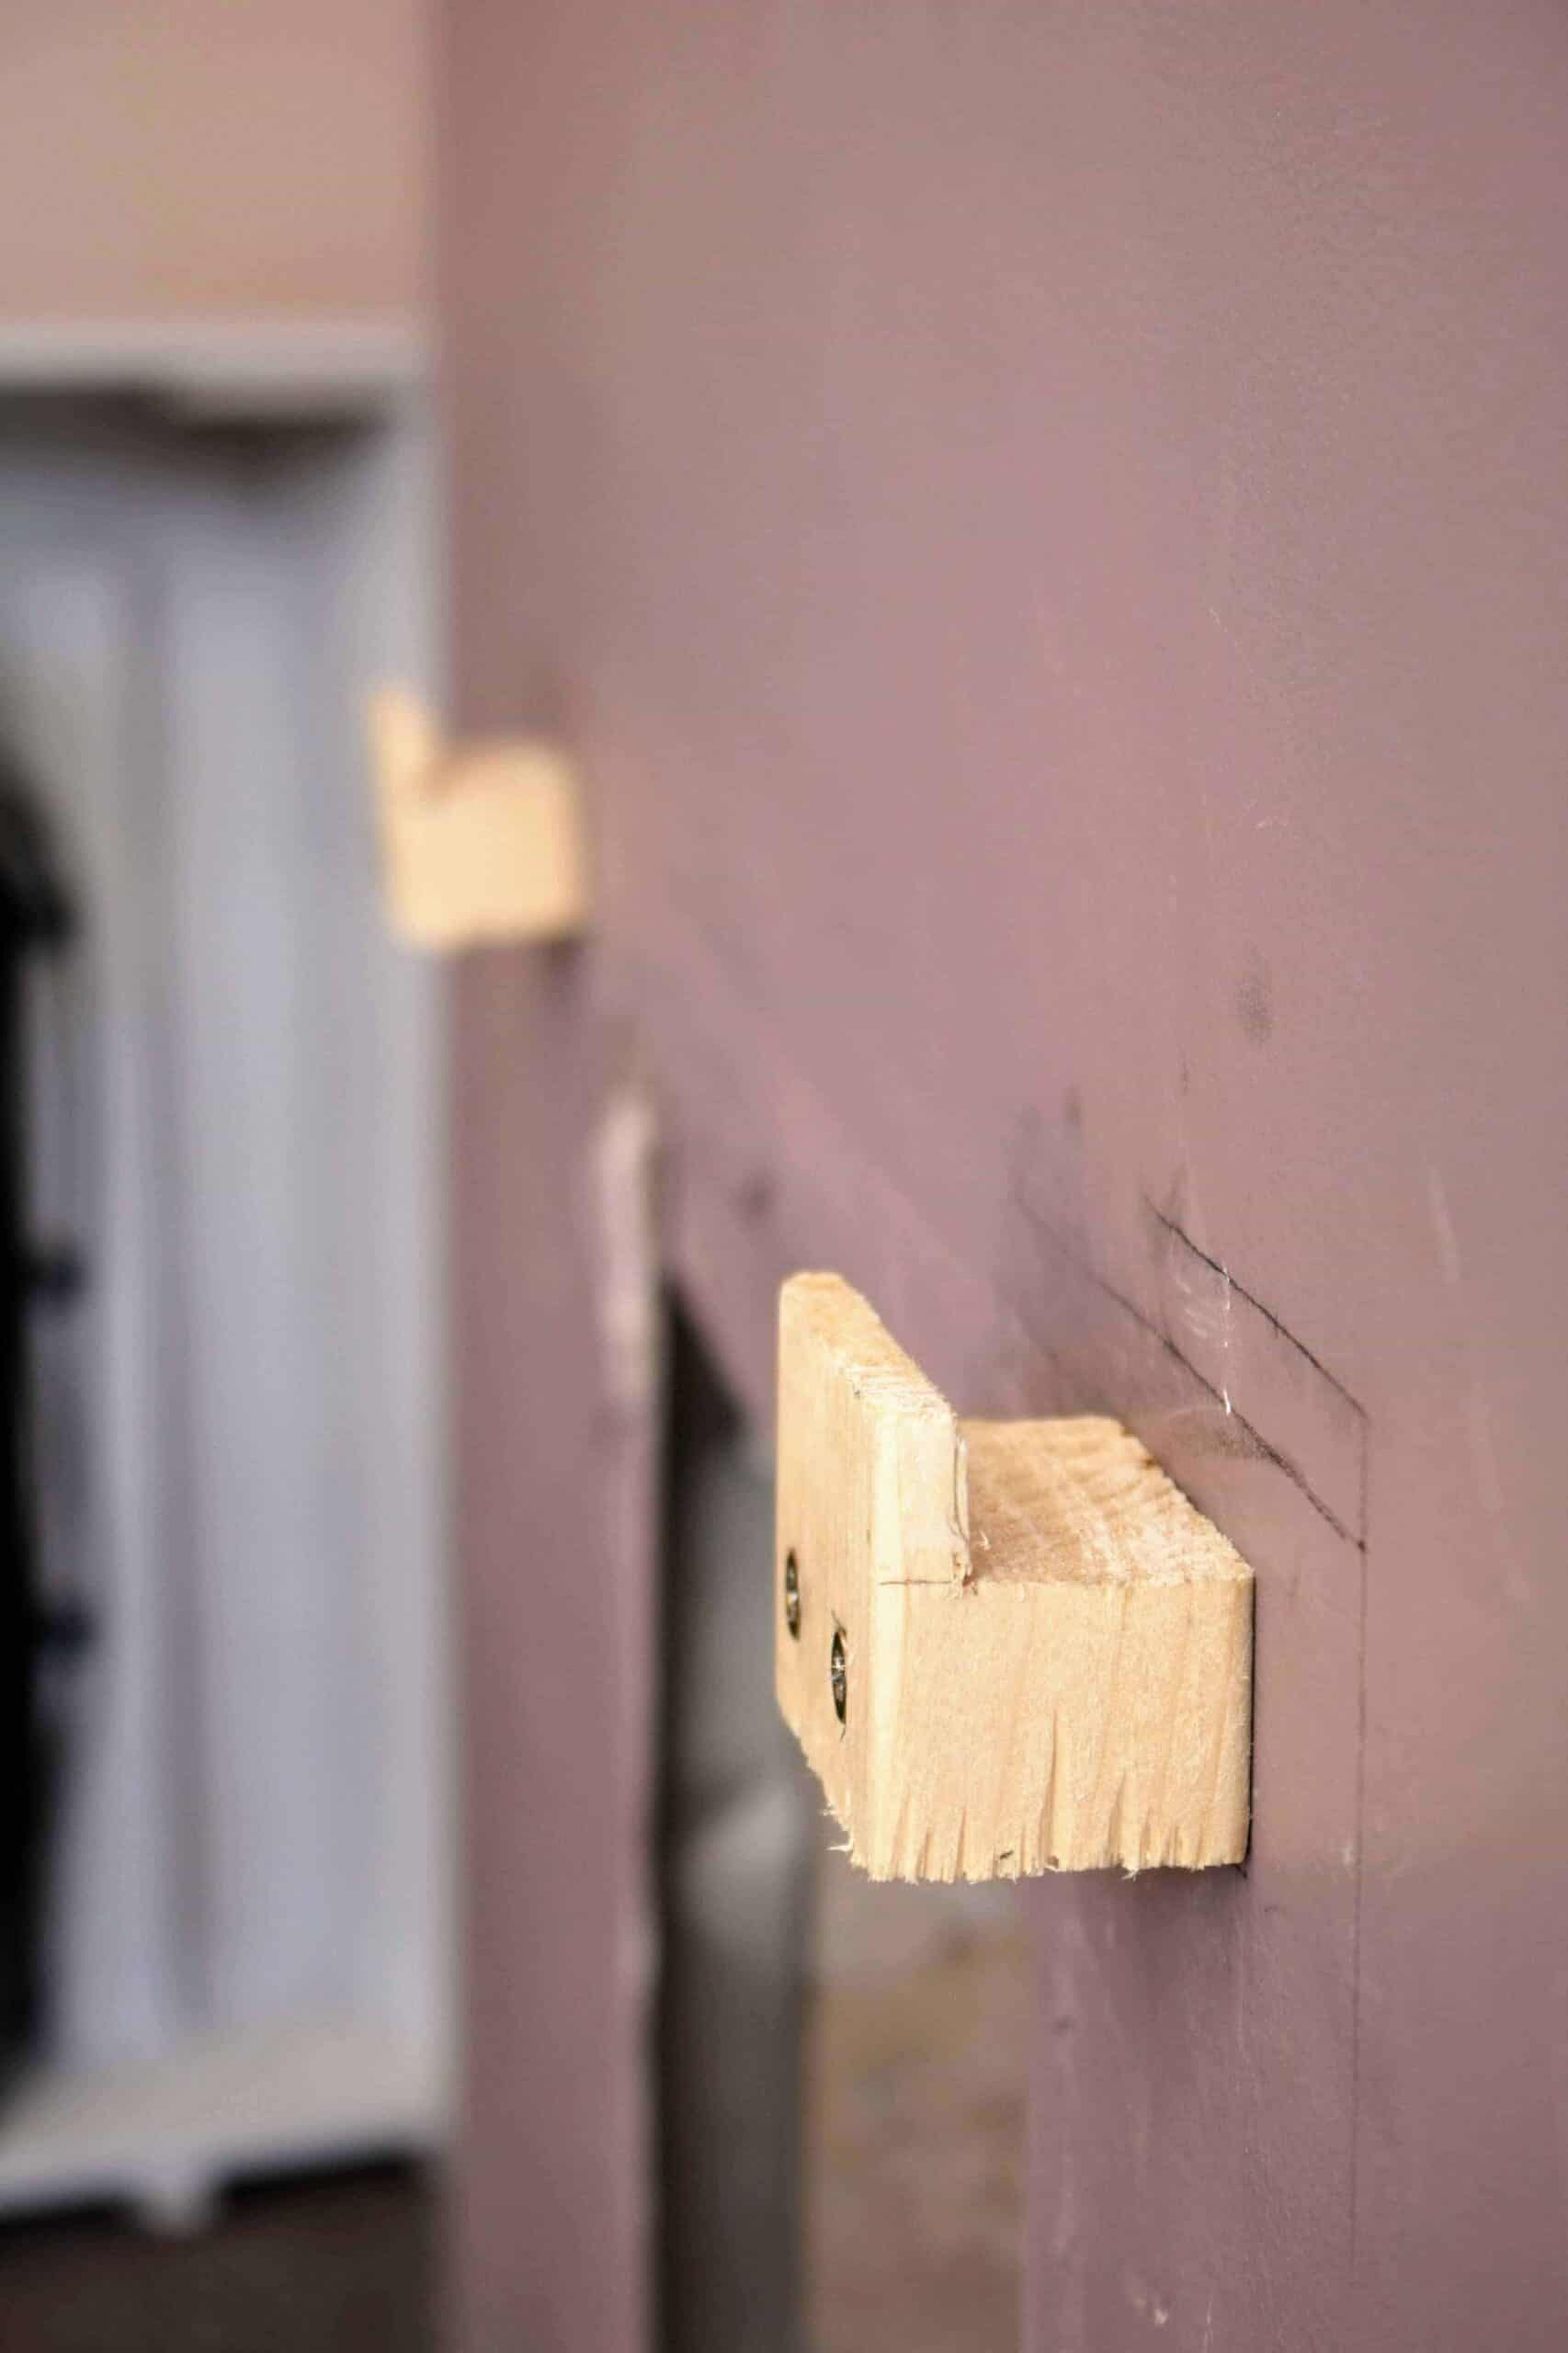
Usually underneath a radiator cover, there are small wooden blocks under the top. The same goes for electric fire suites.
You could buy special brackets with male and female parts where they hook together. But instead, I hand sawed blocks as seen below and mounted them to the wall.
I then glued and clamped small blocks underneath the top, so I can slot them on and off when needed. I recommend not making them too tight a fit.

DIY Radiator Cover
Equipment
- Tape measure
- Combination square
- Speed square
- Grip gloves
- Palm router
- Round core box router bit (18mm)
- Chamfer router bit (45 degree)
- Circular saw
- Irwin clamps
- 1m spirit level for a straight edge
- Face mask
- Ear defenders
- Goggles
- Glue gun
- Erbauer biscuit jointer
- 2 x 1200mm sash clamps
- Sawhorses
- Combi drill
- Fatmax combi drill
- 2mm wood drill bit
- Erbauer cordless jigsaw
Ingredients
- 1 sheet 18mm MDF (size 2440 x 1220mm)
- 1 sheet MDF screen
- Pack of No 20 biscuits
- Titebond 2 wood glue
- 5 Angle brackets but depends on how many vertical strips your radiator cover has
- 500 ml MDF sealer
- Satinwood paint (although some just use emulsion)
Instructions
- Firstly, wear a dust mask, ear defenders and goggles and cut all your front panels with a circular saw using a straight edge for accurate cuts. (For my radiator cover, I cut 7 pieces at 15cm wide and 85cm tall for now).
- Then measure the length of your radiator including the thermostat and add 36mm as this is the thickness of the sides and perhaps 2 to 3cm extra for easy removal later. Then divide it by how many sections you, then round the total up which will give you your horizontal strip length to cut.
- Now lay out all your pieces in front of your radiator. It should go:1 vertical, 2 horizontals, 1 vertical and so on. Now label which piece is left, middle, right, top and bottom to avoid confusion.
- Then using a combi square, mark a 30mm line from the top of your vertical pieces for a vent and 100mm at the bottom.
- Next, go over all the edges except the top and bottom of the vertical panels with a 45 degree chamfer router bit to remove the boxy style edge.
- Re-lay all your radiator cover pieces, lining up the horizontal strips to the vent lines you created.
- Now on each join, mark dead centre using a tape measure or combination square and transfer the same line to the opposite strip which will be your vertical pieces. This is for your biscuit join.
- Take each piece to a flat table, clamp down and make a slot with your biscuit jointer on each of those marks. You may need to test on an offcut to adjust the height of where you want it to cut.
- Once all your biscuit cuts are done, lay a rag on the floor, then your large clamps and insert glue in to one side of the joins and insert the biscuits.
- Then add glue in the joining strip's slots and the rest of the cut edge and slot together. Repeat until you have your first half done if making a larger one like me and clamp together. Wipe any excess glue off - especially from the front of your radiator cover. Leave overnight if possible or 3 hours if in rush, but don't put tension on the joins.
- Then glue and clamp the other section to the newly clamped one - again, if making a double one.
- Now unclamp and cut your side panels.
- Lay and line up the side panels on the back of your front section and mark the side with 4 biscuit slots as even as possible.
- Again, you may need to test on two pieces of scrap wood to see if your side biscuit joins are correct and creates a flush edge. If you, you'll need to adjust the height of your cut.
- Now make the biscuit cuts on the back of your front piece. The biscuit jointer should be aiming downwards to the floor. And add joins to the slim edge of the panels as you did earlier.
- Then glue and biscuit as before, but clamp the sides on while making sure the corners are a perfect right angle with a speed square. Do this for as many joins as you can. I used two to three camps per side and leave 3 hours to overnight if possible.
- Next add a corner bracket at the top back of each vertical strip and side. To do this, mark, predrill the holes and screw on.
- Now cut your top piece and chamfer the sides and front.
- Evenly place on the top of your radiator cover and pre drill then screw to the other section of the corner brackets. Tip, it's easier to do this while the hole thing is upside down.
- Measure and cut your MDF screen with a jigsaw and screw on the back of your radiator cover.
- Then seal with MDF sealer, leave to dry, then paint. You can find paint recommendations covered in this post.
- For scribing around a skirting board, also refer to the blog post notes.
Video
Pin for Later


Peter
Love it.
Brockney C
This may be a little bit beyond me to do, as I do not have access to all of those tools but the article was an absolute pleasure to read, thank you!
It is like your passion for what you do totally oozes out of it, I can see you love doing this ❤️
My radiator extends 22cm from the wall and it is off-centre. I have just mounted my TV on the wall so I need to cover the radiator at some point, both for aesthetics and to reduce the heat directly reaching it so you have given me a lot of food for thought, thank you once again 😊🙏
vlad
Great content!!!! way better than just a video description!
Vikkie Lee
Thanks so much 🙂