
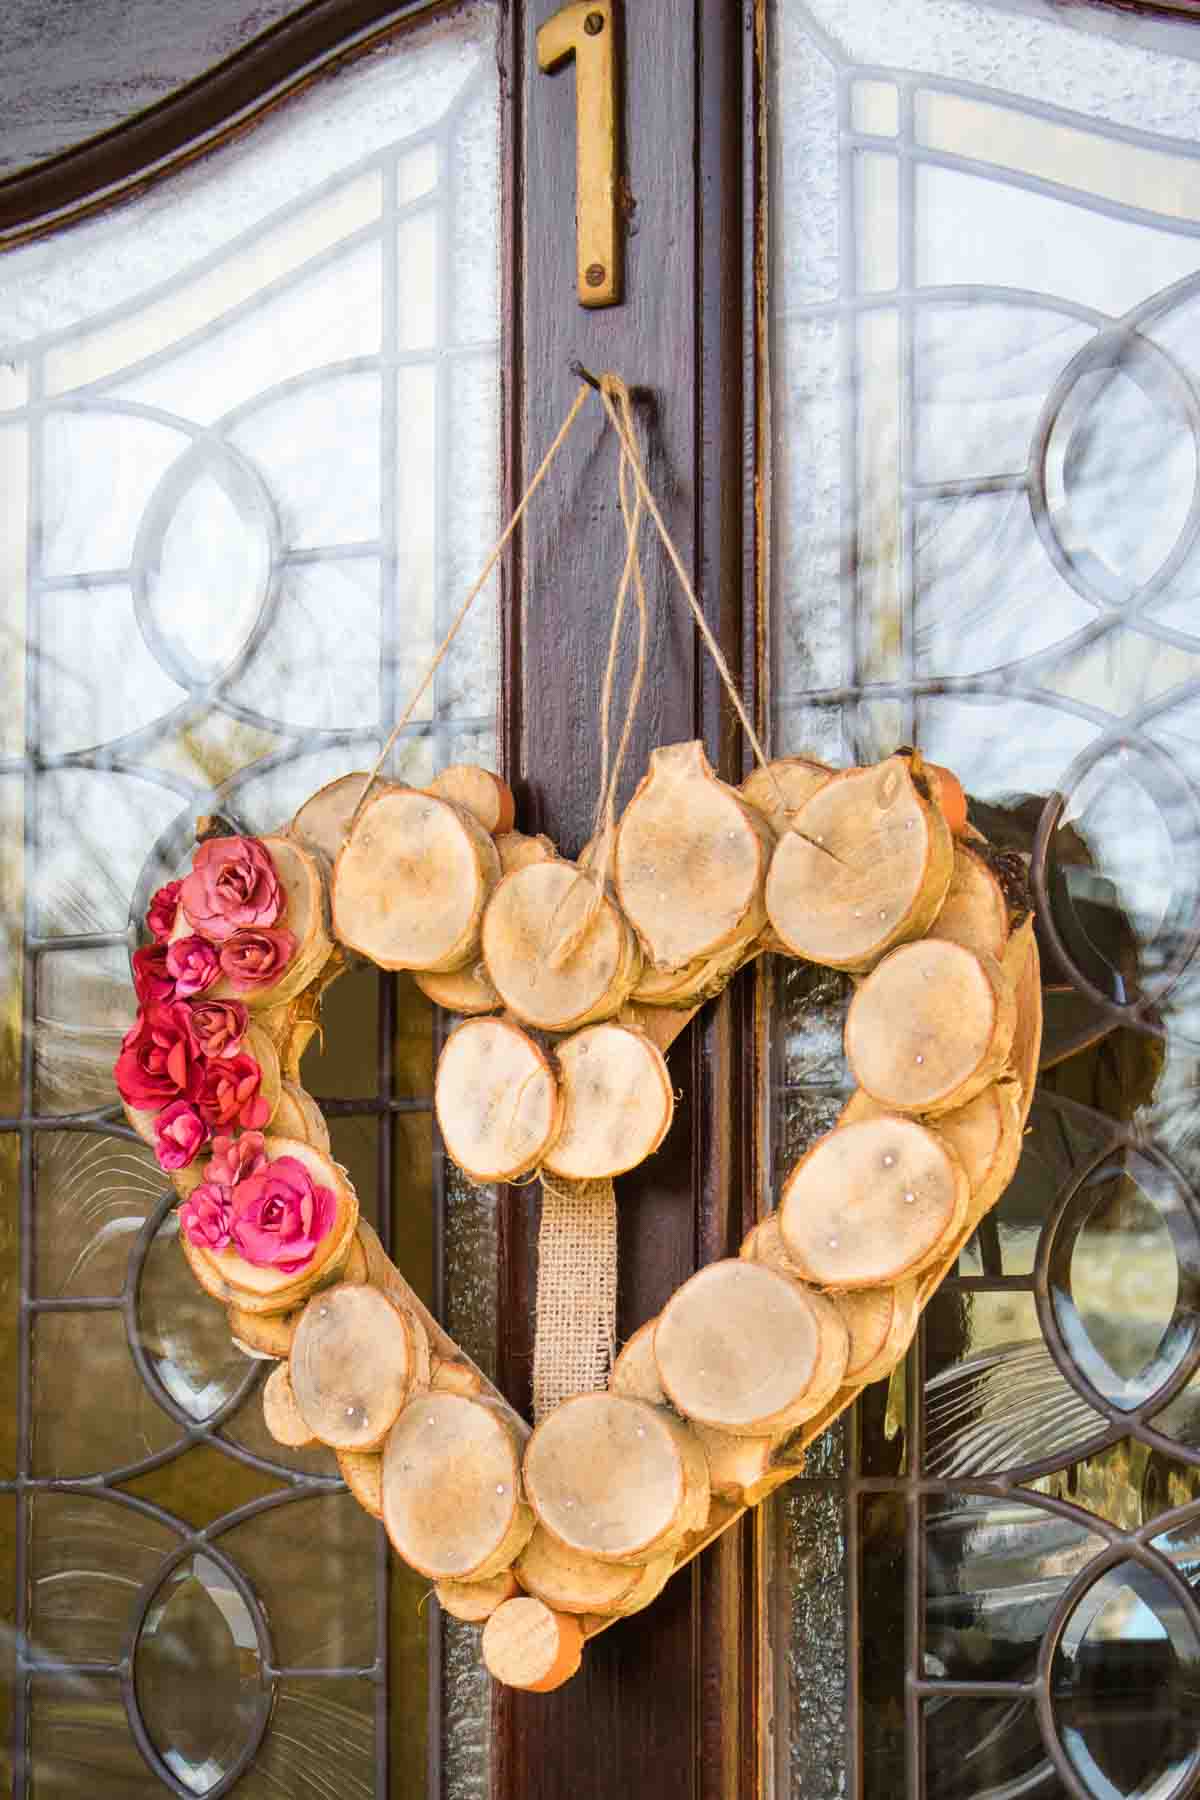
This beautiful valentines wreath DIY is cheaper than anything at the dollar store. Using slices from a branch, a plywood heart shape, and faux flowers, you can have a cute wreath front door hanger in just a couple of hours!
Includes free template download, full tutorial video, and 8 more bonus DIY valentine wreath ideas!

Whether Valentine's Day is just around the corner, or you simply want to decorate your home with beautiful wreaths, you don't need to be an experienced crafter to make wooden DIY wreaths like these.
Also, have you what people charge on Etsy for a single valentine's wreath?! At least $70 for one like this, and that was without my floral wreath detail.
And the extra good news is that my design doesn't need to cost you a penny. But you may want to get enhance your DIY Valentine's day wreath using a drop of hot glue with some cheap dollar tree supplies.
Jump to:

💘 Why You'll Love this Valentine Decoration
Here's why we think these make the perfect valentine's day crafts!
- Fun & free to make
- Easy to personalize
- No need to use fancy tools
- Uses up scrap wood and logs
- Takes a couple of hours to make
Free Wreath Plans PDF - you can sign up for my mailing list here to instantly download my free template. Note, the width of the wreath is 13" (33cm) and the height is 12" (30.5cm)
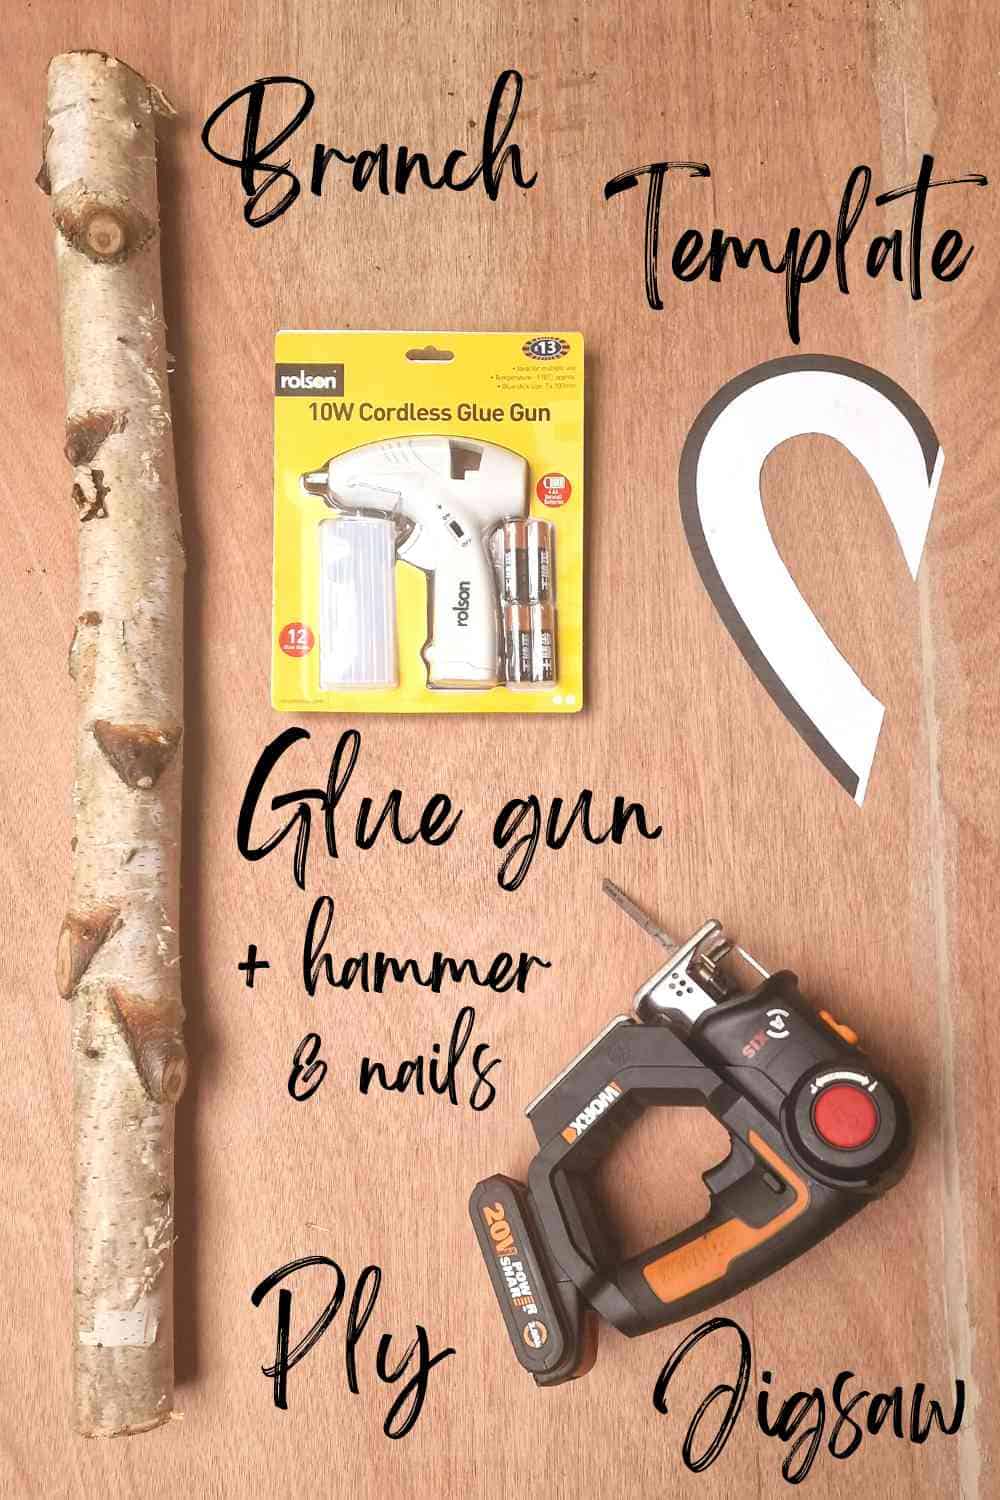
🔨Tools & Materials
Please note that as an Amazon Associate, I earn from qualifying purchases made through affiliate links.
- Free heart template cut out of ply
- Logs or small branch, cut to ½" (12.7mm each
- Clamps
- Jigsaw
- Hand saw with mitre box
- Wood glue
- Hammer
- Straight pins or tacks
- Combi drill
- Natural or white twine
- Hot glue gun
Tidy Tip: if you're making this in a craft room, a great way to minimize mess is to put rags or an old blanket on the floor to catch any sawdust!
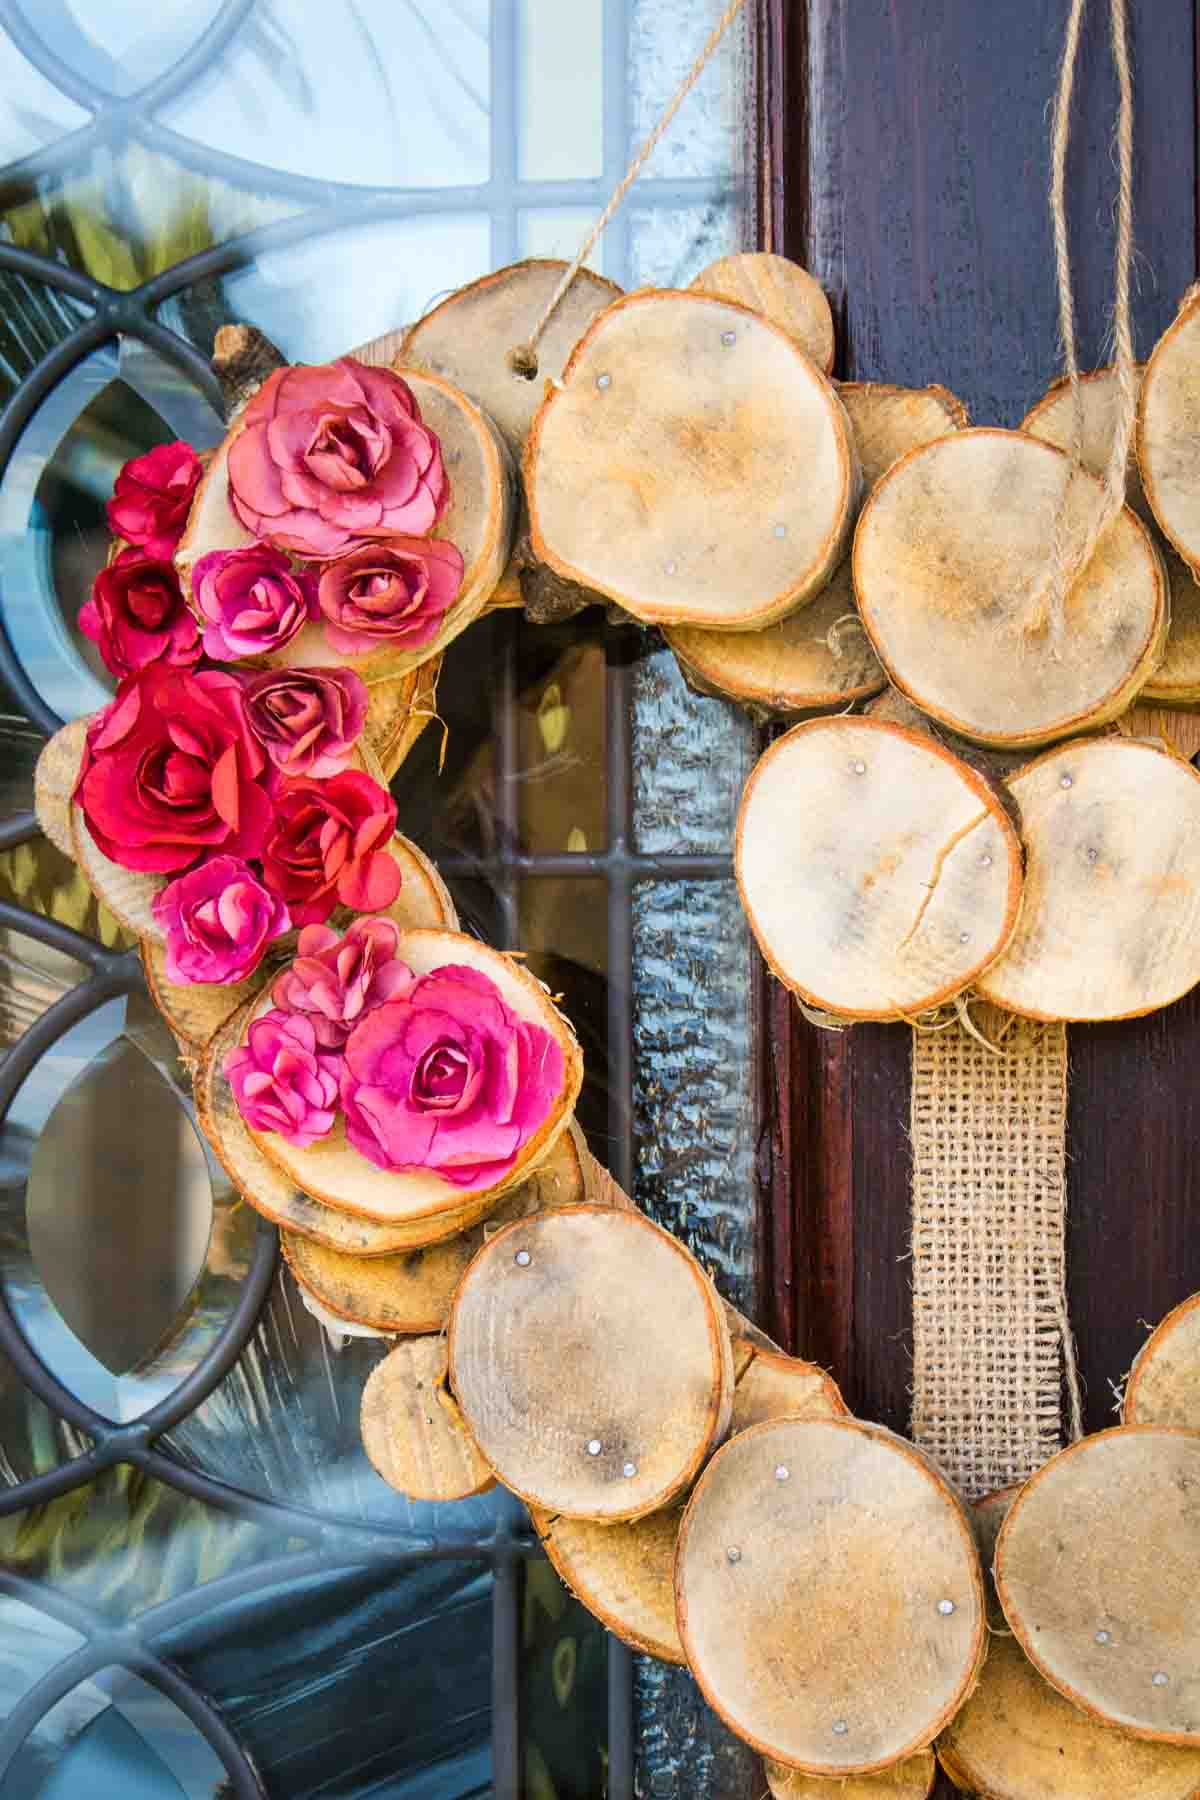
Substitutions
If this is your first time making a Valentine craft out of wood, you don't need to spend a fortune on tools and materials for this type of wreath. So I've put together a list of some basic substitutes.
Plywood heart - if you want to make pretty wreaths for indoors, you could swap the plywood for cardboard or foam wreath form and simply cut with a knife. Note this is only really good if your logs are fully dry to glue on.
Logs - these are the cheapest option to make your own wreath, but ideally, the first thing you should have done is collected and stored them last year to wait for them to season. Wet wood is likely to warp and crack while it dries out, so you can't be too precious. Alternatively, you could use slices from a broom handle.
Jigsaw - this is solely to cut out the heart shaped wreath form. But in all honesty, the easy way would be to use a scroll saw or band saw. However, you can clamp your project down and even use a hand saw or coping saw and work around your penciled design.
Hammer and nails - this can be a bit time consuming, but if your log slices are completely dry, you can save time by hot gluing them to your backboard. Alternatively, you could use grab adhesives like No More Nails, Gripfill, etc.
Glue gun - this will only work with seasoned, dry wood. However, you'll need it or a grab adhesive to add heart garland decorations.
📋Instructions
Here's my step-by-step on how to make this fun wreath. You can also follow along with YouTube video.
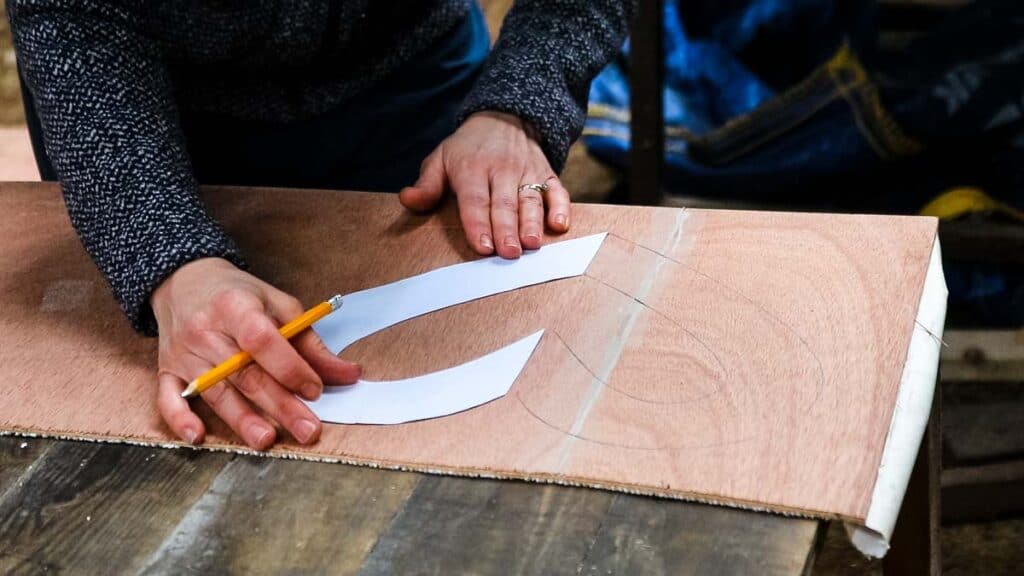
1. The first step is to print, cut, and draw around the half-heart template on plywood. Then flip it over, line up and draw the last half.
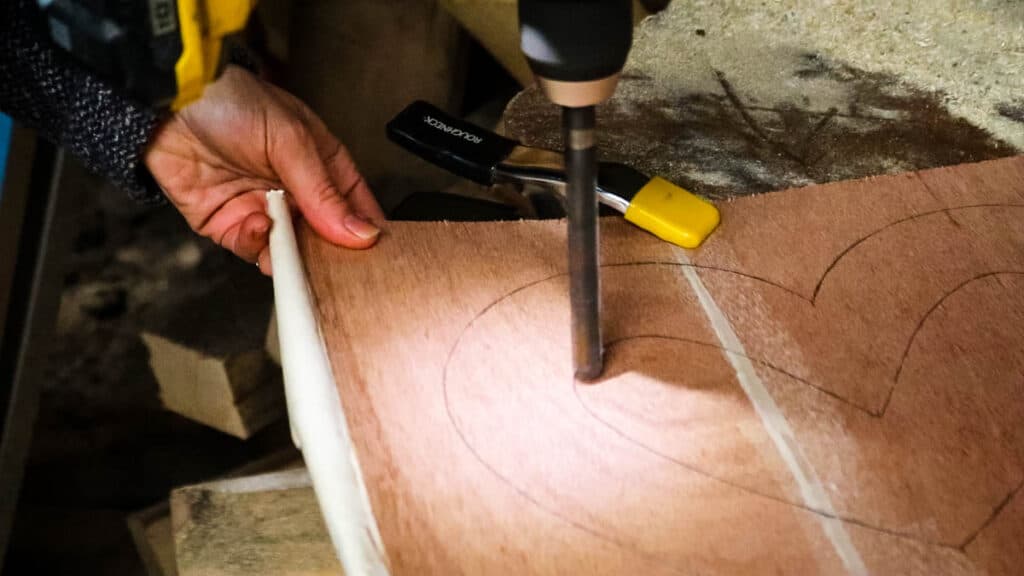
2. Now drill a hole on the inside of the inner heart. This is to create an access point for a jigsaw blade.
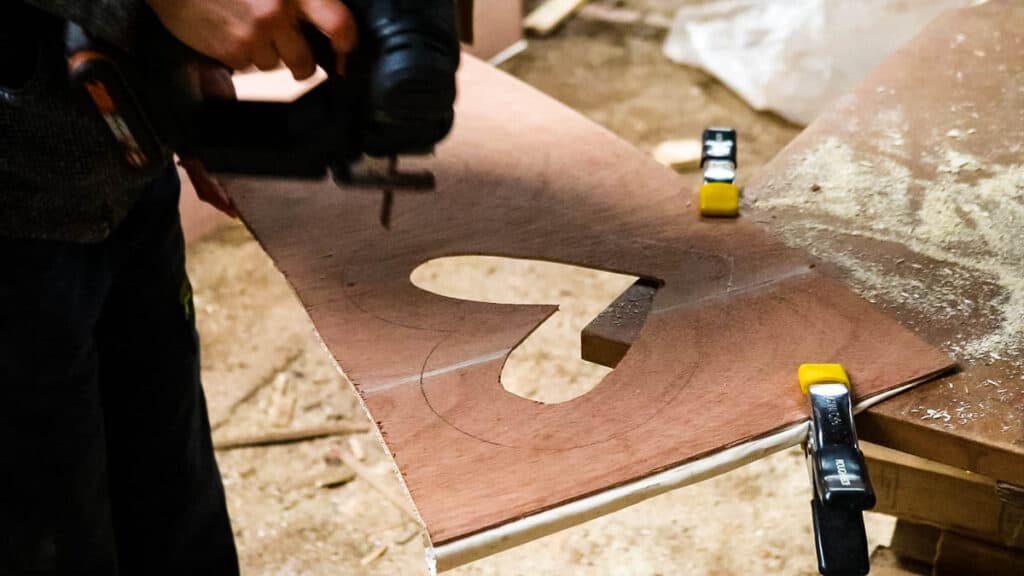
3. Clamp your plywood securely, then cut out the inner heart. You may want to keep this to create a pair of fun DIY valentine wreaths.
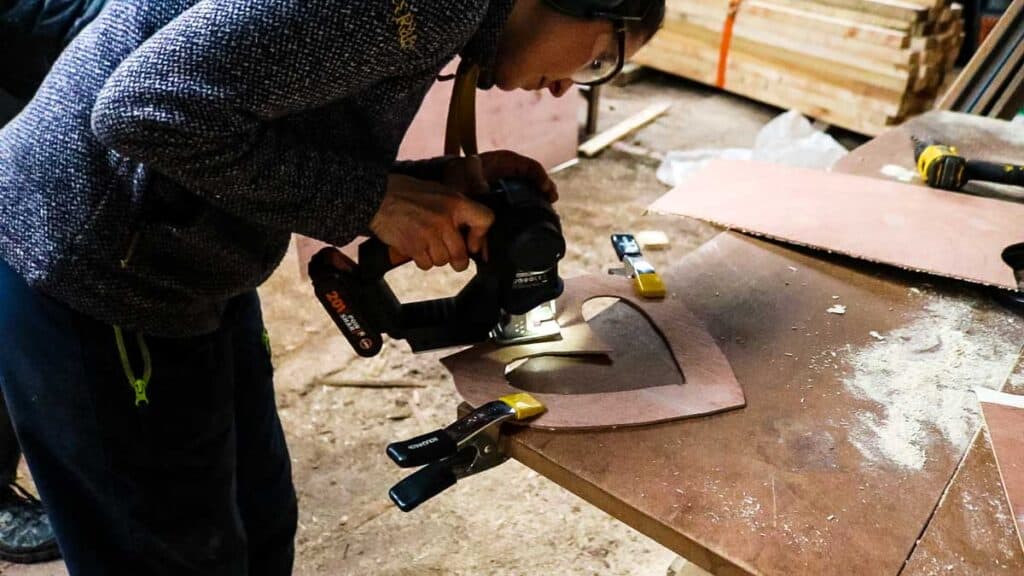
4. Now clamp and jigsaw the outer heart shape. You should now have a template cheaper than a heart-shaped wire wreath form!
Heads up! When using a jigsaw, you'll need to constantly keep moving your clamps and heart to prevent any rattling. Just be patient!
A band saw or scroll saw would be a better way to cut, but they're not as common in peoples' workshops or shed.
2 for 1 - Save the inner heart! You can turn that into a heart wall decoration!
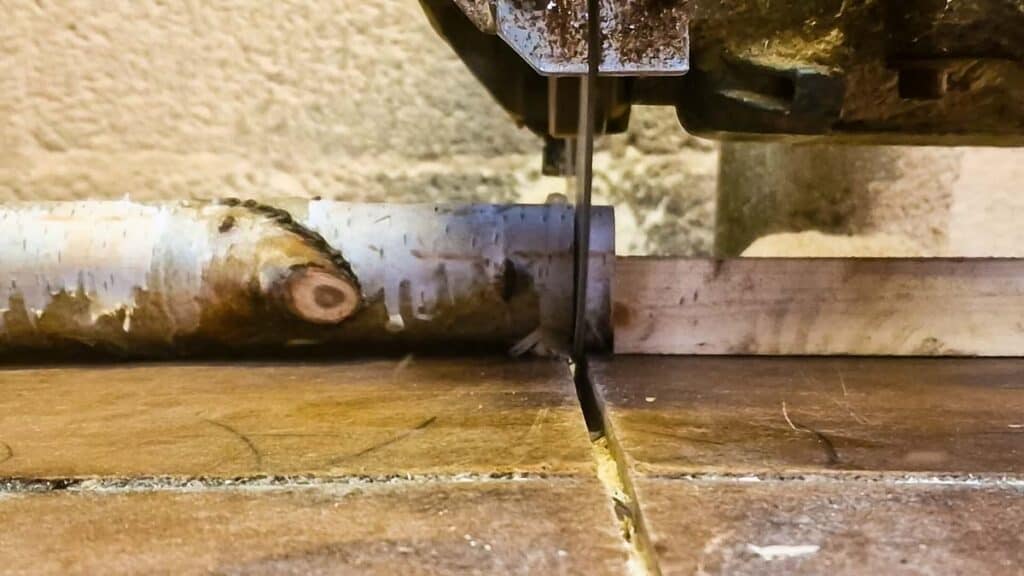
Tips for Cutting Log Slices
- As you'll need quite a few wood slices for this Valentine wreath DIY, I recommend setting up a stop block for a quick workflow.
- Avoid rotating the log between each cut as you'll likely have uneven cuts as the knots will knock it out of square against the fence or miter block.
- Keep your hands away from the blade as per the manufacturer's instructions. I keep mine at least 6 inches away at all times.
Attaching Wood Slices
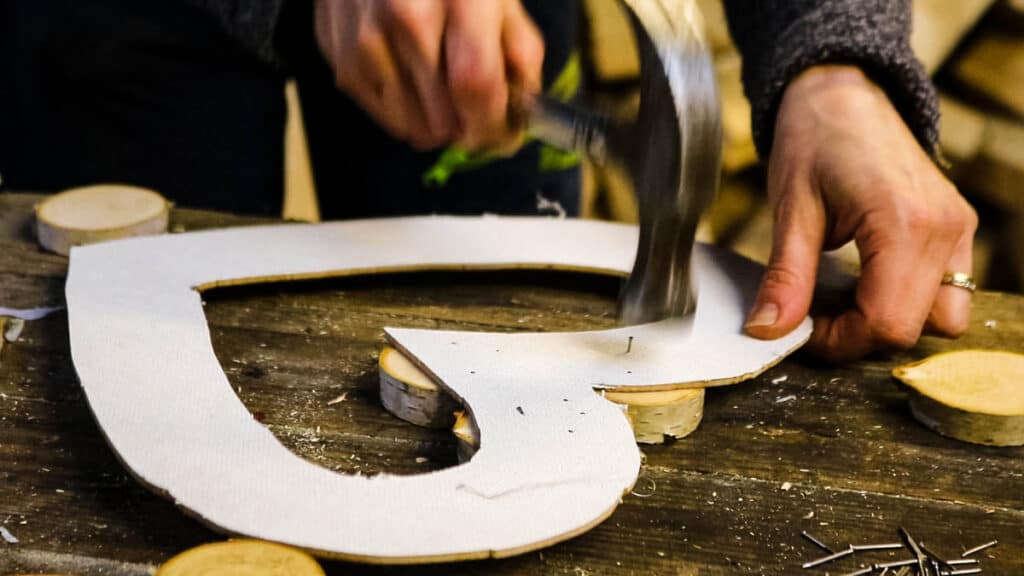
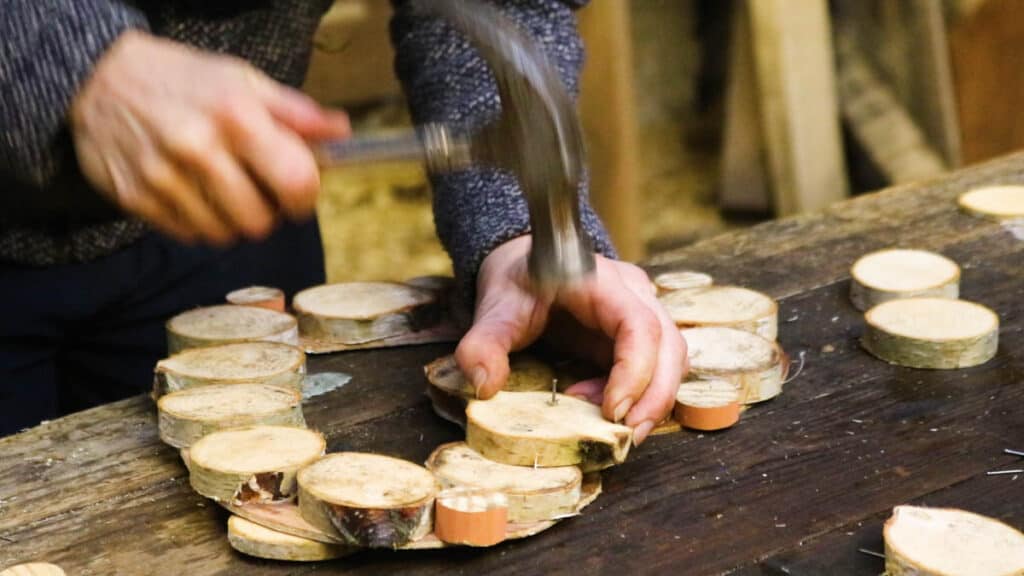
5. Position each slice and nail from the back through the ply and repeat until a single layer is complete.
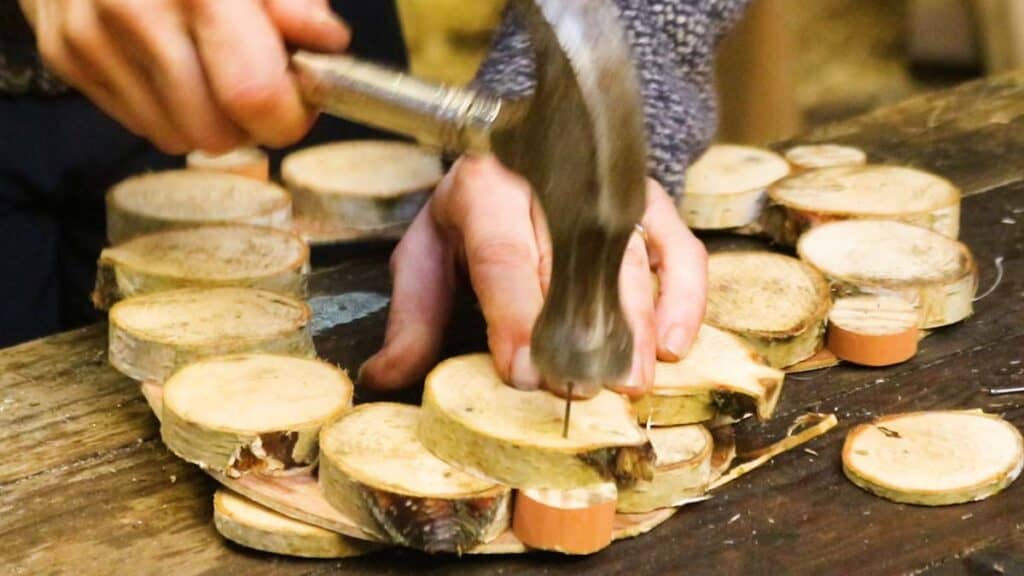
6. Start overlapping a 2nd layer on top. But this time, use wood glue and longer nails from the front.
7. Repeat until the 2nd layer is fully complete.
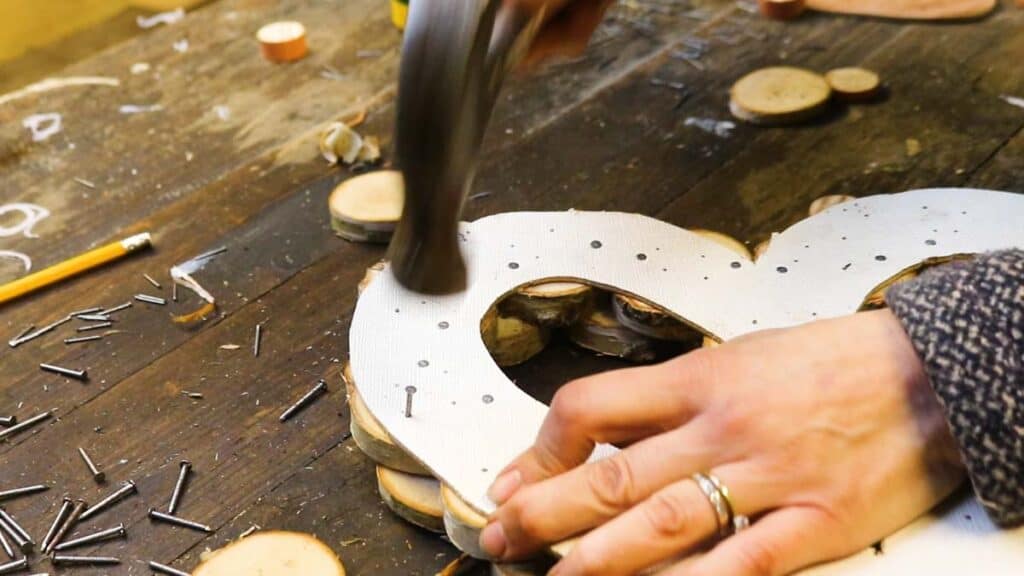
8. Now add longer nails from the back to reinforce.
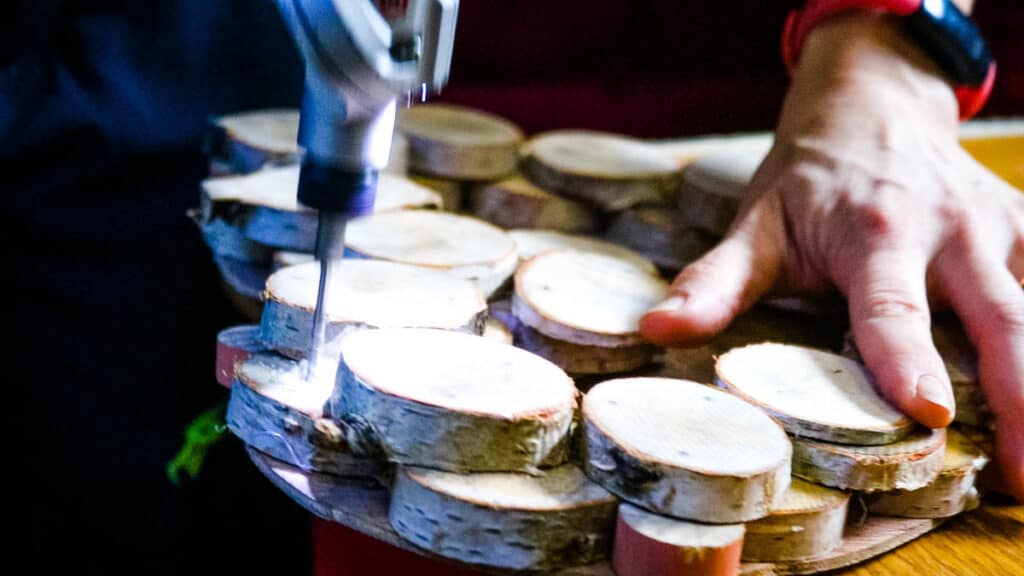
9. To hang, drill 2 holes at the top, either side, and thread string or twine through and tie in a knot. Alternatively, you could use wire and wire cutters.
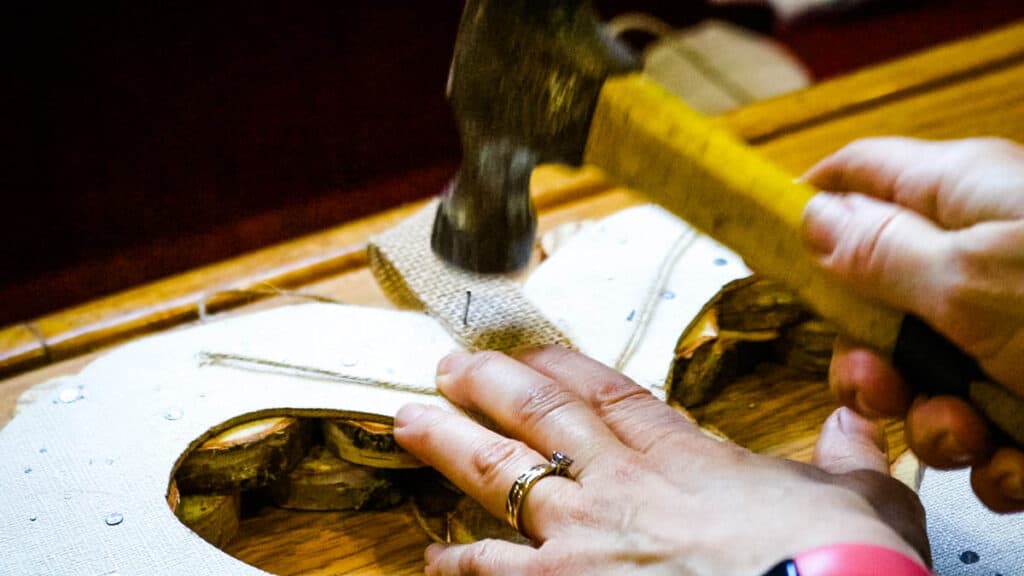
10. The final step I did before decorating was stapled some burlap ribbon at the back of the wreath for detail while also creating a tab/loop at the top.
Tips: I recommend doing a dry day first for a visual. If needed, you could number each one and draw around them for reference while gluing or nailing on.
Make sure your nails are not too long where they poke through the front or back.

🌹Decorations Ideas
If you're making this as a gift, here are a few simple valentine's day decorations you could use, no matter what your skill levels are. This is definitely the most fun part to personalize your own DIY valentine wreath.
- Wrap with burlap ribbon or grosgrain ribbon
- Contrasting painted wood hearts
- Personalise wood slices with your Cricut
- Make a flower wreath by making red felt roses to glue on in different shades
- Weave flower stems around
- Attach dangling hearts (ie foam hearts from Hobby Lobby / Hobbycraft)
- Paint it entirely to make a pink wreath or whatever different colors you wish
Christmas Decorations
Just because this is a Valentine's Day wreath DIY, that doesn't mean it can't be made into a Christmas wreath. You could easily use a pyrography wood burning pen to write Merry Christmas on the slices.
Spring Decor
It's easy to create Spring flower wreaths by focusing on pastel colors, or even faux eggs for a simple Easter touch.
🤝Care & Maintenance
If making outdoor Valentine's Day crafts, you'll need to treat the wood with a wood preserve once a year to prevent it from rotting in the elements.
I recommend doing this first and fully leaving it to dry before adding on any fun embellishments. Once treated with a wood preservative, it's fine to leave it on your front door all year round if you wanted.
If you're ok with a rustic look that cracks over time, you could make a new one each year as part of your family's traditional wreaths.
💡Your Tips
Here's a few tips from my YouTube viewers!
- A perfect way for more skilled DIYers with a table saw, @totherarf says: "Cut your branch in half and glue the two pieces together in parallel then cut both pieces at the same time!"
- To make it a super easy craft, @paulyh4531 says for next time "you should of grip filled them on"
❓FAQ
If you're using green wood (logs that are still wet), you can try drying your wood slices in a microwave on defrost mode. Note, you may want to sand them flat if they warp.
Another idea you could try is making salt dough and a wood slice cookie cutter and paint bark and end grain detail on them once dry!
👷♀️Tool Safety
If you choose to use power tools for this project, it's important that you:
- Wear appropriate PPE
- Protect your eyes and ears
- Wear a mask if sanding
- Safety shoes
- Preferably sand in a well-ventilated area
- Don't wear gloves with power tools
- Never use a power tool if you don't feel safe or comfortable
- Keep your hands at a safe distance away from any blades
See more guidelines at HSE.gov.uk.
➕ 8 More Valentines Day Wreath Ideas
- Make a tissue paper heart wreath with kids
- Start with a styrofoam heart wreath and pin curled ribbons
- Upcycle an old picture frame from a thrift store for an adorable wreath
- Glue wood slices on a heart-shaped grapevine wreath form
- Upcycle old jigsaw puzzle pieces for this adorable DIY valentine wreath!
- Create a deco mesh wreath
- Make a pom pom wreath using yarn
- Raid your scrap fabric or rag bag
Front Door Valentines Wreath DIY + 8 Ideas

This beautiful valentines wreath DIY is cheaper than anything at the dollar store. Using slices from a branch, a plywood heart shape, and faux flowers, you can have a cute wreath front door hanger in just a couple of hours!
Includes free template download, full tutorial video, and 8 more bonus DIY valentine wreath ideas!
Materials
- Free heart template cut out of ply
- Logs or small branch, cut to ½" (12.7mm each)
- Wood glue
- Natural or white twine
- Burlap ribbon
- Glue gun sticks
Tools
- Clamps
- Jigsaw
- Hand saw with mitre box
- Hammer
- Straight pins or tacks
- Combi drill
- Hot glue gun
Instructions
- Download, print and cut out my free heart template.
- Draw around the template on some plywood, the flip over, join up to the pencil marks and draw around it again to create a whole heart.
- Clamp the plywood to a work bench and cut the heart shape out with a jigsaw or other tool under "substitions",
- Now cut your wood slices to ½" thick or similar
- Then place them on your heart shape and nail from the back (or glue them on if they're dry)
- Add another layer and overlap the first layer, but this time use wood glue and longer nails
- Reinforce from the back by using longer nails
- Drill a hole either side at the top, ensuring you also go through the plywood and thread string throuigh for hanging
- Treat with wood preservative
- Nail burlap ribbon on the back if desired for detail
- Hot glue your favouite decorations
Pin for Later

Comments
No Comments