
Here's how I built my DIY console desk table with oak planks and restored hairpin legs. Includes top tips for gluing, clamping, and correcting any bowing or cupping mistakes. Includes a video guide to follow along.
AD Disclaimer: I am a WD-40 ambassador and needed to use it for removing rust.

I'm going to be honest right from the start here and declare that I learned SO much while making my new DIY console desk table.
I expected the console oak table-top to be simpler as it was familiar ground. If you're not learning, you're not progressing, right?
But what better opportunity is there than for me to pass on my mistakes, show where I went wrong so YOU can prevent any problems too?

What is a Console Table?
A console table is typically a table top supported with brackets or ornate stone as opposed to legs and is often long and slender.
But they can be made for a variety of different purposes. People make them as a:
- DIY entry table
- TV console table
- Console table for the hall
- General sofa table
- Console side table
- I designed mine as a console table desk
As you can see, it's a very versatile DIY table.

Tools & Equipment I Used
Please note that as an Amazon Associate, I earn from qualifying purchases made through links:
- Hairpin legs
- Evostick exterior wood glue
- Biscuit jointer
- Trend biscuits
- Router
- Teak oil
- Irwin clamps
- Angle grinder
- Abracs poly discs [Gifted] *Toolstation is cheaper!
- Wire wool
- Scour pad
- Ear defenders
- Plastikote black primer
- Hycote black gloss
- Ferrex Aldi bandsaw
- Makita belt sander
- Evolution mitre saw
- Dust mask
- Goggles
- Silverline Sash clamps
- Automatic centre punch

How to Make a Console Table DIY
Restoring Rusty Hairpin Legs
To start my DIY simple console table, I wanted to reuse some bare metal hairpin legs I'd taken off a worktop offcut. Unfortunately, they'd started to rust in my workshop, and wanted to paint them.
To make life easier, I sprayed all 4 legs with WD-40 Multi-Use Product Flexible Straw to work into the rust. Then used a range of tools:
- Abrasive pads in my angle grinder to remove the bulk of the rust
- A wire brush for awkward prongs
- Wire wool
- Scour pads used on cars for paint stripping - this was my favourite!
Can You Paint Over WD-40?
Because I'm about to paint the hairpin legs, I needed to remove all the WD-40 and any dirt so it would adhere properly.
This is where their Degreaser worked a charm and I applied liberally and cleaned with a lint-free cloth.
Painting Hairpin Legs
It makes life easier to buy hairpin legs in the colour you want. Or even find some 2nd hand ones on Facebook marketplace. They're not cheap!
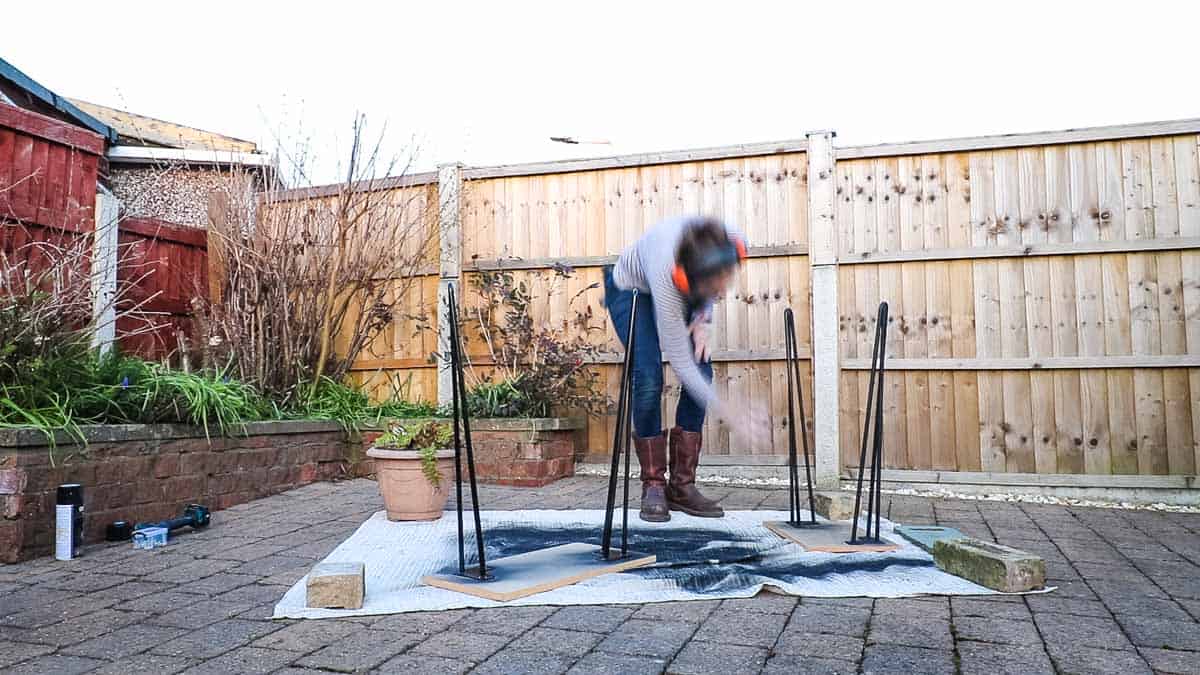
Normally, I'd use a straight-to-metal paint, but instead, I used up some old black primer and gloss topcoat I'd bought from a car boot.
My Spray Painting Tips
- Temporarily screw them to offcuts to allow you to spray from different angles without touching paintwork to flip them over
- Build up the coverage over several thin layers
- Do it outside or somewhere vented, or wear a mask
- It's quicker drying than a brush on paint

Ripping Planks to Butt them Together
Now, this is where things started to go wrong. I really need to put my bandsaw on a cart, so I can wheel it to the best cutting position.
My guard is too high and I later found the wider non-curved side cut straighter while facing UP (not the opposite in the pic above).
You really are best cutting with a table saw, or set a straight edge up if you can and have the bearing on a flush-trim router bit run along it.
Your DIY Tips
Amcluesent says: "You might have had less problems by alternating the grain of the planks so they don't all cup in the same orientation or even ripping the planks in two and alternating."

How to Correct Uneven Cuts
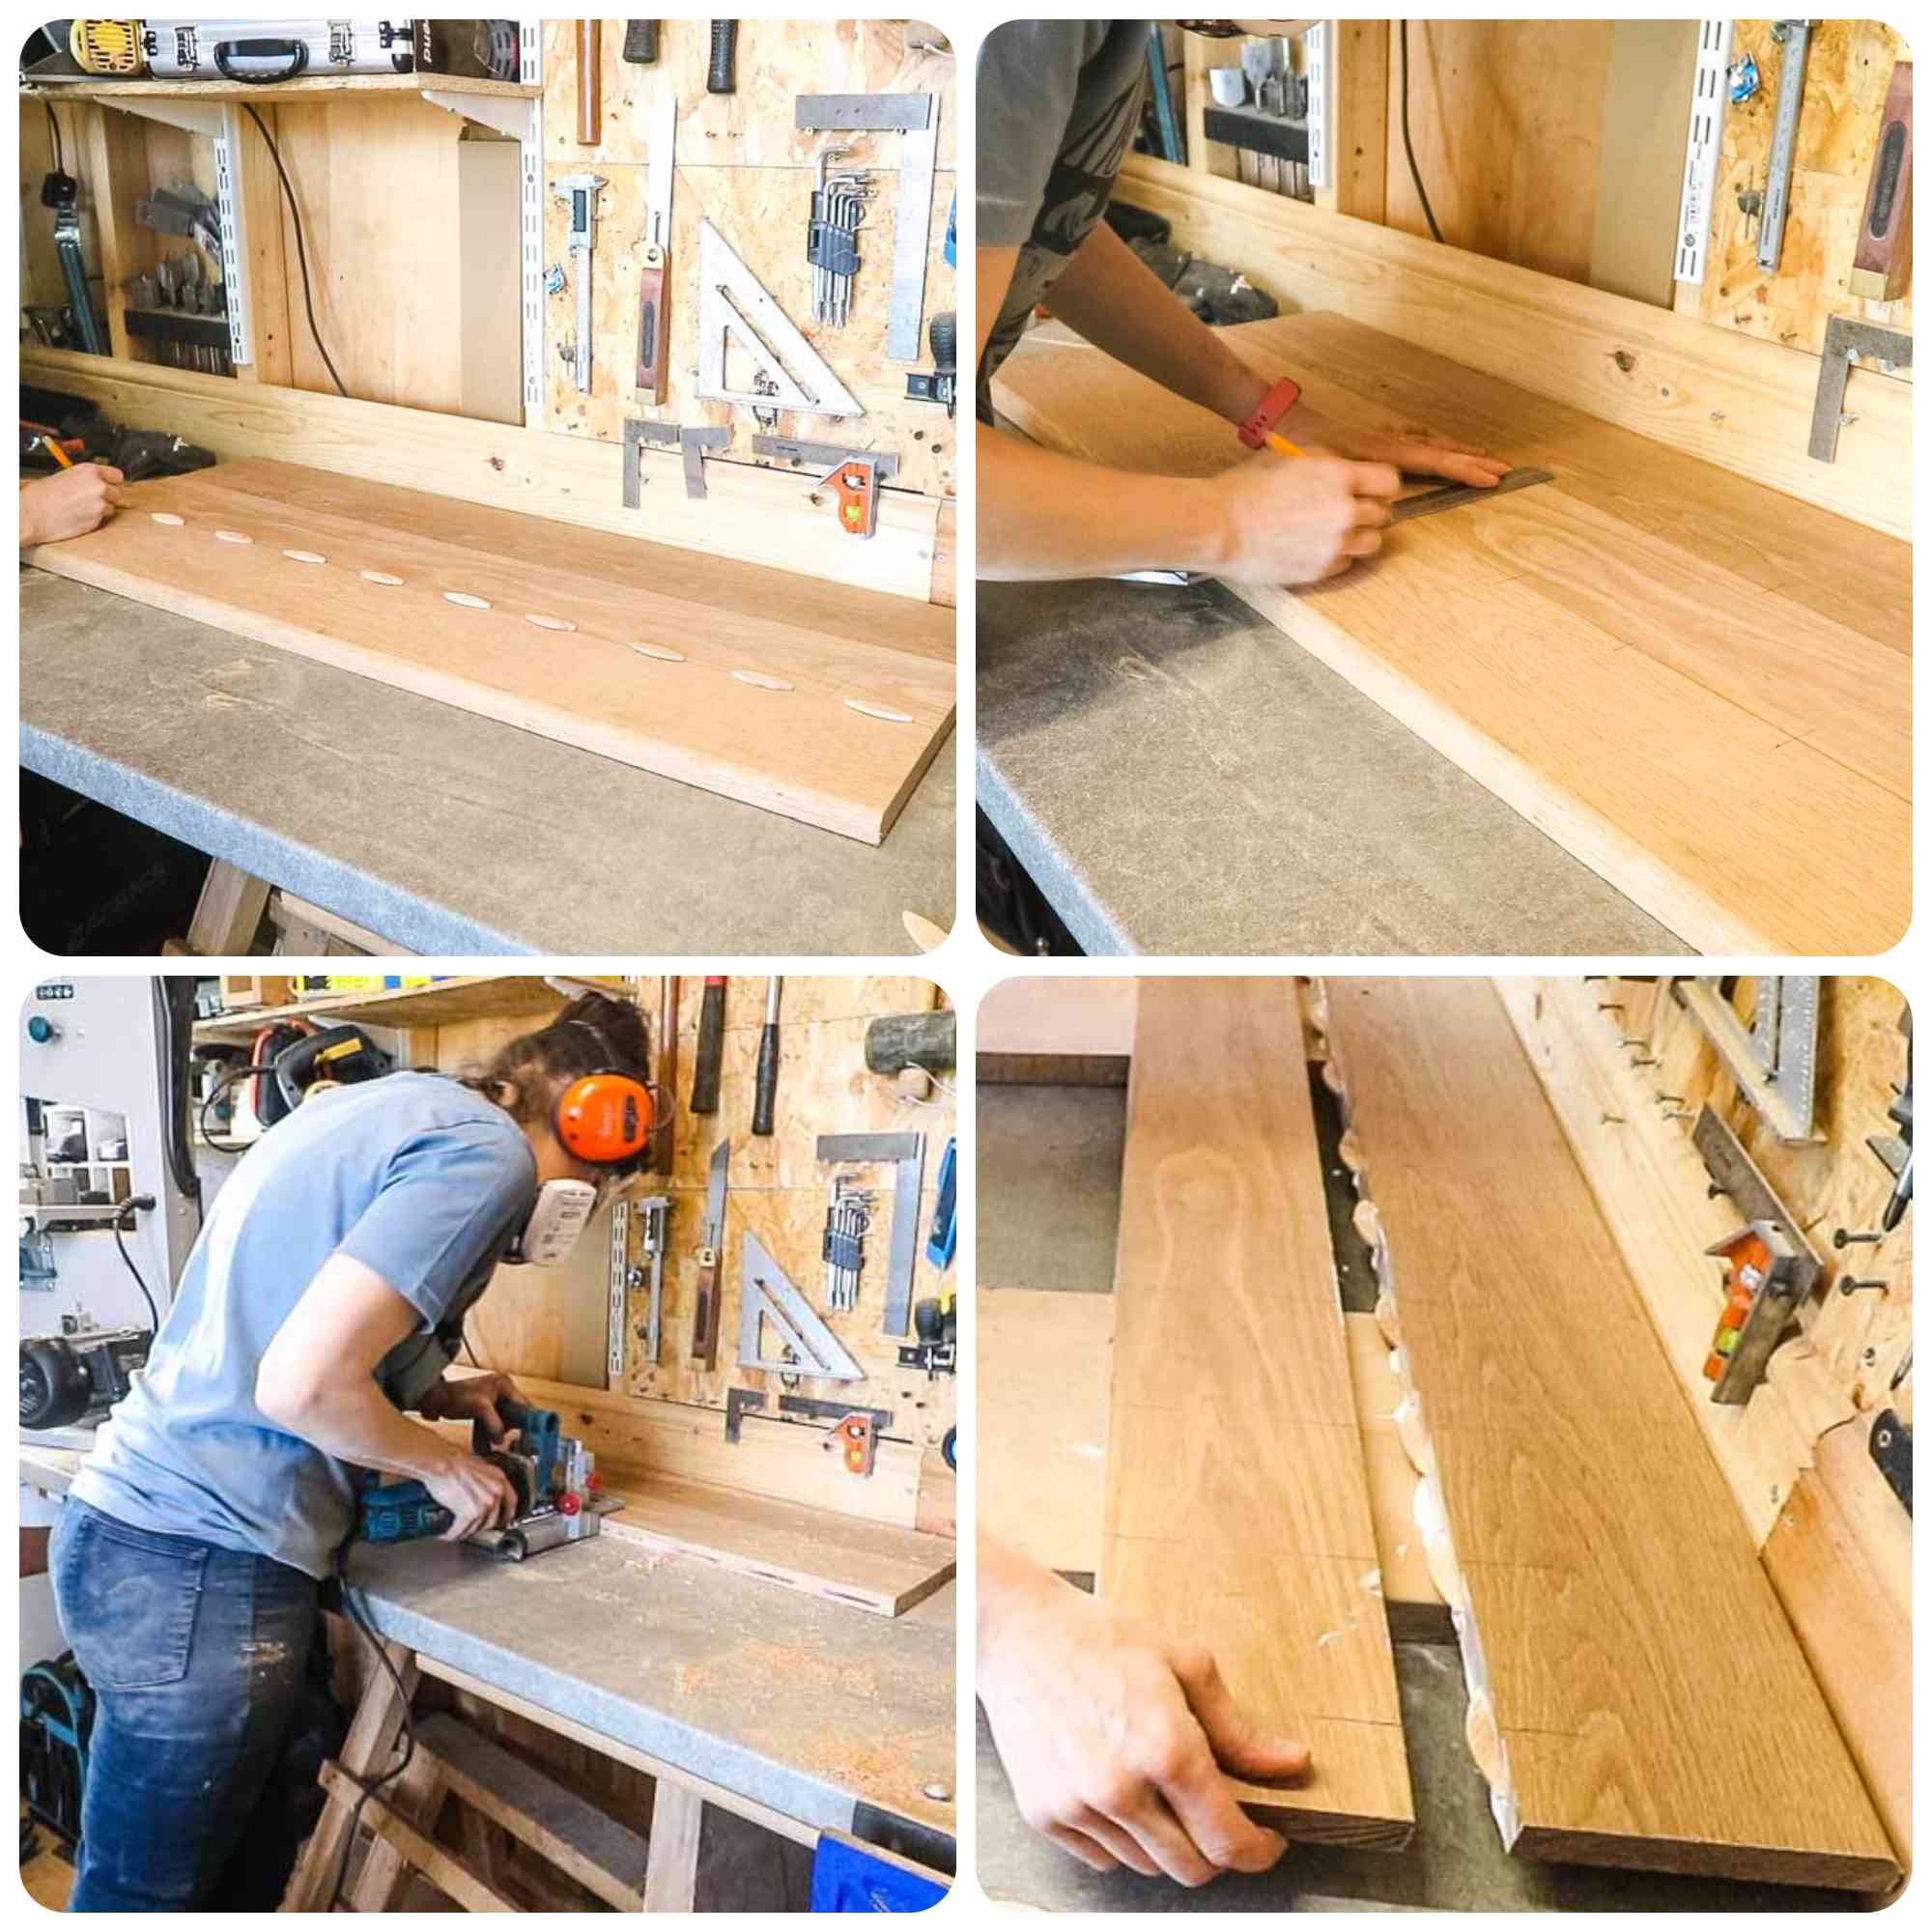
Because I no longer had a straight edge as a reference, I had to pair them in the other they say next to each other and belted sanded them as straight as I could, so they matched.
However, this is noisy, dusty, and tedious work!
Your DIY Tips
Oh Asis says: "Instead of the belt sander to square your sides, you'd be better off to use a plane, the longer the better. Even if you get the angle wrong, they will still mate since the error is cancelled when you butt them for gluing."
Joining Planks with Biscuits
If You Don't Have a Biscuit Joiner
Alternatively, you could just glue and clamp planks of wood together, but you'll also be best with support planks underneath for strength. You could even join them with pocket holes that will be hidden underneath or use dowel joinery.
But once I got mine as straight as I could, I roughly worked out where I wanted my biscuits to be and marked straight lines with a speed square.
Then cut the biscuit holes, glued inside them and the edges, and slotted in the biscuits before pushing all the planks together.
Don't do ANY of this until you've read some tips and tricks below!

Clamping Planks Together
There are a few things I can't stress enough here when clamping planks of wood together:
- You may prefer to skip this step and glue planks together at the same time as gluing and screwing supports underneath
- Do a dress rehearsal
- You can never have enough clamps!
- Give yourself LOTS of time to glue and clamp your work together
- Don't rush it
- Use flat pieces of timber to try and keep them straight
- And leave the clamped piece for at least 24 hours or until the glue has finally dried transparent
Your Tips on How to Prevent Cupping When Clamping
Jon Nixon says, "Use some [clamps] on the bottom and some on the top". And "the reason you had a bow is that your clamps were all on the top it's pulled it".
Phil Brandon also said, "alternate the clamps, as you can never have enough".
Oh Asis again says, "With clamps, you can buy the clamping head type only to fit a 19mm pipe then buy pipe sections to any length you want. A cheaper way to buy some heavy-duty clamping. If you want longer clamps, you only need to buy the longer threaded pipe."

How to Fix Uneven Clamped Wood (AKA Cupping)?
Unfortunately at this stage, you may need to invest in some more tools. But we'll explore some options, too, just in case!
Plane Thickenesser
Above, I took my oak table top to my Dad's woodyard so I could use his plane thicknesser. Luckily it was just about wide enough! I pushed it through, bow side up and gave it a few passes, then flipped over to plane twice on the reverse.
Router Jig
Alternatively, you could plane wood with a DIY router flattening jig as seen by Mr Geoffrey Smith. Tell him I sent you!
Another idea is:

Adding Cross Supports to Straighten
If your console table top has very slight bowing, you could just get away with gluing and screwing chunky cross-cut supports underneath.
For this to work, you'll need to drill holes in the supports slightly bigger than the screws, so it pulls from the head and straightens the top.
Make sure you use wood glue and remember that if you've planed your wood, it is now thinner, so you'll want to avoid going through the good side.

Filling in Visible Joins
Another trick I've shared before in my oak drop-down desk is to fill the gaps with wood glue. It MUST be one that dried clear!
Push the glue in the gaps with a filling knife or old chisel and before it sets, go over the wood with a belt sander.
Any sawdust will blend in with the glue and dry almost immediately. You'll never have known! Also, make sure you belt sand on an angle to avoid creating an uneven surface.
Adding a Profiled Edge
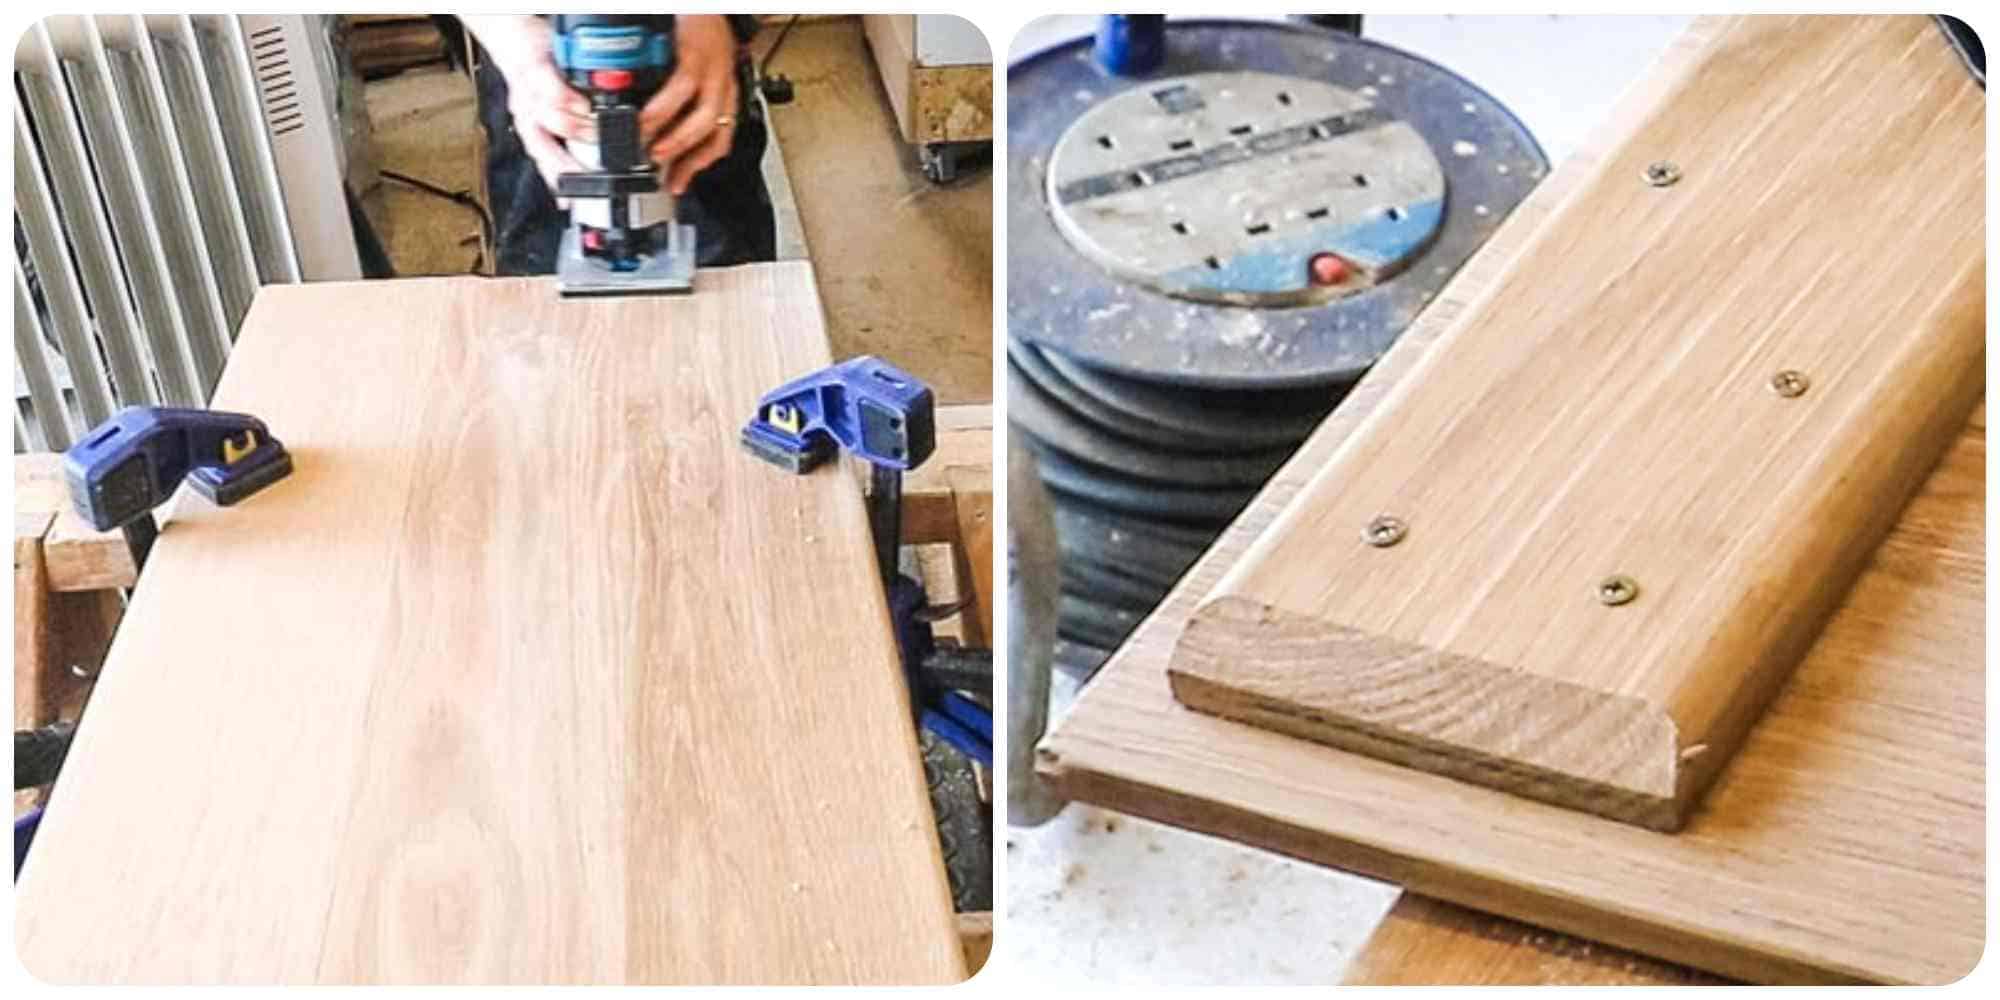
To give my console desk a more professional finish, I went over all of the edges with a roundover router bit.
Then for the supports, I wanted them to be more discrete, so used a 45 degree chamfer router bit.
As the supports are slightly shorter than the top in length, it made it more discrete.

Adding Hairpin Legs
Another pain I later realised was that my supports were slightly narrower than the hairpin leg's mounting plate. This meant that I had to screw them on an angle.
A tip I recommend when marking your screw placements is to use an automatic centre punch all at once.
Then when predrilling, it stops the drill bit from slipping and you know when you come to screwing the legs on, it all lines up to perfection!

What Finish Should I Use?
For the finish, I went for something quick that I already had in my workshop: teak oil. It gives it a richer colour, makes it durable outside and water resistant.
I just brushed it on, left it for 20 minutes, then wiped off the excess with a rag. If I wanted, I could leave this for a few weeks to fully dry, then give a coat of varnish.
However, there are TONNES of different finishes and it's all down to the end use and your personal preference. I recommend reading Rag and Bone Brown's guide on How to Choose a Wood Finish and How to Apply.

How Much Did this Console Desk Table Cost?
As I had most things for this project, including some oak from my Dad's woodyard, the only extra costs were stocking up on wood glue and biscuits.
You could even recycle an old table top from a skip, like when I restored this old oak table.
If you want to buy a similar oak console table, I've seen that they range from £150-250+. So it was still worth the effort to make one myself and learn from some mistakes along the way.
DIY Console Desk Table with Oak & Hairpin Legs

Here's how I built my DIY console desk table with oak planks and restored hairpin legs. Includes top tips for gluing, clamping, and correcting any bowing or cupping mistakes. Includes a video guide to follow along.

Comments
No Comments