
Here's my EZ Border review with installation tips. This easy garden edge border system is made of recycled rubber tyres, lightweight, and can be installed at your own pace, unlike concrete edgings.
This review is not sponsored by EZ Border.

When the weather picks up, I like to try some different landscape gardening ideas and test my skills. Just like my recent DIY gravel pathway, and many patio projects.
While buying the stepping stones for it in B&M, I came across a range of EZ Border edging I'd never seen before. And it appealed to me for many reasons:
- It's lightweight
- Easy to install
- No help needed
- Flexible for curved garden borders if desired
- It's eco friendly, produced from recycled tyres
- Doesn't require concrete, which is harmful to the environment
- And shouldn't perish in all weathers *but I'll have to update you in a few years!
That doesn't mean it's a perfect product though due to its flexibility, but I'll discuss a few tips and tricks to help you work around this.
What Type of Garden Edging Should I Choose?
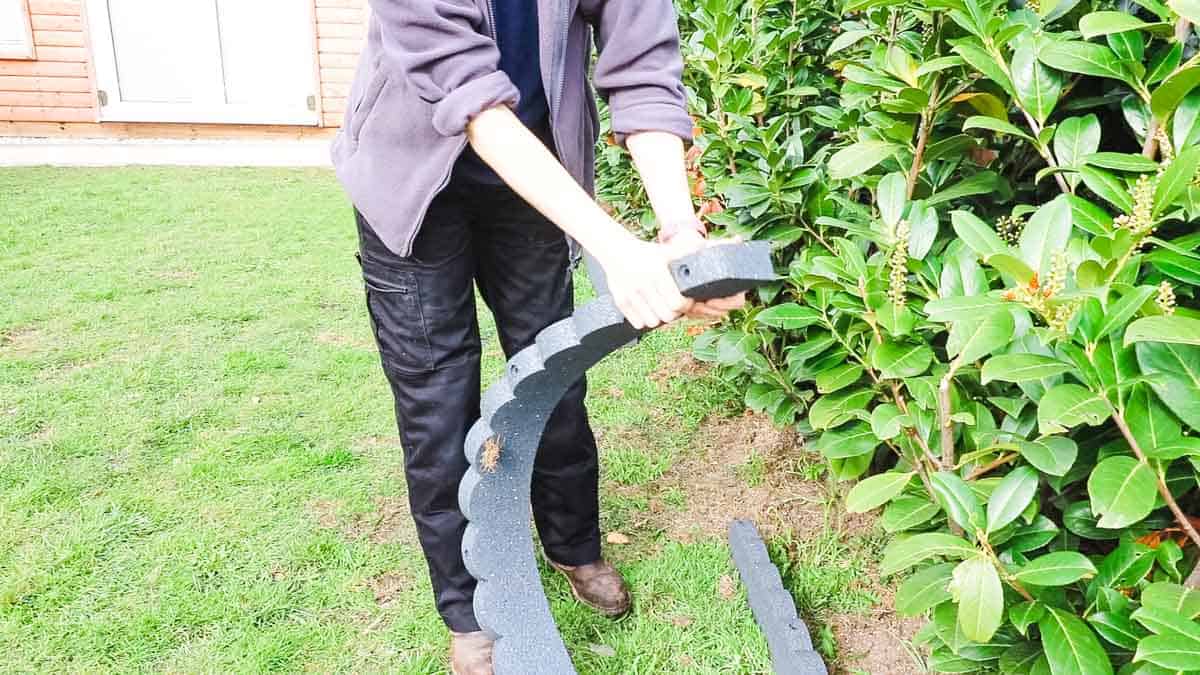
Note, I am not in any way associated with EZ Border, or B&M which is where I bought it. But I can tell you that I came across a few of their products and from what I've learned is that the thicker the EZ Border edging, the less flexible it is.
If you're wanting pristine straight lines and something sturdy, I'd consider this thicker Flexi-curve scalloped or roman stone edging.
If you're want to work around a lot of curved edges more for decorative use, I'd consider something like their Thinline or Ultracurve brick or rockwall effect, which are cheaper.
For Decorative Use Only
BUT, if you want something that will get lots of traffic or want to retain soil or containment, you're best considering things like:

Tools I Used
Please note that as an Amazon Associate, I earn from qualifying purchases made through links. However, I won't list things here I don't like.
- EZ Border Grey Scalloped Edging
- Ear defenders
- T square
- 1m spirit level
- Knee pads *gifted
- Posthole trench shovel/spade
- String line
- Hammer
- Rubber mallet
- Edging tool
- Trowel
- Rigger boots
- Hand saw
- WD-40 Silicone spray *gifted/ambassador via Instagram this year
- Jigsaw
- Stanley Fatmax drill *gifted
- Drill bits from this set
- Westland Bed & Border chipped bark

How I Installed this Easy Garden Edge
As with all my projects where possible, I did a dry lay to get an idea of where I wanted my lawn edging to be. It's lightweight enough to move around and plan without tiring yourself out too early.
Note, each of the scalloped grey edgings comes in 1.2m lengths (4ft) and after measuring my garden, I bought one more than I really needed.
You may want to buy more, depending on your cuts if you prefer their pre-manufactured wholes. I wanted to save money and drilled holes instead.
Setting up a String Line
The manufacturers recommended digging the soil by 1" to set your borders in. Although, I've also read this isn't necessary. But during my dry lay, this didn't look finished at all as my garden isn't perfectly level.
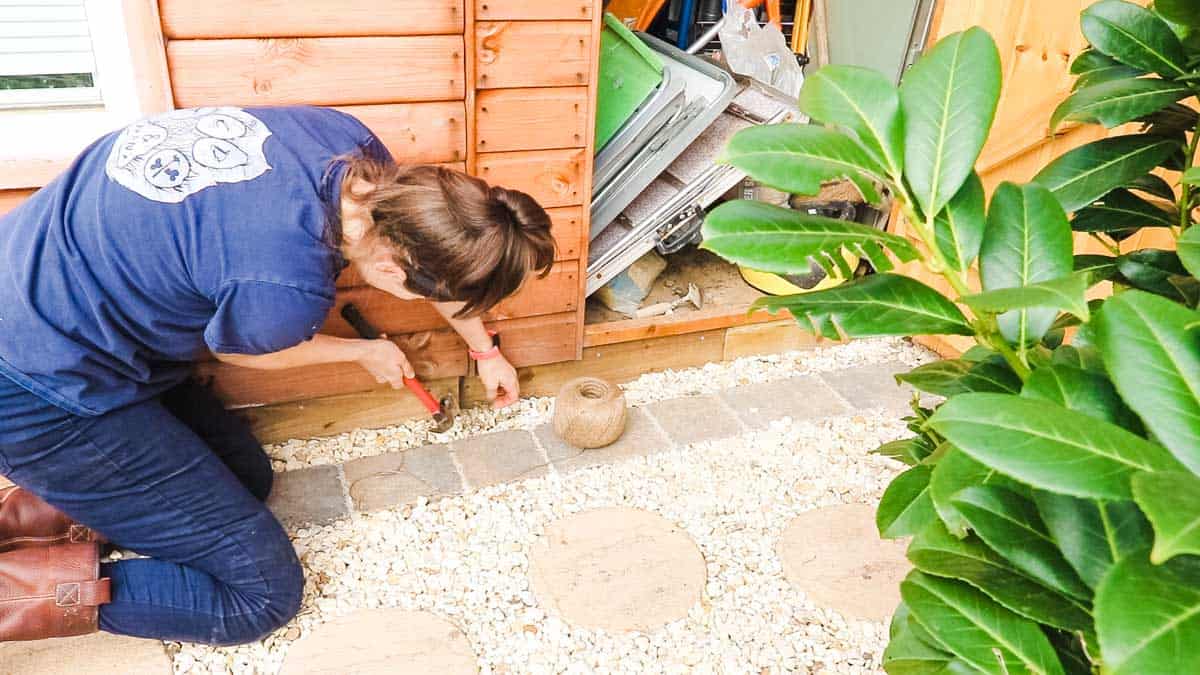
So I set up a string line to where we wanted our edging to be. I opted for a simple straight line as I knew I'd drive myself mad aiming for a symmetrical curve.
The string line doesn't even need to be perfectly square - just something you're visually happy with. More on this later!!

Digging a Small Trench
Next, I used my string line as a guide to dig a 1-2" trench using an edging tool. The manufacturers recommend 1", but it's very difficult to be this precise.
Then I returned with my post hole shovel to scrape out what I'd dug while making the trench wide enough for my rubber edging.
I chucked most of the topsoil into our raised flower bedding as I planned on topping this soil area with bark later.
Working Around Haunching
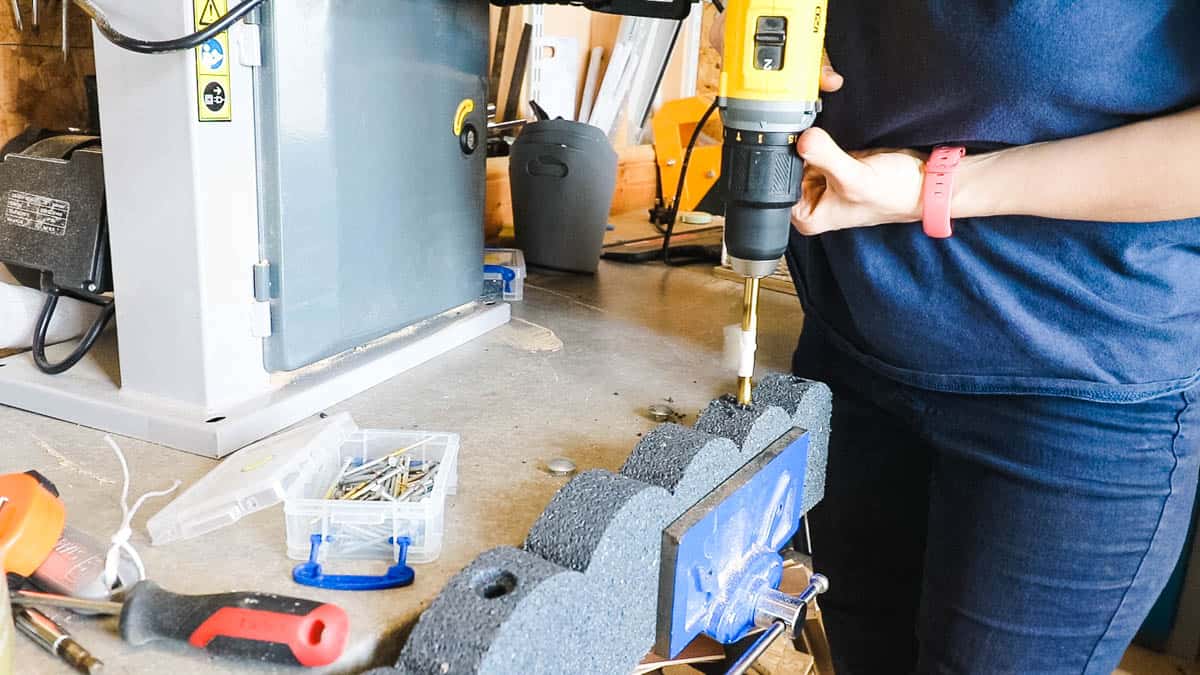
I knew I'd face obstacles like the haunching of my path edging. And I wanted to avoid this area because its job is to keep my block pavers sturdy, so I decided to drill on the next scallop*
Note, you can drill a hole with either a 10mm-13mm drill bit if you want to reduce waste - they're not the cheapest edges at £12.99 each. I also copied the drill depth as the rest.
*OR, if you don't want to be left with extra holes, then you can make two cuts - the first starting nearer the NEXT hole. But you will be creating some waste.
Or Drill Through Your Haunching
If I were to do this again, I'd try drilling through the haunching too first. But at the time, I didn't want to create a weakness.

Checking for High Spots
If you love level edges and straight lines and your garden isn't necessarily level, then I recommend taking a step back and checking for high spots.
The main thing I found about these EZ borders is that due to their flexibility, it's easy to look uneven. Whereas a concrete edging holds its own shape but is much harder to install.
I had to get this part done first to work out the correct notch I needed to cut around the haunching.

Tips for Cutting Rubbed Garden Edging
I've seen a few ways recommended for cutting EZ Border edging, such as using a:
- reciprocating saw
- jigsaw
My favourite method is:
- Spray some WD-40 silicone spray* on the rubber edging and hand saw to remove any friction
*I am an ambassador again this year for WD-40, so have plenty at hand. Other methods could be to rub a candle on the saw, or try a bar of soap!
Also, I found that a ball point pen is visible in the sunshine, so you don't need to awkwardly try and keep masking tape on as I did with my first attempt.

More Dry Lays
Someone joked I had OCD in my how-to-install EZ Border video because after I offered up my first length, I then spent most of my time removing more high spots.
I highly recommend doing this with a 1m spirit level, but you'll need to work out whether you want it perfectly straight or to match the slight slope of your garden.
In my case, I went with the latter which I found was the best of both worlds. That way, when I came to hammering in the plastic pegs provided, I could just crack on with it.

Pegging the Rubber Garden Edge Down
To install the EZ Border rubber edging, I secured the start of it by malleting my first peg in the offset hole I created.
I also like to install edgings near the string line, but not touching to prevent knocking it out of line.
What if I Hit a Rock, Subbase, or Haunching?
If your ground is too hard, then I now would personally drill straight through the hole provided and straight into the ground. Or at least test it first. This will also cut out the need to create new holes as I did.
Straight Edge Tip
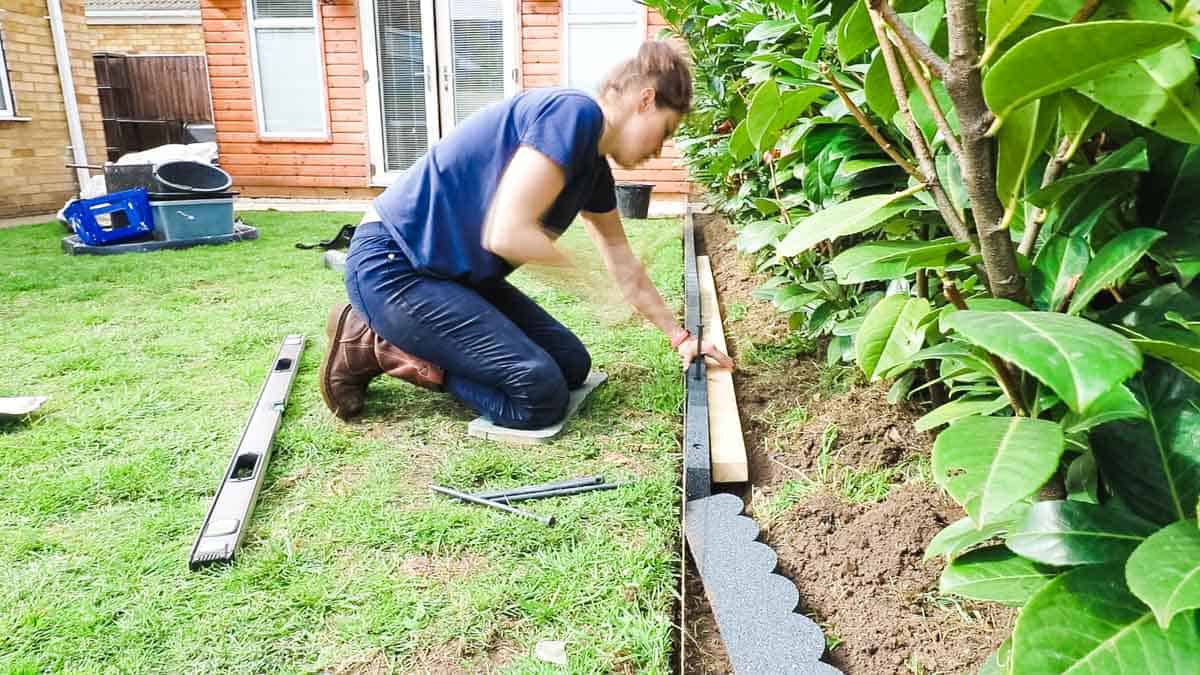
Remember when I said it's flexible? Well, I found that with a string line, it isn't foolproof.
So instead, I recommend mostly relying on holding it in line with a straight edge while nailing it down, like a long length of CLS structural timber. Or you could use your longest spirit level.
But the beauty of it is, if you're not happy with it, you have LOTS of time to take it out and adjust hours later, unlike a bed of mortar.

Finish the Garden Border Edging
To finish our new cherry laurel garden edging, my husband then added any soil back to fill any gaps in front and tampered down with his feet.
Then I returned the following day and sprinkled some Westland Bed & Border bark to suppress any future weeds without the need for landscaping fabric.
How Much Did my EZ Border Edging Project Cost?
- EZ Border Edges = £65.95
- Bark = £21.96
Total Cost =£87.84

Before and After with Summary
I'd looked at the EZ Border range over several visits before committing due to the price as I know there are many cheaper ones on the market.
However, what appealed to me is how easy it looked to handle and cut. I also assume it will last longer than plastic which may fade and turn brittle in the sun. I'll keep you updated on that!
But, once you've taken the time to make sure it's level as best as you can (because there are lots of wonky ones on social media), I think it looks professional.
Also, it's quicker to install compared to concrete edgings, which also require additional costs for aggregate, etc. But concrete edgings may suit you better if you want something "set in stone".
Installing EZ Border Garden Edging

Here's my EZ Border review with installation tips. This easy garden edge border system is made of recycled rubber tyres, lightweight, and can be installed at your own pace, unlike concrete edgings.
Materials
- EZ Border Grey Scalloped Edging
- String line
- WD-40 Silicone spray *gifted/ambassador via Instagram this year
- Westland Bed & Border chipped bark
Tools
- Ear defenders
- T square
- 1m spirit level
- Knee pads *gifted
- Posthole trench shovel/spade
- Rubber mallet
- Edging tool
- Trowel
- Rigger boots
- Hand saw
- Jigsaw
- Stanley Fatmax drill *gifted
- Drill bits from this set
Instructions
- First, do a dry lay as to where you want your garden birder edging to be
- Set up a string line
- Dig a small trench of about 1-2" deep with an edging tool
- Place your rubber edgings in the trench for another dry lay and check for high spots
- Undercut any ends with and to around any haunching if needed
- Offer the edging up to the string line and use a straight edge behind to keep it straight while malleting the pins provided in the holes
- Continue until you get to the end.
- With the last section, you may be best making 2 cuts to centralise any peg holes. I drilled new ones to keep costs down.
- Fill any gaps again with soil and tamper down
- Add any bark if on the soil if needed to finish

Jacqi Cosgrove
Hi Vikkie, great instructions! We are interested in using this to edge a border with the lawn, but do you know if it will withstand a strimmer? It's quite pricey so want to make sure it lasts! Thanks
Vikkie Lee
Hi, yes it does. It doesn't cut it as it's tough to cut anyway with a handsaw.
Thanks,
Vikkie