
How to fit quick, easy and adjustable twin slot shelves in a shed. It's extremely sturdy and ideal if you want to add or remove shelving at any time.
This DIY tutorial contains a paid AD for Wickes. I have been a regular shopper for years as I can find everything I need to complete both small and large projects.
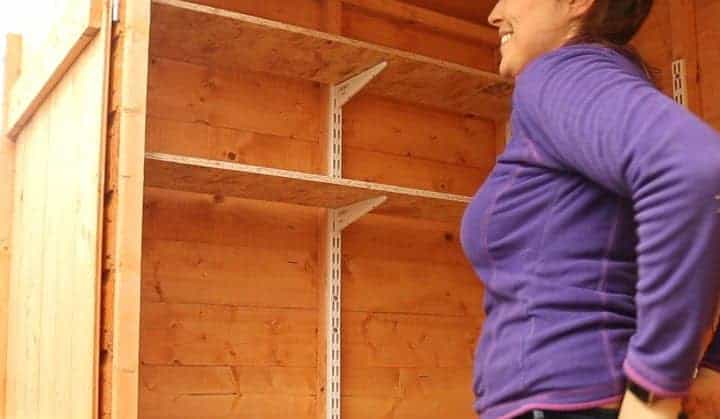
While building our new 6x3 Wickes shed, I needed to think of some shed shelves. The biggest problem was, we have SO much camping equipment to store away. So I'm rather relieved when my husband suggested (and Wickes stocked) this twin slot shelf system because I'd never seen them in person before.
Luckily, Wickes offers an extensive range of products and tools suitable for amateurs and well as professionals. And my husband had told me so many stories about what his bedroom was like growing up. And also how these tracks allowed him to move things around whenever he wanted.
He even used them as a TV stand. So it's this sturdiness that sold it to me. And when I filled our new shed shelves, I was able to change my mind and reconfigure things.

THINGS YOU NEED TO FIT TWIN SLOT SHELVES
- Twin slot tracks in 950mm
- Twin slot brackets
- Spirit level
- Pencil
- Combi drill/ screw driver
- Drill bit
- Screws
- 11mm OSB sheets of wood
- Circular saw (or hand saw)
- Tape measure
- Clamps
- Sawhorse or workbench
I particularly found checking Wickes' online stock level really useful when sourcing their twin slot brackets. Also, to guarantee they are yours, I recommend using their click and collect service. I was informed by staff they are extremely popular.
HOW I FIT TWIN SLOT SHELVES IN MY SHED
The Wickes shed that me and my husband built is made up of spars and tongue and groove cladding. It's these spars that I used to my advantage.
The tracks are also available in different lengths. I bought some that were long enough where I didn't need to cut any down.
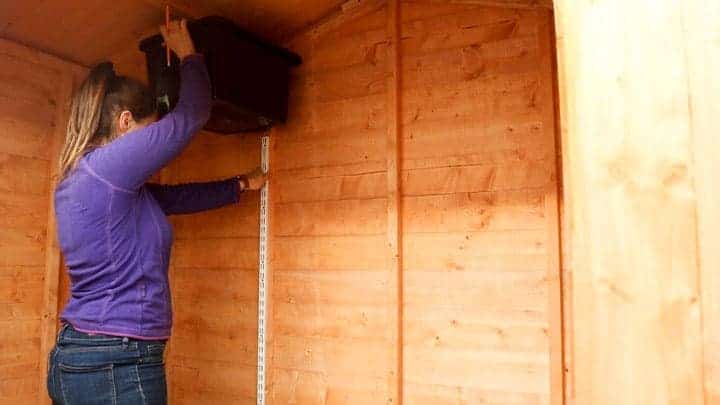
So above, I'm determining where I want my tracks to start. I did this by holding up one of my storage boxes closer to the lower end of the shed.
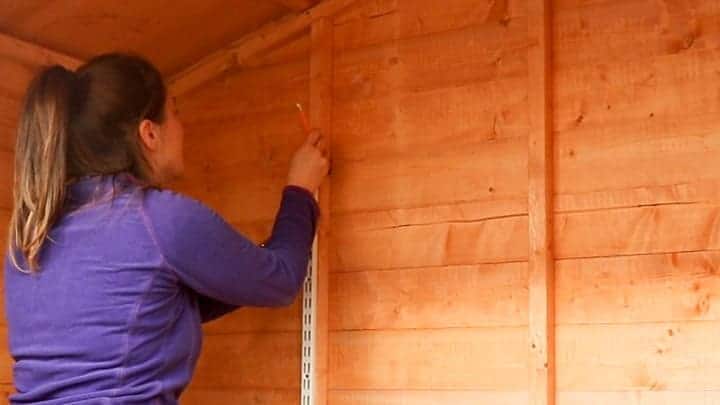
Then marked where the track laid along the top with a pencil.
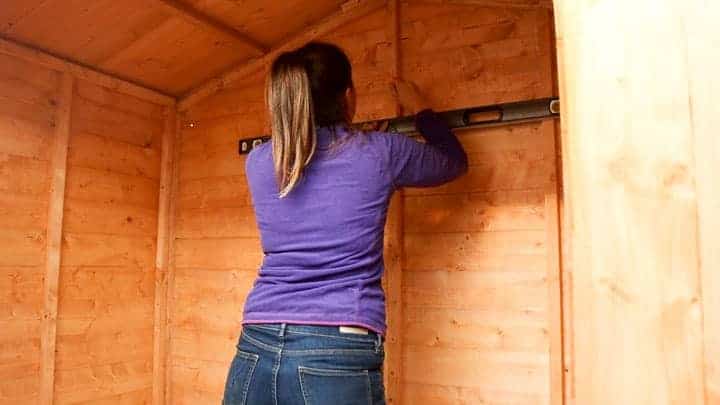
Now using a spirit level, I continued that straight line across the other spars around the 6x3 shed.
If you've never used a spirit level, make sure the bubble is in the centre.
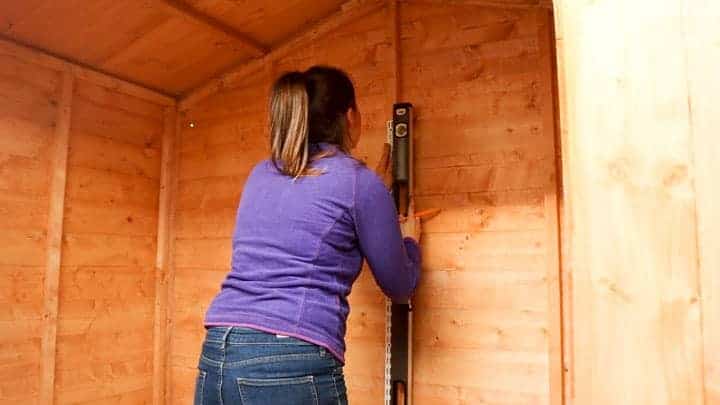
Then I held the spirit level uprigh next to the track and marked my screw holes with a pencil. I didn't think this was entirely necessary as we have the spars as a guide anyway. But note that this is pointless if your shed isn't level right from the start.
So I'll assume it is, or that you're following this guide for a house wall. If mounting to a bricked wall, you'll need to ensure you're using rawl plugs and screws. Or concrete screws that don't require rawl plugs.
If attaching to plasterboard, then I would personally drill beyond it to mount. And make sure you don't drill inline or near any sockets or switches.
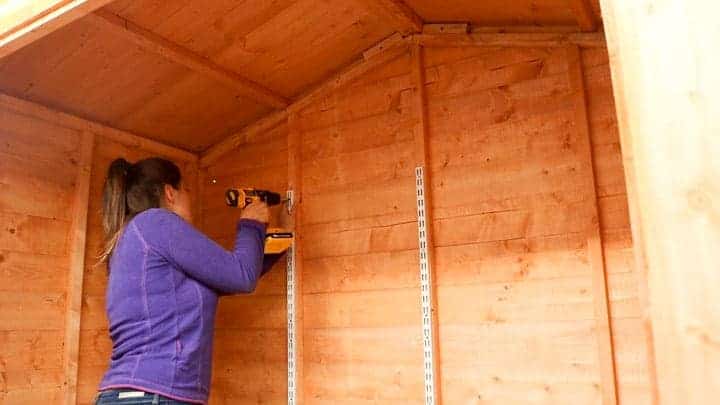
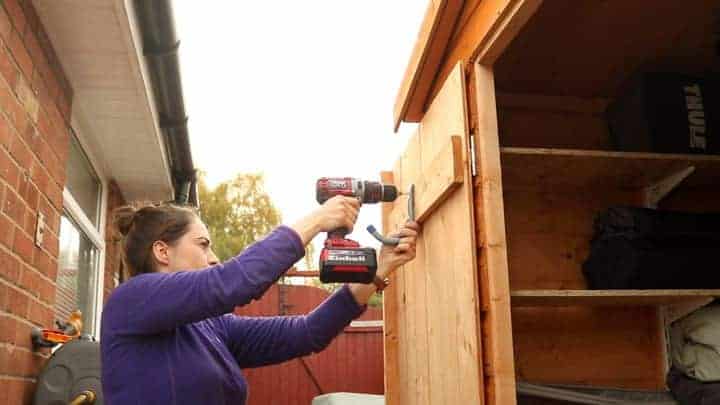
In my case, I'm pre-drilling the holes with approximately a 3mm drill bit. Then screwed the track on with 4mm screws.
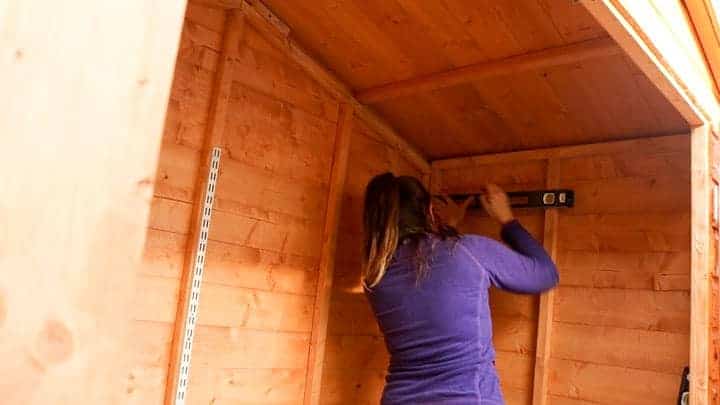
I then followed those level pencil lines around the other sides of the shed.
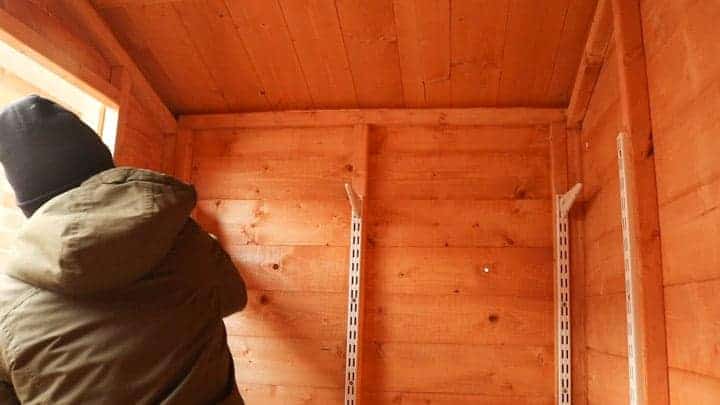
Now hook on the twin slot brackets of your choice. I'm using 170mm ones in the picture above, but Wickes also sell them in:
- 170mm
- 220mm
- 270mm
- 320mm
- 370mm
- 470mm
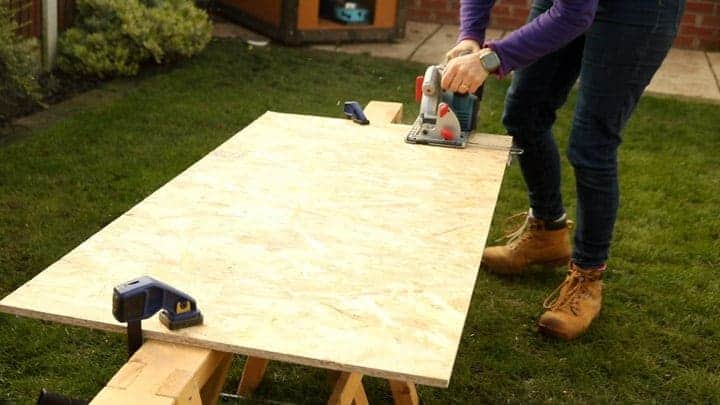
MAKING SHED SHELVES WITH OSB TIMBER
To make the wooden shed shelves, I opted for smaller sheets of 11mm OSB. (These ones are so easy to fit in a car). I also picked these as they're great in damper conditions and very strong if 9mm or thick. But you could seal and varnish if you wish.
For my 170mm brackets, I cut two sheets in to 200mm strips. I could get 3 shelves per strip this way.
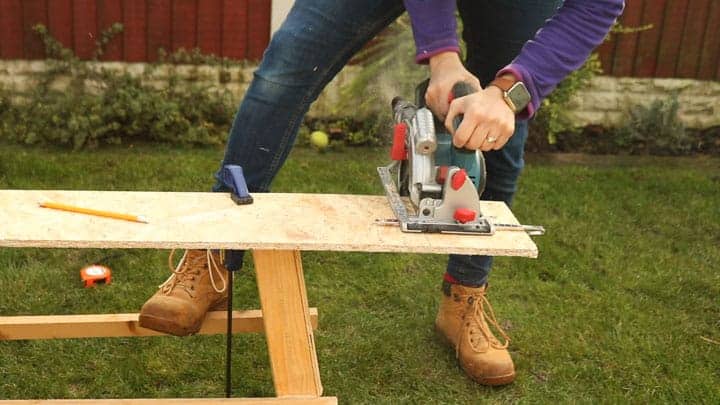
Then I reduced the lengths down to fit in my shed.
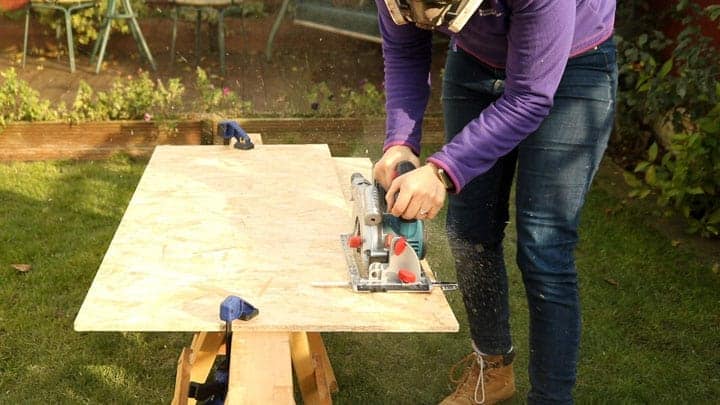
I also bought the biggest 470mm brackets and cut shelves down to match.

Then placed the OSB sheets on the shelves.
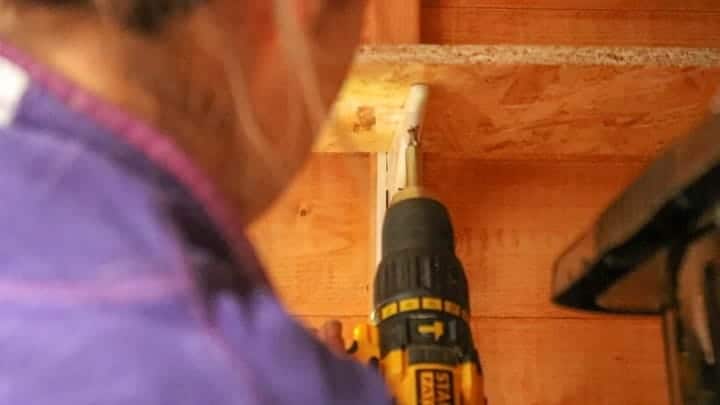
From underneath the shelves, I pre-drilled and screwed the bracket to the OSB. You'll need to make sure the screws are the right length so they don't poke through.
OTHER WICKES STORAGE SOLUTIONS
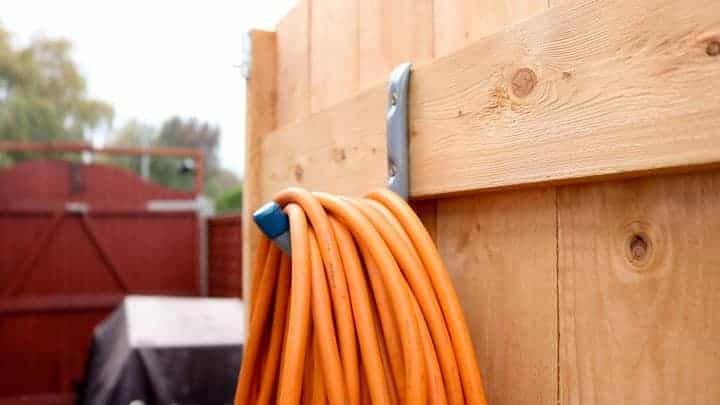
As well as the twin slot shelves, I also found some affordable shed hooks that came in pairs.
These were great for fitting behind the shed doors. Below, you can find our electric camping cable hanging nicely.
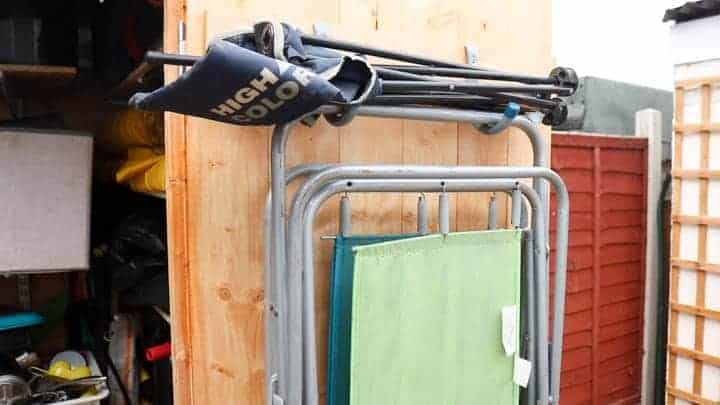
I also used two on the other door to hold some camping chairs.
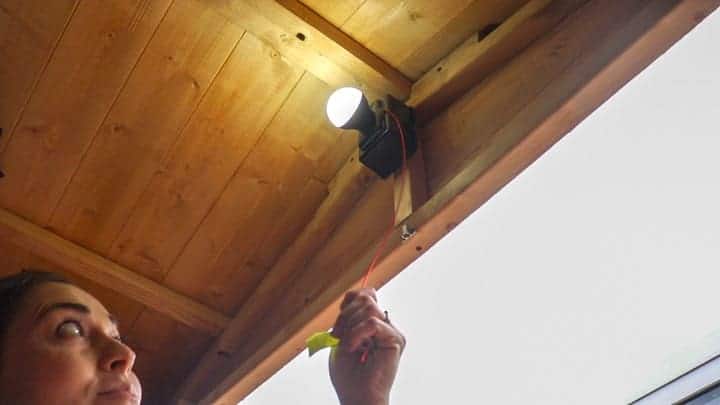
And finally, one of my favourite additions which is this loft light. It's extremely bright so we can see all of our shelves on an evening.
Also after mounting the base plate to the top inside of the shed, I shortened the pully. I will absolutely be buying another one for our other shed.
For more how-to guides, ideas and advice, Wickes have so many available for home improvement projects. I have followed many of their YouTube videos, website tutorials and pamphlets instore.
YOU MAY ALSO LIKE...
- How to Make a Subframe for a Shed Base
- Adding a lock with coach bolts for security
- How to Build a Wickes Shed
- Easy DIY shed shelving with London brackets
- 21 more DIY shed shelving ideas here!
- 27 storage shed organization ideas for tools in a workshop
- DIY silicone tube holder
How to Install Twin Slot Shelves in a Shed
How to fit quick, easy and adjustable twin slot shelves in a shed. It’s extremely sturdy and ideal if you want to add or remove shelving at any time.
Materials
- Twin slot tracks in 950mm
- Twin slot brackets
- Screws
- 11mm OSB sheets of wood
Tools
- Spirit level
- Pencil
- Combi drill/ screwdriver
- Drill bit
- Circular saw (or hand saw)
- Tape measure
- Clamps
- Sawhorse or workbench
Instructions
- Find where you'd like to put your shelves on the spars of your shed and mark the top of one of your twin slot tracks.
- Hold a spirit level horizontally on that line, make sure the bubble is dead centre and draw a straight line to match up with your first mark.
- Line one of the twin slot tracks back up with the top of that pencil line.
- Use a spirit level again and hold against it, but this time vertically and mark inside the screw holes on the track with a pencil.
- Pre-drill these holes with a 3mm-ish drill bit, then screw the tracks on the spars.
- Add your desired length twin slot brackets.
- Measure the depth of your brackets and cut OSB wood in strips to match for shelving.
- Cut the length down if needed.
- Place the OSB strips on top and screw them together from underneath the twin slot brackets.
Notes
Full video here: https://www.youtube.com/watch?v=ceaq9guULBk

Comments
No Comments