
Here's my step by step on how I built my custom pine shelf to provide DVD storage on my landing. It holds almost 500 DVDs but can be made taller or slimmer and I'll talk you through an alternative base around a skirting board and more.
This DVD storage tutorial contains a paid AD for Wickes DIY. I have been a shopper for years as often find everything I need to complete small and large projects.
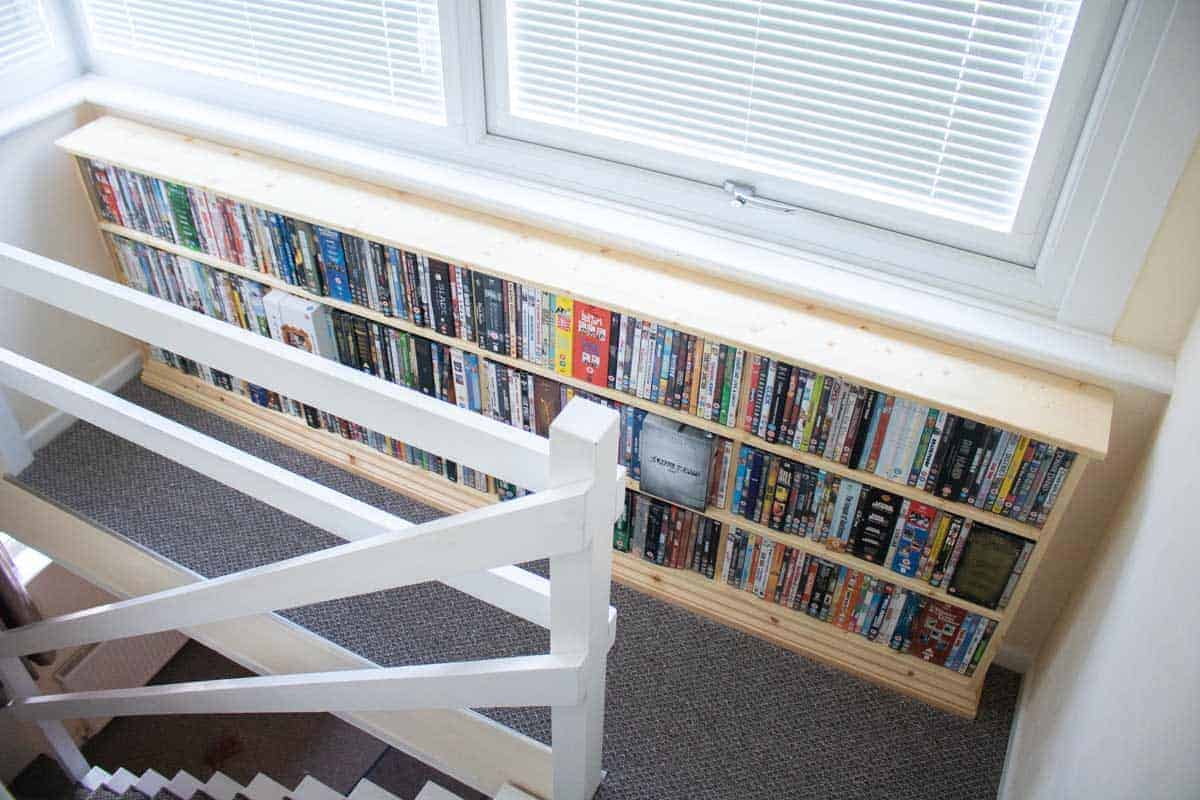
I'm sure most of us have an awkward space in the house where we don't know how to utilise it efficiently. I've had many problem areas like these and the more my skills develop, the more I've realised that customised pieces are best.
Yes, there are lots of pine shelves and storage available on the market. But for areas like my weird landing at the top of the stairs, flatpack pieces won't do. So instead, I designed something to specifically fit in this area.
The issue we had was, this landing is far too narrow to do much with it. The walkway isn't even a metre wide. And it was one of the first things I thought stood out when I viewed the property.

THIS DVD SHELF IS EASIER THAN YOU THINK!
I wouldn't have dreamt I was capable of making this when we moved in in 2014. But due to getting expensive quotes from local tradesmen, I started to turn to YouTube for step by step video guides. I stumbled across many from Wickes and like to pick up their how-to pamphlets in store too for ideas and support.
But if this project looks daunting, luckily Wickes stocks an extensive range of products and tools suitable for anyone starting out, way up to professionals. And it's with me starting small that I've built my confidence over the years. I've also designed this project with a novice in mind, such as using angle brackets for a basic woodworking project.
To narrow down your shopping list, I always make use of Wickes' online stock levels or their click and collect service. With a bit of planning, I can narrow my shopping trips down to one and not eat into my project time. And if you'd rather not make DVD storage to sit on the floor, there are also Wickes shelves available, or you may be interested in my Wickes shelf bracket system installation guide, suitable for all rooms and sheds.
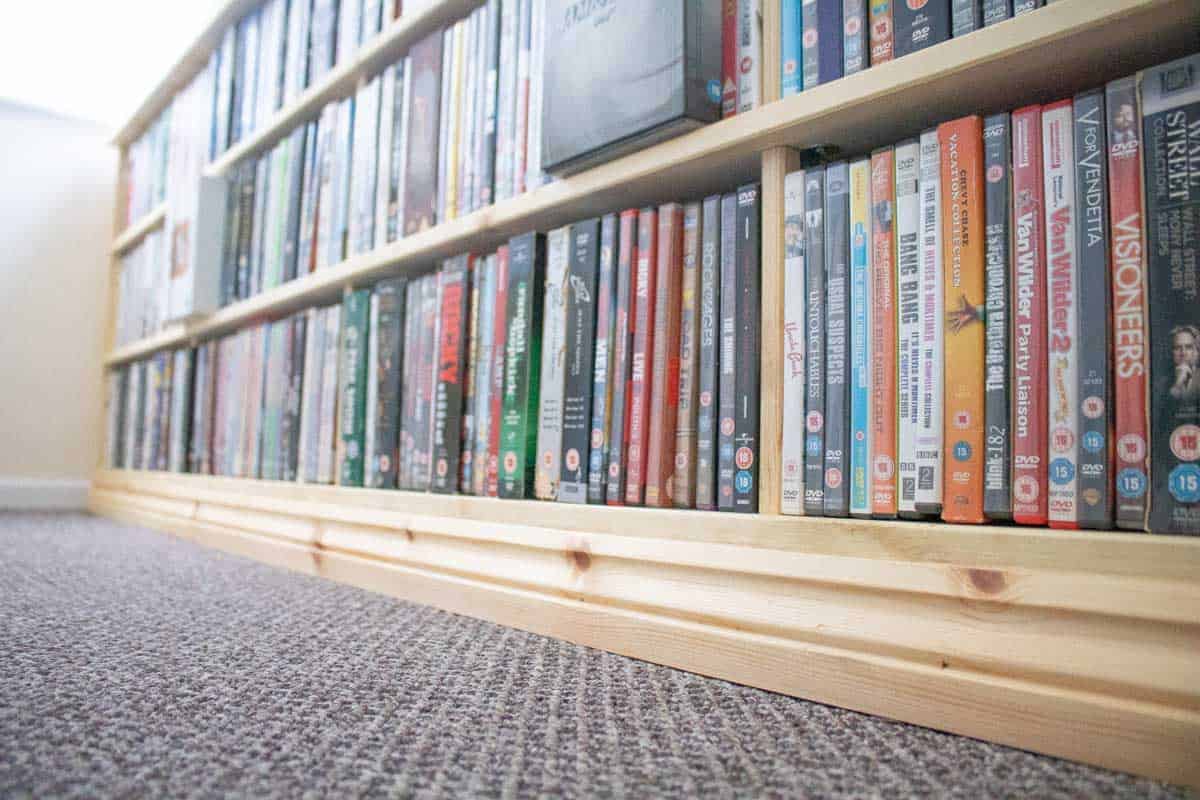
NOT JUST FOR DVD STORAGE OR BLU RAY
Due to the lower height of my pine shelf design, it's very suitable for more purposes than simply DVD storage. Firstly, don't forget that Wickes sell this timberboard in various lengths and sizes to help you find the best for your needs.
I used almost every bit of my Wickes wood, meaning little waste. So, depending on your needs, you could easily make deeper shelves. However, I think my under-the-window design is ideal for people don't have to be tall to reach the top shelf.
Here, I've put a list of rooms and who it would be suitable for. And don't forget, it could be painted and personalised whichever way you'd like. I would advise for a children's bookshelf, regarding safety reasons, that it would be best to also mount to the wall towards the top. This could be done using rawl plugs and angle brackets.
MORE USES
- book shelf for kids
- shelf to hold small toy storage boxes
- shoe shelves
- wheelchair accessible shelves
- bedroom shelves for knick-knacks, beauty products, etc
- office shelves (you may also like my DIY wooden suspension box files)
- freestanding bathroom shelves unit - great for rolled towels, etc
- CD shelves or cd rack
- store video games
- record storage
- display shelves for home ornaments

ALTERNATIVE BASE TO AVOID YOUR SKIRTING BOARD
To create my Wickes DIY home improvement project, I had pondered for a while about how I was going to work around my skirting board. This is absolutely vital if you want your DVD or bookshelf flat against the wall.
If you don't have any height restrictions as I do with a windowsill (see below), then I highly recommend these super easy to install Wickes furniture legs. I originally planned for them but had to return due to a miscalculation on my plans.
These would have been perfect as they have twist-bottoms to make the shelf level if you're working near something that isn't. For example, I knew my windowsill wasn't straight, so here's a little secret: I placed some cardboard under the far left of my design. Sometimes even when you know something is perfectly level (as my DVD storage), we have to opt for aesthetics instead.

HOW TO TREAT OR FINISH YOUR DVD STORAGE
With me using a beautiful wood such as this Wickes pine, it felt a shame to paint it and hide the knots. But for the record, instead of pine shelves, Wickes also sell white melamine (glossy laminated chipboard) and white edging tape.
You could even use plywood or MDF. However, when treating pine, you could beeswax it for protection, Danish oil it or stain then oil it. I find oiling enhances pine's lovely detail.
If you would prefer a shabby chic painted look, then I can vouch for Rustoleum's furniture paint, also stocked in Wickes. I've bought their duck egg blue (as seen in this post here) which offers a great matt finish with their furniture wax.
SHOPPING LIST TO MAKE MY DVD STORAGE PINE SHELF
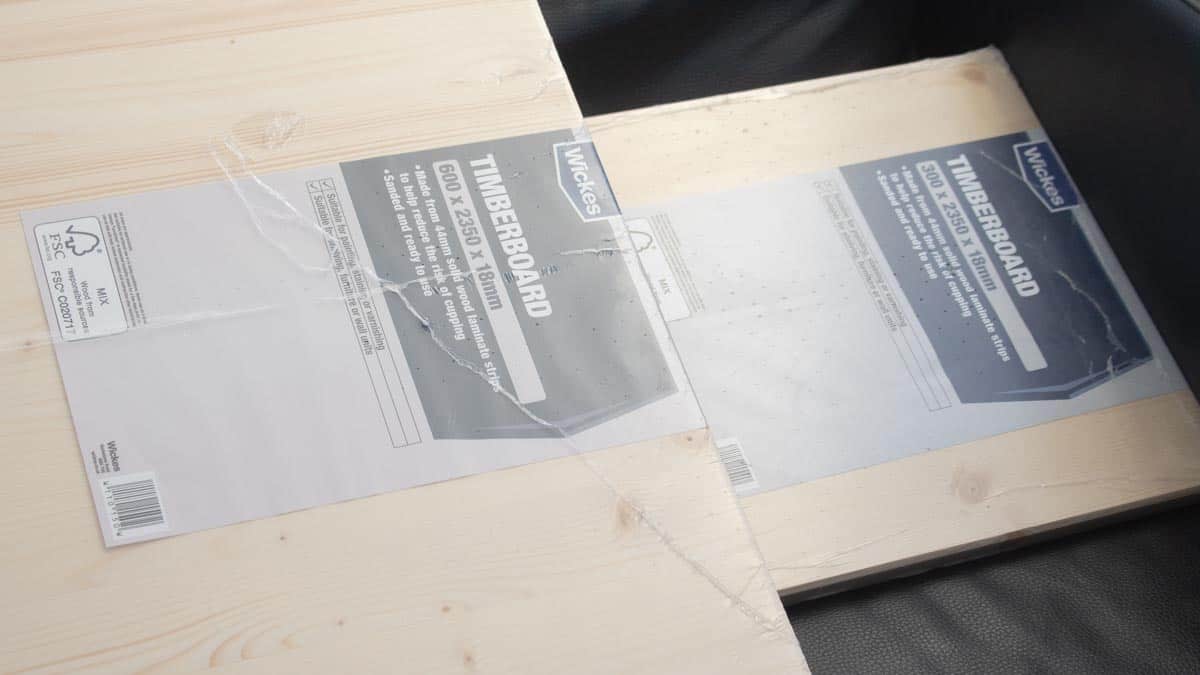
- Wickes Timberboard 600 x 2350 x 18mm
- Wickes Timberboard 300 x 2350 x 18mm
- Circular saw (or hand saw and sandpaper is fine)
- Clamps
- Bacho 244 hand saw
- Einhell orbit sander
- Speed square
- Angle brackets
- Cabinet blocks/ Modesty Blocks/ Rigid Joint blocks
- Einhell combi drill
- Stick Fit 3.5 x 16mm screws
- Bosch combi drill
- 13mm countersunk multi-purpose bit
- C16 Sawn Kiln Dried 70mm structural timber 45 x 70mm x 3m
- Architrave Ogee Pine
- Wood filler in natural
- Lint-free cloth (or old white cotton shirt/bed sheet)
- Danish oil
- Wood glue
- Panel pins
- 1 large oval nail to bury panel pins
- Hammer
- Sanding block

FREE DVD STORAGE PLANS & CUTTING LIST
Please note that my plans and cutting list are to be treated as a guide only. When making cuts, you may lose the odd mm or two due to the blade you use. My suggestion is while you are cutting your main shelves, make sure you cut the support section last.
This offcut, which is then cut into dividing supports are really only there to lend structure and prevent bowing over time.
You'll also notice this length is narrower than the depth of the DVDs, allowing you to grab them easier off the shelf.

HOW TO MAKE A CUSTOM DVD SHELF

After making all of your cuts, ensure you sand the rough edges until smooth.
Above, you can see that I'm sanding my 9 shelf-supports to prevent bowing over time.

Then, starting with the top centre shelf (which is the widest piece), I marked with a pencil, then attached my first dividing support with angle brackets. Above, I'm attaching two per side. Note: make sure the screws don't clash, so offset them slightly.
I then added two more supports either side by predrilling small holes before screwing with small screws. To get this distance, I marked a 20mm overhang for the top shelf, then found the centre point from where my side panels started and middle support began.
It's a good idea to line the next shelves up with these pencil marks so you don't have to keep measuring the same thing multiple times. Then attach the either side support the same way.
CONTINUING TO BUILD YOUR DVD SHELF
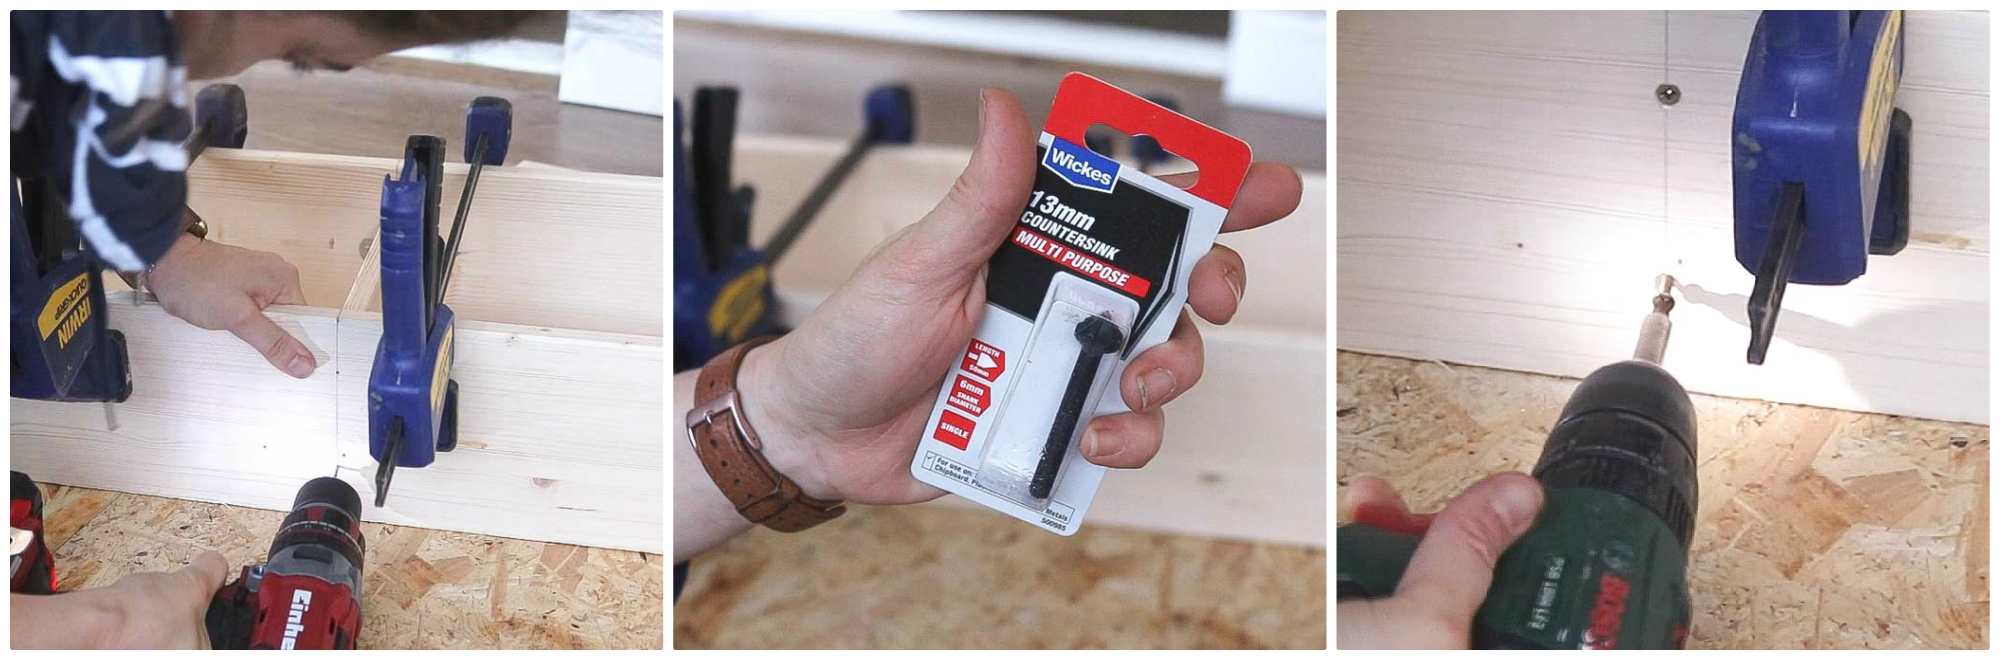
Next, line up your shelf below (note these are all smaller than the top shelf). Then clamp together, straighten your support with a speed square and predrill two holes through the bottom and straight through the centre of your 18mm support.
Use a countersink bit to bury your screw head before screwing.
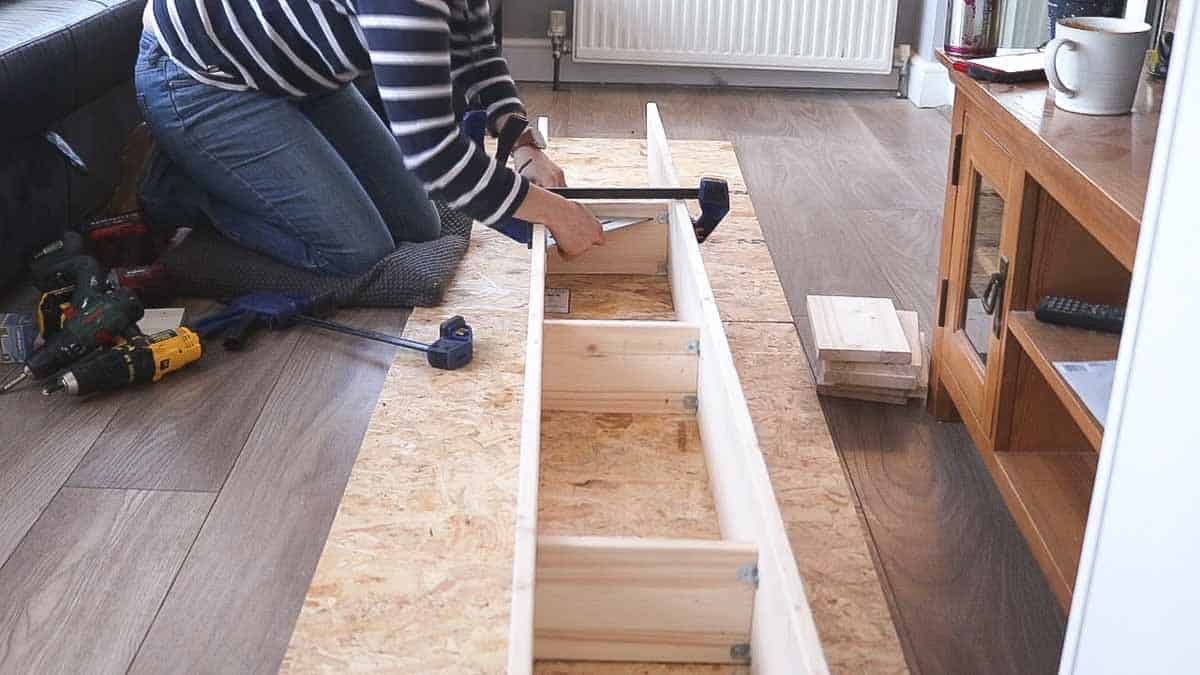
Now it's simply a matter of repeat, repeat, repeat until you get to the bottom.

Above, I'm screwing the final base pine shelf, but you could keep going if you wish.
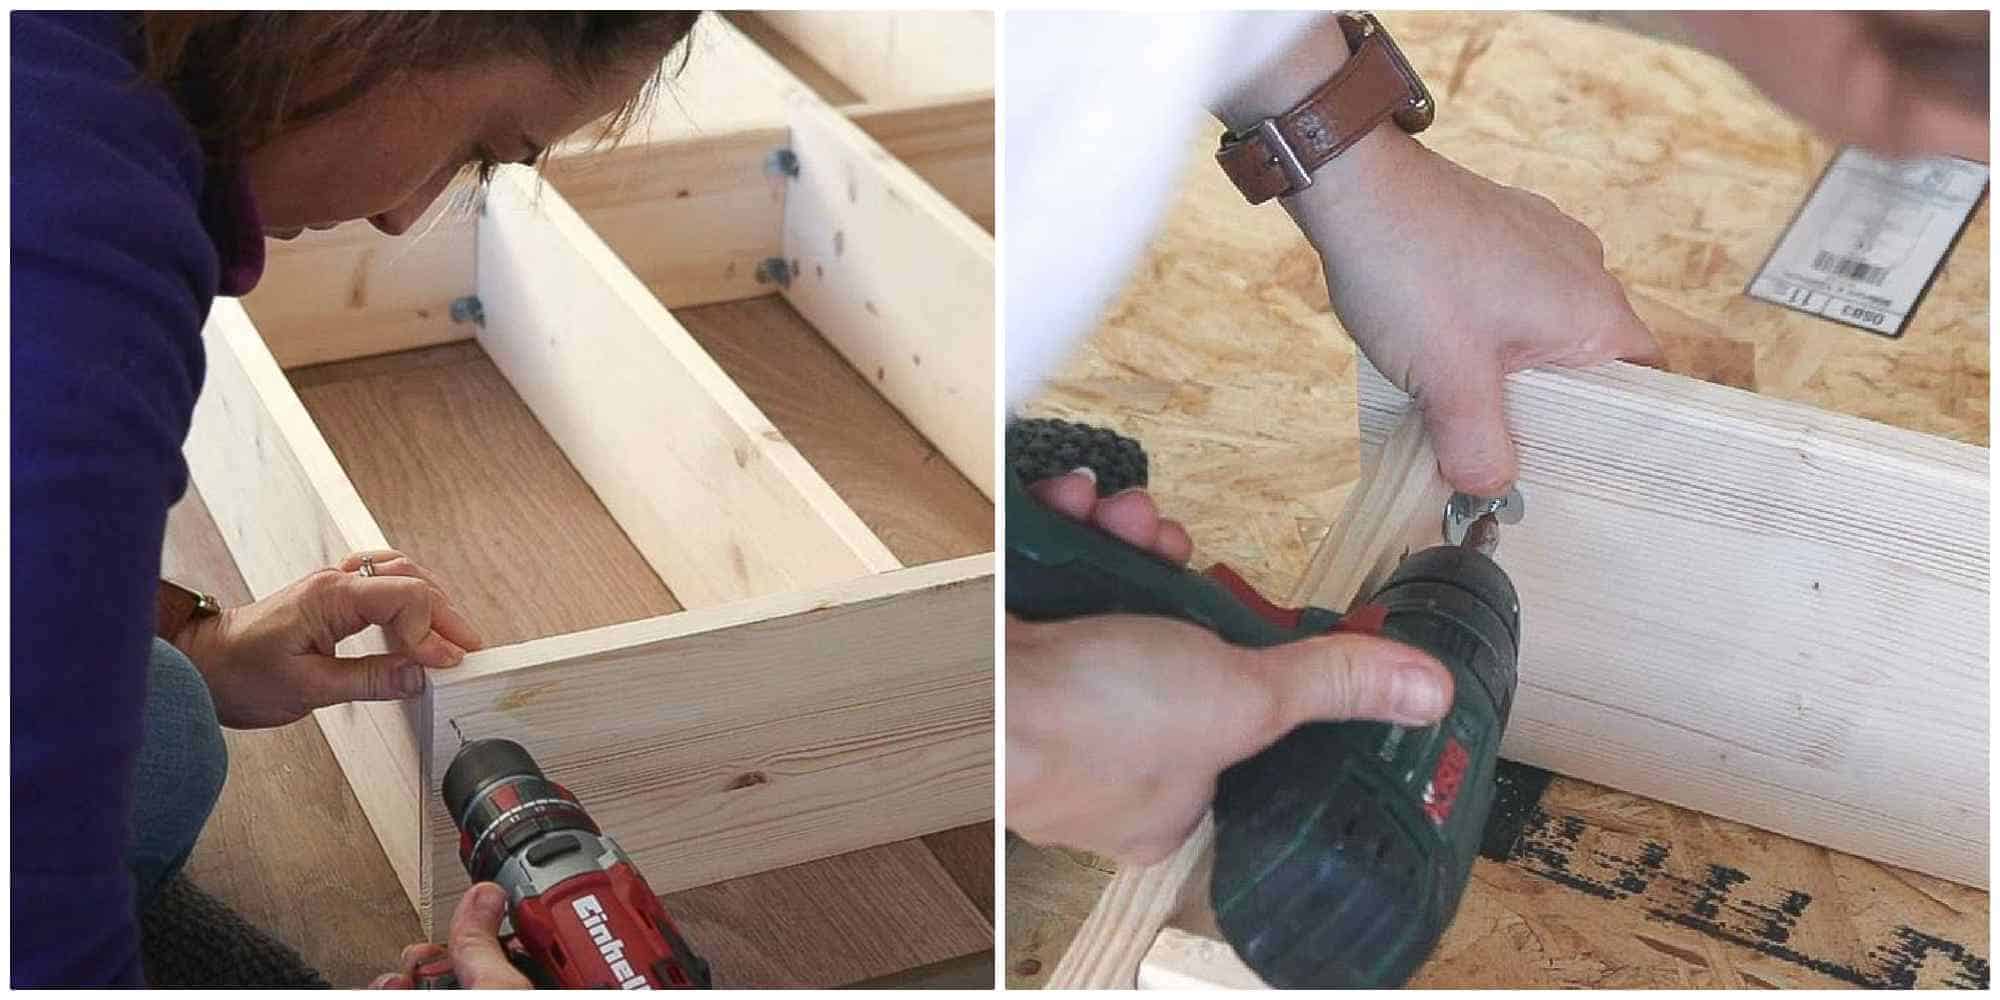
ADDING THE SIDE PANELS FOR YOUR DVD SHELF
While laying my DVD storage flat, I lined up my side panels and predrilled and screwed two holes along the bottom.
Note that because my DVD shelf is designed to go in a tight spot, I didn't need to fill over the screw heads. I thought I may as well leave them. giving me the option to dismantle it for a future house where possible.
Then used the same angle bracket method to attach the top lid and sides of the middle shelves.

ADDING A BASE
I found adding a structural base with architrave trim is a more affordable way than buying castor wheels or furniture legs. But I wouldn't have ruled them out as they require less skill and time.
Above, I cut down my 70mm structural timber to the same length as my DVD shelf. And with the offcuts, I cut a few small pieces, just shy of the thickness of my skirting board.
Then clamped the long piece to the bottom front of my DVD shelf, then screwed the smaller pieces on with two long screws each. These MUST be countersunk as we'll add architrave on shortly.

To attach my structural timber, I attached with rigid joint blocks. (Also known as modesty blocks or cabinet blocks).
Please note, be careful when transporting the shelf as they're only attached by small screws to the base and longer screws through the structural timber part.
I didn't mind this method as while in situ, all the weight will be pushed towards the floor, where the small screws are.
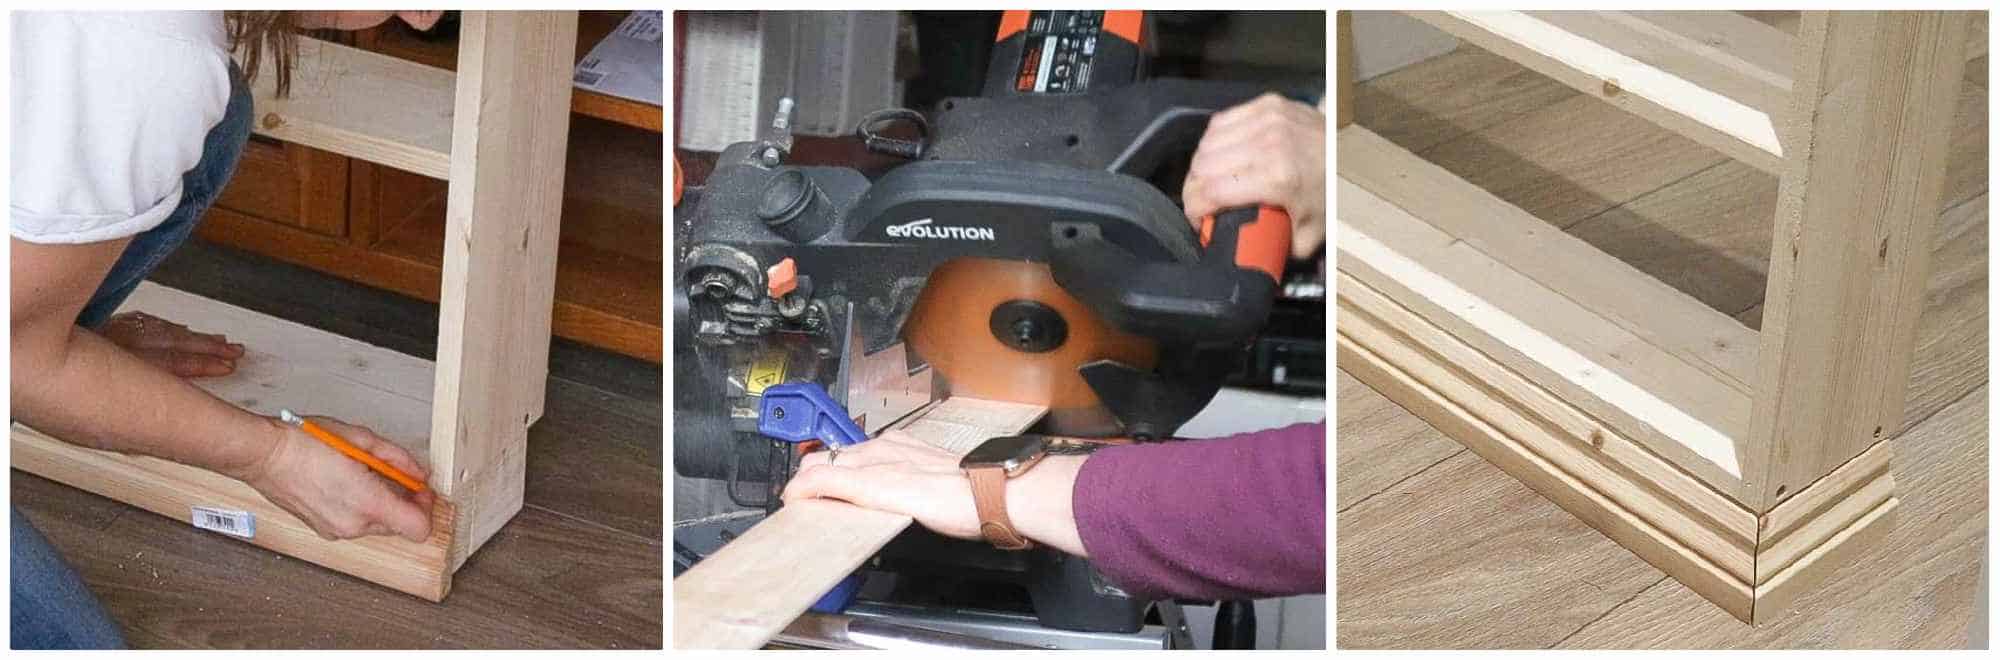
HOW TO ADD ARCHITRAVE FOR DETAIL
Now hold the architrave against the structural base and draw where your mitre cut should go to create your corner.
Note, it's important the architrave is the same depth as the structural timber, but 1mm difference won't matter like mine.
As my architrave was shorter than the width, I made another mitre cut to join to straight pieces together. You could join two flat cut pieces together, but I believe it's harder for it to flow.
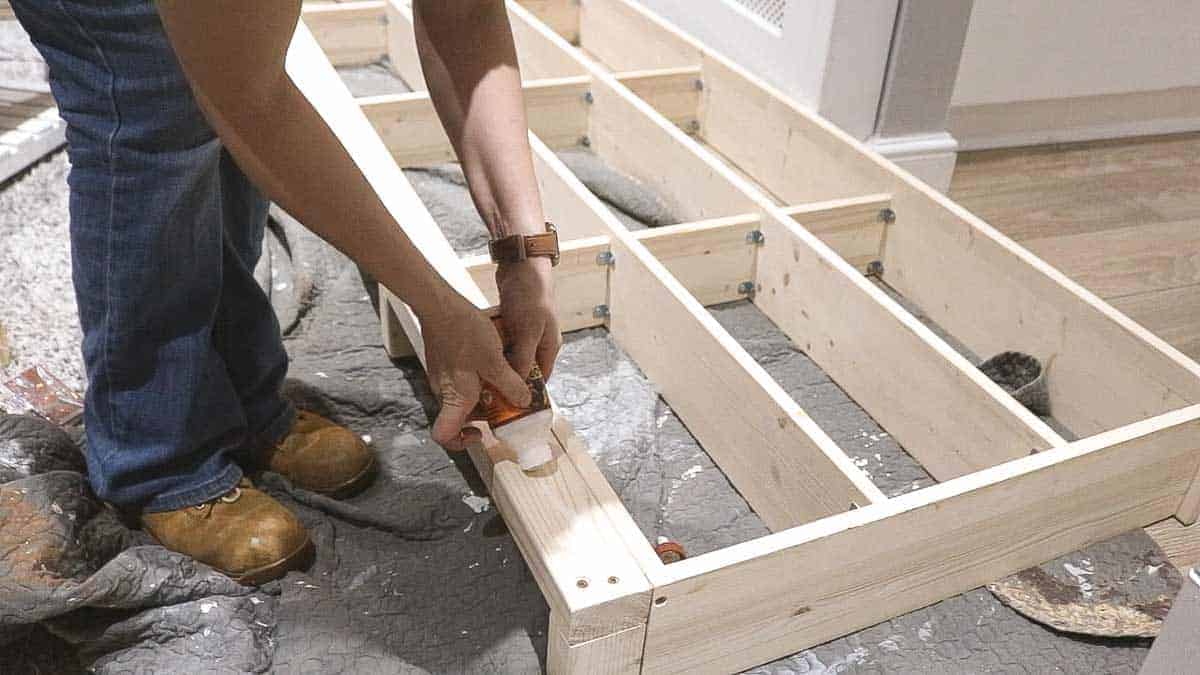
Now glue the architrave on the base and spread evenly.
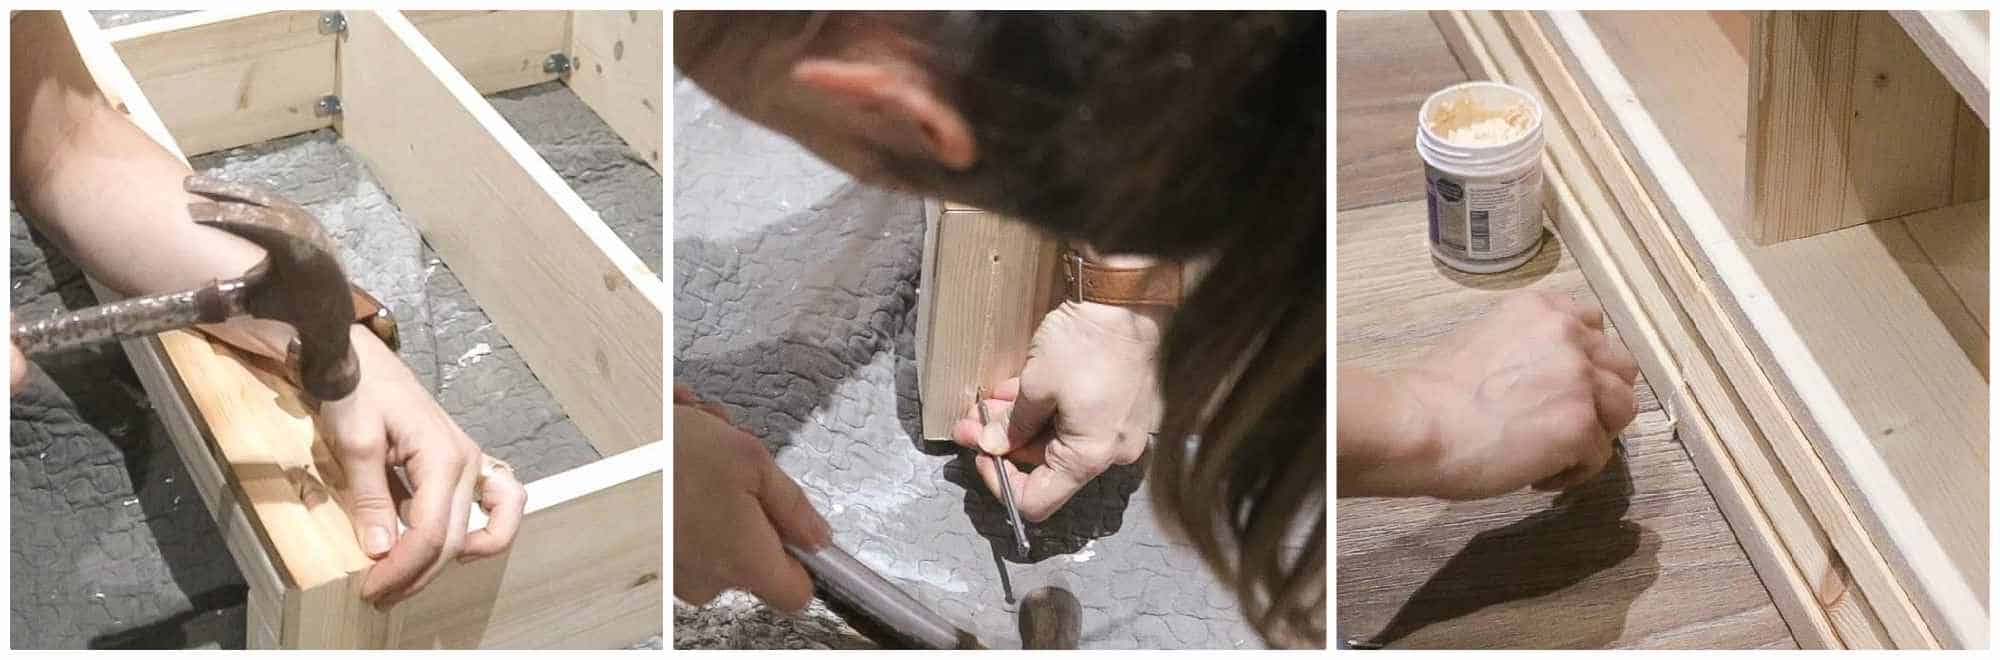
Hammer on with panel pins every 30cm or so. I hammered mine in the grooves so they could be hidden more.
To bury them more, I used a large Wickes oval nail to hammer on top of the panel pin. You could fill these, but I didn't as I thought they were discrete enough.
Now fill your mitre joins and any knots, etc with natural wood filler. Leave for two hours and sand any protrusions.
TREATING YOUR PINE SHELF
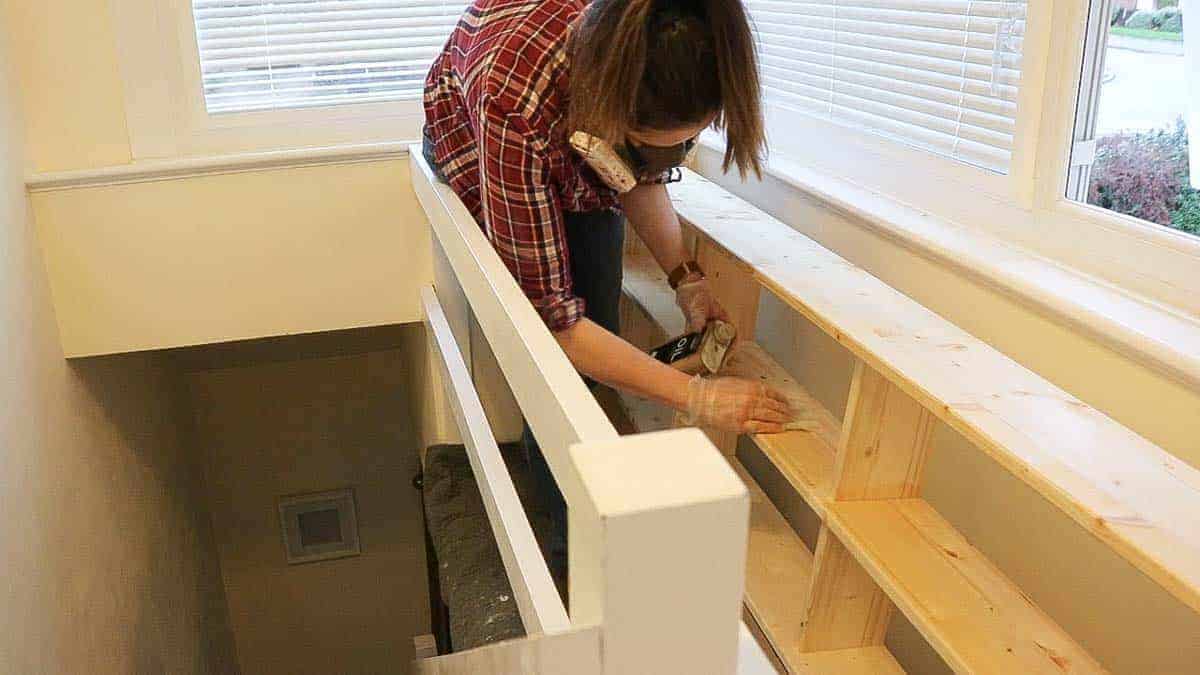
To finish, I sanded the entire pine shelf, dusted down and rubbed over with Danish oil using a lint-free cloth. It's more ideal to do this outside, weather permitting. If not, I suggest open your windows and wear a dust mask and gloves. I also put a rag down to avoid ruining my carpet.
Danish oil is easy to work with, too. Be quite generous with your first coat, then wipe the excess off after 30 minutes. Then leave for about two hours and rub over another coat, but this time, not as much.
Leave again for 30 minutes before removing the excess and leave ideally overnight and repeat with another coat. Danish oil offers a waterproof coat, but to ensure it's scratch-resistant, leave it for two weeks before varnishing. Now fill your shelf with your DVD collection, blu rays or computer games!

8 MORE PROJECTS WICKES DIY YOU MIGHT LIKE
While you're shopping in Wickes for your tools and materials, you might also like to make these projects.

DIY Countertop Kitchen Tea Towel Ladder
An easy and handy DIY countertop kitchen tea towel ladder for anyone renting.

DIY Chopping Board Set with Spaghetti Measure
A set of 4 easy chopping boards with 4 spaghetti measures.

DIY Wooden Knife Block Set
A DIY wooden knife block set, perfect for cutting around your existing ones.
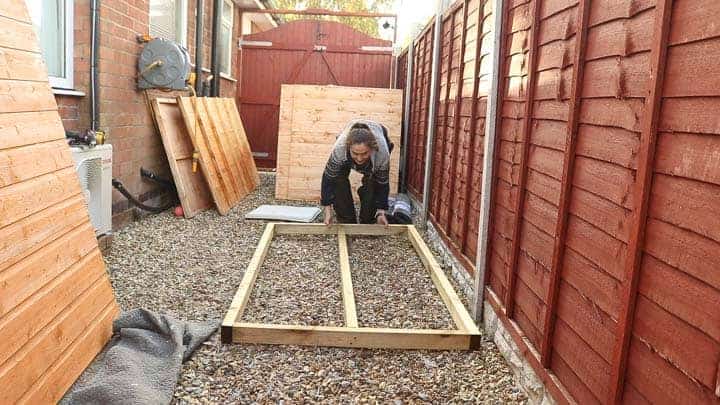
how to Make a Shed Base
Here I show you how to build a shed base (aka subframe) with pressure treated timber. This is to lift a shed off the ground, prevent rotting and also add more stability to your shed base.

How to Fit a Shed Lock
Here’s how to fit a shed lock using coach bolts for extra security. I believe this reduces the risk of anyone entering without creating a lot of noise.
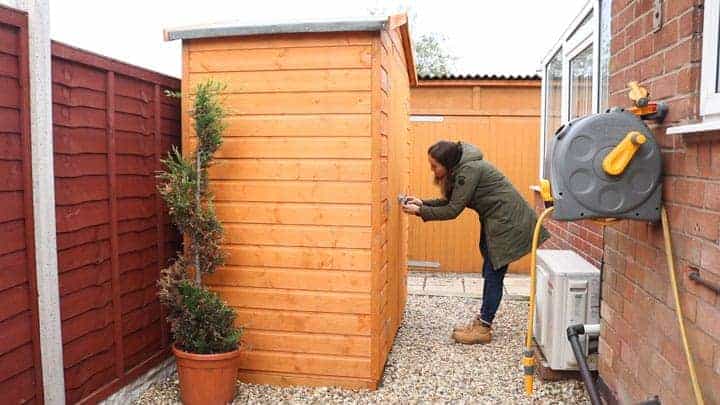
How to Build a Wickes Shed
Here I show you how I built and installed a flat packed 6 x 3 Wickes shed for more garden storage.

How to Install Twin Slot Shelves in a Shed
How to fit quick, easy and adjustable twin slot shelves in a shed. It’s extremely sturdy and ideal if you want to add or remove shelving at any time.

Pine Wood Coffee Table DIY
Using Wickes pine offcuts from previous sponsored projects, this coffee table is as simple and they come. It's in a farmhouse style and painted with homemade chalk paint.
MY FINISHED DVD SHELF
Thankfully I didn't have to dismantle my DVD shelving and build back up in situ. Instead, the open staircase banisters were a blessing in disguise and allowed us to slot them through the lower one.
By the time we got upstairs with it, we were able to lift it up and over and voila! These are out of sight, out of mind in the main living space. If I was fortunate enough with more walkway space, then I may have considered designing it with cupboard doors.
The creative possibilities are endless! So if you have any questions, feel free to leave me a comment and or contact me through any of my social media profiles and I'll try to answer asap.

DIY DVD Storage Pine Shelf

Here’s my step by step on how I built my custom pine shelf to provide DVD storage on my landing. It holds almost 500 DVDs, but can be made taller or slimmer and I’ll talk you through an alternative base around a skirting board and more.
Materials
- Wickes Timberboard 600 x 2350 x 18mm
- Wickes Timberboard 300 x 2350 x 18mm
- Angle brackets
- Cabinet blocks/ Modesty Blocks/ Rigid Joint blocks
- Stick Fit 3.5 x 16mm screws
- C16 Sawn Kiln Dried 70mm structural timber 45 x 70mm x 3m
- Architrave Ogee Pine
- Wood filler in natural
- Danish oil
- Wood glue
- Panel pins
- Lint-free cloth (or old white cotton shirt/bed sheet)
Tools
- Speed square
- Einhell orbit sander
- Clamps
- Bacho 244 hand saw
- Circular saw
- Einhell combi drill
- Bosch combi drill
- 13mm countersunk multi-purpose bit
- Large oval nail to bury panel pins
- Hammer
- Sanding block
Instructions
- After cutting your wood as per the list in the notes above, mark the centre point on each long shelf and draw a straight line with a speed square.
- Hold one of the middle shelves alongside the top wider shelf and ensure their centre marks line up.
- Now transfer marks of where the shelf lies either side on to the top shelf. Draw straight lines with these again with your speed square.
- Then hold one of the offcuts from the timberboard (18mm thick) on the inside of these new pencil lines. Then hold an offcut central of the central pencil line and draw alongside either side of that too.
- With those new pencil lines, measure the internal width and divide it by half. Mark the halfway point for another support. Repeat on the opposite side and transfer the pencil marks to the other shelves.
- Now attach angle brackets at the top of your supports by predrilling and screwing 2 either side. Then line up with your pencil lines on the top.
- Hold the next shelf against it, lining up the pencil lines and clamp. Drill two small holes, countersink them and add a screw each.
- Continue until you've attached all of your supports and shelves.
- Line up your shelf sides, then predrill and screw two screws at the bottom on each side.
- Attach the top of the side panel with two angle brackets each and more angle brackets with the other shelf sides.
- Clamp your structural timber to the bottom front of your DVD shelf and line up the small pieces and attach from the front of the long piece by predrilling and screwing with two long screws each.
- Add the structural timber to the bottom of the pine shelf with the rigid join blocks.
- Now hold the architrave against the front of the structural timber and to create a mitre cut, draw on the edge of the architrave which way the mitre cut needs to go.
- Create more mitre cuts for the two sides and to create a continuous piece for the front. See the video in the notes below to watch the visual on how.
- Glue and hammer on with panel pins - ideally in the architrave grooves.
- Bury the panel pins by hammering on the top with a larger nail.
- Fill any mitre cuts and any holes and knots in the wood with natural wood filler and leave to dry for two hours before sanding.
- Sand the entire piece with an orbit sander using fine grit, dust down and rub over with Danish oil using a lint free cloth. Or, you could use chalk paint.
- Once dry. fill your shelf with your DVD collection, or whatever you've designed it for.
Notes
Full how-to video here:
More Projects You Might Like
- Wood Turning Basics for Beginners
- Easy shed shelving with London brackets
- Easy DIY book stand for cookbooks, tablets and more
- 21 more DIY shed shelving ideas
PIN THIS DVD SHELF FOR LATER


Comments
No Comments