
Here's how to make my DIY lap desk with cushion. It's made using 12mm plywood, your choice of smooth wallpaper and a ready-made cushion. However, I'll talk you through alternative methods as I go to help you.
*This post contains affiliate links and gifted Bostik Blu Tack.
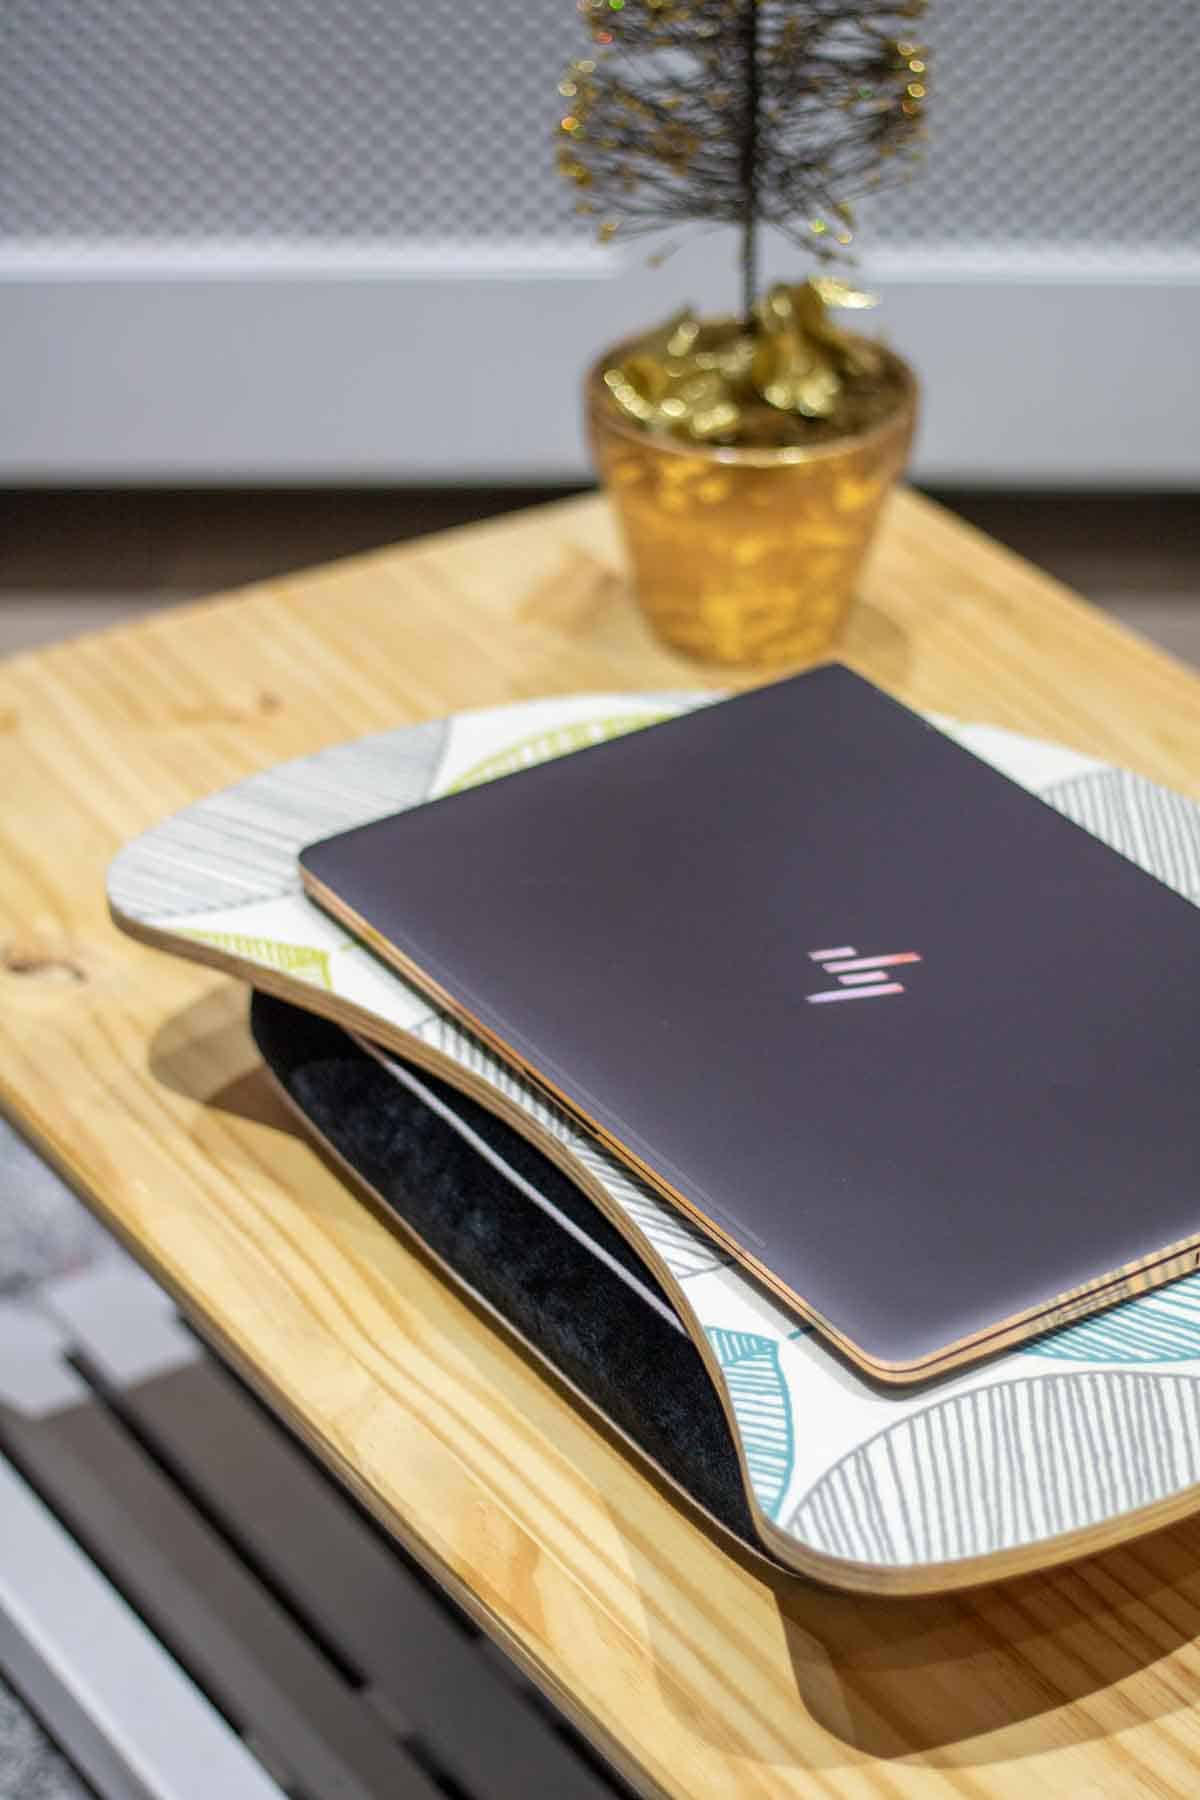
I'll let you into a little secret. These DIY lap desk creations are to be Christmas gifts for my family this year. And I'm pretty proud of them. I've actually been using this size laptop stand (also known as the IKEA Byllan laptop support) for a number of years. I'll use it as a laptop stand in bed or on my sofa.
But the poppers for the cushion underneath are a devil for falling straight off. And another factor is, that my husband has just treated himself to a laptop too. So he's having my old one and I fancied making myself a nicer one.
And while I'm at it, I thought, why not use up the remaining materials and make a few copies? This cuts down waste and actually, these lap trays make perfect Christmas gifts.

Call it an IKEA hack if you wish. But you can make this lap tray any shape or size, depending on your laptop or whatever you'll be using it for. You could even use a standard pillow instead of the memory foam cushion.
Or make it a lap tray with a bean bag. However, with the latter, ours has been hard to clean. So I decided to buy a memory foam cushion off Amazon where I could remove and wash.
This also meant I needed to do some brief sewing with some velcro and staple gun one side to the lap desk's base.

WHAT IS MOD PODGE?
Mod podge, in my opinion, is like a white PVA glue. It's non-toxic and usually used for decoupage. Ie, glueing on paper and fabric to wood, glass and other surfaces. It's also buildable, but there are many types of mod podge on the market.
In this case, we'll be using Mod Podge hard-coat to treat, seal and finish with a wallpaper surface. Although, if you wish to use fabric, you can do. Alternatively, you could use varnish instead.
This particular hard-coat mod podge also requires 4 weeks to cure. Yes, it will be touch dry. But it's best to leave it to fully soften. If you are inpatient like me, though, then I am using a towel between the mod-podged surface and my laptop. This is to prevent my laptop's rubber pads from digging in and making a mark with pressure in the same spot for long periods of time.
HOW TO APPLY MOD PODGE
For the best results, I found applying thin coats with a mini foam roller the best. It gives a very professional finish with an extremely light grain texture. This is perfect to prevent a laptop from moving on a lap desk. I also used a mini foam brush for the sides.
It takes about 20 minutes for the Mod Podge to be touch dry. However, make sure you have clean fingers as it's very good at removing your dirt, leaving traces behind. Although, I was able to easily scratch them off with my nails.
Then, in between coats, I gently buffed with plumber's superfine 0000 wire wool and repeated until I had about 5 coats. If the paper lifts, simply go over with a brayer. But note, it's easier to flatten once it's mostly dry like you would with a contact adhesive.

WHAT TYPE OF WALLPAPER CAN I USE WITH MOD PODGE?
To successfully mod podge or varnish over any wallpaper, you need to use one that's flat and smooth. If you create a lap tray with an embossed style wallpaper, it's not a sound surface. So in this case, the seal you use could crack under pressure, ruining all your hard work.
I also recommend one where the print doesn't smudge. It's best to read Amazon reviews to check peoples' experiences in case it reacts badly with a glue.
Also, to save you a lot of time, it's easier to use one where the pattern doesn't need to be straight. However, I loved this leaf print too much, so took the time to measure. And finally, avoid pale or lighter coloured wallpaper where the occasional dust particle once settled may show. I persevered by picking some off with my nails.

THINGS I USED TO TO MAKE A LAP DESK WITH CUSHION
- 12mm plywood hardwood (or use softwood for a prettier finish)
- Jigsaw
- Wallpaper - ensure it's flat and smooth
- Memory foam cushion
- Mod podge hard coat
- Scalpel crafting knife
- Brayer roller
- Sewing machine
- Velcro (sew-on ONLY)
- Danish oil
- Blu Tack *gifted
- Router Flush trim bit from this selection
- Orbit sander
- Wire wool
- Dickies goggles
- Ear defenders
- Irwin clamps
- Sawhorses
- Wood filler
- Foam roller

HOW TO MAKE A LAP DESK
To make my lap tray with cushion, I bought a smaller sheet of 12mm hardwood plywood. Then I drew around my old IKEA Byllan laptop tray. I was able to get 3 cuts from this sheet.

With the first shape, I really took my time, cutting as perfectly as I possibly could with a jigsaw.
As for the remaining two, I was rougher. I didn't cut exactly on my pencil line, but nearby as I'll be using my first good cut as a template. Then use a flush trim router bit to match.
If you don't have a router, then just do your very best cuts as carefully as you can. There's no harm in this. I just wanted to try a flush trim router bit for the first time and speed up the process.

Then I returned back to my best cut and patiently sanded the cut edge until I was happy.
Note, this method will never be a perfect CNC machine style cut. But you could possibly use your flush trim router bit against an existing shape. I just didn't do this as it was all new to me and didn't want to risk ruining a perfectly good (but old) laptop tray.
However, I'm sure I could have done it if I raised my flush trim router bit enough to give it clearance. But it's one step at a time with DIY confidence.

USING BLU TACK TO FLUSH TRIM ROUTER MULTIPLE LAP DESKS
Next, I temporarily stuck my good template to a rough cut one with blu tack. This was a great solution to make it easier to pry apart later without leaving any damage.
Then I clamped together, then clamped again to my sawhorses.

Now with my good cut at the bottom, below you can see the silver bearing on the flush trim router bit against it.
How it works it, the rougher cut above, which protrudes in most places, will be trimmed down to match the bottom template.
This made it super easy to make duplicate lap desks for the family. I did, however, need to move the clamps around, but the Blu Tack prevented it from shifting and possibly ruining my work.

After cutting all my 3 plywood pieces for my lap trays, I was left with a few holes in the edges. So I filled with natural coloured wood filler, left to dry and sanded.
Then I picked the nicest side for the bottom (the only bit that would be seen) and treated with Danish oil. I left this to dry overnight.
Remember, the side that will be wallpapered needs to be flat and smooth, so you may also have to fill. But none of this will be seen once it's covered.

Once completely dry, I cut out a section of wallpaper with my desired pattern.
As mine only went one way, I marked what was centre on the reverse and marked on my laptop tray.
Then set aside.

MOD PODGE FOR WALLPAPER TO WOOD
Next, I applied a thinnish coat of Mod Podge to the non-oiled side of my lap tray. Then place the wallpaper on top, lining up my pencil marks.
You only have about 10 seconds, tops to gently move it around. And to remove any air bubbles, I firmly pressed down with my brayer all over.
I found the longer ends pushing up against the work surface, so trimmed back as much excess with scissors. And repeated with the brayer again.

After leaving it to dry for two hours, I returned to trimming back, but this time with a craft knife.
I did this as close to the edge as possible before gently sanding downwards with very fine sandpaper. Note, it's important NOT to sand upwards and take your time.

We now need to seal the wallpaper. To do this, lay a rag down and/or some cardboard to protect any surfaces from a potential mess. I then lined a paint tray and applied a thin coat on the wallpaper side and cut edges with a mini foam roller.
After leaving for about 20 minutes to dry, I gently buffed with fine 0000 plumber's wire wool. I repeated this 5 times, but still ensuring the edges were coated too.
This was important to prevent the wallpaper from lifting over years of use.

ADDING A CUSHION TO YOUR LAP DESK
When it comes to velcro, below I am pressing on two stick-on velcro strips to the back of my plywood.
I followed on with staples to the lap tray to ensure it was doubly secure.

However, when I came to sewing the matching velcro strips to my cushions, it was extremely time-consuming. I found the adhesive side would leave a sticky residue on my sewing machine needle.
So I had to clean it every two inches with baby wipes. Therefore, my advice for this is to only use a sew-on velcro strip when it comes to sewing. And no, you can't hand sew through the adhesive stuff either.
I tried with no luck. But I persevered in the end and won. But after a considerable amount of swearing(!)

DIY Lap Desk With Cushion

Here’s how to make my DIY lap desk with cushion. It’s made using 12mm plywood, your choice of smooth wallpaper and a ready-made cushion. However, I’ll talk you through alternative methods as I go to help you.
Materials
- 12mm plywood hardwood (or use softwood for a prettier finish)
- Wallpaper – ensure it’s flat and smooth
- Memory foam cushion
- Mod podge hard coat
- Velcro (sew-on ONLY)
- Danish oil
- Wood filler
Tools
- Jigsaw
- Scalpel crafting knife
- Brayer roller
- Sewing machine (Mine’s a discontinued Brother BC2100)
- Blu Tack *gifted
- Router Flush trim bit from this selection
- Orbit sander
- Wire wool
- Dickies goggles
- Ear defenders
- Irwin clamps
- Sawhorses
- Foam roller
Instructions
- Draw the shape and size you want for your laptop stand base directly on to the plywood. Or draw around an existing one and multiple if making extras.
- Cut your first one as neatly as possible with a jigsaw.
- Then sand down as best you can until you're happy.
- As for any remaining cuts, jigsaw as close as you can, but avoiding the pencil lines.
- Then, if making duplicates, blu tack together your best cut with a rough cut and clamp together. Now clamp to a workbench or sawhorses.
- Using a flush trim router bit, trim off the excess from the rough cut. Depending on your router bit's bearing placement, this will determine whether your good cut is positioned on top or on the bottom.
- Fill any holes or chips with wood filler, leave to dry, then sand.
- Treat the best side with Danish oil and leave to dry overnight. But also ensure the wallpaper side is flat and smooth.
- Cut out your desired wallpaper pattern and mark the centre of it (and your lap desk plywood) and set the wallpaper aside.
- Brush a thinnish coat of mod podge to the untreated plywood side, then place the wallpaper on top. Gently position and line up with your centre marks.
- Trim off most of the excess with scissors, then remove any air bubbles with a brayer roller and leave to dry for two hours.
- Now using a sharp scalpel or craft knife, gently remove all wallpaper excess, then sand down with fine sandpaper.
- Apply a thin coat of mod podge to the top of wallpaper and cut edge of plywood using a mini foam roller.
- Leave to dry for 20-30 minutes until touch and gently buff with 0000 wire wool, dust down and repeat until 5 coats.
- Add velcro strips on the back of the plywood and staple. *Test on an off-cut first to ensure it doesn't go all the way through.
- Sew the matching velcro strips to the cushion, then stick on the bottom of the lap desk.
- Leave the mod podge to fully cure for 4 weeks before using, or place a towel between the lap tray and laptop to prevent marking if wanting to use immediately.
Notes
You can find a full video tutorial here to follow alng with: https://youtu.be/hXFmSvMsf0g
Recommended Products
As an Amazon Associate and member of other affiliate programs, I earn from qualifying purchases.


PIN THIS DIY LAP TRAY FOR LATER


Comments
No Comments