
Here's my step by step guide on how you can make a DIY treadmill desk for a treadmill. It's been an amazing solution, allowing me to achieve 20k Fitbit steps a day while doing my normal office work. It can also be made with basic tools, CLS timber and 12mm plywood. HOWEVER, PLEASE NOTE THAT THIS TREADMILL'S MOTOR LASTED ONE MONTH. I HAVE SINCE BOUGHT A TR1200-DT3 FROM THE TREADMILL STORE COMPANY WITH A SLIGHT PR DISCOUNT.
SADLY, I'VE SINCE LEARNT THAT MOTORS ON CHEAPER TREADMILLS ARE NOT SUITABLE FOR EVEN 1 HOUR A DAY.
YOU CAN SCROLL DOWN FOR THE ALTERATION I HAD TO MAKE FOR THE LIFESPAN TR1200 DT3.
Please note this post contains Amazon affiliate links where I will earn a small commission at no extra cost to you. This project is in no way sponsored and felt it was a necessity to my needs.

I've never seen myself as the office-job type. I'm not that much of a fan of keeping still and can't imagine many makers or creative people are, either. I also like to eat healthily too, as you can see from my recipe at Tastefully Vikkie.
But with blogging comes a very inactive lifestyle. And while my once a week DIY videos may look like I'm always making, I'd say 90% of my time requires sitting. And that's because there's so much desk work to being a YouTuber.
There's the video editing, of course. Then if you want to do better in Google search results, there's writing a tutorial, editing pictures, keyword research, social media and so on. In brief, you're optimising your work (also known as improving your SEO). You could be the greatest craftsperson in the world, but if you're not taking the time to do these things, you're less likely to reach the right audience.
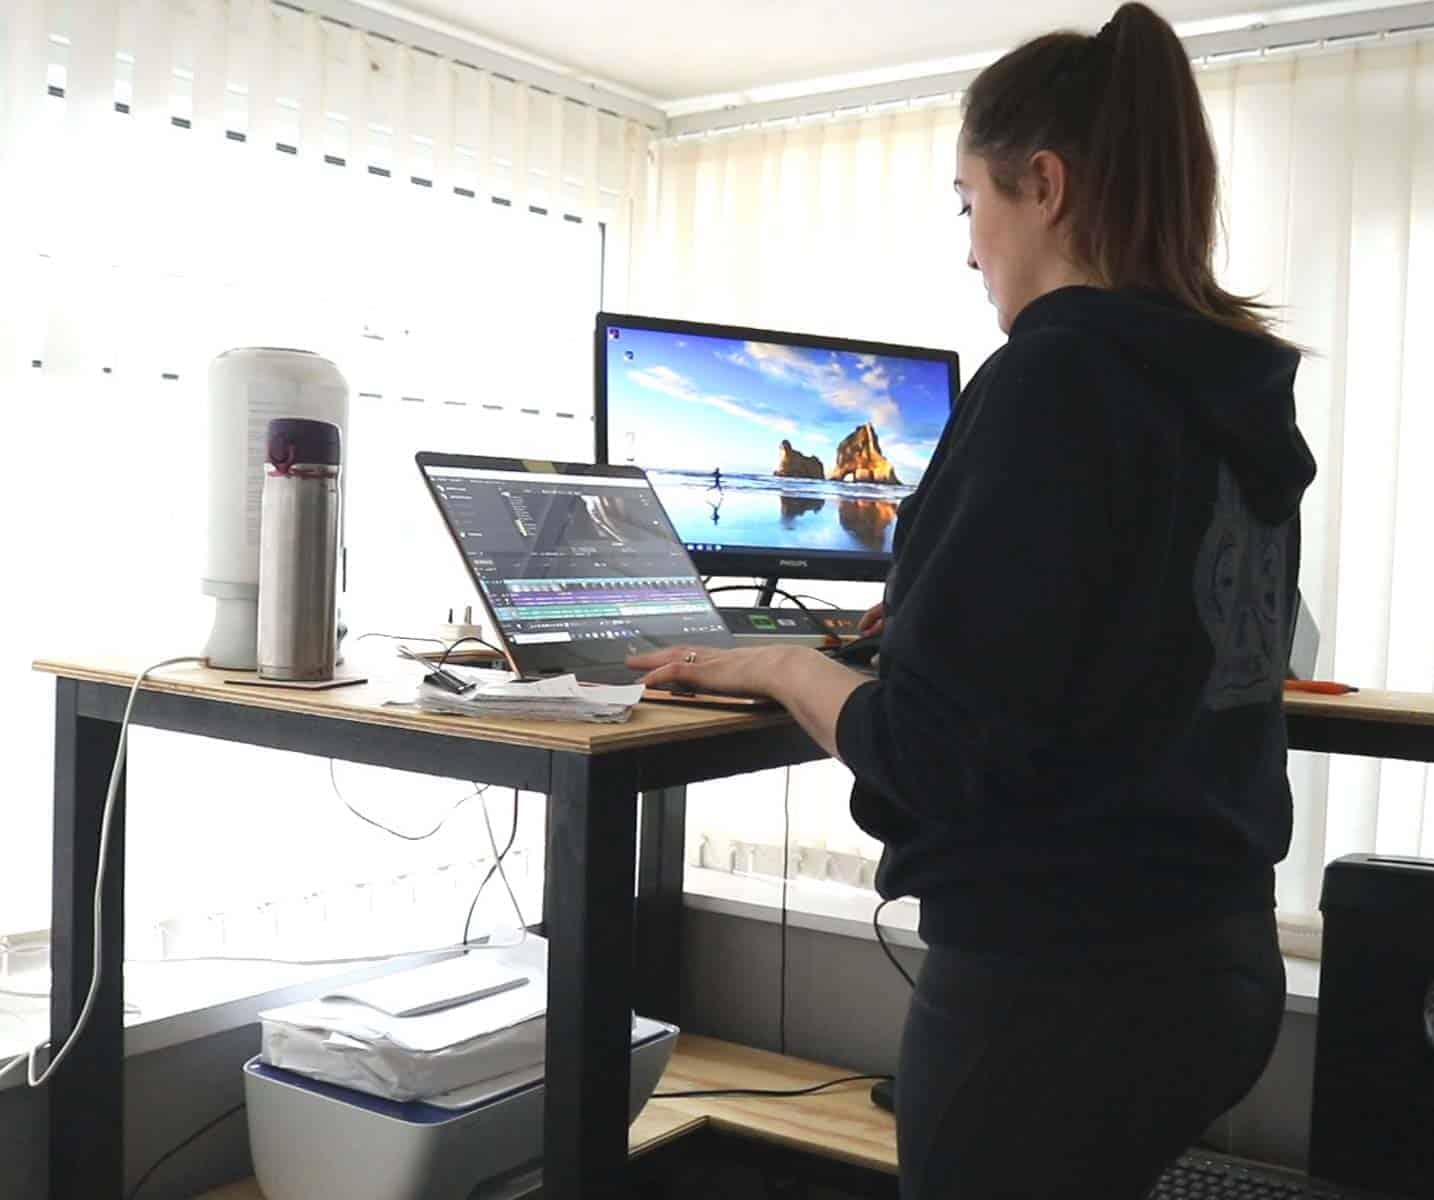
DESK EXERCISES WITHOUT THINKING
So, the more I've learned and improved on, the less active I've become. And I'm not even ticking all the SEO boxes I could be, but that's because I juggle between two very different blogs.
But in the process, my larger clothes have started to feel tighter. And because I don't plan on changing my work rhythm, last Friday I started looking at ways to be healthy at my desk.
I've been motivated in the past to do exercises in the morning, stick to a running plan etc. But because I'm very focused on goals with my job, I started wishing how I could be on a treadmill at the same time.

HOW MUCH IS A TREADMILL DESK?
As soon as I realised treadmill desks were a thing, I gasped at the 1-2k price tag. MARCH 2020 UPDATE: After a month of using the treadmill in the above photo and it burning out, unfortunately, I realised that there's a reason for this.
The motors on cheaper treadmills aren't built for the job. They don't cool down and if you read some Amazon reviews, some so-called under desk treadmill manufacturers actually consider 3 hours a week as high use. Who honestly is only at their desk for this short space of time?!
So after buying cheap and suffering. (*Note, they're extremely heavy to repackage and send back). I realised I needed to invest in something built for the job. And that was the TR1200-DT3 for £970. As I needed to buy a replacement and update my links, I asked The Treadmill Desk Store company if they'd consider giving me a PR discount, which they kindly agreed. ALSO, cheaper treadmills have a slight incline as opposed to the TR1200. Inclines are apparently not advised for posture reasons if using as a treadmill desk.

IS A TREADMILL DESK FOR YOU?
Now if you've never used a treadmill desk before, you'll likely be wondering whether you'll be able to work on one. I was hesitant too. Some people can only concentrate when not multitasking.
However, I felt hopeful as I'm used to texting while walking or browsing on my phone. And during my first week, I walked and worked to 1kmp. After this, I got better and continued to increase my speed.
I now walk using the LifeSpan TR1200-DT3 model, which is in MPH. And I often walk and work using its factory preset 2.4mph. Or around 3mph. It depends on the task. However, if I've had a terrible night sleep, I find I really struggle with it, which thankfully isn't often. Or when my banking isn't matching.
BENEFITS OF A DESK ON TREADMILL
I can't write this tutorial without discussing that apparently sitting is the new smoking. But, from my experience so far, I've noticed that:
- I no longer feel guilty for not exercising or getting at least 10k steps after a day at my desk
- The exercise while working saves me time. Some argue it should be separate, but I disagree. To me, exercise should be part of a lifestyle and I don't consider it a "treat"
- I've felt more alert and focused throughout the day
- According to my Fitbit, my sleep score has improved and have fallen asleep quicker
- My legs feel more toned
- I feel happier
- And hopefully, my clothes will start to feel less tight
- Also, my treadmill is cheap to run
- I've been achieving 20-30k steps on average a day in total - sometimes over 40k.
WHAT'S THE BEST TREADMILL DESK?
Ideally, the best treadmill desks are large enough for your work to be performed and set at the right height. You can buy ones where you can adjust the height, but they are much expensive.
I personally would avoid one much lower as it could create painful problems in the long run and cause permanent damage. I designed mine as above, where typing is comfortable and by tilting my laptop screen, I don't need to tilt my head.
You can, however, use a separate keyboard and place your laptop on a stand so it's positioned in your eye line.

CAN YOU COUNT STEPS ON A TREADMILL?
While you will find many activity trackers count steps for you on a treadmill, I noticed my Fitbit Versa didn't. According to forums, you can select exercise > treadmill > walking. BUT, even after doing the above and walking for about half an hour, I still felt cheated with only gaining 50 steps during a 1kmph pace.
So I tried it on my ankle instead, providing it was against my skin to still document my heart rate. This is not recommended by Fitbit itself, but it was the only way it documented my steps. Yes, I did a few test step counts to check its accuracy and it was worked.
Note that sharing my experience was removed from a Fitbit Facebook group as it's "not recommended", but it's far too deflating to not see a reward on my Fitbit for my hard work. Also, towards the end of the working day, I put it back on my wrist.

THINGS I USED TO MAKE MY DIY CORNER DESK TREADMILL
- Lifespan TR1200 DT3 (*Note, I originally built around a cheap treadmill with arms on Amazon and it lasted a month, hence asking the only UK supplier if they'd give me a partial discount as I needed to update my post)
- 10 x CLS 75mm x 38mm lengths of timber
- Evolution mitre saw (*GIFTED)
- Evolution mitre saw stand (*GIFTED):
- Speed square
- Tape measure
- Einhell Combi drill (*GIFTED)
- Trend pocket hole jig
- Coarse screws for pocket holes
- Clamps
- Jigsaw *(GIFTED)
- Einhell Impact Driver *(GIFTED)
- 12mm large 1220 x 2440mm sheet of soft plywood
- Danish oil
- Circular saw
- Safety goggles
- Ear defenders
- Curved rasp
- Combination square
- Dickies safety boots *(GIFTED)
- Einhell orbit sander *(GIFTED)
- Palm router
- Chamfer router edge from this box
- Dust mask
- Wood filler
- Chalk paint in Carbon
- L-brackets

SIMILAR PROJECTS TO MY TREADMILL DESKTOP
- DIY Lap Desk with Cushion
- Faux Marble Desk with Easy Under Drawer and Hairpin Legs
- DIY dumbbell rack (wooden tree) with free plans
- Floating Desk DIY
- Desk monitor with stand DIY

HOW TO MAKE A DESK FOR A TREADMILL
First, as mentioned above, find out what position is best for you at a regular desk in proportion with your upper body. I found my keyboard needed to be inline with just under my bust.
I then held a piece of CLS timber along the top back, in line with my underbust used a tape measure to find the position of this between from the floor.
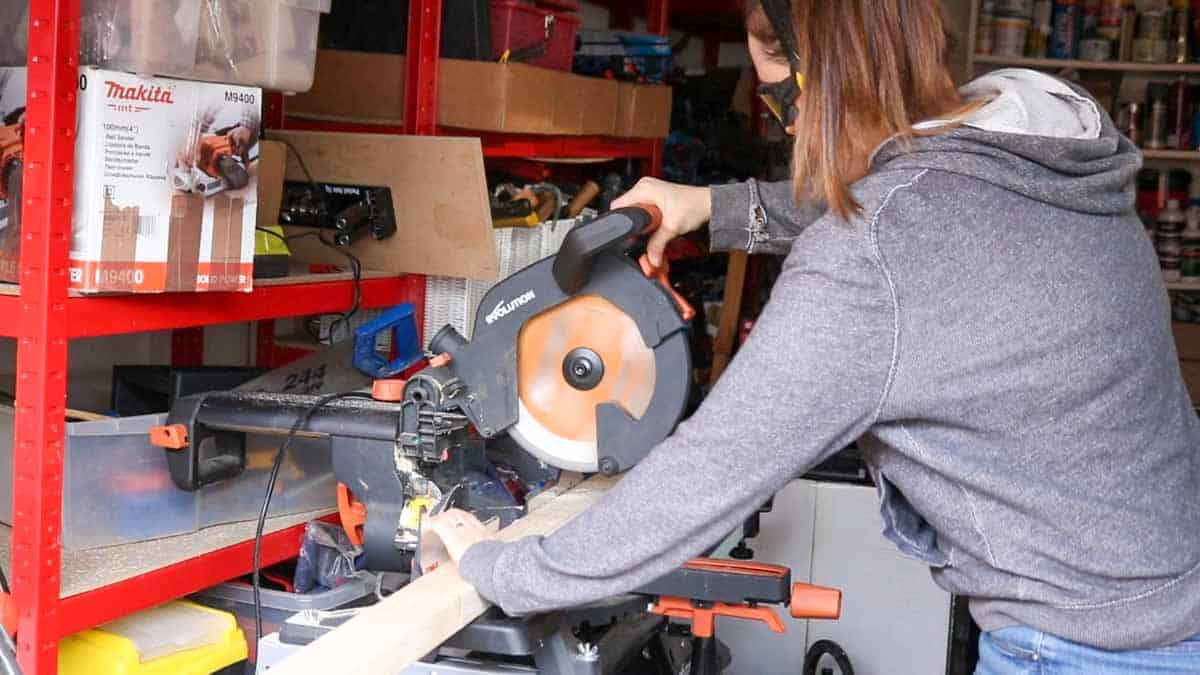
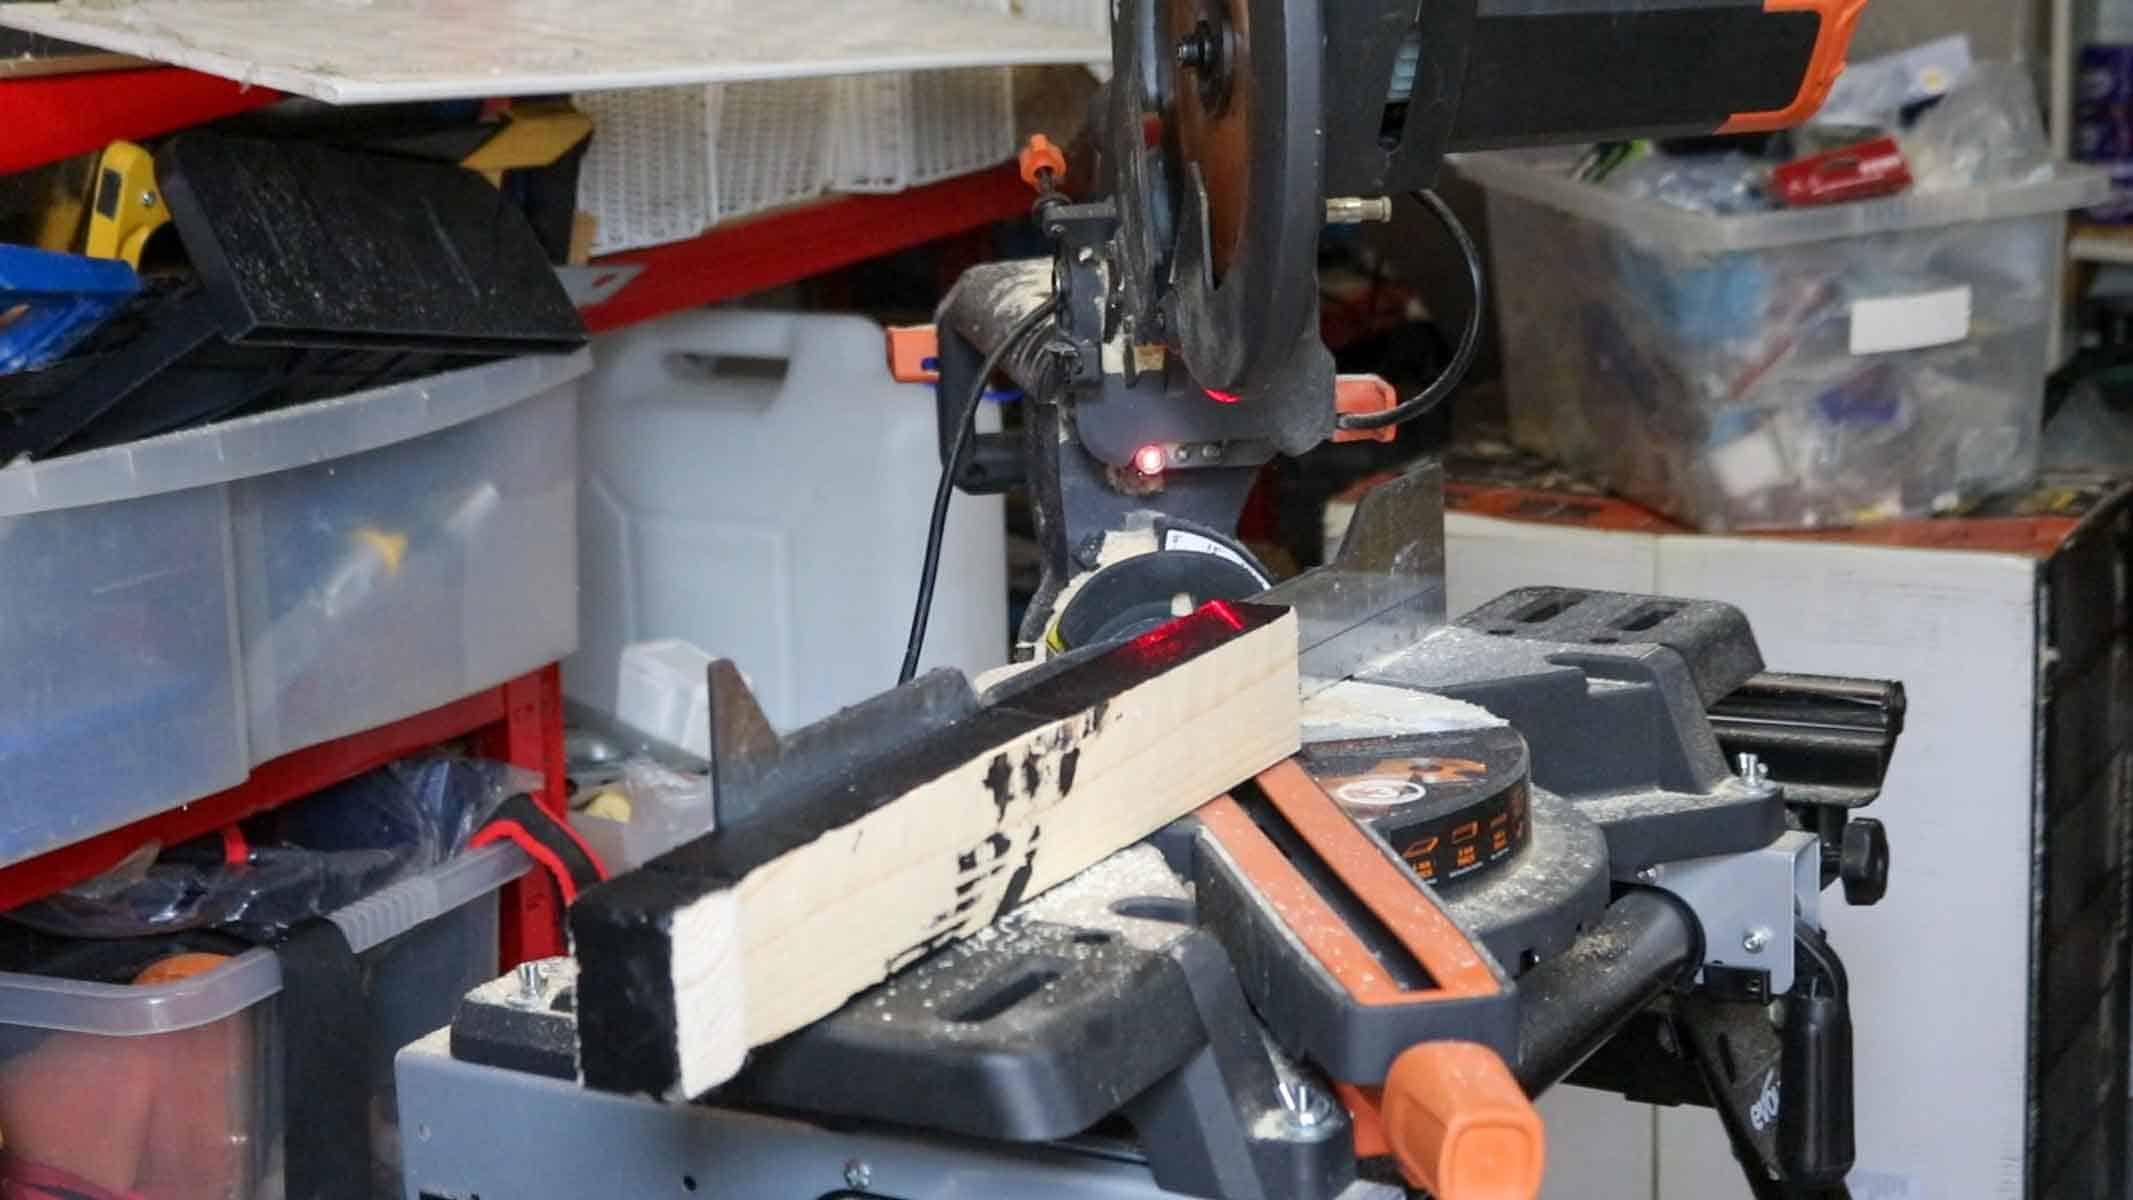
Using a mitre saw, (which is also called a chop saw), I cut 6 lengths to this height.
If you don't want shelves or need a 2nd screen on your desk, then 4 lengths for a simpler design would work too.
If you don't have this power tool, or you want to keep the noise down, then a simple Bahco 244 hand saw is fine. I use mine often and will do shortly for more hair-raising shorter cuts.

CREATING SHELVES TO FORM A CORNER DESK TREADMILL
After crudely balancing a large offcut sheet of wood on top of my uprights, I gauged how much off the wall I needed my treadmill. I also thought my shelving area would look better in the same length of the treadmill desk.
So, after measuring and cutting a middle piece which would be a shelf and offer more structure, I put the whole side piece together with screws using an impact driver. I create identical two pieces, as above.
Note, I also used a speed square (aka a roofer's square) to ensure it was square as I went.

Once my right side pieces were done (note, you can only see one built here), I carefully balanced the same sheet of wood on top of the legs. You can see one fell down!
It was at this point, I checked to see whether I could access the handrails and sensors of the treadmill. Also, how close the top could be, where I'm still comfortable walking.
After finding this perfect placement, I measured how long my next 3 horizontal pieces needed to be in between the two uprights.
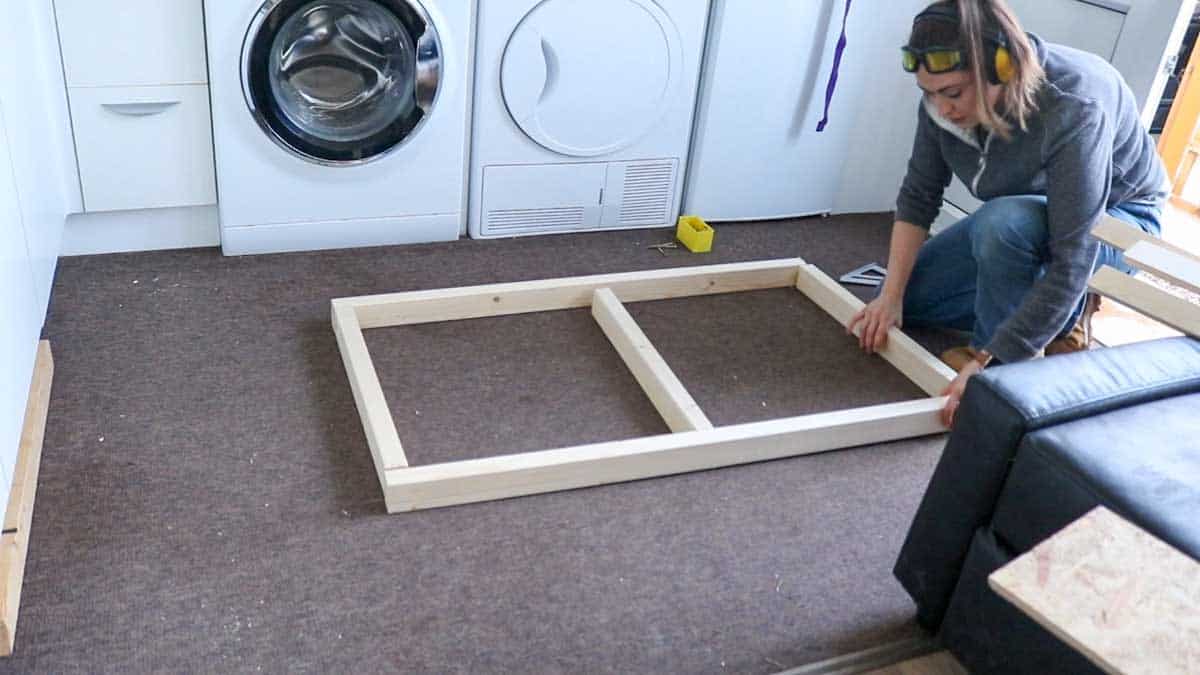
Above, after cutting them, I repeated with my impact driver and screws.
Note, to avoid splitting wood, I personally would still pre-drill holes when you need to screw on the corners. I never had any problems when screwing the middle piece.
But, there's enough screws on here that were sturdy, I wasn't concerned.

MAKING DESK SHELVES FOR YOUR SPACE
If you have the space for shelves, I cut 9 little shelf supports with a handsaw. Mine were about 14cm long and with me using offcuts, these were too dangerous to cut on my mitre saw. I then predrilled two pocket holes per side using my Trend pocket hole jig so I could screw my two shelf sides together.
If you don't have one, I highly recommend getting one for many other easy projects. Don't be put off buying one like I was and assume it's hard to set up as it's incredibly easy as I show you here. It's easy peasy.
If you can't afford one, then see my alternative method in my Partition Wall project here. It's a bit more time consuming, but you will avoid crossing screws on the corners.
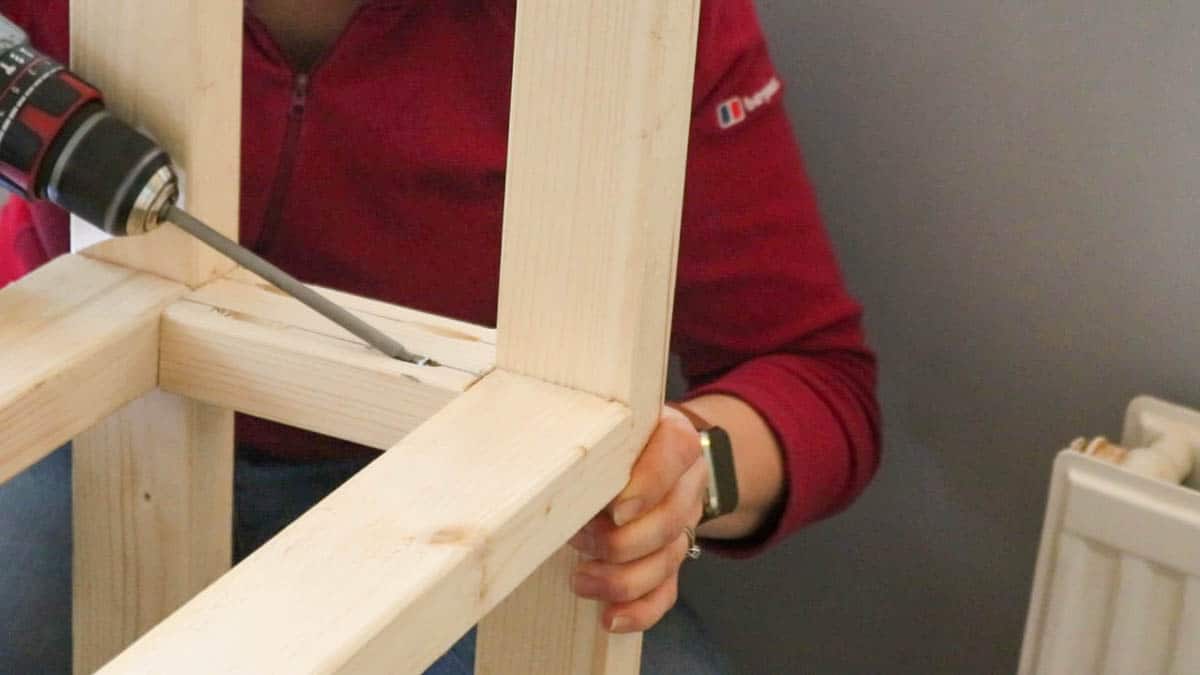
I then screwed my main two large sections together with the pocket holes I made.
Note, they're all facing upwards for ease as they'll be hidden with plywood shelves anyway.

CUTTING THE REAR BATTENS FOR CONTINUED DESK SHELVES
Then, after giving my treadmill about 2 to three inches allowance so I could easily slide it out and fold away, I cut another 6 battens to this length.
I repeated with more pocket holes and one extra short support.
MAKING THE DESK TOP SURFACE
Making your desk top surface can be use made with various materials. You could use 12mm MDF, although it would need sealing. A sheet of pine, although quite pricey, but I opted for 12mm plywood in softwood. Plywood can be equally as pretty as pine with sanded and sealed with Danish oil.
That is, providing you choose softwood so the grain detail shows through. Mine cost £27 for a sheet and I asked B&Q to cut it down slightly so I could fit it in my camper van. If you don't have a van, you'll more likely have to cut it in sections and use more battens.
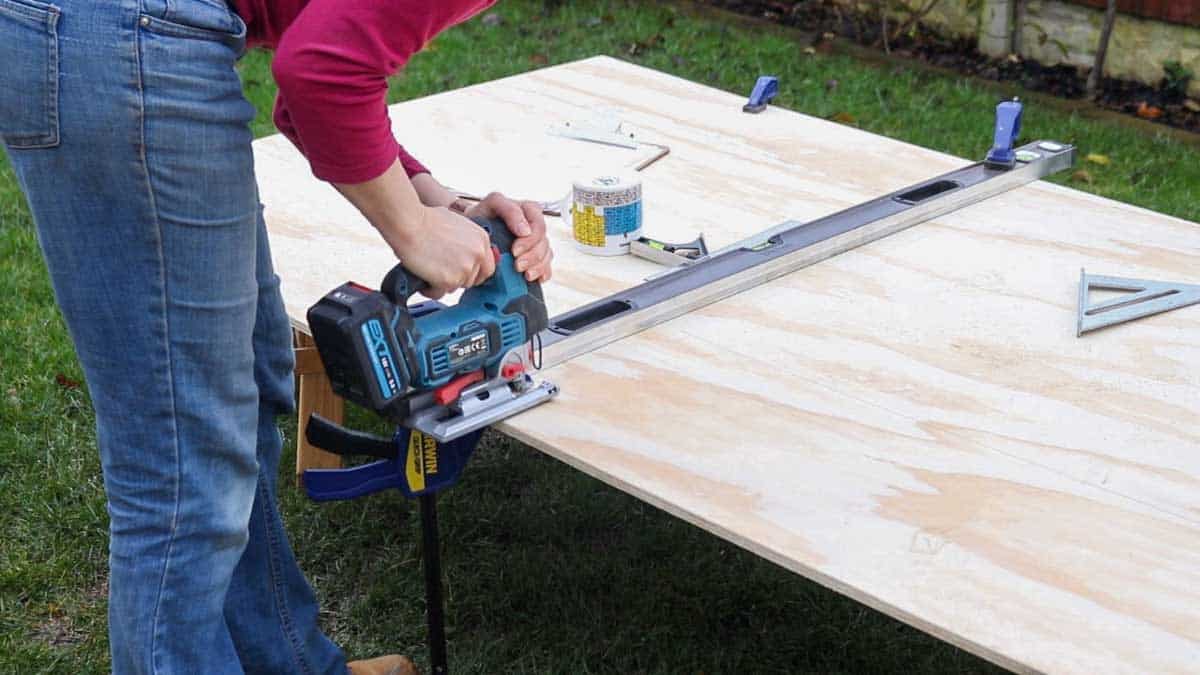
So after taking the measurement of the top of my desk and adding an extra 3cm all the way around, I used a jigsaw and a straight edge clamped as my guide. This gave my more control to cut an L shape.

Also, where it returns in the corner, I used a cup to draw around and soften the sharp corner edge.
I drilled with a hole to get my jigsaw in before continuing to cut the next straight edge.
Note: for a tidier curve, I filed with a curved rasp.

Above, when it came to using a straight edge to cut in line with the longest side of the wood, I clamped a piece of Eurocell plastic I had. You've got to clamp what you can.
If you don't have something like this, just take your time and be careful and slow. You can sand it as straight as possible later.
CREATING ACCESS FOR THE TREADMILL CONTROL PANEL - (Not Required For the TR1200 DT3)
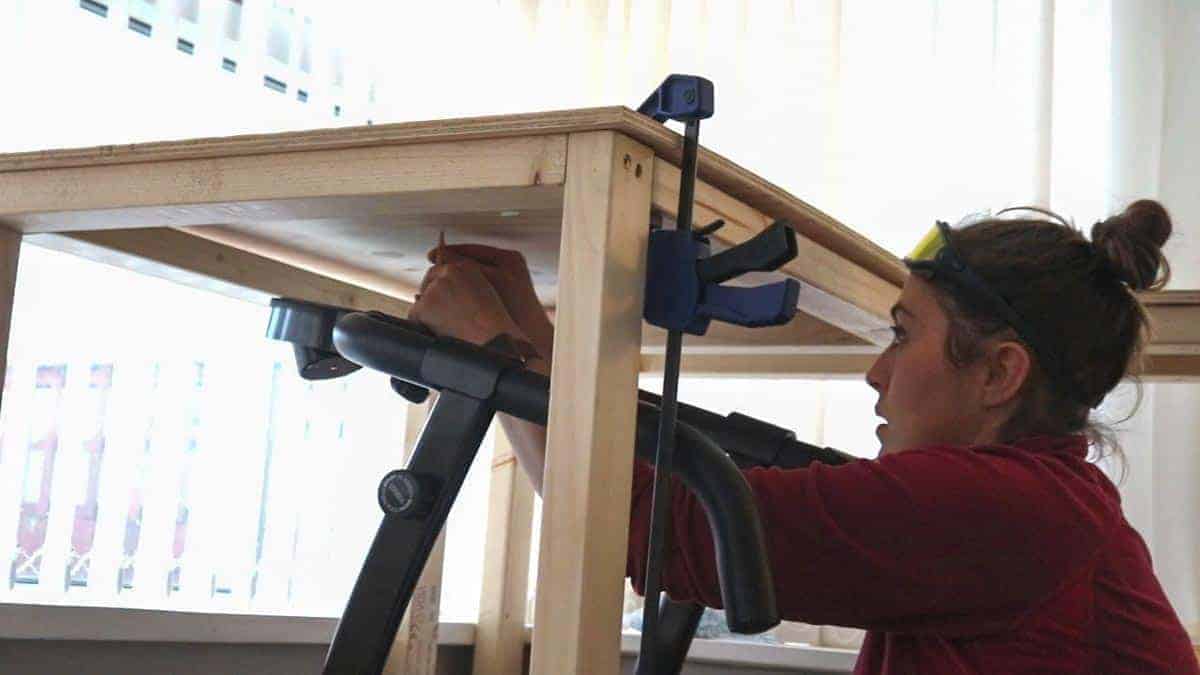
One thing I'm glad I took the time to do was create a hole to access the control panel. This is so I can easily click start, stop, change speed and generally see how long I've been on, etc. Although I found my heart rate not the same as my Fitbit, so take it all with a pinch of salt.
After cutting my plywood top, I spaced it evenly on top and clamped in position. Then I drew around my control panel with a pencil. Remember to start small first in case you feel it's too big later.
This hole is small enough where my laptop can sit over it and nothing can fall down.

After getting a rough idea of the size of my control panel drawing, I tidied it up with a combination square.
I then drew around my cup on all corners.
This was perfectly square in position, otherwise, it would have bugged me.
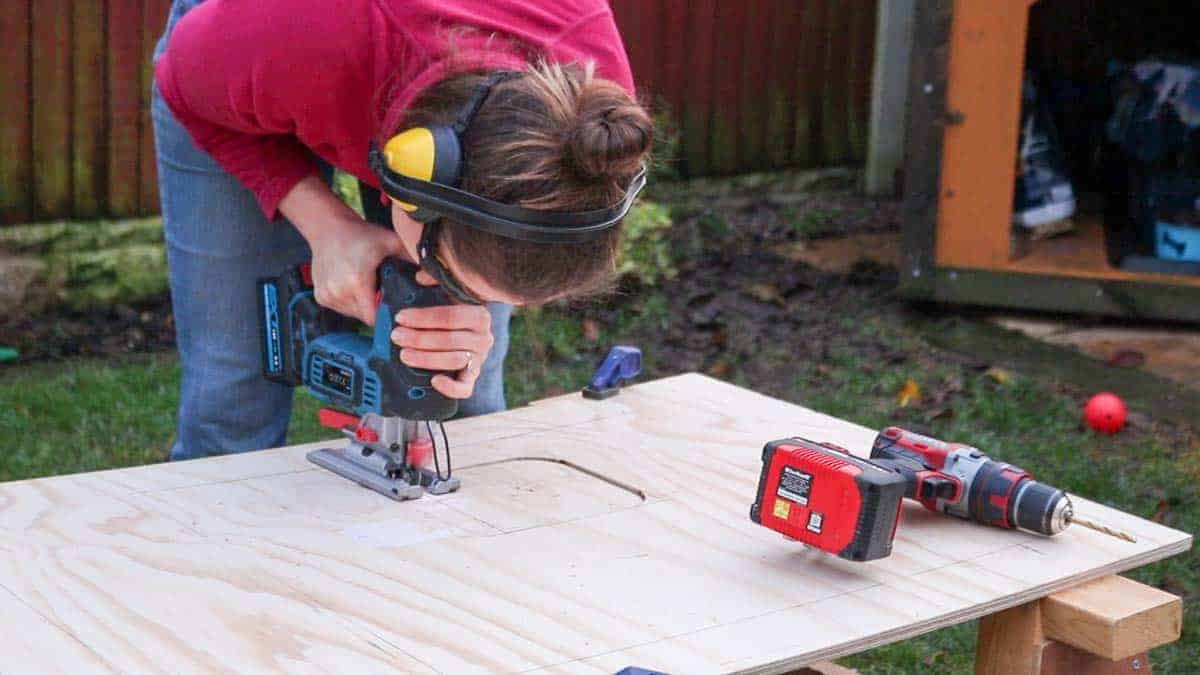
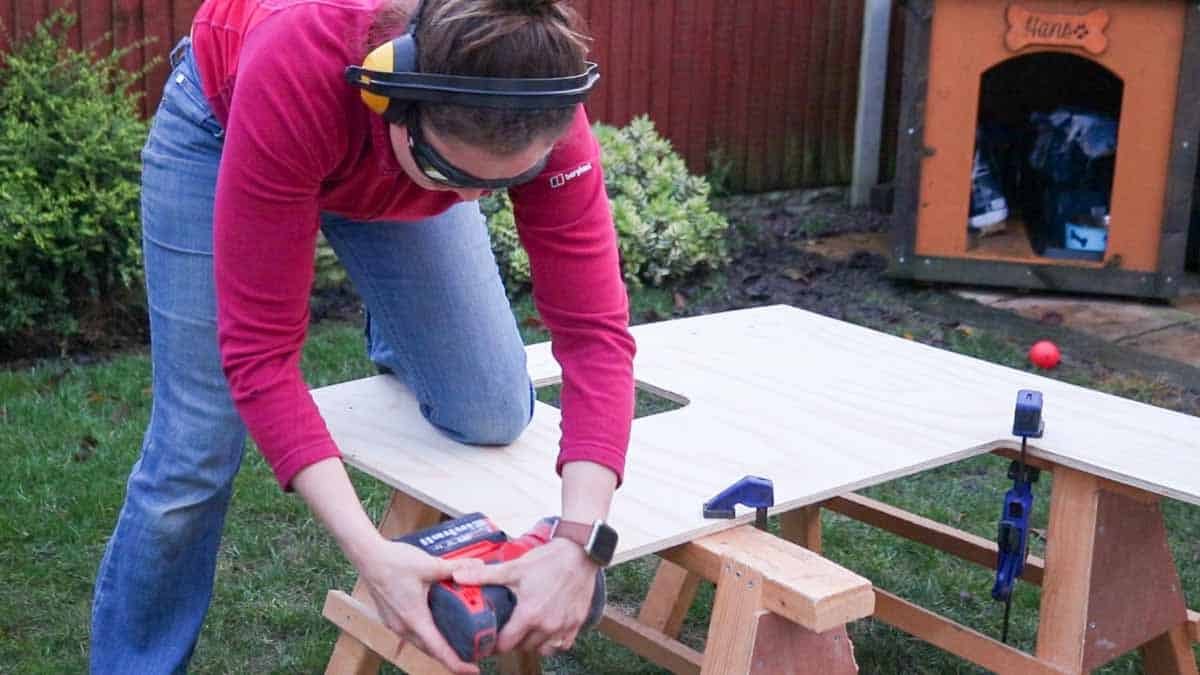
After drilling a hole on the inside of my pencil lines, I very slowly and carefully cut my hole out with a jigsaw.
TIDYING UP ALL YOUR CUTS
I then went over all of my jigsaw cuts with my orbit sander. It's important not to skip this step as jigsaws don't offer the most precision. Even when cutting with a guide as the blend as a tendency to bend.
But we'll also be removing the sharp edges with a chamfered router and when it isn't straight to begin with, it's noticeable.
I also sanded down my control panel hole and used a rasp on the curved corners.
USING A ROUTER TO MAKE THE DESK TOP LESS SHARP
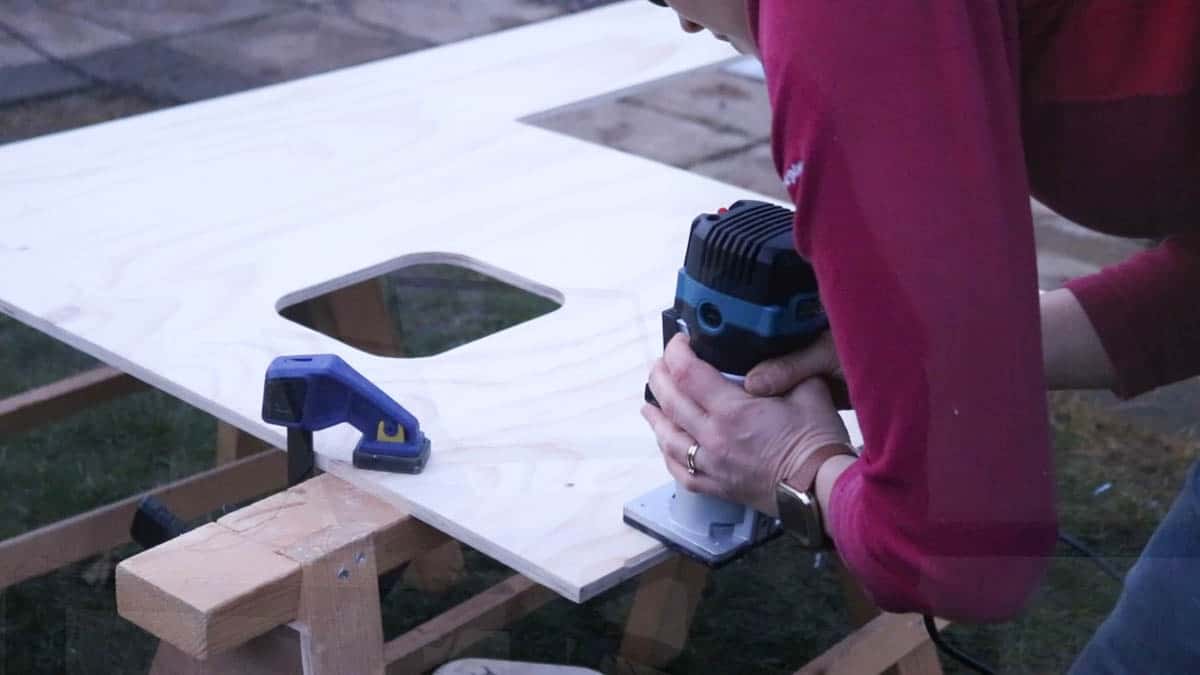
To prevent injuries and splinters, I removed the sharp edge with my 45 degree chamfered router bit. I also think it adds a decorative detail at the same time as have used this bit more than any other.
I went from left to right - not right to left as this is the way my Erbauer pam router goes. Remember to wear safety goggles and ear protection for this. It also makes quite a mess, so try to do this outside and clamp your surface down.
I also chamfered every cut edge I made.
CUTTING AND PREPPING THE SHELVES
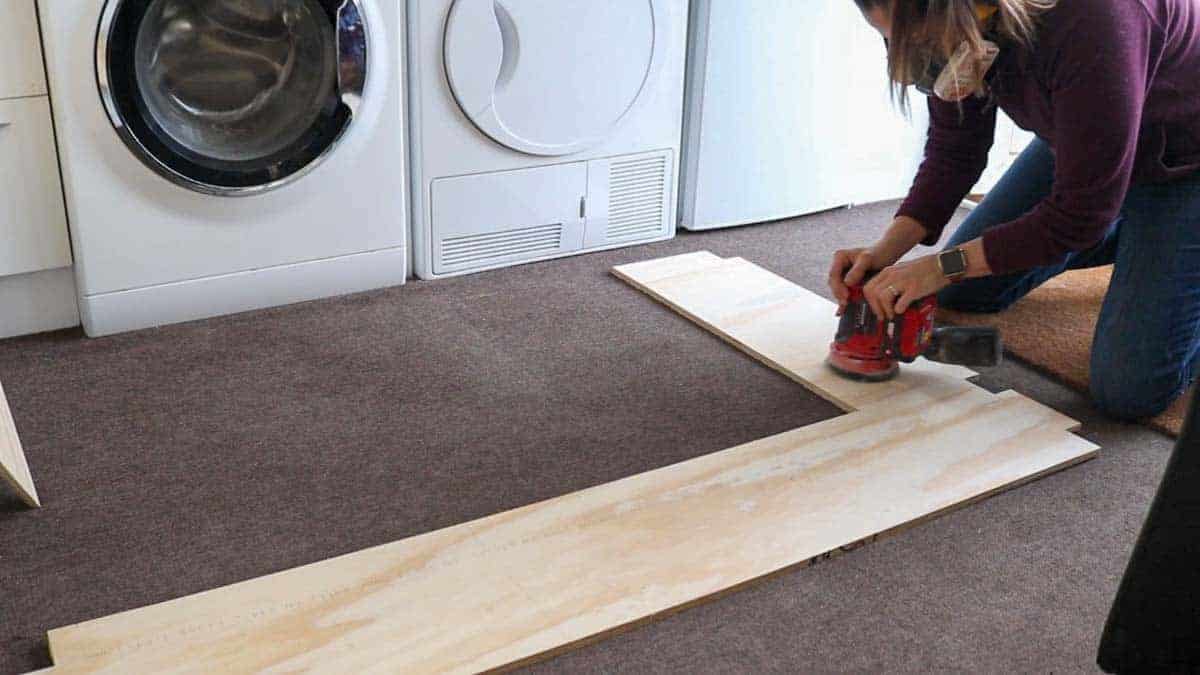
For the middle shelf, I repeated the same method as above, except I didn't add 3cm for overhang.
Also, as I knew there would be battens in the way, I held offcuts in the corners, drew around them and cut with a jigsaw.
For the bottom shelf, I didn't have an offcut big enough for a continuous piece, so I decided to cut in sections, sand and paint. However, the middle, I sanded with my orbit sander as I did with the top.

TREATING YOUR PLYWOOD
To treat the plywood, I enhanced the grain with two coats of Danish oil. However, you could even use mod podge as an epoxy.
I left to dry two hours between and removed the excess with a lint free cloth. This gives a waterproof finish.
However, avoid scratching, leave it to dry for two weeks before varnishing.
PREPPING CLS TIMBER BEFORE PAINTING
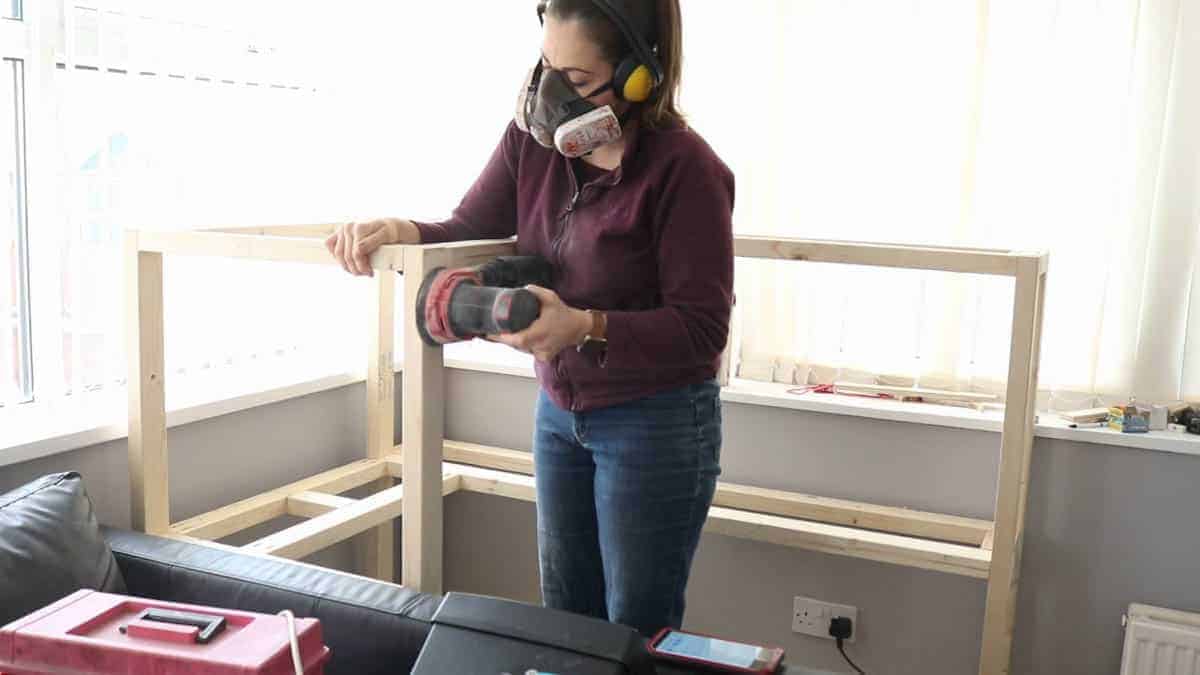
Due to fixing with screws, you'll notice they were countersunk enough to fill with wood filler.
If you don't want to paint, then you'll need to buy a natural to blend in with CLS wood. But as I wanted an industrial faux metal look, I could have used white which is more general purpose.
Then after leaving it to full dry and any other knots or dints in the wood, I sanded everywhere until smooth. As I used CLS which is cheaper structural timber, I couldn't skip this.
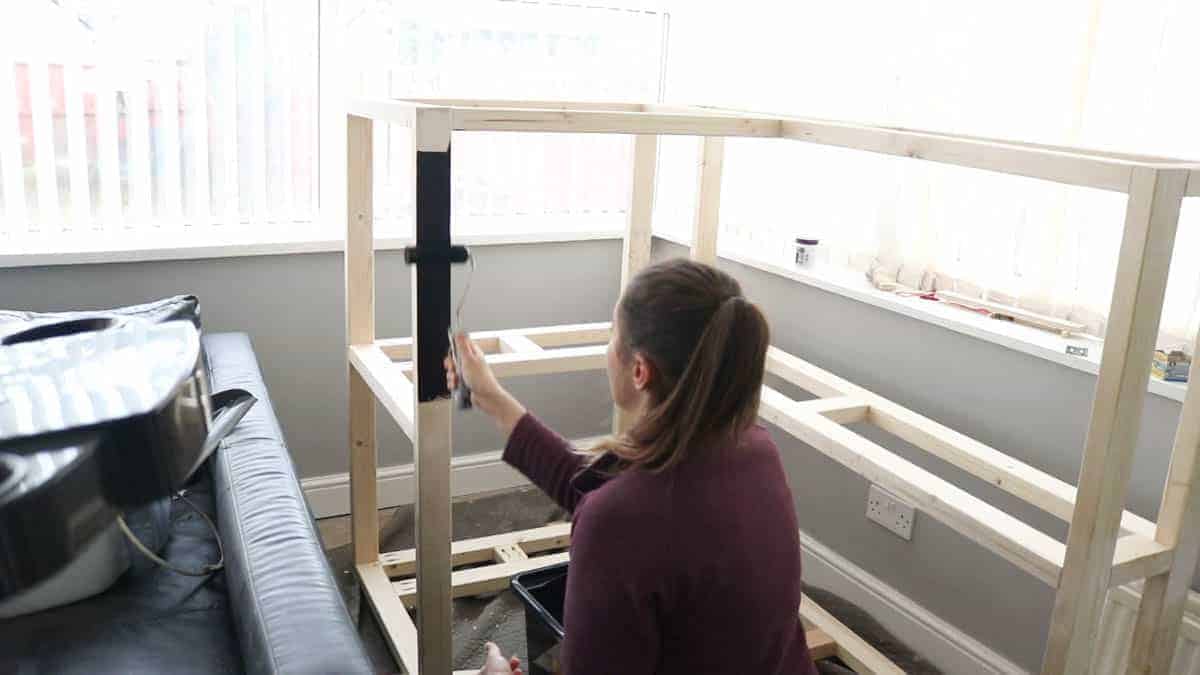
PAINTING YOUR TREADMILL DESK THE EASY WAY
As it was Christmas week, I didn't want the hassle of priming, sanding, painting then sealing. I wanted to get this all done and dusted so when I came back to work, it was instantly ready for me to use.
So I opted for a £14 tin of Rustoleum's Furniture Paint in Carbon, but with a satin finish. I was very impressed it only needed one coat and resembled runny tar.
It also has a slight sheen to it and used half a can on the whole piece.
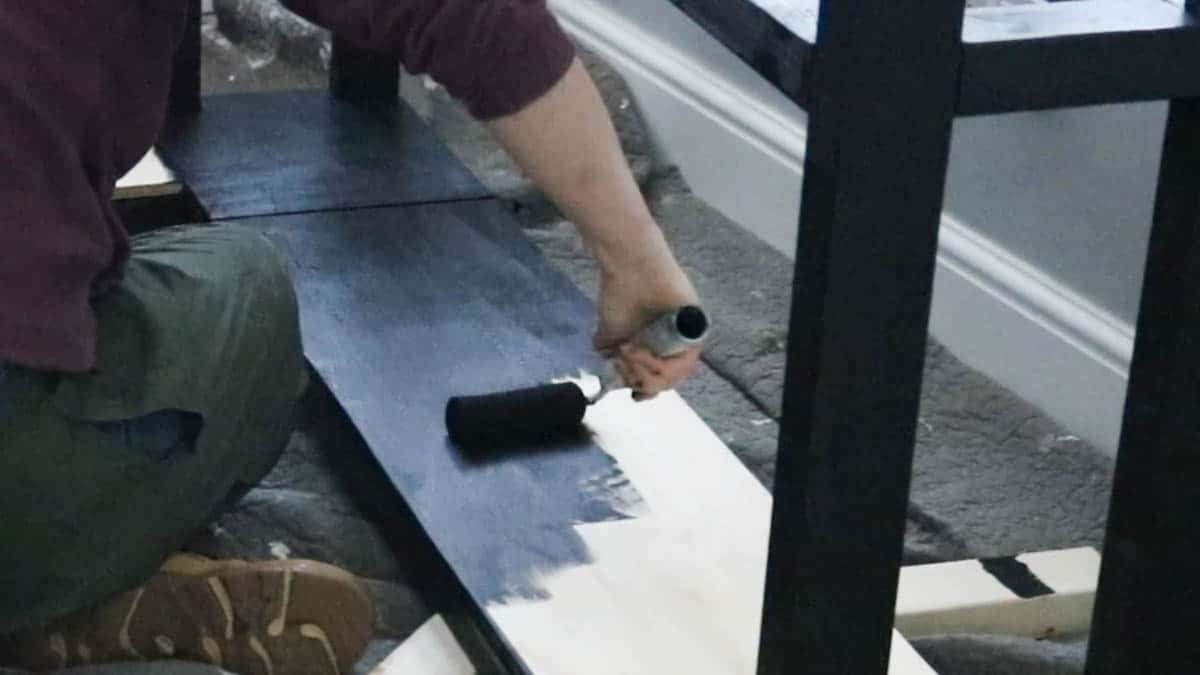
As mentioned earlier, with my bottom shelf made up of offcuts, I painted it to blend in with the rest. I found painted my project best to apply with a foam roller and most of it was touch dry within 10-20 minutes.
But because the base was black and discrete, I fixed these sections down with black dry wall screws. No one will see these. But for the upper shelves, I attached from underneath using L brackets (angle brackets).
I found it easier to clamp, predrill, then screw together.
Treadmill Desk Alteration for the Lifespan TR1200 DT3
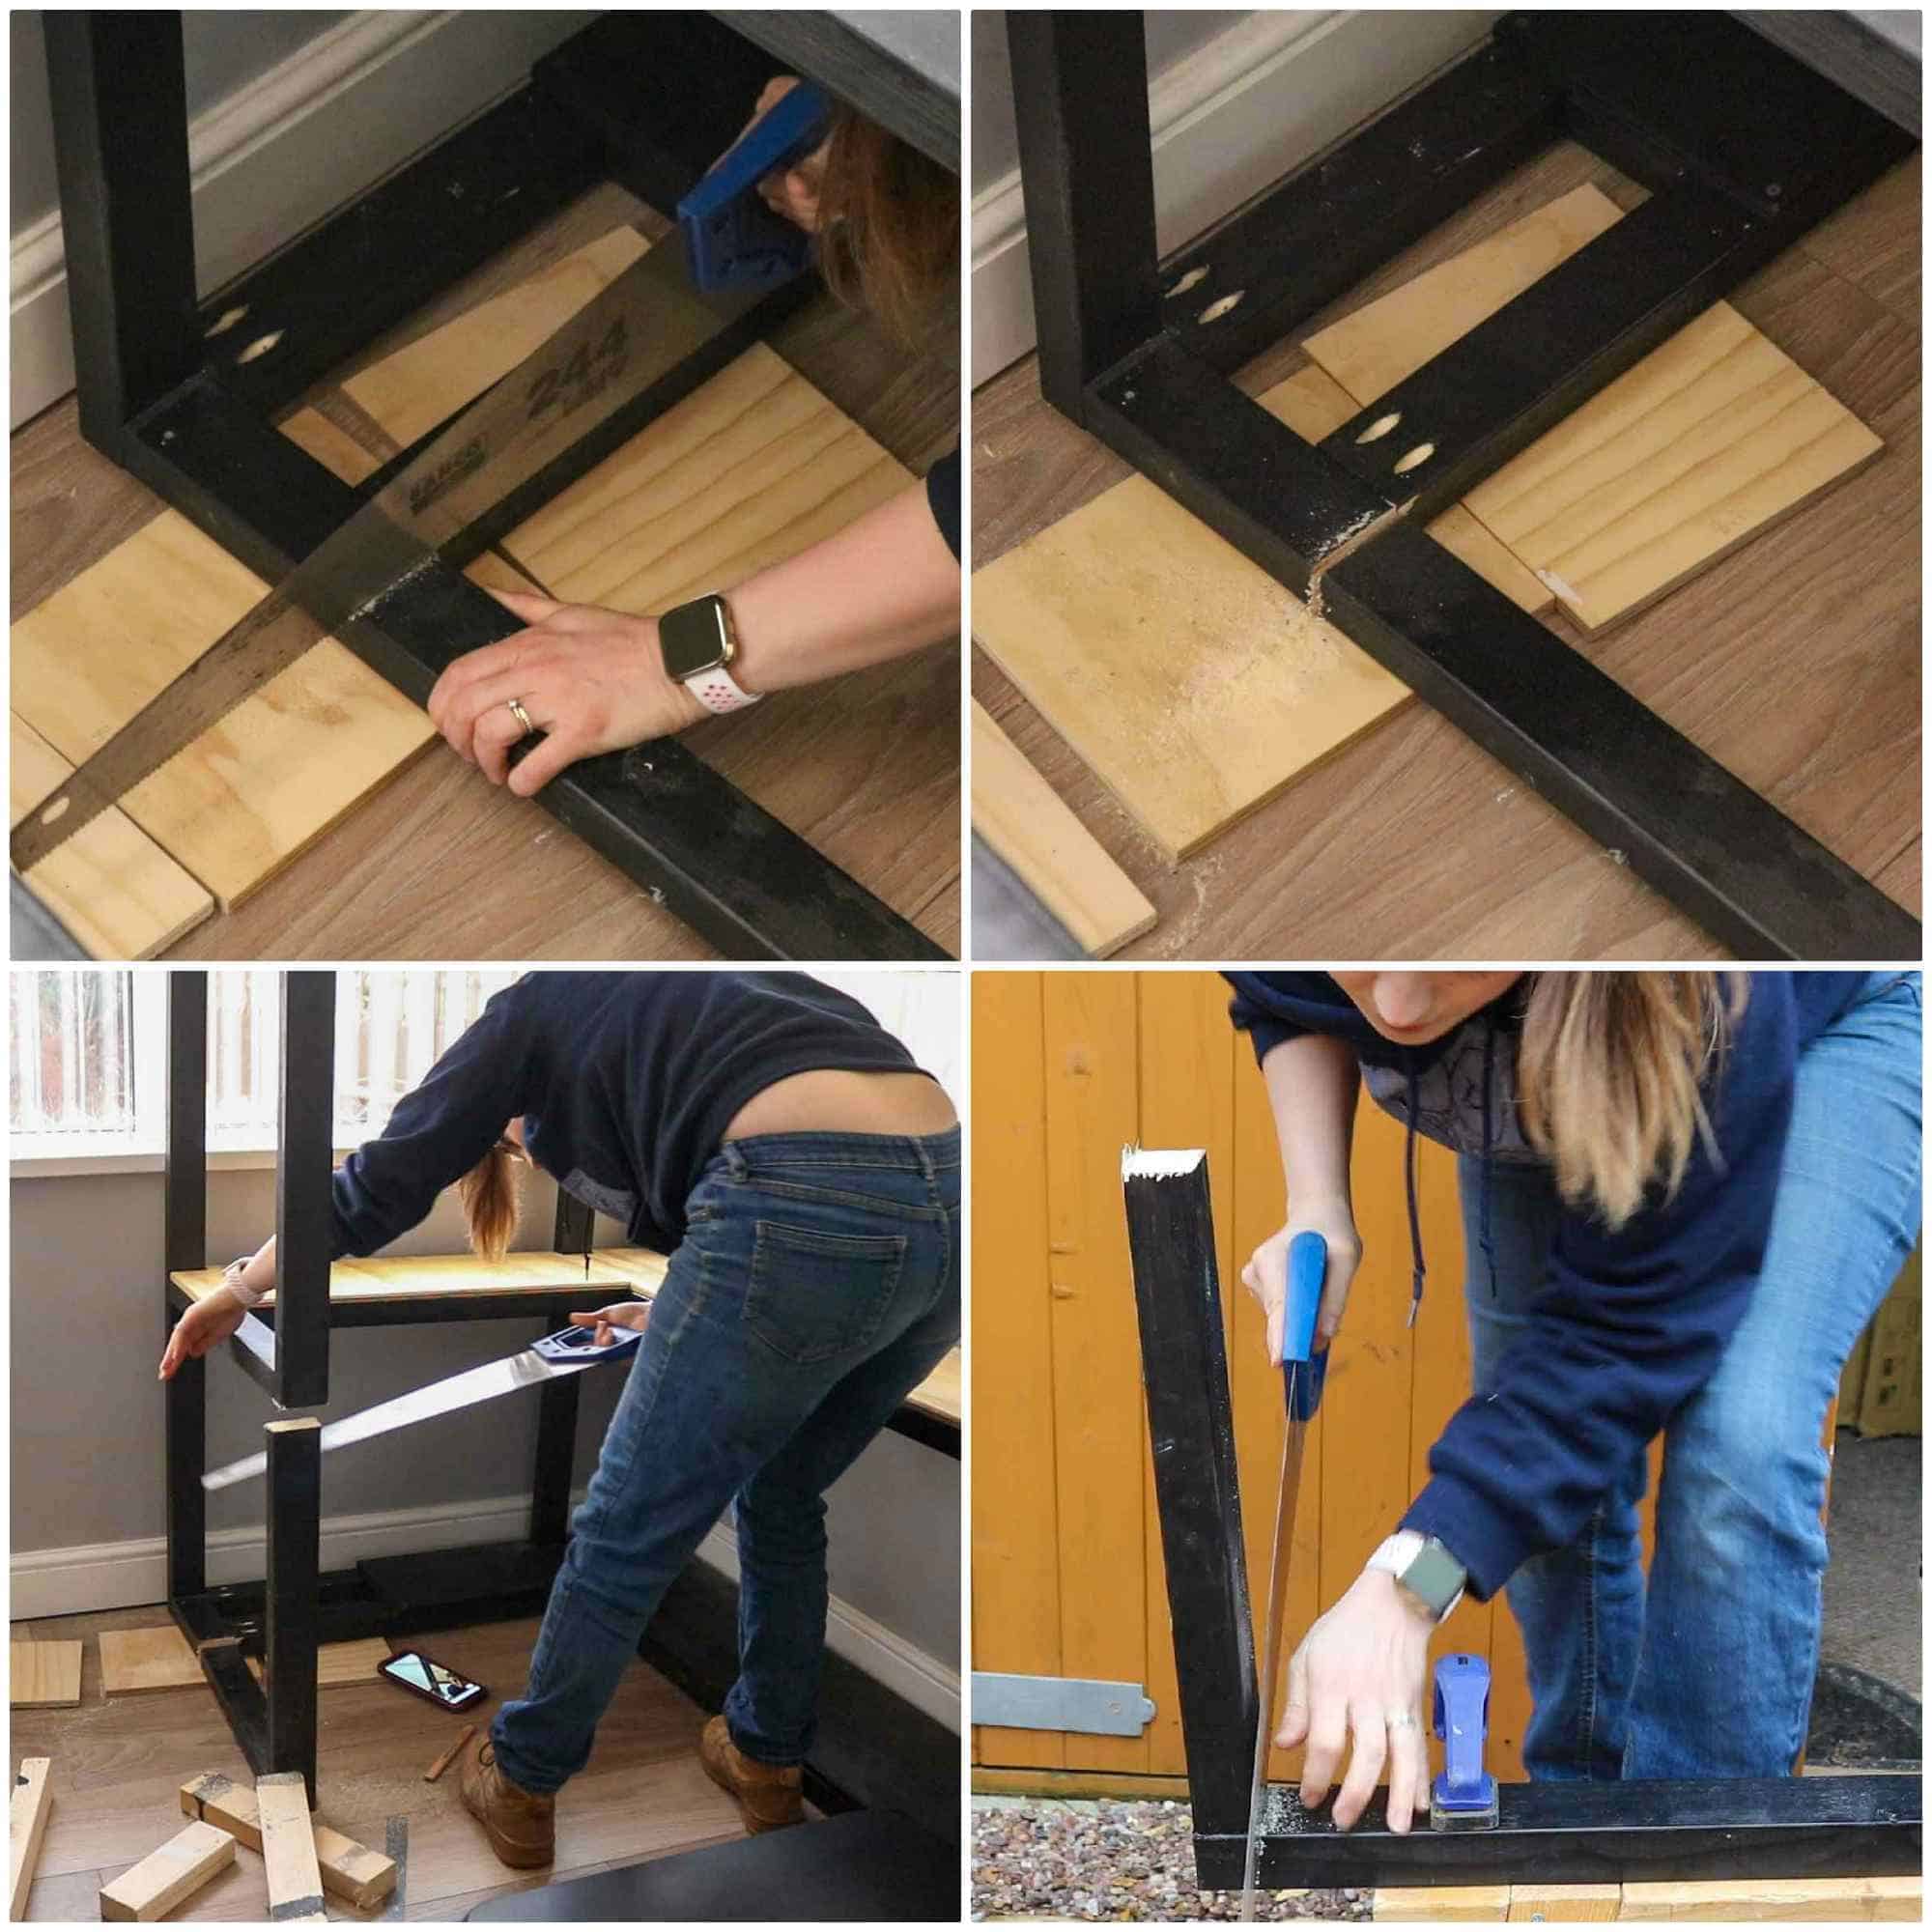
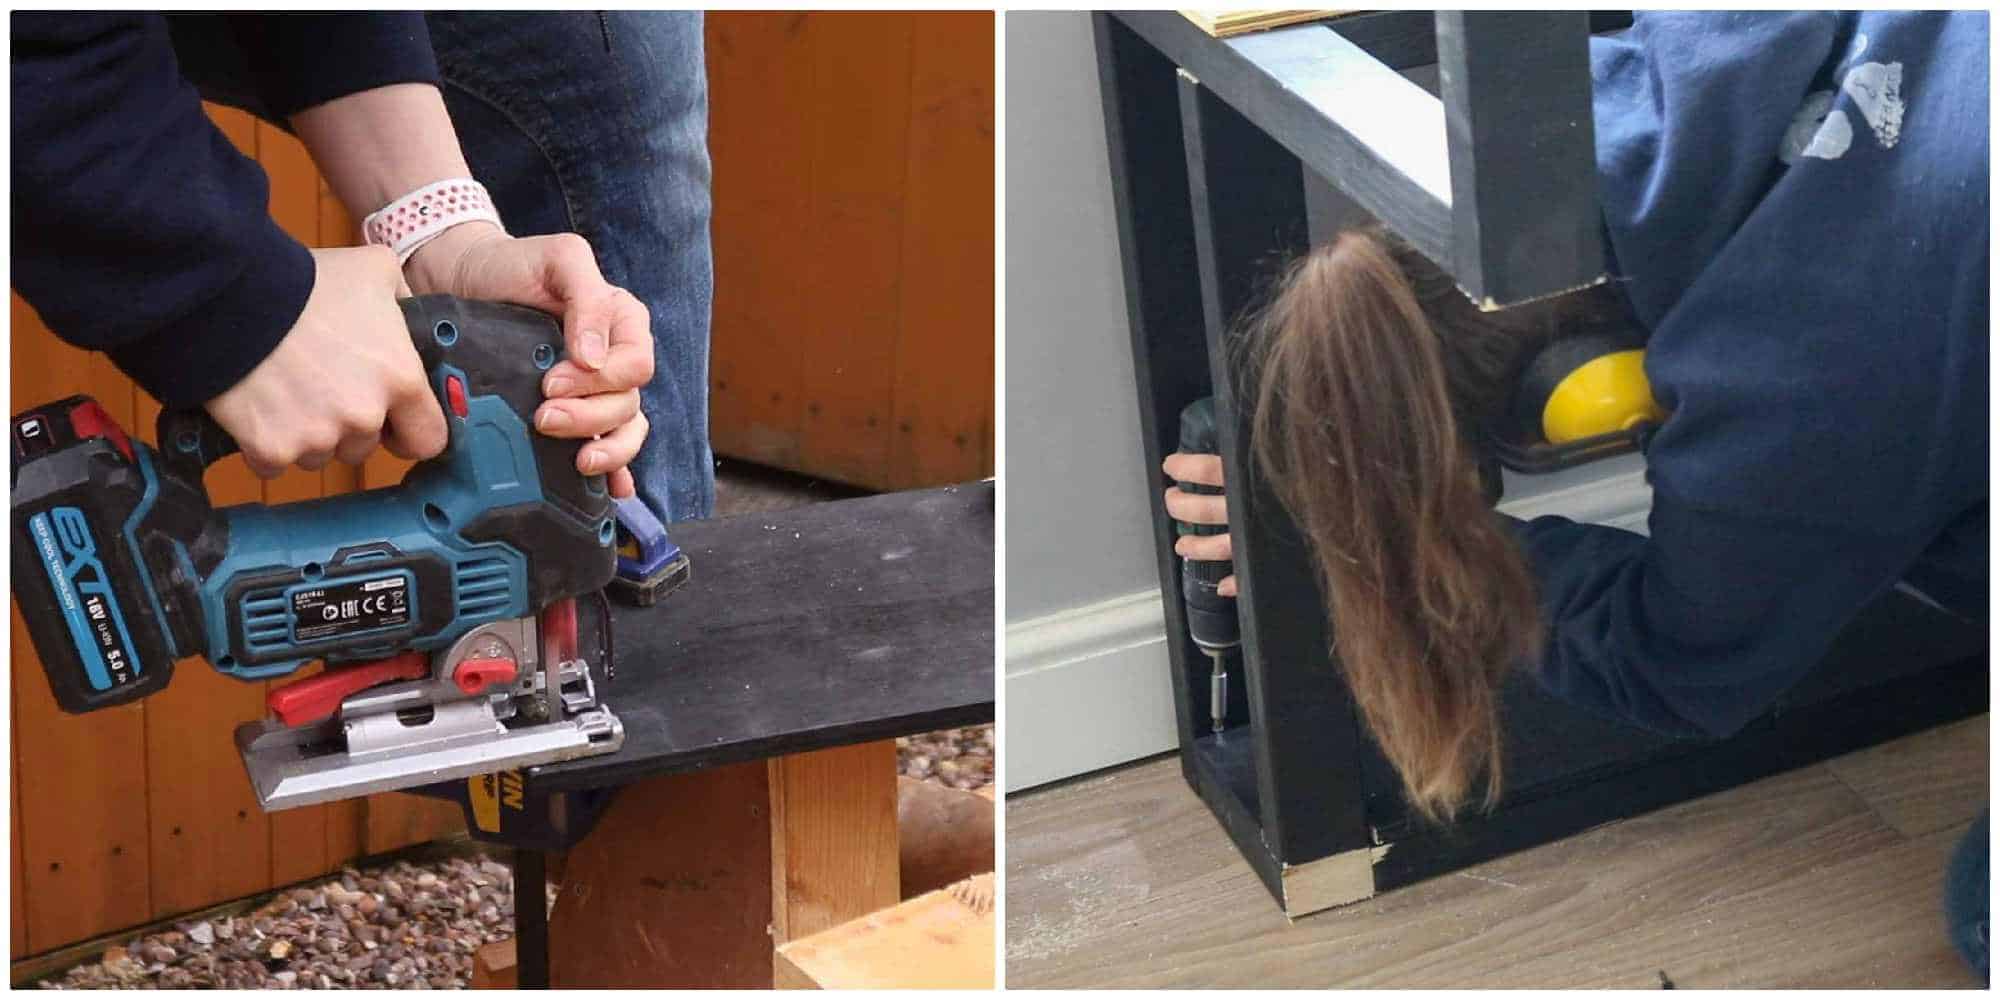
To make a slight alteration for the Lifespan TR1200 DT3, I cut the side wall with a hand saw.
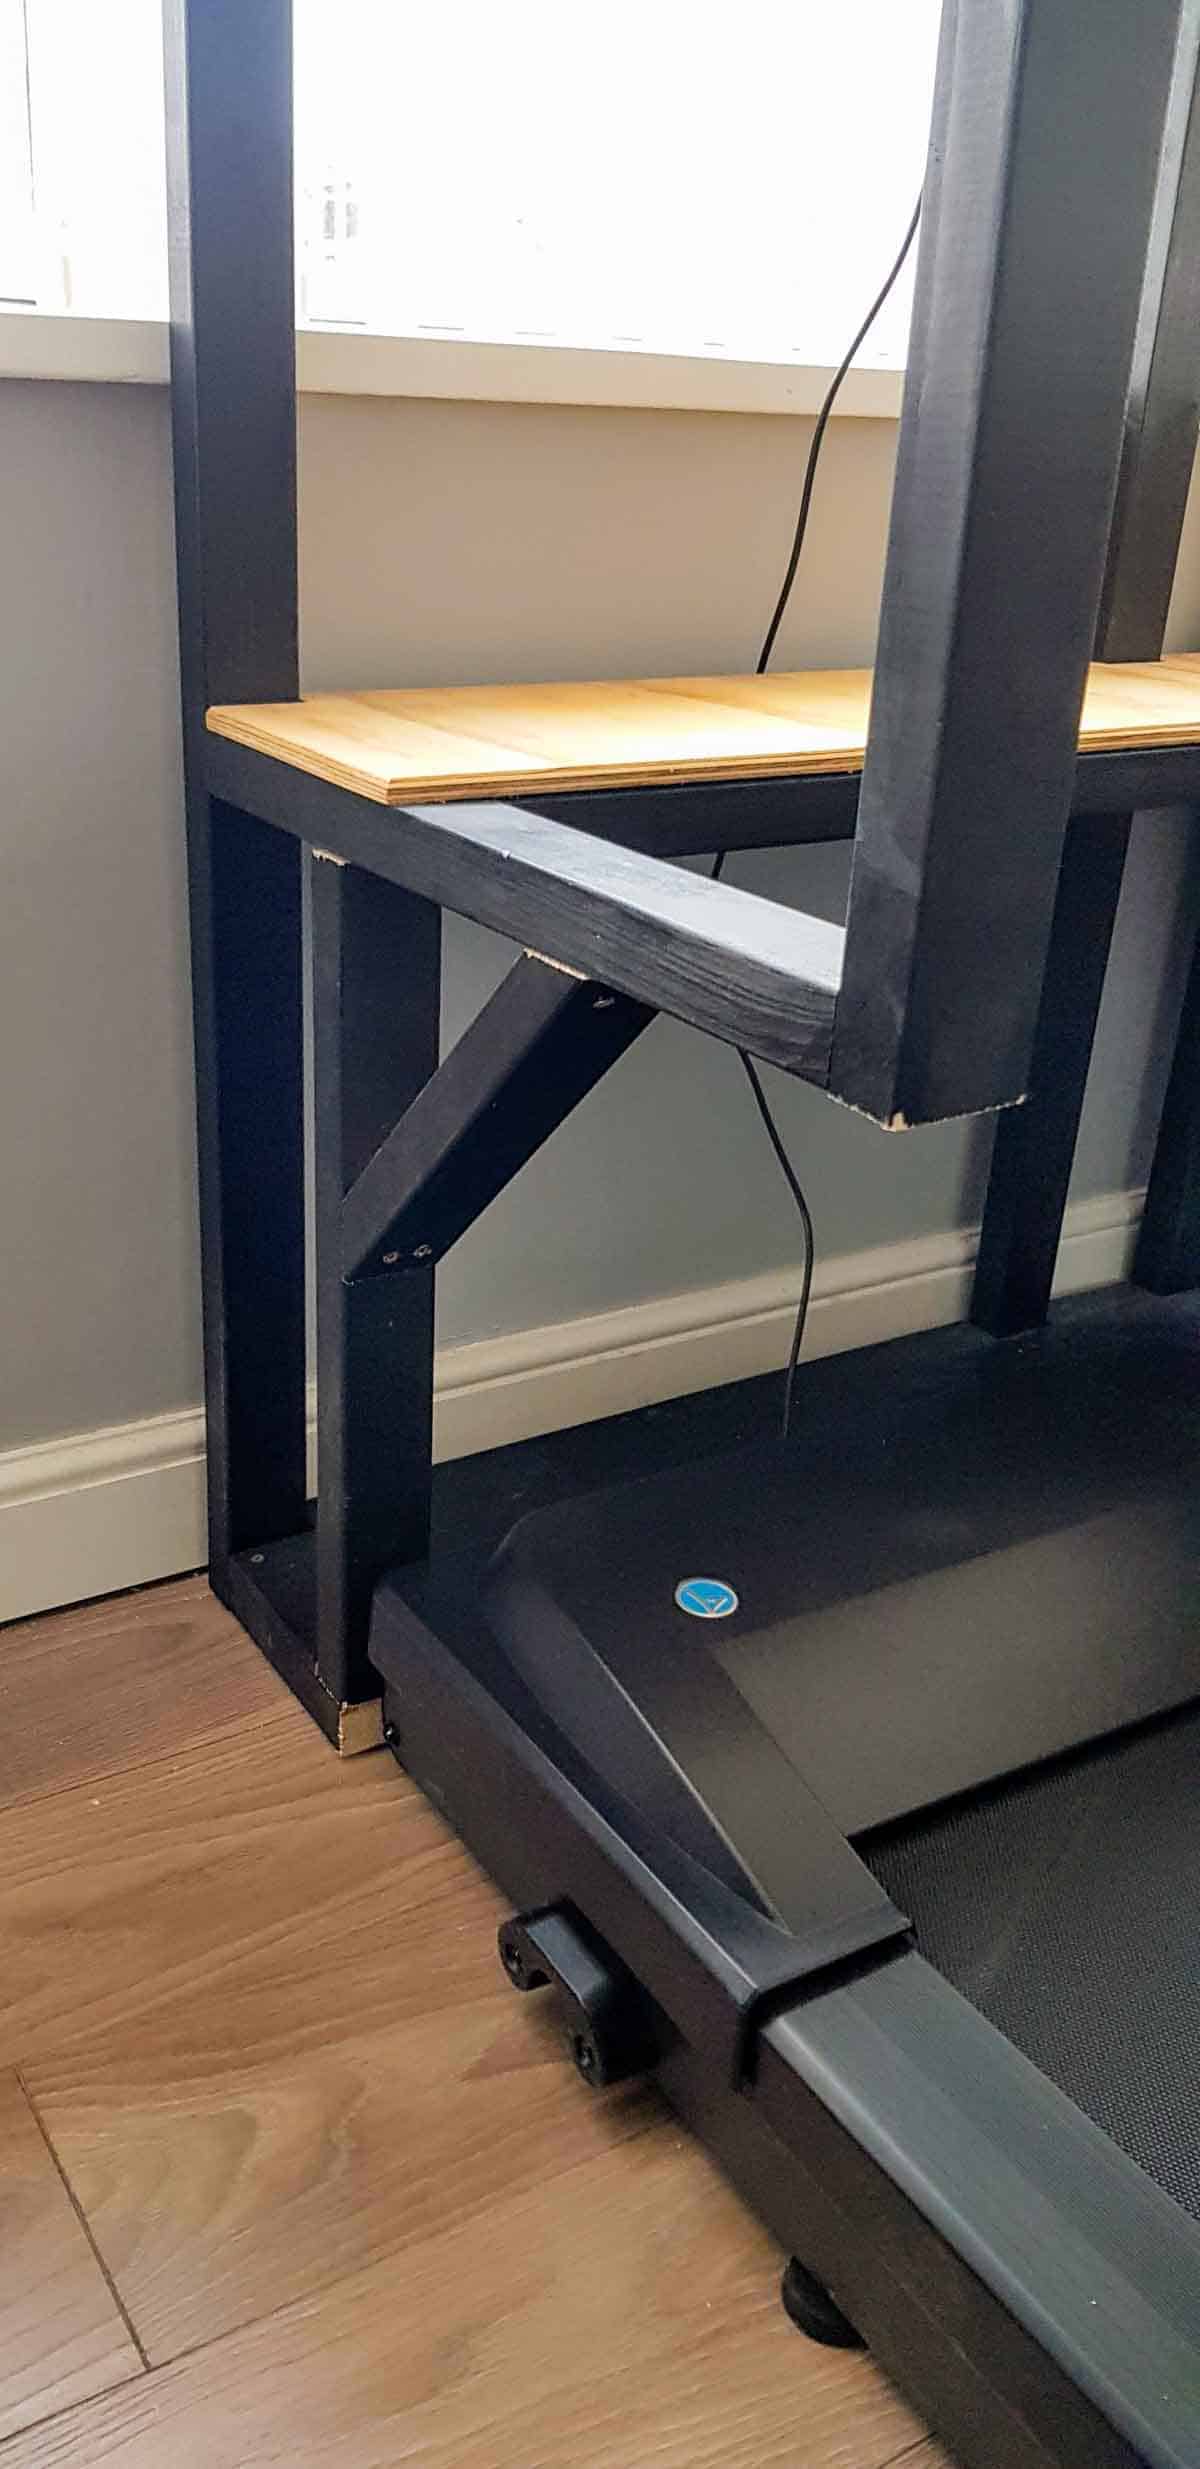
Before doing so, I unscrewed the bottom shelf. Then cut inline with the bottom stud. Then in line with the bottom of the middle stud in front of me as seen above.
So I was then left with an L-shaped piece, but I just needed to pinch part of it and move it for an extra support. Hence my final cut in the 4th pic.

Then to attach my new support easily, I put pocket holes in either end.
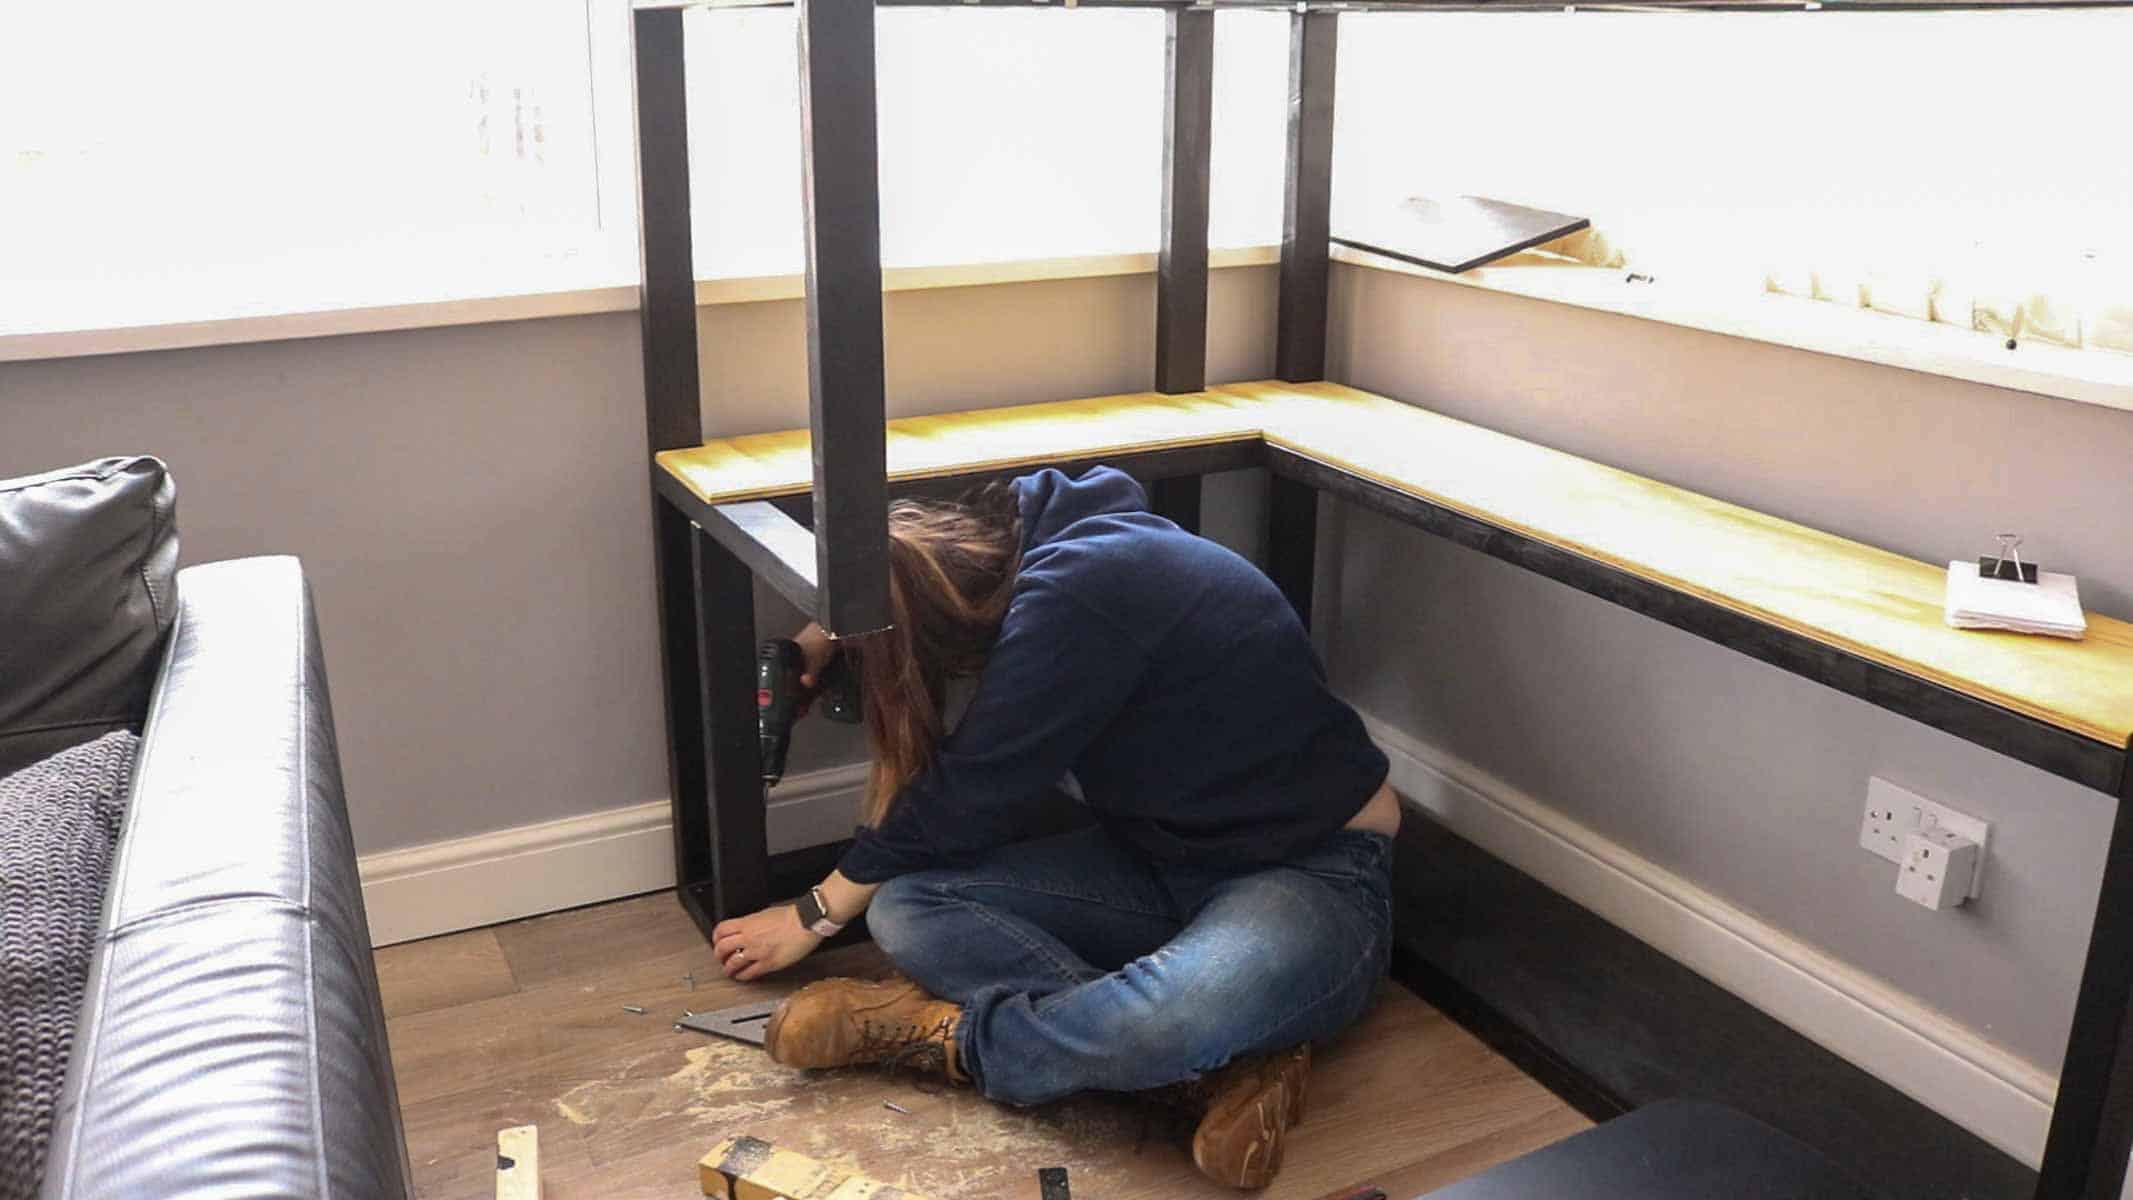
Then screwed it underneath. I've basically just moved the support further back.
But it was still a little weak, so I'll add a bracket once I cut a notch out of the shelf.
To cut my notch (because the support was in the way), I drew around an offcut and cut with a jigsaw.
Then screwed it back down.
And finally, I used the remaining piece I had left from my alteration and cut both ends with a 45 degree angle.
I had to sacrifice a little bit as there were screws inside. My Evolution mitre saw does cut through metal, but I whimped out over the sparks!
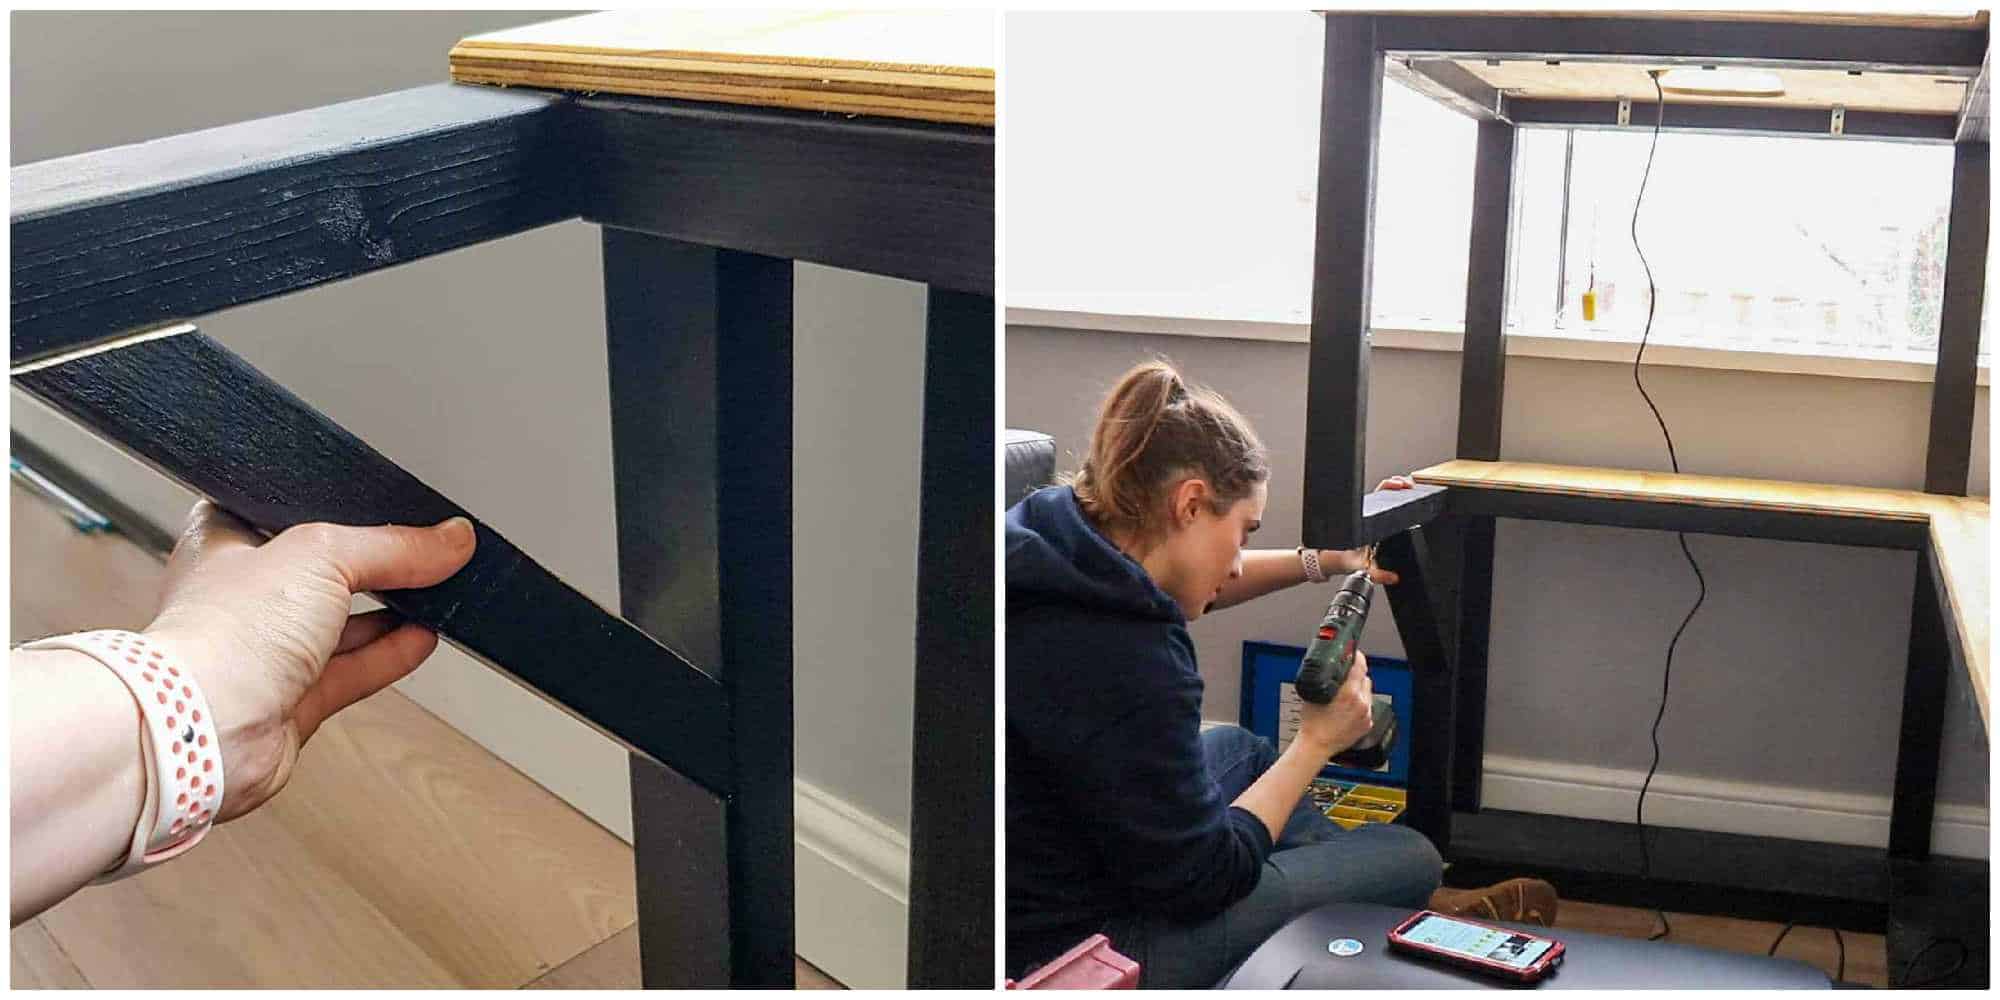
And then screws my new bracket to support it. If you want to get fancy, this bracket is called a Gallow Bracket.
It could be longer for extra strength, but it's strong enough for my needs.
Treadmill Desk DIY

Here’s my step by step guide on how you can make my DIY treadmill desk for so much less. It’s been an amazing solution, allowing me to achieve 20k Fitbit steps a day while doing my normal office work. It can also be made with basic tools, CLS timber and 12mm plywood.
Materials
- Treadmill
- 10 x CLS 75mm x 38mm lengths of timber
- Coarse screws for pocket holes
- 12mm large 1220 x 2440mm sheet of soft plywood
- Danish oil
- Wood filler
- Chalk paint in Carbon
- L-brackets
Tools
- Evolution mitre saw (*GIFTED)
- Evolution mitre saw stand (*GIFTED):
- Speed square
- Tape measure
- Einhell Combi drill (*GIFTED)
- Trend pocket hole jig
- Clamps
- Jigsaw *(GIFTED)
- Einhell Impact Driver *(GIFTED)
- Circular saw
- Safety goggles
- Ear defenders
- Curved rasp
- Combination square
- Dickies safety boots *(GIFTED)
- Einhell orbit sander *(GIFTED)
- Palm router
- Chamfer router edge from this box
- Dust mask
Instructions
- First, follow the cutting instructions in the post above to determine the height and length of your desk around the treadmill.
- Screw together as per photo instructions above with long screws, making sure the heads have been countersunk enough to fill with wood filler later. Use a speed square to ensure square as you go. It's ideal to predrill before screwing, even with an impact driver, particularly close to the edges.
- Then creating shelves, cut your 9 short shelf supports and pocket hole two holes on either side and screw together.
- Now screw the back horizontal pieces on too.
- Then transfer the top of the desk measurements, plus an extra 3cm all the way around to the 12mm softwood plywood and using a straight edge clamped, cut with a jigsaw.
- Where the L shape is, draw around with a mug and drill a hole on the outside of the L shape to get your jigsaw in an continue cutting.
- Sand the cut edges and rasp the curved edge with a curved rasp.
- Clamp evenly on top of your desk frame and draw around the control panel from underneath, then remove and straighten up the marks with a combination square.
- Drill a hole on the inside of the mark to get your jigsaw in again and carefully cut the hole out. If you can't see the control panel full, draw it bigger and repeat and sand and rasp your cuts.
- Now using a 45 degree chamfered router bit, go over all the cut edges and sand the entire surface.
- Measure the middle shelf and transfer to the plywood offcut left behind, excluding the 3cm overhang and cut again. Now cut out notches for the battens with a jigsaw and sand everywhere again and chamfer.
- For the bottom shelf, I made it up with smaller offcuts and sanded.
- Fill the screw holes with wood filler, leave to dry and sand everywhere util smooth.
- Paint the entire frame with furniture paint. I used Rustoleum's where I didn't need to prep or seal, including the bottom shelf made of off cuts and left to dry.
- Then mounted the top and middle shelf using L brackets from underneath.
- I screwed the bottom off cut with black dry wall screws so they were discrete.
- To alter yours around a Lifespan TR2000 DT3, then follow the extra steps in this post.
Notes
You can follow along with the full video tutorial here: https://www.youtube.com/watch?v=K-MCa5pb4-U&t=147s

Comments
No Comments