
Here's an in-depth beginner's guide on how to decorate your room from scratch. We'll cover the basics such as planning a makeover, painting tips and tricks for walls and doors, then installing finishing touches. Note, there are many video guides included to give you a helping hand.

The great thing about teaching yourself painting and decorating for beginners is that not only do you save money, but you can develop your own interior design style.
If you're completely new to getting your hands dirty with your home decor, then you've come to the right place. I've seen a few interior design ideas through to the end and it's the transformation that will leave you wanting more.
And even cheap home decor ideas can look expensive if you plan and compliment with the best colour and your choice of furniture. So, I'm going to show you my simple painting and decorating tips from start to finish.

Create a Mood Board
As much as I can't stand sitting still, I find creating a digital mood really is the best way to plan a room design. I keep mine extremely simple, in Microsoft Paint, although you may prefer a more advanced 5d room planner.
I like to use a colour picker to fill the background space, then copy and paste pieces of furniture using stock photography. I can then move, change and delete things without doing any physical work and wasting cans of paint.
It might take about a week to plan your ideal home or living space, but you'll have fewer surprises in your final house decoration reveal.

Choosing Your Colour Scheme
Your favourite interior colour design might not be right for your space. This depends on:
- How big or small your room is
- Whether the room faces North, South, East or West
- The colour (and size) of your furniture, which we'll talk about shortly
- And the hues in the paint
For example, finding the right shade of grey has been an endless struggle, with the underlying blue tones to create a cool or warm space.
I've also since Datacolor Colorreader EZ review if you want to scan a colour you see on your travels and copy. This device also helps you pick complementary colours.
Using the 60, 30, 10 Rule
If you've never decorated a living room or bedroom before, then the 60, 30, 10 rule keeps things simple. This is that you use:
- 60% for your main colour
- 30% of your room uses a secondary colour
- 10% of the room is a colour that accentuates the room. This could be white furniture or a circle feature above a fireplace with floating shelves for vingnettes

My Tips on Picking The Best Wall Colours
- Paint sections of your wall white first where you want to test paint samples, as I found old magnolia changed the colour
- Buy a range of paint samples or swatches to hold or stick on the wall to see how it reacts
- If you don't want to make a mood board, I think the best makeover app is Dulux's Visualizer

Tips on Choosing the Right Paint for Your Walls
One thing I never do now is wing it when it comes to painting a wall. Unless it's a room that isn't important or I'm decorating on a budget and have something leftover.
But there are many types of paints you can buy. Some I love, some I hate. So let's talk about what is the best wall paint you can use.
Matt Emulsion
I personally think matt emulsion paint gives the most elegant look on the wall and doesn't draw attention to blemishes, where you have patched up. However, it's often not washable. So if you have a dog who likes to shake mud off like we do, or kids, it may not be the best option.
Vinyl Matt Emulsion
A vinyl matt gives the same elegant look as regular matt emulsion, but the added vinyl makes it washable. This is actually my favourite paint as again, it doesn't draw attention to imperfections on a wall. My favourite paint range is Dulux's Easy Care Range as it's scrubbable and affordable compared to designer paints.
Vinyl silk emulsion
The wall paint I can't stand the most, is vinyl silk paint. It's the most hardwearing, making it ideal as bathroom paint, or kitchen where you can clean off grease. But it offers a high sheen that really is only great for freshly plastered walls that look perfect right from the start.
Also, with its latex ingredients, it's not the sort of paint you can sand in between coats. Years ago, I spent hours painting a wall and was devastated when I was able to peel it off like a balloon.
Painting Freshly Plastered Walls
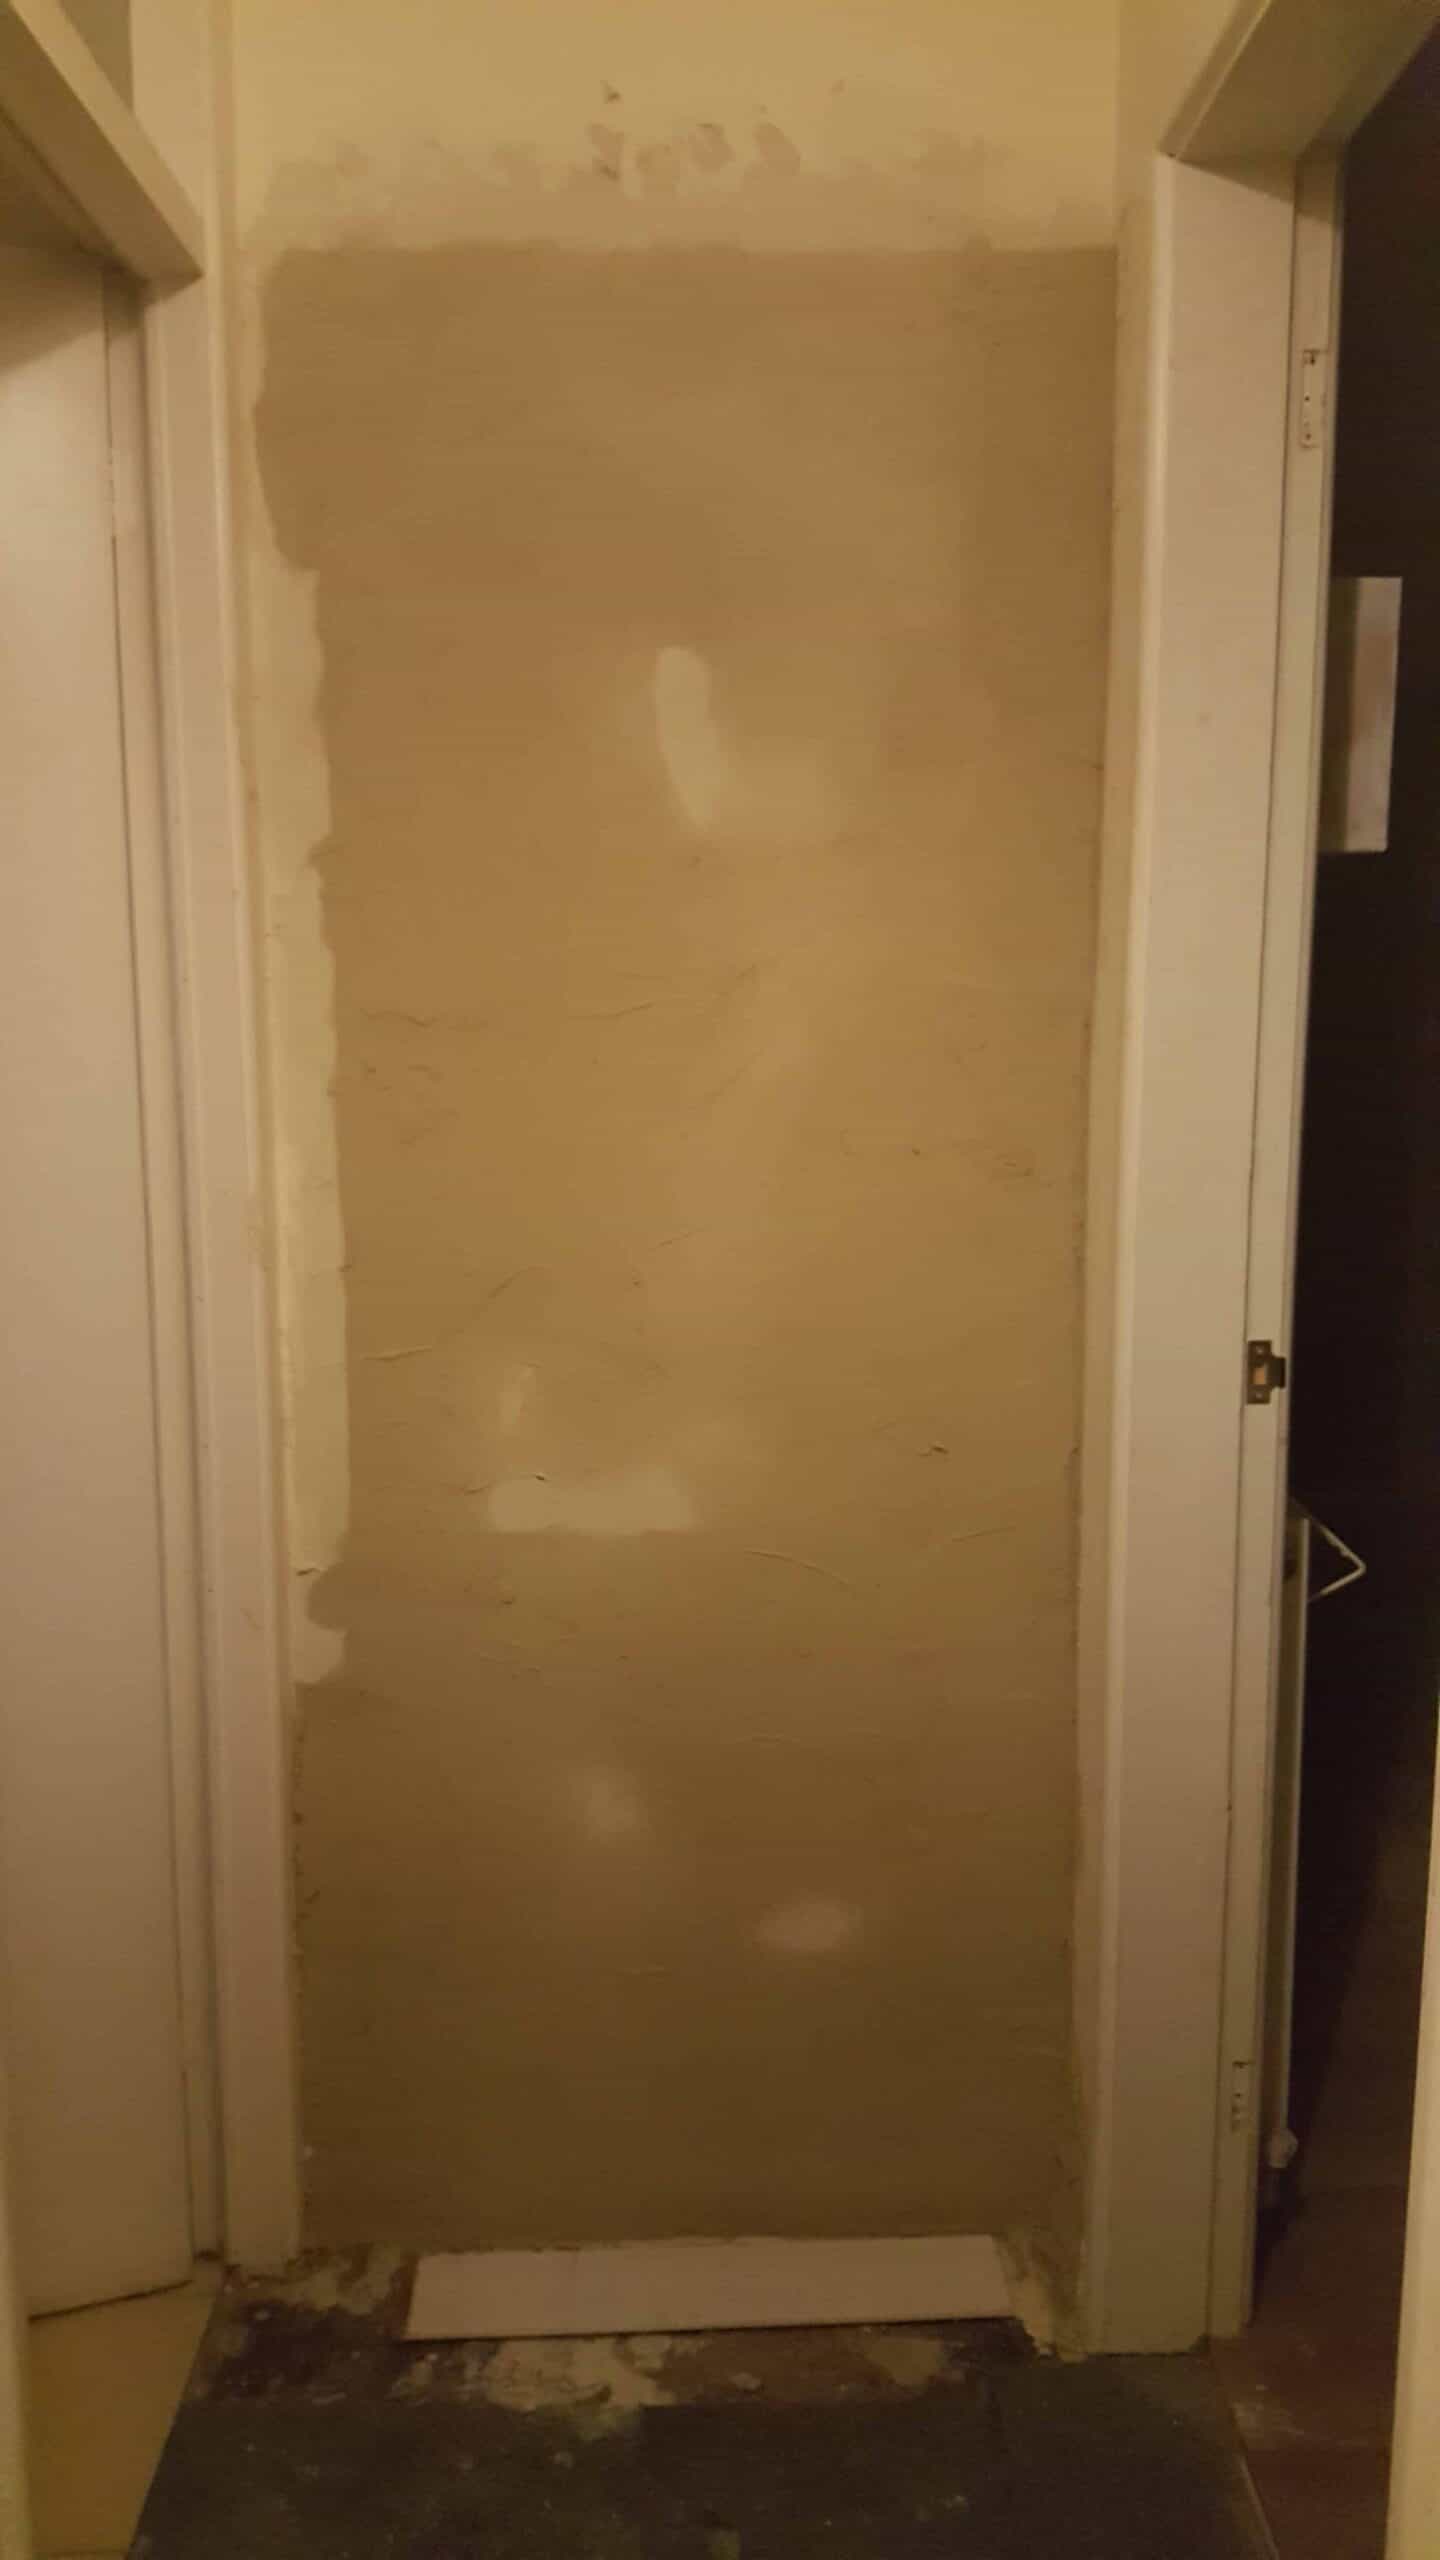
Before I get started on sharing my interior decorating tips, you may have freshly skimmed or plastered walls.
If this is the case, you need to choose a paint that states it's ok to use on fresh plaster. Otherwise, while using a roller, it can take paint patches off in chunks while you're still painting.
The safest method is to apply a mist coat first. This just means a watered down paint, like a milk consistency so the plaster soaks it up first. Once fully dry you can continue with unwatered paint.
Should I Brush Fresh Plaster With a PVA Solution First?
I've seen many an argument online with a professional painter as to whether adding watered down PVA on walls first is best practice.
I've only ever done it on small patches while repainting old walls. The reason why PVA isn't a good undercoat, is that the paint will just sit on top of glue and not sink in. This risks the paint peeling off at a later date.

Strip off Old Wallpaper
The first homebuyer DIY job I ever did was wallpaper stripping. I personally think it's best to start afresh and remove every layer off the wall. Plus, you don't want your hard work to peel off later.
Technically, it's best to start and finish decorating a room at a time. I was very eager and didn't as I couldn't stand woodchip wallpaper everywhere! But you can find my ttips on how to use a wallpaper stripper safely and tips if you don't have one, too.
Also, remember, woodchip wallpaper is great for hiding cracks. So, if you've found any, we'll cover it in the next topic. Or, if you've taken off chunks of plaster while stripping. Fear not. It happens to all of us.

How to Fill Walls Before Painting
One of the first jobs I ever learned during a bedroom makeover, was how to fill walls before painting. These were hairline cracks in plaster, or the time my Dad had to calm me down because I'd took a chunk of plaster off the wall with a stripper. (I laugh about it now, of course).
The first thing I do now is, paint everything in matt white emulsion. At first glance, there may appear to be tonnes of blemishes in the paster. But once your coat of matt white is dry, you may not be able to see most of them, day or night.
Then you'll know what's parts of the wall truly need filling. If you have more than you're willing to fill, then look into hiring a plasterer to skim a wall.
Hairline Cracks
If you have hairline cracks, they're likely to reappear again after decorating. For these, you're best making the crack wider by scraping with a filling knife. You can also use scrim tape to cover up and fill over.
Dints in Plaster
The most common issue you'll face are dints in the wall where they've been knocked. For these, fill with a multipurpose filler using a filling knife, making sure it's slightly proud. Then leave to dry before sanding.
What Wall Filler Should I Use?
My favourite filler, although it's more expensive, it ready mixed filler. But be aware, the dearer Polycell filler can be harder than the plaster itself. So while sanding, I've often, unintentionally, sanded back the surroundings to bare plaster. Although it's great for areas, like edges that need strength.
I prefer cheap filler that you can buy in tubs as they're easier to sand. Or mix filler myself, so I can make a thinner one if needed for easy sanding.
When Not to Use Filler
If you have a large hole in the wall, back to browning or bare brick, this is where you'll need to mix plaster instead. You may need to plaster over chased cables, for example.
This is where you will need to use a PVA solution first for it to adhere properly to seal pourous bricks. If not, your ard work could fall off.
Also, ready mix skim is a breeze to use using a vinyl spreader.
Protect Your Home Before Decorating
Before you go ahead with your interior decorating ideas, you're going to make a mess. Ideally, you should
- Remove all furniture
- Take curtains, nets and blinds down (you can obscure windows while decorating for privacy by smearing Windolene Emulsion Original Cream or sellotape newspaper
- Protect your carpets if you want to keep them

Painting and Decorating Tools List
- Rags as floor protector
- Woolly roller to create a slight texture
- Foam rollers *for gloss on doors
- Paint brushes for cutting
- Paint roller tray
- Low tack masking tape or a piece of card with a straight edge
- Step ladder
- Filler
- Filling knife
- Sandpaper
- Overalls or clothes you don't care about
- Screwdriver to lift plug sockets away from wall, or tape over them
- Caulking gun
- Sponge for cleaning walls with sugar soap
Note: you can use a Wagner paint sprayer, but you'll need lots of protective due to overspray. Really, it's ideal in a completely empty room, or where you'll be replacing a carpet.

Washing the Walls
Once your walls are ready to paint, you'll need to wash them with sugar soap and a sponge.
Start at the bottom and work your way towards the top to catch drips.
Painting and Decorating Tips: Cutting In
Before painting with a roller, you'll need to cut the walls. This means applying paint with a paintbrush by hand where the roller will struggle. These would be:
- Where the ceiling starts
- Two sides where the other walls start
- Above the skirting board
- Door frame
- Light switch
- Plug sockets
Then, you can go over with a roller. I tend to use a short-handled roller and step ladders. Some people prefer to use one with a longer handle instead.
It's easy to assume painting walls is quick. Give everywhere one coat first, remembering that it will turn more opaque once dried.

Keeping Mess Down to a Minimum
A few decorating tips I've learnt while handling paint over the years are:
- Place your can of paint in a bucket or plastic box so if you knock it over, you've contained the mess
- Line the paint roller tray with a carrier bag, so once you're done, you can throw it away (and less scrubbing for later)

Tips for Painting Different Wall Decor Colours
If you're bored of white, grey or magnolia walls, you can get creative with complimentary colours. However, it's slightly more difficult as you'll need a clean line in the corner of the wall where two colours meet.
My Tried and Tested Masking Tape Tips
- Use a low tack masking tape
- Don't press it on too firmly
- Pull the tape off while the paint is still wet so it doesn't form a lip
- While removing, push it down with your finger while pulling back (as above)
- Use the straight edge of some card to save time if you can
Masking Tape Removal Myths
- Warming up with a hairdryer before peeling isn't foolproof
- Leaving the paint to cure on one wall before masking taping for the opposite wall doesn't work, either (advised from some paint companies).
Caulking to Finish
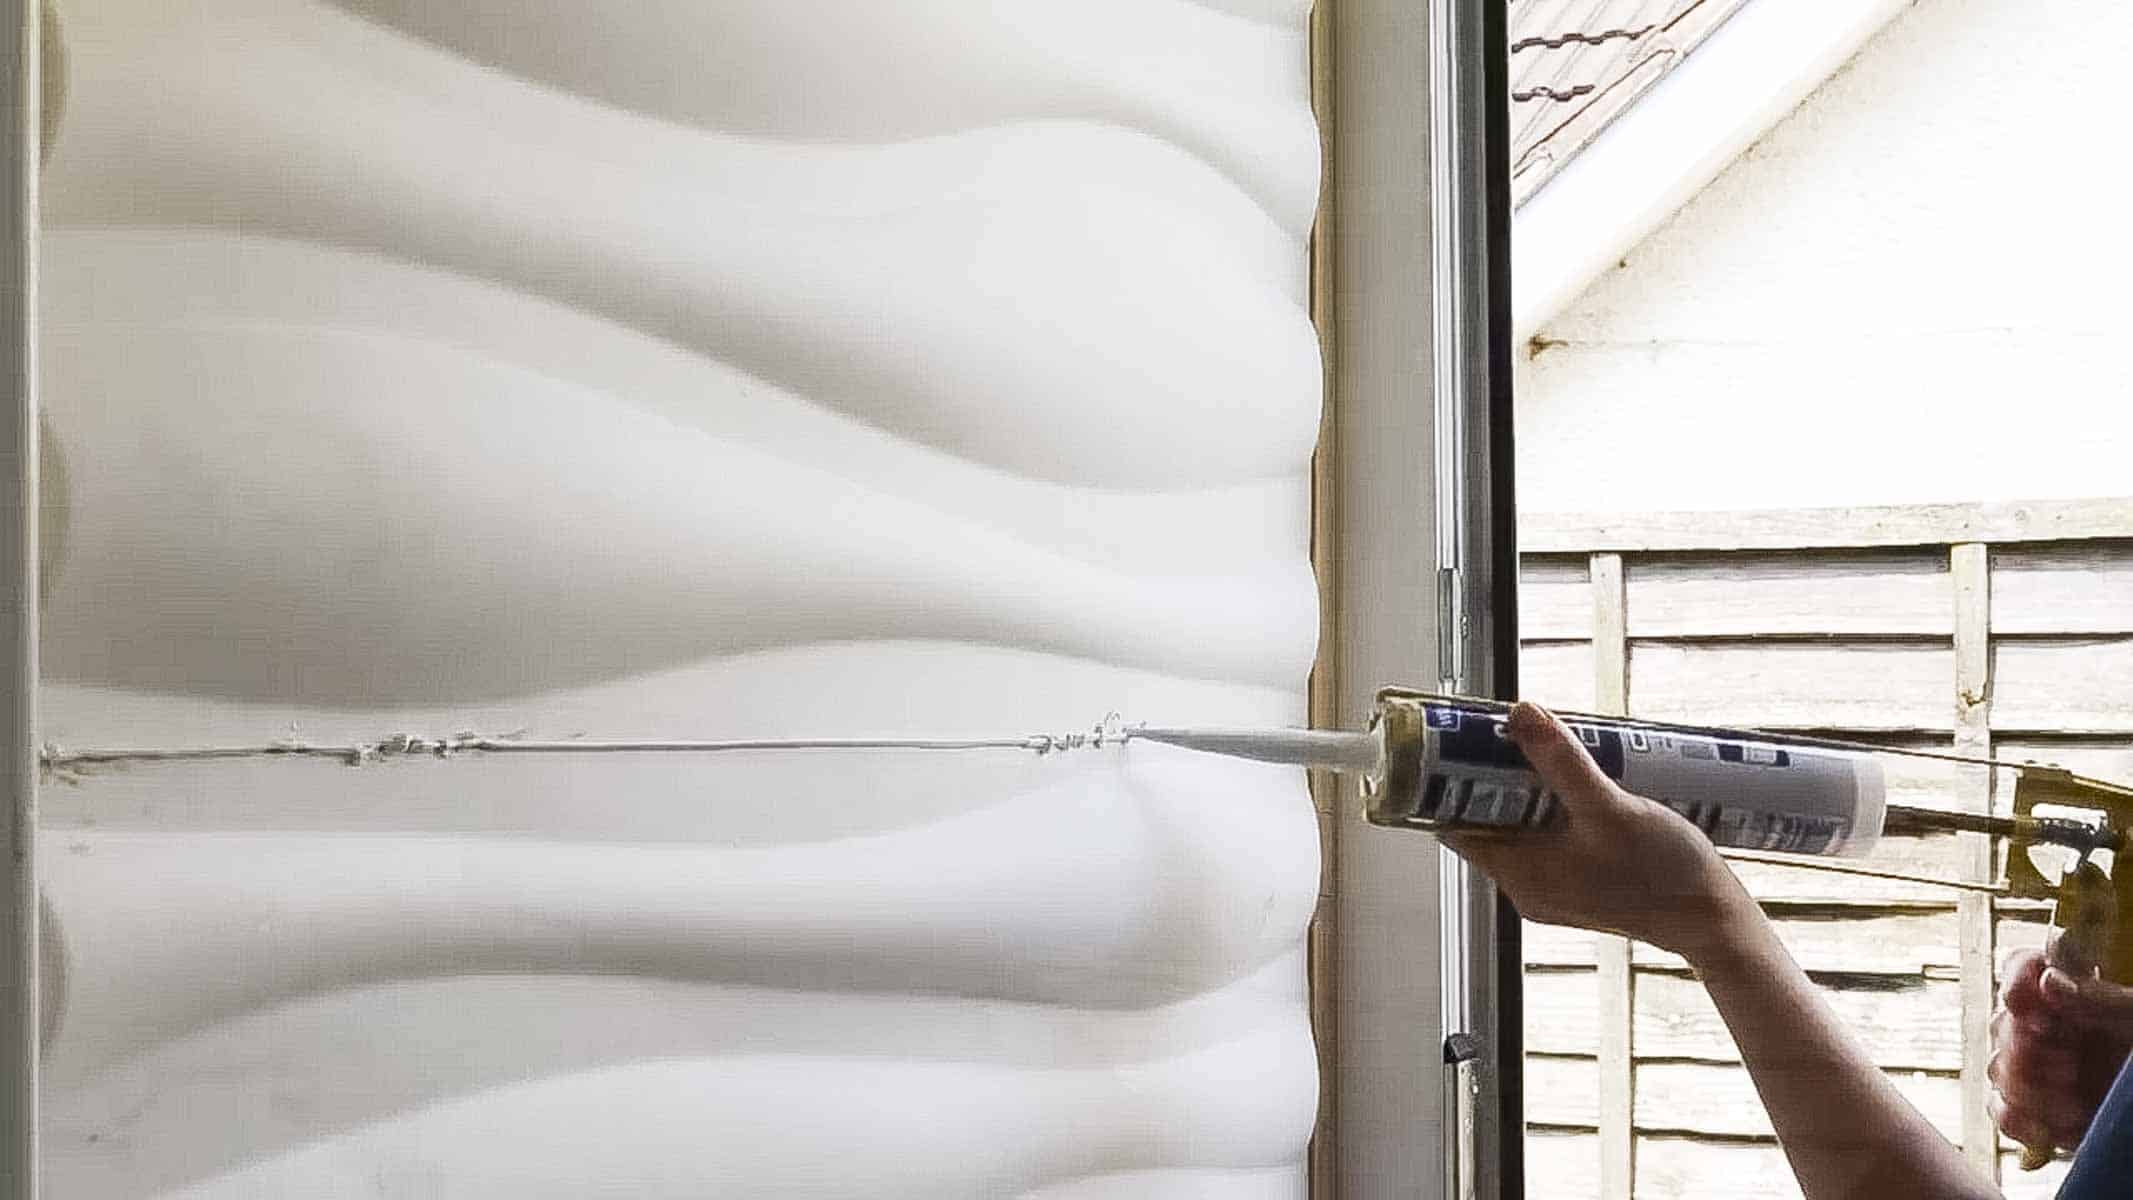
Caulking is incredibly easy when dealing with pale colours within the same colour scheme. It's when you're painting with bold colours where the white can stand out if not applied properly. In fact, it's my least favourite job.
My tips on how to decorate with caulk are:
- Choose a caulk to match were possible, or white to blend in with white skirting
- Making tap before caulking if you're obsessive about straight lines
- Avoid pulling the caulking gun when gliding as it can miss bits - pushing downwards at an angle is better
- Have the applicator cut flat, rather than at an angle for even distribution
Once applied, wet your finger and remove the excess. You can find more how to decorate with caulk tips here.
See here for tips on applying silicone while decorating a bathroom using my washing up liquid solution and credit card technique.

Painting Interior Doors, Skirting Boards and Windowsills
When it comes to painting and decorating doors, you'll need a much more hardwearing paint, such as a gloss. My favourite used to be Dulux Trade satinwood.
However, there is an issue with UV light turning it yellow very quickly. It's also oil based, meaning it takes hours to dry and clean up requires turps. *I'll be returning back to Johnstone's waterbased Onecoat Satinwood next time.
However, it's key that you use a foam roller to paint a door without brushmarks. You can buy self-priming gloss, but if the knots show through, you'll need something like Zinsser paint.

How to Decorate With Finishing Touches
- Another thing I love to do to decorate a room is fit coving between the wall and ceiling. I think it finishes off a room, particularly when you have a bold colour on the wall and a white ceiling.
- Hang shelves to accentuate your newly decorated room.
- Learning how to paint furniture is another way you can decorate a bedroom or other living space on a budget. I love making my own chalk paint recipe and giving my old pieces a new look.
- Apply 3D wall art or panels for a feature wall. This is ideal on a decorative wall without sockets to cut around.
- You can find my wallpaper decorating tips here, too. But bear in mind, it's fixed and can be difficult to change a colour scheme.
How to Decorate If Your Walls Are Textured
Be very careful if you have textured walls as it may be old Artex with asbestos. If you are going to try and remove, you'll need to wet it first and wear a masking and safety gear before attempting to steam off.
Removal of asbestos is also difficult, so speak to your local recycling centre for their procedure. Or, you could have a decorator remove the raised edges before skimming over the top.
Note: some old coarse-textured paints could also have asbestos, but newer ones shouldn't.
More Posts Like How to Decorate a House
How to Decorate a Room for Beginners

Here's an in-depth beginner's guide to how to decorate your room from scratch. We'll cover the basics such as planning a makeover, painting tips and tricks for walls and doors, then installing finishing touches. Note, there are many video guides included to give you a helping hand.
Instructions
- Empty the room and protect the floor
- Strip any olf wallpaper
- Paint walls with white matt emulsion for a blank canvas
- Fill walls if needed
- Choose your colours and masking tape any edges if needed
- Turn electrics off and unscrew plug sockets away from wall for a tidier paint job
- Apply a mist coat of paint if painting on bare plaster and leave to dry
- Cut the wall with your colour (see blogpost on how to do this)
- Paint skirting boards, door frame and door with satinwood or gloss and leave to dry
- Caulk edges between skirting and wall

Comments
No Comments