
Here's how I fit the hinges on my flat packed utility kitchen base units. You'll find buying them off the peg is much easier than you think at first glance.
With most DIY jobs, it's so easy to assume they're difficult where you require a pro to do it. This is absolutely not the case in so many occasions. In fact, because of this, I've put many jobs off. And so while I've been working on fitting my first ever kitchen (a utility in my case), I've made it my mission to break down each job one at a time, for me and you.
So I'm going to take you through how I did it step by step while fitting my Wickes basic Dakota kitchen units. This is not sponsored in any way, but please note that some hinges do vary. Particularly the way they adjust to straighten them. If you prefer a video guide as a helping hand, then you can scroll down to the bottom for my YouTube video guide.
HOW I FITTED MY HINGES STEP BY STEP

First, I placed the round section of my kitchen door hinge in to the ready cut hole which I believe is typically done for you on flat packed carcasses.
If you don't have pre cut holes, or you are making your own kitchen doors, you can buy a hinge cutter like these. Note: I'll be sharing my experience on these very soon, but haven't bought one of these yet!
Then, using the screws that come with it, I hand screwed the hinge to the door. Note, I don't like to use an electric
screwdriver or combi drill for this as sometimes they can easily wear/rip out over time. However, if yours ever rip out, then I have a great hinge fix tutorial here you can use follow!

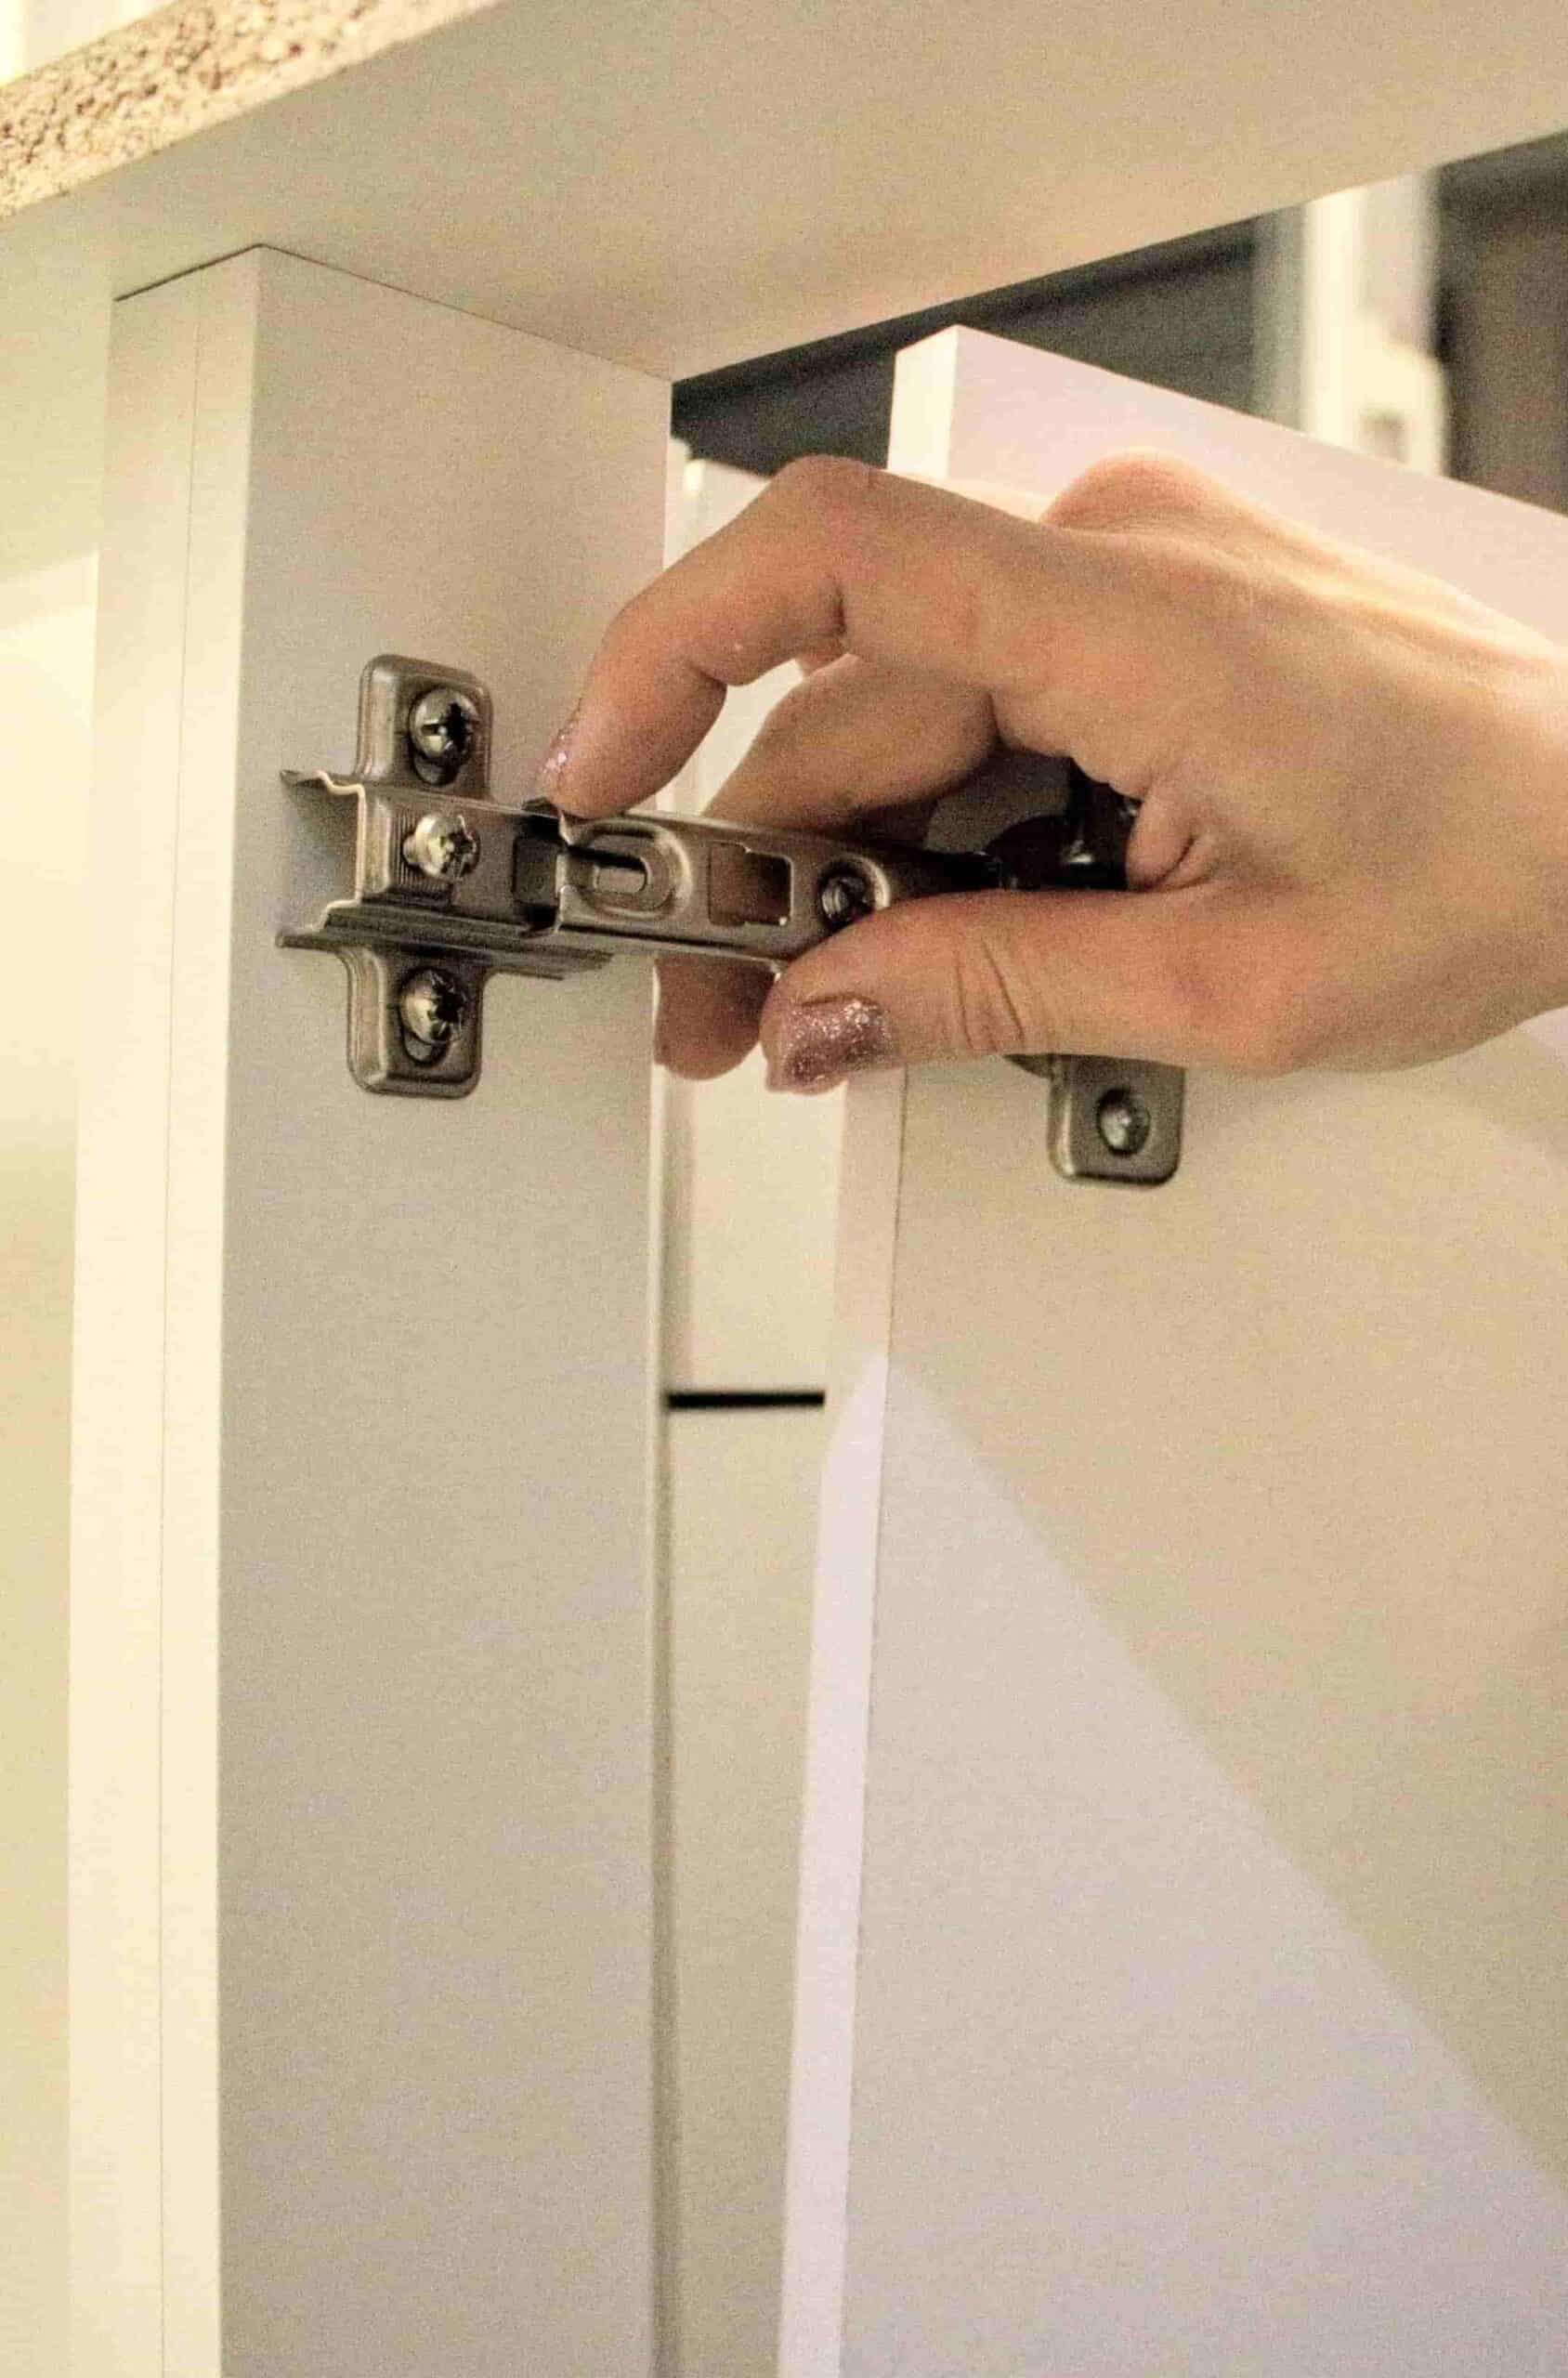
So, the hinge comes in two parts. This is the other section that fixes inside the kitchen carcass and you want to place it in this order, where the almost oblong hole faces outwards.
Thankfully with flat packed kitchens also usually come with holes to line these up, so you know exactly where to screw it to. It's up to you which side you want them and where you want the door to open. Even if you change your mind later, it doesn't matter.
But, take your time to work out the best way for your doors to open. For example, on my corner unit, I set the door to open towards the corner and not away. I want the openings to be as easy and logical for us as possible.

So again, I'm fixing these with a screw driver. Also, later, you may want to adjust these slightly up or down for the doors to be straight. Now I won't be doing this yet until my worktops are in place.
Why? Because the top of one of our units bows because I had to leave it standing for months to work on our bedroom with a brand immediately after I built them. And what's the point in adjusting them twice?

Now that both parties of hinges are on, it's time to connect them together.
The oblong section on the door's hinge simply slots on to the screw on the other section. I personally pushed them on as far as I could for now (see below). But again, depending if they're not straight, you can pull them out a couple of millimeters or so and then screw in to place.
But let's worry about that later.

Then screw in to place with a hand screw driver.

Then repeat that for the remaining hinges.

WHAT TO DO IF YOUR DOORS ARE NOT STRAIGHT
If your doors are perfectly straight, then great news! You probably won't have to adjust them.
But as my worktop isn't fixed in to place yet, I'll be adjusting my doors if needed as the very last job. But, I'll leave you with this very handy how-to video to show you how to do them until I film my own.
CAN'T FIT THEM NOW? WHY NOT PIN ME FOR LATER?

And, as usual, if you prefer to watch my video to give you a visual helping hand on how to fit kitchen door hinges, you can find me fitting them here below.
More Fitting a Kitchen Projects
You can find my complete list of fitting a kitchen projects here.

Ironmongery Experts
Hi Vikkie, great tutorial on how to install door hinges. Easy to understand by everyone! Looking forward to keep reading your content.
Jackie Edey
Great. The way you show just how to fit hinges for flat pack cabinets etc. Now going to fit mine. Thank you 💜