
Here's how we recently created a skylight sun tunnel around a velux window with plasterboard. It's a great way to add more natural light with an interesting ceiling feature.

My parents bought a bungalow late last year where the bathroom's window faced a brick wall. Just a note that all the other bungalows are the same layout on the street.
So this also meant the bathroom would always be dim, dark and uninspiring.
You can see it how it used to look below.
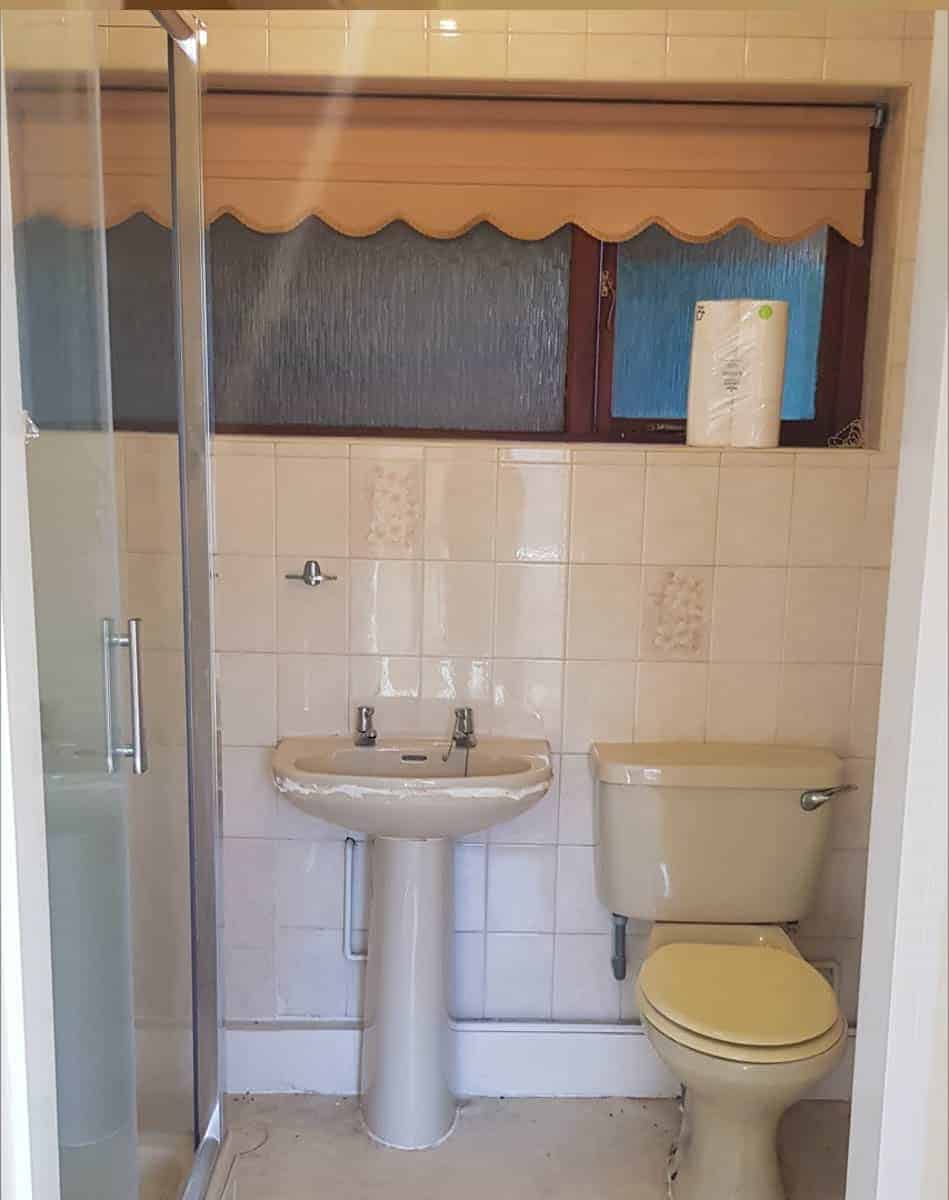
To alter it, they removed the window.
Then they bricked it up with the bricks from knocking down the chimney. This was important as these bricks are no longer manufactured.
The next move was to add a velux window. PS, you might like to read how I blocked up the chimney breast here.

Velux Window in a New Roof
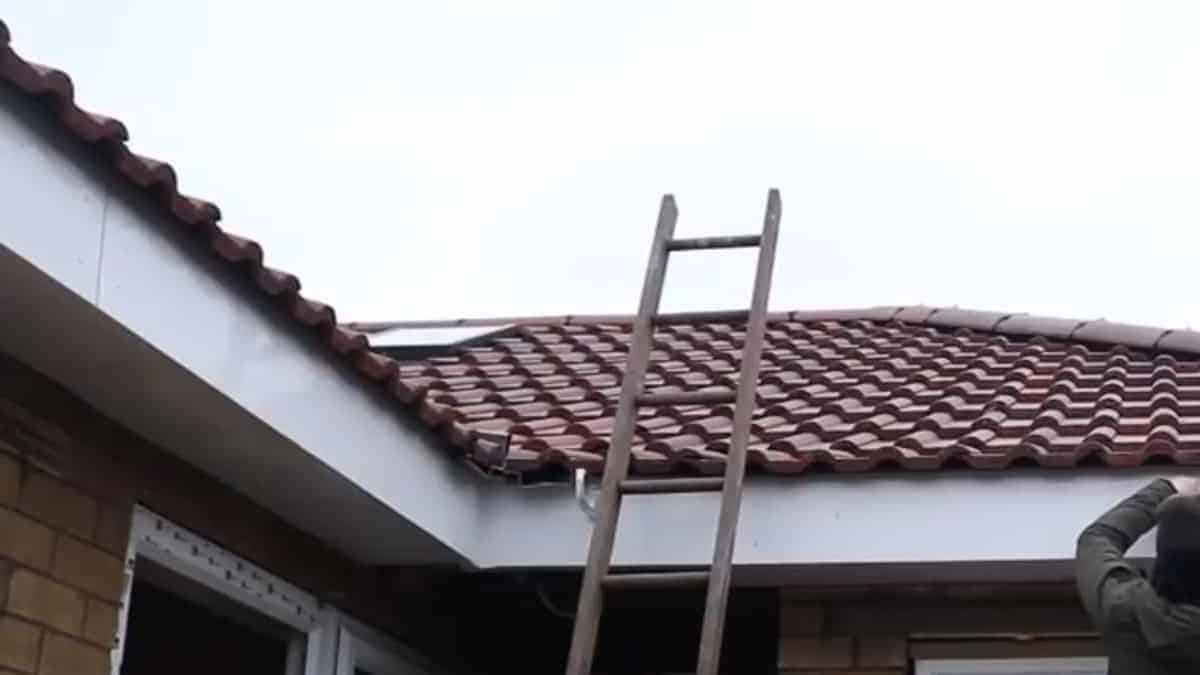
So before we plasterboarded the velux window, my Dad installed a new roof. You can see how he did it here. He's a carpenter, so created appropriate stud work in the roof.
Below is just imagery of me installing the guttering.
Now to Plasterboard for a Sun Tunnel
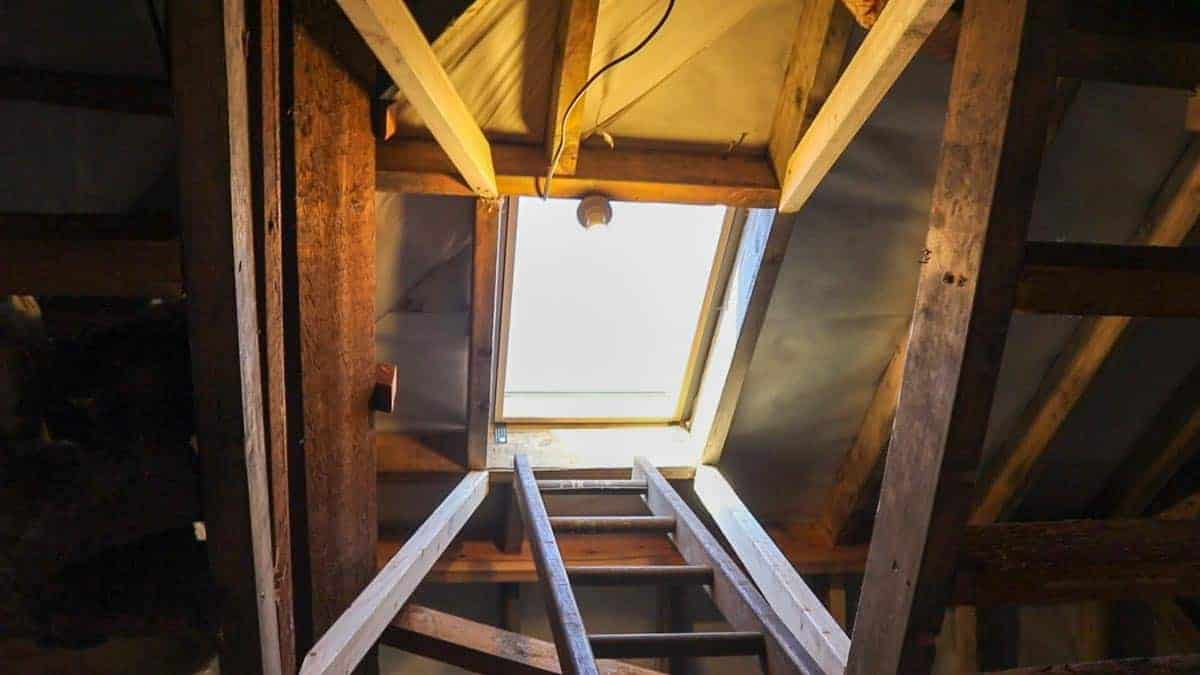
Below, you can see how it looked after the velux window was installed.
The first job was to take measurements of one section at a time.
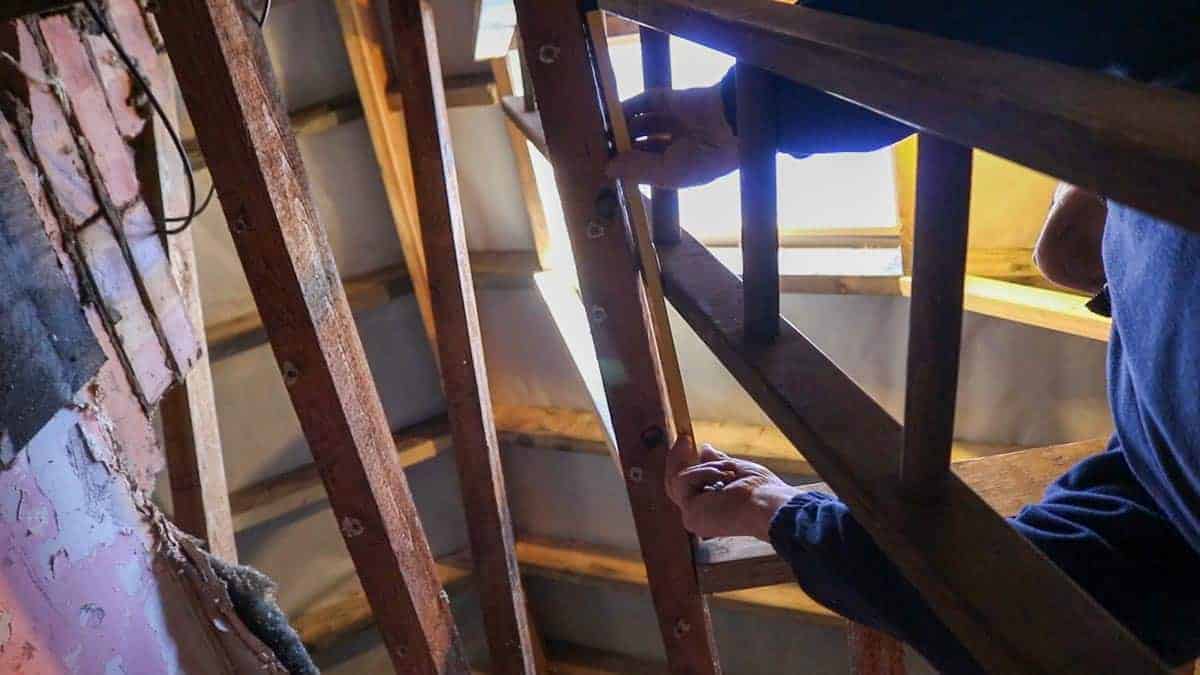
Now transfer them to a sheet of plasterboard.
Then, in the 4th picture, score with a sharp stanley knife.
See below for step by steps.
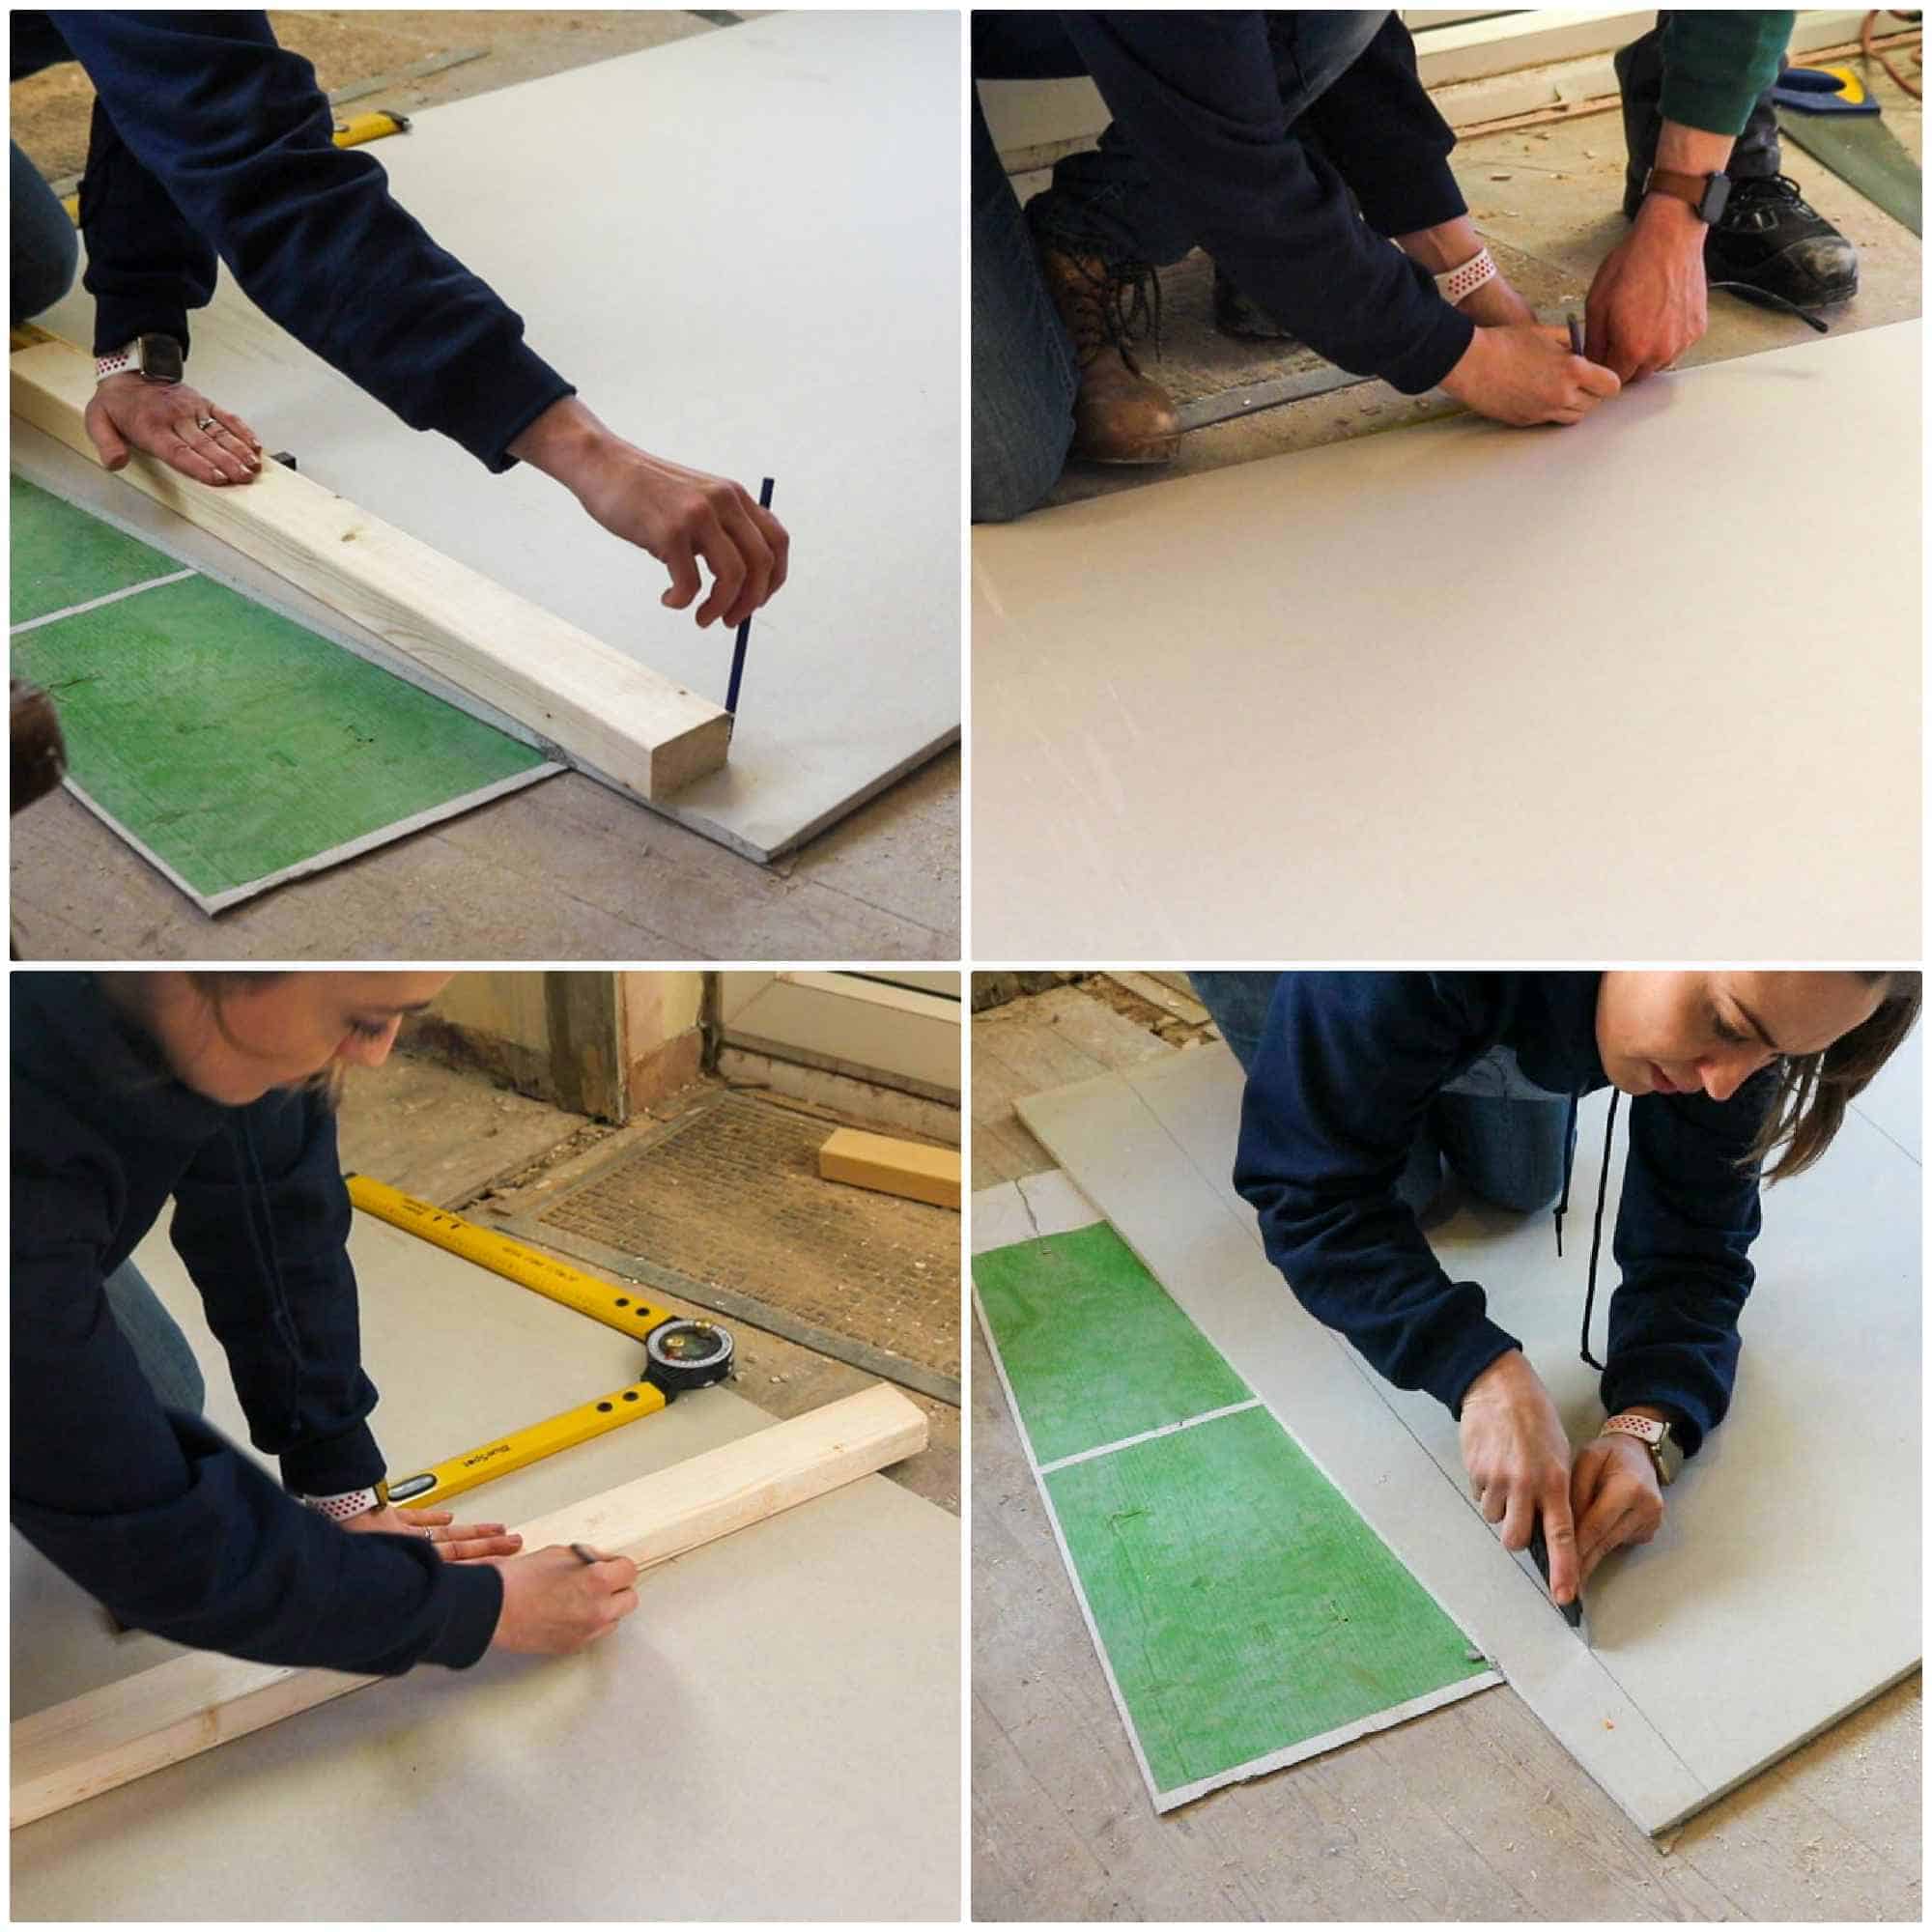
Then apply pressure on the scored area where it's now weak.
You should have a clean cut.

Now cut with a stanley knife along the fold on the reverse.

Can't fit the plasterboard sections in a tight spot?
If you're struggling to fit plasterboard in a tight spot, you may need to cut in half. Then apply in sections.
For quickness, I'm scoring in the centre, using a straight edge as a guide.

Then screw the plasterboard panels up using a combi drill on loq torque and setting 1 with drywall screws.

Adding Battens to Create a Square
To create a box, you may need to cut and screw battens.
This creates extra panels to fix more plasterboard up.

First, pre drill holes in the battens.
Then screw the battens to the other battens behind the first plasterboard sections.

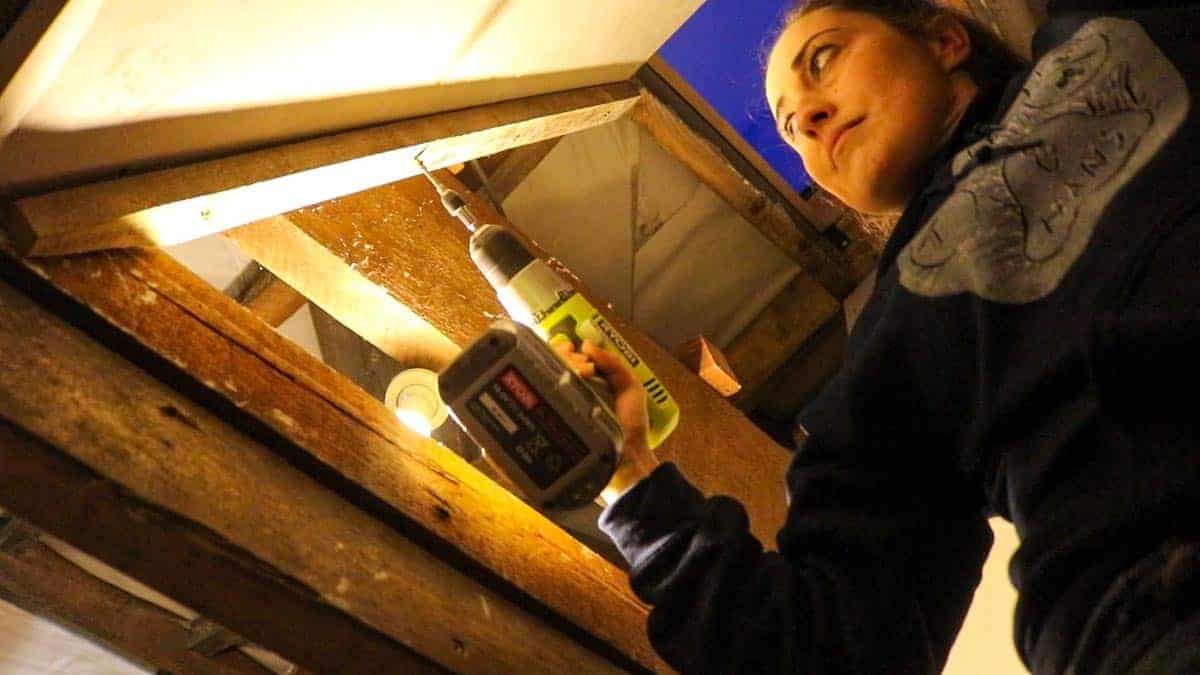
Once we'd screwed plasterboard to the majority of the battens, we added some towards the bottom, too.
Note, I could've got closer to the bottom of the framework (below). But a corner beading would sort out my mistake.

Ready to Plaster
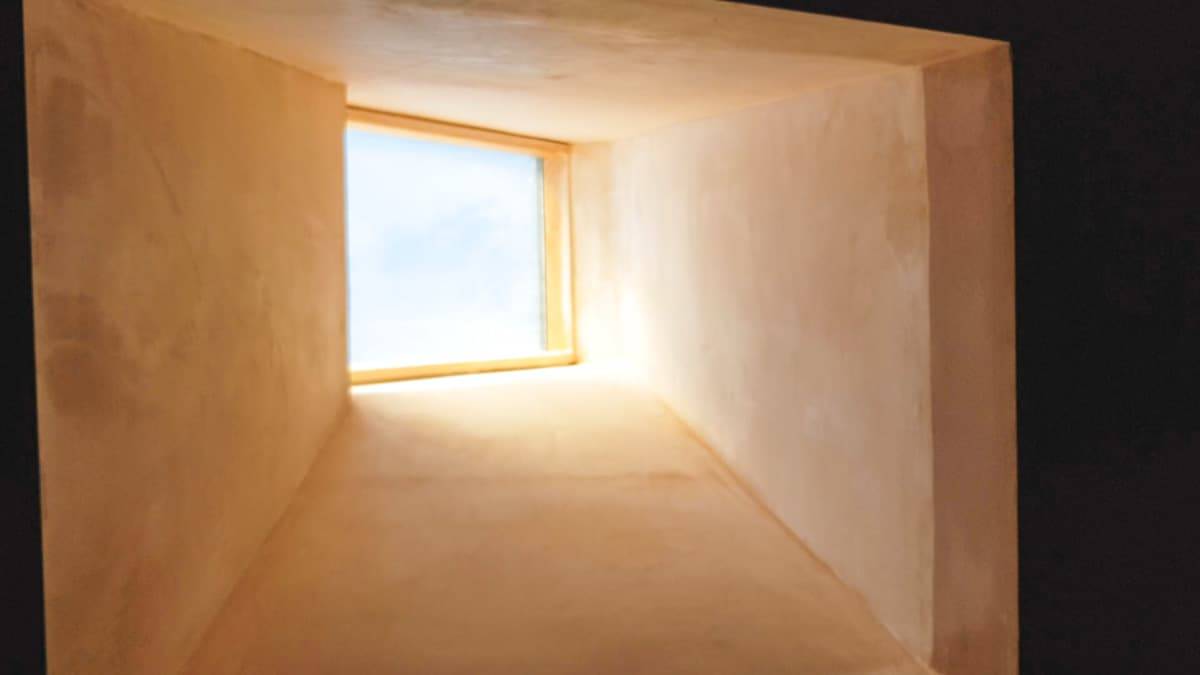
Now it was ready to plaster.
We left this to a plasterer. Particularly for such an awkward space.
What about Insulation?
As this is an entirely new roof, my parents have since added new insulation in the loft.
You could have a glass window fitted inline with the ceiling level, but we decided against it as we think it looks cool.
Pin this Skylight Sun Tunnel with Plasterboard DIY


Leigh R
Make sure you insulate the external face of ther plasterboard within the loft space as this will create a cold spot for mould to form.