
Here's where I learnt about fitting double glazed windows for the first time from with my parents. And I'll talk you through the process so you can too!

Firstly, all windows were purchased from Roundbrand Ltd double glazing and is not sponsored in any way. But the owners are family friends, hence why I'm proud to link back to them.
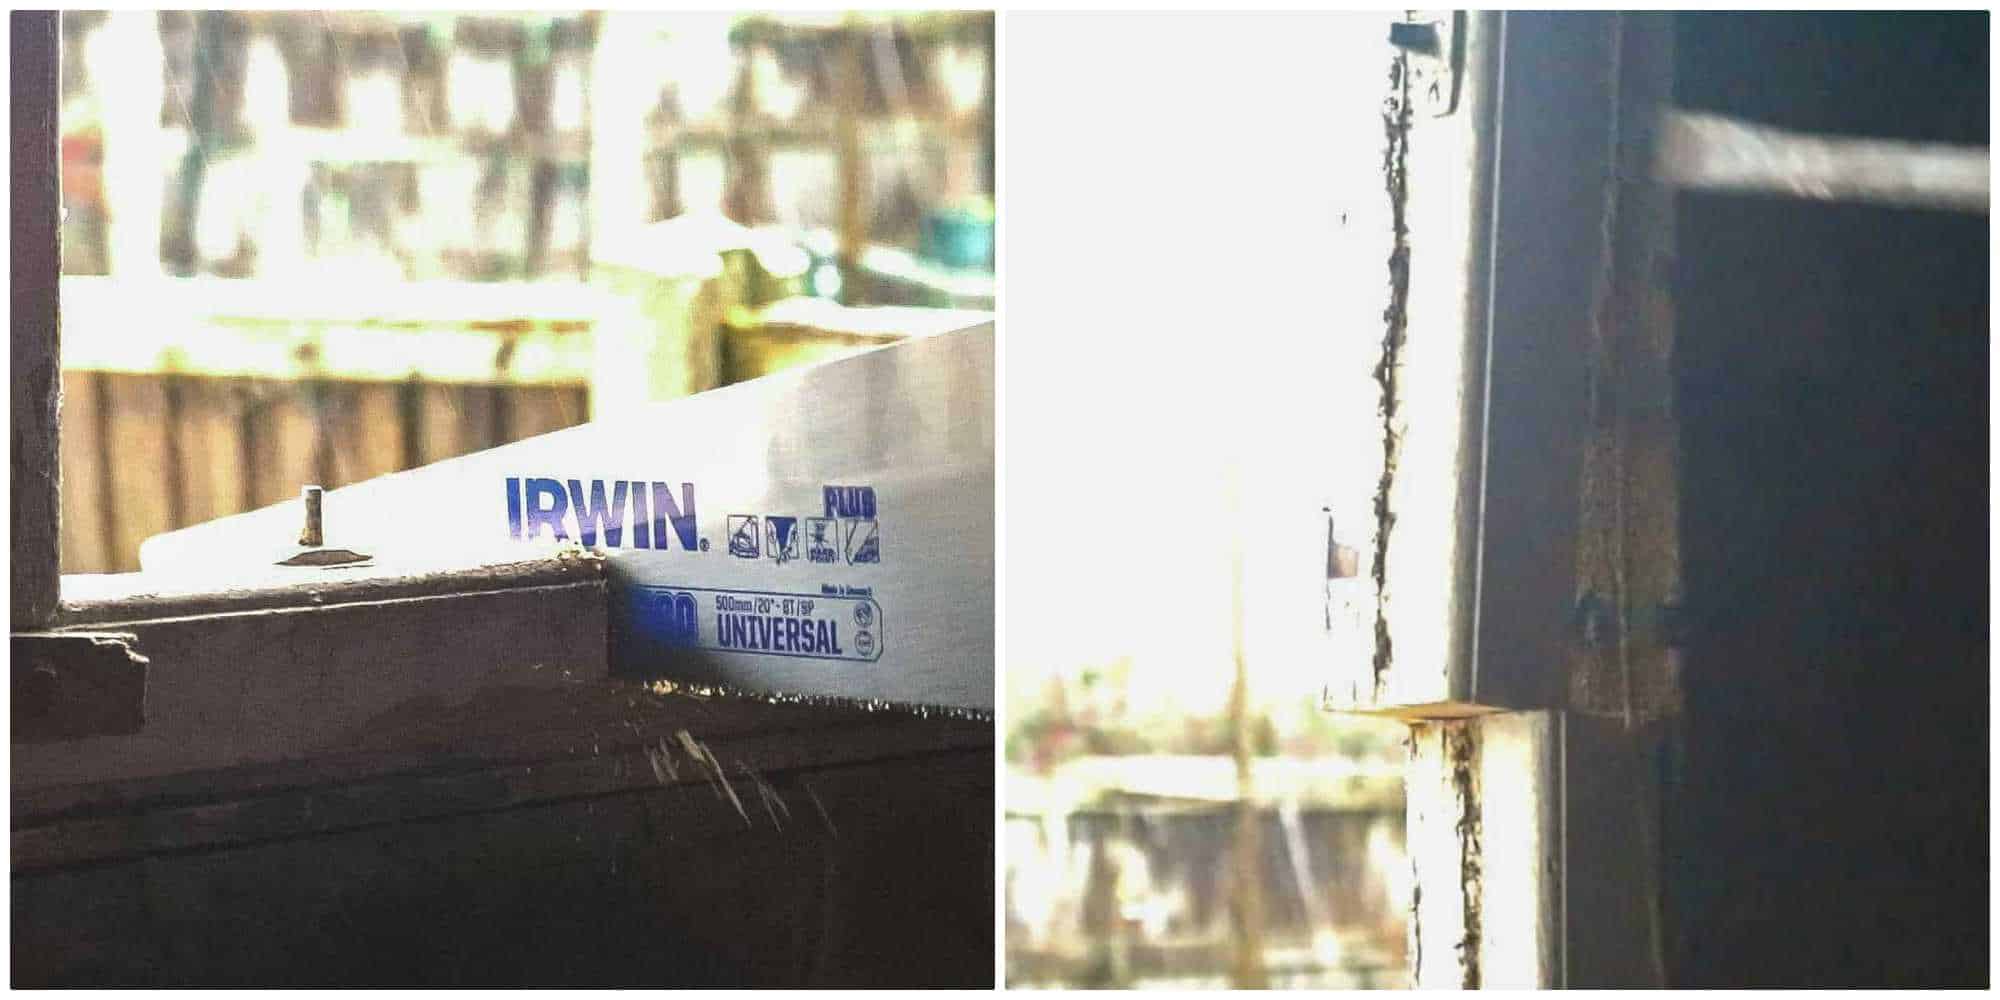
Removing the Old Window
Before we start fitting double glazed windows, we needed to remove the old ones.
Off camera, my Dad had removed the old wooden beading and glass window safely.
Then he asked me to make some interval cuts with a hand saw before prying out with a crowbar.

Cut the External uPVC Window Sil
Then, we measured the width of the window area once it was empty.
Above, my Dad transferred the measurement to the uPVC window sil- this is to face outside.
Then cut with a hand saw while my Mum's hands clamped it down.

Sealing the UPVC Window Sil
Before fitting double glazed windows, I added a bead of clear silicone along either inside lip and the centre (see above).
This will seal the sil and help it clamp to the window a little for the next step.

Screwing the UPVC Window to the Sil
Then I placed the window on top of the lipped section I siliconed.
And while together, I predrilled and screwed in 3 places.
Make sure the screws don't completely go through the bottom of the sil.

Fitting the Double Glazing
Once the sil is screwed to the window (with the sil facing onwards), place in situ.
Now use packers to make sure it's even in the slot.
It's also useful to have someone outside if possible, for such as ground floor windows, that it's even with the wall.

Screwing the uPVC Window to the Brick Wall
Once you're happy with the window position, predrill through the window frame and brick wall.
Then we screwed with masonry screws, which are also known as Spax screws.
These are screws that don't require crawl plugs in bricks.

Tips I Learnt for Fitting Double Glazed Windows
Note: I learnt it's best to do this towards any packed areas to prevent warping. And test to see if the window opens after your first couple of screws.
For example, I'd packed the bottom corner a bit too tight. And once my Dad removed one, it opened fine again.
Then repeat on each side. Note, I didn't drill downwards into the sil.

Remove the UPVC Beading
I'll be honest, this section was my least favourite. But if you don't like being defeated, you'll get there. You just need to be patient.
Remove the uPVC beading by tapping along the join with a flat filling knife and a double glazing hammer.

Push the glass window panel inside.
You need to be a little firm so it grips it a touch.

Now, this is the tedious part that requires patience.
Place the beading back and as you go, tap along it with a plastic mallet.

Sealing Around the Window
As we haven't sealed these windows yet, I'll talk you through how to seal them.
You can fill any gaps with expanding foam. And once the excess is removed, seal with silicone.
We use brown silicone on a white uPVC when red bricks are involved. *This was the advice I took from several double glazing companies. However, I received some negative comments at the time, which proves this is a matter of opinion and personal preference.
Pin this Fitting Double Glazed Windows Guide
You Might Also Like
- How to measure and fit perfect fit blinds, which I did for these windows
- Installing double roller blinds
- Fitting conservatory blinds
- How to measure and install bay window blinds
- Adjusting sloping window vertical blinds
- DIY conservatory roof blinds
- How to recycle DIY roller blinds
- Installing one way privacy window film

Christopher Richard
Nice job - definitely worth letting your reader know they should keep the glazing spec and centre pane paperwork U value as to sell your house these windows need a sign off and unless you’re certass or fensa you can’t do that yourself.