
How to make easy DIY box drawers on basic runners for additional workshop storage using offcuts. Includes step by step images and video to follow along.

Remember last year when I made a pallet plant stand? Well, I removed the old drawer attached to it so I could utilize the sides to make these DIY box drawers for PPE while organizing my workshop.
Alternatively, you could just use two strips from thickish sheet material and screw a strip at the back to prevent it from moving.
Anyway, I did need to make a wooden box. In fact, 4 wood boxes to separate all my gloves, goggles, etc. Although, they can be used for a range of things, such as toys, stationery, etc.

Tools & Materials Used For Easy Wooden Box Drawers
Please note that as an Amazon Associate, I earn from qualifying purchases made through links.
- Offcuts - I used OSB with supports as my wood was quite thin*
- Mitre saw
- Mitre stand
- Hand saw
- Wood glue
- Hammer
- Panel pin nails
- Tape measure
- Combi drill
- Wood screws
- Trend pocket hole jig
- Pocket hole screws
*If you're using 12mm or thicker material, you won't need corner supports. I recommend reading my how to make a wooden box file to see what I mean.
Measurements
The measurements you require for your box depend on your needs. You could either cut 4 stips per side of the box to the same length, OR, have two pairs of the same length to alter the depth or width.
If you're using offcuts to create a rough set of easy DIY drawers, I wasn't that concerned about the height of them all being uniform.

How to Make a Box
Once you cut your 4 sides, you'll need 4 corner supports. They don't have to be all the same length. However, they need to be set back by the same thickness as the base you're using.
Also, using an offcut of the OSB, hold it along the shortest edge on the back of the front and back section of the drawer and draw along it.
Then glue and place the supports in line with those marks, while also ensuring it's set above the future base you'll be nailing on.
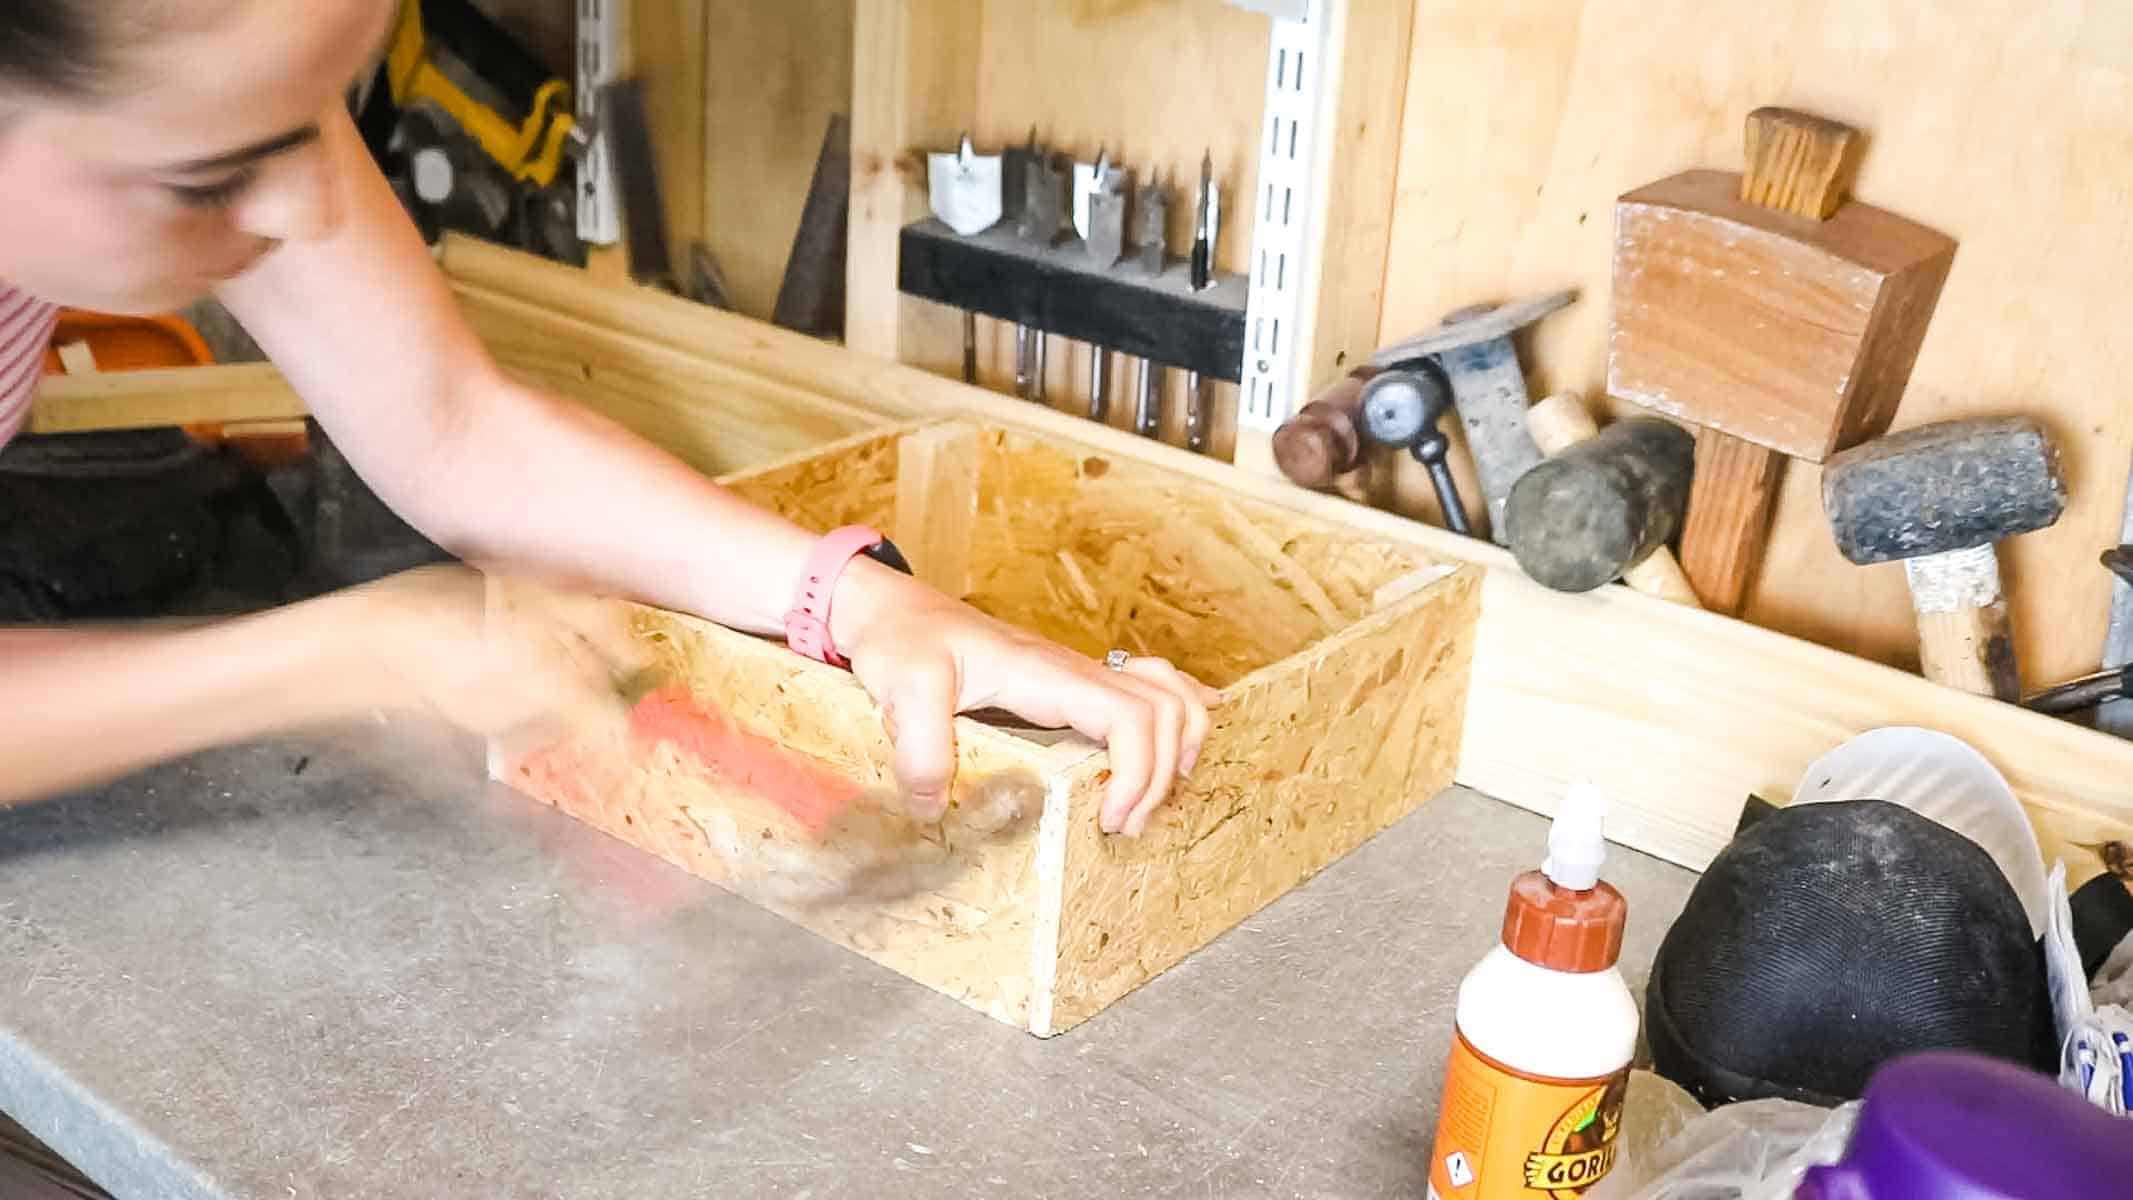
Gluing And Nailing the Box Sides Together
Now you should have 4 sides ready to glue and nail together.
The front and back should have supports glued at the back of them. The sides shouldn't because we'll have the cut edges showing on the side, not the front of these easy box drawers.
Ideally, when nailing together, you'll ensure they're square while putting together. However, these are for a workshop, so I wasn't bothered. Instead, I pushed them against a flat edge while nailing.

Cutting the Bases
Again, these are quick and easy boxes. So instead of making a base that's EXACTLY square, I held a sheet of OSB on the inside corner and marked with a pencil where to cut down.
Then, using a speed square, extend the marks and cut with a hand saw or compact circular saw.
Note, I left a couple of milimetres for an allowance so I knew they'd slot in easy enough.

Gluing and Nailing the Bases On
I then flipped my box drawer upside down and ran wood glue on the bottom of each support.
Then slotted the base in and used panel pins to nail down and one along the bottom side on each section for more strength.
That way, I'll have less bottom drawer sagging if I put heavier things inside. Although, PPE is fairy light!

Making the Drawer's Frame Stronger
As you may have noticed before, I'm reusing two side panels I built using pallet wood which will hold my basic drawers.
If you don't have pallet wood, you could use something like two strips of conteboard, plywood, etc.
But I needed to pocket hole and screw a middle centre back to make it more rigid.

Planning More Wooden Boxes
Once I'd made my first basic OSB box, I could place it on the bottom of the pallet stand and start planning more.
It's up to you whether you want them all uniform or different heights, depending on what you're making them for.
With me using offcuts, at first glance, they may look like matching boxes, but they aren't. I searched high and low in my pile for similar ones and prevent waste.
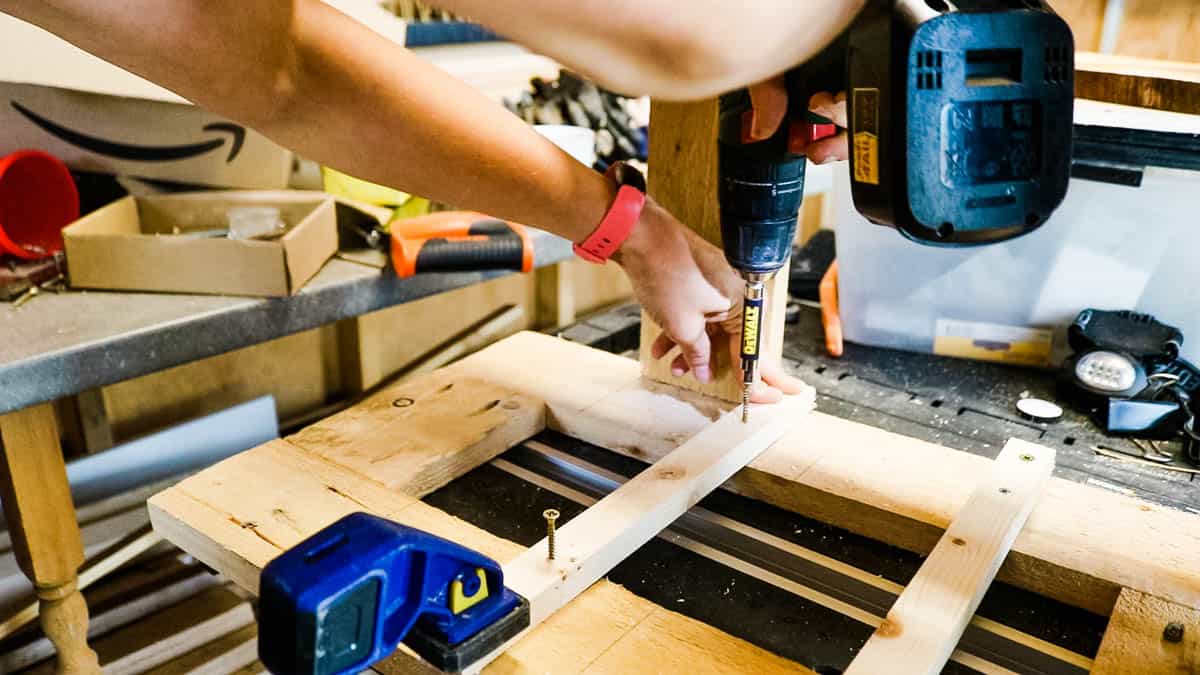
Making Basic Drawer Runner Supports
As I mentioned in my workshop organization video, there's nothing special about this built. In fact, it's probably a perfect wooden box drawer solution for beginners.
So after spacing where I wanted my DIY drawers to go, I predrilled and screwed some batons as supports.
That way, I can pull out the drawers as and when to get what PPE I need.

Total Spend
Free.
I had everything in already and hopefully, this has given you an idea as to what you can do or recycle and not throw away offcuts.
After all, wood isn't getting any cheaper right now. It's actually more expensive and difficult to get hold of!
More Projects You Might Like
- 20 Workshop organization ideas for tool storage
- DIY Silicone tube holder
- Easy shed shelves
- DIY tool wall
Easy DIY Box Drawers For Workshop Storage

How to make easy DIY box drawers on basic runners for additional workshop storage using offcuts. Includes step by step images and video to follow along.
Materials
- OSB wood
- Corner supports (offcuts)
- Pallet wood
- Wood glue
- Nails
- Wood screws
Tools
- Hammer
- Hand saw
- Mitre saw
- Combi drill
- Drill bit
Instructions
- Cut 4 sides the same to create a box
- Cut 4 corner supports
- Glue and nail two supports behind the front section and behind the back section of each box
- Ensure you offset the corner supports by the thickness of the base you're using and the thickness of the sides of the box
- Glue and nail together
- Cut the base and glue and nail to the corner supports
- Add a nail from each side, ensuring it goes into the base for more strength
- Make a frame for the drawers (see my DIY pallet wood plant stand) if you want to make one like mine. Or, two thick sides of plywood, etc would work.
- Predrill and screw runners on the sides for draw rests.
- Screw a back support about 1cm wider than the width of the drawers for clearance.

Comments
No Comments