
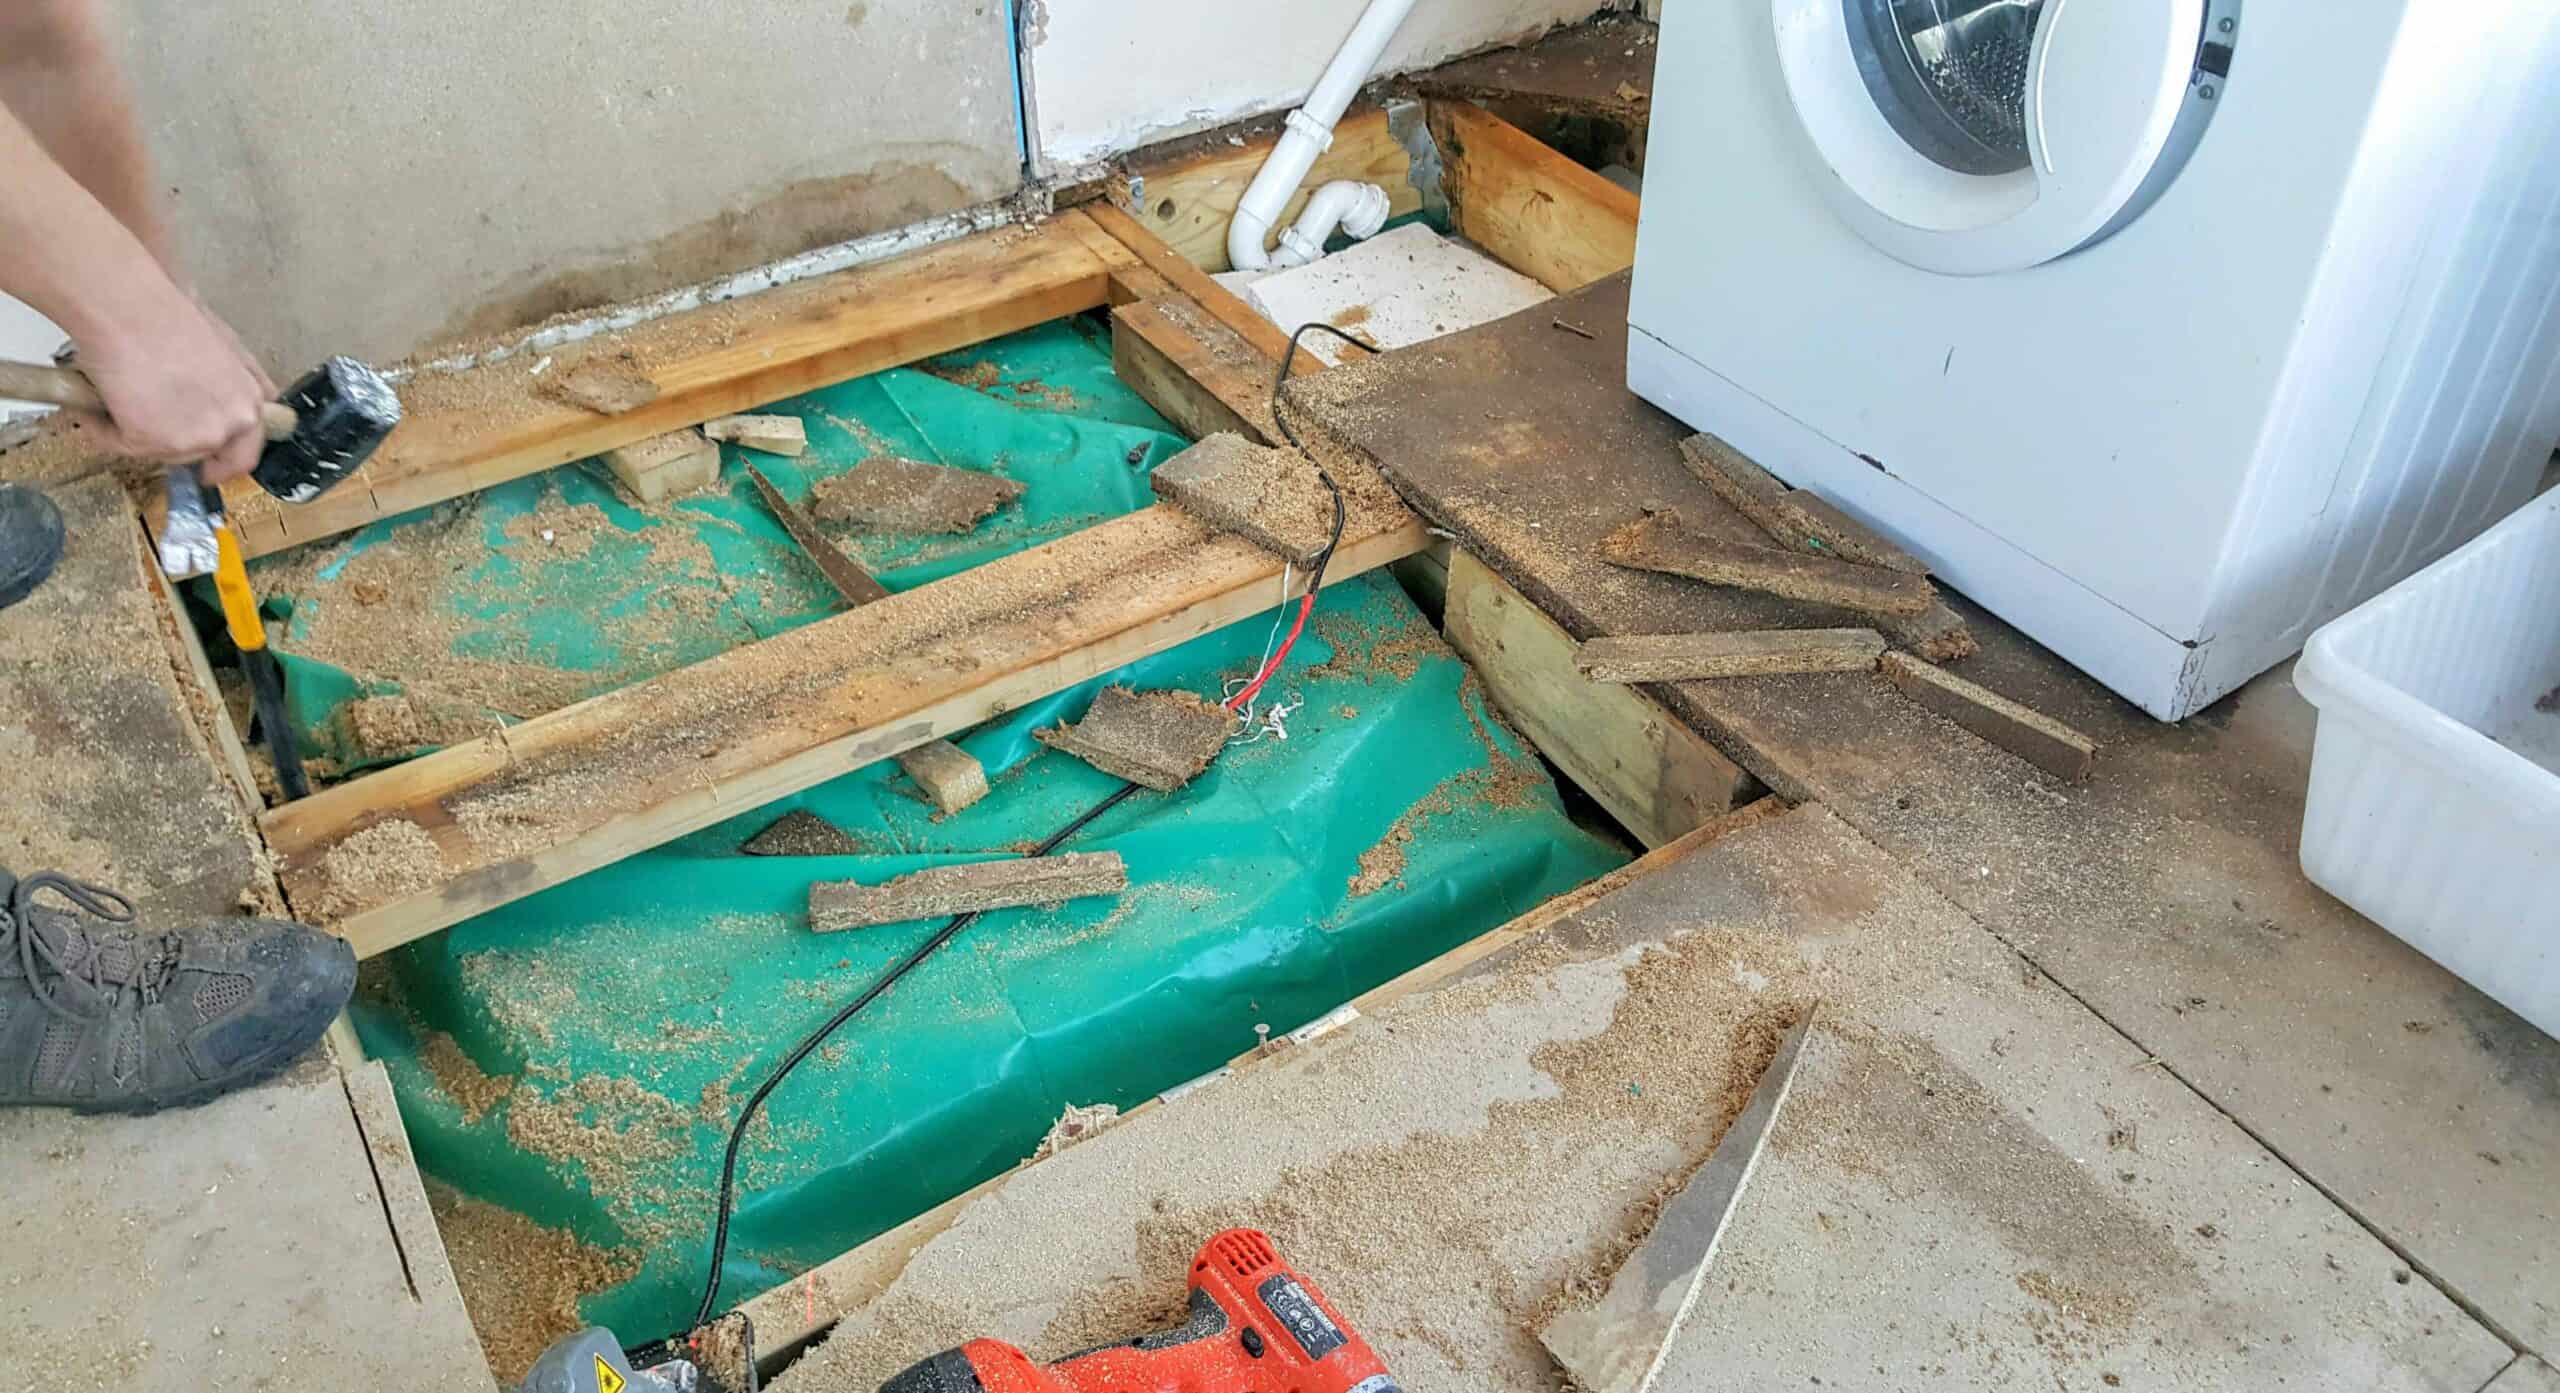

 If you find you have a leak, fix it now! That's what we've learnt recently as it can have devastating effects.
We have a large conservatory which is the same width of our small bungalow and we've really needed the space. But when we had a drip at the back of the washing machine, we put a towel there and a rag around the pipe on the basis we would fix it asap. But needing the washer every day got it in the way.
But a couple of weeks later, I pulled everything out to find another drip. It was worse than I thought and we needed to take drastic measures.
We've now ripped out the sodden chipboard flooring (it reminded me of weetabix) and have invested in some Moisture Resistant P5 Chipboard flooring from Wickes. It's the best thing for the corner anyhow as there's also going to be a double sink there.
Now the new boards have been cut out (by my fiance using a circular saw), I'd rather use a safe hand saw but apparently it'd take forever but it's my job this week to screw them in to the joists.
We had to be careful sawing in to the old stuff in case there were cables or joists underneath but will also need to screw new joists alongside the existing ones for more support.
Part 2
A DIY home really taken its toll this week. While trying to balance home life and make sure food is on the table, I've been a cook, a carpenter, car valeter, an errand girl, an auto electrician and a dog ball thrower. Cream Crackered!
We've had two leaks at the back of our washer that I've needed to put a stop to resulting in rotten floorboards, but this time I made sure we replaced them with moisture resistant ones. The problem was, I didn't know the structure underneath. Yes, the idea is to follow the screws, but it turned out the beams weren't totally uniform which left our cuts for removal a little too close for comfort.
After some greatly received guidance from my father-in-law over the phone, he shared a tip to add another beam tucking it underneath, gluing and drilling holes to fit some coach bolts from Toolstation. After using plenty screws (I love my new selection box from Screwfix) and screwed down the new boards to finish. I'm very happy with the results.
Now all we have to do is carpet it, fit the skirting boards and install the remaining carcasses.