
Here's a loose step by step guide on how we built a partition wall to turn a living room into two bedrooms. Please note, I am not a professional, but am documenting what my Dad taught me.
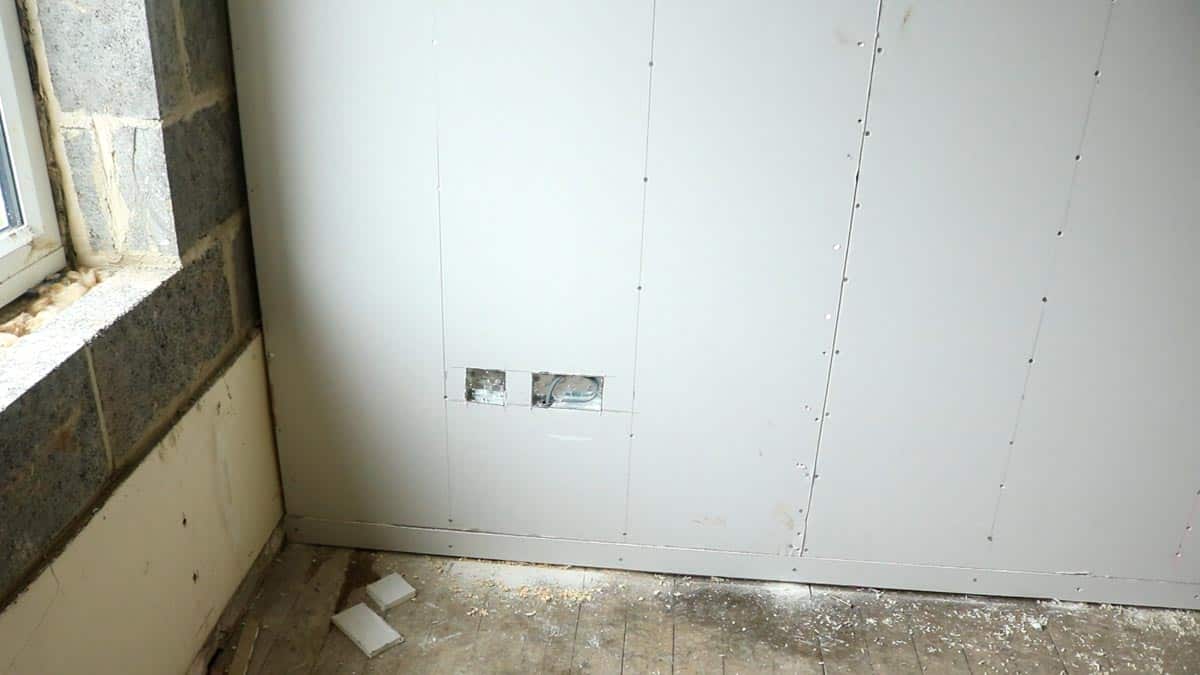
I've always wanted to learn how to install a partition wall. And while helping on my parents' new bungalow renovation project, that's exactly what I did last weekend.
Partitions are extremely useful for turning one room into more. And below, you can see the original layout floor plans. They had a weird L-shaped living room which didn't feel the best use of space. Perhaps the upper left area was a former dining room.
So below, you can see we installed partition walls to divide it into two bedrooms. But with two bedrooms, it also meant two doorways too. If you'd like to know my dad's recommended doorway opening, then you please refer to my blog post here.
LIVING ROOM BEFORE
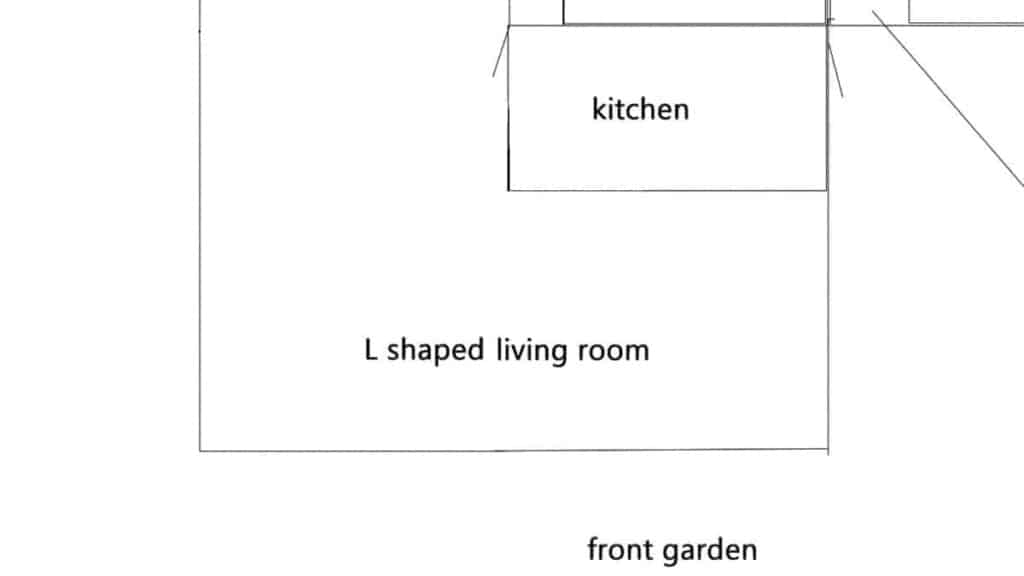
TWO BEDROOMS AFTER

LAYING OUT YOUR PARTITION WALL
Before I arrived, my Dad had already created the doorways, so in this post, I'll be talking about installing a very basic partition wall. My wall is to the right, just out of view in this picture which divides the room itself.
But I was told that my Dad started
- Lay a straight piece of C16 structural where you want your wall
- You may want to offset it to allow for plasterboard and plaster if you're continuing a wall
- Ensure you have perfect right angles when creating corners
- Screw down a length of structural timber to the floorboards
- Cut the door openings while in situ

HOW TO BUILD A PARTITION WALL
Once you've laid your one base length down and screwed to the floorboards, here's where I'm going to show you how to build a partition wall.
Cut two more lengths to the same size. Then lay on top.
The idea is, we're going to build the frame first, them slot in before mounting.

MARK FOR BATTENS
To work out where your battens need to go, you'll need to measure the narrower width of your plasterboard.
Ours was 1200mm wide, so we marked pencil marks for every 400mm.

As all ceiling heights aren't the same, I held another long length up to the ceiling and marked where the stacked C16's start.
However, as you go, it's VERY important you mark which one is which so you don't get mixed up. Remember, each one is likely to be different.

CUTTING YOUR PARTITION WALL BATTENS
Above, I'm cutting with a chop saw (also known as a mitre saw) for accuracy and it was already set up.
However, there's nothing with a hand saw which I often use for structural timber. Or, you could even use a jigsaw.

SCREWING THE PARTITION WALL TOGETHER
Once we've got all of our cuts (and haven't got them mixed up), we need to screw it all together.
Because we have the right cuts, we're going to screw together away from our future partition wall.
We lined up the battens with our 400mm pencil marks, then screwed together. My husband held them together while I screwed.

PUTTING THE PARTITION WALL IN PLACE
Once built, we slotted the partition wall between the base piece and ceiling.
If it's a smidgen tight, you may need to mallet slightly in place. Or use a boot, as I did.

SCREWING THE PARTITION WALL TO THE REST
Then, using my hands, I ensured everything was flush, then screwed to the adjacent partition wall with an impact screwdriver.
I used long wood screws for this too.
I'll show you how to fix to a masonry wall shortly.

Carry on repeating with a few more screws on one side.

Then repeat along the bottom, too.

Ensuring the unfixed side is level
As we knew the other side was level, we now needed a spirit level for the masonry wall side.
So, I'm using a spirit level and tapping with a hammer once the bubble was dead centre.

HOW TO FIX A PARTITION WALL TO MASONRY
Once the partition wall was level, I use an SDS hammer drill to go through the wood, then the brick wall.
To attach the partition wall, I used a combi drill on setting 1, but highish torq with a Spax screw. These are also known as a masonry screw and don't require rawl plugs.
Tip: if there are any slight obstructions against the wall and you have a little gap, then pack with some shims to prevent bending the wood.

SCREWING THE PARTITION WALL TO THE CEILING
This was the bit I was unsure about, so I'll talk you through.
Screw the top through the ceiling. Then, you'll need to go into the attic to find where these screws are.
Now add blocks of timber while you're up there, and screw downwards to grip on to the top of this partition wall. Note, we still need to do this, so haven't been able to show you yet.

INSTALLING NOGGINS
Now you'll need to add some noggins to give the battens more strength and straighten them up.
I held some offcut C16 along the bottom. Note, it's best to hold it where the slimmer side is facing upwards for a better cutting line.
You need to take these measurements from the bottom as further up, they're less likely to be straight.

Screw your noggins to the batten. These are roughly half way up the wall and staggered.
I also used two wood screws per noggin.

ALTERNATIVE POCKET HOLE TO SCREW ON AN ANGLE
When it came to the noggins closest to the wall, I learnt an alternative to a pocket hole. Plus, pocket hole jigs are quite expensive when wanting to screw thick wood together.
So to screw on an angle, I first screwed a short screw on an angle in the centre (not seen above). This was to prevent movement, which my husband held for me.
Then, screw a long screw downwards a few mm and reverse. Angle the screw backwards as seen above and attach the noggin while the screw is on an angle. Repeat with a 2nd screw.
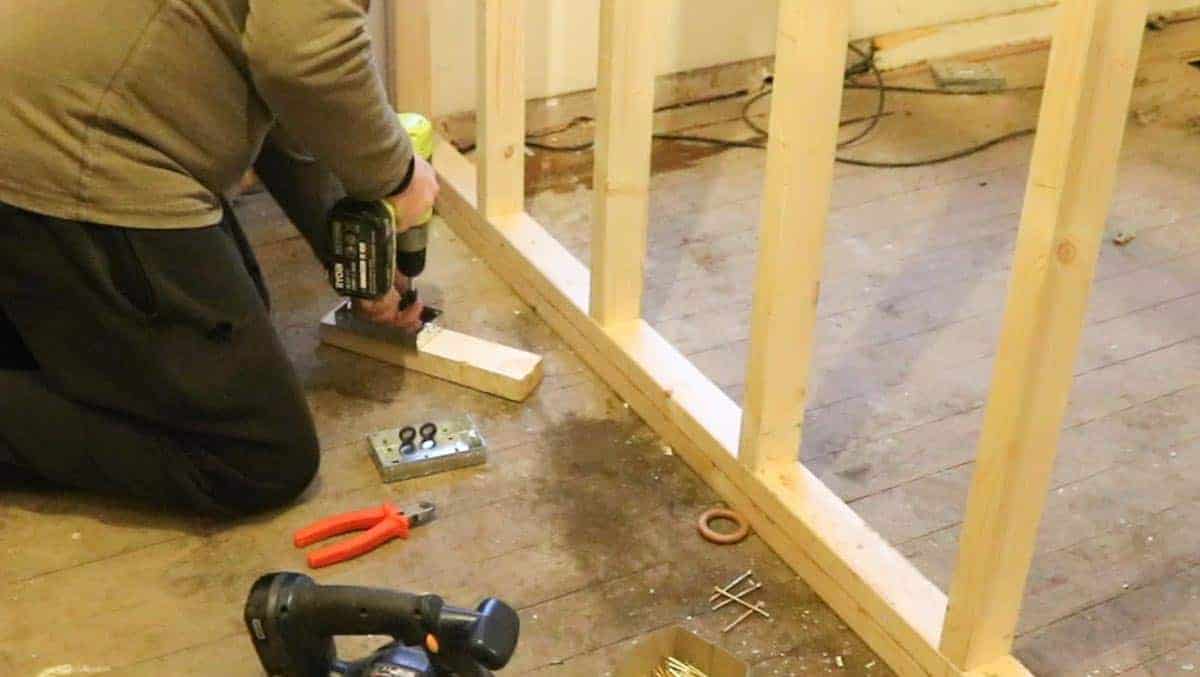
ELECTRICS HIDDEN IN A PARTITION WALL
Before we screw on the plasterboard, you need to plan where your electrics are going. One of my Dad's friends is an electrician who worked alongside us.
Above, he's adding plug sockets on to noggins to go further down the wall.

Later, he cut a hole in the floorboard to feed an electric inside. And one through the ceiling.
DO I NEED INSULATION?
I've looked into this and apparently you don't need insulation for an internal wall.
However, I think I would have used it to reduce sound and hopefully added a little bit more warmth.
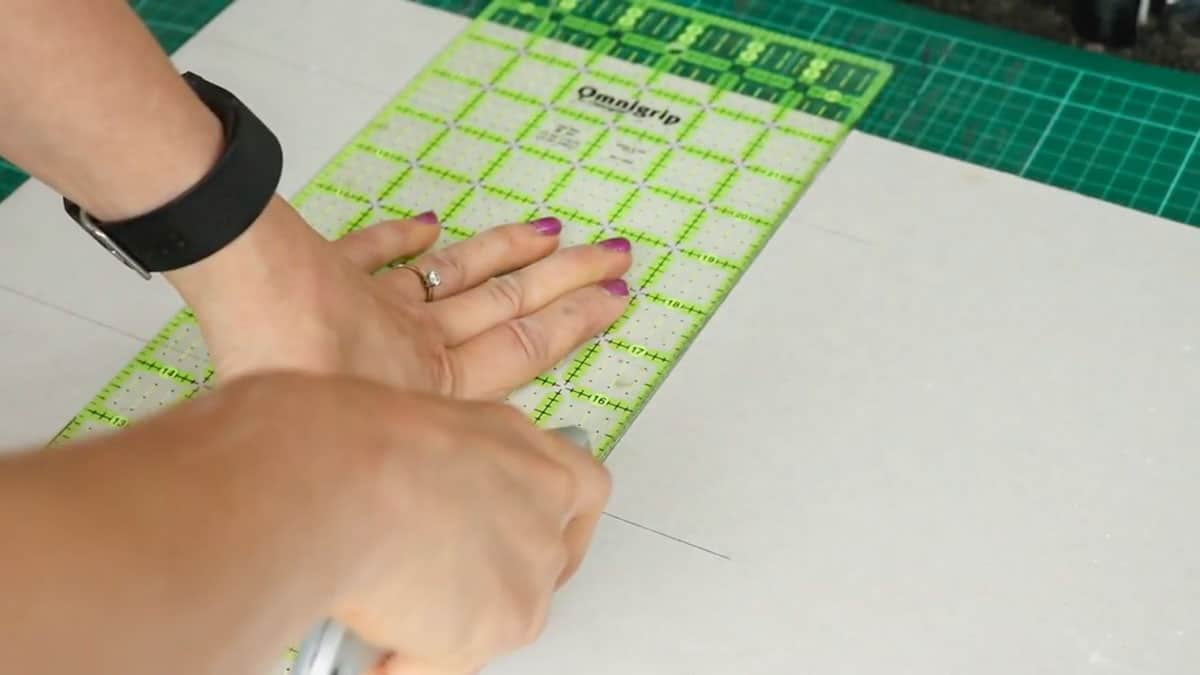
HOW TO CUT PLASTERBOARD
I didn't cut the plasterboard on this project, so I'm showing you from when I studded and tiled a wall in our kitchen.
You simply hold the plasterboard where you want it and mark to cut. Or measure, mark then cut.
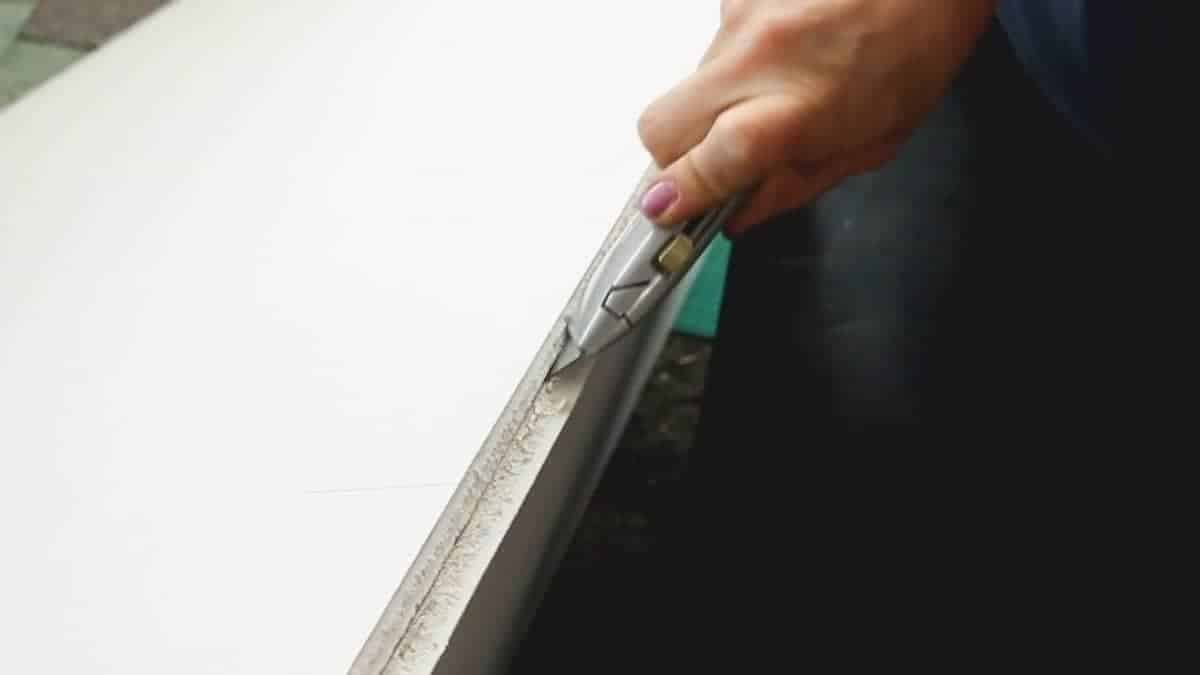
Then I held something straight and scored it with a stanley knife. Now fold over and slice again where it's hanging off.
If you mess up, plasterboard is very cheap.

PROPPING UP THE PLASTERBOARD
My Dad held up the plasterboard while I screwed it on. But to make life easier, he'd made this little jig.
It's a piece of mitred structural timber and a thick dowel screwed underneath. It's also sat on another offcut of wood to get more height.
So my Dad would press it down with his foot, levering the plasterboard to the ceiling. If you needed it higher on the left of right, then angle the prop jig in that direction.

SCREWING THE PLASTERBOARD ON YOUR PARTITION WALL
To mount the plasterboard on the partition wall, I used screws and a screwdriver on torq setting 3.
It's best to do a test first as you don't want your screw completely going through. And that it's countersunk just a touch for when it's plastered.
Add screws every 6 inches all the way around.

SCREWING THE PLASTERBOARD TO THE STUDS
As we haven't covered plasterboard on both sides yet, I marked where they lied on a scrap bit of skirting board from the back. You could also mark on the ceiling before plasterboarding it up.
Then line the scrap up with where you started on the other side. Now transfer those pencil marks on the plasterboarded side. I did this at several intervals.
Then drew straight vertical lines where my pencil marks lied. Now screw along, every 6 inches again.

CUTTING LIGHT SWITCHES IN PLASTERBOARD
After cutting the plasterboard to size for another section of wall, we held it where it was going to go.
As there was a light switch there, the electric drew around it from the back. It's obviously best to do this side first before plasterboarding the opposite.

Then, using a plasterboard cutting knife, I carefully cut out the hole.
My Dad specific said don't cut too tight to the pencil lines. I cut dead on them instead.
Then hold the plasterboard to the ceiling and screw as normal.

FILLING IN THE GAPS NEAR THE SKIRTING BOARD
As the plasterboard was a touch shorter than the height of the plasterboard, we had some gaps to fill.
So my Dad cut some strips for the bottom area that I screwed on as normal.

So this is how it's looking at the moment. The electrician still has a few jobs to do, so we haven't added plasterboard on this side. But I'm sure you get the idea!
Hopefully, I'll be talking through adding corner beads and plaster to finish.
How to Build a Partition Wall

Here's a loose step by step guide on how we built a partition wall to turn a living room into two bedrooms. Please note, I am not a professional, but am documenting what my Dad taught me.
Materials
- C16 timber
- Spax screws
- Plasterboard
- Screws
Tools
- Spirit level
- Combi drill
- SDS drill
- Plasterboard knife
- Stanley knife
- Tape measure
- Mitre saw
Instructions
- Lay down your C16 timber on the floor where you want it and screw to the floorboards.
- Then work out where your doorways are going and cut the timber while in situ.
- Cut two more C16's to the same length and stack on top.
- Mark out every 400mm on them, then hold another C16 length up to the ceiling and in line with the pencil marks.
- Draw towards the bottom of the upright C16 where the top of the stack lies.
- Cut down with a mitre saw and give each one a matching code or mark so you don't get them mixed up. Remember, the ceiling heights may differ.
- Dismantle the stacks and lengths you cut and layout on the floor.
- Screw together in line with the pencil marks and once built, slot between the ceiling and base piece.
- Ensure level on the wall and any adjacent wall and screw together. If screwing to masonry, drill through the wood and masonry with an SDS drill and attach with masonry screws.
- Hold offcuts along the base of each space and mark with a pencil where to cut down. These are your noggins.
- Screw the noggins halfway up the wall and stagger them for ease. Read the note above for the noggin close to the wall.
- Screw to the base then the ceiling.
- Go into the attic to locate the screws and screw down blocks of timber while you're up there to ensure it's clamped to the top of the partition wall.
- Now get an electrician to install any sockets and light switches you wish.
- Measure, marks and cut your plastboard with a stanley knife and prop up towards the top of the ceiling. Refer to notes above for prop tool.
- Draw around sockets from behind and cut out with a plasterboard knife.
- Screw the plasterboard to the studs with a combi drill on a very low torq setting, but ensuring they're slightly countersunk.
- Add any insulation you wish, then repeat on the other side.

Comments
No Comments