
Here's our DIY garage conversion to create an en suite and walk-in wardrobe. Note, the other half of the garage will eventually be a utility kitchen, coming soon.
Disclaimer: always consult with a building inspector first through your local council. Each region's requirements differ and they can often help with suggestions. Also, I am not a professional, but more like an apprentice, learning.

While helping remodel my parents' bungalow project, one of the key changes has been working on a garage conversion. Thankfully, my Dad has always been able to plan things in his head. Kind of like a magician.
So, it had a garage adjacent, but only linked with a flat roof. It was also a tired looking space inside. We then had a brickie come to create a partition in it with a breeze block wall. That way, two thirds at the front will be a utility kitchen.
And the last third at the back will be an ensuite and walk-in wardrobe. We also had part of the walkway to the garden bricked up at the back. I then helped knock a doorway through an external wall, which is where the camera is in the pic above.

How We Did Our Garage Conversion
First, as seen above, we needed a concrete foundation as to where the old block paving used to be. *Note, this used to be a walkway which we bricked up.
Also, our brickie created a two layer brick wall away from the breeze block wall. This was for the damp proof course and studded wall to be built.
Before adding the damp proof course, I needed to brush down any debris.
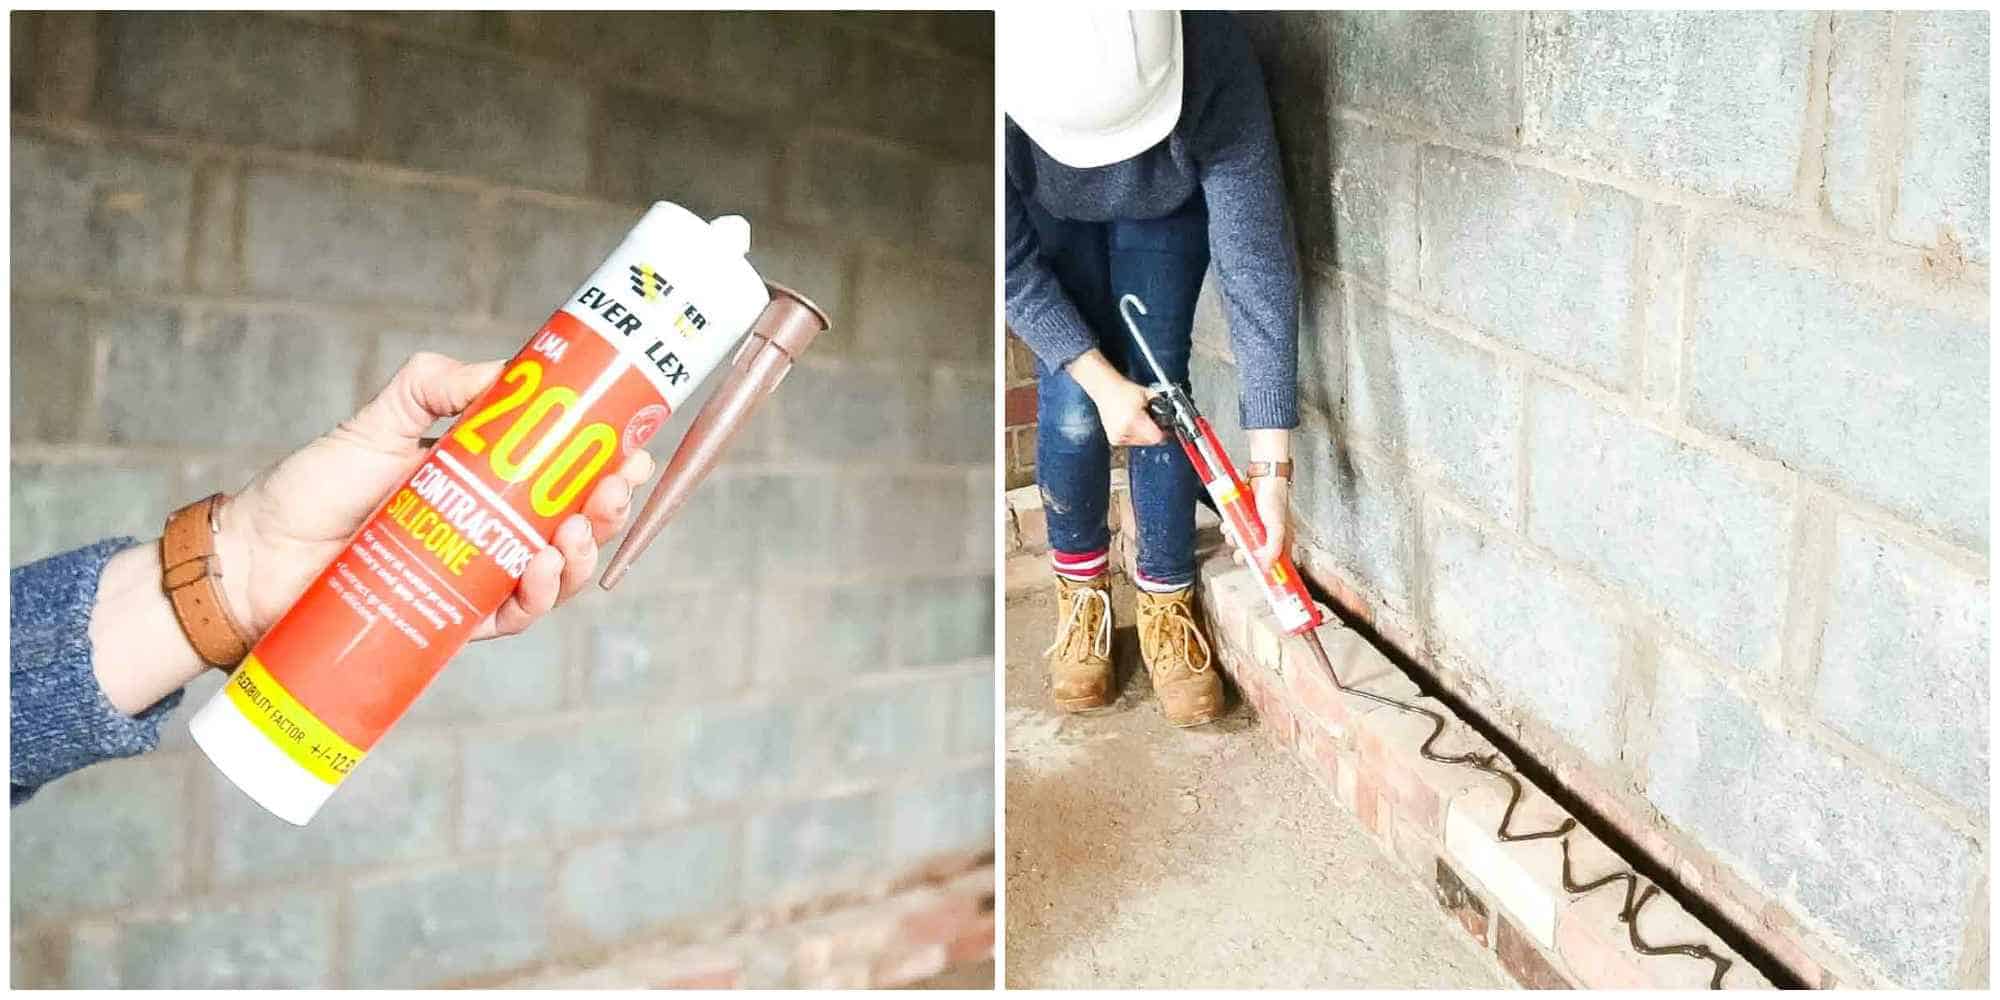
Laying the Damp Proof Course in Our Garage Conversion
I then applied a squiggle of contractor's silicone along each the two course of bricks.

I followed by adding the damp proof course firmly on top, pressing down with my feet.
Note, it's important the damp proof course doesn't touch the adjacent wall. Ie, the breeze blocked wall.

Then continued to work my way around the room.
You'll notice for the awkward protruding bit of wall, I had to cut slots.

Building the Garage Conversion Studded Wall
After measuring the length of one side, I cut two lengths.
Then stacked them on top of each other and measured the gap left above, rising to the ceiling. So that's from the top of the stacked wood to the top of the ceiling.

Then cut several studs, roughly every 40cm.
Note: to work out how many you need, measure the width of the plasterboard you're using. Each end of plasterboard needs to lie between each batten.
I believe we had a stud around every 40cm.
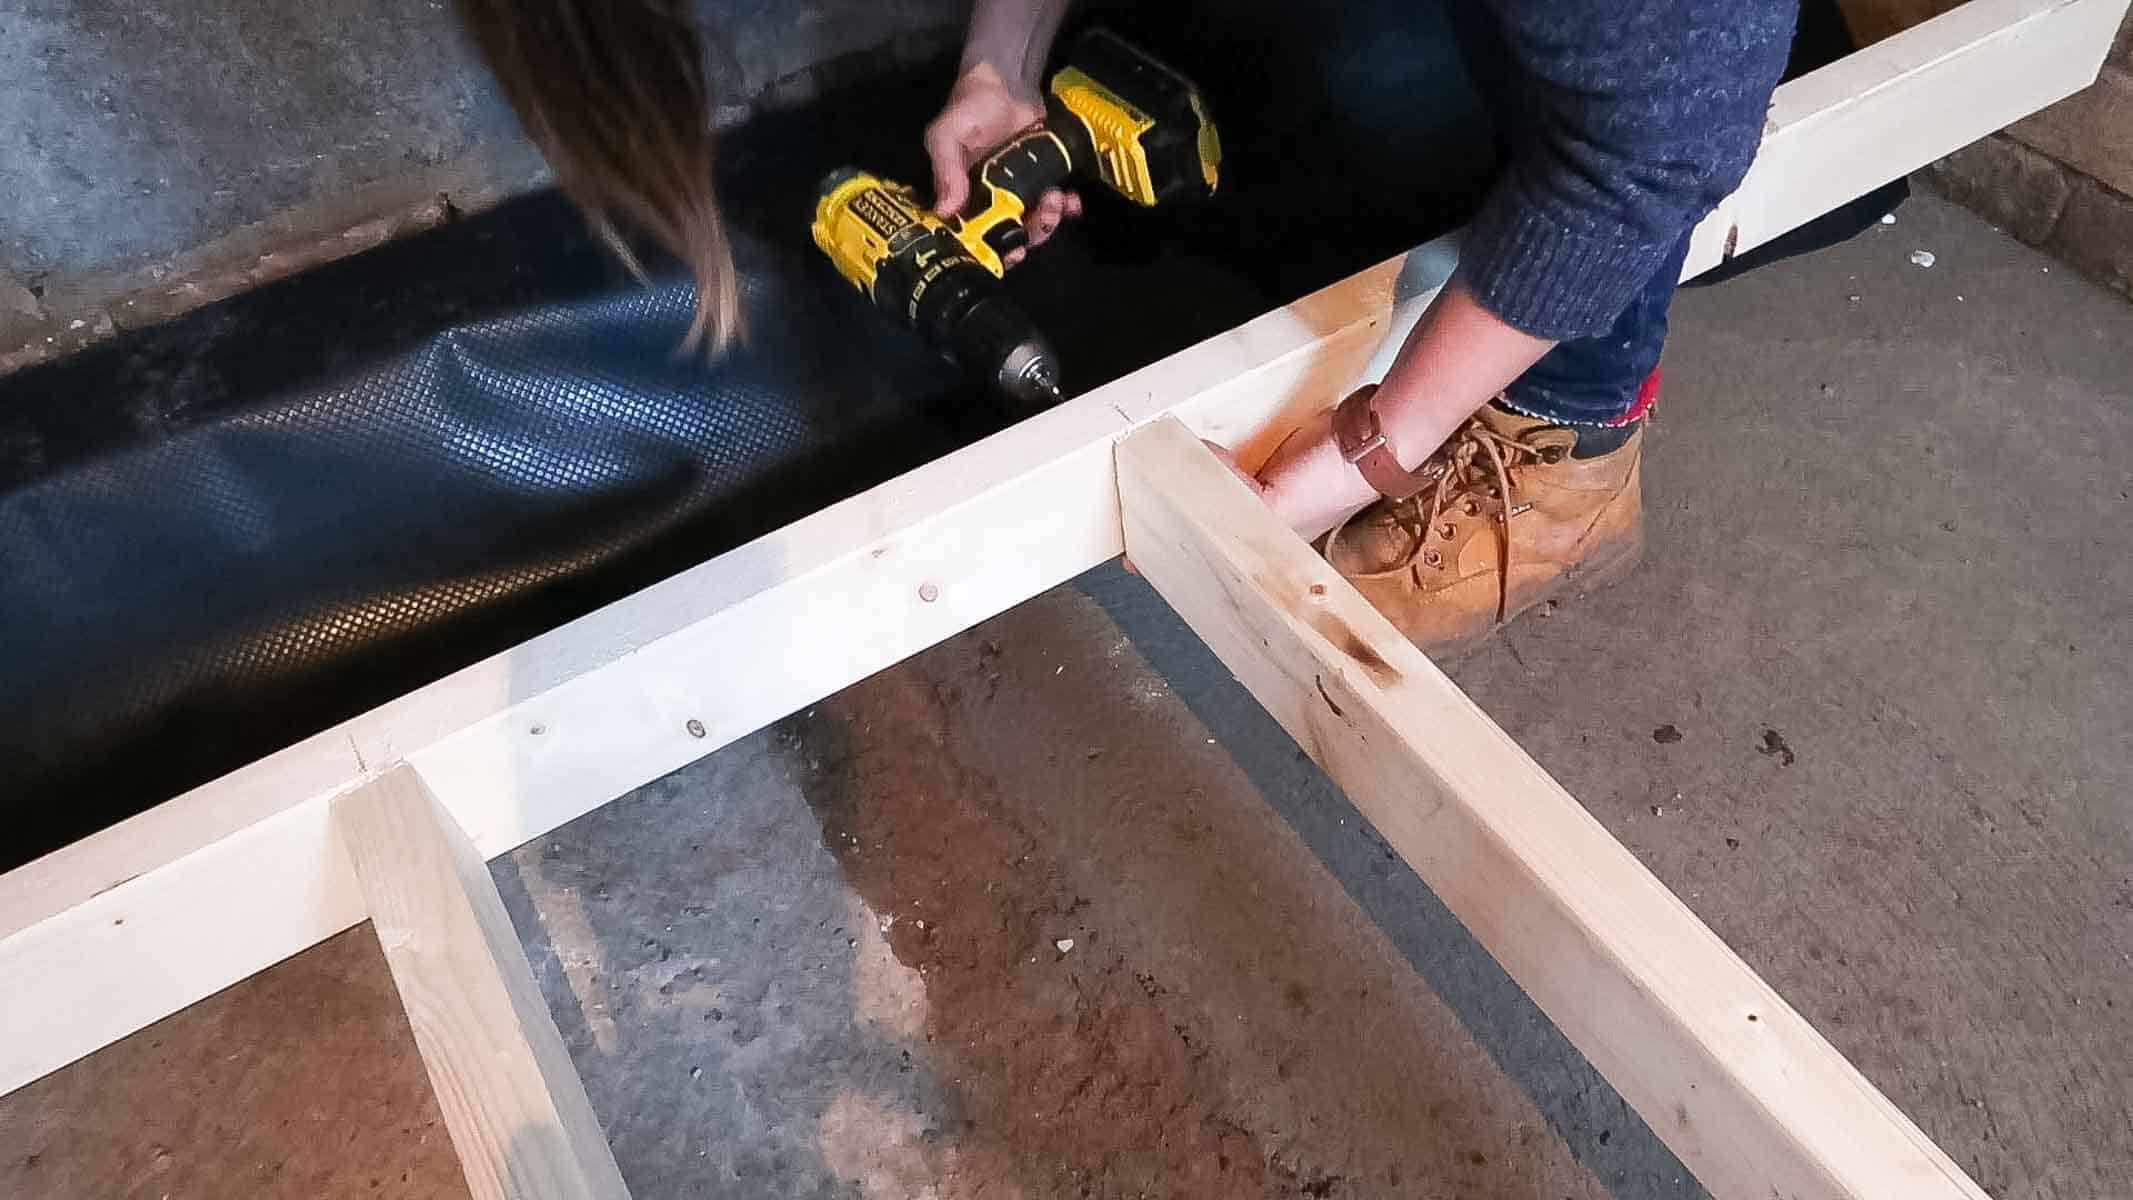
Building the Studded Wall
Once all cuts were made, we built the frame.
Ideally, you should pre-drill pilot holes before screwing to prevent splitting.

We did this as a team.
It was also useful propping them on bricks for easy access.

Putting the Studded Walls in Situ
Once the first studded wall was built, we slotted them in place.
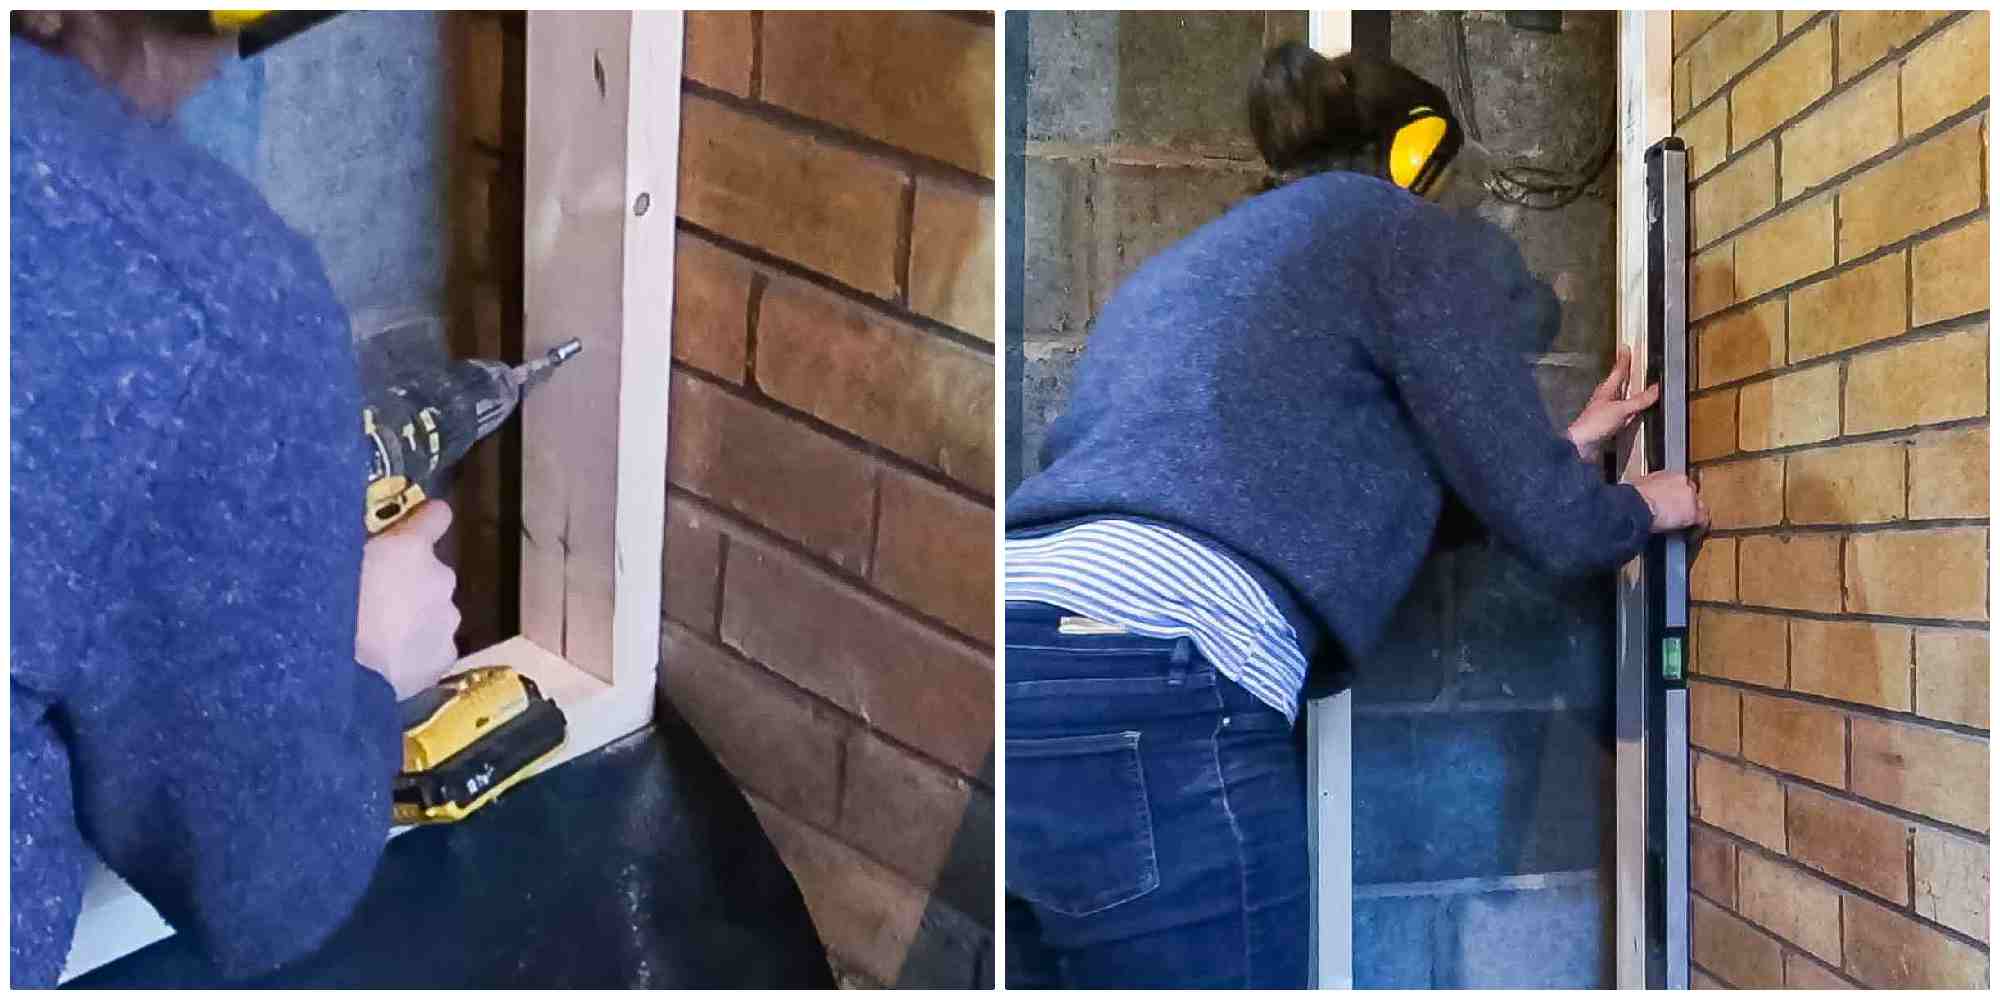
Using a spirit level, I pre-drilled holes through the sides with an SDS hammer drill. This meant I also went through the brickwork.
To mount the studded wall to the bricks, I fixed with masonry screws (aka Spax screws). These are brilliant as you don't require rawl plugs.

We then repeated with the remaining studded walls.
Note, for the wall protrusion, my Dad quickly made some cross cuts, not going all the way through. Then knocked them out with a chisel.
It's rough because we're only using the tools we have on site.
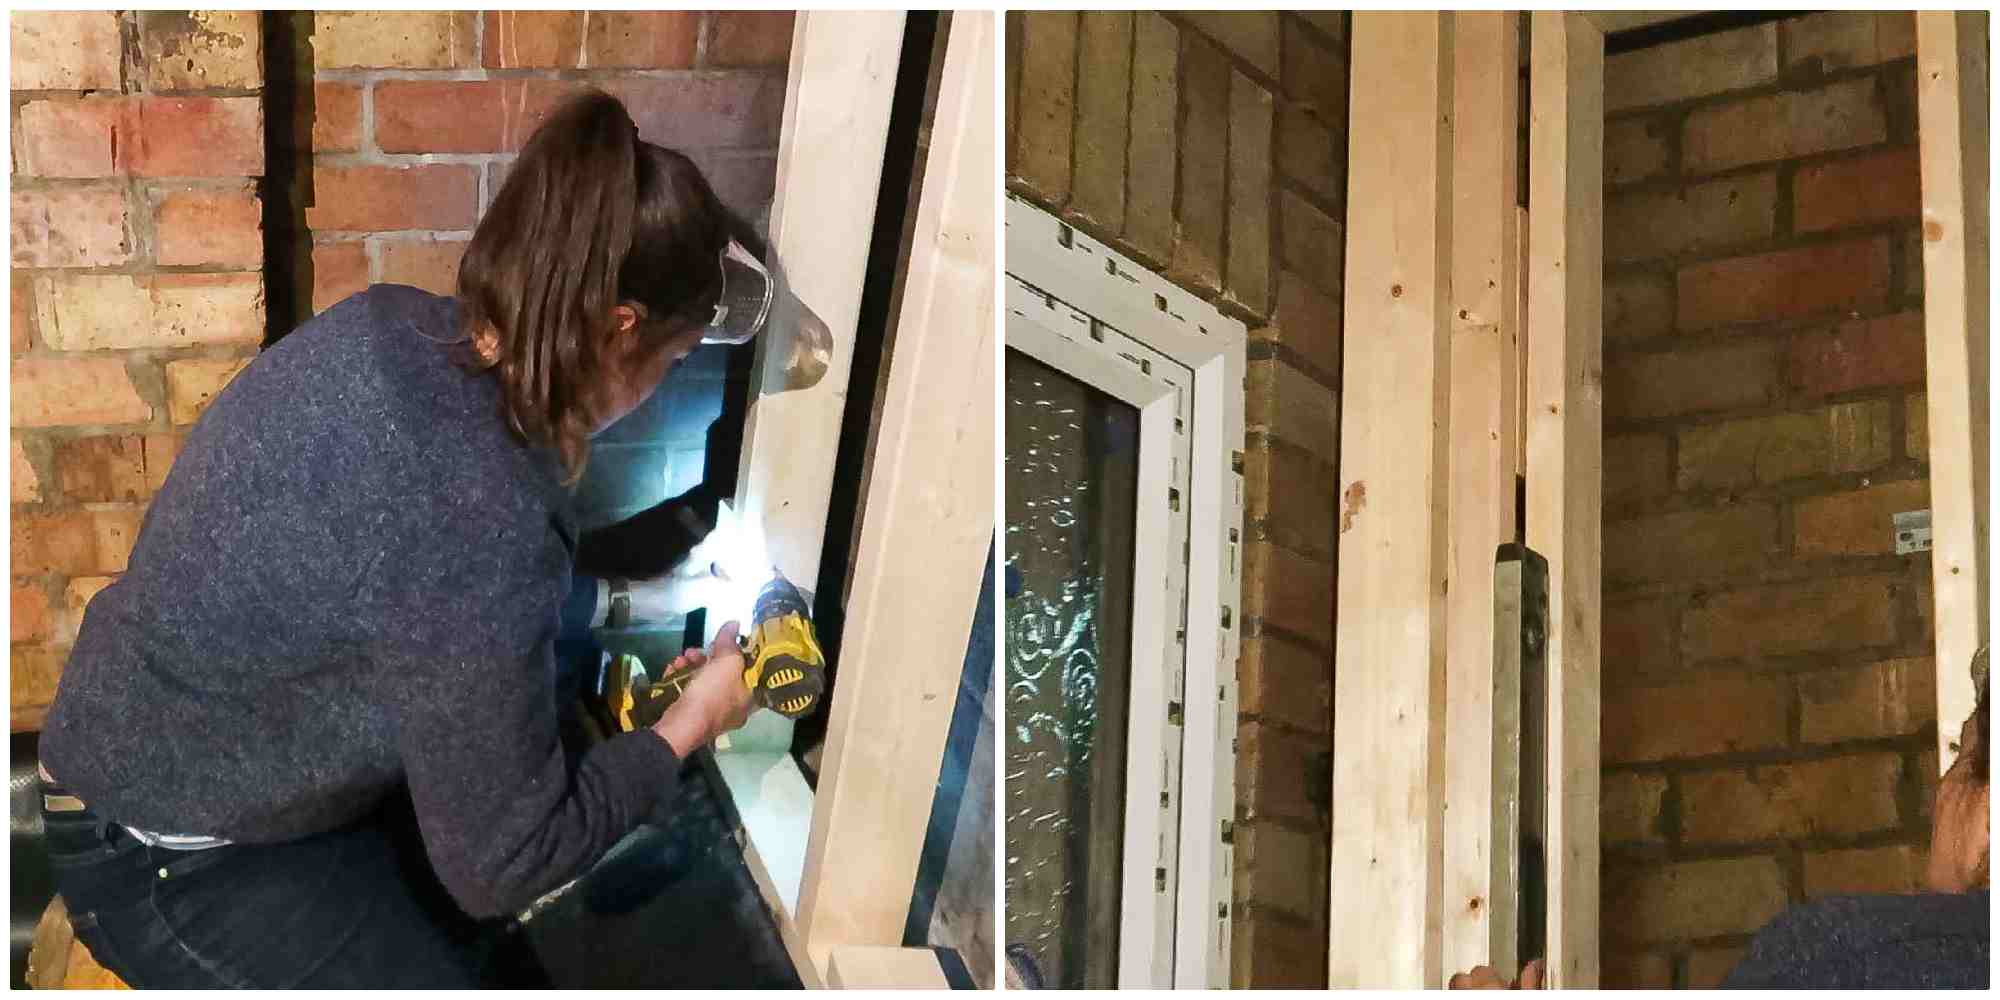
Adding Fixing Blocks to the Studded Wall
To ensure we could join all the studded walls together, I screwed connector blocks on the ends.
This meant, when we built the back centre wall, I could screw it to these blocks.
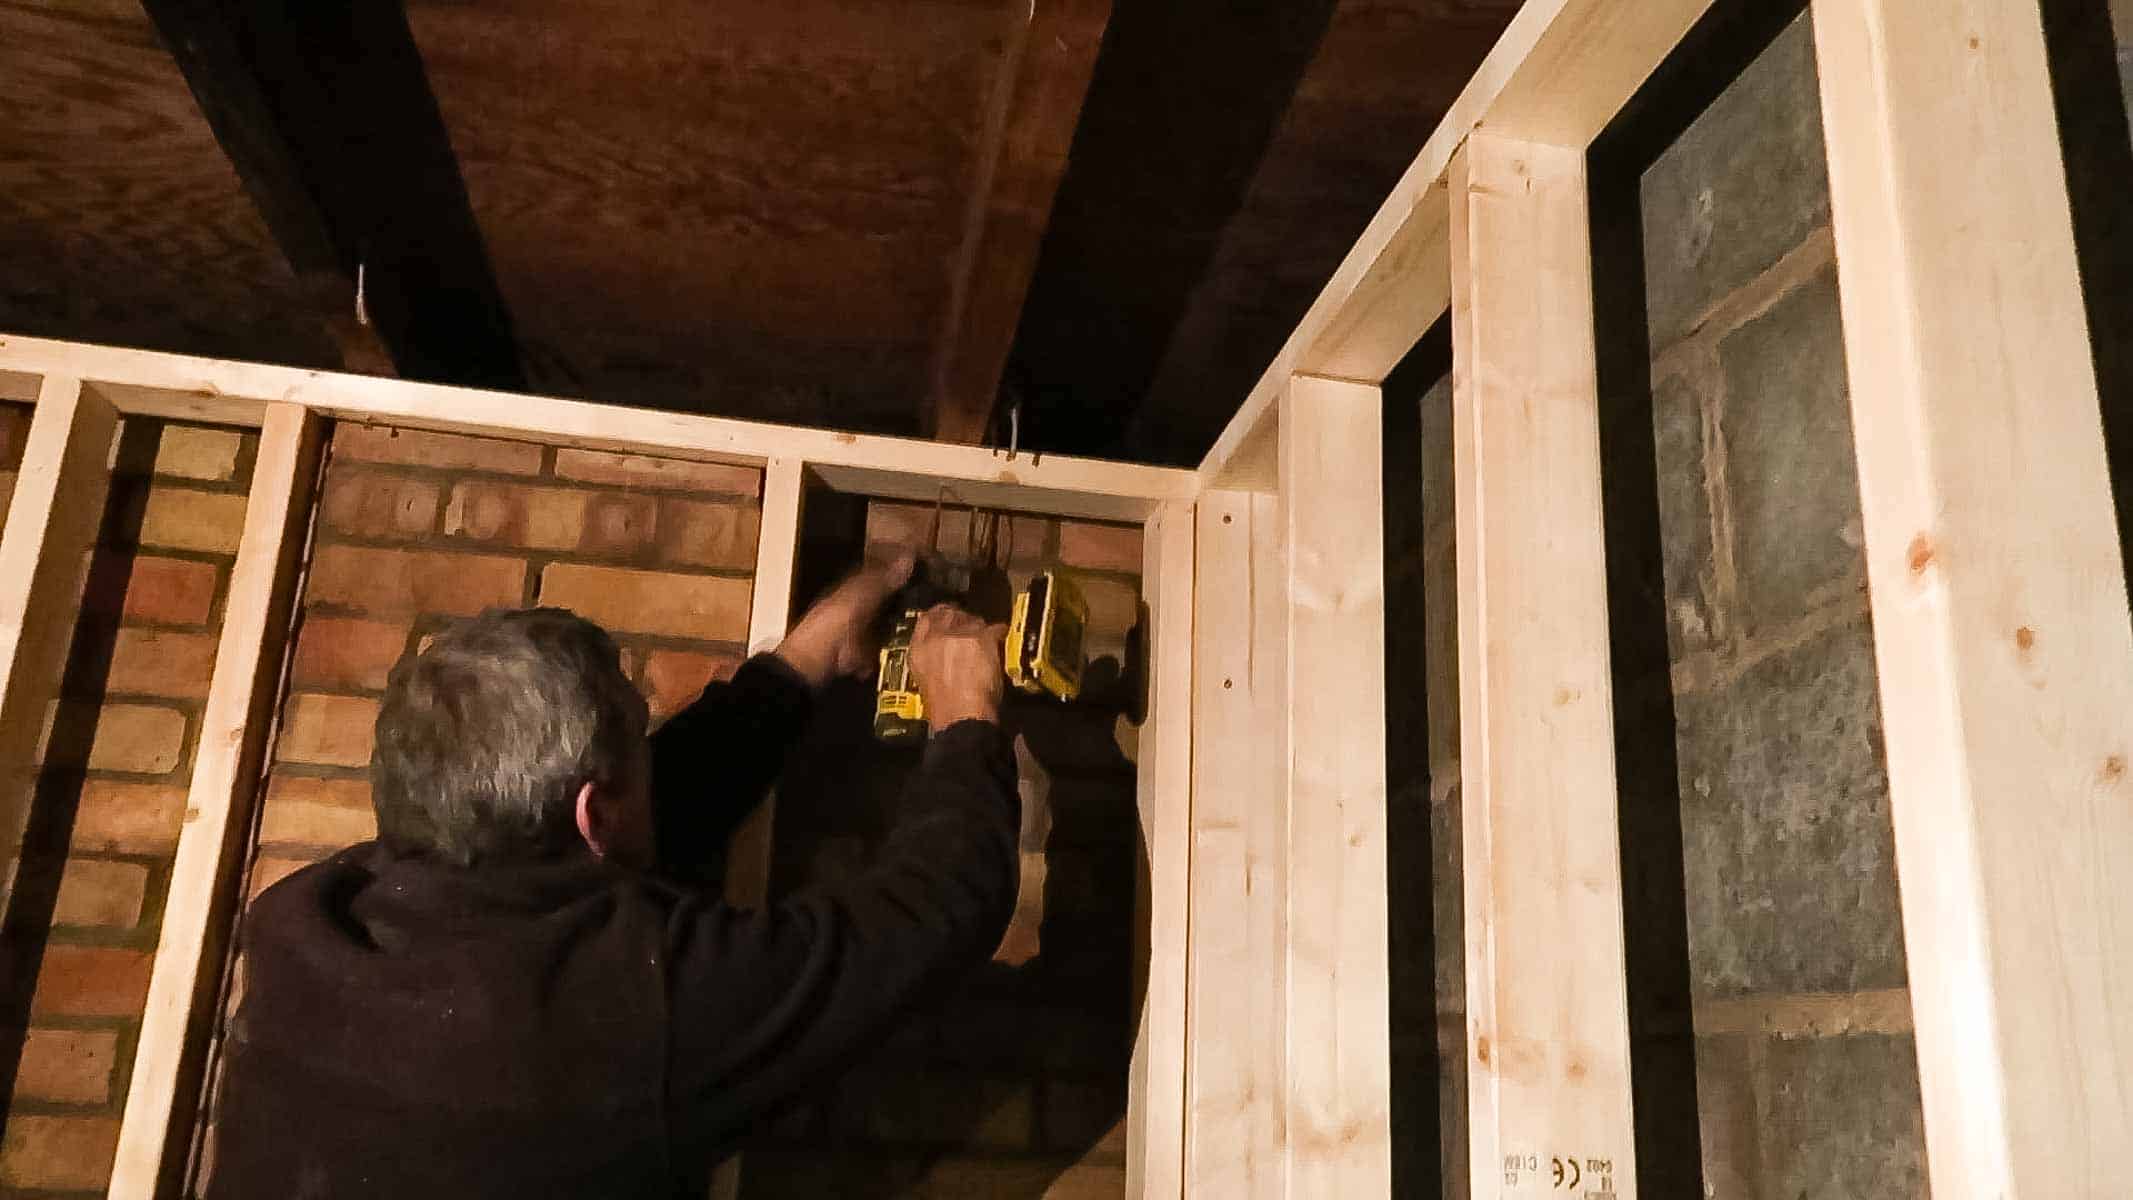
Screwing the Studded Wall to the Ceiling
Then, because my dad doesn't require step ladders, he's screwing the top of the studded wall to the ceiling studs.
Note, you may be wondering whether this is still a flat roof as it's wood. No, it's not. My parents built a new pitched roof above.

Installing a Floating Floor in the Garage Conversion
As the floor was concrete, we wanted to add more insulation while also making it level with the bedroom floor.
We placed a thick plastic sheet down and tucked it under the damp proof course.
Then packed with some polystyrene before adding foiled insulation on top. You can see I'm testing the height of it with a long batten to see if it's the same height as the next room's floor.

Fitting Floor Boards in the Garage Conversion
Here, I'm cutting water resistant chipboard floorboard with a hand saw. Note, it's much quicker with a circular saw, but we didn't have one on site.
I was also asked to cut it about 1cm smaller than the width of the room for expansion.

We placed packers along the back to ensure it was even, yet still have a slight bit of expansion room. I then applied glue along the floorboard tongue and groove lip.
My Dad and I would slot the next floorboard in. And to ensure it was firmly glued together, I used a straight piece of wood and mallet it.
This applied even pressure and I'd repeat along each section of the edge. Then continue until we got to the door way and needed to cut around it.

Cutting Noggins for the Garage Conversion's Studded Wall
To add more strength to the studded wall, I needed to cut noggins for each gap.
For accuracy, always take the measurement from the bottom and never the middle. This is because wood bows.
For quickness, I'd hold wood along the bottom and mark with a pencil.

Insulating the Garage Conversion Walls
After cutting each noggin, each length determined the width I needed to slot. I then transferred to the thick insulation and use a straight edge as a cutting guide.
Or sometimes, while the insulation was stacked, I'd mark the insulation and hand saw without a guide.
Note if your insulation was too tight, my Dad showed me a trick of running the saw along the edge in situ. It would take the tightness away and slot in easier, but it's best to be snug.

Screwing the Noggins in the Studded Wall
Note, our noggins are not staggered. This was to make life easier, cutting the insulation.
I then screwed in the noggins. Some of which needed to be on an angle.

Screwing the Studded Ceiling
The garage roof wasn't level. So, my Dad built a studded ceiling, while ensuring it was level.
However, there was a gap in some places between the old and the new.
Instead of creating furrings, we screwed in wooden packers instead. We also used a long straight piece of wood to check the run of the heights. If any studs didn't touch, we'd pack it out.
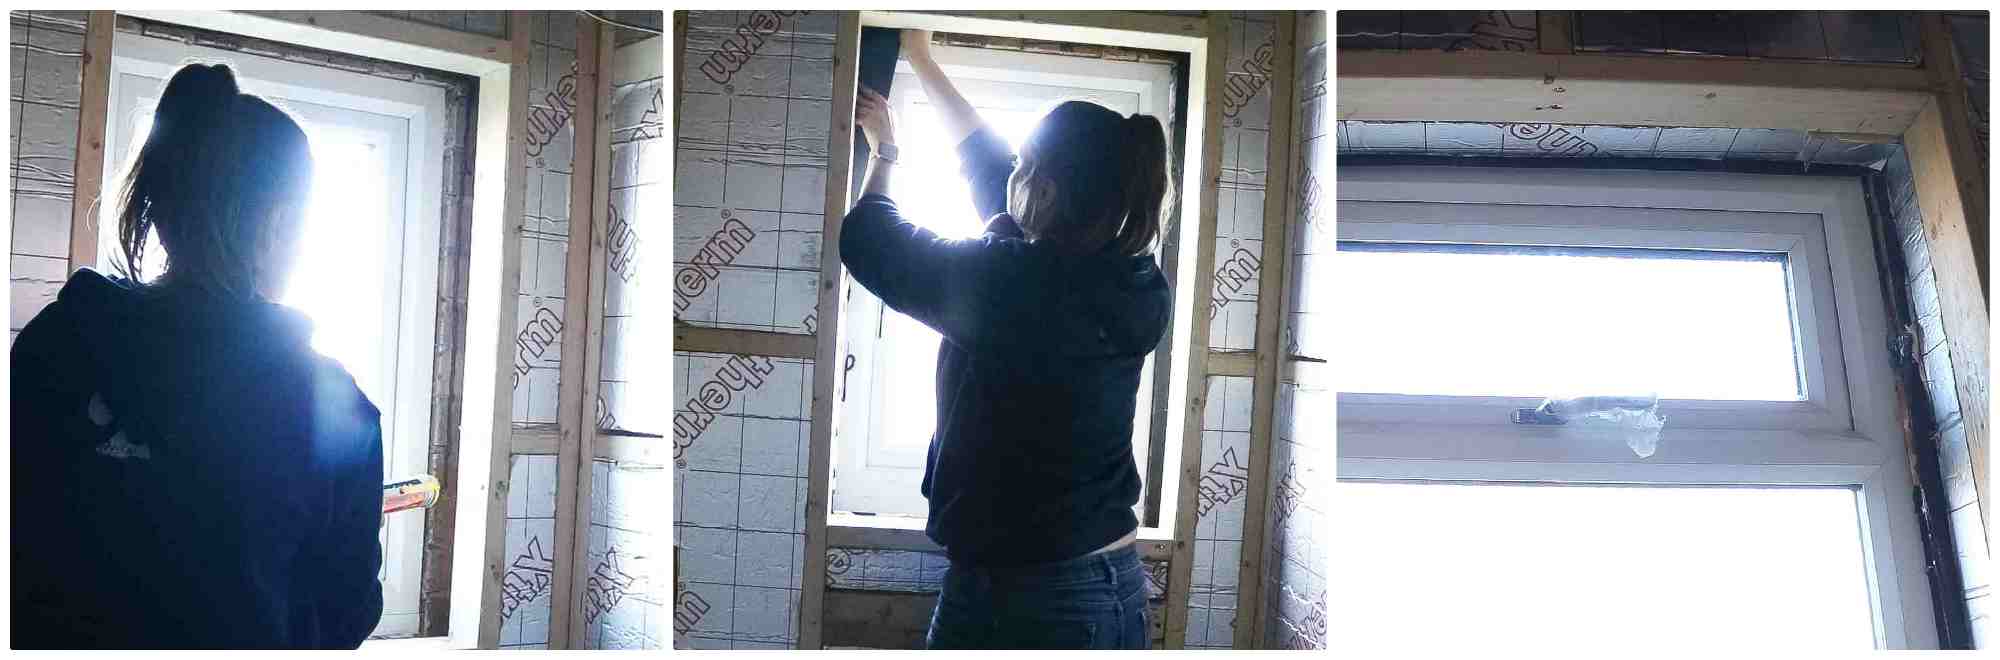
Adding Damp Proof Course Around a Window
Something the builder inspector told my Dad, who has visited a view times, was to add damp proof course around the window.
Similarly to the first step, I applied contractor's silicone and cut damp proof course strips and applied to the bricks.
Note: it was important not to put then far too back, because slotting insulation sometimes pushed them back. It's best to have it overlap the window frame slightly and you can always trim excess if needed.
Plasterboarding the Garage Conversion
After adding insulation in the ceiling. (Side note: some say a vapour barrier is needed. (Our new roof is pitched and extremely well insulated, so always as your building inspector).
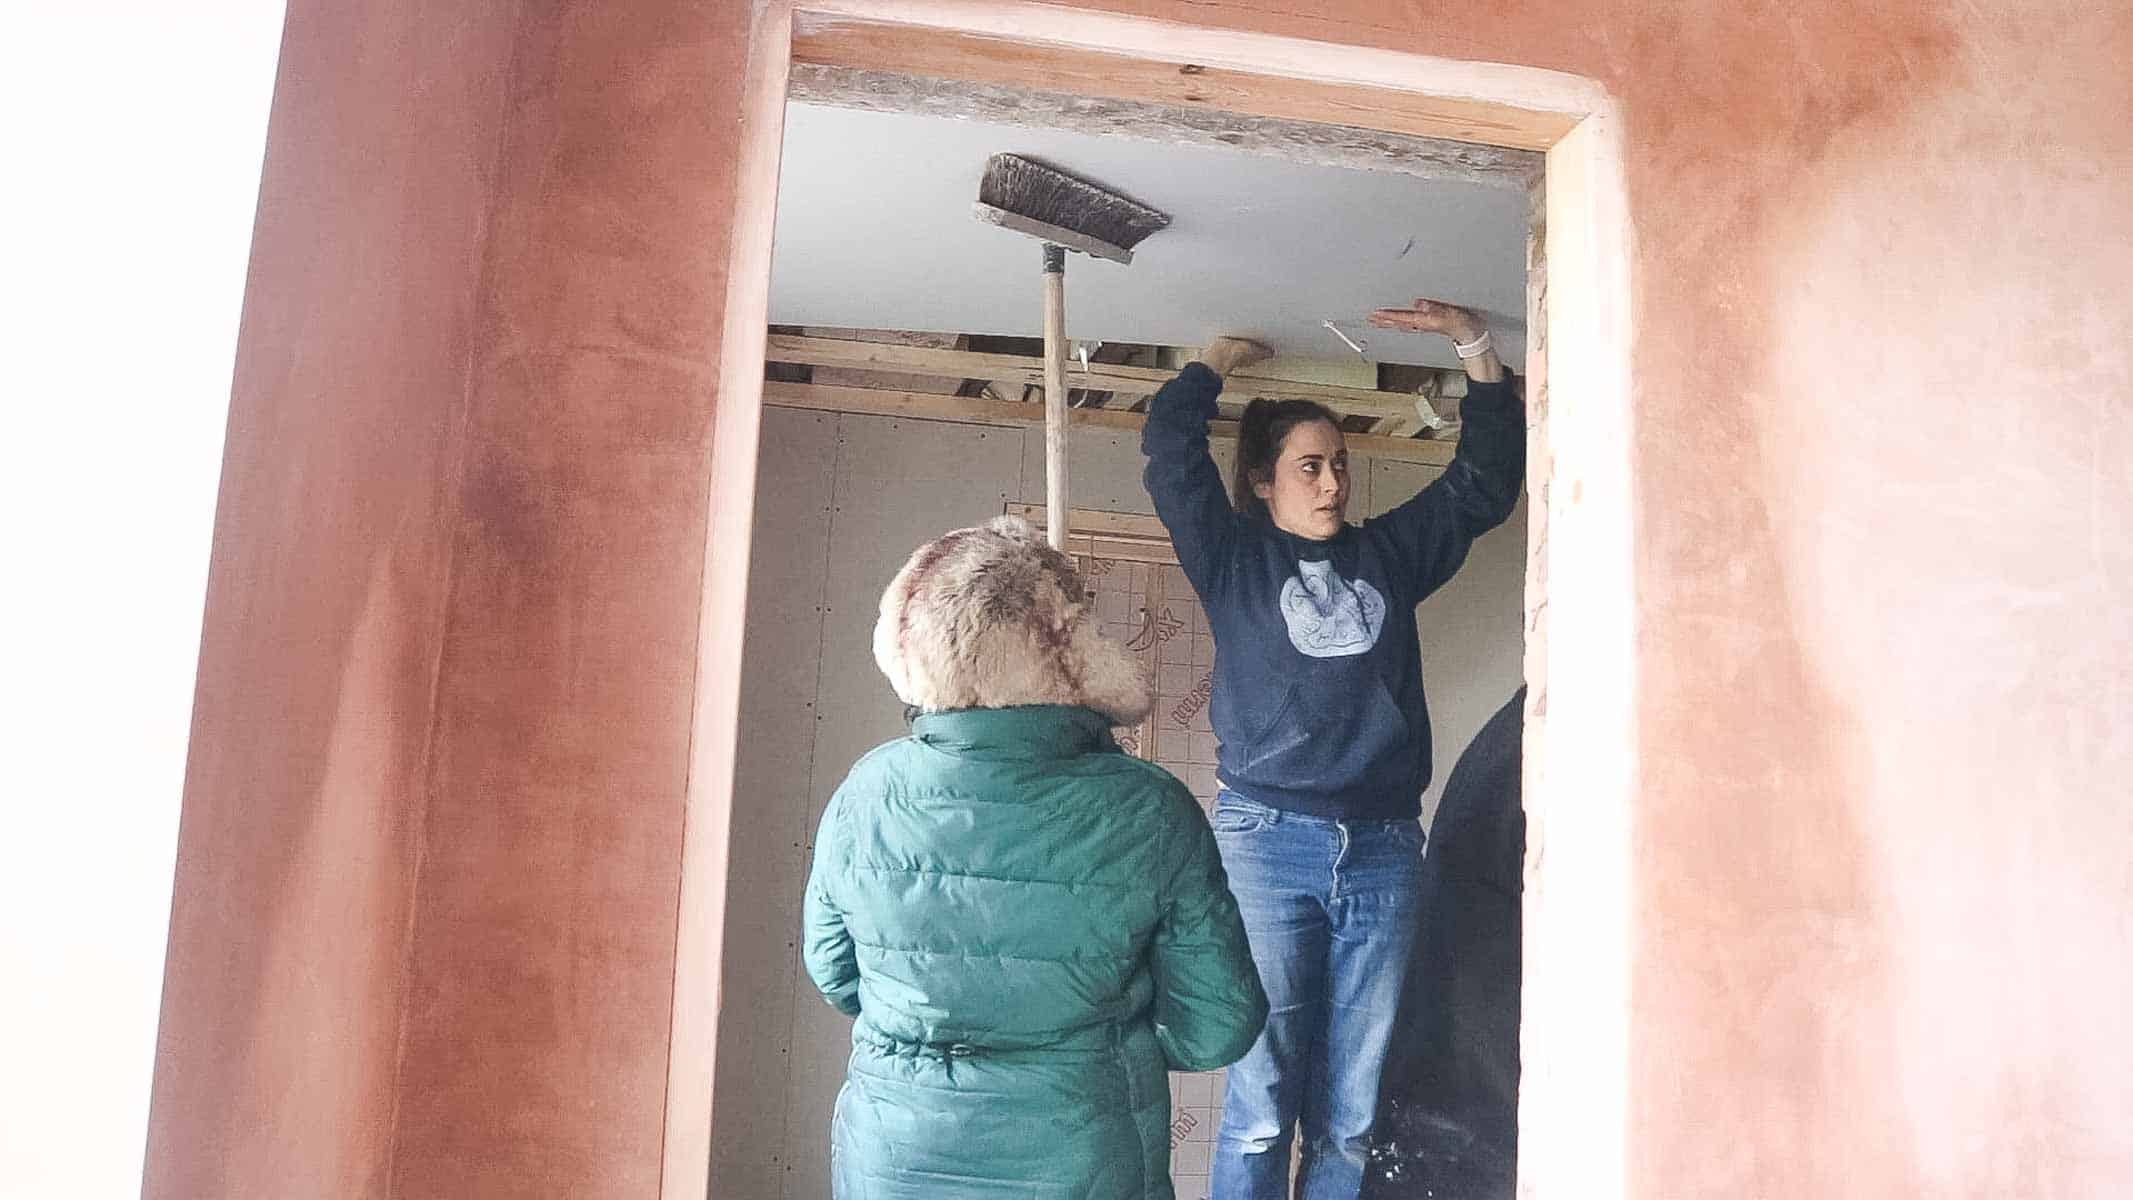
We then plasterboarded the ceiling. We don't have props, but with four of us and only needing to do this for two rooms, we worked as a team.
My Mum propped up with a broomstick and I was at hand to poke ceiling light cables through holes or pass the combi drill. Meanwhile my Dad and husband propped up the ceiling.

After a few drywall screws were in, I took over and screwed the plasterboard to the battens.
Note, when screwing plasterboard, always use a combi drill on a low torque. You can use a screw driver, but it will take a long time.
It also helps to make pencil lines where the battens are behind, so you know where to screw.
Just a little note, that we cut out framework differently around windows. You can see how we did that in the video here.
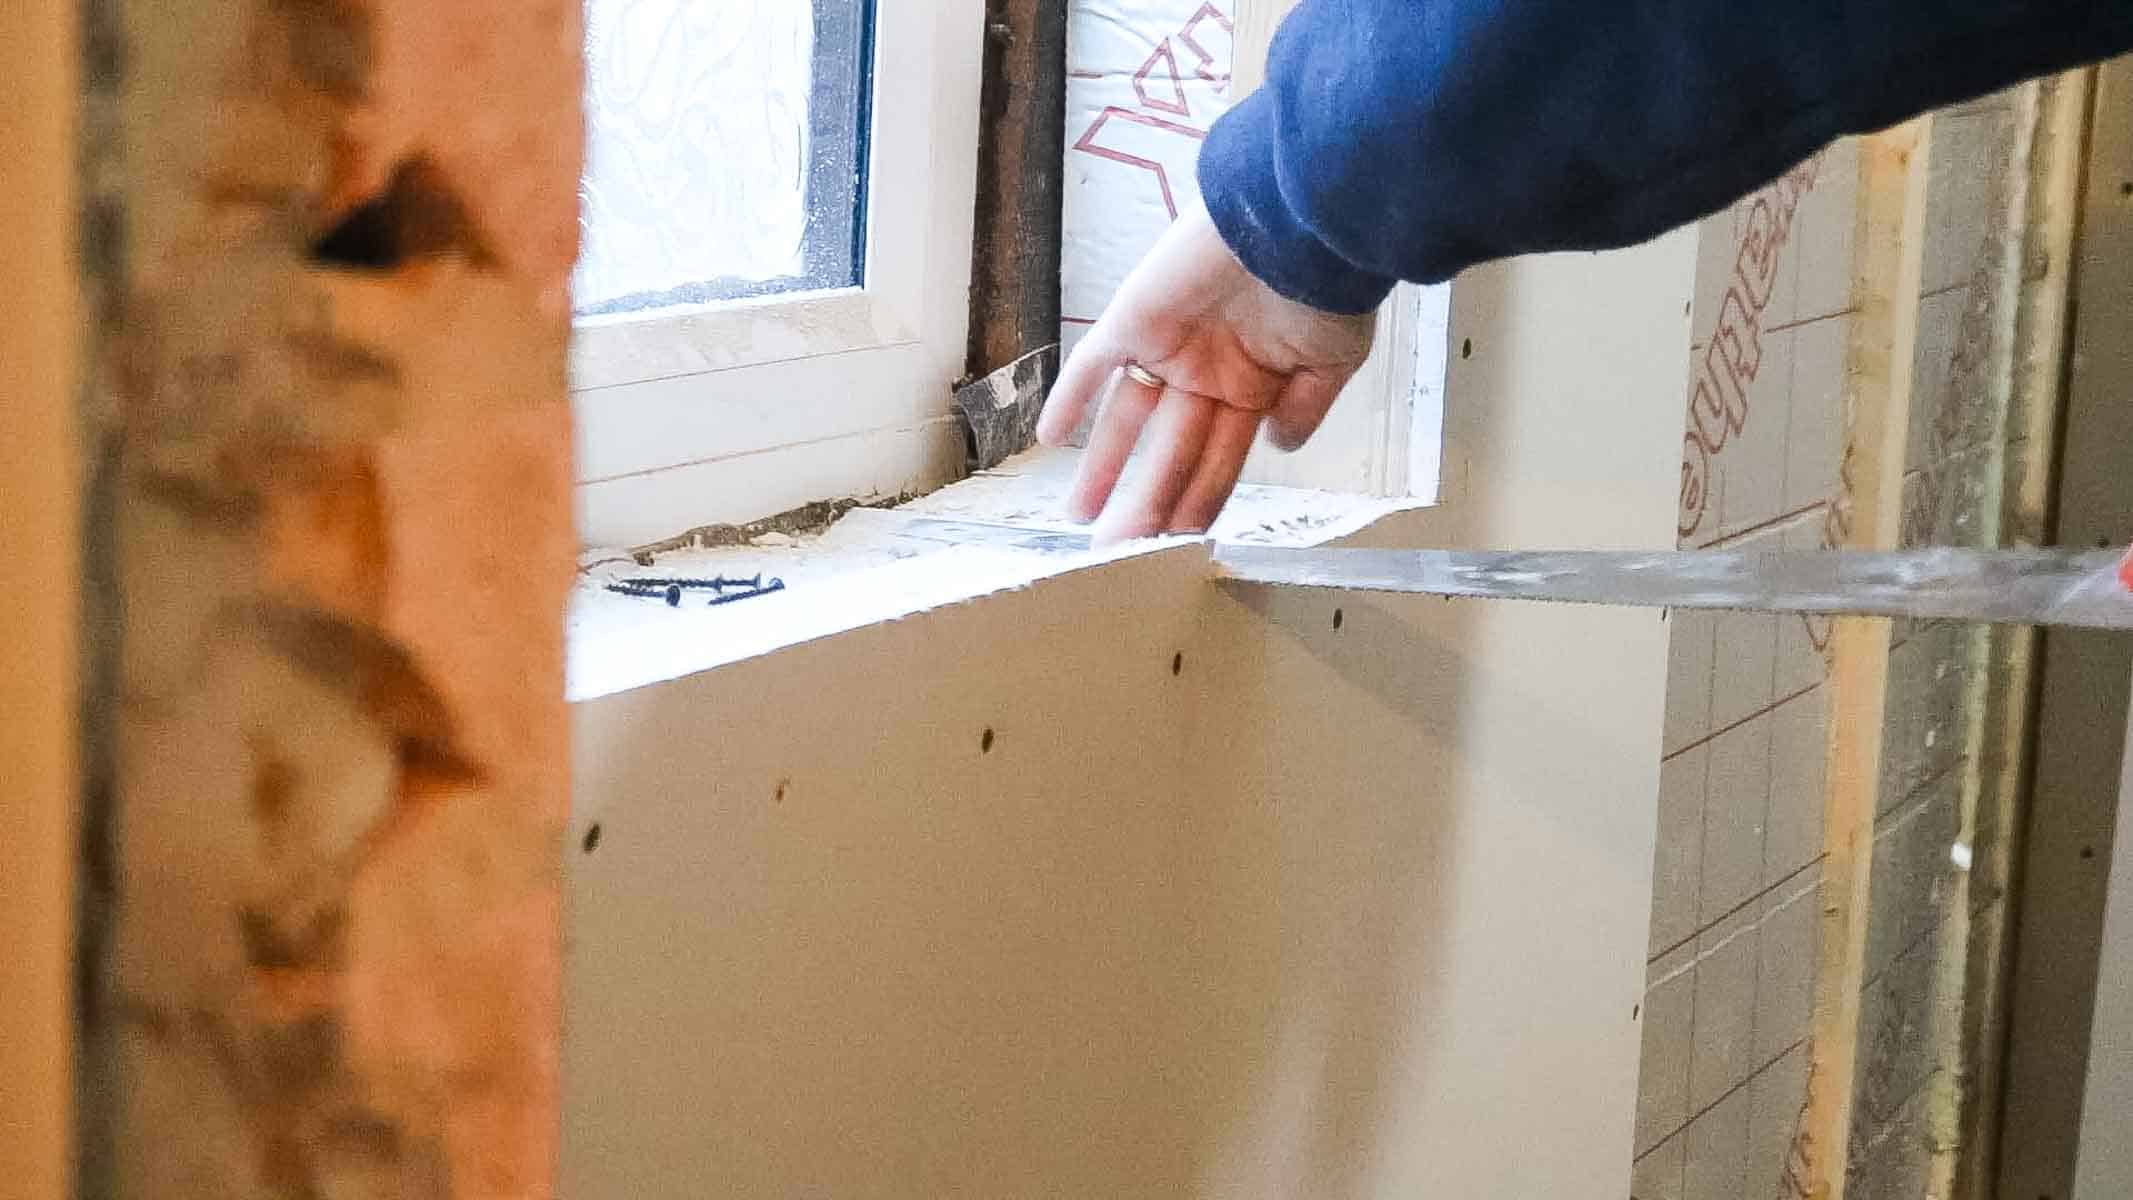
To cut the plasterboard around the windows, we screwed full sheets in place, the cut around the frames after.
So, as you can see in the pic above, I'm cutting around the window with a hand saw. Then measured the recess area and cut pieces to size before screwing them to the framework.

We also created a partition wall in the middle to separate the en suite and walk-in wardrobe. This is when we had electrics installed.
Also, as for plumbing, we cut the pipes we needed and placed them where needed before plasterboarding.
And once all plasterboarded, it was ready to be plastered. You can see how it looks here.
You Might Also Like
- How I installed built in wardrobe doors in my walk-in wardrobe space
- Creating a sun tunnel around a skylight in a ceiling and plasterboarding it up
- How to build a partition wall
- Fitting skirting boards tutorial
Pin This Garage Conversion for Later


Comments
No Comments