
Here's my super easy shed shelving using London brackets and very little power tools or skill to help get you organised. Includes video to follow along and tips on the types of wood you can use and alternative shed racking.
PR/Gifted/AD: I was sent the brackets for free by ManoMano as part of an honest review.
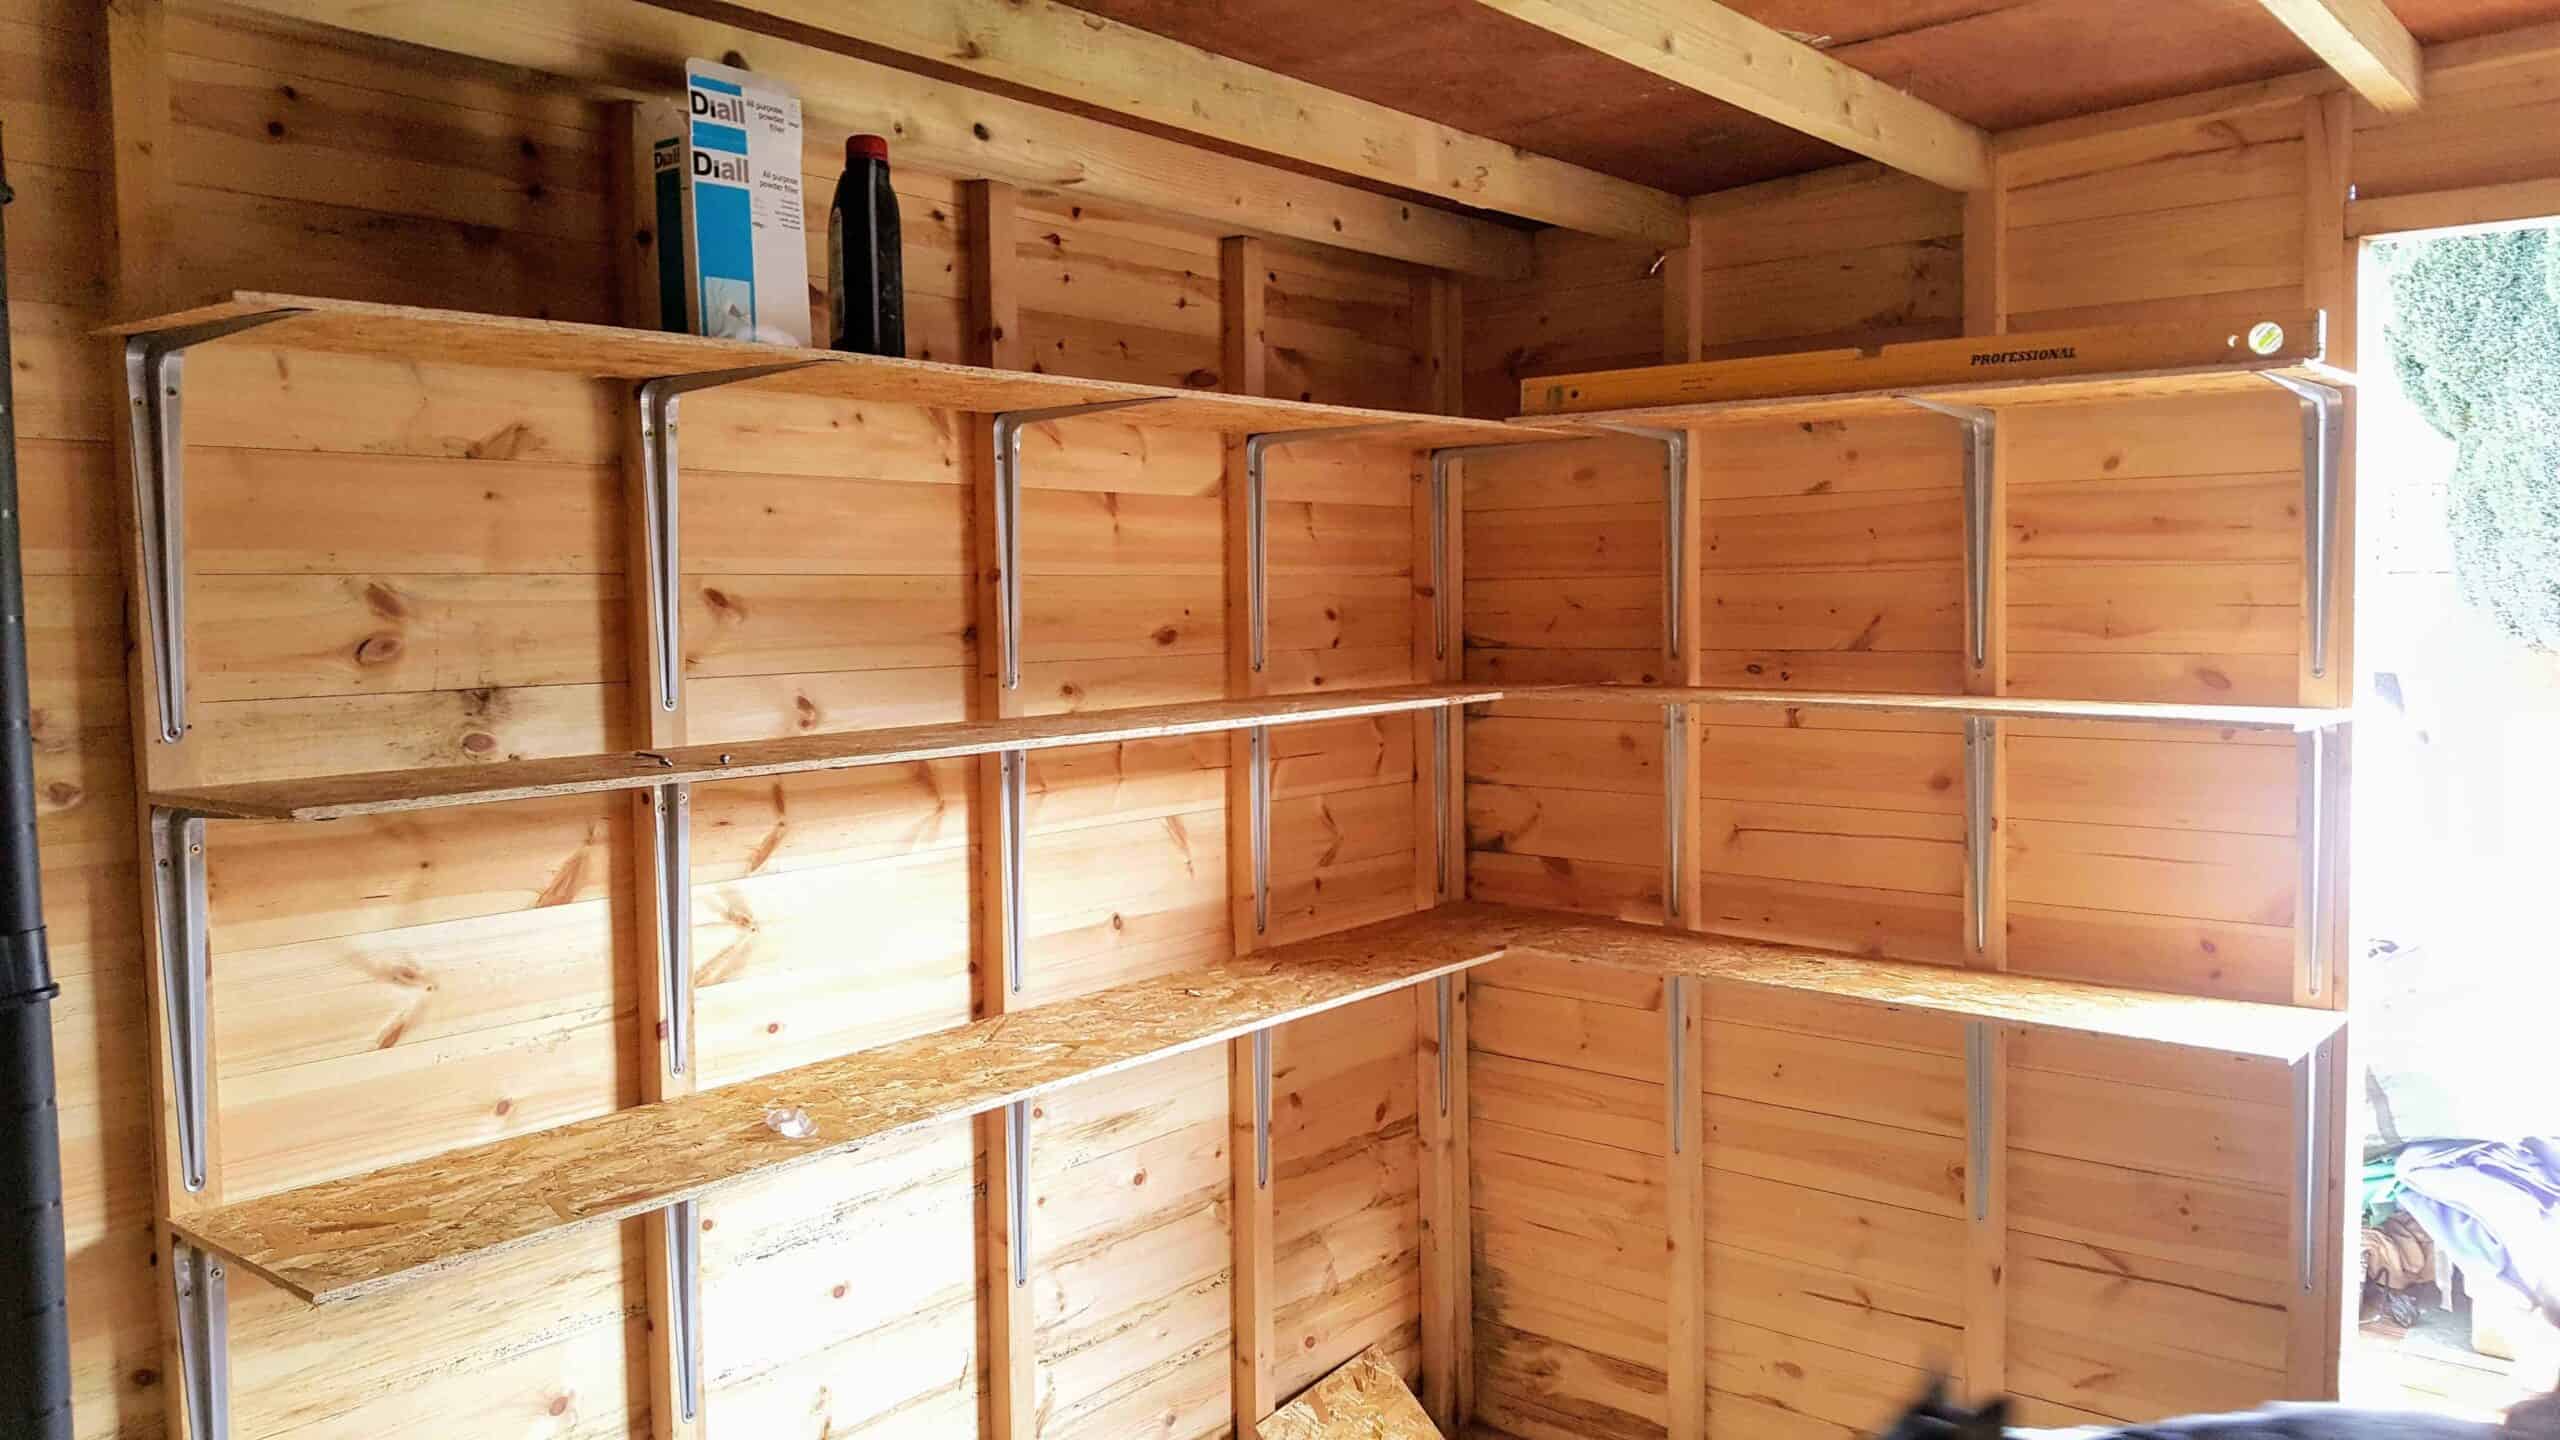
Shed shelves don't have to be a difficult task. You don't need skills or much effort, at least, as shown here. But at the time of posting, I got so sick of not being able to find my tools in my shed quickly.
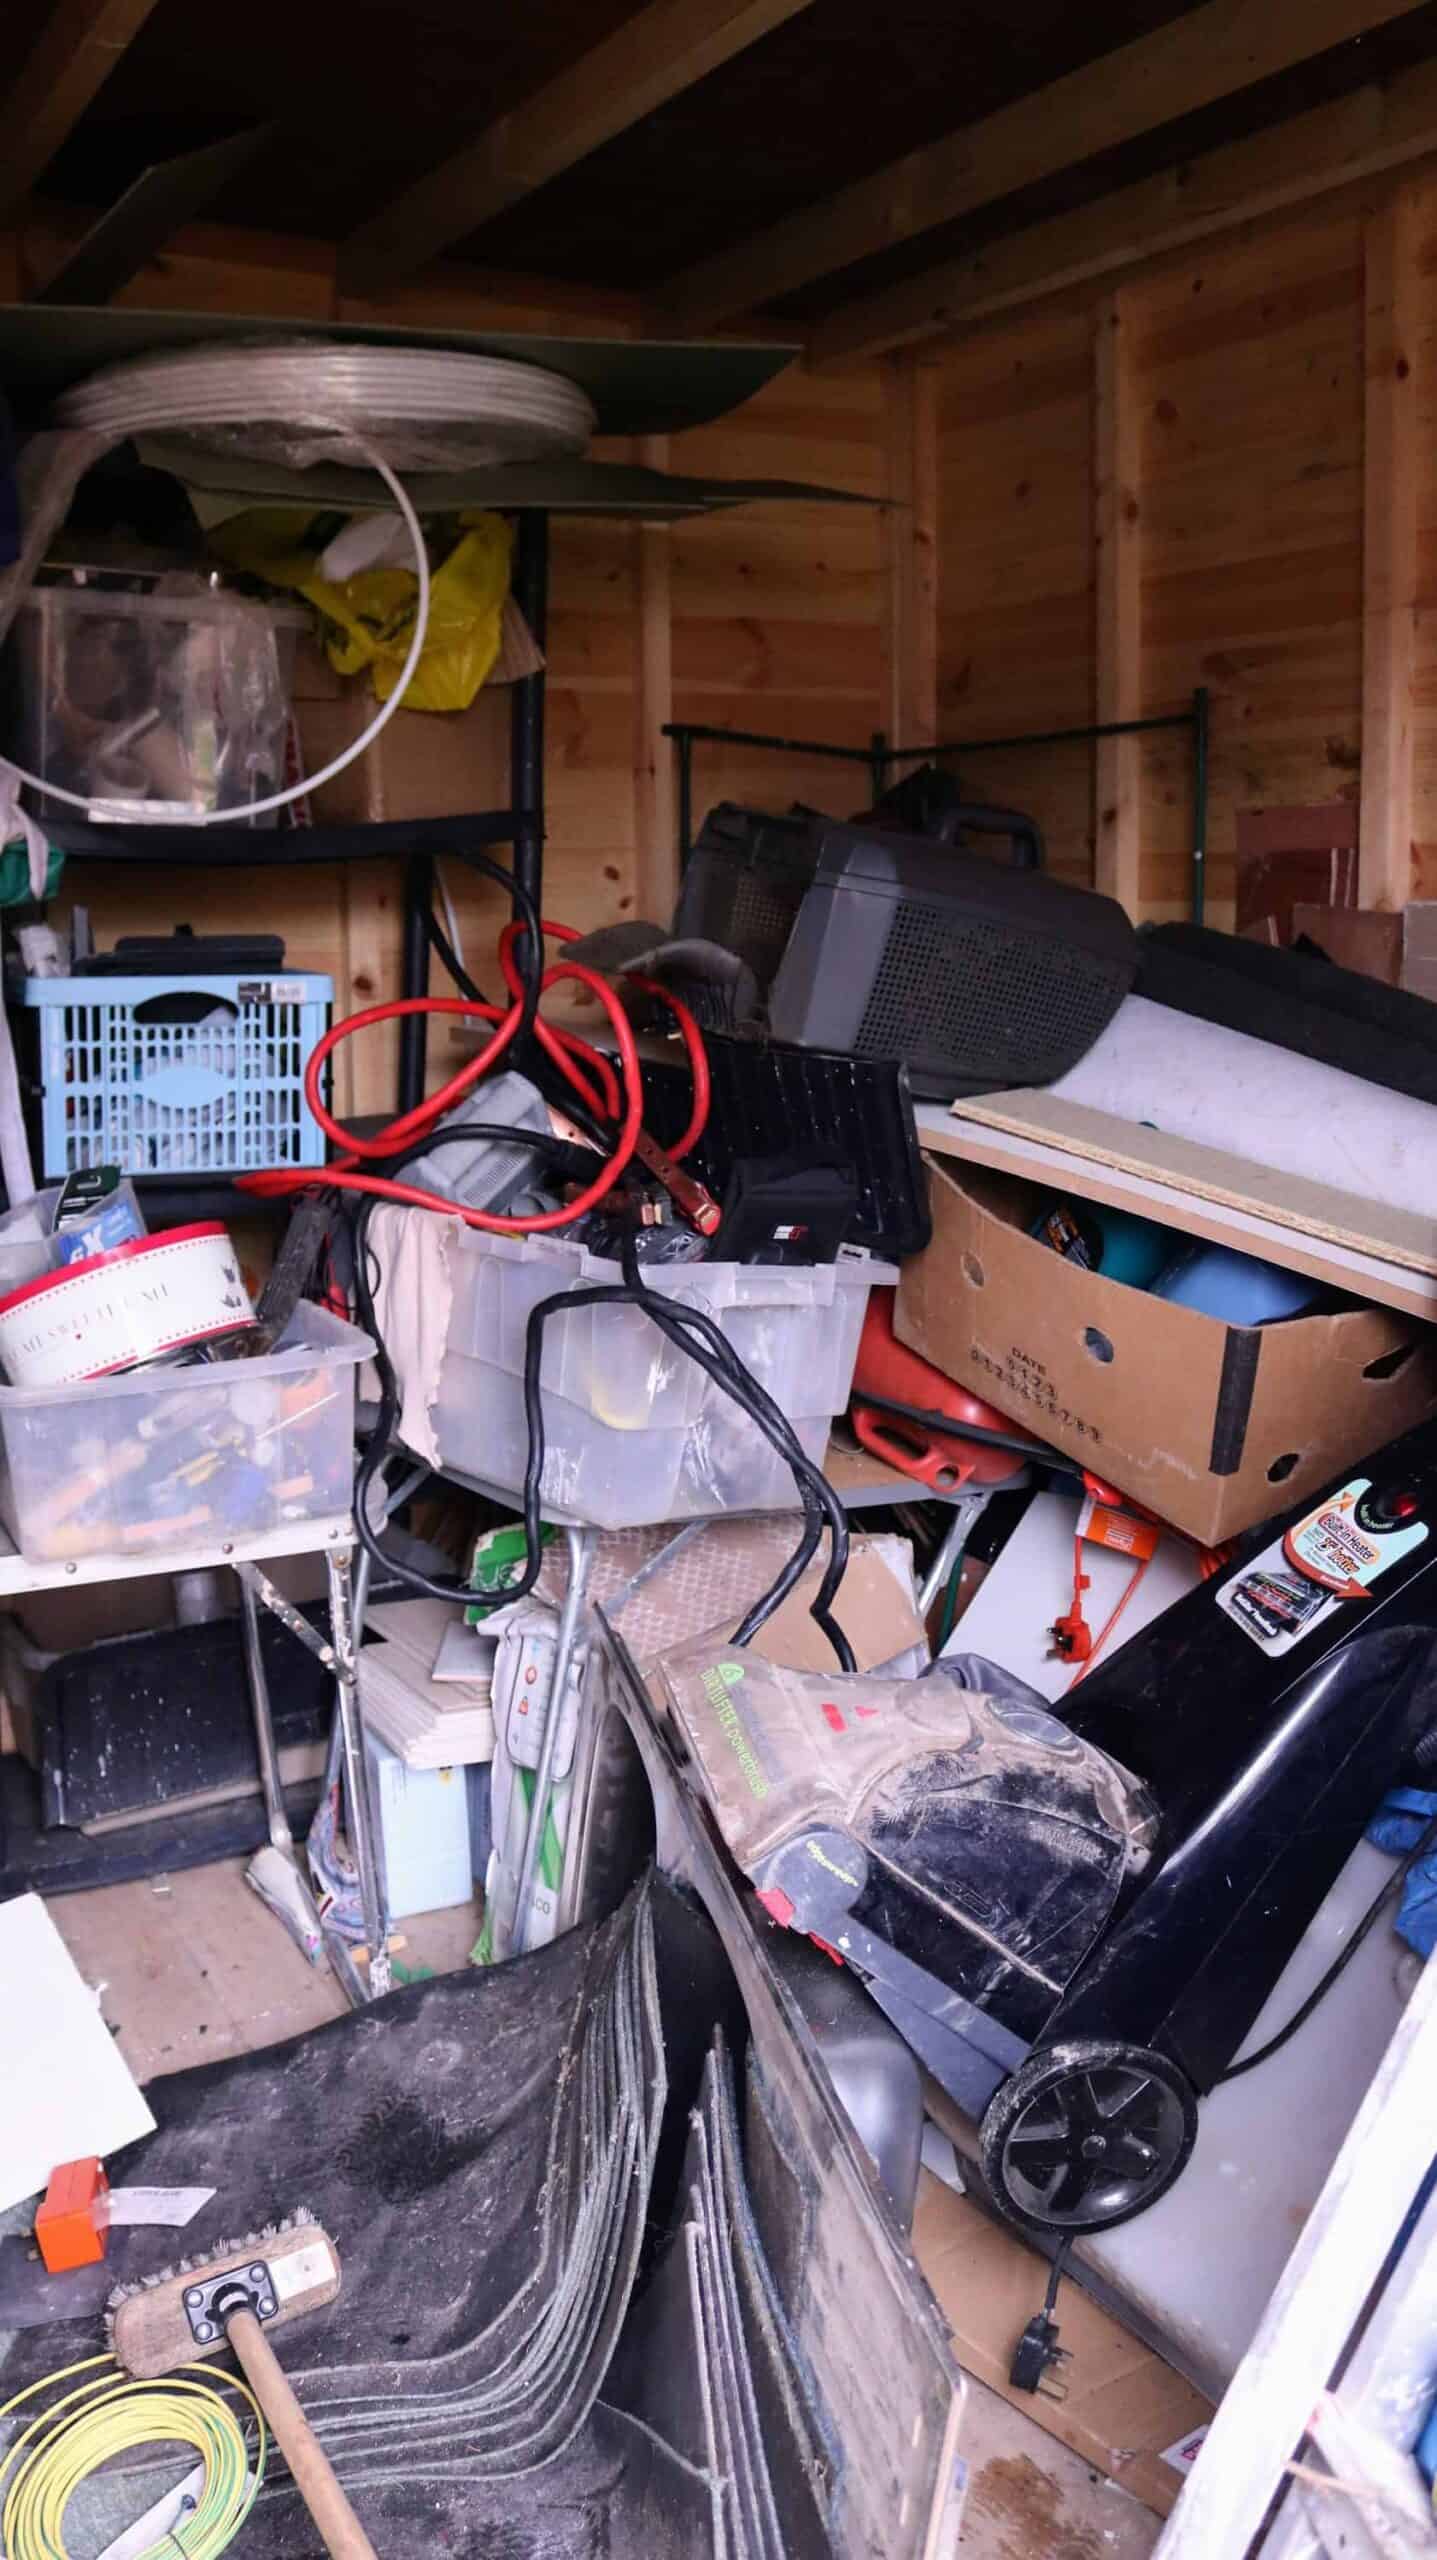
In fact, you can see how bad it looked below. Not Instagram-friendly, eh? I'm sure you get the gist that it became a dumping ground because there weren't specific places for things. And it was all out of sight, out of mind.
So, it was time to work on some shelving for sheds to make my tools and garden equipment much more organised.
Jump to:
❓Why I Chose London Brackets
After feeling enough was enough, I decided to opt for some London bracket shelving. Why? Because they're super easy to shed shelves that just require a selection of tools.
Other Uses for Shed Shelf Brackets
- DIY kitchen shelves, which are very sturdy, holding tonnes of canned food, etc
- Garage DIY shelves, perfect for screwing to a brick wall
- Closet shelves, hidden inside, ideally fixed to a wall
- Adjustable workshop shelves
- DIY pantry shelves
- DIY bike shed shelves
- And more!
💡Alternative Simple Shed Shelves Ideas
However, if you're looking for DIY adjustable shelves, then I recommend installing twin slot shelves in a shed, which are equally very easy to install too.
Or, you may prefer using CLS for shed shelves between studs. I personally try to avoid this as it limits adjusting the height of shelves if you ever want to move stuff around, etc.

❔Where to Buy London Brackets
You can buy London brackets for shelves at most DIY stores. Mine were a gifted PR sample from ManoMano.
They're available in a variety of sizes and colours, but essentially create a mix of DIY metal and wood shelves.
🪛Tools For Building Shelves in a Shed
- Combi drill
- Drill bit (for pilot holes)
- 1m Spirit level
- Hand saw (for the smaller cuts)
- Screws
- Tape measure
- Pencil
- Wood for shelving (see recommendations below)
DIY Shelves For Beginners (Tip)
To save yourself having to buy a circular saw, or make many cuts, I recommend that you ask your local DIY wood stockist to make the big cuts for you. This is also beneficial if you have a small car.
🥇Best Wood for Shelves in a Shed?
Now a key point about the wood you choose. I'll help you by saying I opted for 9mm thick OSB 3 chipboard. It's light, sturdy and perfect in humid and damp conditions, as is my shed.
But, it's important that you avoid anything really heavy because you haven't even filled them yet! But alternatively, you could use:
- Strips of laminate flooring
- Recycling thin wardrobe doors
- DIY distressed wood shelves, but preferably moisture resistant
- Exterior plywood or treated plywood
- Or anything fairly lightweight what wouldn't bow under pressure
I don't recommend MDF as it will sag and expand in damp conditions.
👷♀️How To Make Shed Shelves
Step 1
Decide where you want your shed shelf. You'll need to think about what's going to be on top, etc.
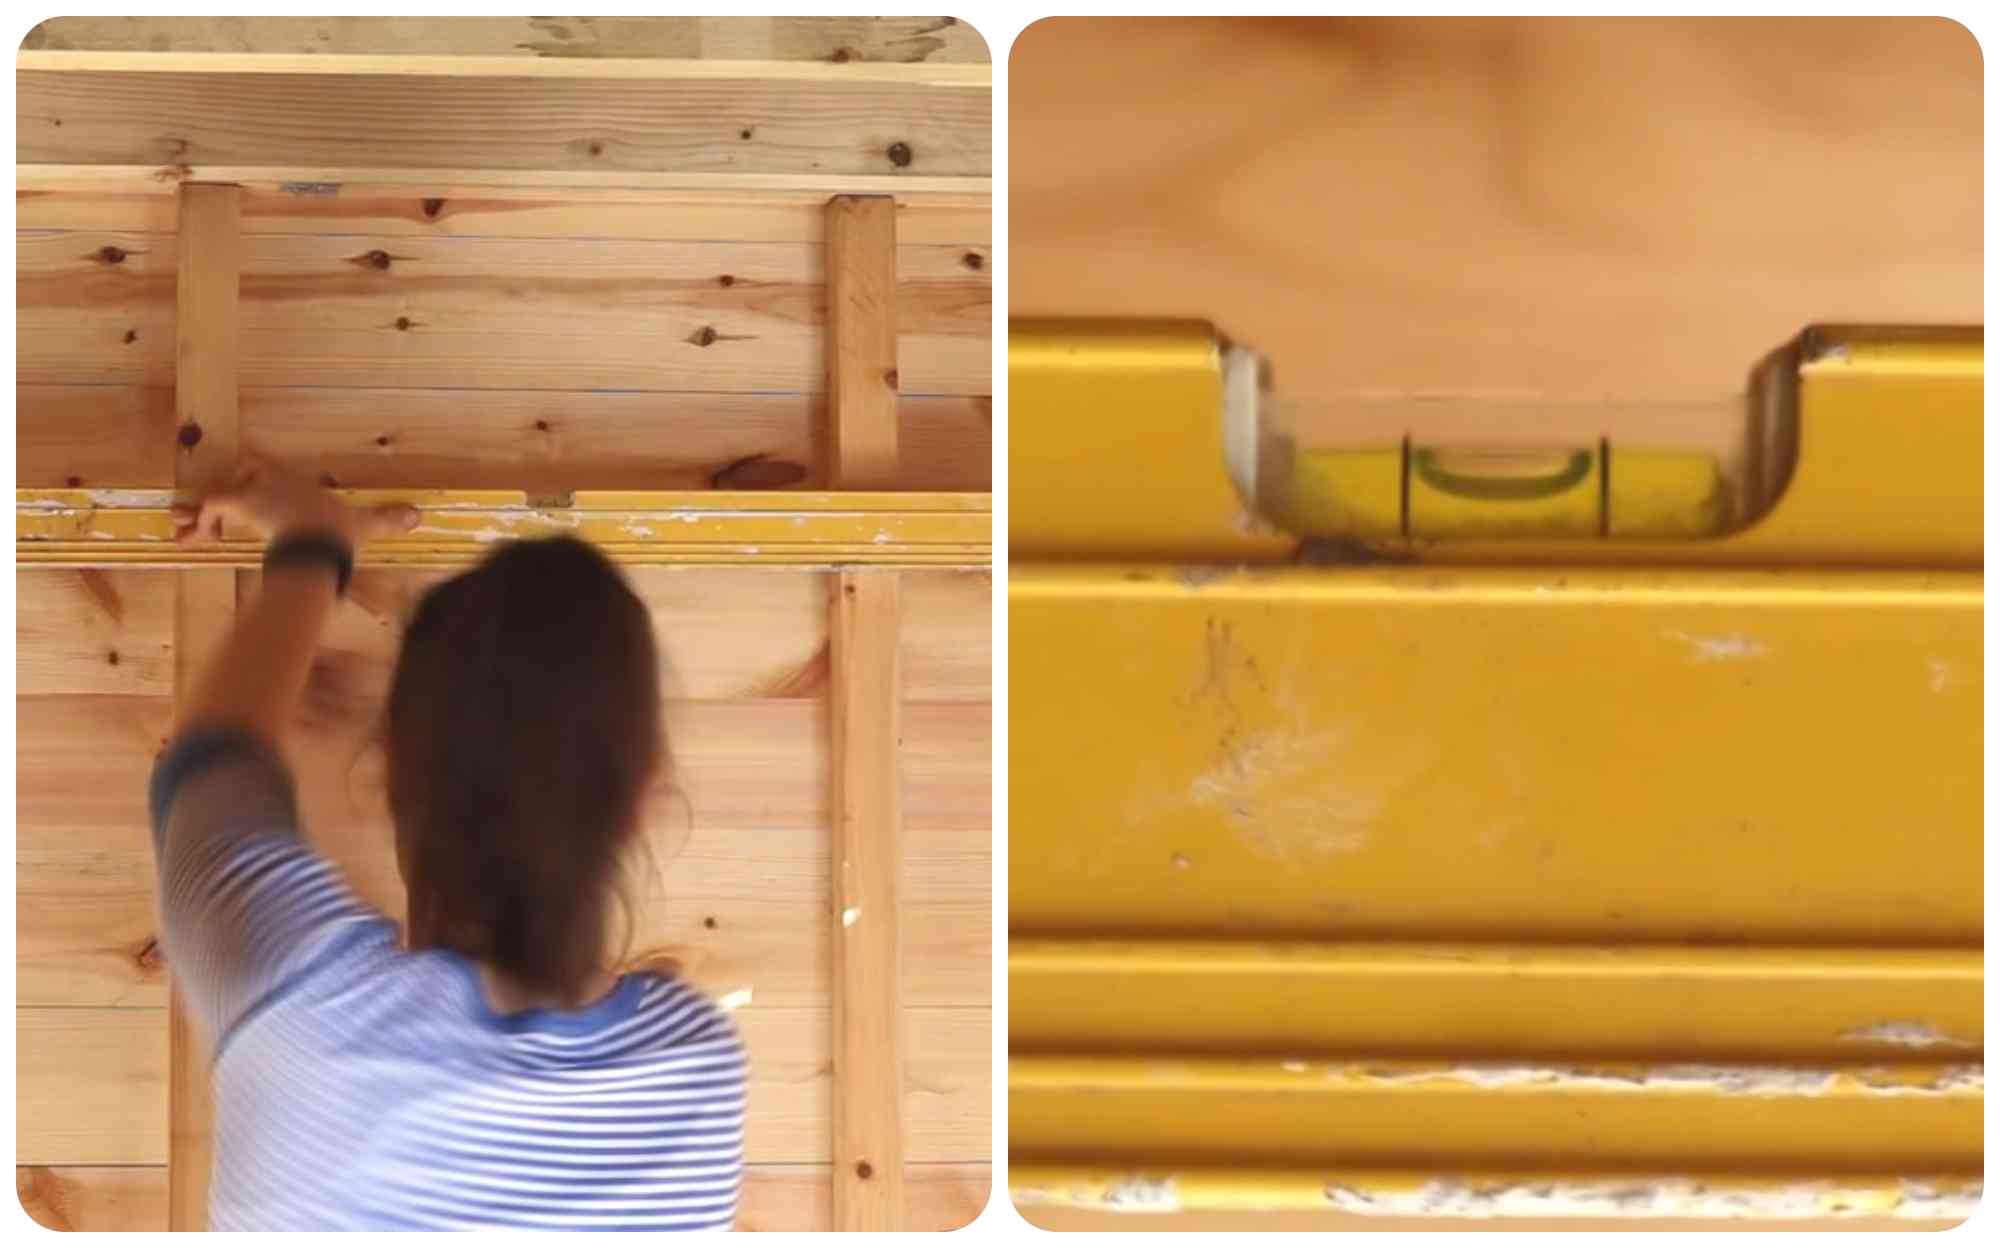
Then, using a 1m spirit level (or longer), position it where you want, but ensure your spirit level is smack bang in the middle and draw a line across all of the shed studs (spars).

Step 2
Now line up your London brackets with your pencil line on the stud work, and screw them to the frame.
Tips
If you're a beginner, I recommend
- Pre-drilling before screwing
- Use a magnetic bit if possible to prevent frustration
- Sometimes, you can get away with pre-drilling, but there is a risk of splitting wood too close to the edges. It also helps to screw on an angle to prevent poking out.

Step 3
Place the wooden shelving of your choice ontop and screwed from underneath.
Tips
- Avoid any excess hanging over the ends, which would create a weakness
- You could sand down the edges so they're less sharp
- Use small screws to fix the wood to the brackets to avoid cutting yourself
- It's simple enough to cut down with a hand saw
If you'd like to see different types of shelves, then you can now find 21 more DIY shed shelving ideas here!
📋How to Build Shelves For a Shed
How to Build Shelves In a Shed

Here's my super easy shed shelving using London brackets and very little power tools or skill to help get you organised. Includes video to follow along and tips on the types of wood you can use and alternative shed racking.
Materials
- Wood
- Screws
- London brackets
Tools
- Combi drill
- Drill bit
- 1m spirit level
- Hand saw
- Tape measure
- Pencil
Instructions
- Make a mark on one of your shed spars (studs) where you want the height of your DIY shed shelves.
- Using a spirit level, extend that line across the stud work and make a level line with a pencil
- Line up your London brackets with the height line and predrill and screw one on each spar
- Position your shed shelving wood on top and screw from underneath. See Note 1 regarding easy cutting.
- Note, you may need to cut them down to prevent any weak overhanging wood.
Notes
Note 1
It is much easier for those with limited tools or car space to buy your sheet wood from a DIY store that can cut them down in strips to the right depth. Although, you'll still need to hand saw some down to get the right length.


Mark
Hi. I'm about to start fitting shelving to my shed. I noticed in your video you didn't cut notches into the back of the shelves so the shelves can fit up against the shed wall. Did you leave a gap between the posts at the back of the shelves or did you cut the shelves to fit between the posts at the back?
Vikkie Lee
You can cut a notch out, but I didn't bother - so yes, there was a small gap
Amy
Thank you so much for all your time to make this video. I find it very inspiring. I am a mummy of one awesome little dude and really want to turn around something which I currently find very disempowering and which makes me feel very vulnerable to a strength- the fact that my diy skills are currently non-existent. My goal is to show my little one these skills with ease and that we can empower ourselves and achieve our goals.
Yesterday, got myself in a bit of a flap as had no port of call available for advice on the apparently simple task of putting shelves in the shed so my little one could get to his toys and apparatus, without us having to empty the whole shed each time. I have some of the equipment but my drill bits were stolen and a severe lack of screws... In the end I managed to ask a neighbour to put up some large hooks in the shed as he had some screws. I was very grateful though my preference, moving forward, will be to get this done myself!
Would you recommend I get a decent collection of well organised equipment and just go to town with some projects? don’t know where to begin! Do I join a course on diy? Or do I tackle jobs and projects as they arise? Thing is I often feel so overwhelmed at how to begin, that I don’t do the jobs- We moved in to a new property in December and there are still no shelves, mirrors, pictures or bathroom additions for toiletries up on any of the walls- I just lean it all against the walls. Am a bit apprehensive about making holes in the wrong places at home. I also have a bench outside in need of some tlc, but not sure where to begin with getting extra bits of wood for the slats to fix it... It’s a confidence thing and a skills thing... any tips on how to become an absolute whizz at diy will be very much appreciated. I know I can do it, I just don’t know where to begin! Please help 🙂
Jeremy
Enjoyed your video about putting up shelves in my shed. Your old photo looks positively organized compared with mine. I am inspired but that's usually a calm before the disaster. Still what could go wrong?
I have 3 projects I would like to do and here goes in no particular order
1. Insulate the shed.
2. Put up shelves
3. Lay down some rubber flooring at least 6mm thick. I'd like to use it as a mini-gym.
4. Buy a good battery drill, no idea which one.
I'd like to think it is a doddle but history says I should not do DIY having had some epic disasters in the past. But I am determined things will change. I will keep you updated.
If anyone reads this and has suggestions please send them in or evn better come around and help 🙂