
This rustic DIY bookcase is perfect for beginners, as seen on the TV set of Love Your Weekend with Alan Titchmarsh. It's also cheap to make and can be adapted easily for your own belongings and books. It would also look great as shed shelving in a workshop!
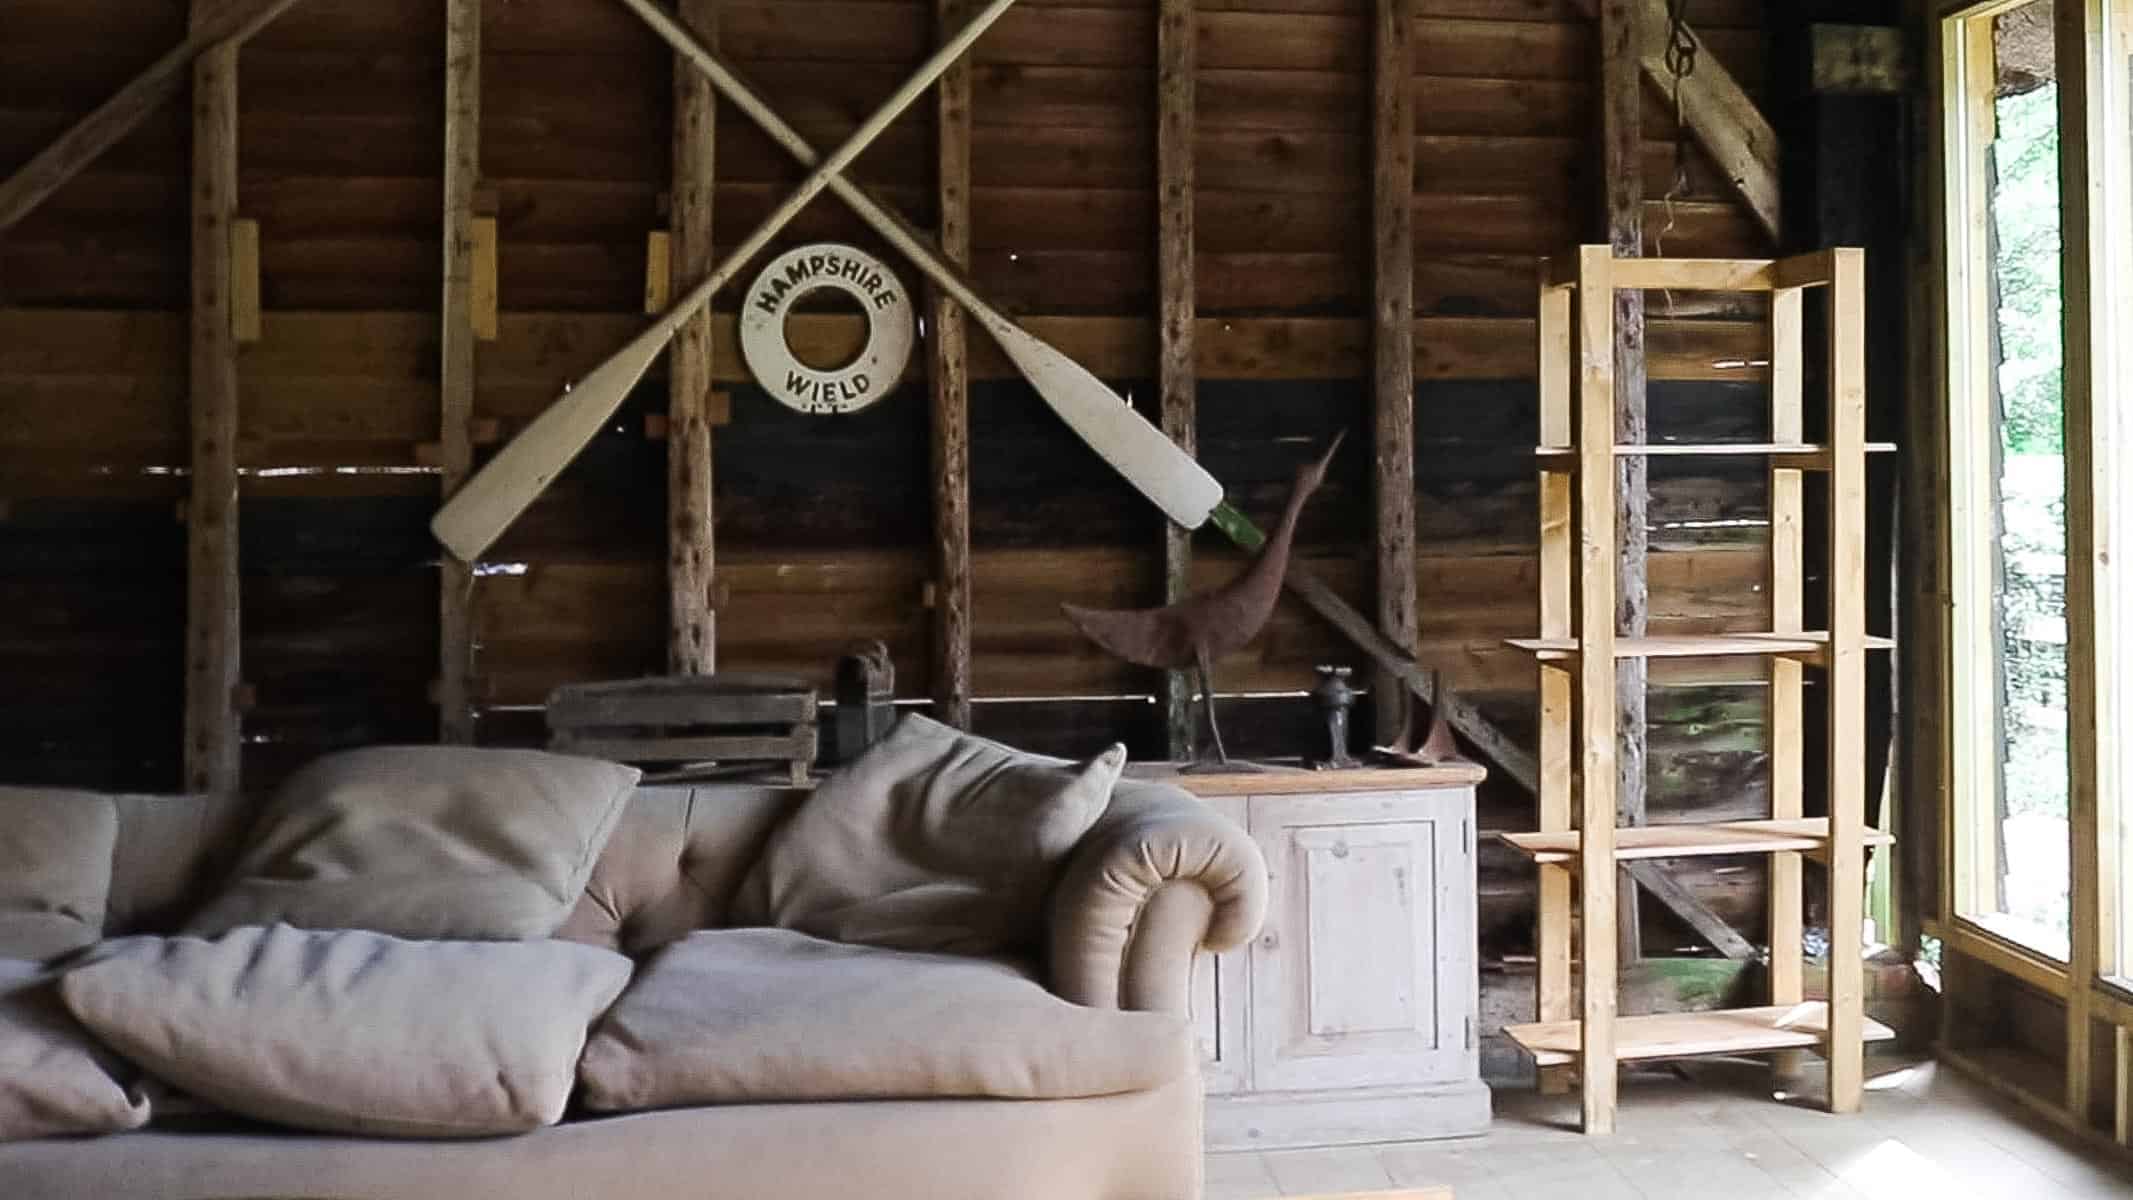
This year, I was absolutely delighted to be part of the new show, Love Your Weekend with Alan Titchmarsh. While creating YouTube DIY videos, I always thought, that if I was ever approached, I'd love to team up with the kind of shows I used to watch with my parents.
Things like DIY SOS, Changing Rooms and of course, Ground Force. Gathering around the TV, these were the kinds of shows we enjoyed as a family. And I think, because they resonated with our can-do ethos.
So much so, I don't think I'll ever need a PR. My Mum has been perfect at it, whispering in family and friends' ears. While also telling me she actually hadn't(!)
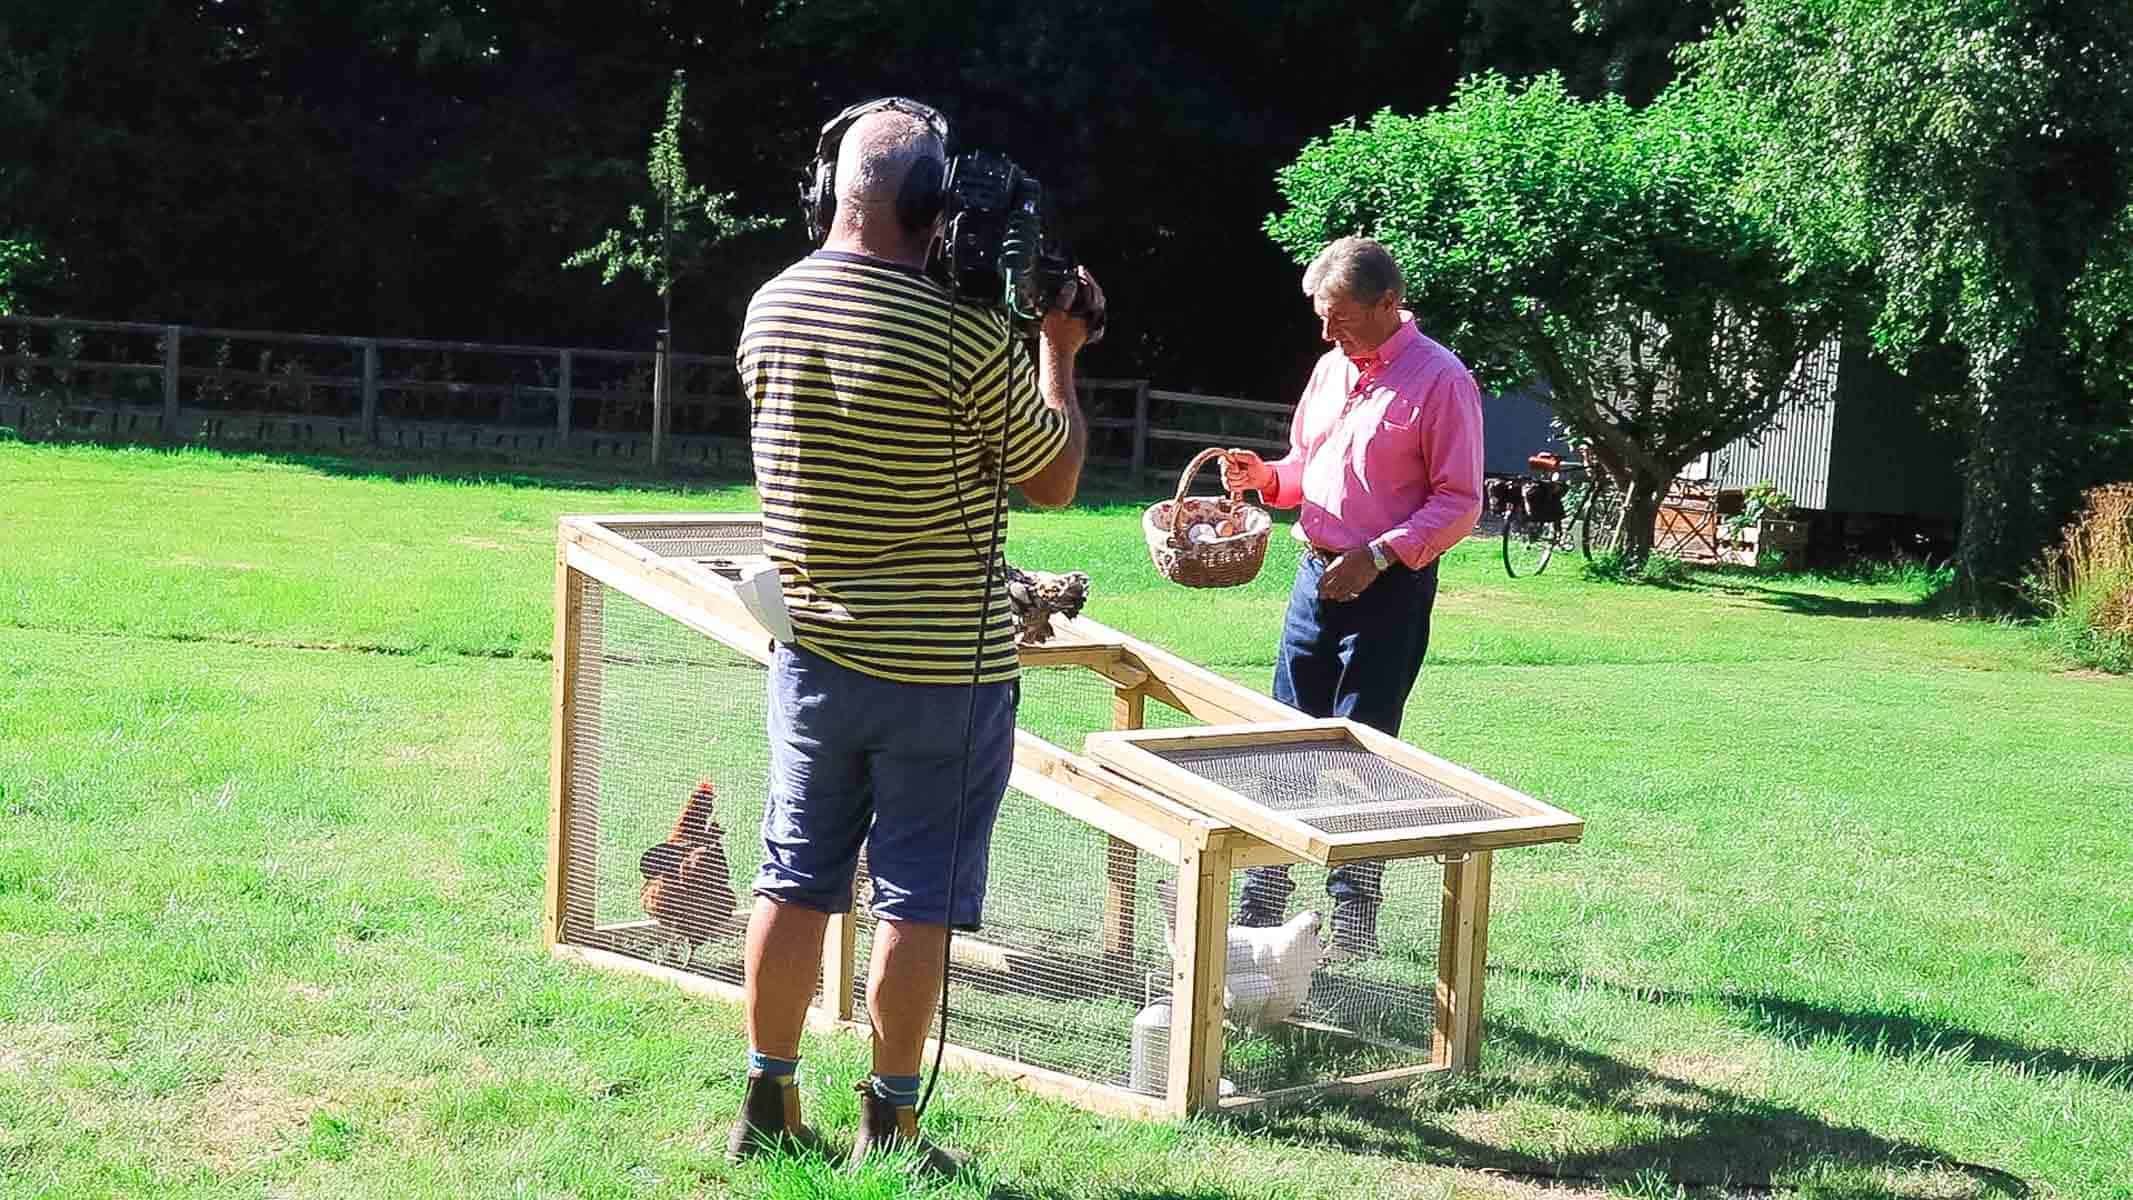
I was invited to create a handful of pieces as the resident carpenter, such as the chicken coop and pen I made, above. You'll be able to see this on Sunday morning, 9:25am on ITV.
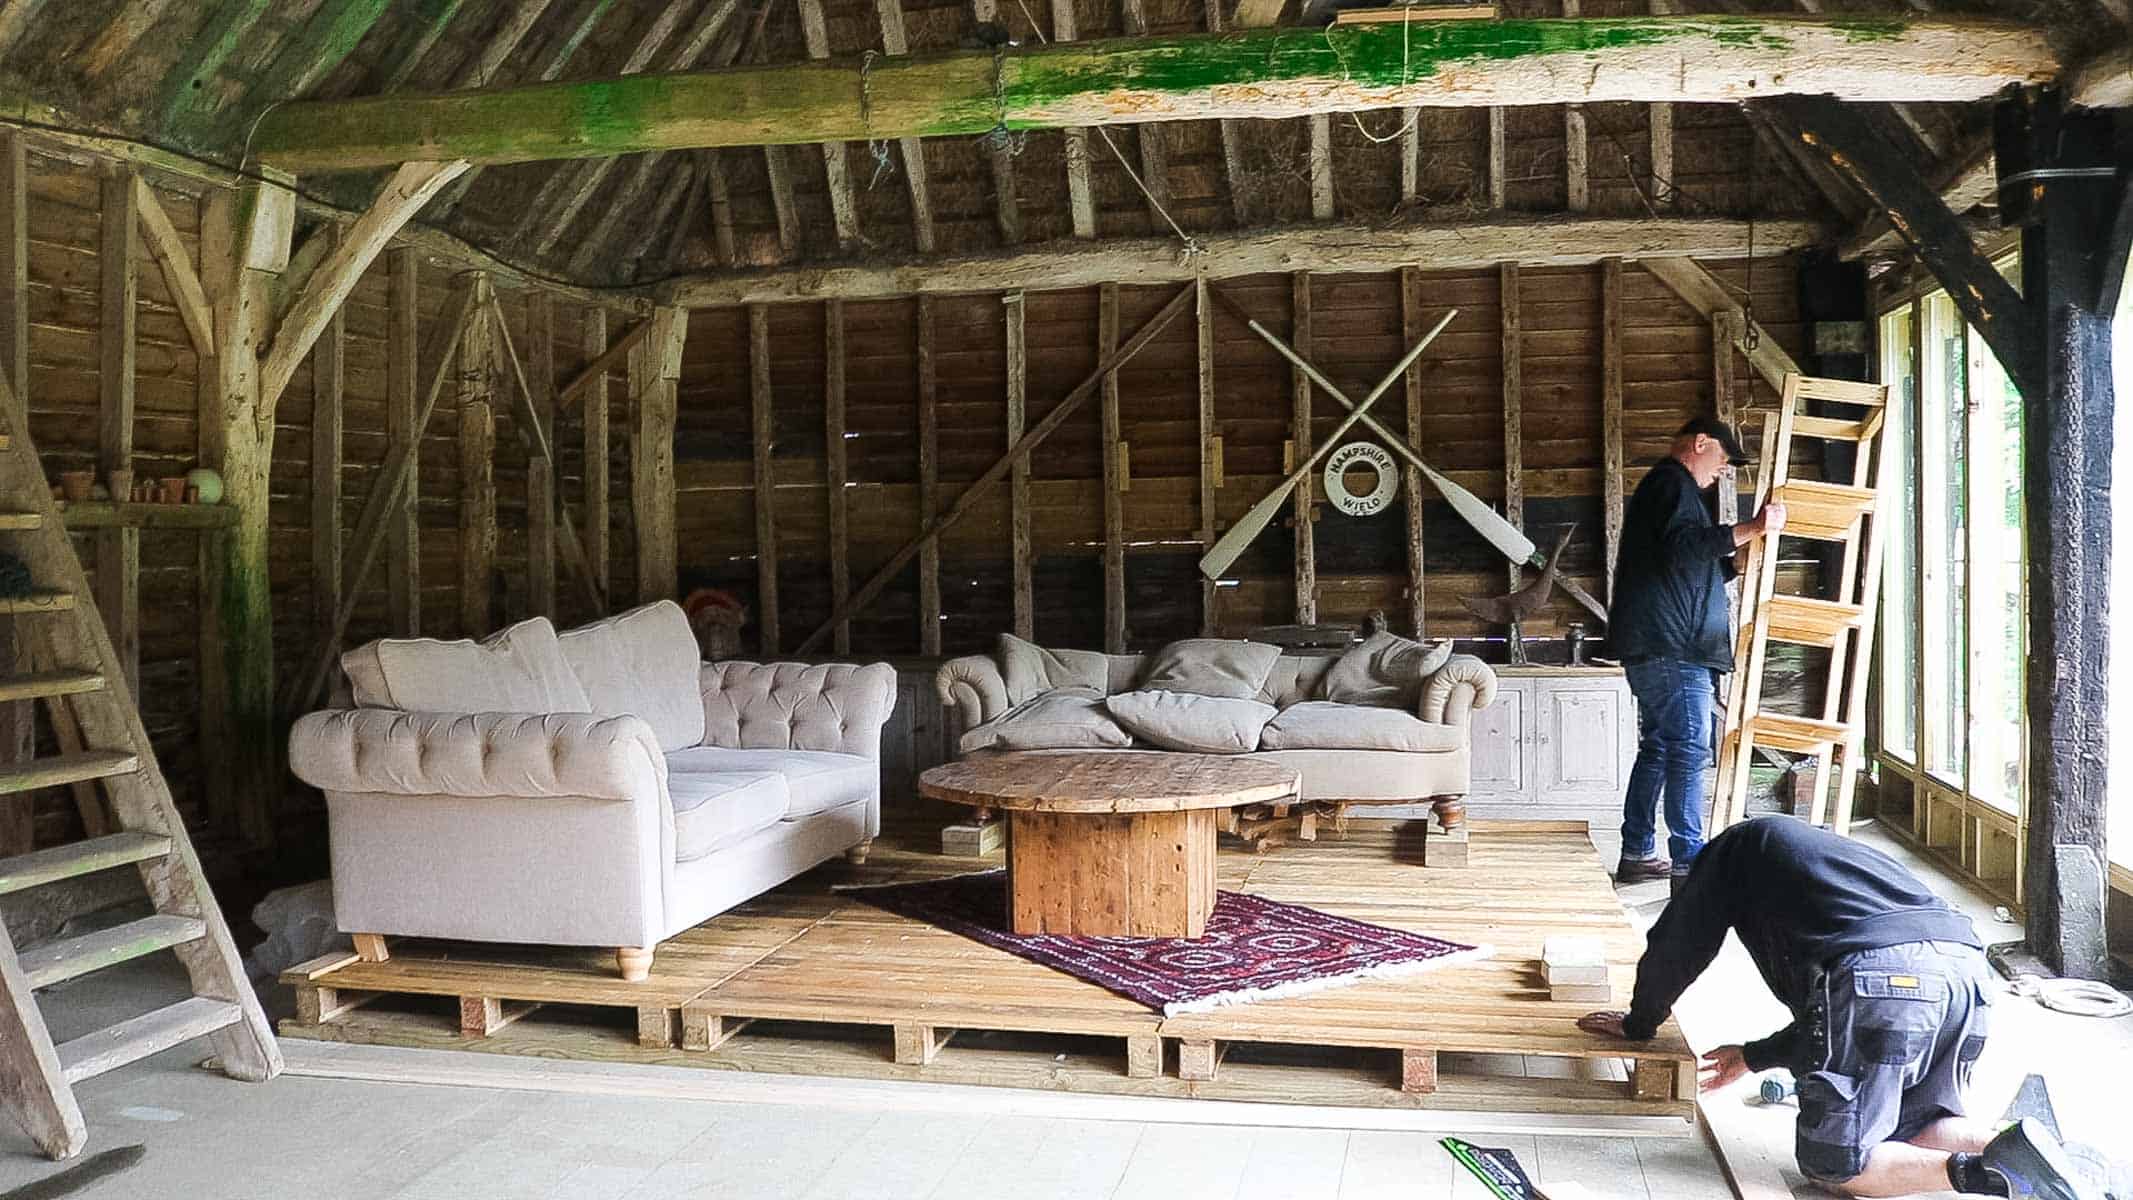
However, with me also making this DIY bookcase, I'm going to share this easier project first. It's made of structural timber and plywood in a rustic and converted barn setting.
This is where Alan, also the presenter of Love Your Garden, will interview celebrities each week, starting with Craig Revel Horwood and Jason Donovan. The latter also being someone I grew up with in the 80s. Neighbours, of course!
DIY Bookcase Tools & Materials
- 6 x 2.4m lengths of structural timber (38mm x 63mm)
- 12mm thick plywood cut into sections - or PSB, pine etc - some DIY stores offer a free cutting service
- Mitre saw *gifted or hand saw
- Mitre stand *gifted
- Tape measure
- Speed square
- Wood glue
- Pocket hole jig *mine comes with the drill bit, etc
- Coarse pocket hole screws
- Clamps
- Sander or sandpaper
- Router (optional)
- 45 degree chamfer router bit (optional)
- Pencil
- Wood stain or paint of your choice
- Combi drill
- Drill bit
- Wood screws
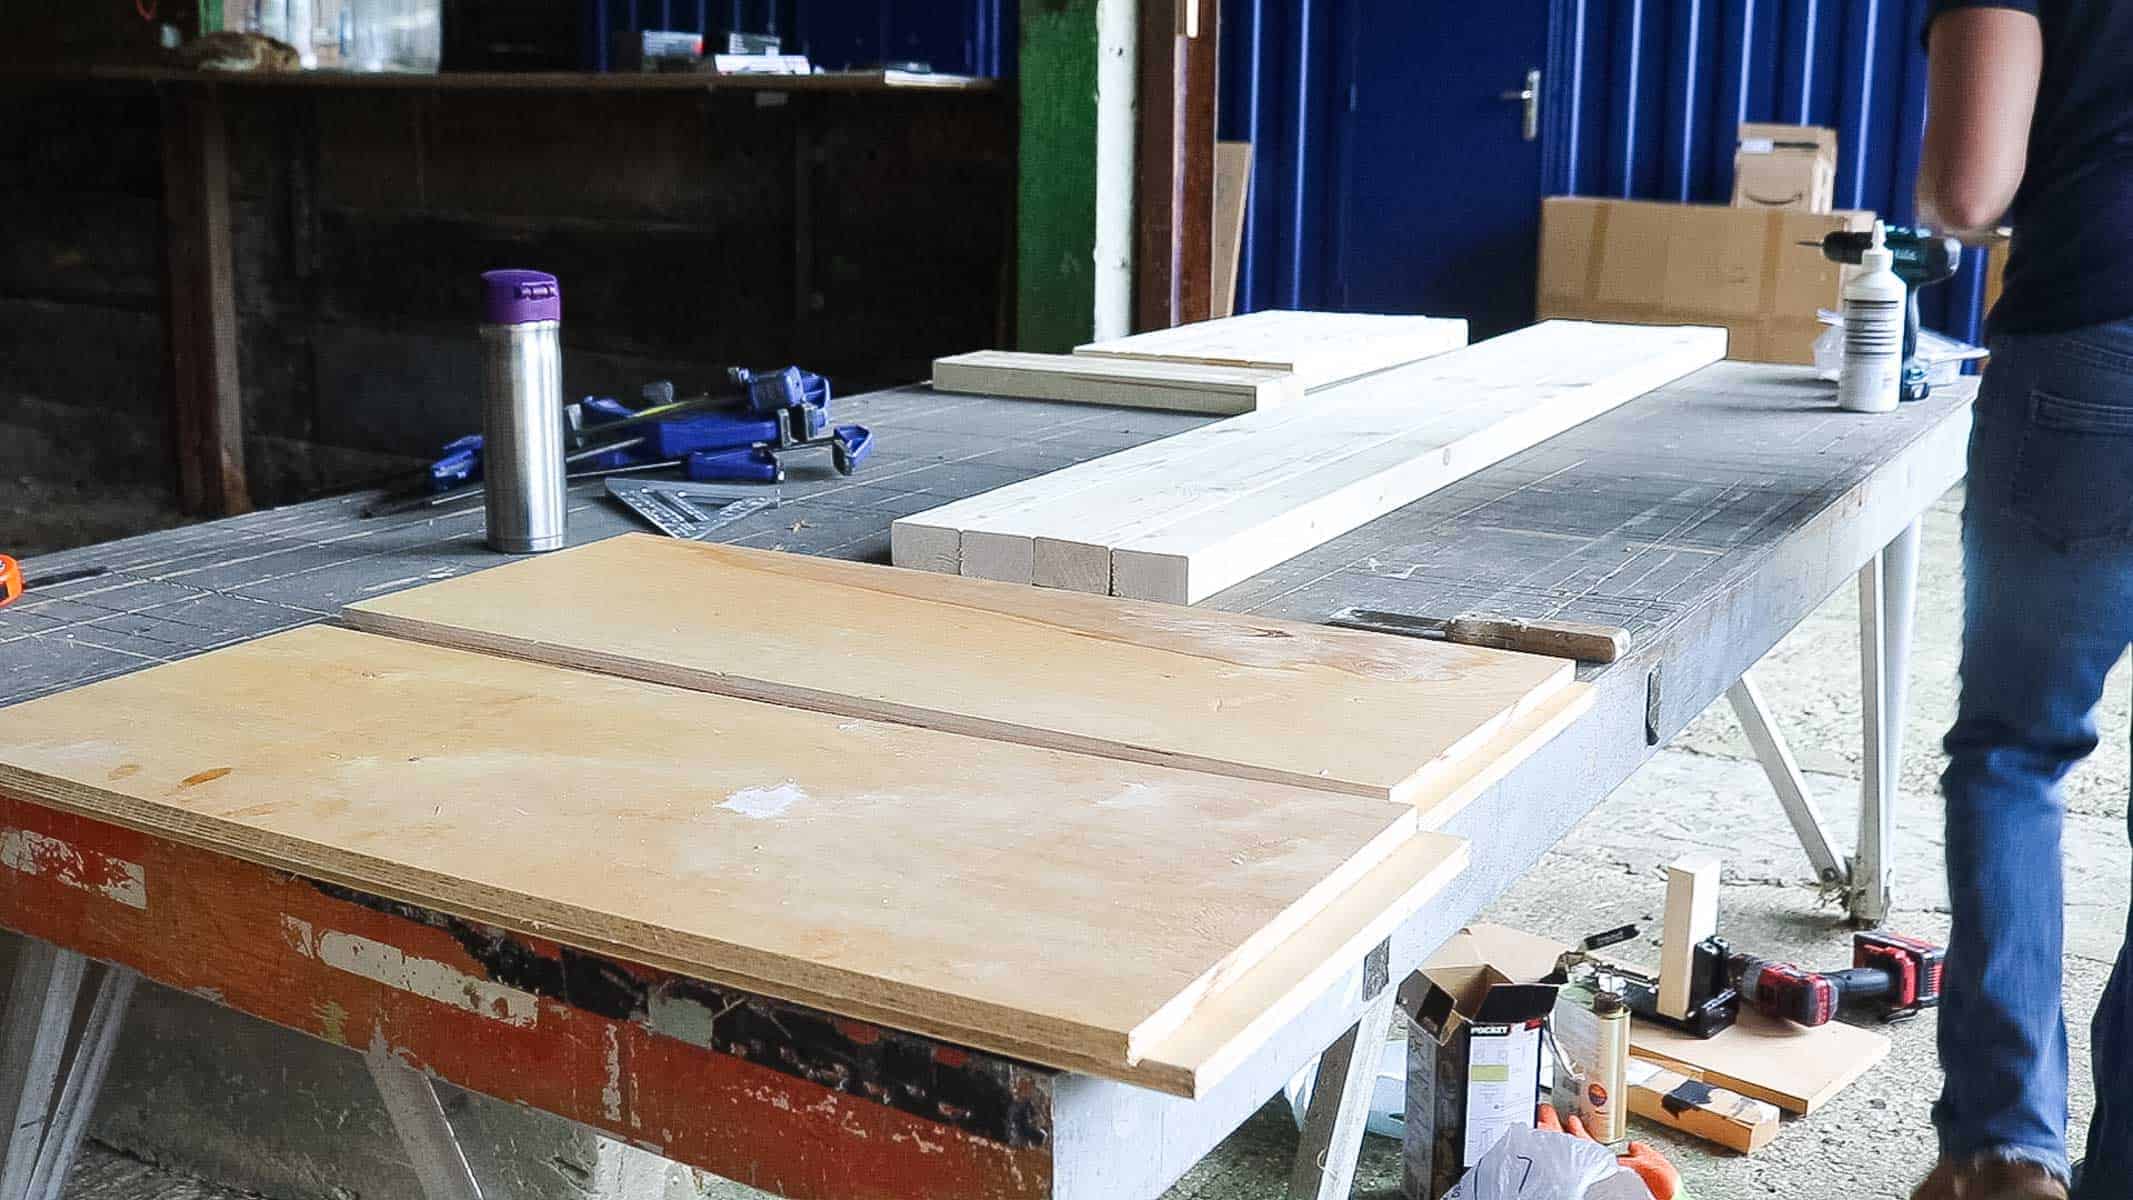
Free DIY Bookshelf Plans
Here's my free DIY Bookshelf cutting list. Note, this is to be treated as a guide only.
You may prefer your DIY bookcase to be taller and wider. But a few tips to note are:
- Make sure your overhang isn't too long, creating a weakness on the ends with heavy books or objects
- You may need to add more supports in the middle to prevent bowing
- I made the depth of my shelves 5mm shorter than the supports due to possible expansion

How to Build a Bookshelf As Seen on Love Your Weekend With Alan Titchmarsh
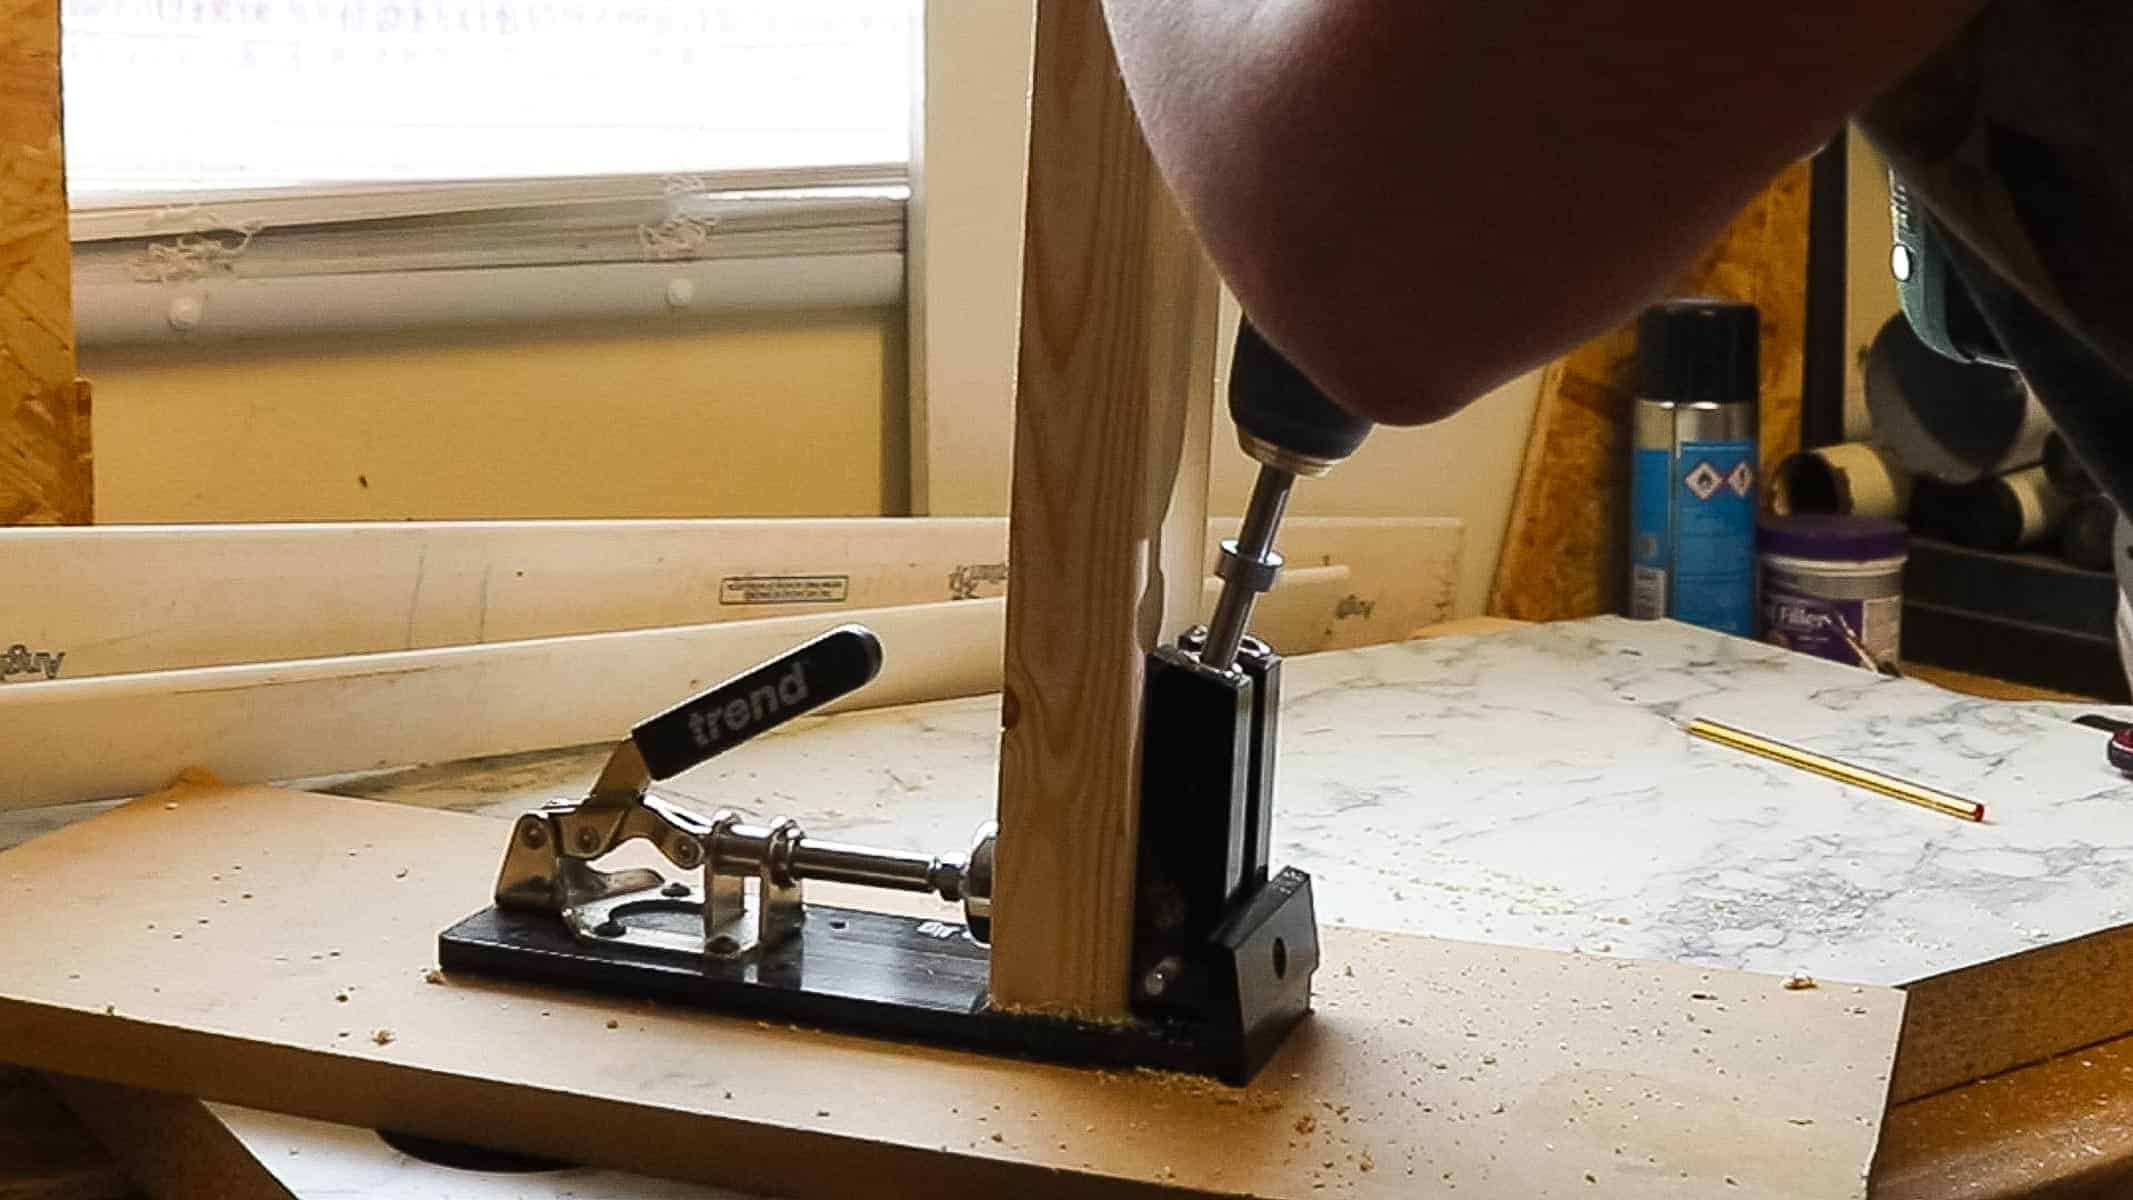
Once I cut your timber to size using a mitre saw (a hand saw is perfectly fine too), I started drilling pocket holes.
Note, see my DIY coffee table where I set up a pocket hole jig for the first time.
I drilled two holes in my wood on the widest side.
Cheaper Option
If you don't have this fancy pocket hole jig, there are much cheaper ones on the market. I bought this as it's so easy to use.
However, a much cheaper way is to just pre-drill, glue and screw the stud work together. You'll find many carpenters think pocket hole jigs are for people who don't know what they're doing.
I personally love this tool as it takes a lot of fumbling out of DIY when you're starting out. But, you must glue the joins together, otherwise it won't be as strong.
Marking Out the Shelves
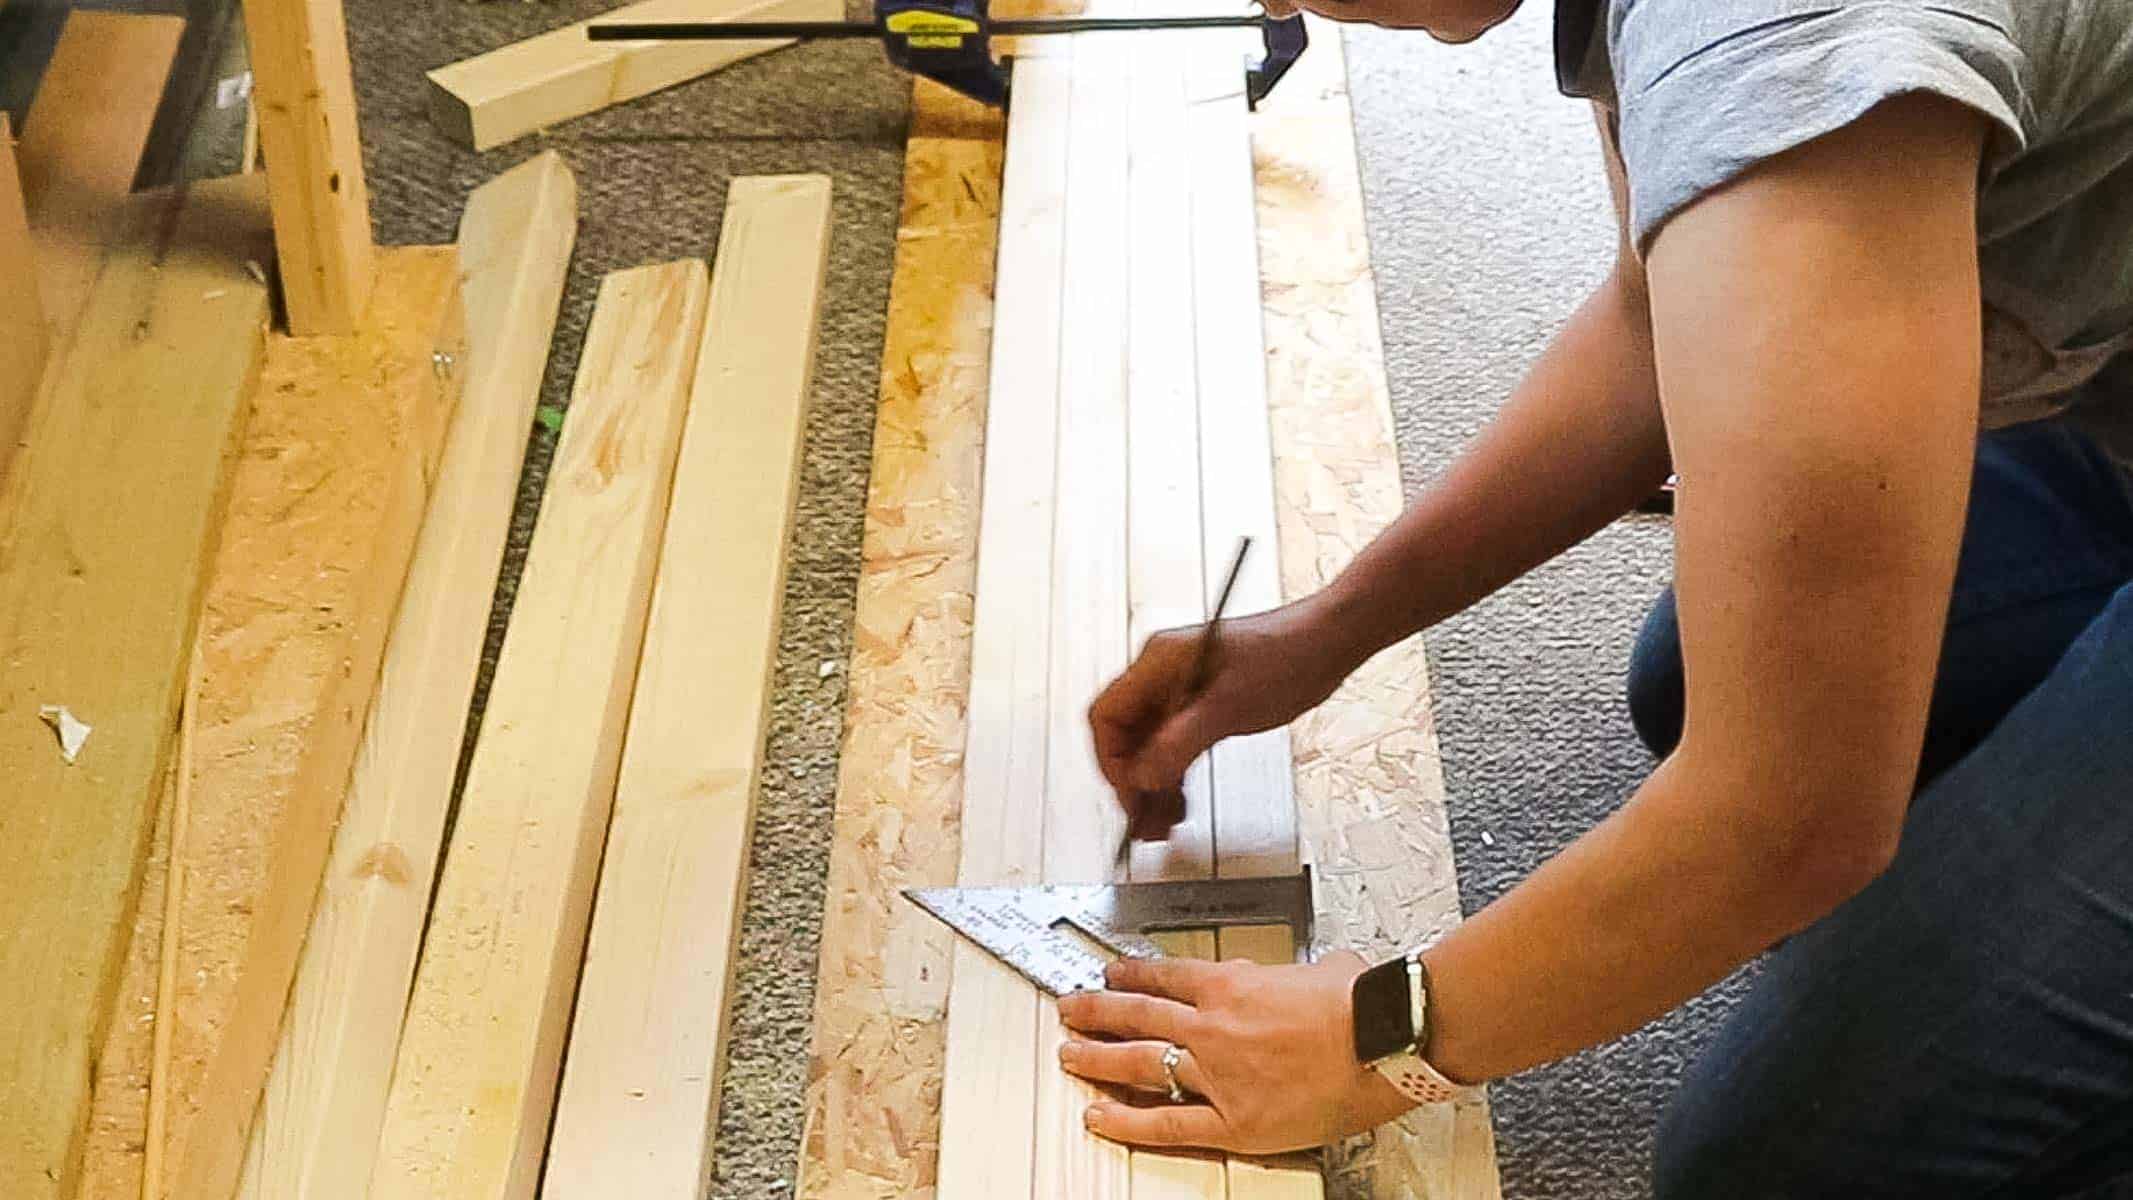
After lining up all my long lengths together, ensuring they're level on top, I marked 10cm from the end across all four with a speed square.
Note: this is the bottom of my DIY bookcase and just above this line will be the position of my supports.
Marking the Top Support
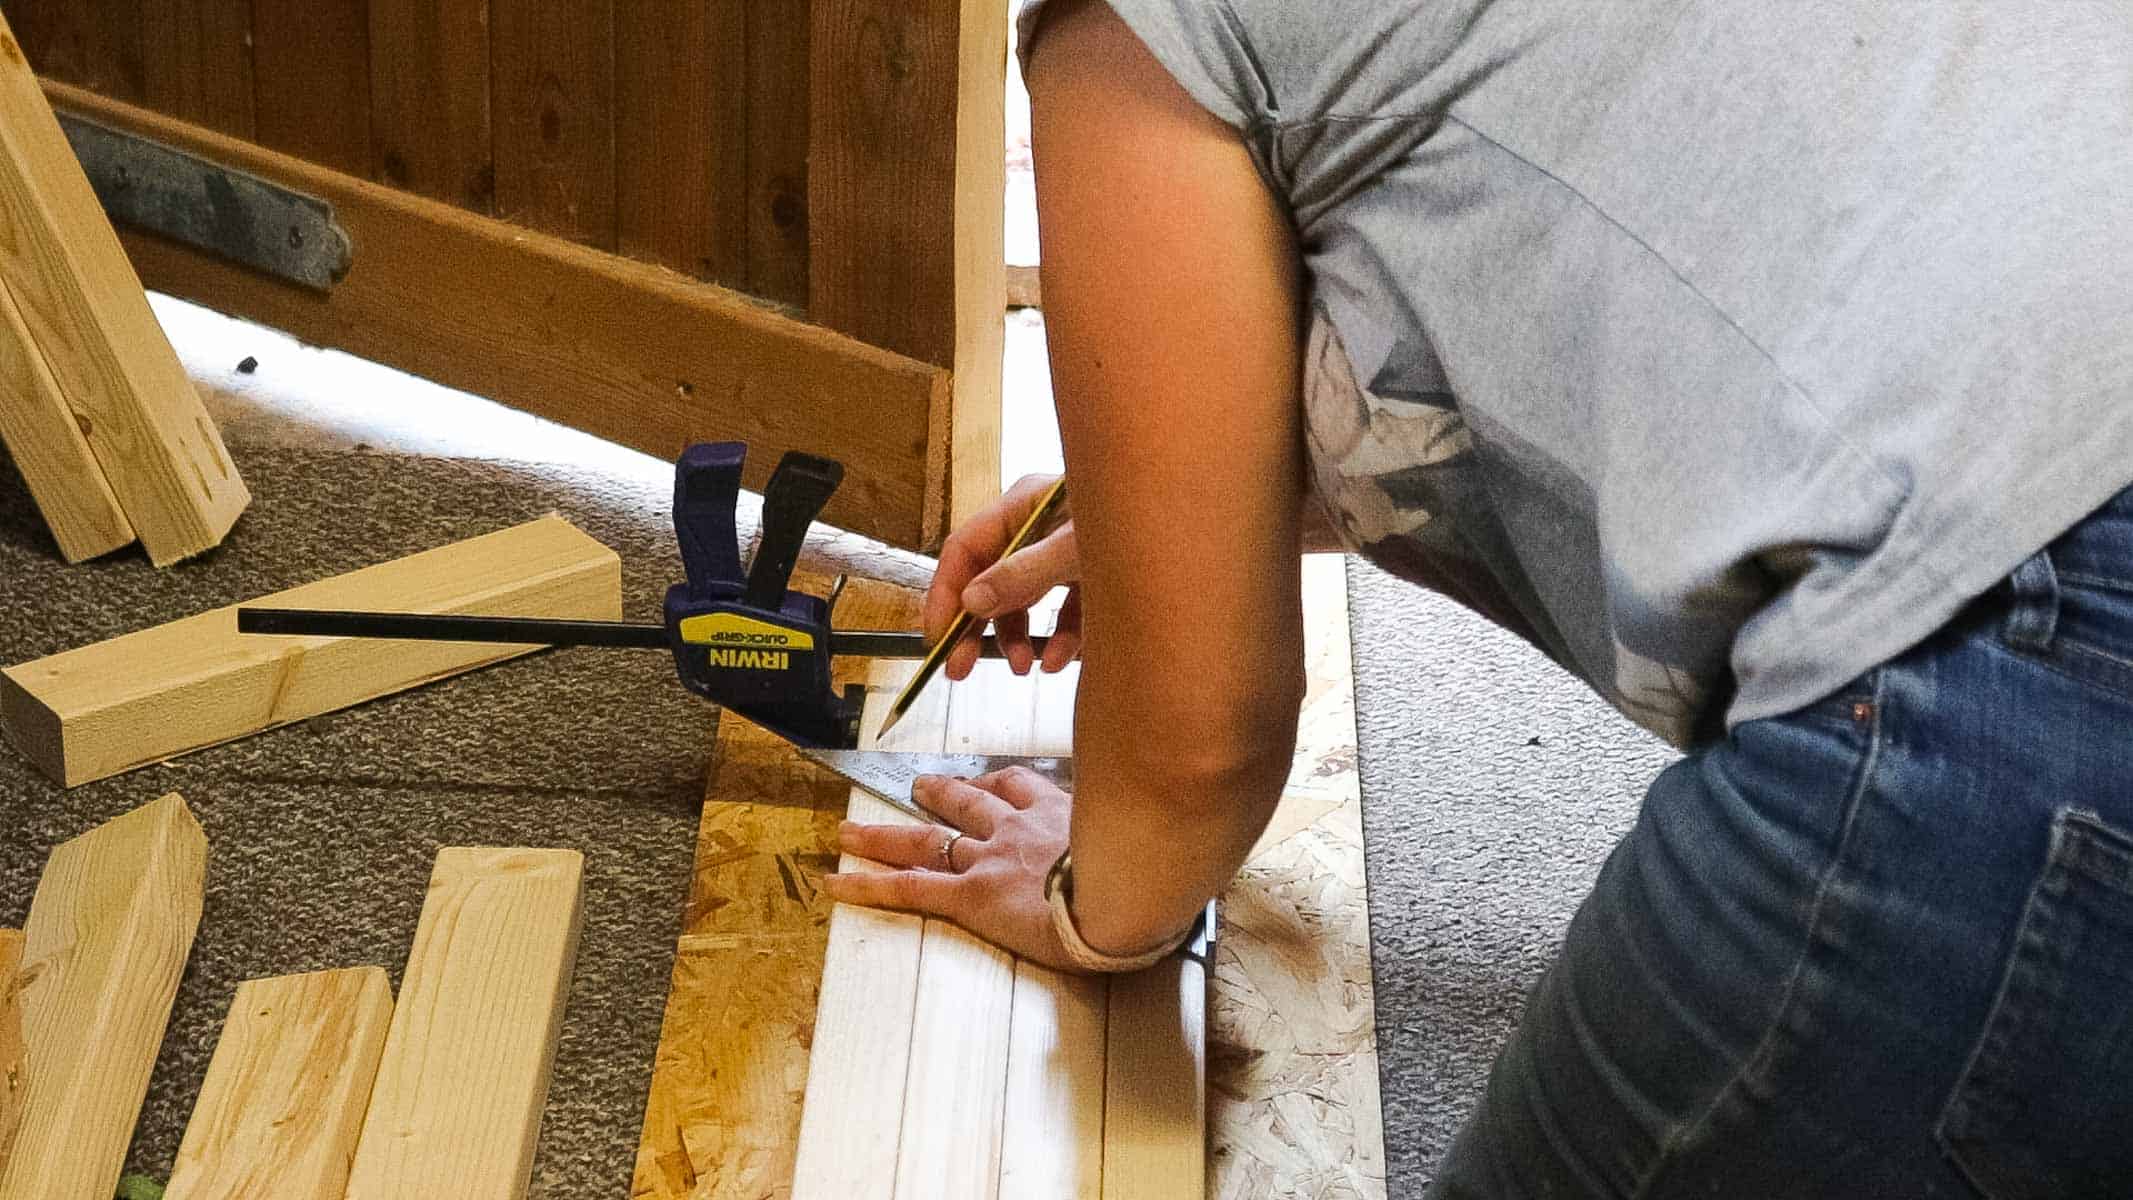
Below, you can see I'm drawing another line, but this time, it's towards the top of my DIY bookshelf.
To find the position of this top support, I held an offcut with the widest side facing down. Lined it up with the top edge and marked with a pencil briefly.
Then I knew I could continue it with a speed square again.
Marking the Shelves In Between
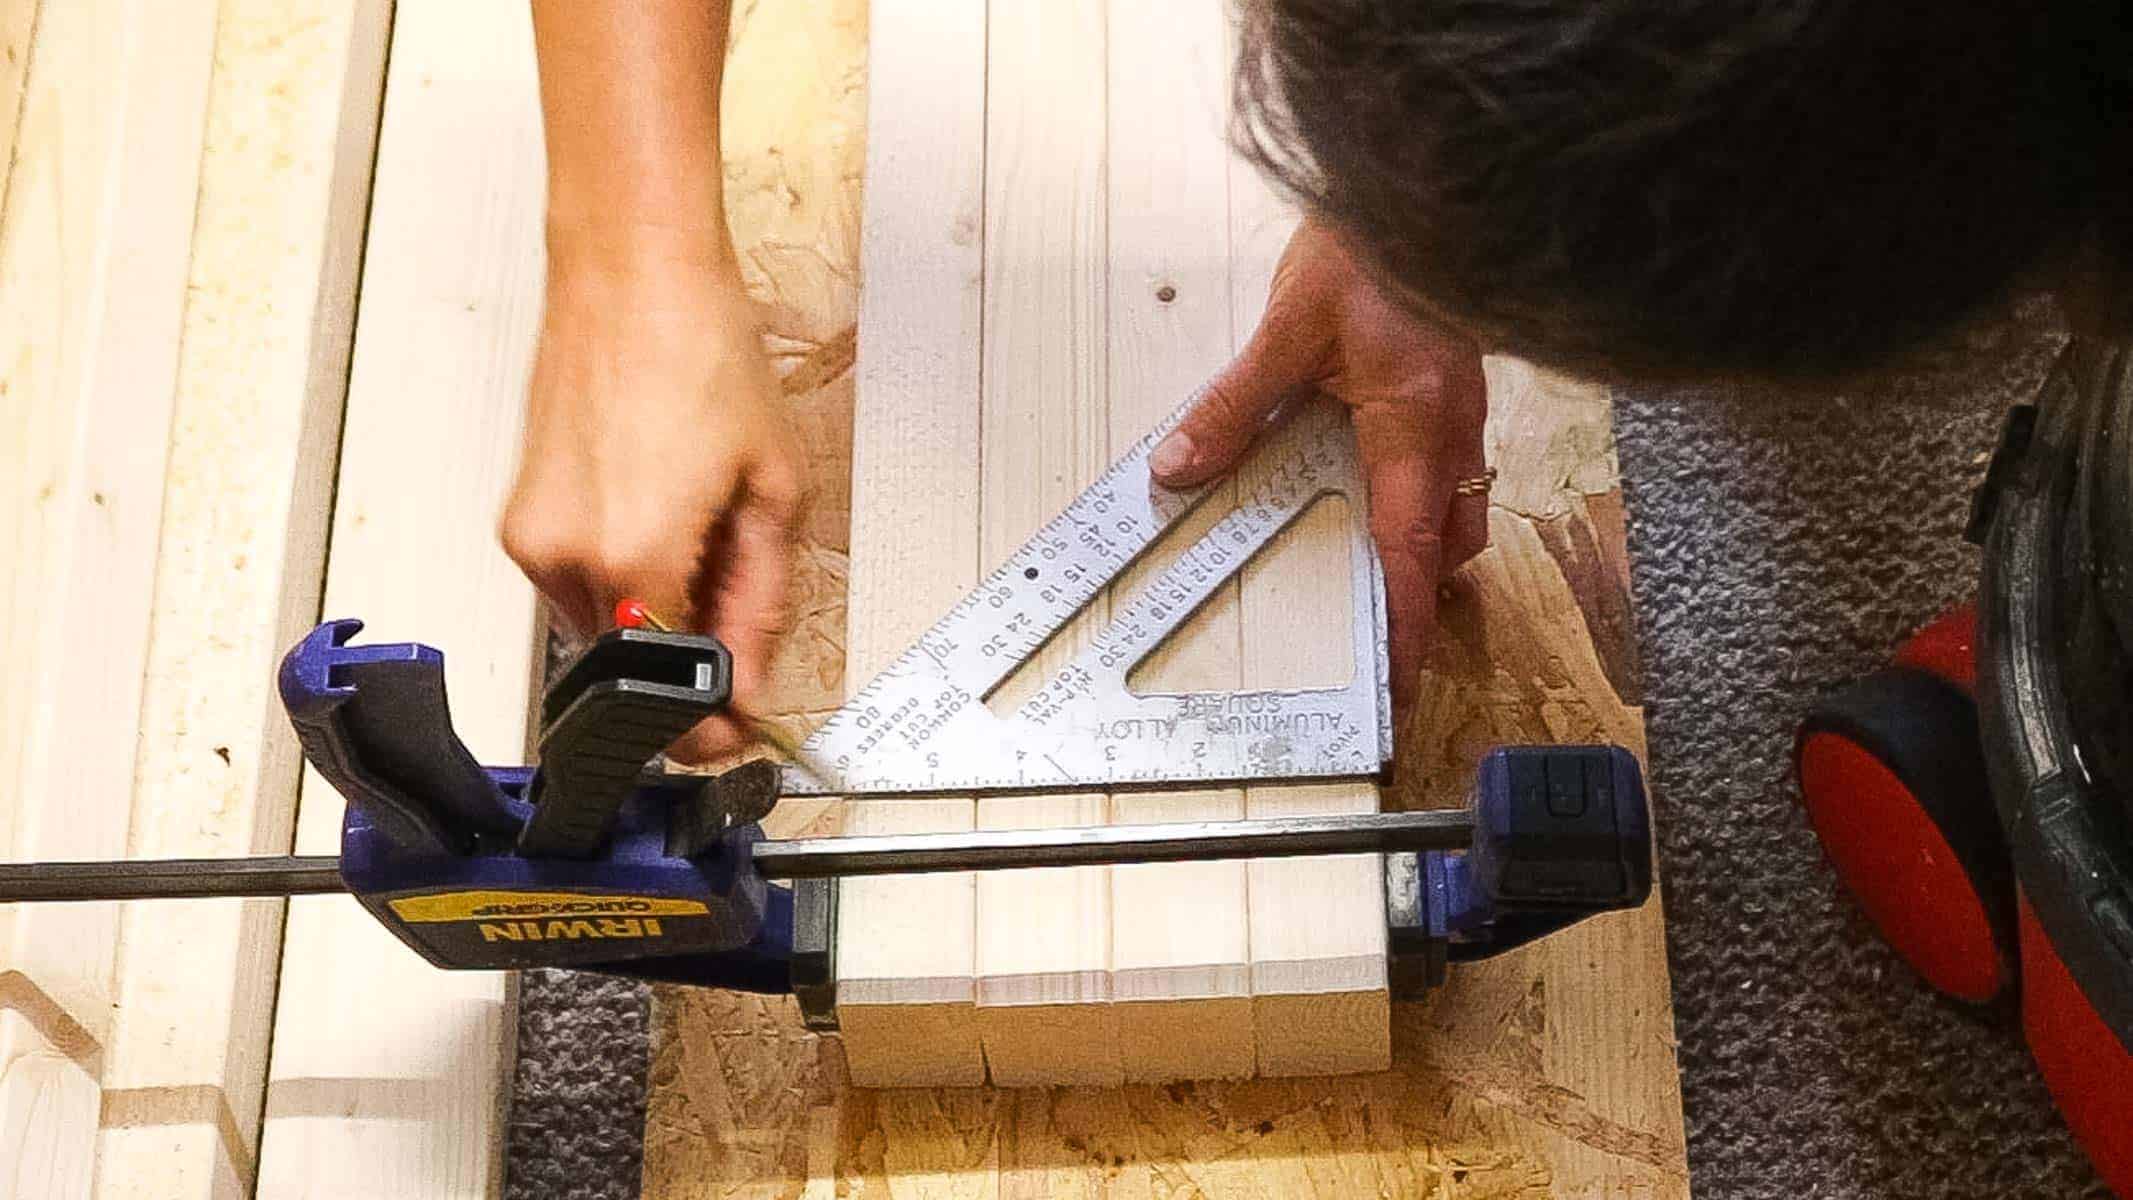
Now, I'm marking my shelves every 40cm, except mine was a little deeper at the top.
Screwing My DIY Bookcase Together
To create my two bookcase sides, it's pretty much in the style of ladder shelves. I lined my shorter pieces with my pencil marks, clamped them and glued and screwed them together.
I also used a speed square as I went for perfect right a angles. And, if you're like me and you don't have big enough clamps, you can clamp two together.
It's a little bit of a faff, but it's cheaper than buying more!
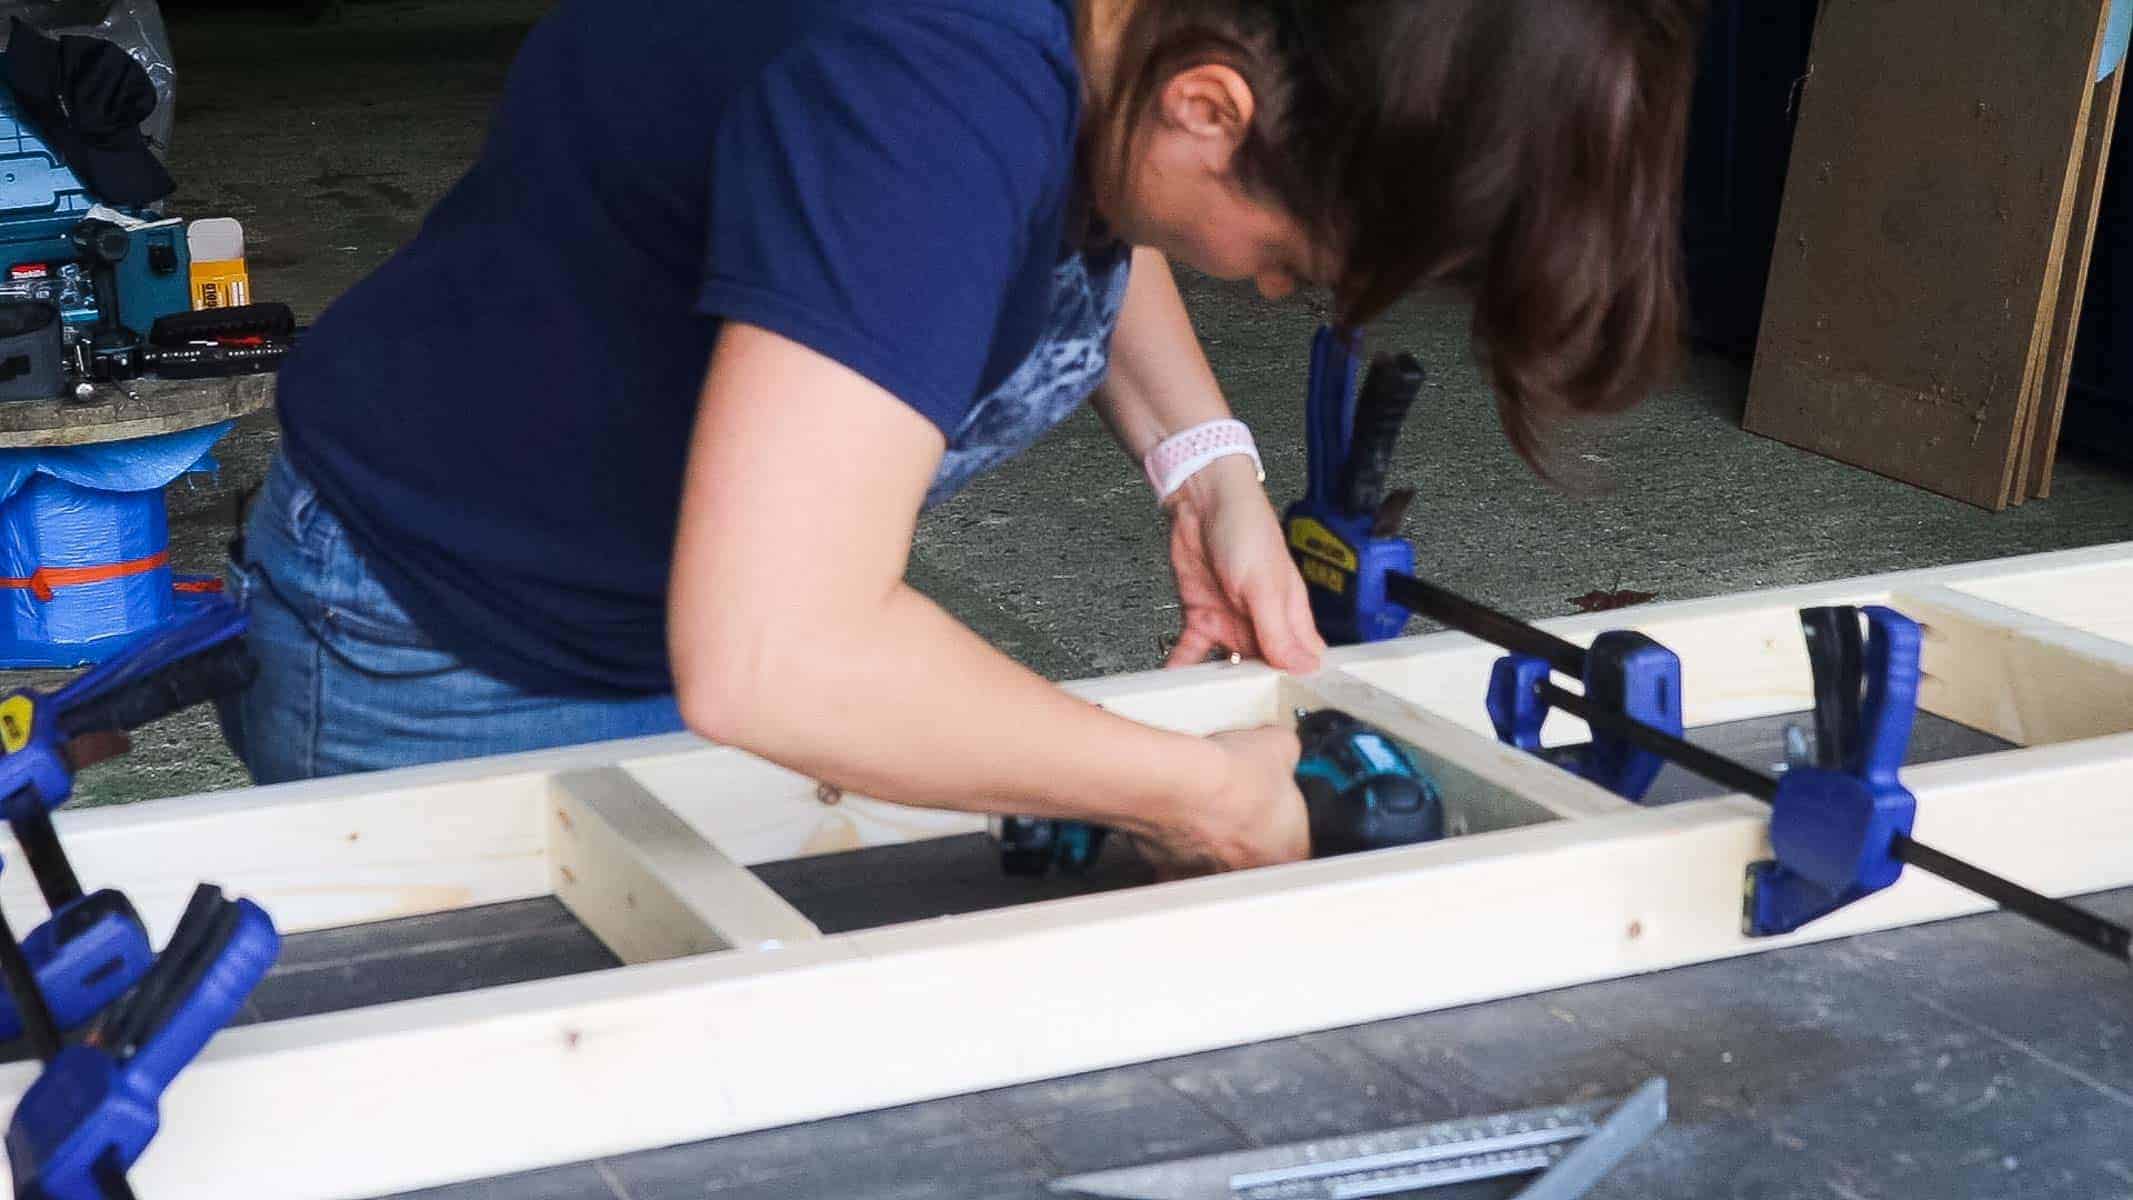
Screwing the Supports On
Below, I'm now screwing more supports that will join the two side sections together.
If you have a sash clamp, then even better. But instead, I'm just screwing one side downwards.
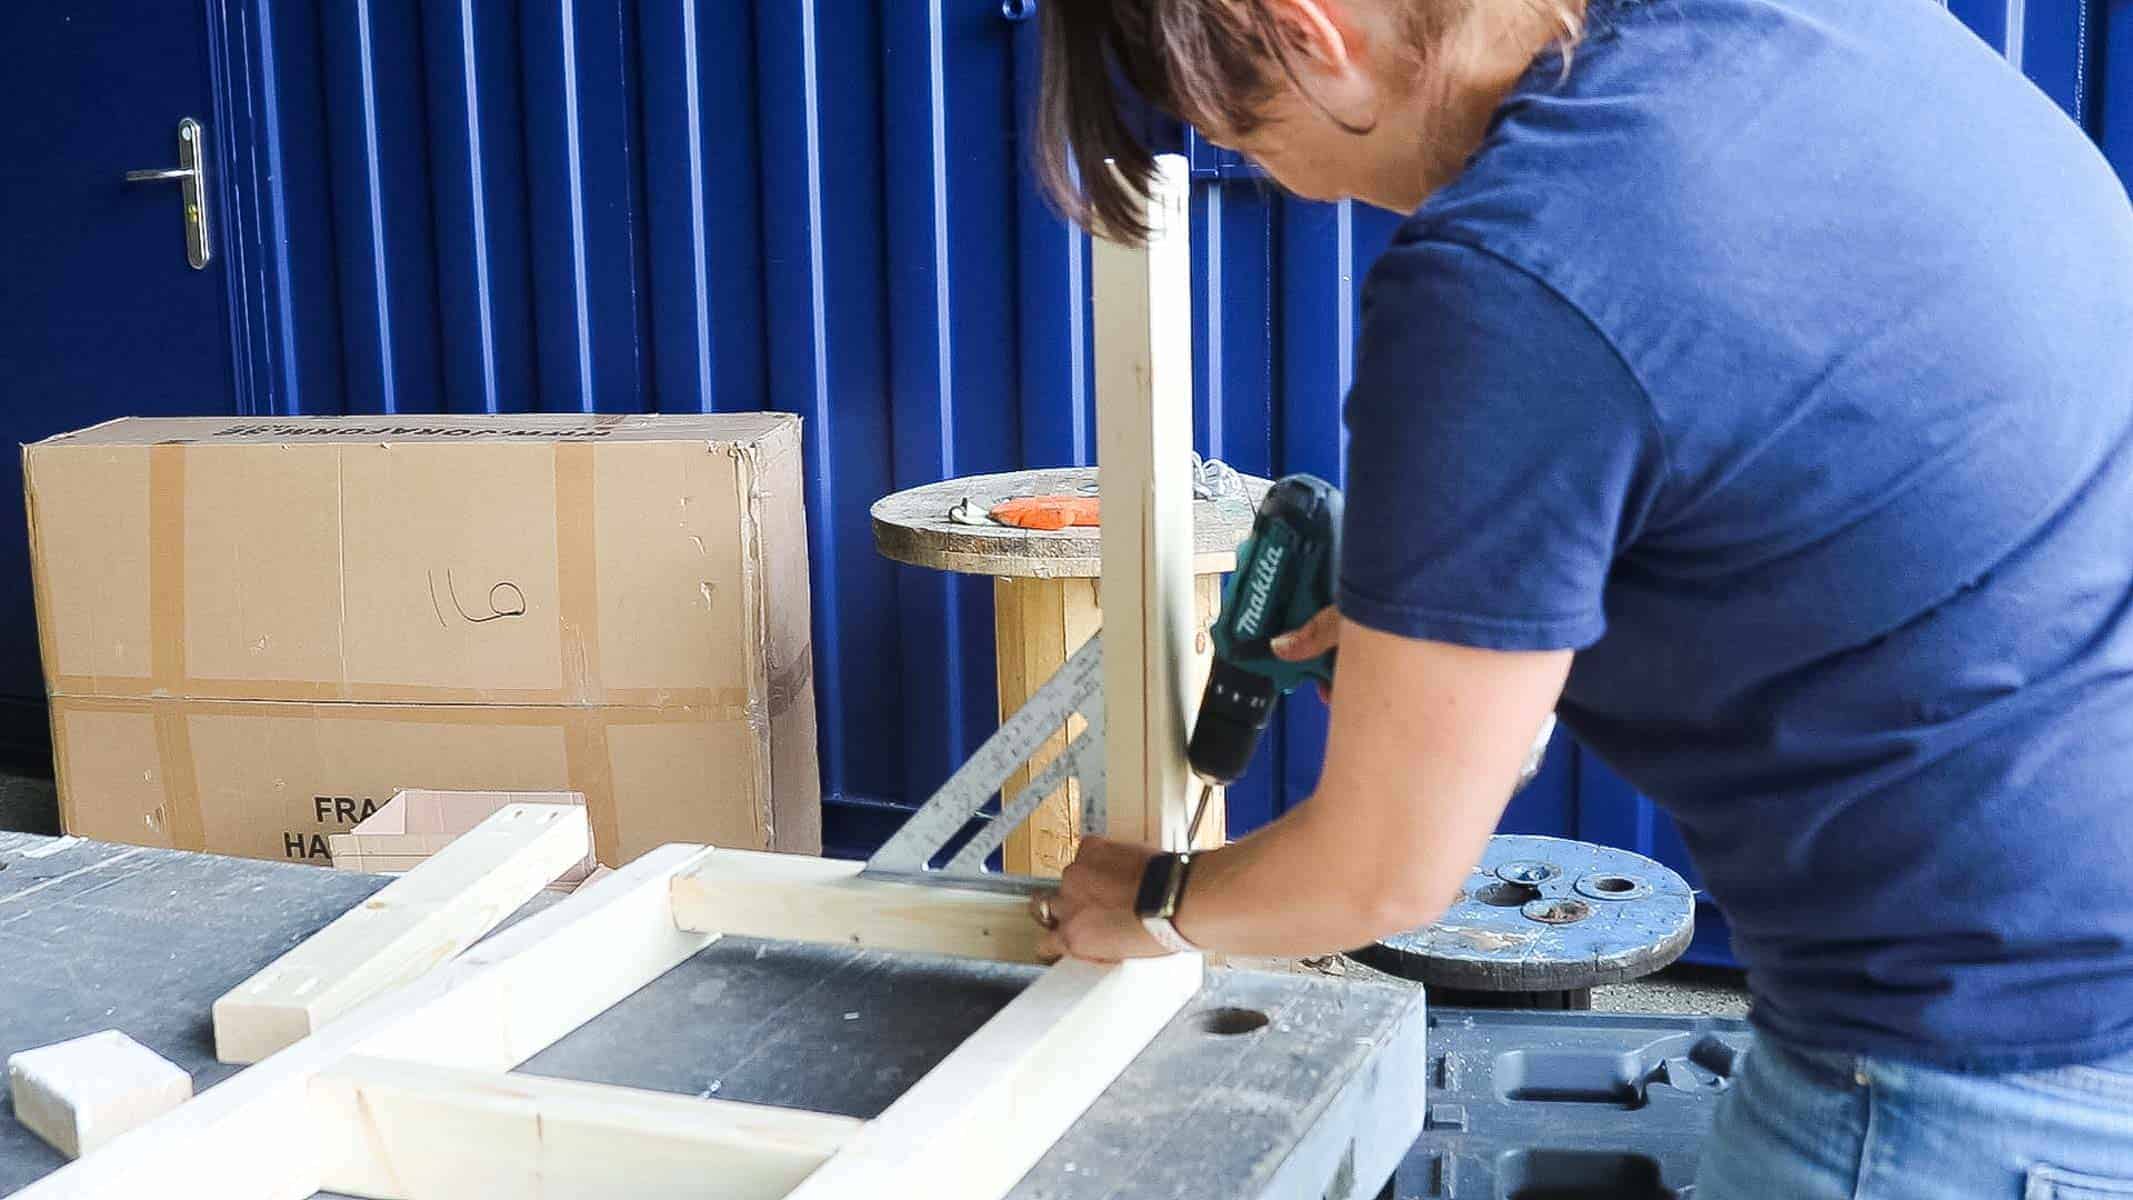
Then flipped it on its side to continue screwing together.
Note, it's very important to add glue for extra strength here, so don't skip it!
Remember, it may seem weak right now, but once you screw the shelves on, it will be even stronger.
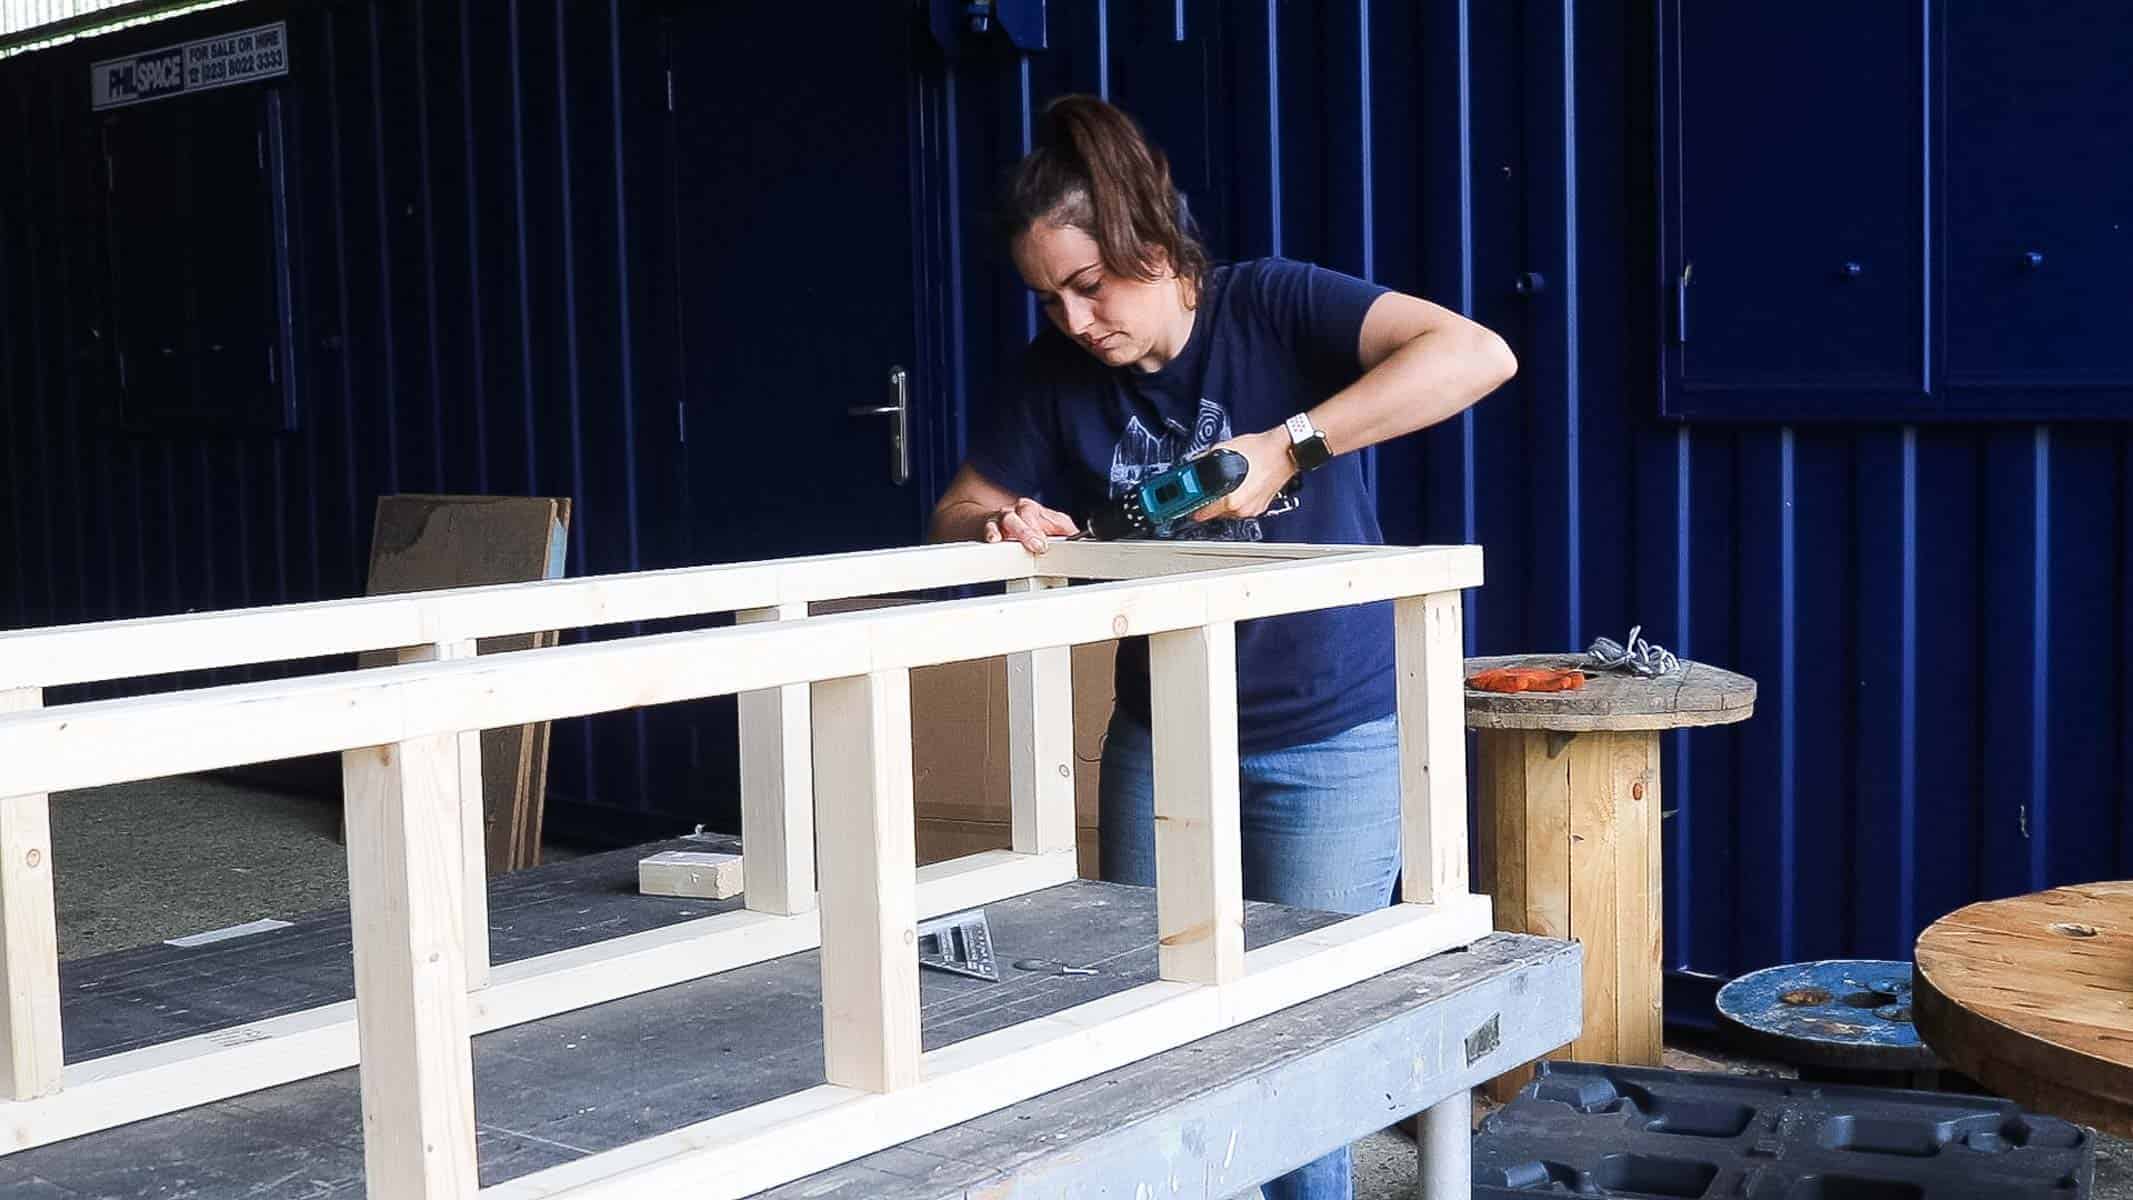
Adding the Bottom Support
For the bottom support, I screwed this in the middle, unlike the top one.
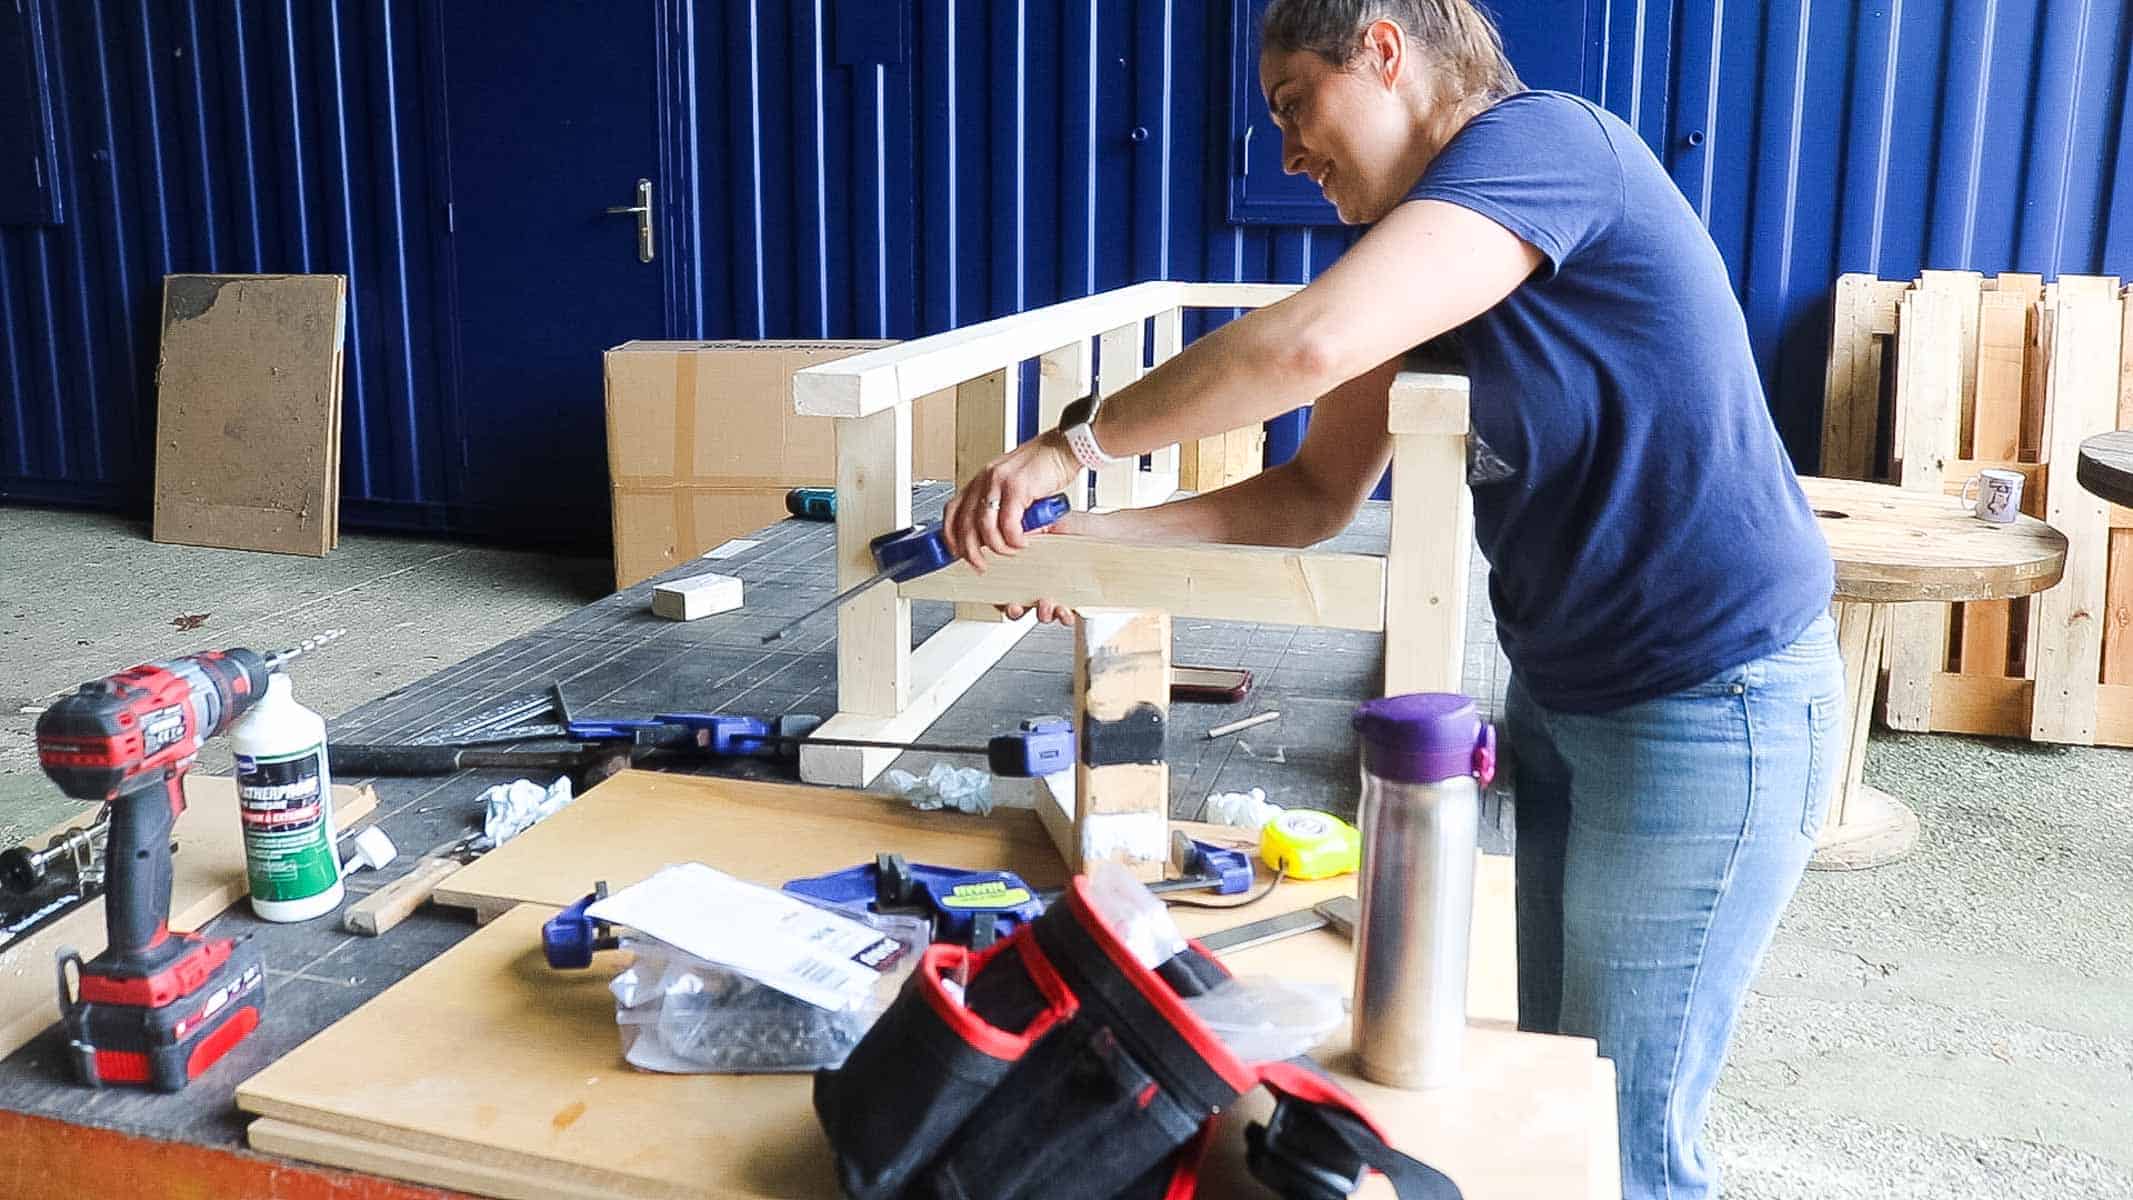
Then I glue and screwed it with more pocket holes.
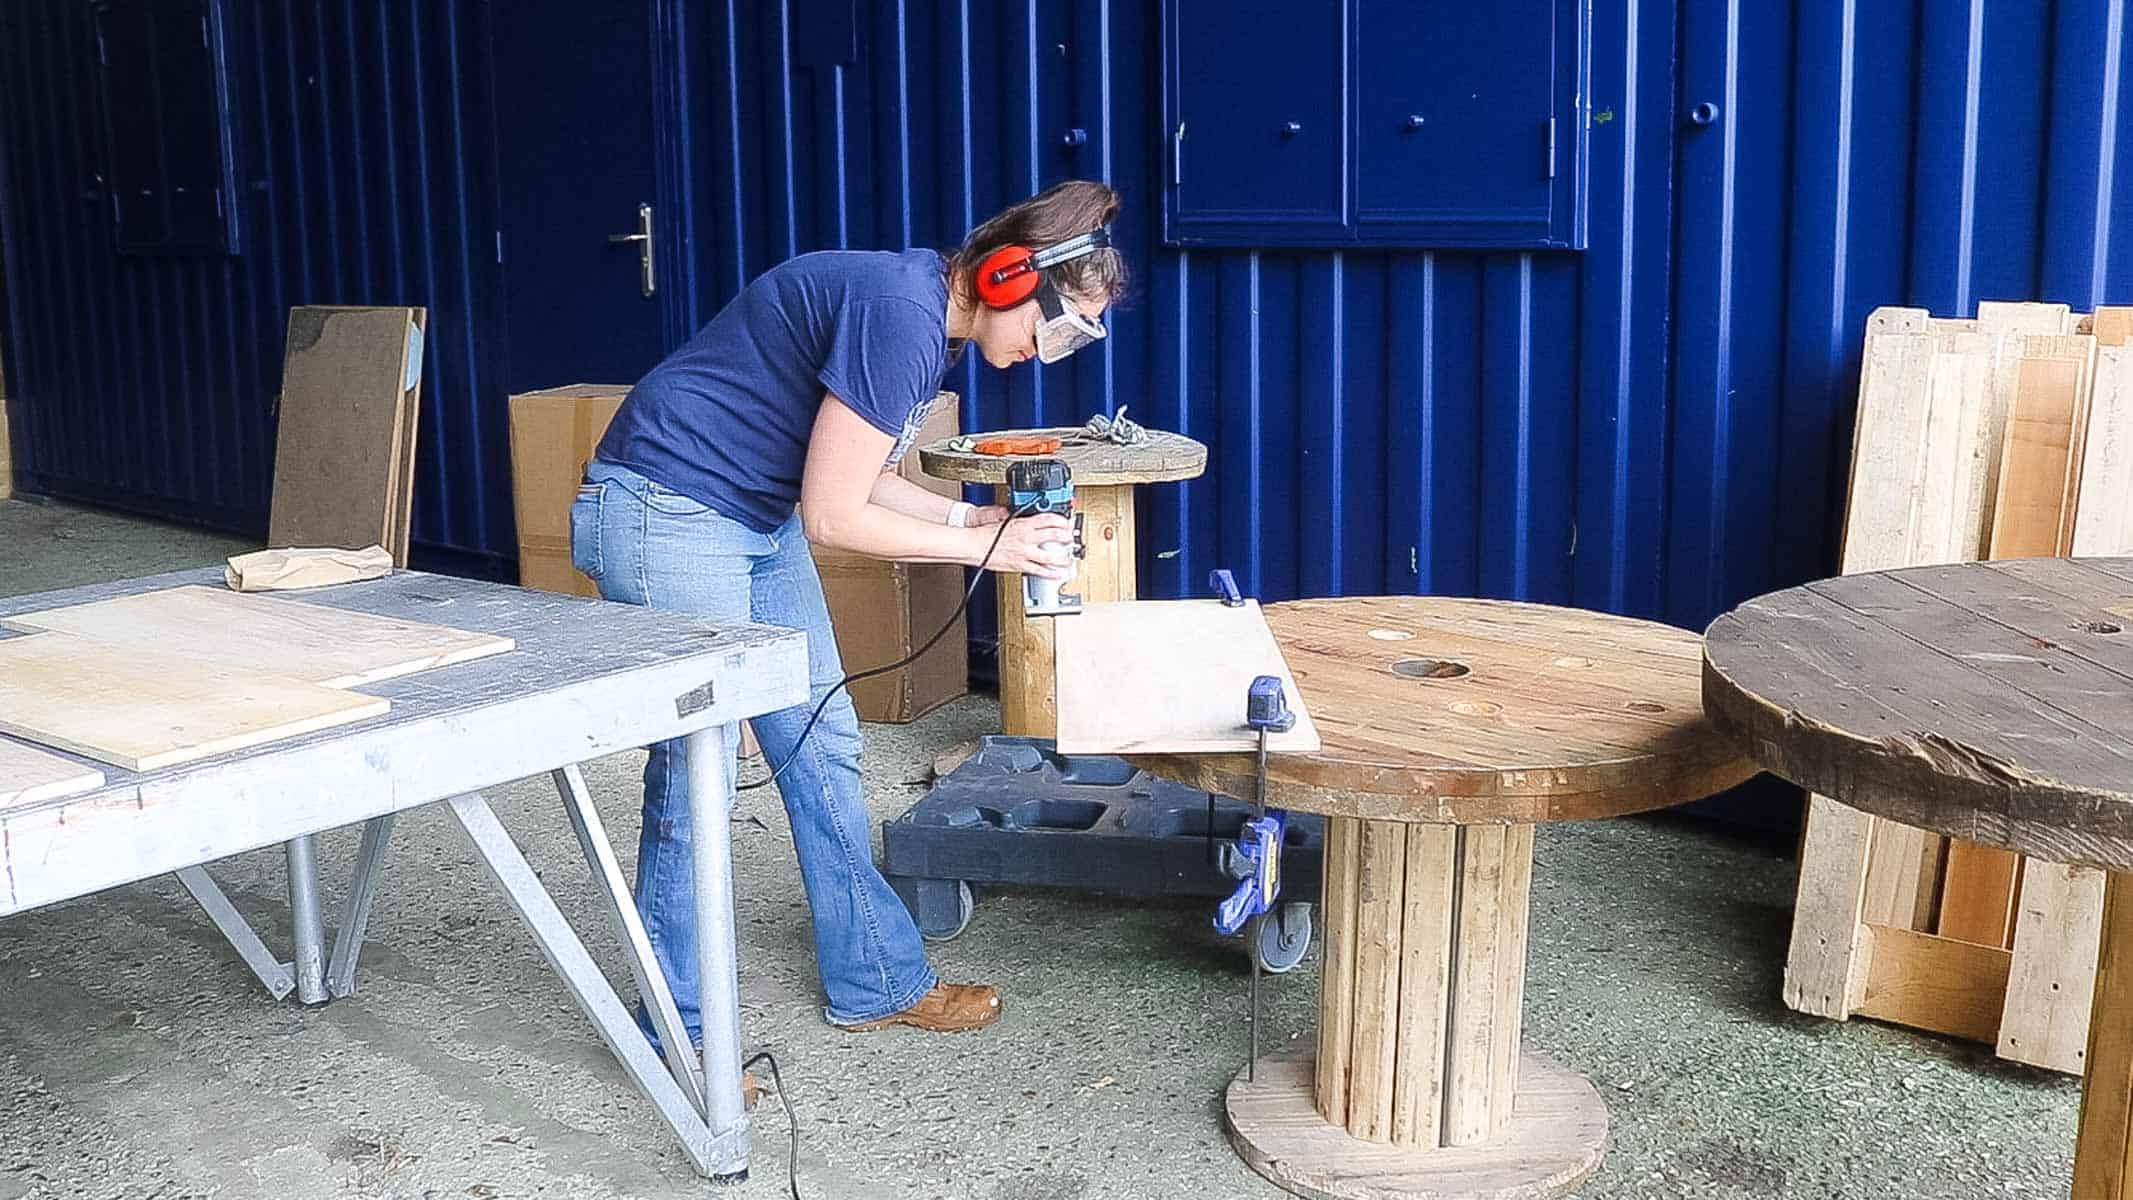
Adding a Profiled Edge to the Shelves
One of my favourite tools is actually my palm router. And that's because using a 45 degree chamfer router bit gives a quick easy win and removed sharp edges with a softer corner.
My tips for this is:
- With mine, I'm going left to right as I don't have a router table
- Don't go right to left, otherwise it can bite which is dangerous
- Clamp it to a surface if you're not using a router table
- Start on the sides with the grain
- Do against the grain last, otherwise you can get tear out on the corners
- Wear safety gear - it's loud and dusty
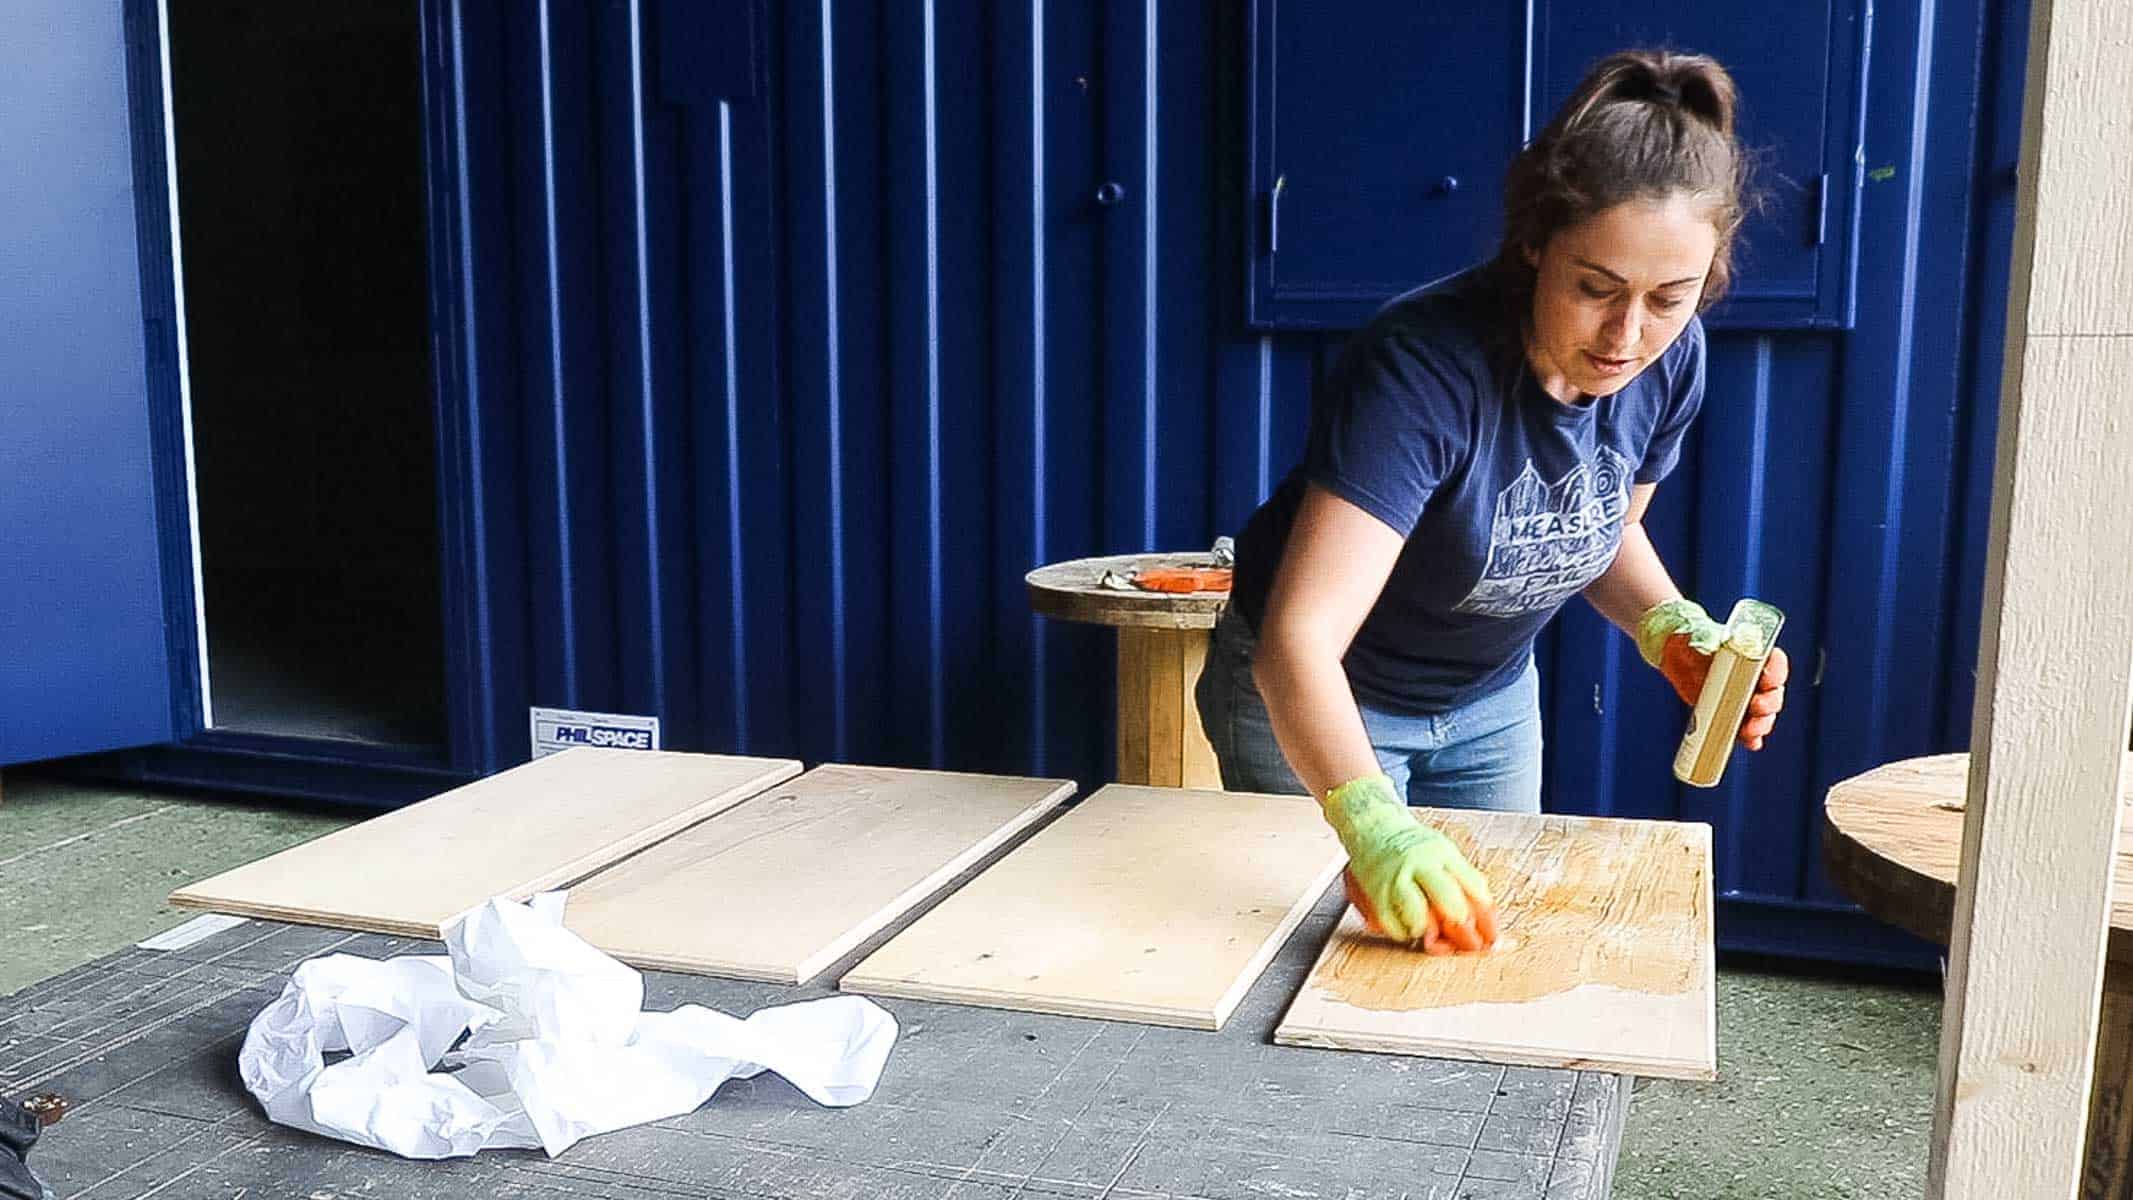
Finishing Your Bookcase
Because I used plywood shelves with knots and grain detail, I enhanced the detail with Danish oil.
Danish oil is:
- Cheap
- Creates a stain resistant surface
- Enhances the colour too
However, it doesn't prevent scratches. So, you may want to leave it to dry for two weeks before adding varnish. Above, I'm also not wearing a respirator above as I'm in an open barn with lots of ventilation. If you're in a confined space, then you should wear a mask and always wear gloves.
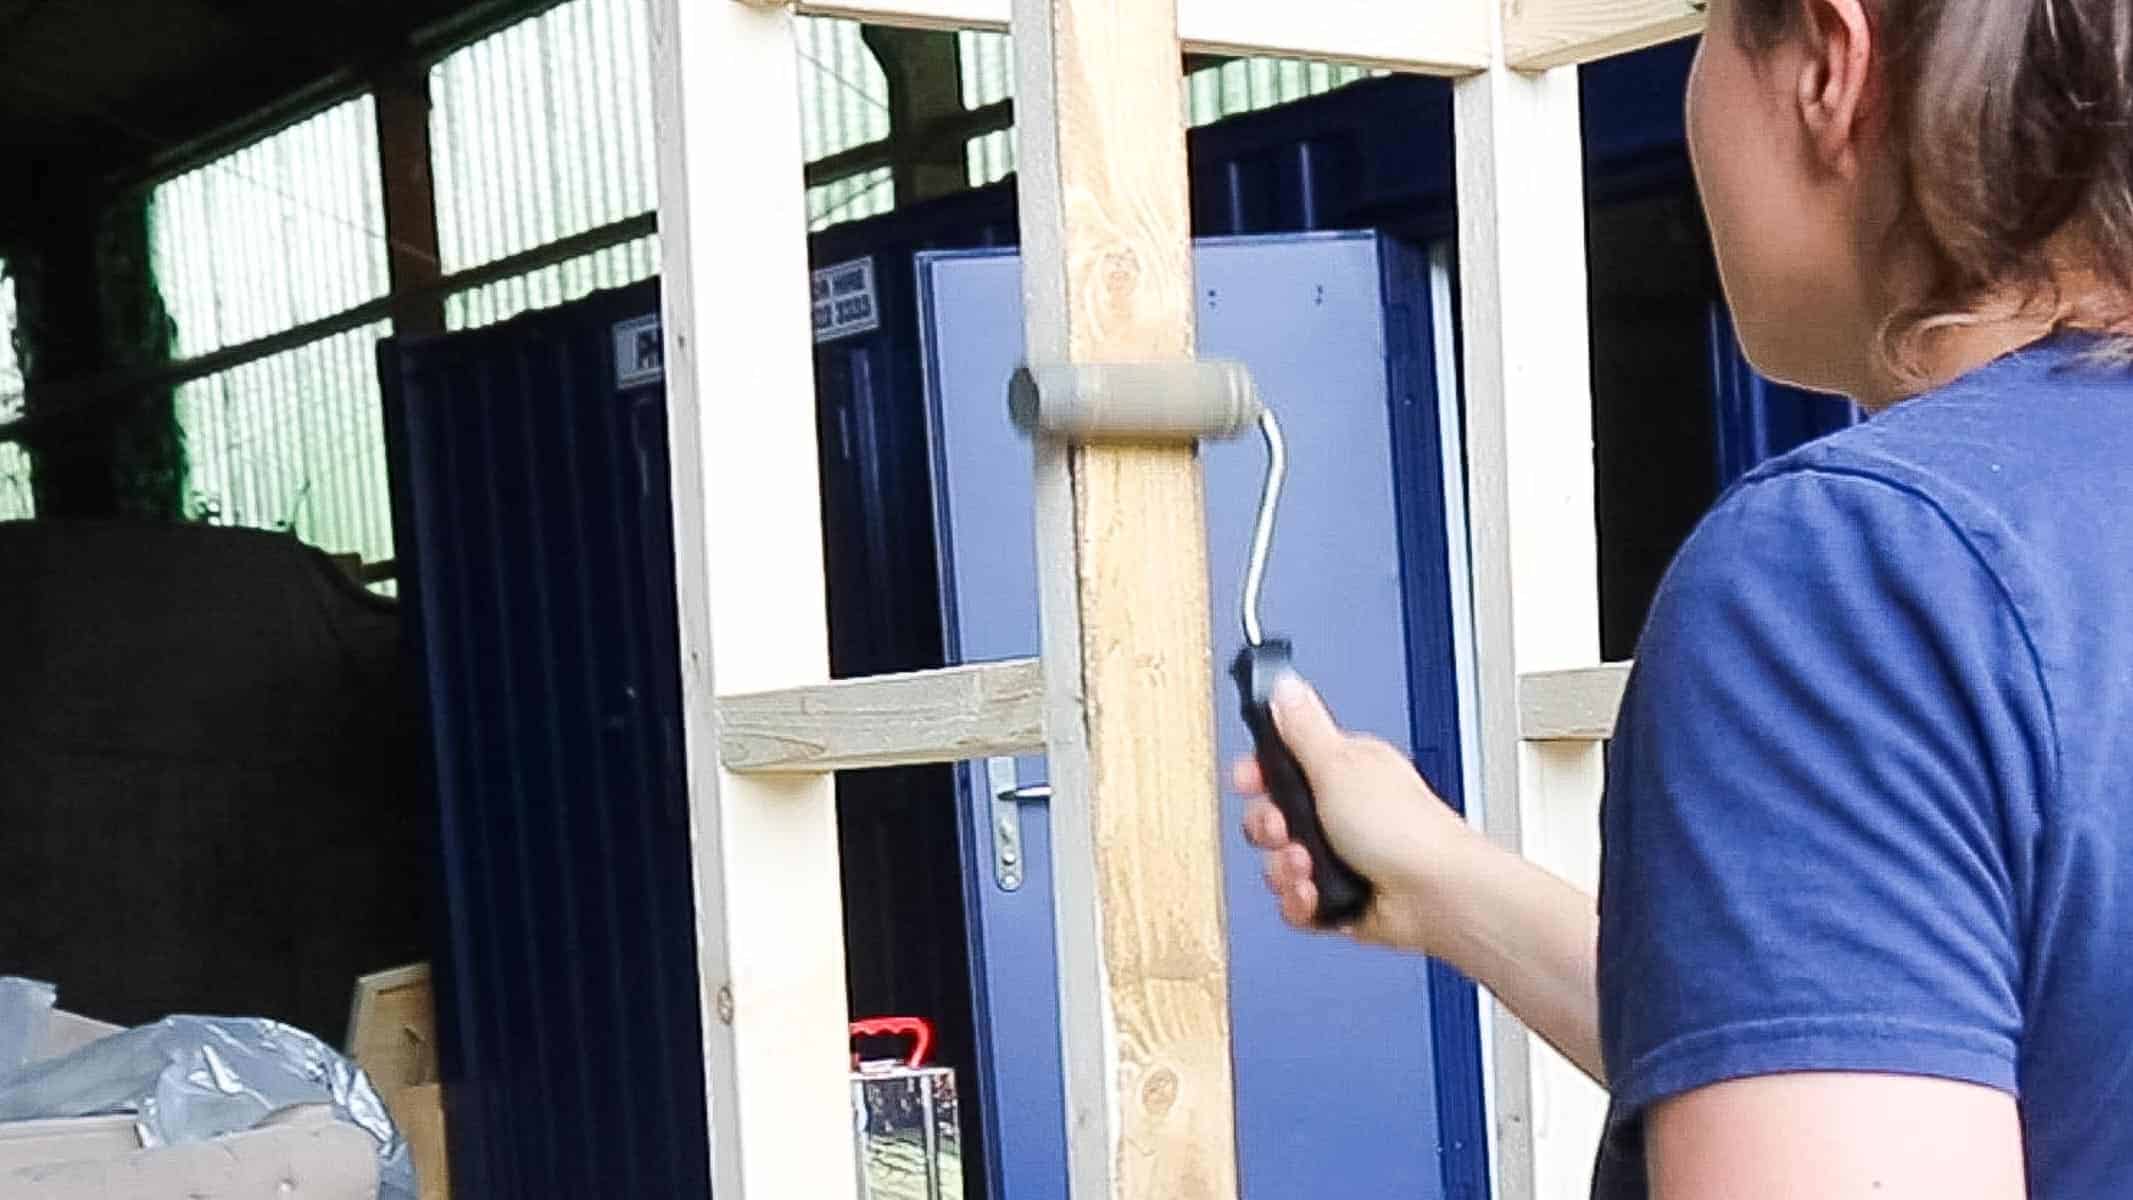
For the frame itself, you could paint with various colours or stains. One of my favourites is Rustoleum furniture paint that requires no prep.
However, if you want something for outdoors, you could use what the TV set designer gave me, which was this Ronseal Decking protector. Coloured Ronseal is actually my favourite to use. I tend to buy Ronseal Total Wood Preserver in a colour, but mostly for sheds and fencing (exterior uses).
If you're just making a DIY bookcase for indoors, then you could find a cheaper one without a preserver. However, with this being a barn, in our case, this was a wise choice.
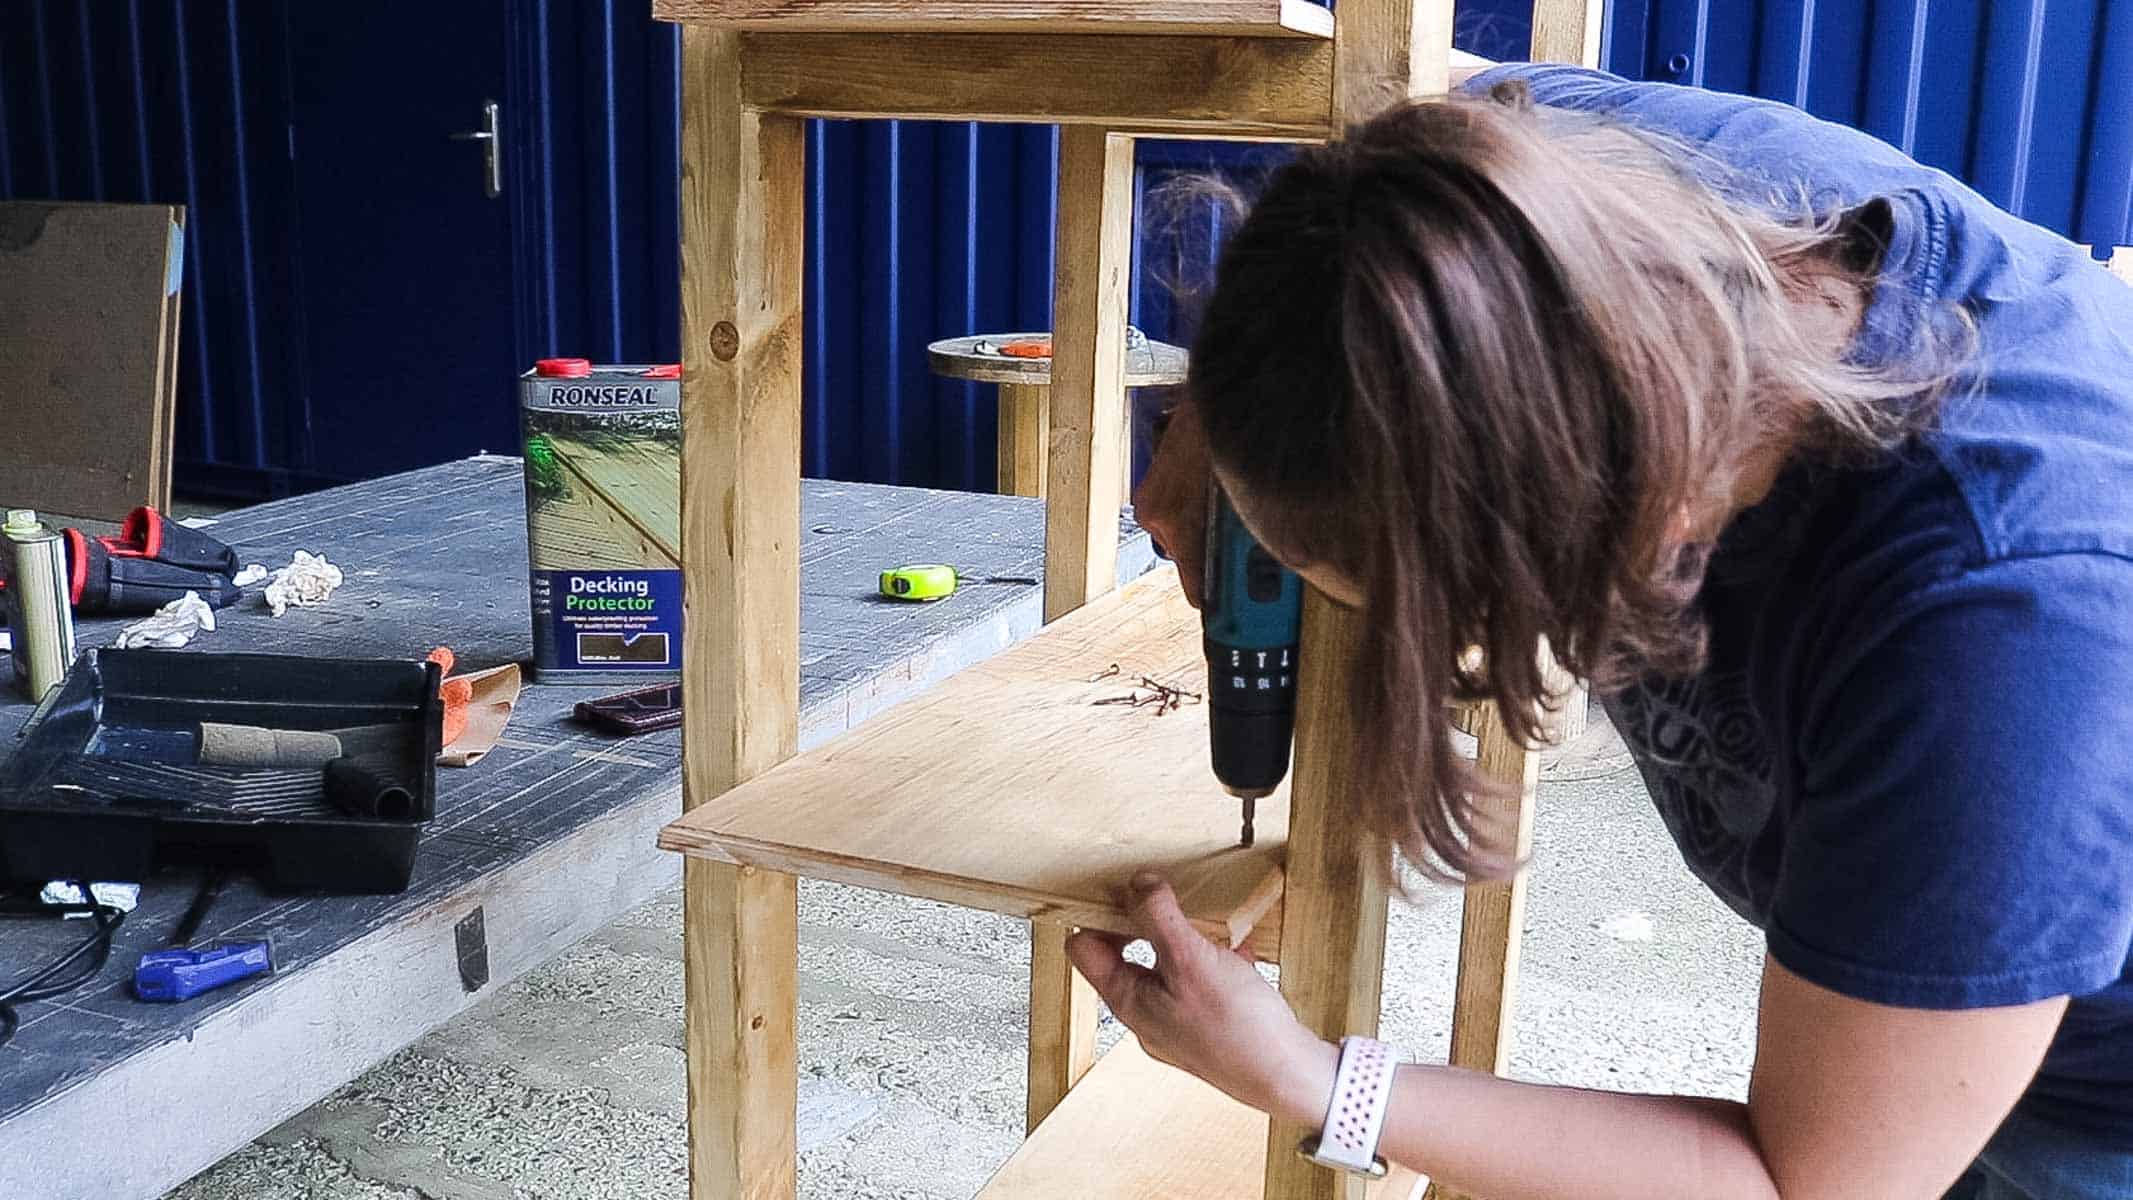
So there you go! This easy industrial bookshelf is way cheaper to make than buying an IKEA bookcase and you'll learn a bit of woodworking, too.
Don't forget that next week, I'll show you how I made the chicken coop and pen.
Pin The Love Your Weekend Bookcase

DIY Bookcase As Seen on Love Your Weekend with Alan Titchmarsh

This rustic DIY bookcase is perfect for beginners, as seen on the TV set of Love Your Weekend with Alan Titchmarsh. It’s also cheap to make and can be adapted easily for your own belongings and books.
Materials
- 6 x 2.4m lengths of structural timber (38mm x 63mm)
- 12mm thick plywood cut into sections – or PSB, pine etc – some DIY stores offer a free cutting service
- Wood glue
- Coarse pocket hole screws
- Wood stain or paint
- Wood screws
Tools
- Pocket hole jig *mine comes with the drill bit, etc
- Tape measure
- Speed square
- Mitre saw *gifted or hand saw
- Mitre stand *gifted
- Combi drill
- Drill bit
- Clamps
- Sander or sandpaper
- Router (optional)
- 45 degree chamfer router bit (optional)
- Pencil
Instructions
- Cut all the wood as shown in the cutting list above in the post.
- Add pocket hole screws to all ends, except on the legs
- Clamp the legs together, lined up and draw straight lines where you want your shelves to go
- Then glue, clamp and screw the shorter pieces in line with your legs to make in two side sections.
- Screw the two side sections together.
- Fill and sand any blemishes on your plywood sheets
- Router the edges with a 45 degree chamfer router bit and danish oil.
- Stain the frame or paint with your choice of colour.
- Place the shelves in situ and screw down.

Comments
No Comments