
Here's my very quick spring door stop installation guide. Although very easy, this is one of the many jobs people tend not to get around to doing because they don't know or haven't looked into it.

Doing a spring door stop installation or any kind of door stop is the kind of job I never seem to get around to fitting.
And usually, that's because there's many types on the market and if I don't know how something works immediately, I move on to something I do know.
But it's also the sort of thing that, if you don't fit a spring door stop on door or wall, you can ruin either. And then you need to fill and paint your walls again where the handle has damaged it.

Equipment You Need to Fit a Spring Door Stop
- Spring Door Stop or rubber door stop
- Combi drill
- Pencil
- 2mm Drill bit if screwing to wood or not using self-tapping screws

How to Install a Spring Door Stop
For the spring door stop which looks like a coil, initally it comes with the plate attached.
Note there's a screw hole on the back. So first, I lined the spring door top where I wanted it behind my door.
Then lowered it approximately half of the back plate's and marked with a pencil. You'll see I'm about to screw my spring doorstop to plastic.
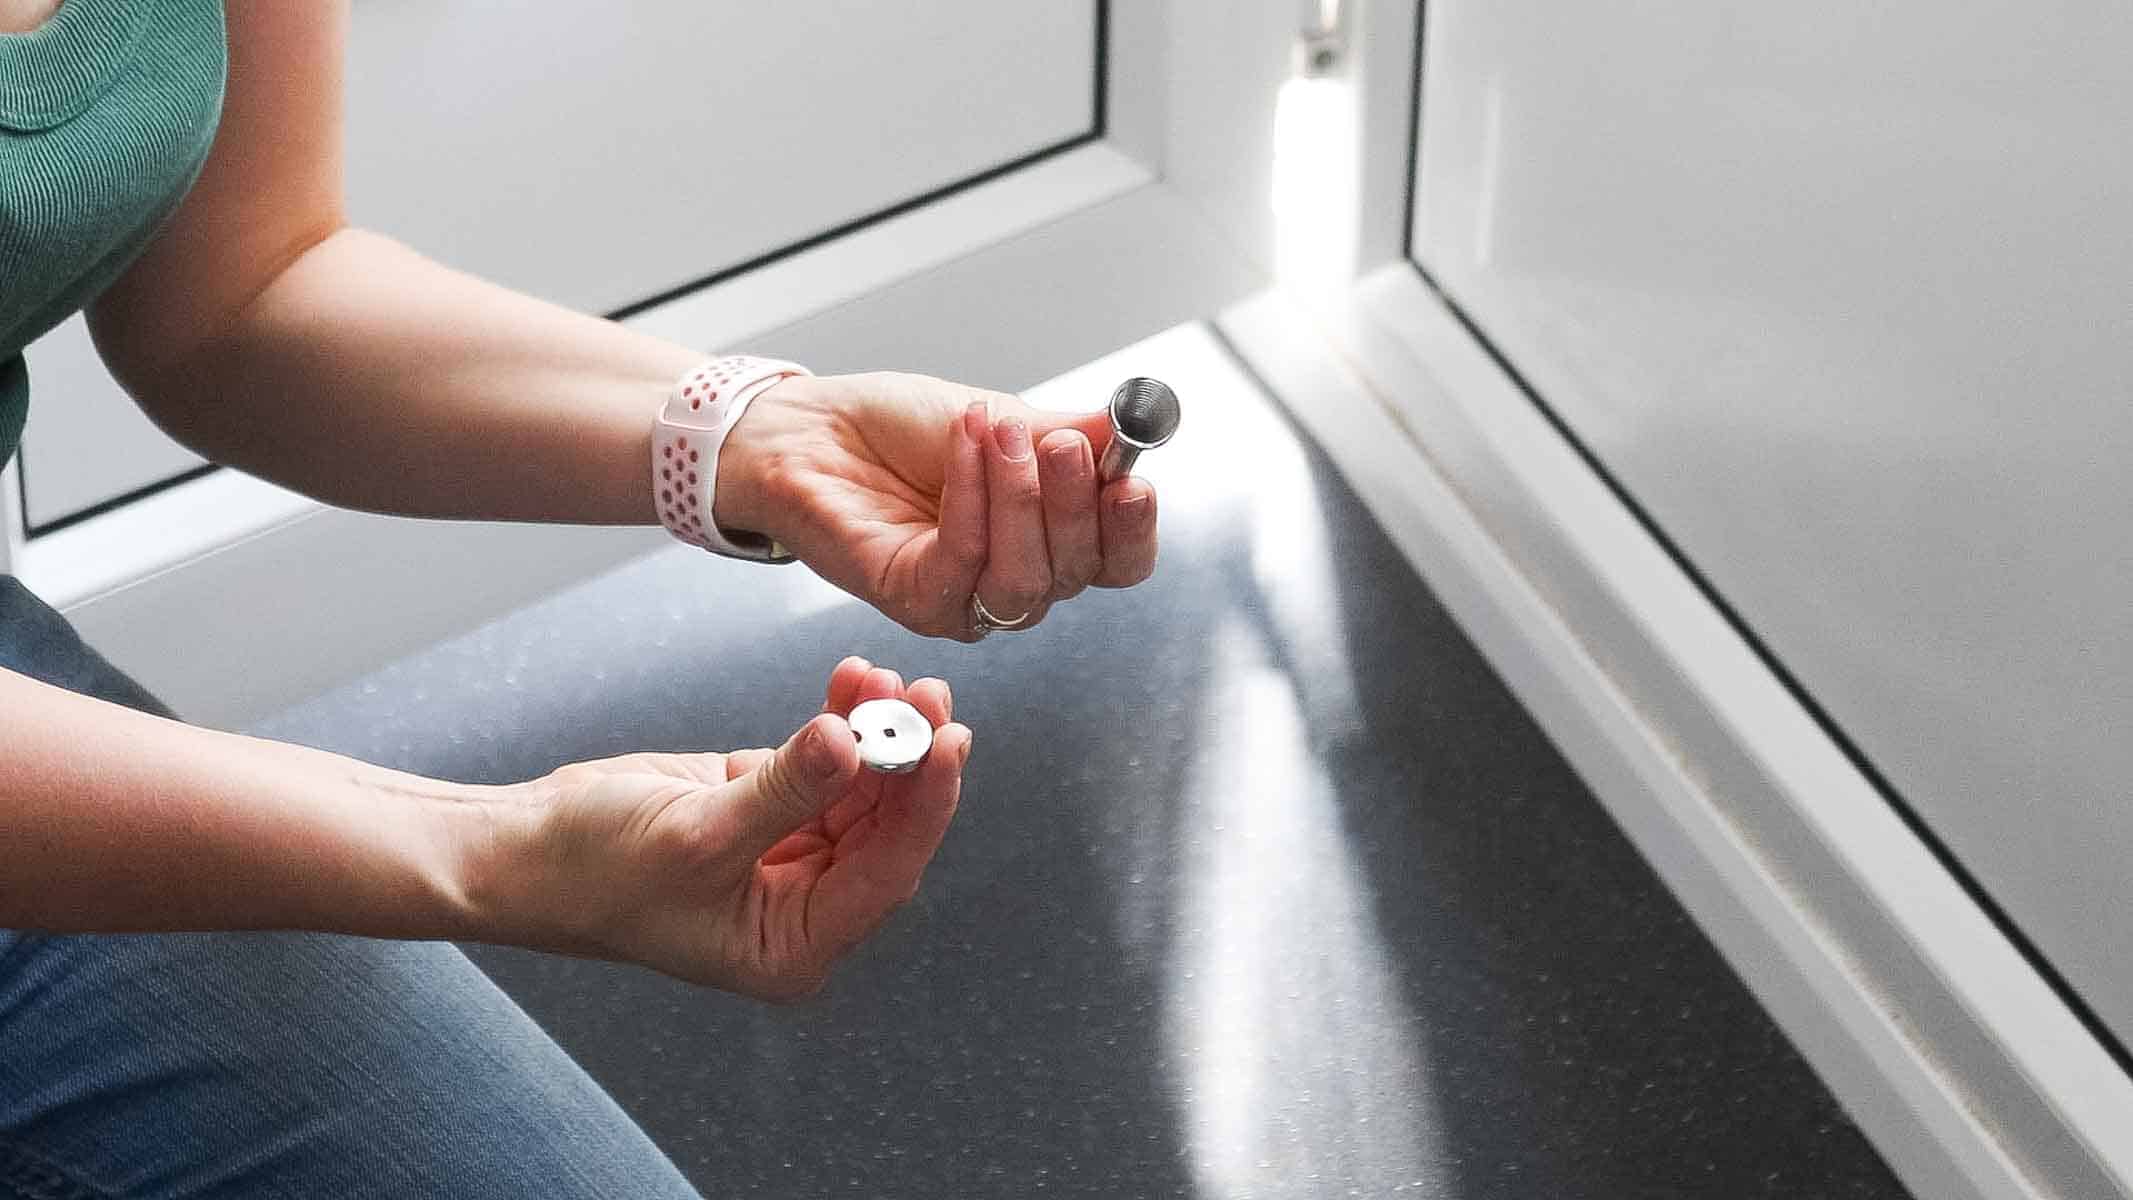
Dismantle the Spring Door Stop
To reveal the mounting back plate on the spring door stop, it simply twists off.
If you check it, you can twist it back on as there's a little hole to trap the coil spring.

Screwing the Spring Door Stop Plate to the Wall
As I'm screwing to plastic and the spring door stop comes with self-tapping screws, I didn't pre-drill it first. And just screwed it to the UPVC with a combi drill.
However, if screwing to skirting boards, then I recommend pre-drilling with a 2mm drill bit. Ideally, the screw shouldn't be much longer than the thickness of the skirting. Although, it will be ok going into some plaster.
If you have a brick wall and no skirting, then you'll require a masonry drill and rawl plug.

Attaching the Spring Door Stop
Once the screw plate is attached to the wall, then it is simply a matter of twisting on the spring door stop.
Now it's ready to use and prevent damage to your walls and door handle.

Other Related Projects Your Might Like
- How to Hang a Door
- Architrave for Doors DIY Guide
- How to Change a UPVC Door Lock
- Arch Doorway DIY for Plastering
- How to Build a Shed Door
- Knocking a Wall Through for a Doorway
- Changing a Door Mortice Sash Lock
- How to Fit or Replace Kitchen Door Hinges
- Applying Silicone Sealant Around UPVC Door
- Kitchen Cupboard Door Hinge Tear Out Fix
- How to paint a panel door
- Replace a uPVC door handle
Spring Door Stop Installation

Here's my very quick spring door stop installation guide. Although very easy, this is one of the many jobs people tend not to get around to doing because they don't know or haven't looked into it.
Tools
- Spring door stop
- Combi drill
- Pencil
- 2mm drill bit
Instructions
- Position the door stop where you want it against the wall behind your door.
- Drop it roughly by half the diameter of the spring door stop and mark the wall or skirting with a pencil.
- Detach the mounting plate from the spring door stop by twisting.
- Screw the plate to the wall. See notes above regarding the ty[e of surface you're screwing it to.
- Twist the spring door stop on to the mounting plate.

Comments
No Comments