
Here's how to build a DIY dumbbell rack (or wooden tree stand) for 3 sets of weights. This easy DIY project is made cheaply using wood offcuts and can be made with various tools, depending on your skill set. It also includes free dumbbell rack plans that are adjustable and a how-to video to follow along for guidance.

While we've been asked to stay at home, many people, including myself, have been exercising at home with an A frame dumbbell rack set. I know so, because demand has made them increasingly expensive. I've actually been enjoying many a day doing a 30 minute dumbbell workout during BeachBody's Morning Meltdown 100. Oh, and a 10 minute hiit workout!
But, the problem is, all of the dumbbells sets with rack I've seen online aren't very stable as they're made with plastic. Mine have collapsed a couple of times and felt it was only a matter of time until they landed on my toes or my dog.
So to solve this problem, I've made a sturdy apex 3 tier dumbbell rack out of scrap plywood and bits of structural timber. And I'm going to show you to easily make your own dumbbell set with rack for free, using your chosen tools.

What Dumbbells Weights Will This Rack Suit?
As you can see, I created my dumbbell weight rack for 3 pairs, being 5kg (11lb), 3kg (6.6lb) and 1.5kg (3.3lb). It won't really matter as to what weights you're making this for as it's made with structural timber, 12mm plywood, has a base and is glued and screwed.
The key things you'll need to focus on, which is an easy adjustment with my free plans are:
- Make sure the stand is wide enough, so the dumbbells don't clash
- Ensure the curved handles are wide enough to hold your dumbbells
Note: once you get one side of your A frame dumbbell set rack correct, you can then copy it to create a match for the other side.

Free DIY Dumbbell Rack Plans
Note, these plans are for a guide only as all dumbbells vary is shape and size.
If you already have your own DIY dumbbell stand, but it's not stable, then you can get skip to my tutorial immediately. But if not, then you can download my homemade dumbbell rack plans here by signing up to my mailing list. Make sure you print under "100% scale".
Note, this also works as a HEX dumbbell set with rack because it molds around the handles. Furthermore, if you just want a 2 tier dumbbell rack, then you can easily draw your height line between the top two tiers instead.
How to Use My Homemade Dumbbell Rack Plans
Once you've printed my dumbbell plans on 4 sheets A4 sheets of paper, you need to:
- Overlap the sheets as pictured to match up the reference marks
- Print at 100% scale. But, the most important dumbbell spacing to get right are the top two ones, being closer together. So:
- Hold the smallest dumbbells together and leave about a 1cm gap for clearance between the heads and then measure the distance between the two handles. This is the top's width you need before the curves start
- Or, you can draw around the two smallest dumbbell's head, cut them out on more paper, and place it on top where they would lie to see if the DIY dumbbell tree rack is big enough. This is especially important for a HEX dumbbell rack
- Spread the sheets wider if your dumbbell's heads need more room, but keep the bottom line straight and fill in any gaps with a pencil if needed
- Sellotape the sheets together
- Note, you might need to draw slightly wider curves for the handles, or file them down later
- Cut your dumbbell tree with scissors
- You could then place the template over some cardboard and cut two templates out first with scissors again to absolutely make sure it fits
- Once you've got a template you're happy with, lay it on your chosen 12mm thick wood* and draw around it
- You can then start cutting with your desired tool*
* We'll talk about the different types of wood you can use shortly
* And, the tools you can use

Free Cutting List
Please treat these as an approximate list only as you may need bigger or smaller measurements.
- 60cm x 60cm 12mm plywood* (above) to draw both sides of my dumbbell tree
- 40cm x 20cm 12mm plywood* for the base - although, this isn't vital
- 5 lengths at 6.5cm long of 38mm x 63mm CLS structural timber or similar - the length is usually dictated by the smallest dumbbells, which you'll find are shorter
Other Wood You Can Use
The most important wood on this list is the structural timber which is usually used in construction for studwork so it can hold your dumbbell's weight. I don't recommend using anything else for this to hold the front and back together, and luckily it's cheap to buy.
The Front and Back of the Dumbbell Tree
As for your DIY weight rack, you can be more flexible on the type of wood you use. Although, I do recommend 12mm as a minimum for the base and 9mm minimum for the front and back. Other types you can use are:
- MDF - you must wear a dust mask and best for a paint finish only
- OSB - Great for an industrial look
- Be careful with pine as it could bow and is often glued together in strips

Tools and Equipment To Make a Vertical Dumbbell Rack
- Wood as per the cutting list above
- Jigsaw with wood blade* see below for alternatives
- Clamps
- Workbench, sawhorses or similar to clamp your wood on
- Wood glue
- Wood screws
- Rasp or file or a barrel sander screwdriver attachment
- Blu tack or double sided sticky tape
- Router* optional
- Flush trim router* optional
- Chamfer router bit
- Sander with 120 grit
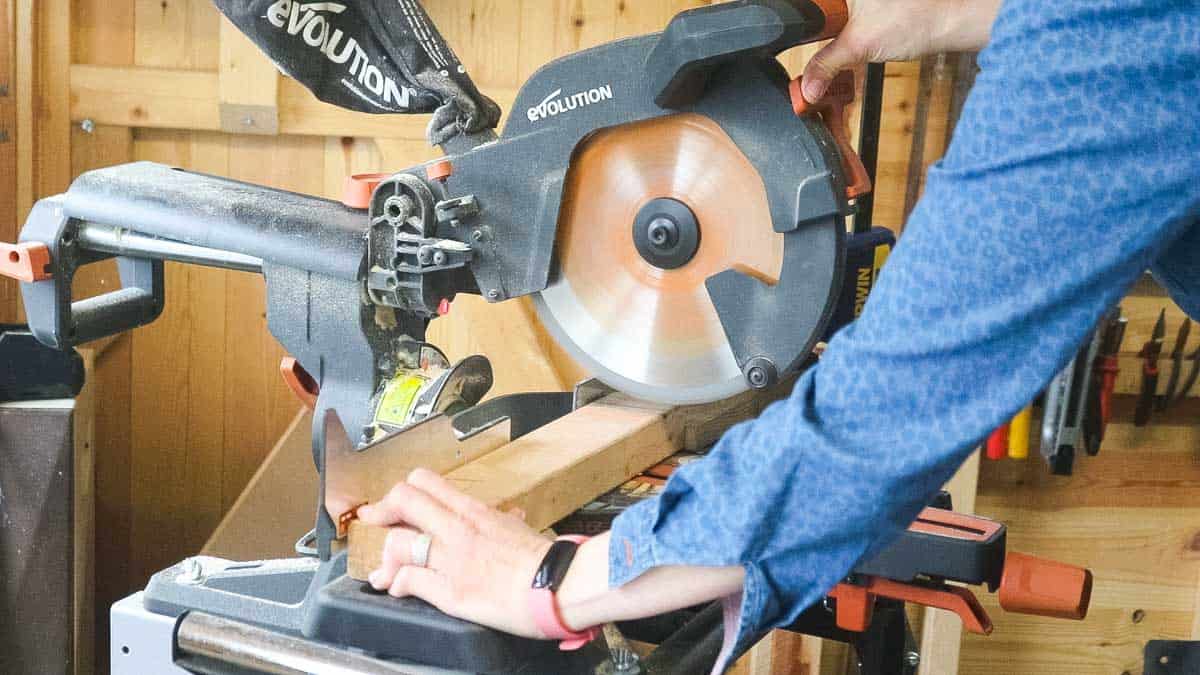
- Mitre saw or hand saw
- Combi drill or impact driver
- Safety goggles
- Ear defenders or plugs
- Dust mask if working with MDF or similar
Alternative Tools You Could Use
Note, below, you can see I used a jigsaw to cut my first template, then fine tuned before making an exact match with a router using a flush trim bit.
If you don't have or want to use a router, it's perfectly fine to use a jigsaw for both. The front and back won't be a perfect match, but I personally don't think it's vital as it's heard to see when full of dumbbells.
However, here's a list of alternative tools you could use.

Coping Saw
Note, this is the longest method. If you're completely new to DIY, then you can do it without power tools by using a combination. I would clamp the wood to a worktop, then cut larger areas with a hand saw first. And to work around the curves, move on to a coping saw as featured above.
Jigsaw (my chosen method)
Many DIYers have a jigsaw in their workshop as they're very easy to use. Again, it's essential to clamp to a surface to cut.
It's quicker than using a coping saw, but not as quick as the other methods below. It's also not the most accurate, which is why I like to get my first cut as good as I can. Then file any areas I'm not happy with and make an exact copy with a router and a flush trim bit.
Scroll Saw
A scroll saw or band saw (below) is the most ideal to use, but not everyone has them in their home. A scroll saw has a similar blade to a coping saw, but is a table top power tool where you move the project around while the blade runs.
Band saw
Similar to a band saw, this is even more of a specialist tool and generally, a larger blade.
CNC Machine
For a more accurate cut, then a CNC is perfect. However, they can be very expensive and is more suitable for making multiple ones, if you were to sell them.
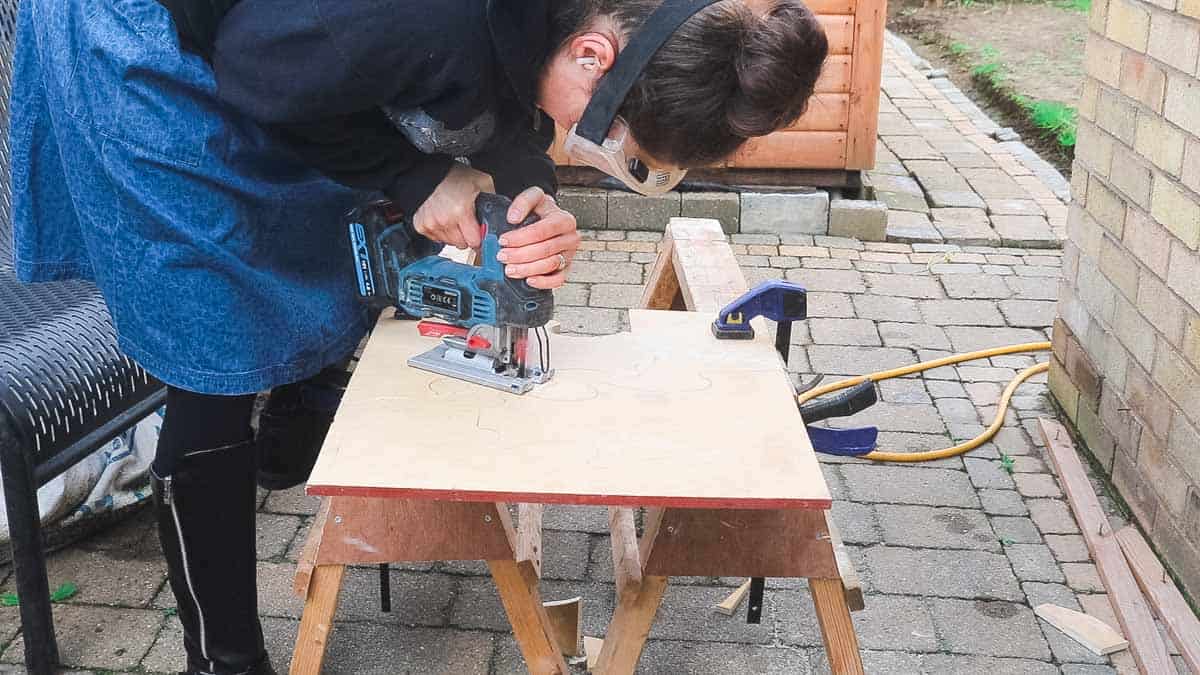
How to Make a Dumbbell Rack Tree
To build your own dumbbell rack, you first need to draw your design on your chosen wood.
In previous pictures, I drew around the original plastic tree twice. Or, you can scroll up for my free dumbbell plans.
Then, cut the design out using the tool you chose from my list. Above, I clamped my wood to sawhorses and carefully cut with a battery-powered jigsaw.
How Do You Cut Accurately With a Jigsaw?
When cutting with a jigsaw, it can be difficult to cut accurately. A few tips are:
- Clamp your project down well to prevent rattling
- Hold the jigsaw down firmly while cutting to prevent vibrations
- Make relief cuts in tricky areas, then cut the excess
- Take your time and keep stopping to check your work
- You can masking tape wood before cutting, but this is more important for melamine, or use a downward blade if your best side is on the top side (or vice versa)

Tidying Up Jigsaw Cuts
As mentioned above, jigsaw aren't always accurate, but this DIY vertical dumbbell rack is for my personal use only, so I wasn't fussed.
To tidy up, I used a rasp to smooth out any cuts until I was happy. Note, it doesn't even have to be symmetrical as we'll be making a copy of this shortly.
Just make sure your dumbbell handles fit inside the curved cuts easily.
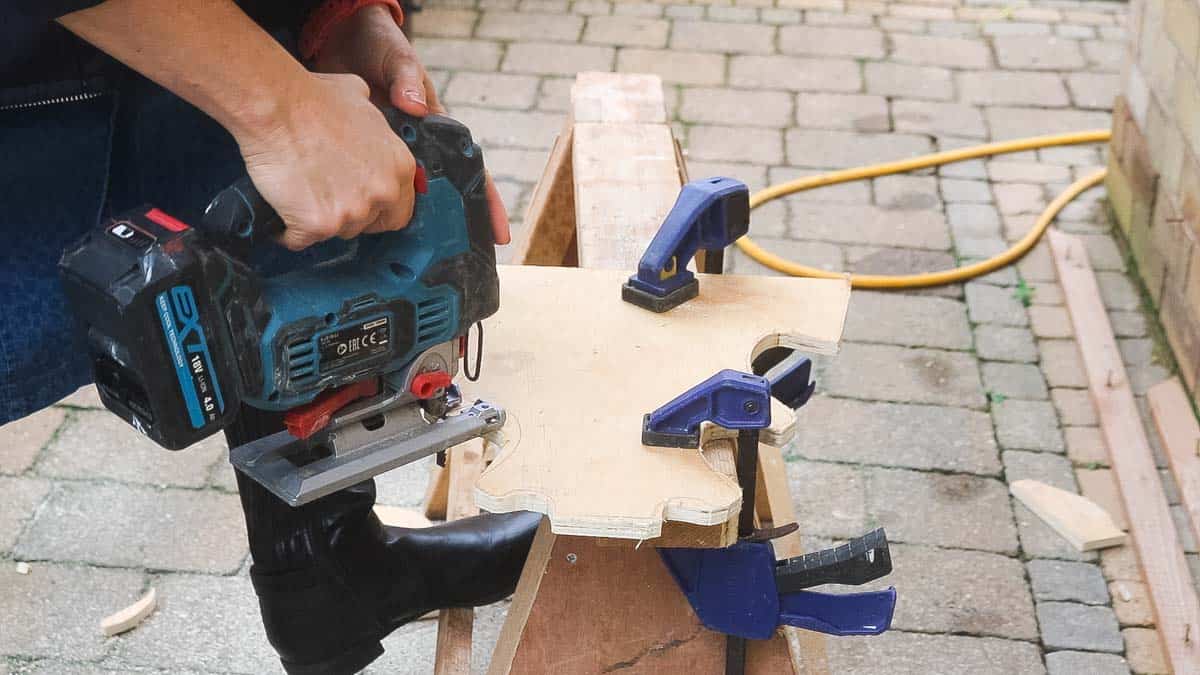
Cutting the 2nd Dumbbell Rack 3 Tier Face
For the back of the DIY dumbbell weight rack, I knew I was going to use a router with a flush trim bit to copy my first cut.
So, I cut just outside the design, leaving a touch excess to shave off later.
If you don't have a router, it will still work to cut it again with a jigsaw and file any areas.

Sticking the DIY Dumbbell Tree Faces Together
Next, I temporarily stuck my two dumbbell storage rack sides together with blu tack. Or you could use double-sided sticky tape, but nothing permanent, as you'll need to get it off easily later.
You'll notice, one side is larger than the other as I'm about to shave off the excess to match with a router.

What Does a Flush Trim Router Bit Do?
To match or copy a design, a flush trim router bit can be an excellent choice. And how it works, is, a silver bearing (pictured above), sometimes at the top or bottom, will run along something you want to copy.
Then, the blade section will trim the wood you're cutting to mirror the other piece and make it flush. Let's see it in action!
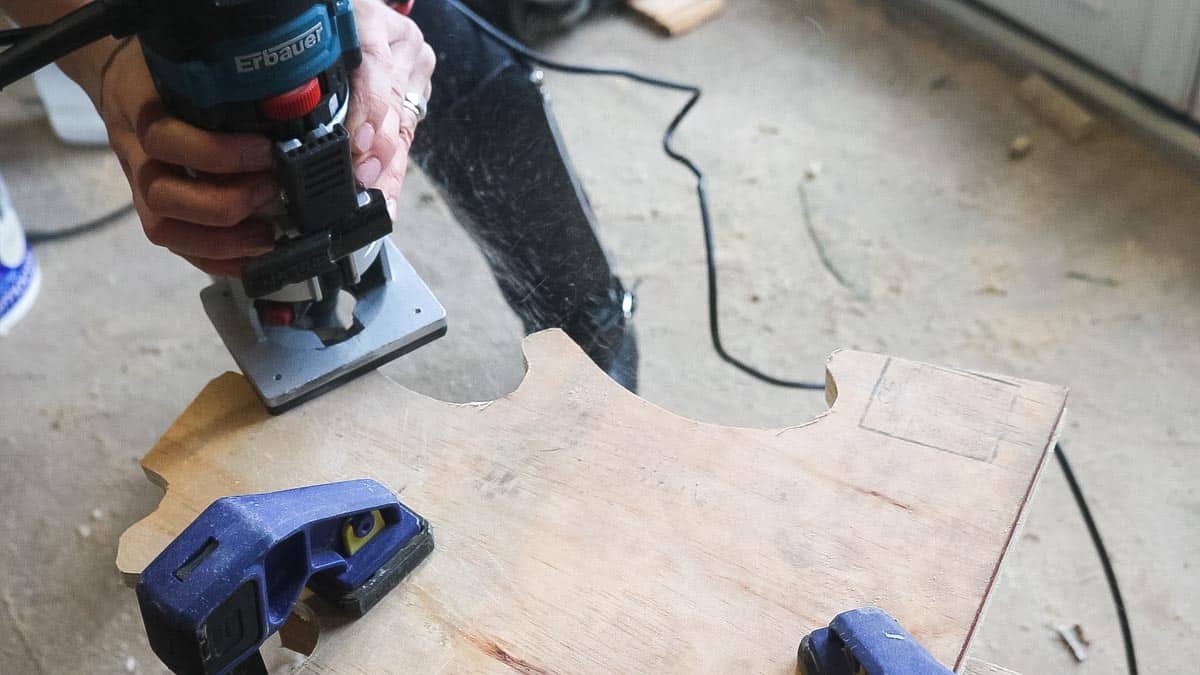
So above, I have still have the two dumbell rack sides blu tacked together to prevent movement. But I've also clamped it to my sawhorses.
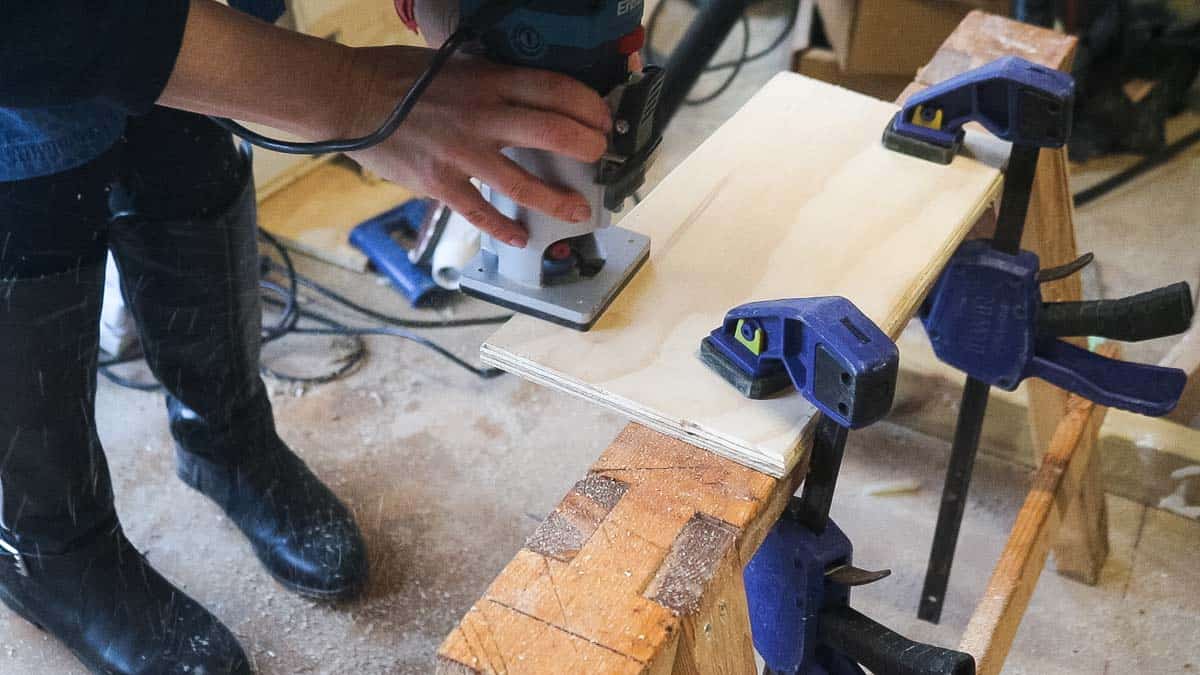
As my bearing is at the bottom of my router bit, my best cut is at the bottom too. So, while I'm running from left to right only and never back and forth*, otherwise it can bite, it is cutting the top board to match the bottom.
*Note, a router table tends to be pushing the wood right to left as it's upside down. But you'll need to work out which way your own router spins as it can be dangerous, hence why I always clamp my projects.
Tips for Using a Flush Trim Router Bit
- Make sure you've cut as much excess off your 2nd piece as possible so it's easier work for your router
- Don't work too slowly to prevent scorch marks, or work too fast - try and find a comfortable pace for you
- Set your router to the correct depth if you're trying to match something you don't want to ruin
- Remember to get your first template as good as you want to make a copy
- Bearings can come off and potentially ruin your project, so make sure it has one, or use a new one if possible
- Also, if your wood is thicker than the router bit, you'll need to trim a bit, lower the bit, then trim again
If You Don't Have a Router
Alternatively, you can rasp, file or sand all the edges down together while two hand weight rack sides are stuck together. Or, use a drum sleeve sander set in a combi drill and sand the curves together.

Smoothing Out The Hand Weight Rack
This step isn't vital, but I like to think of the end use and make them as practical as possible. So above, you can see my dumbbells curve slightly towards to weight part.
Also, I never want hurt my hands on these sharp wooden dumbbell rack edges. So, I think it's a good idea to curve them out. Or, you'll find there's a router bit fit for the job!
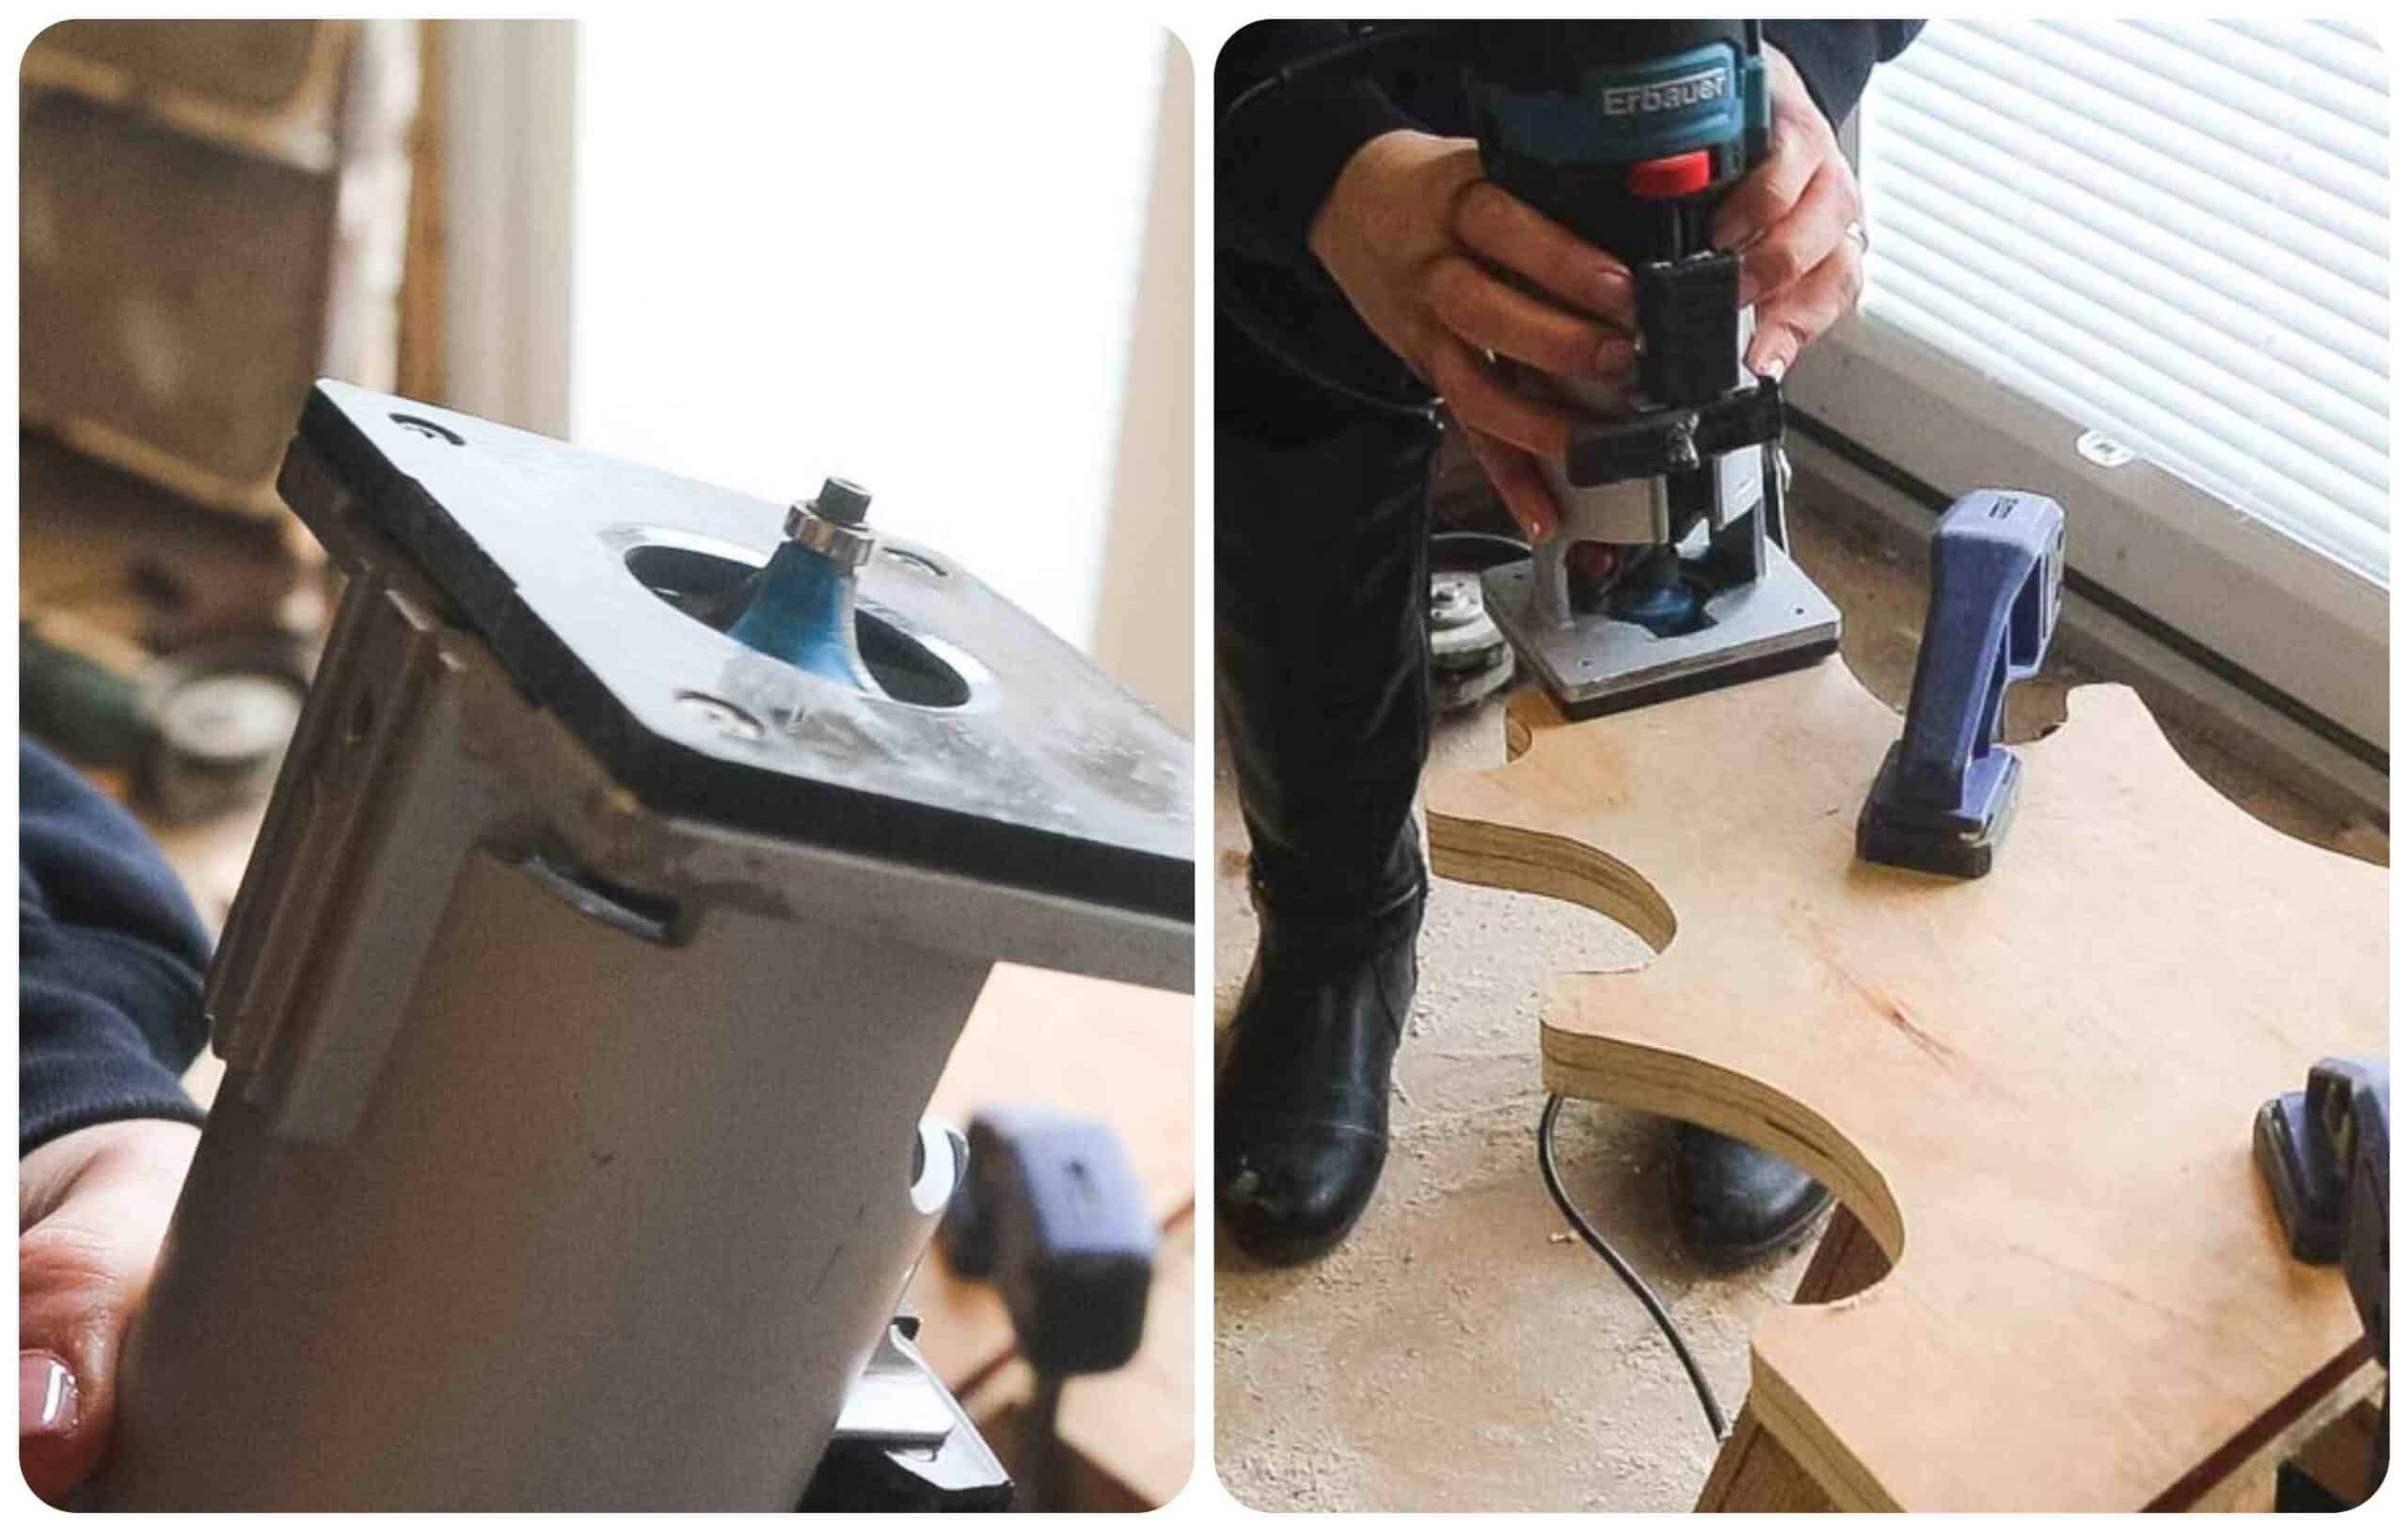
Curving Sharp Edges With a Router
While I had a router out, I thought I may as well use a round over router bit. These come in various shapes and sizes, so it's best to test on an offcut first. But it adds a nice curve to the edge which I added to both sides.
Alternatively, you can hand saw the sharp edges out with sandpaper.
Sanding Your Dumbbell Holder
Before continuing, I used my orbital sander and sanded everywhere smooth with a 120 grit sandpaper disk.
Cutting Noggins For Strength
Now we'll need to create the bones for the DIY dumbbell stand using structural timber. Without these, it could be quite flimsy. I cut 5 pieces, all to the same depth of the handle, minus the depth of th two trees stuck together.
Tip: you're lightest dumbbells may have the shortest depth, like my 1.5kg did. So only cut the noggins to this size. It's also a good idea to give them a little room in case the wood expands later.
With my finished weight stand, there is also a 10mm gap for the handles so I can stack them with ease.

Gluing and Build a Dumbbell Rack
The next vital step on how to make your own dumbbell rack is to gluing the noggins with wood glue.
This should prevent any movement while it's fully loaded.
Tip: I glued my bottom three blocks first so I could work on lining them up with the bottom edge, because this needs to be sat flat on the base and hold more screws later.

Screwing the Small Dumbbell Rack
I then screwed the bottom 3 blocks (noggins) along the bottom, evenly, with an impact driver and wood screws.
Do I Really Need an Impact Driver?
An impact driver isn't essential. But, there are times when it's suitable and speeds up the job. For example, it drives a screw into the wood without the need to create pilot holes first. Impact drivers are less likely to ruin drill bit heads, too.
However, I don't recommend using an impact driver if screwing too close to an edge, which can split the wood. And, the same goes for a comb drill, too.

Then glued and screwed two upper-middle single noggins. *I just eyeballed these in the centre, making sure my screws looked good from the outside.
Note, you might want to countersink your screws and fill them in later with wood filler before painting. If using an impact driver, this can be done by applying more pressure while screwing. As for a combi drill, you may need to use a countersunk attachment.
Then repeated gluing the other side of the noggins, and lined the other dumbbell face on top, and screwed down.
Making a Base for My Dumbbell Rack and Weights
By now, you should have a more robust DIY dumbbell stand than the plastic ones on the market.
However, you might like to give it a base for aesthetics, or for peace of mind.
I cut an offcut to a rectangular shape with a hand saw. Then rounded the sharp edges off again with the same round router bit.

Screwing on the Dumbbell Tree Base
Then it was time to glue and line up the base with the dumbbell tree. You may find a combination square useful, make reference marks with a pencil, then flip it upside down and check it.
Then screw it from the bottom so it screws directly into my bottom three noggins.
I added two screws per block for rigidity and wipe away any excess glue with tissue.
Personalising Your Wooden Dumbbell Rack
Hoorah! You've now got a working dumbbell rack for a DIY garage gym! But if you want to go a step further, you could personalise your dumbbell set and rack or go natural. For example,
- Router out a picture, name or word
- Treat the wood with Danish oil
- Leave it as it is for a truly cheap dumbbell rack
- Paint in one colour, for example, create a pink dumbbell set with rack, or get creative with a pattern
- Flock the wood
- You could even add caster wheels for a rolling dumbbell rack
And now I can do a biceps workout at home with dumbbells, without worrying the stand might collapse and land on my toes (or dog!)
More DIY Storage Projects
- Lifespan treadmill desk DIY
- Wall mounted punch bag with scaffold pole bracket
- Countertop DIY towel rack
- DIY coat rack
- DVD rack storage
- Upcycled DIY magazine rack
- DIY leaf trivet
- Shed shelves DIY
- DIY lap desk with cushion
How to Build a Dumbbell Rack
DIY Dumbbell Rack Wooden Tree
How to build a DIY dumbbell rack wooden tree for 3 sets of weights. This easy DIY project is made cheaply using wood offcuts and can be made with various tools, depending on your skill set. It also includes free dumbbell rack plans that are adjustable and a how-to video to follow along for guidance.
Materials
- Wood (see cutting list)
- Wood glue
- Wood screws
- Blu tack or double sided sticky tape
Tools
- Jigsaw with wood blade* see below for alternatives
- Clamps
- Workbench, sawhorses or similar to clamp your wood on
- Rasp or file or a barrel sander screwdriver attachment
- Router* optional
- Flush trim router* optional
- Chamfer router bit
- Sander with 120 grit
- Mitre saw or hand saw
- Combi drill or impact driver
- Safety goggles
- Ear defenders or plugs
- Dust mask if working with MDF or similar
Instructions
- Print out the free template plans (see note 1) and stick them together with sellotape and cut out and draw around twice on wood OR draw around an existing plastic dumbbell tree twice.
- Clamp to a worktop or workbench and cut the design with a jigsaw - see notes above for other cutting methods.
- Tidy up with a file, rasp or barrel sander.
- Then repeat with the other tree or match the 2nd tree with a flush trim router bit.
- Chamfer the sharp edges with a rounded router bit or sand.
- Sand all of the dumbbell faces.
- Cut noggins out, then glue and screw the dumbbell tree with them in between.
- Optional: cut and chamfer a base for the tree, then glue and screw.
- Oil or paint to finish.
Notes
1. You can download my free plans by signing up to my mailing list.
2. Tools you can use are a coping saw with hand saw, jigsaw, band saw, scroll saw or CNC machine.
Pin This DIY Wood Rack For Dumbbells


brad
Do I have to wear a dress when I make this?
All joking aside, this is a really cool way to store dumbbells. Thanks.
Vikkie Lee
Lol... I've been working out for a few months, so decided to treat myself to some nice new clothes 😂
Jacquie Davis
This is exactly what I've been looking for! Thank you. I think I'll add a small shelf at the top for my kettlebell.