
Indoor or outdoors, this DIY ladder shelf for plants is a very versatile stand for the garden, conservatory, or even a florist shop window! It's freestanding without needing to lean it on a wall or neighbour's fence.
Includes free ladder shelf plans and how to video.
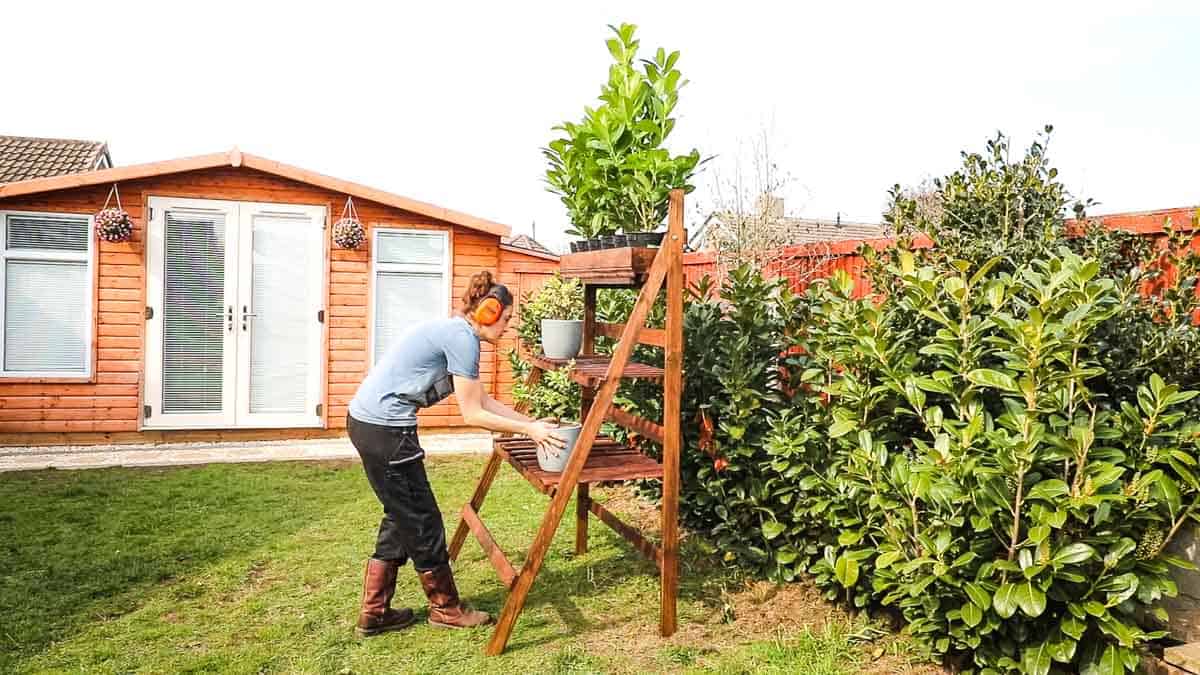
My husband has been asking for a 3 tier (or 4 tier)* plant stand ladder for quite some time. My plant ladder criteria were:
- Freestanding so doesn't need to lean on a fence
- It can be moved anywhere
- Once full with ladder shelf plants, it gives privacy while we wait for our cherry laurels to grow taller than the fence
- Create plant pot storage
- Can be built with offcuts, so it didn't cost a penny
- Reduces my offcut pile which can be a trip hazard
*The beauty of this stand is that you can add more shelves, adjust it to make it narrower, or change the angle. However, I wouldn't recommend making it wider as I suspect the shelves wouldn't be as strong.
Jump to:
- Tools & Materials I Used
- Free Ladder Plant Stand Plans
- How to Make an Easy Garden Ladder Shelf
- Mitred Cut on the Front Leg
- Drilling and Bolting the Two Side Frames Together
- Screwing on Shelf Supports
- Screwing Front Shelf Supports On
- Cutting Shelf Slats
- Cladding the Shelves
- Reinforcing Your Plant Ladder Stand
- Boxing in Plants on the Top
- Treating Your DIY Plant Ladder
- ➕ More DIY Shelf Projects
- Pin DIY on a Budget Plant Ladder
- 💬 Comments
Tools & Materials I Used
Please note that as an Amazon Associate, I earn from qualifying purchases made through links:
- 2 x 1.8m decking boards - ripped in half - or you could use 4 (2 per side)
- A mixture of offcut Slats - mixture & old skirting board* pallet wood will work!
- Tape measure
- Band saw
- Goggles
- Ear defenders
- Hand saw
- Impact driver
- Combi drill
- 6mm drill bits
- M6 Coach bolts with washers and nuts
- T square
- Carpenter's square
- Clamps
- Wood screws
- Nail gun* (gifted) - or hammer and nails
- Wood preserve
- Block brush
- Something square, such as a table or sheet of material for reference

Free Ladder Plant Stand Plans
If you have lots of offcuts or want to make one yourself, then instead of buying a plant ladder stand, feel free to download my free plant ladder stand plans by signing up to my free mailing list.
Please note that these plans should only be treated as a loose guide as it will depend on:
- The timber thickness you use (I used mostly offcuts
- Where you want your shelves positioned
- Whether you want more than a 68-degree angle on the side supports
How to Make an Easy Garden Ladder Shelf
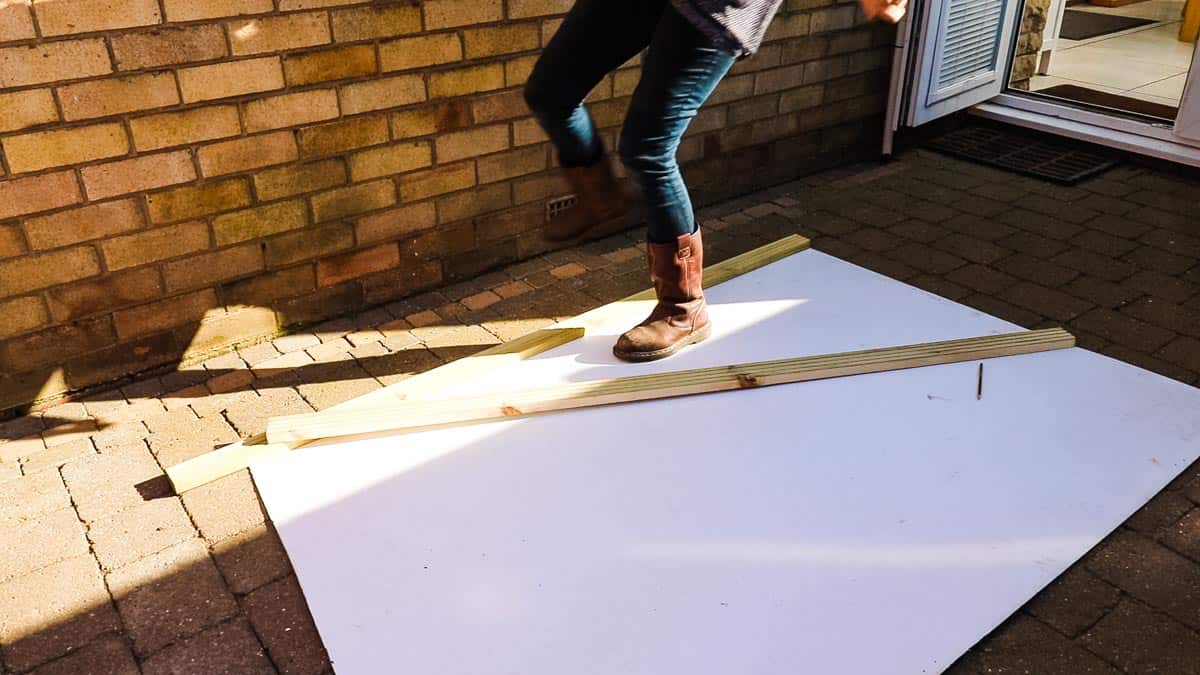
After ripping 2 x 1.8m lengths of decking board, I held one against a perfectly square sheet of plywood. Or you could use a large rectangular dining table or old door.
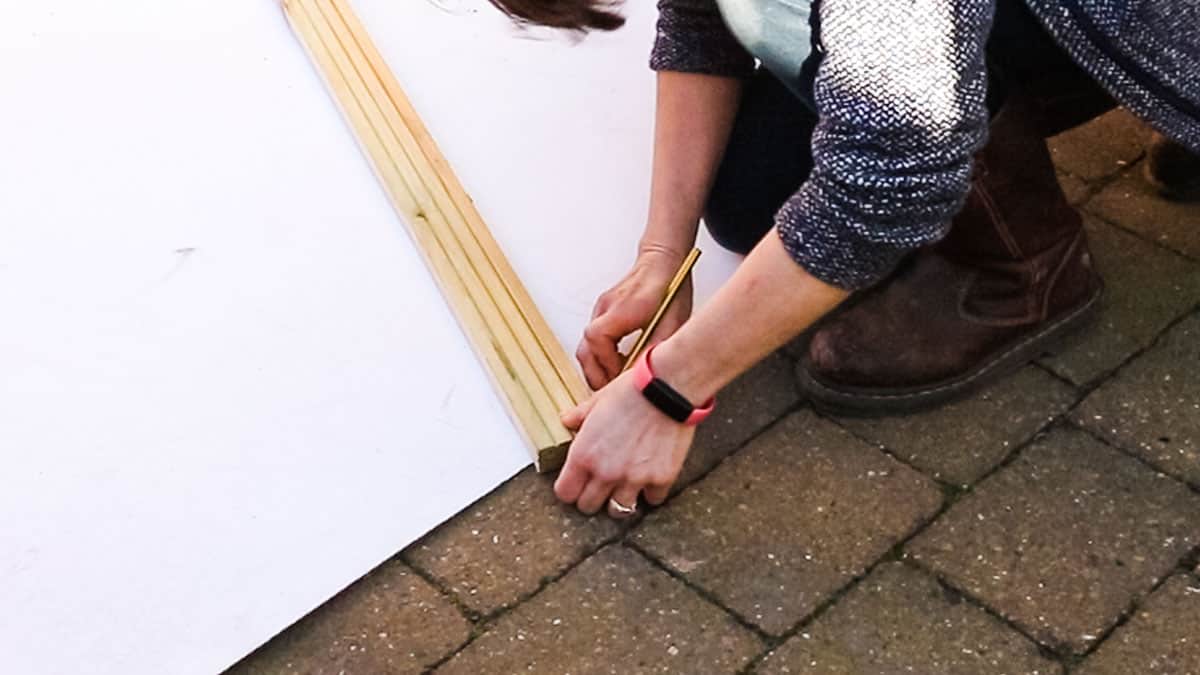
Then placed the other on top, but angled it, leaving the bottom hanging slightly over the edge so I could draw a straight line to make a mitre cut.
See below for alternative positions.
Plant Ladder Tip
- You could have the top ends meet and create an a-frame (mine back piece will be flat against a fence)
- Or have it positioned at the top with tne back flat, but if both lengths are 1.8m length, your front one will be shorter, so you'll need to trim the back piece down before making a mitre on the front
Mitred Cut on the Front Leg
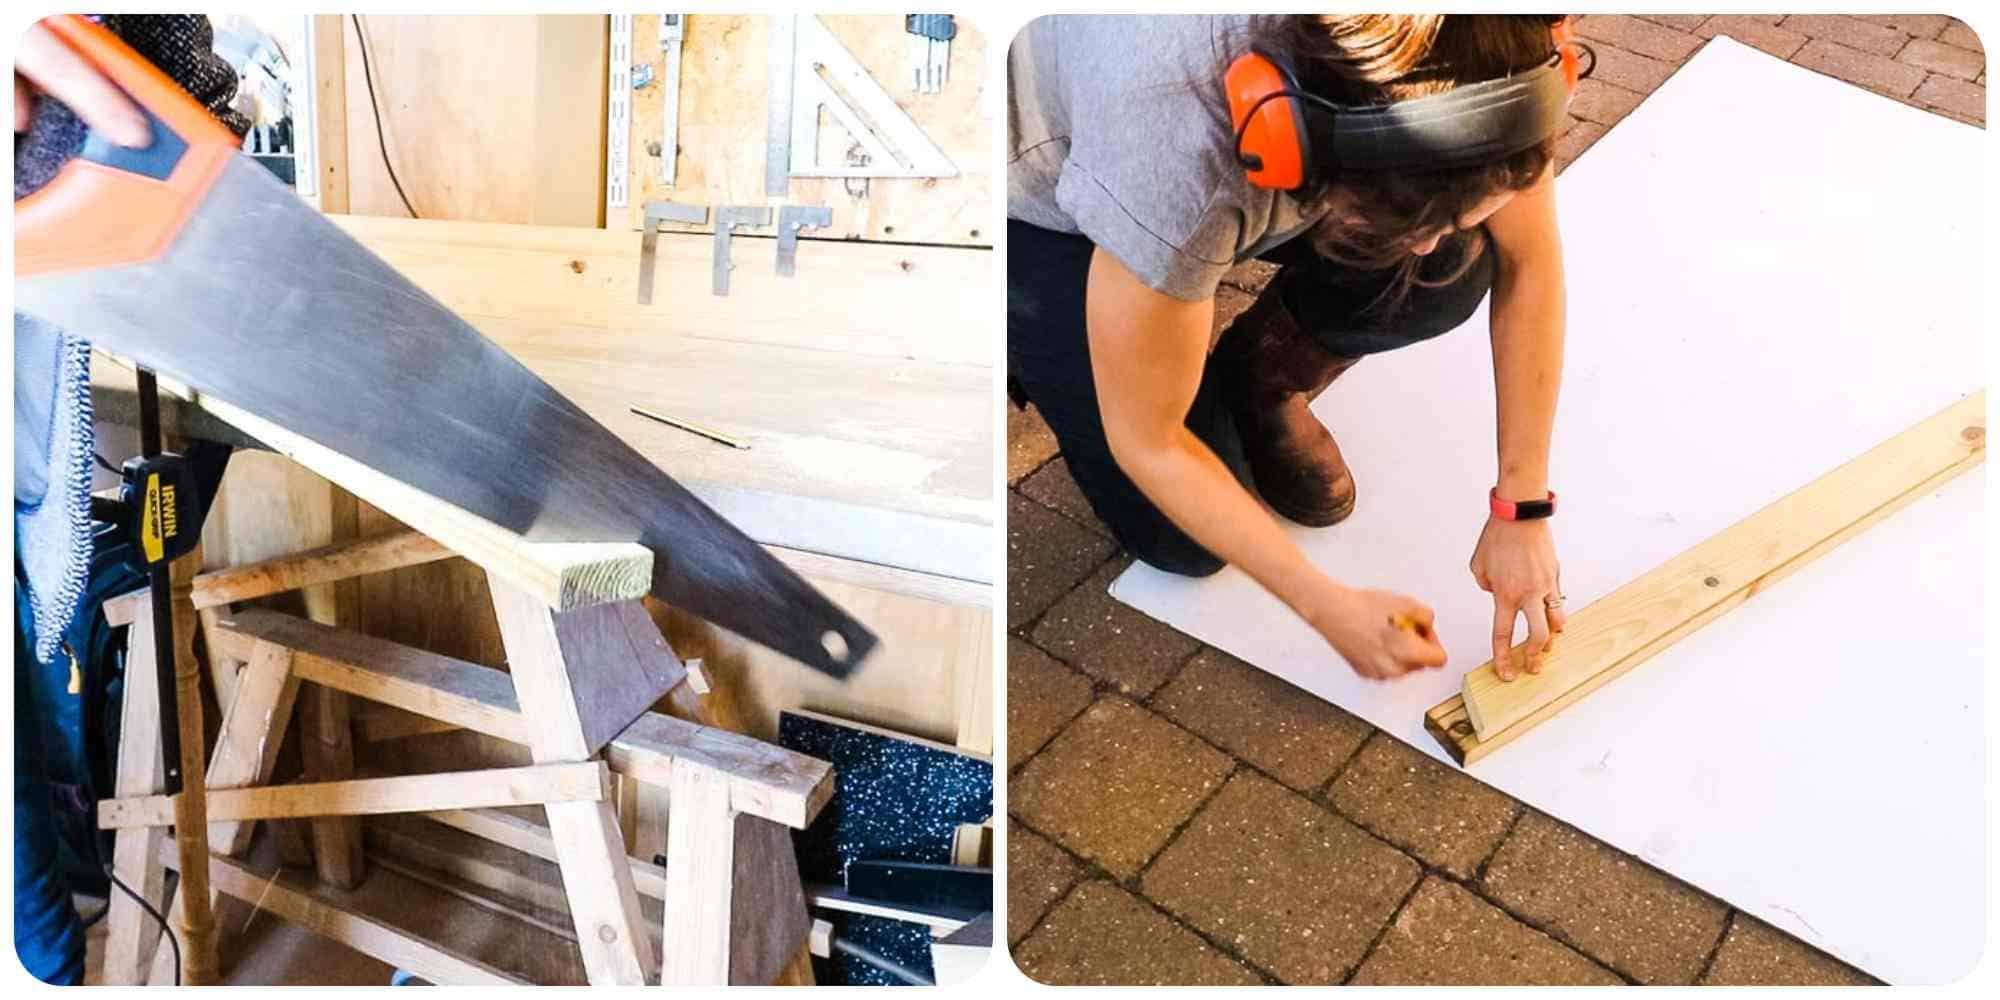
It's not completely vital that the front length's leg is mitred, but I do think it will be more stable.
You could cut this on a mitre saw, but instead, I used a hand saw.
Then, as I need to cut another side support for the plant stand ladder frame, I laid the 3rd length on top to match the mitre.
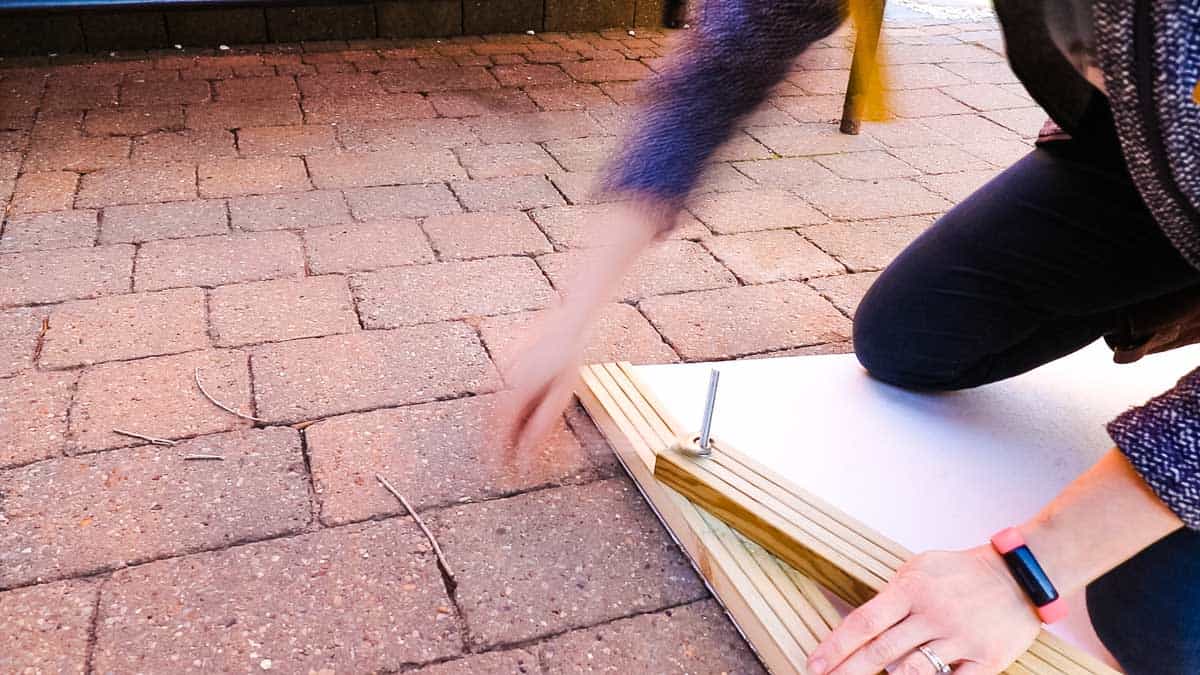
Drilling and Bolting the Two Side Frames Together
Next, I needed to pair one of my side's supports together while making sure it was dead square with the sheet of ply AND my mitred foot was in line with the edge.
Then drilled a 6mm hole through the top section where my M6 bolts will go through. BUT don't bolt them yet!
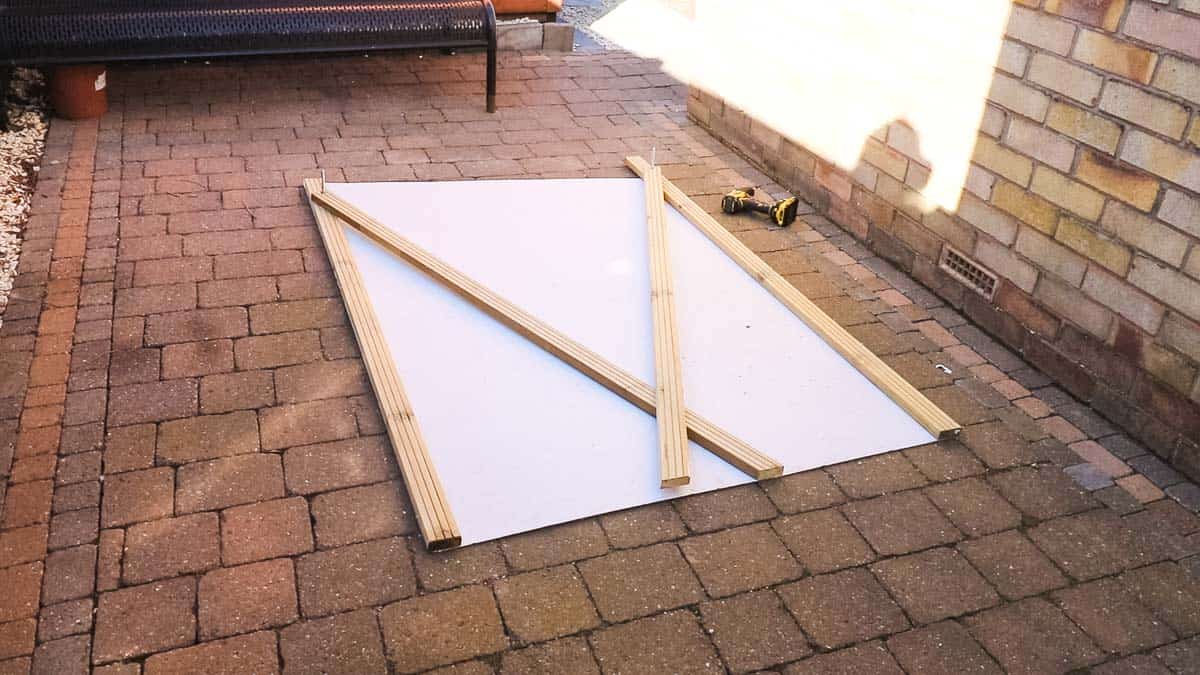
I then paired them up with the other lengths to copy the drill holes, and then bolted them together with washers and nuts.
Ladder Shelf Tip
At this stage, you should have two matching side supports, all at the same angles.
If you're copying my free downloadable plans, I have mine set at 68 degrees.
But no matter how tight your bolts are, they can still move, so I recommend temporarily screwing a baton across the bottom while you work on screwing it all together.
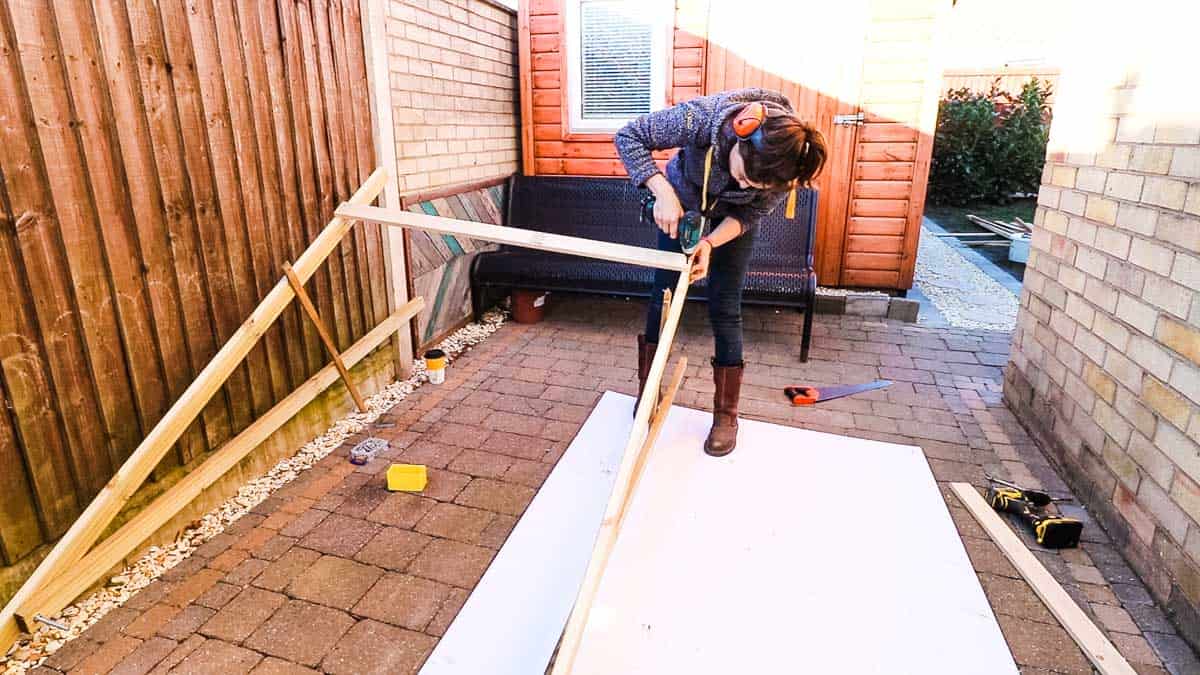
Screwing on Shelf Supports
Next, it really is just a matter of screwing shelf supports wherever you want to tie the two sides together.
But it's at this point you need to decide how many you want and whether you want an equal distance.
I screwed structural offcuts on mine, starting at the back, but if you want to make a pallet wood ladder plant stand, this would work too!
Screwing Front Shelf Supports On
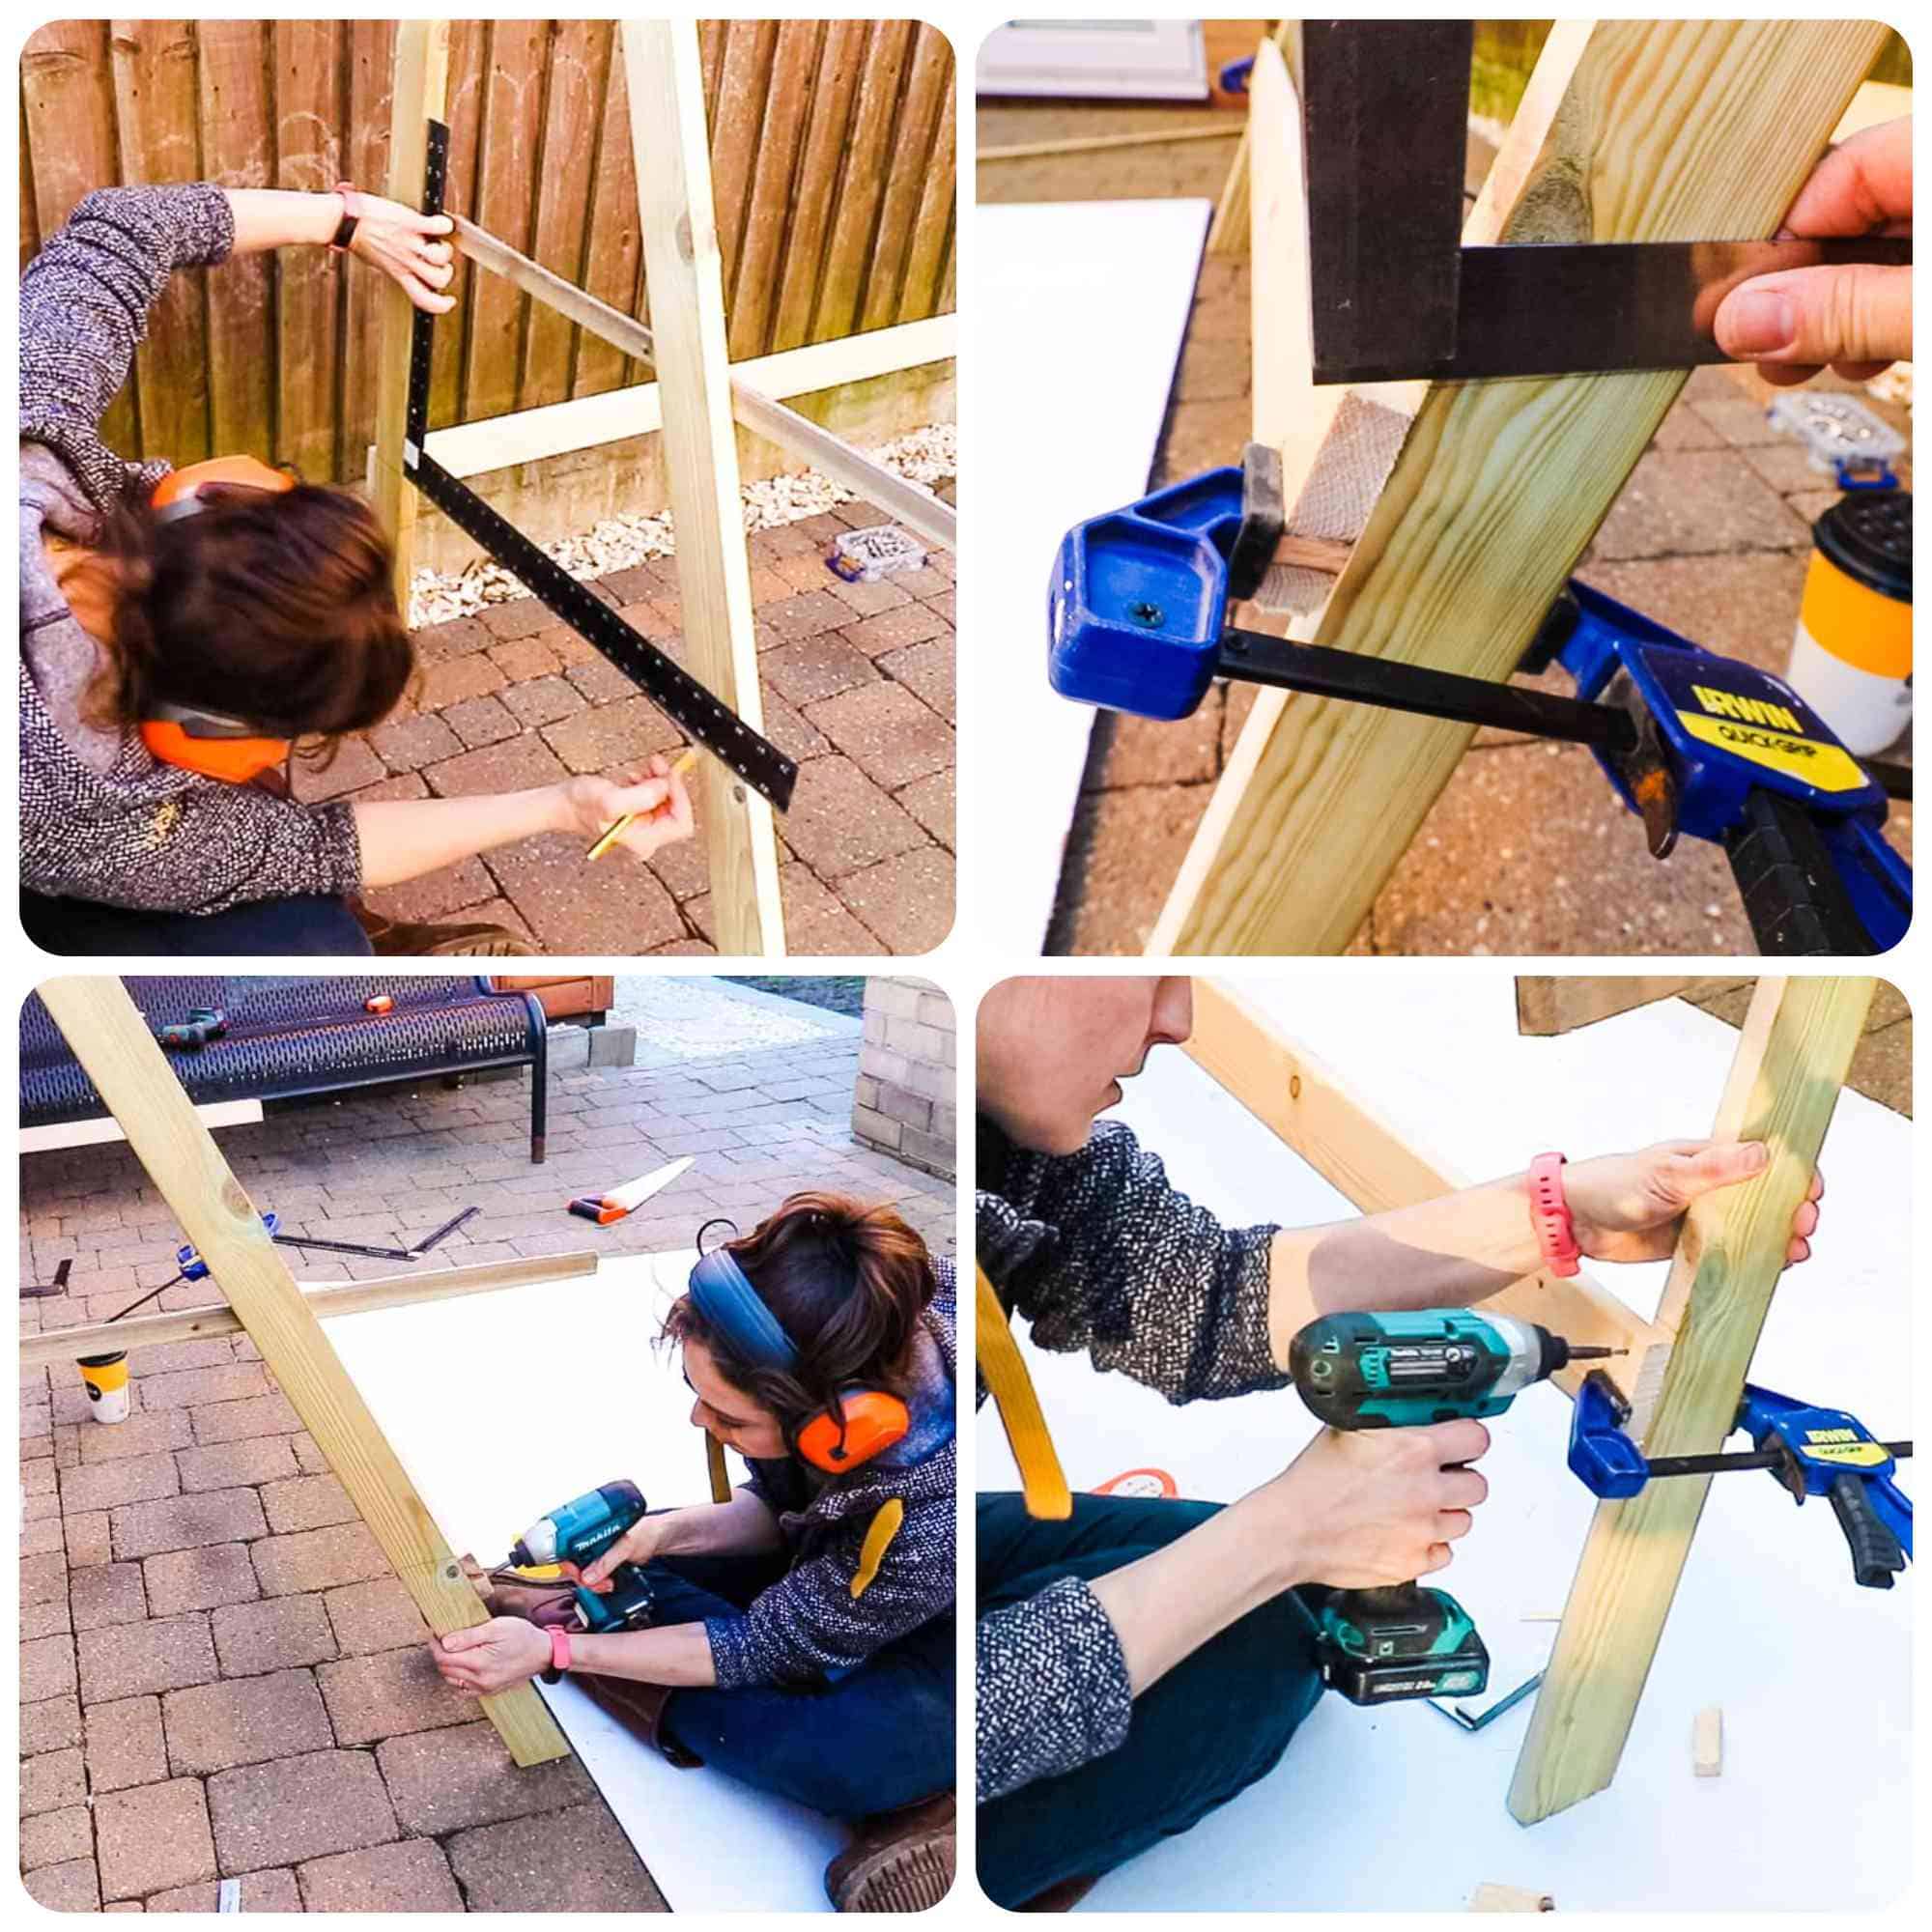
Wherever you position your shelf supports on the back, you'll need to transfer the same position on the angled front leg.
For this, I used a T square and an engineer's square for the narrower shelves at the top.
Then clamped structural baton supports at the front, making sure the taller sections were in line with my pencil lines.
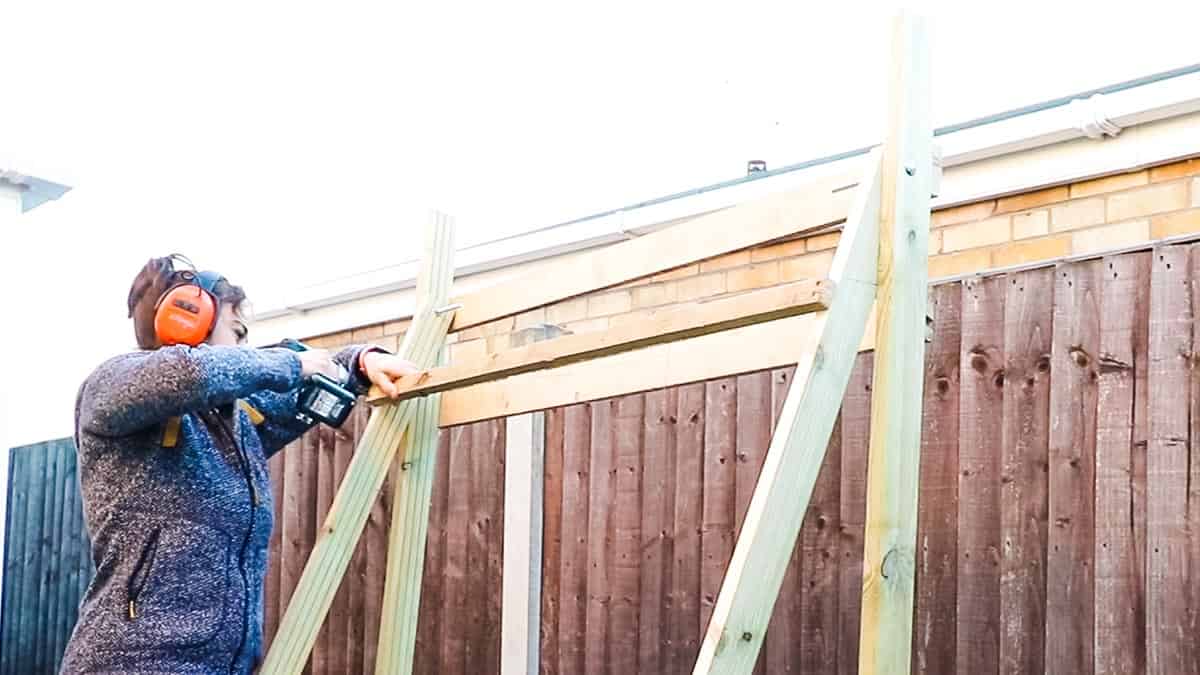
I also screwed on the back supports above each shelf section to prevent any plants from falling backwards.
Remember This:
As the angled legs are positioned inside the frame, this support will be smaller than the back!
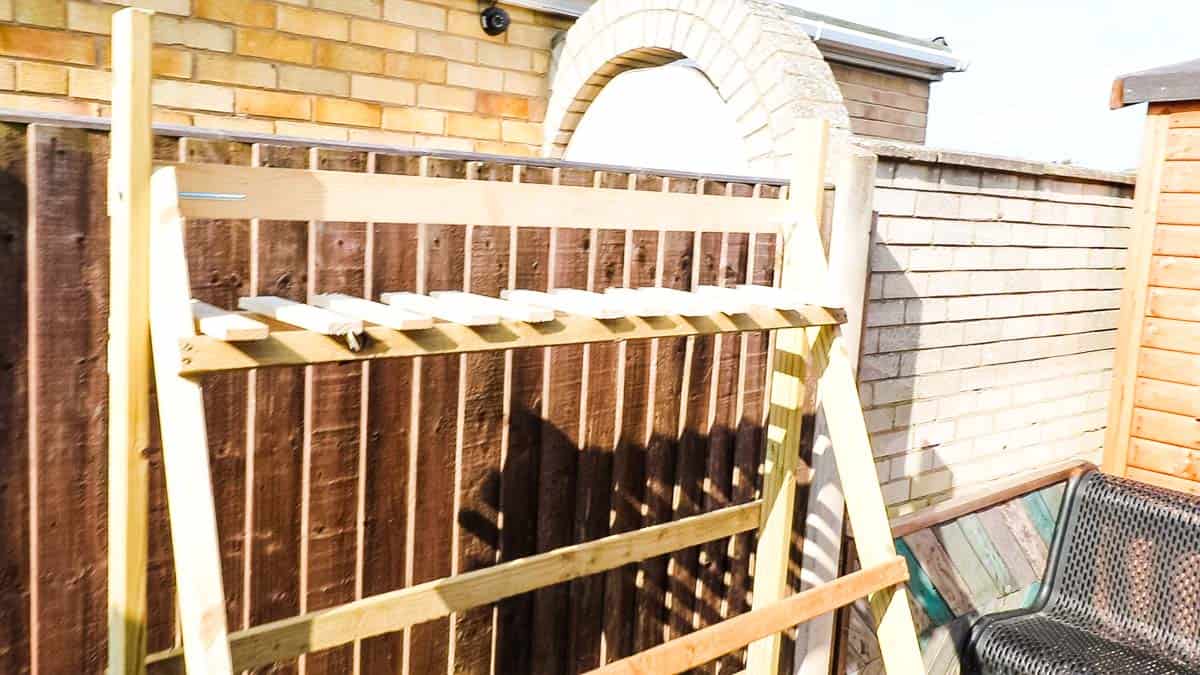
Cutting Shelf Slats
Above, I've placed my slats on top of my shelf purely for a visual. But to work out the length of them:
- find some batons that you'll nail along the ends of the slats (see below)
- Hold the two batons against the front angled piece support, but while held square
- measure the length from the back to the edge of these two batons and add half an inch to prevent it from being too snug a fit
- = your slat lengths
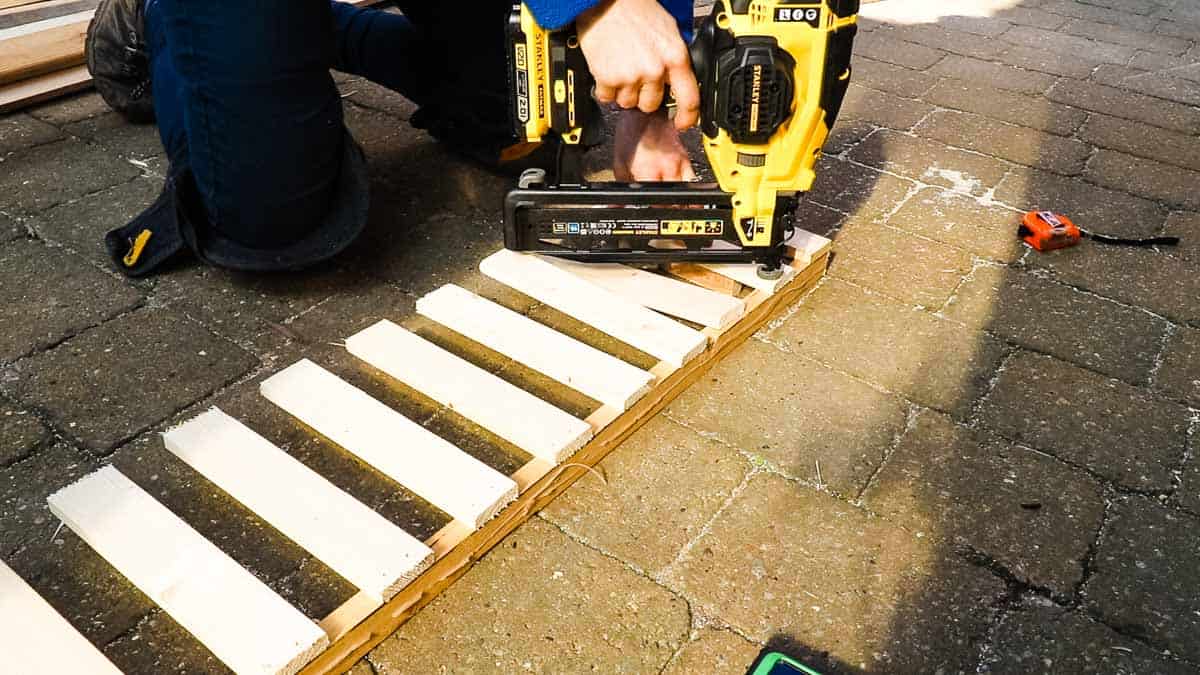
Cladding the Shelves
Now for the fun part! Nailing or drilling and screwing slats to the batons you'll be using along both sides.
These batons don't need to be structural. Just thick enough for nails as they're to tie the slats all together.
For my slats' placements, I just nailed one on each end, another in the middle, and then kept working out what was halfway as I went.
Tip
I also recommend making sure it's perfectly square by checking from each corner with a tape measure to see if the measurements match. Then nail your last few slats on to prevent any tight fits.
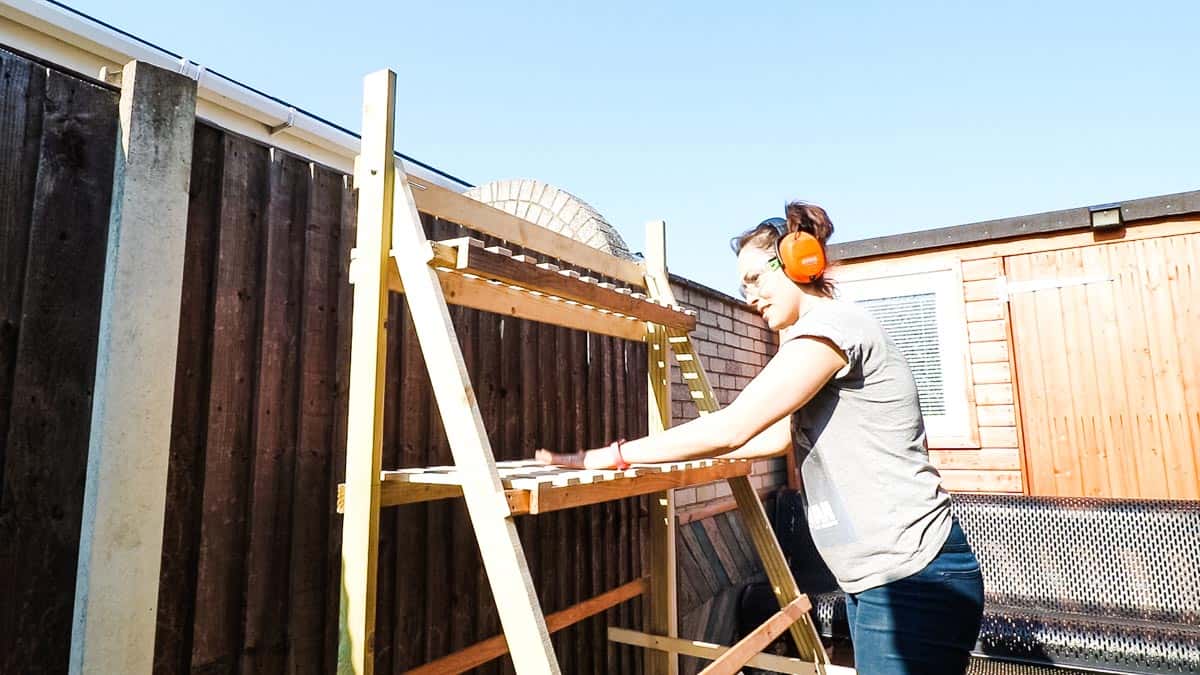
Rinse and Repeat!
Now repeat for the rest of your shelves.
Although if you are using offcuts for slats, make sure they are the same depth while working on one shelf to prevent unevenness. I used the same slats for the top two shelves, then found some old skirting board for the bottom shelf.
Also, the wider shelves may need a middle support to prevent bowing.
Reinforcing Your Plant Ladder Stand
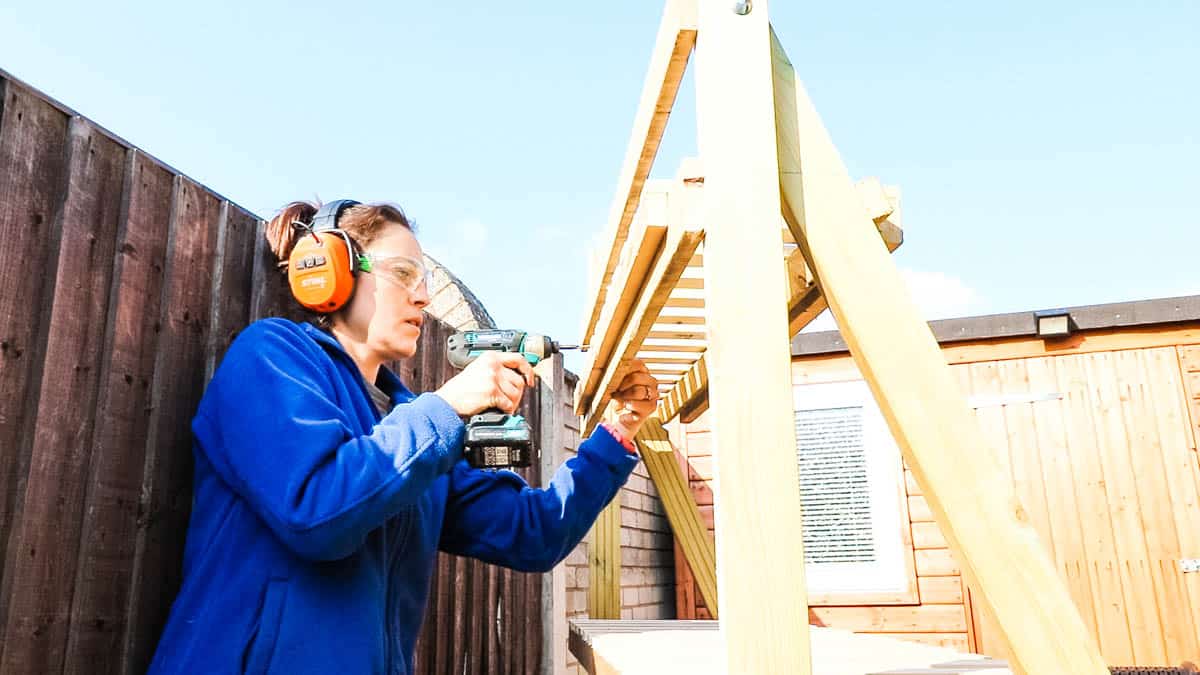
Once all of your shelves are on, I then drilled and screwed through the shelf's end batons to grip onto the stand's shelf supports.
I did this from the back and the front.
Also, if you find your plant ladder wobbles, you could screw a cross brace on the back. Mine didn't, but the wind did knock off my top plants, which I'll solve shortly.
Boxing in Plants on the Top
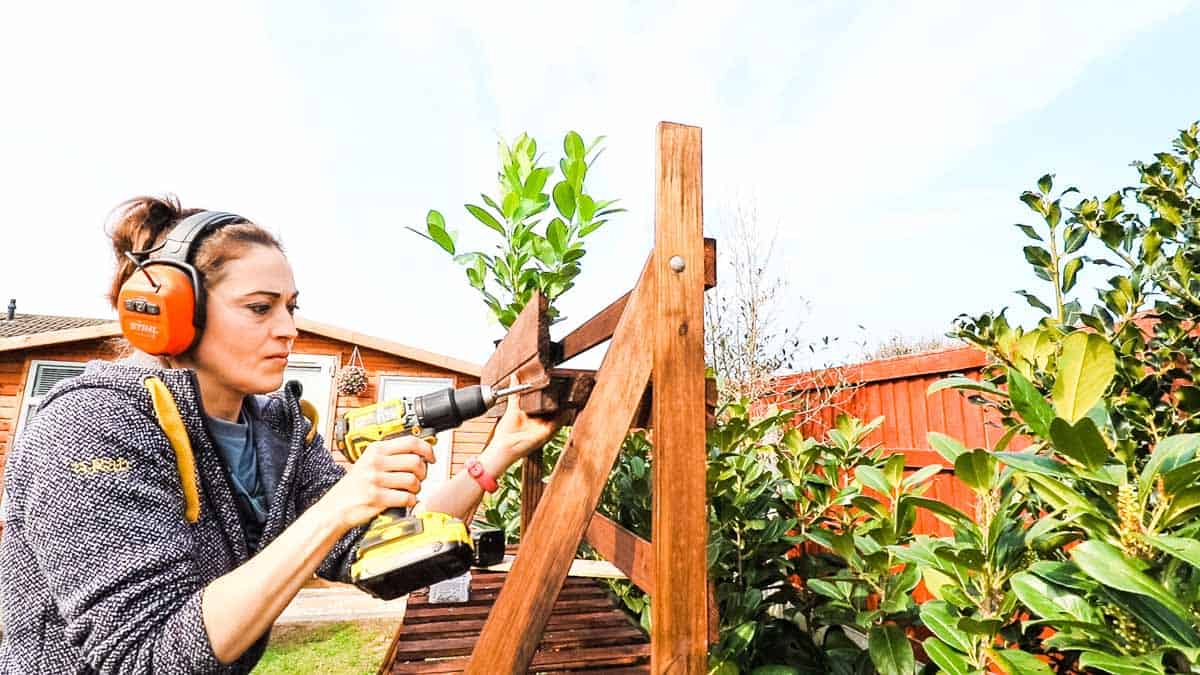
If you're positioning your outdoor plant stand in a windy place, (perhaps your top plants are tall), then I recommend:
- screwing a piece of wood across the front - again, with an old bit of skirting
- Adding offcuts inside the top two sides - blocks of pallet wood
- Screwing the plants to the stand through the slats
Treating Your DIY Plant Ladder
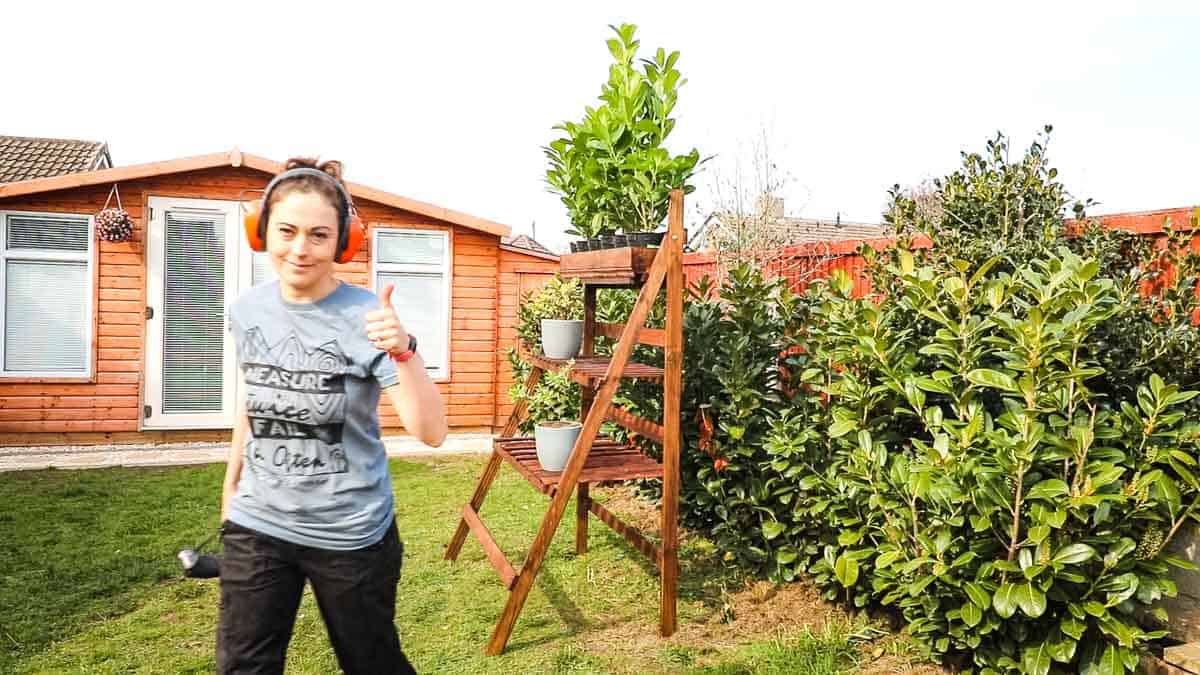
If your plant stand will be outdoors, or indoors somewhere hot, like a conservatory, I recommend treating your hard work.
I used a wood preserve by NAB colours. Unfortunately, I can't find a link and have acquired it from my Dad's woodyard.
Alternatively, a favourite of mine is Total Wood Preserve by Ronseal which can be bought in clear or colours.
➕ More DIY Shelf Projects
- London brackets
- Adjustable twin slot shelving
- Budget plywood shed shelves
- DIY z shelf on wheels
- 21 more DIY shed shelving ideas
DIY Ladder Shelf for Plants + Free Plans

Indoor or outdoors, this DIY ladder shelf for plants is a very versatile stand for the garden, conservatory, or even a florist shop window! It's freestanding without needing to lean it on a wall or neighbour's fence.
Materials
- 2 x 1.8m decking boards - ripped in half - or you could use 4 (2 per side)
- A mixture of offcut Slats - mixture & old skirting board* pallet wood will work!
- M6 Coach bolts with washers and nuts
- Wood screws
- Wood preserve
- Nails
Tools
- Tape measure
- Band saw
- Goggles
- Ear defenders
- Hand saw
- Impact driver
- Combi drill
- 6mm drill bits
- T square
- Carpenter's square
- Clamps
- Nail gun* (gifted) - or hammer and nails
- Block brush
- Something square, such as a table or sheet of material for reference
Instructions
- Lay one of your side frame supports against something square like a square table or sheet of plywood etc
- Overlap your 2nd one, angled(mine was 68 degrees) with the top dropped lower where it it slightly longer
- Transfer the straight line of the sheet material onto the overlapped length and cut, (which should be a mitered cut).
- Place back, this time lining up the mitre cut with the edge of the sheet material, and drill a 6mm hole through the top while going through the bottom piece too.
- Now match the drill holes on the other 2 side frame supports.
- Thread M6 coach bolts through both side supports and position in the same angle, then tighten with washers and nuts.
- Temporarily screw a baton offcut towards the bottom to keep them from moving
- Then position, drill, and screw all your back supports and shelf supports where you want. See the blogpost or video on how I did this.
- For the slatted shelves, hold two end shelf batons together in front of your shelf supports and take the combined measurement, adding about ½"
- Cut slats to this length
- Nail the slats to the end shelf batons, then place them on top of your shelf supports
- Screw the cladded shelf ends to the shelf supports at the front and back
- Repeat making shelves - for deeper ones, you may want to nail another centre support
- Screw a flat piece of wood to the front of the top shelf and a side piece inside to stop any plants from falling off in the wind.
- Remove the temporary baton on the side supports and treat it all with a wood preserve.
Pin DIY on a Budget Plant Ladder


Comments
No Comments