
If you have short fence posts and panels in your garden and want more privacy, then these fence post extensions are a great solution. These are perfect to prevent replacing heavy concrete posts.
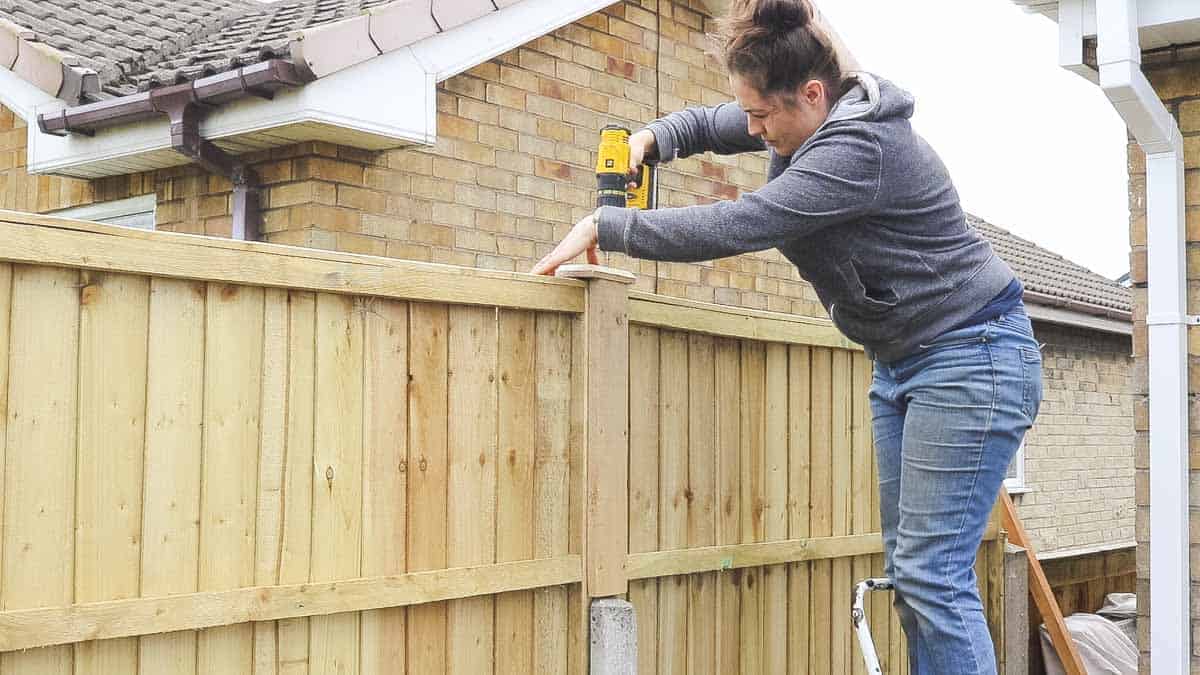
When my parents first bought their recent bungalow project, you could see straight into next door's garden. Now that's ok if you like a good natter and you're friends.
However, I believe most of us want privacy. They were also rotten, so my Dad suggested these fence post extensions and sent me on my way.
But first, we needed to replace the old ones with new ones.
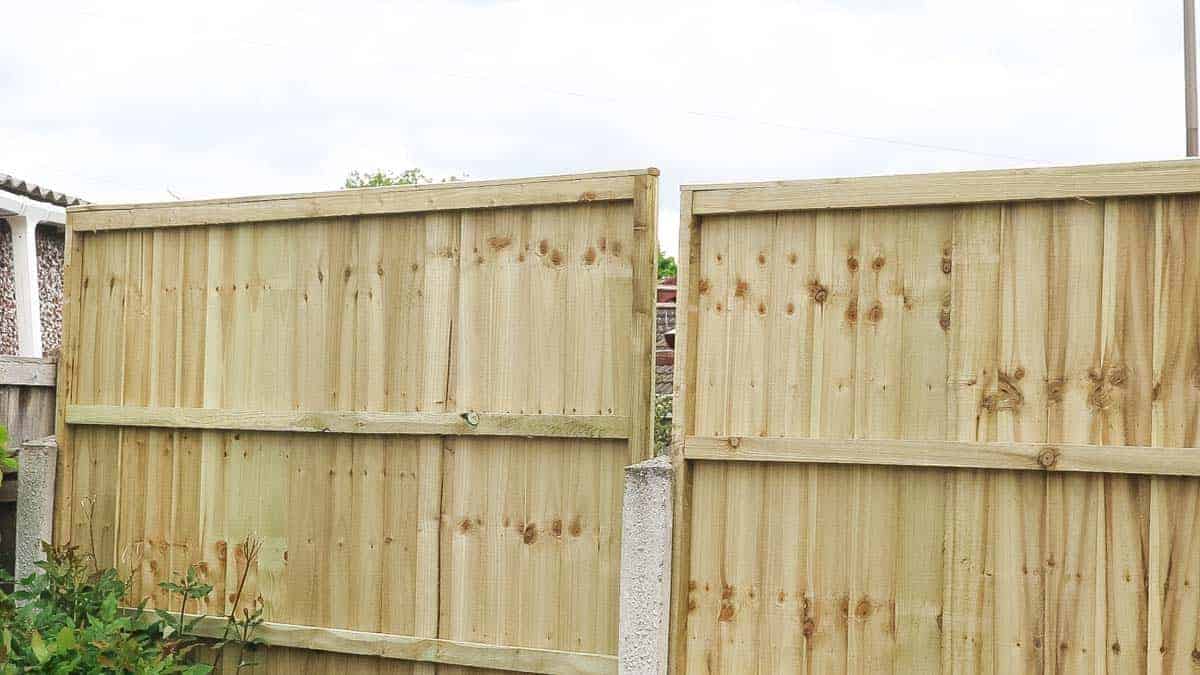
Before You Start Adding Fence Post Extensions
Before you even consider touching any fence, it's important to either get your neighbour's permission or let them know. Doing stuff without telling anyone is likely to get your neighbours defensive.
This fence wasn't ours, so this was even more important. We also replaced the fence panels in the same direction, giving them the good side.
After all, it was just us wanting more privacy, so we didn't suggest going halves. Although it was a pleasant surprise when he offered and we politely declined.
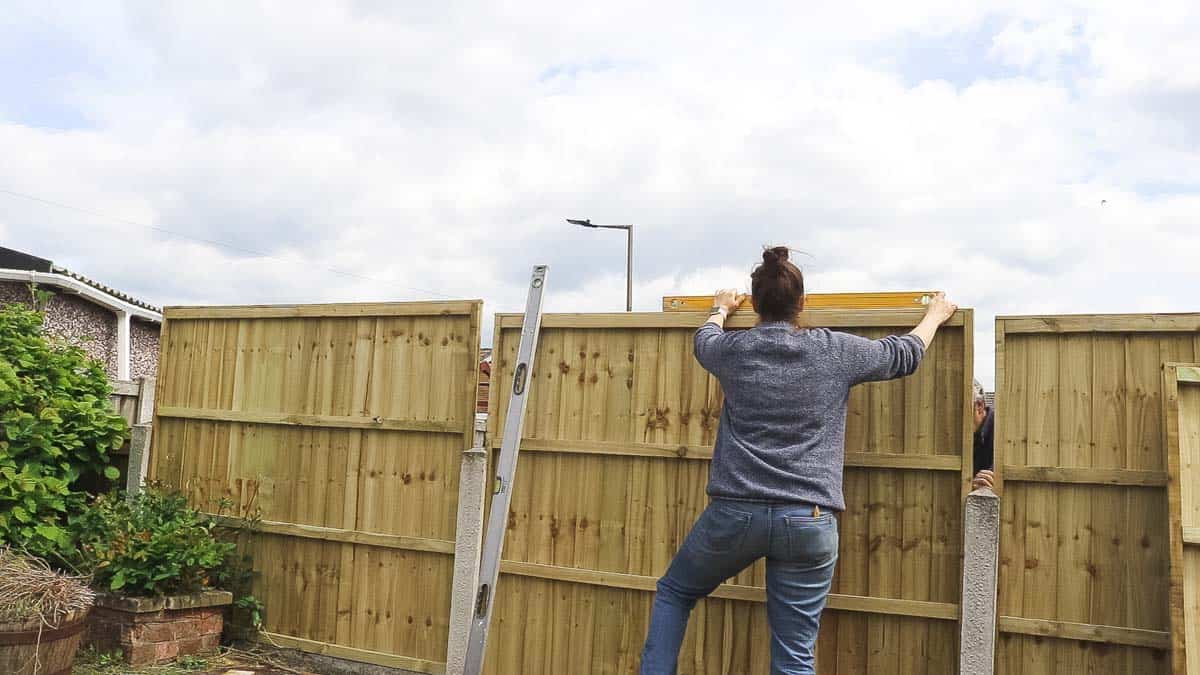
Make Sure Your Fence Panels Are Level
Once your panels are in, check they're level with a spirit level.
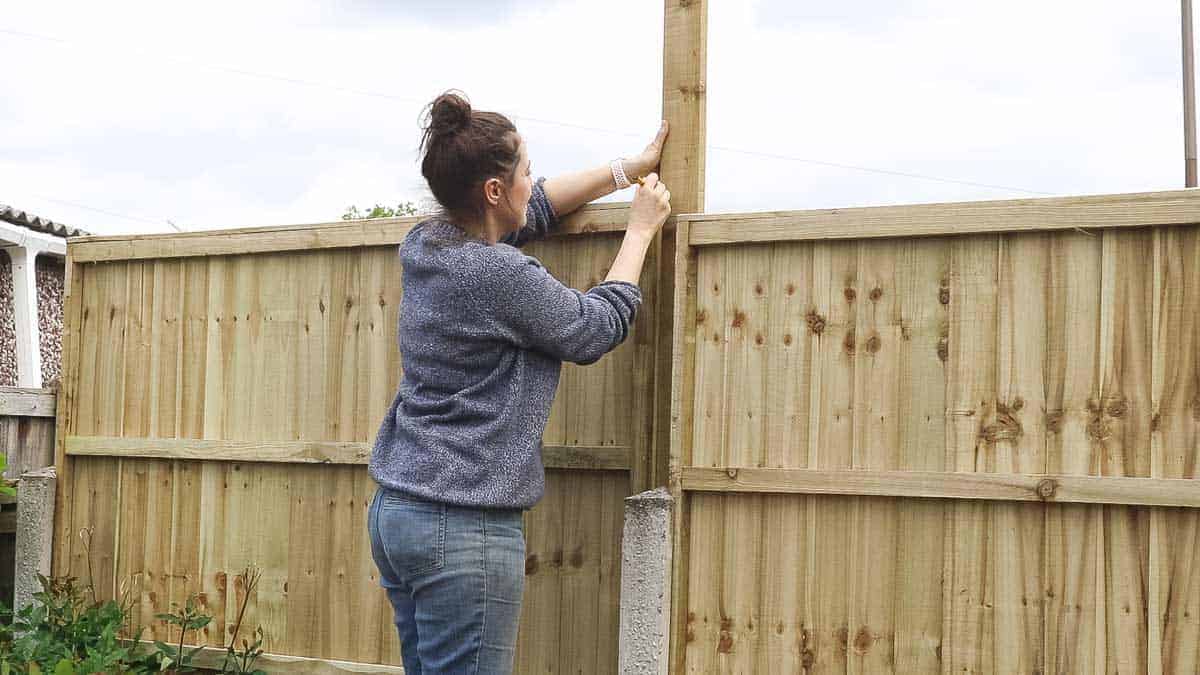
Once they are, hold a fence filler piece from the back and mark on it where the tallest fence panel lies.
This was particularly important as these garden sloped.

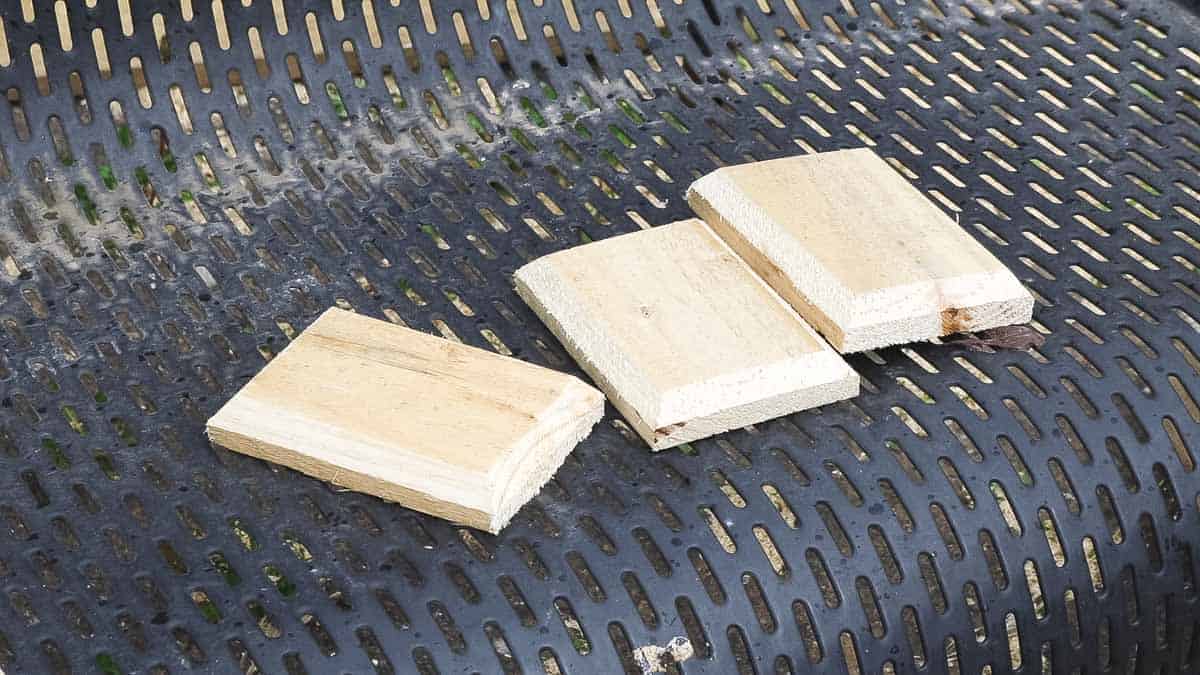
Cut the fence post extension filler with a hand saw.

Then pre drill and screw it to both fence panels.

Keep continuing with the rest.

Them, with your neighbour's permission, of course, repeat on the opposite side of the fence to match.
Adding Fence Post Caps
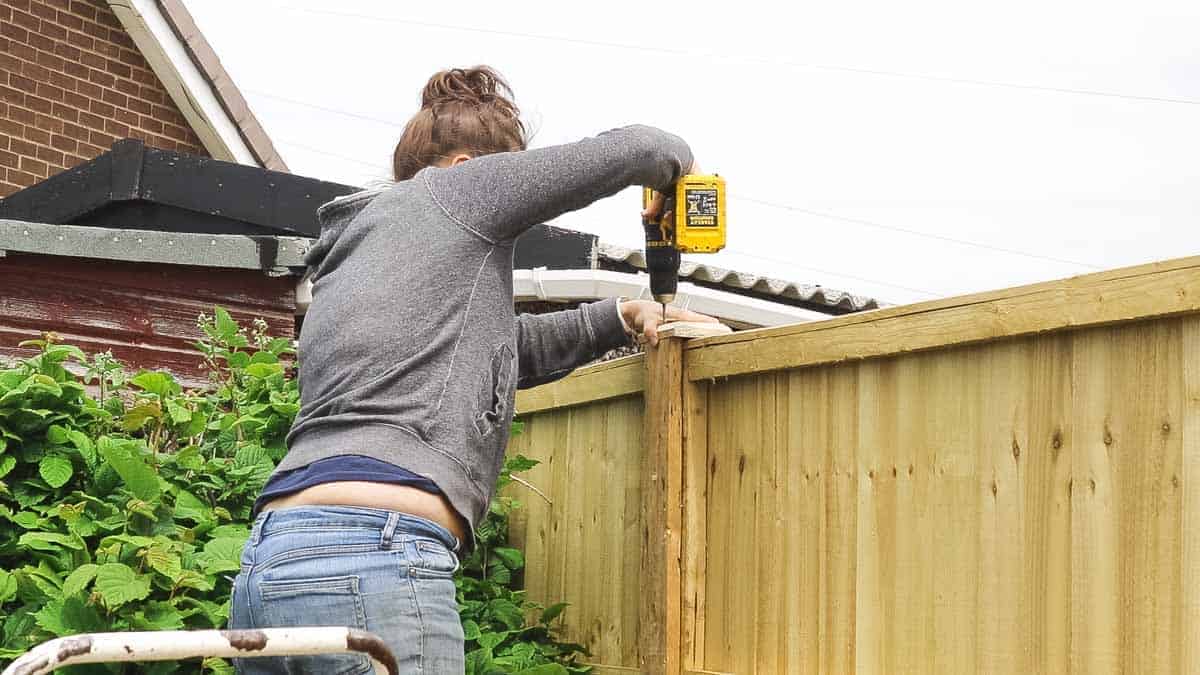
Finally, place the fence post caps on top, evenly.
And pre-drill and screw to both sides of the fence post extensions and you're done!
Follow My Video Version
You can also follow along with my video version here.
Other Posts You Might Like
- Wagner decking and fence paint sprayer review
- Build a shed base
- How to build a Wickes shed
- Trellis planter DIY
- Make and hang trellis
- Double wooden gates DIY
- Installing a fence with concrete posts and gravel boards
- Altering a fence panel to a sloping one
DIY Fence Post Extensions

If you have short fence posts and panels in your garden and want more privacy, then these fence post extensions are a great solution. These are perfect to prevent replacing heavy concrete posts.
Materials
- wood, like pallet wood
- Fence post cap
- screws
Tools
- hand saw
- combi drill
- drill bit
- pencil
Instructions
- Hold a piece of wood up at the front, between two panels, while resting on top of the fence post and mark from behind with a pencil where the top of the highest fence panel lies.
- Cut where this pencil mark is with a hand saw.
- Cut another piece to the same length.
- Pre drill and screw each one to the fence panels.
- Then pre drill and screw the fence post cap on top.
- Repeat with any fence panel gaps you have.

Alexei
Hi, I have just spoke with my neighbor about changing the 4ft fences to 6 ft ones as I'm now craving more privacy in my garden especially now we are coming into the good weather and this extension idea looks great. Iv searched the internet high and low for pictures to see what it would look like and your pictures fill me with confidence that I'm doing the right thing. Thanks a lot
Alexei
Liz
So did the new pieces of wood that you cut to screw into the other posts overlap both posts?
Nahid
Hi, can you please confirm what screw/size you used.