
Here's how to make a reindeer from logs using the Stihl GTA 26 battery-powered garden pruner, chisels, and a combi drill. Your log reindeer can be featured in your home near your Christmas tree, or in your garden! Includes a how to video to follow along.
AD Disclosure: Stihl is a previous client, and you can find my honest Stihl GTA 26 review here.

Jump to:
Christmas is just around the corner, and while I've slowed down on gardening projects, I thought it was time to make a wooden reindeer!
It's a fun little project that you can make with the family. In fact, while I made mine, my Dad was making one too on the other side of the woodyard workbench!
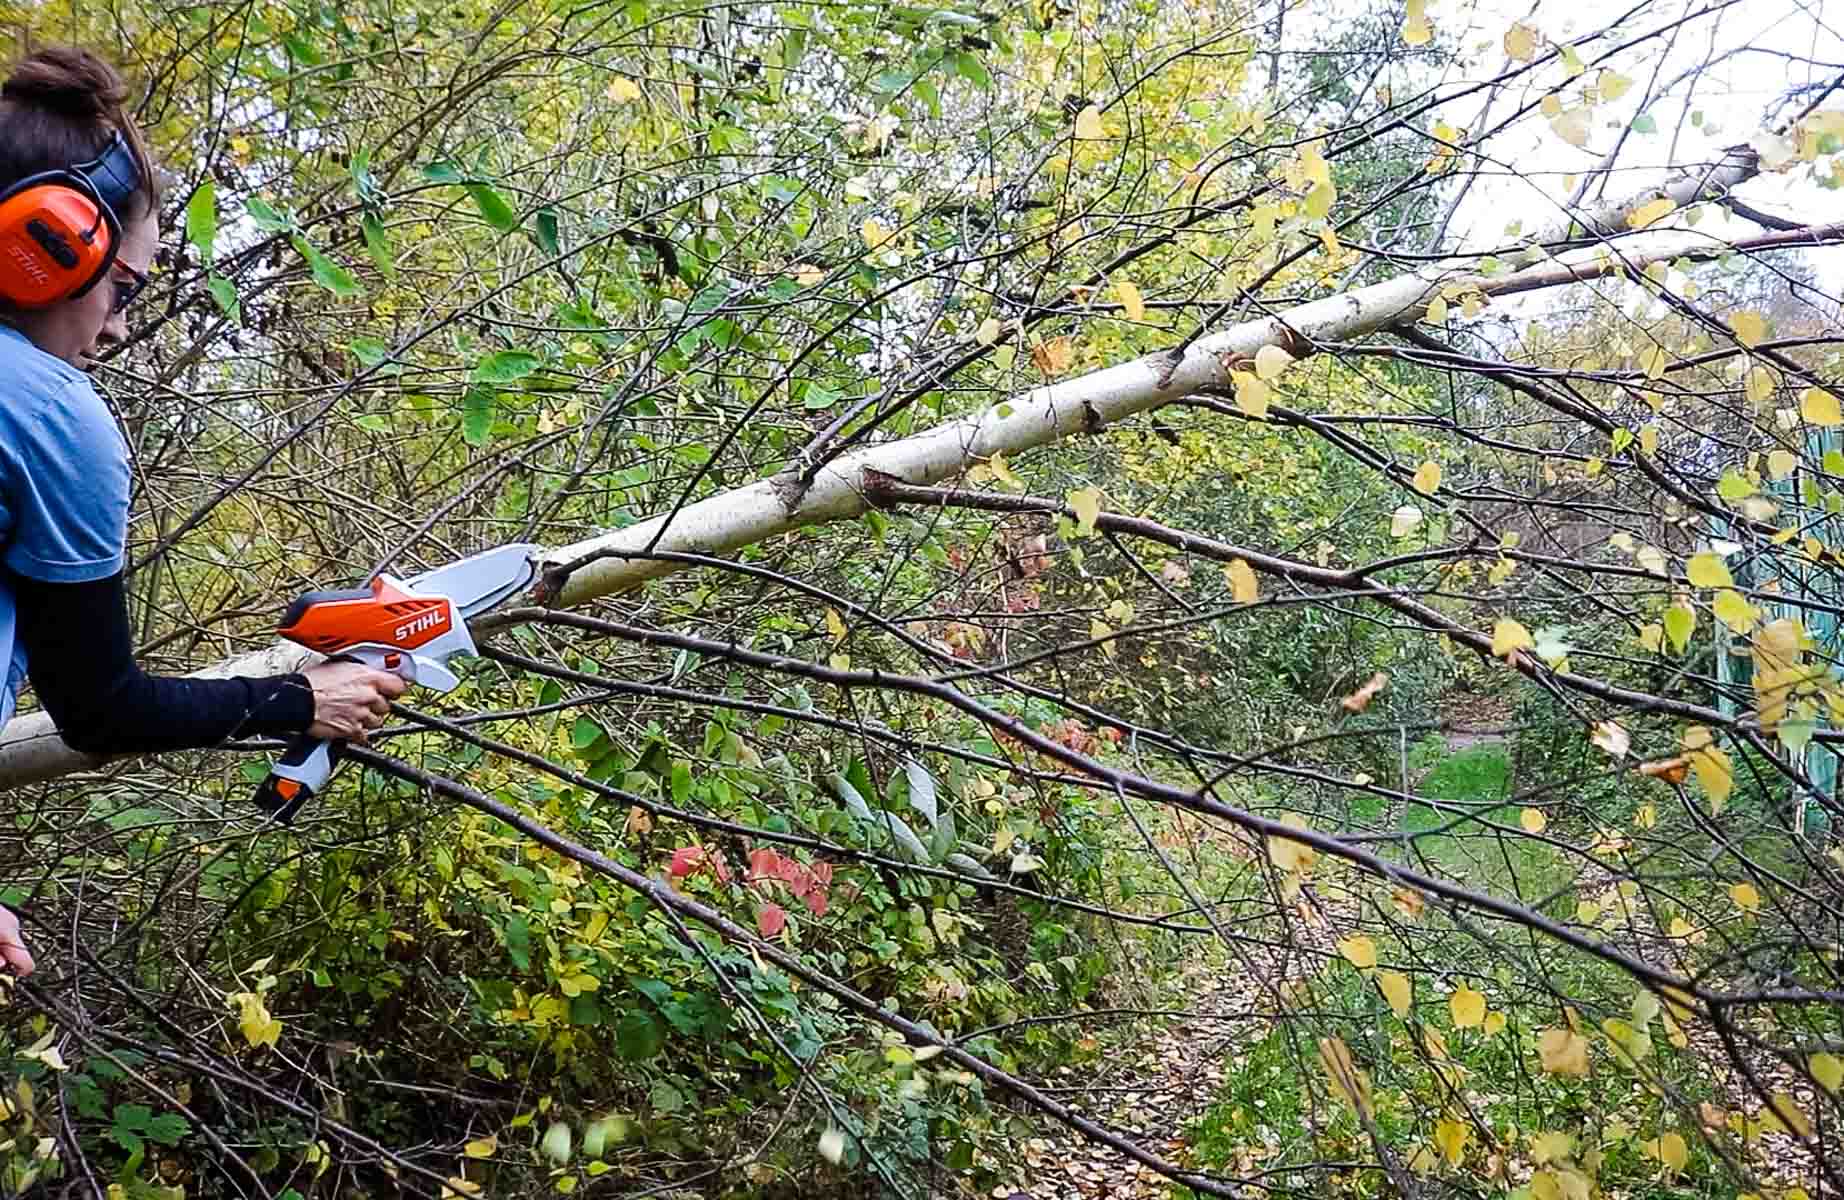
And let's be honest - you don't need a chainsaw to cut wooden logs! I used my Stihl garden pruner (which looks like a miniature chainsaw) as I had it. But if I didn't have it, I would have probably used a hand saw!
🪚Tools & Materials
Please note that as an Amazon Associate, I earn from qualifying purchases made through links.
- Wooden log and branches*
- Stihl GTA 26 garden pruner (AD/Previous client)
- Combi drill
- Flat wood drill bit
- Chisel
- Hand saw
- Hammer
- Wood screws
- Goggles
- Ear defenders
- Red & black permanent markers
*Freshly cut (wet wood) is easier to chisel down the ends of the branches and drill into.

📋Instructions
How to Make a Log Reindeer
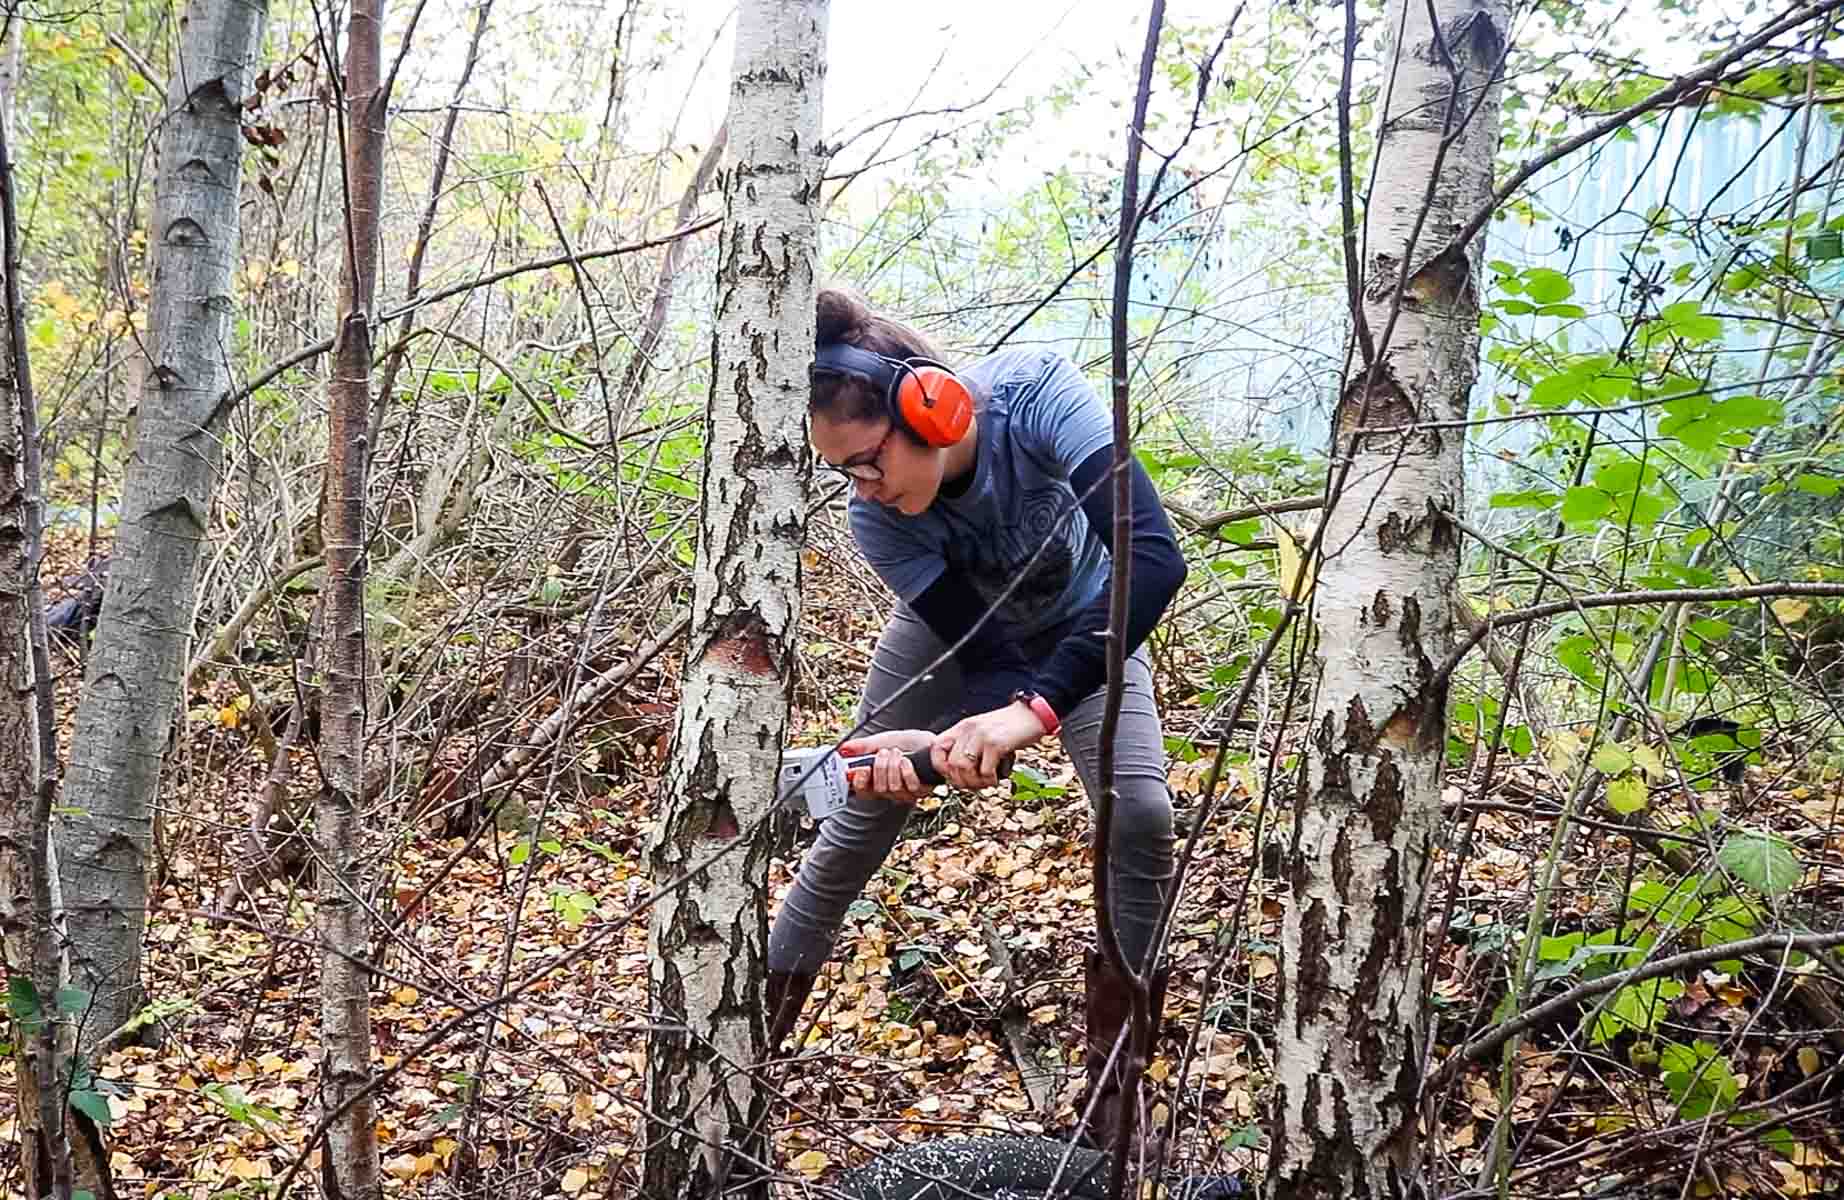
First, source the tree or log that you want to use. I cut down a silver birch in an overgrown at my Dad's woodyard.
Then trimmed off all the branches, which you'll also need for your wood reindeer.
Once done, I laid it on sawhorses and cut a large section I wanted to use for the deer's main body/back.
Warning: You can't cut down any old tree. Some species are protected, including any tree or hedge with a bird's nest that is in use, making it illegal if you do.

Make a Wooden Reindeer Nose and Head
Now for the fun part!
I moved on to a smaller log resting on my sawhorses, then shaped a reindeer nose by shaving it off with the Stihl garden pruner.
Then chopped off a section with the rounded end for the head. You'll have to get an idea of what kinds of proportions you like.
Drilling Leg Holes
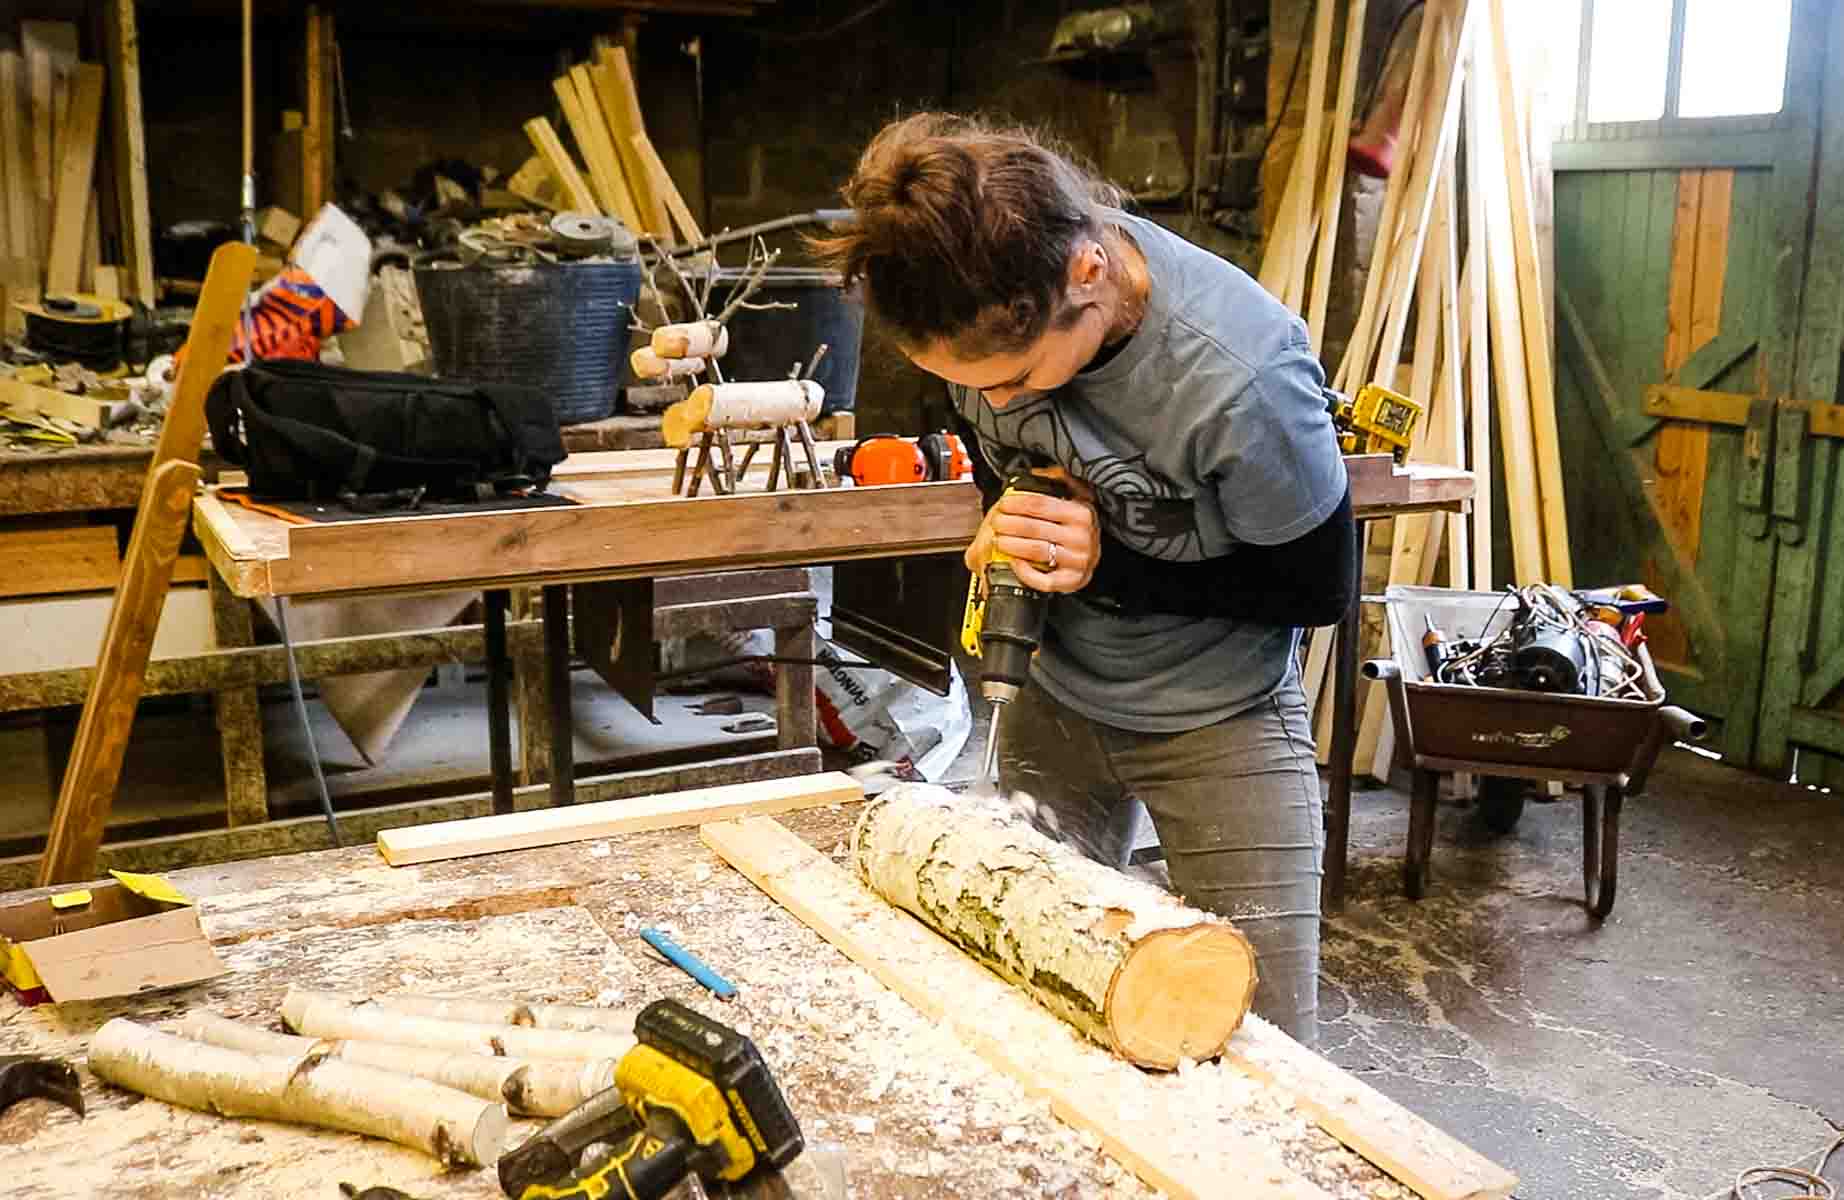
Before you attempt any drilling, you need to make your log secure to your workbench. You could secure it with straps.
Or how I did: with an angled screw on each end, going through your workbench. Then some scraps of wood screwed to the bench to keep it steady.
Now mark where you want your legs to go and drill on an angle with a flatwood drill bit that is slightly smaller than the branches you'll be using, and about 1" deep.

Attaching the Legs
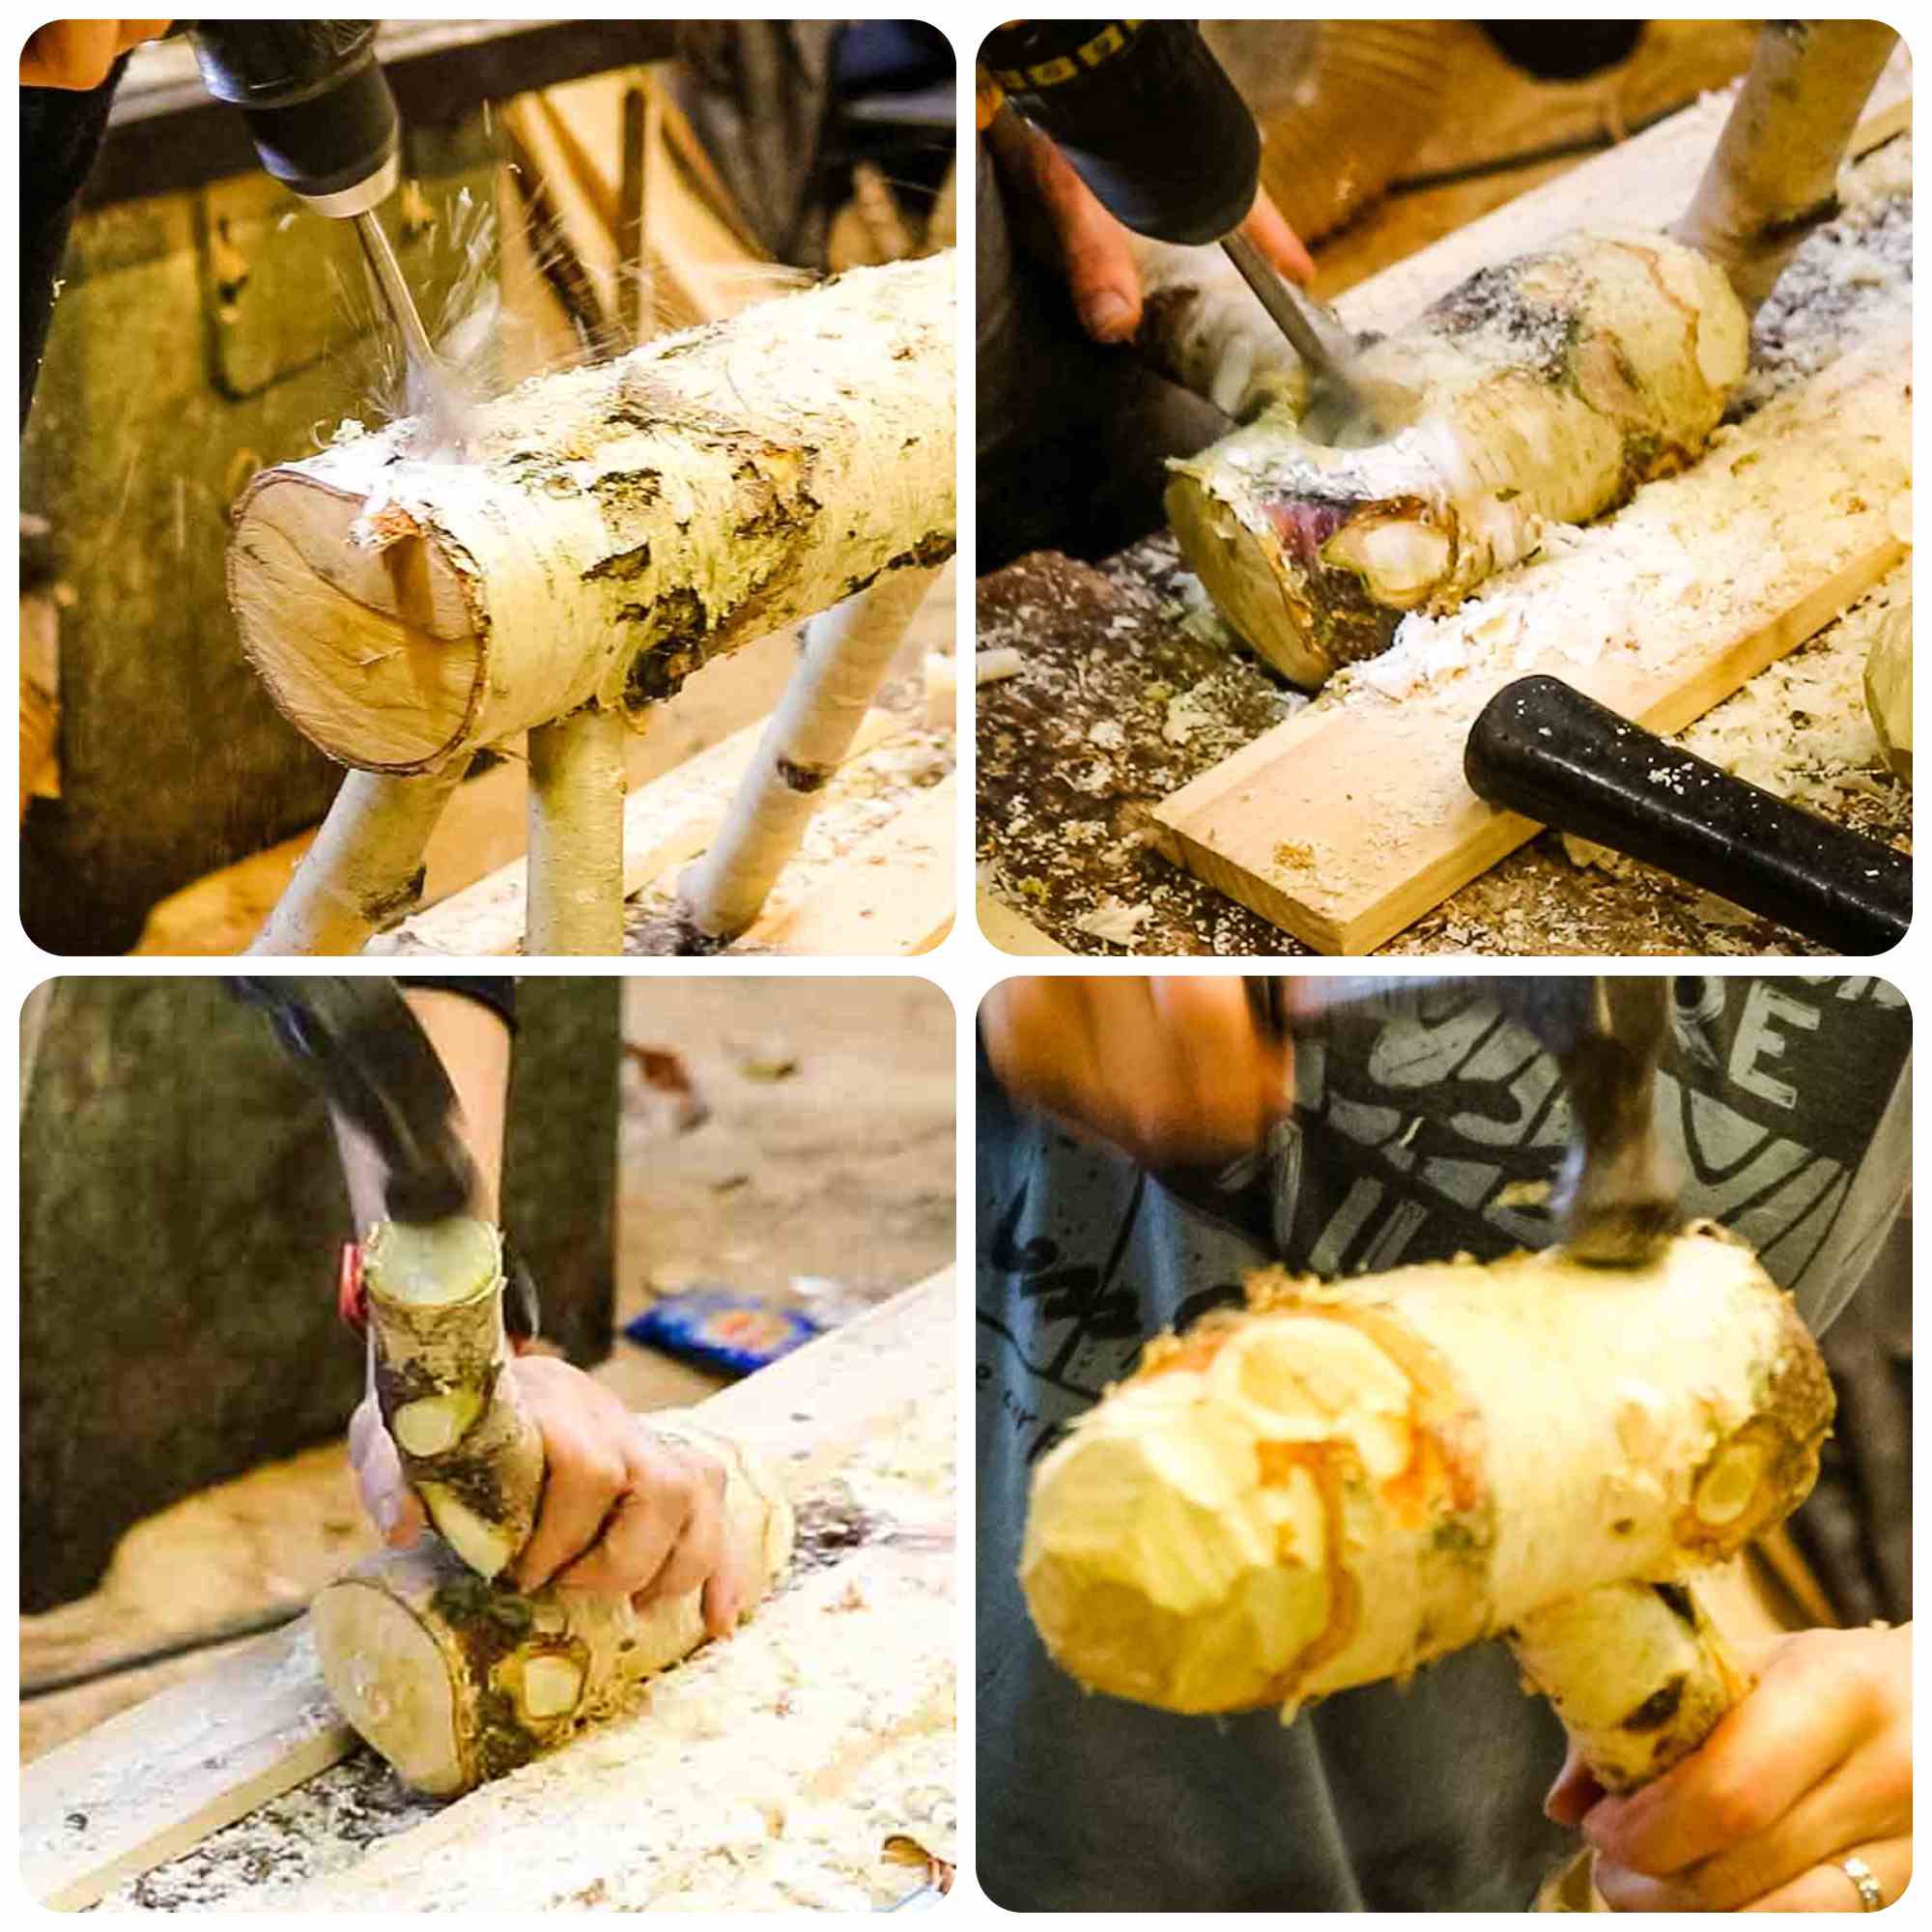
Offer up your pared branches to the holes you've drilled and shave off a bit at a time and repeat.
You don't want them too loose, and a snug fit is what we want!
Mallet in each leg, then add an angled screw in from the side to fix them in place.
Repeat for the tail, but this is drilled on an angle, and handsaw it short.
Attaching the Head and Neck
For the next and head, it is exactly the same process as the leg.
Drill a neck hole on an angle so the neck will be aiming away slightly from the body. And another hole to match that angle in the head.
Now mallet it all together and add more screws to keep them in place.

Adding Antlers
Now, you'll need to drill two holes for the antlers.
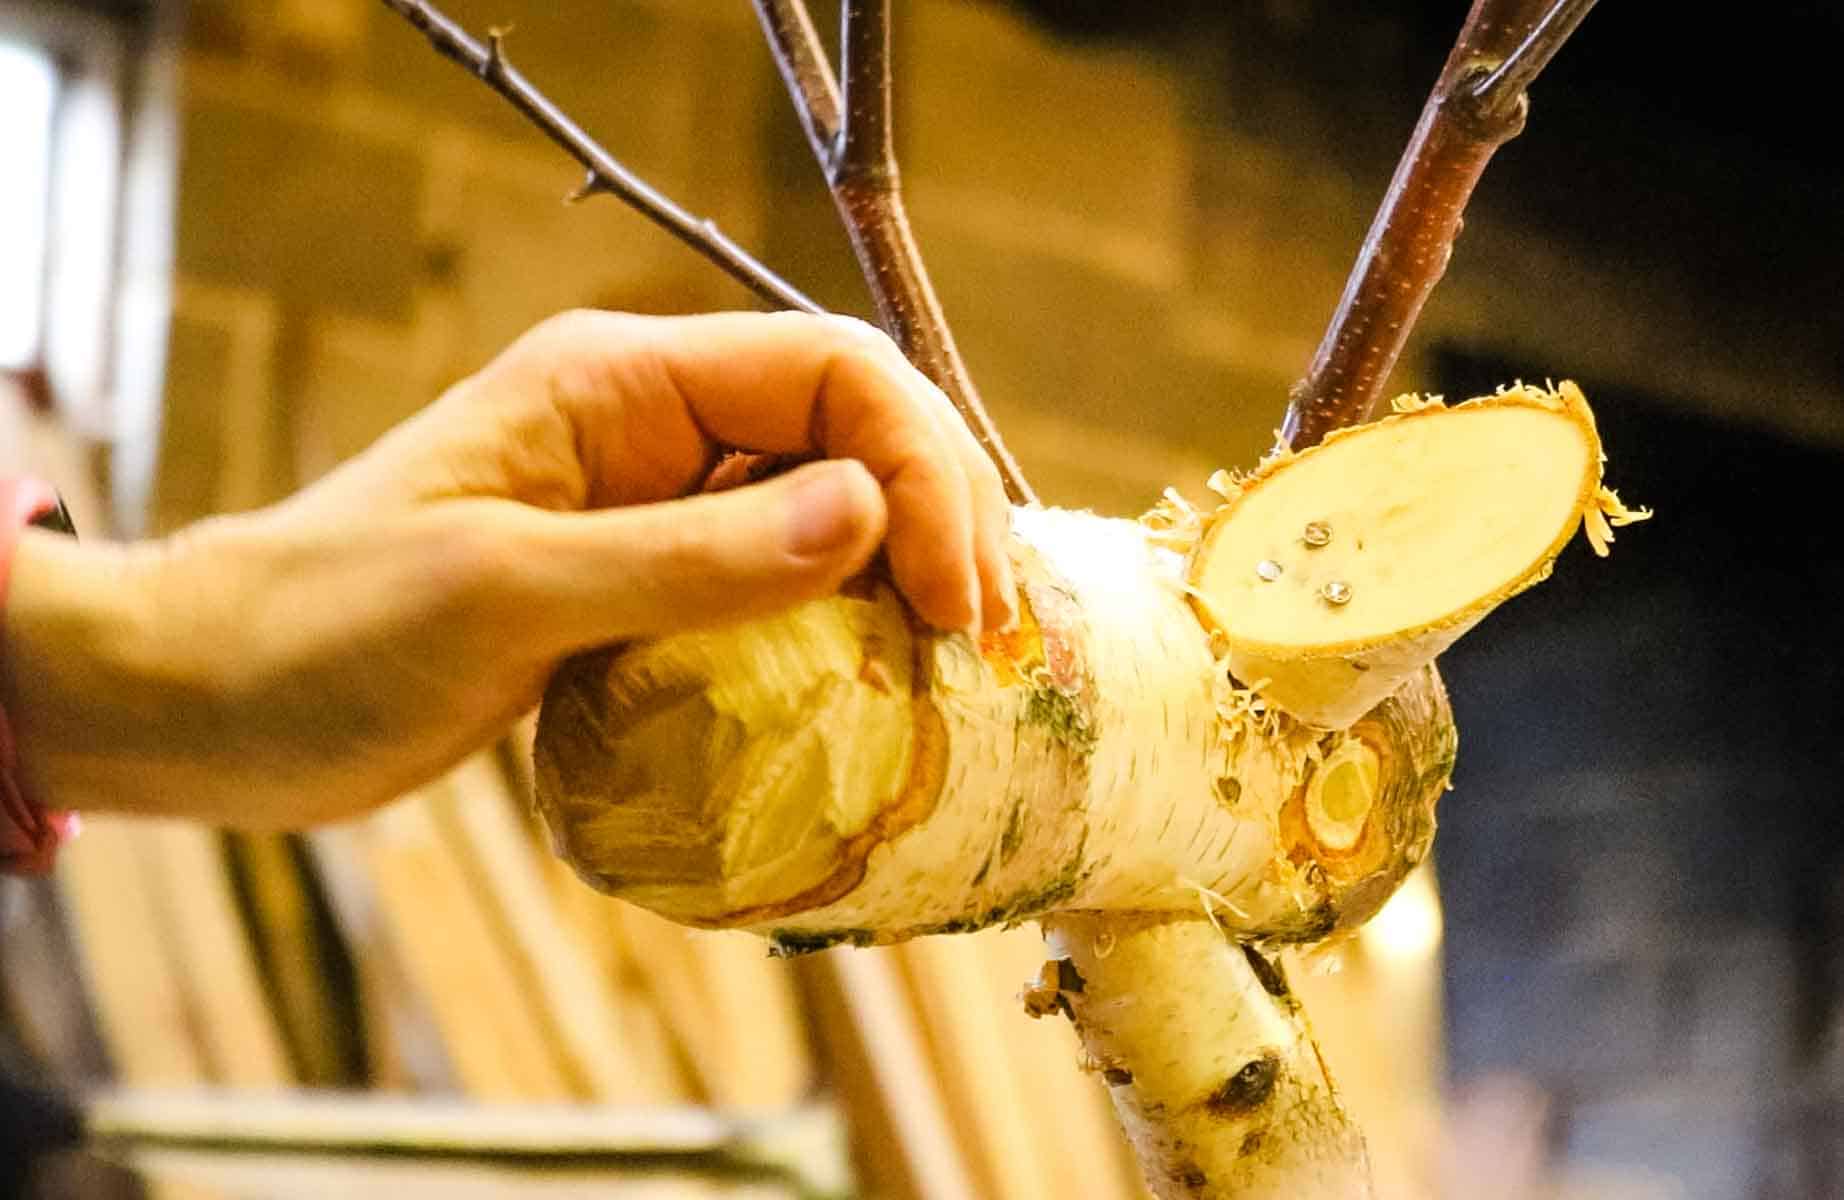
Cut some nice branches that fork or spread out, then pare off and push them in. You may prefer to use glue too or some small tack pins.
You can also nail on some optional ears, made from a mitred branch.
Decorating your Birch Log Deer
And for some more Christmas family fun, you can decorate your reindeer how you wish.
I crudely used a red marker pen on the end of the nose (Rudolph the red-nosed reindeer!) And some black eyes.
I've even seen some with small scarves added. Whatever you want!

🖌️Maintenance
If you want to keep it for years, I recommend letting your wet wood reindeer dry while stored away until next Christmas.
It's likely to shrink a little bit while, but once it's dry, you can use wood preserve - especially on the end grains!
💡Tips
- If cutting down a tree, ensure it is not a protected species, has a bird's nest in use, or has a covenants restriction on it.
- Look for a variety of branches for the legs, antlers and tail
- While drilling with a flat wood drill bit, keep clearing out the sawdust every now and then so it can drill better
- A freshly cut log is still wet, so it will be easier to pare the bark off with a chisel
- If you don't have a chisel, a new Stanley knife blade to pare branches should suffice.
❓FAQ
Is it illegal to cut down a tree? Yes, it can be if the tree is on the protected list for your area or if it has a bird's nest in use.
➕More Christmas Projects & Recipes
- Personalised DIY Sharpie mugs
- Family tree scrapbooking gift
- Homemade plum liqueur
- Christmas rocky road
- Easy mincemeat cake
- Bettys Fat Rascal recipe
Log Reindeer DIY

Materials
- Wooden log and branches
- Wood screws
Tools
- Stihl GTA 26 garden pruner (AD/Previous client)
- Combi drill
- Flat wood drill bit
- Chisel
- Hand saw
- Hammer
- Goggles
- Ear defenders
- Red & black permanent markers
Instructions
- Cut your main log for the body and a smaller one for the head
- Shave the edge of the smaller one to create a rounded nose
- Drill 4 holes for the legs
- Cut and pare the legs with a chisel until you can get a snug fit and mallet them in
- Add a screw on an angle through the body to the leg (see photos in post above)
- Drill a hole for the neck in the head and the top of the main body
- Mallet all together
- Drill a hole for the tail and mallet another branch in and hand saw short
- Drill holes in the for antlers and pare again before poking through
- Nail on some ears if preferred
- Using marker pens, colour in a red nose and black eyes.
Pin for Later


Comments
No Comments