
This desk monitor stand with shelf DIY is an easy project to make and can be customised to your needs. I'll show you how to make it using plywood offcuts and put together with simple l-brackets.
This project includes a paid AD review with Worx tools. All opinions are my own.

Since late December, 2019, I have been typing away while walking at my standing treadmill desk. Exactly as I am now! It's essentially a DIY standing desk that I made with a combination of cheap structural timber and plywood. Originally I built it for a cheap treadmill on Amazon.
But sadly I discovered it wasn't up to the job, so turned it into a Lifespan treadmill desk instead. However, with the Lifespan DT3 being more robust, it's slightly taller, meaning my laptop's position was no longer at the right height. But this will also be useful if you're not happy with a standard desk height.
If you have the money, then an adjustable standing desk for ergonomics is important. It's something you'll likely use for hours in a certain position. But if you're not prepared to pay just as much as the treadmill itself cost, then here's how I made my table laptop stand. It cost me nothing as I used offcuts.

Why I Like This Desk Monitor Stand
- It can be custom made around your own monitor to your own height or even a sit to stand desk.
- This design can be used as a laptop table for bed with a mouse pad, phone stand for desk, computer stand or a laptop stand for desk as I am here
- You can add a shelf or drawer - (but you may want to screw it to your desk for the latter)
- It has space for a hole saw to slot in a stationary holder if you wish
- You could screw twisting feet on the bottom to turn it into an adjustable desk stand
- It can be made with simple tools and easy to make a cheap standing desk on a budget
- And there are so many healthy standing desk benefits, such as feeling more positive, staying active and fit to name a few

How Easy Is My Desk Monitor Stand to Make?
This desk riser can be as easy or as difficult as you want it to be. And while in lockdown, I made this project quickly and easily with materials I had in my garage.
As for the tools, I'll also be reviewing the following Worx battery-powered tools: Worx WX523 Worxsaw compact saw, a Worx Axis WX550.3 2 in 1 jigsaw and reciprocating saw and a handy Worx Slide Driver with screw holder. All these tools are cordless and can be recharged.
You may have also heard of the Worx Hydroshot, Worx Landroid robot lawn mower and many more Worx garden and DIY power tools.

What Materials and Equipment Do You Need?
- Worx slide driver with screw holder
- Worx compact saw using wood blade
- Worx AXIS W550.3 jigsaw
- 15mm thick Plywood (see plans for cutting list or custom make for your own height)
- Tape measure
- Pencil
- Carpenter's square
- Clamps
- Worktable or bench
- L shaped angle brackets
- 12mm long wood screws
- Plate or something large and round to draw around
- Sand paper
- Sanding block
- Ear defenders
- Safety goggles
- Paint or oil of your choice
- Mini foam roller
- Router (if you want to your cut wood
- Router piece (I used a 45 degree chamfered edge bit)
Free Desk Monitor Stand Plans

How to Make a Desk Monitor Stand
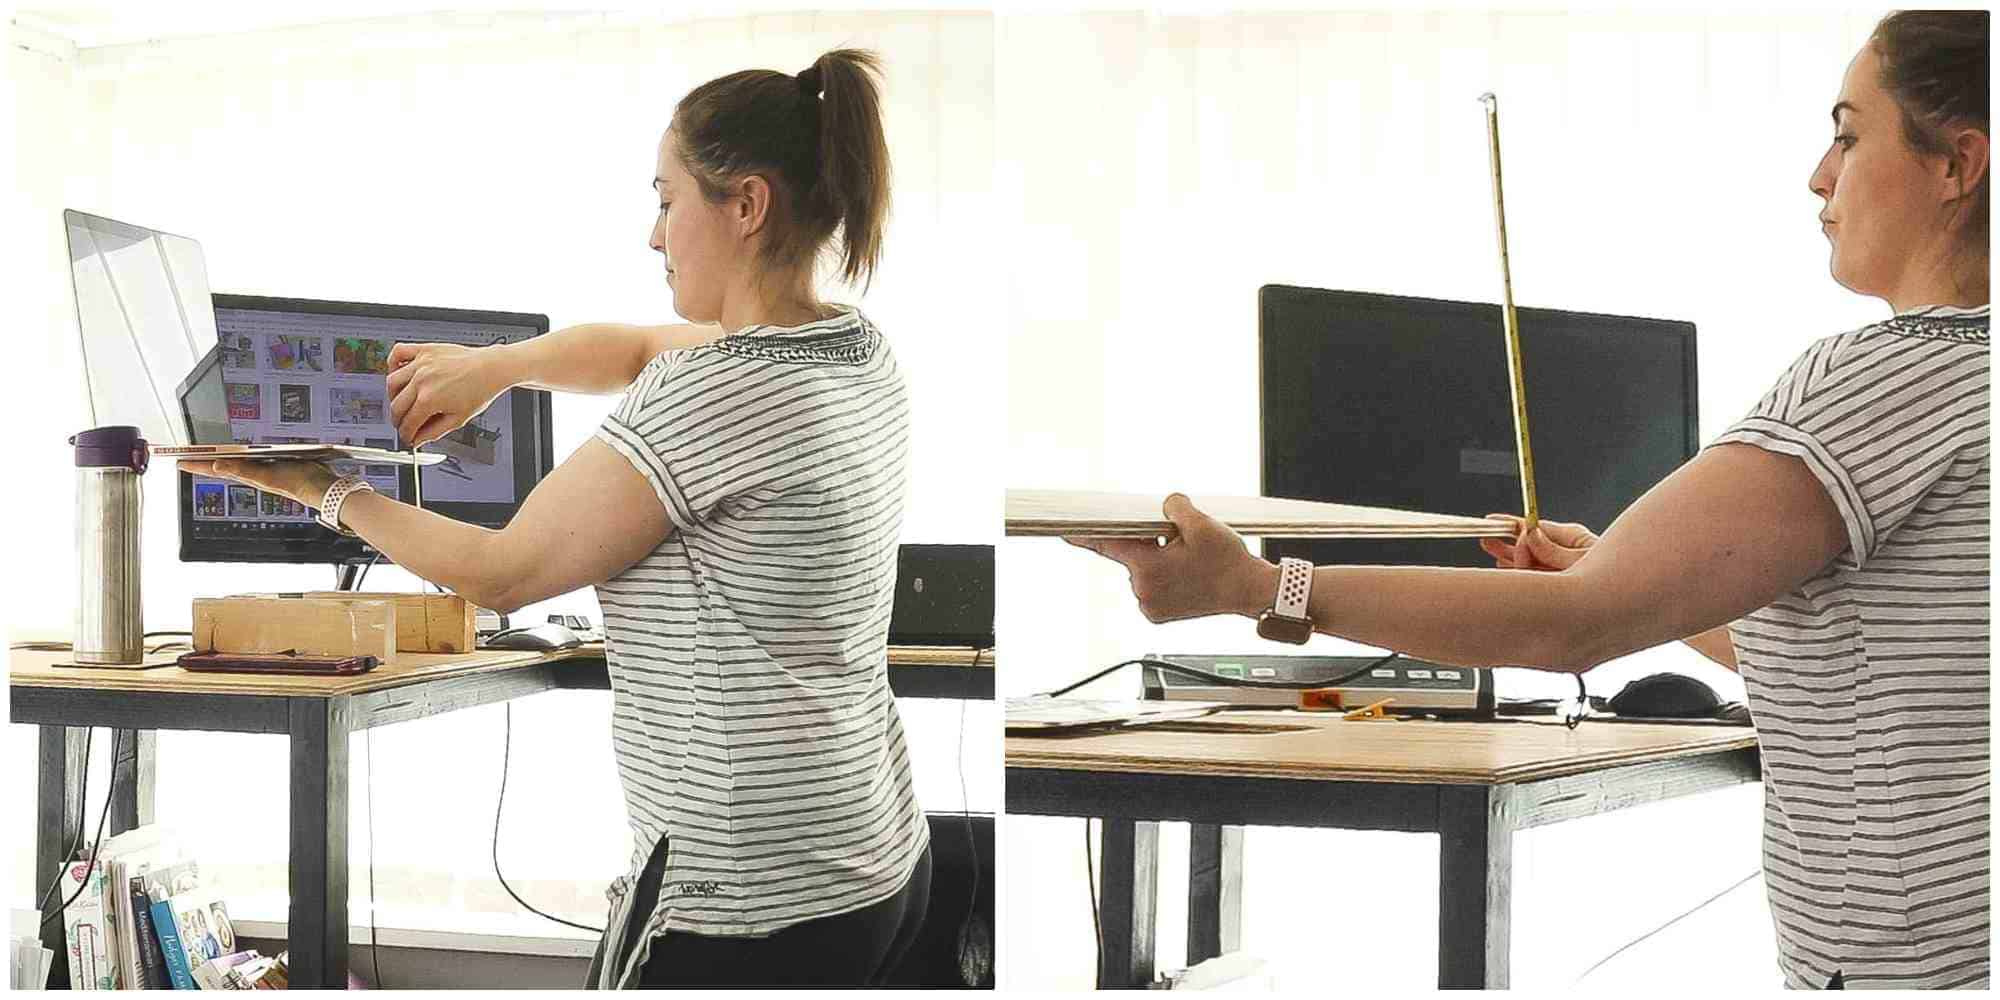
The key part for your desk monitor stand is to find the right height for you. As you can see above, I raised my laptop in the air and measured the gap between it and my desk.
This determined the height of my two side panels, plus the thickness of the top shelf. The idea was to have my laptop at eye level so I could keep my posture straight while I worked. (Note: you can buy back braces if you are worried).
It's obviously important that you stand at your desk while you do this as you would like to while working. I also have a 2nd monitor for reference, but the one in front of me is my main one. It was also imperative the top shelf didn't obscure the 2nd monitor.

Cutting With the WORX Power Tool Cordless Compact Saw
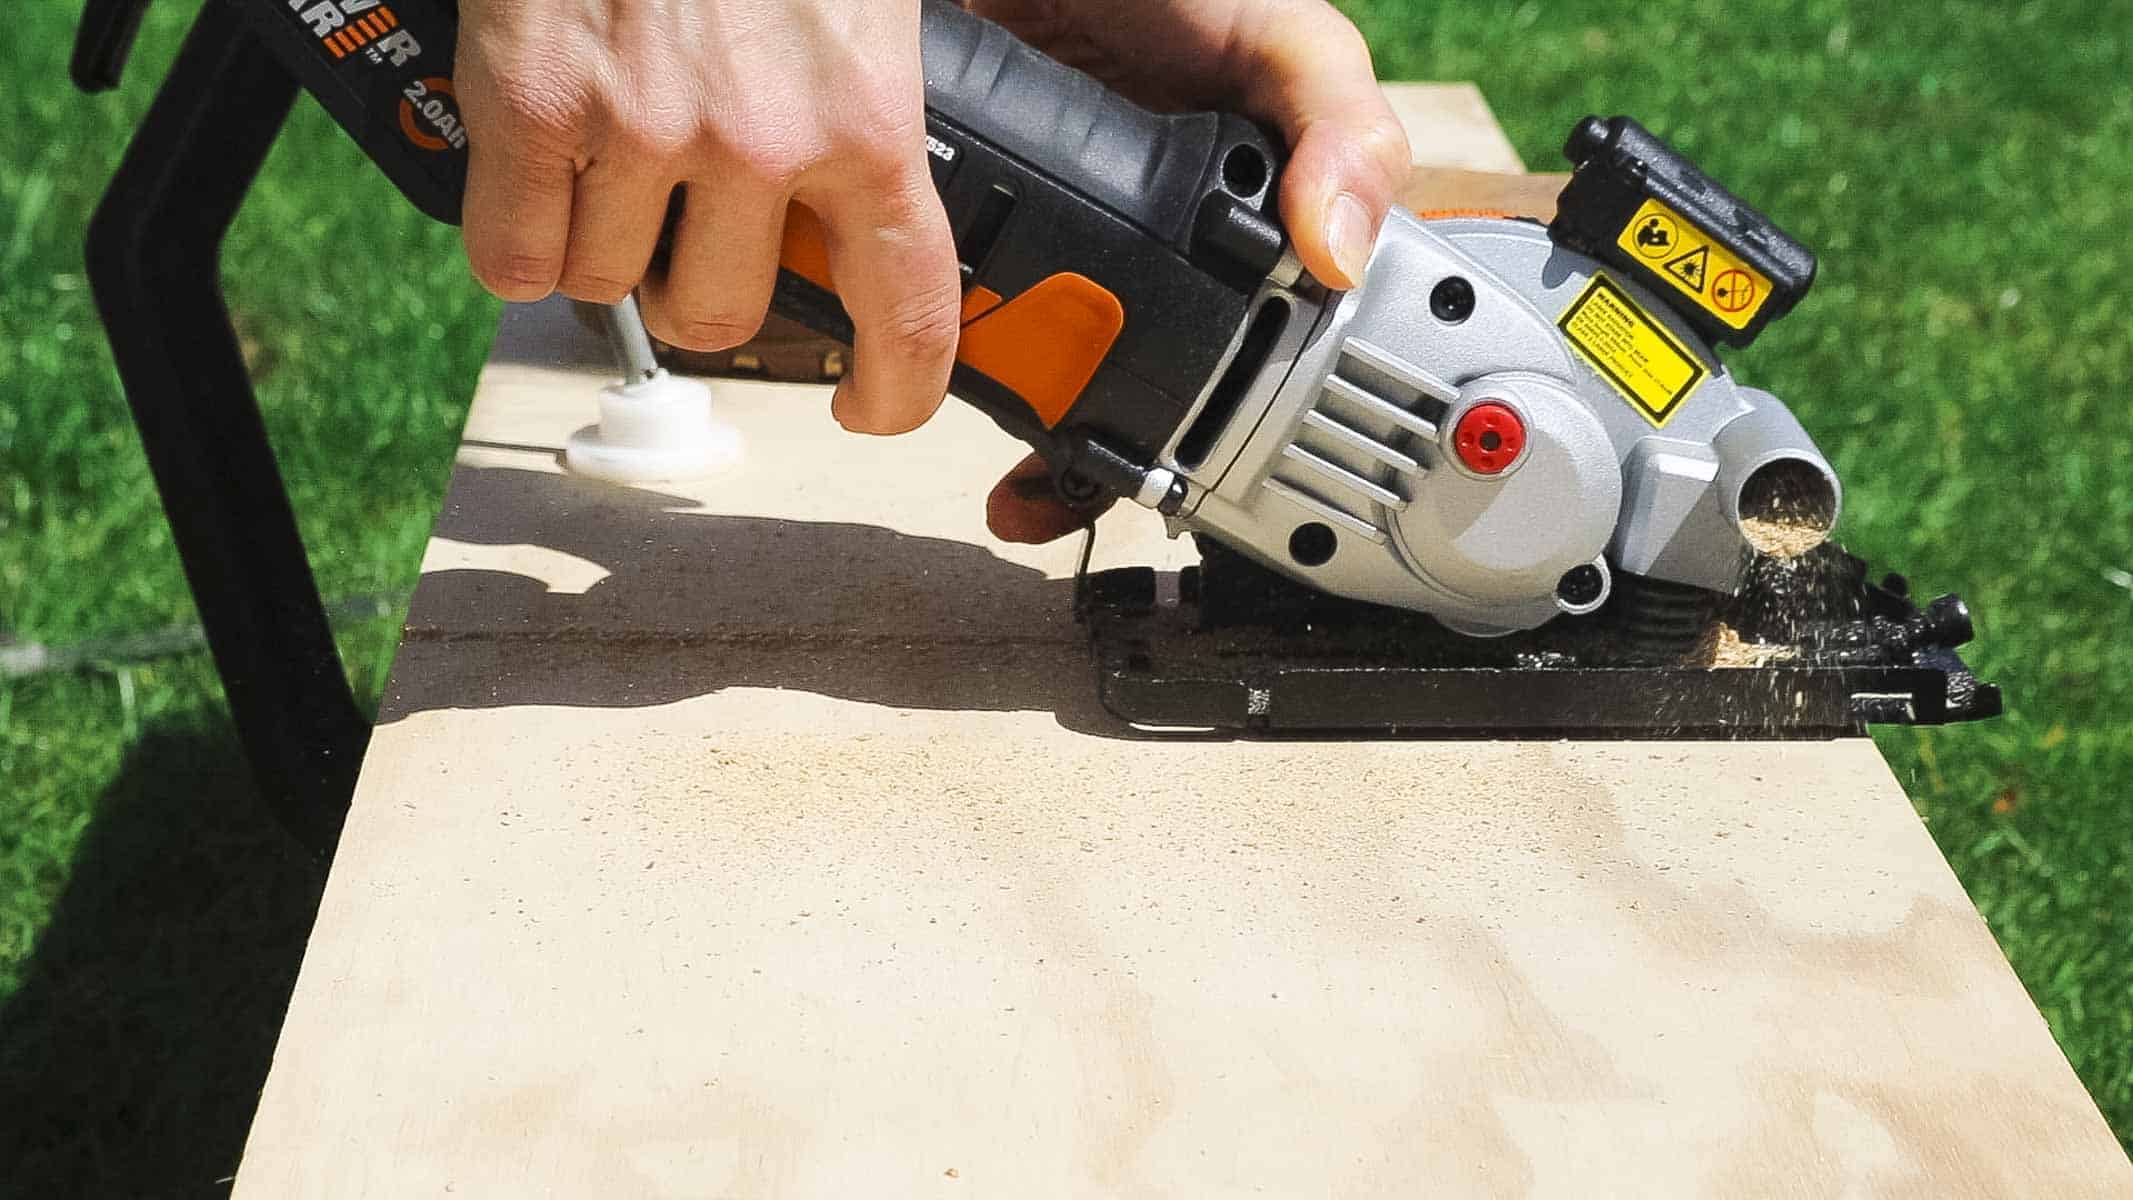
While making my first side panel cuts, I used the AXIS with the jigsaw function for one and the compact saw for the other. It doesn't matter which you use, as long as you're comfortable. However, I'll tell you why I fell in love with the Worxsaw compact saw so much for making straight cuts:
- It's lightweight and easy to use
- The smaller size is less intimidating than a circular saw (so much so, I instantly wanted one when I saw YouTuber Mr Geoffrey Smith use his).
- It has a V-shape guide that I could follow instead of using a fence which I found accurate enough for my needs
- There's a tracker attachment that will be useful for the future
- It's easy to cut through the sheet material up to 27mm thick
- There's a laser guide on it - *however, this will be more beneficial in duller days or cutting indoors.
My safety tips:
When cutting any wood, I find it much easier to clamp my materials to a work bench. It helps me stay safe and focus on cutting accurately.
*Sadly my main sawhorses are at our bungalow project, which, due to the lockdown, I don't have access to - hence the blue stool.
And finally, always ensure you are wearing PPE. I wear goggles and ear defenders with most power tools and a dust mask when working with MDF

Working With Offcuts
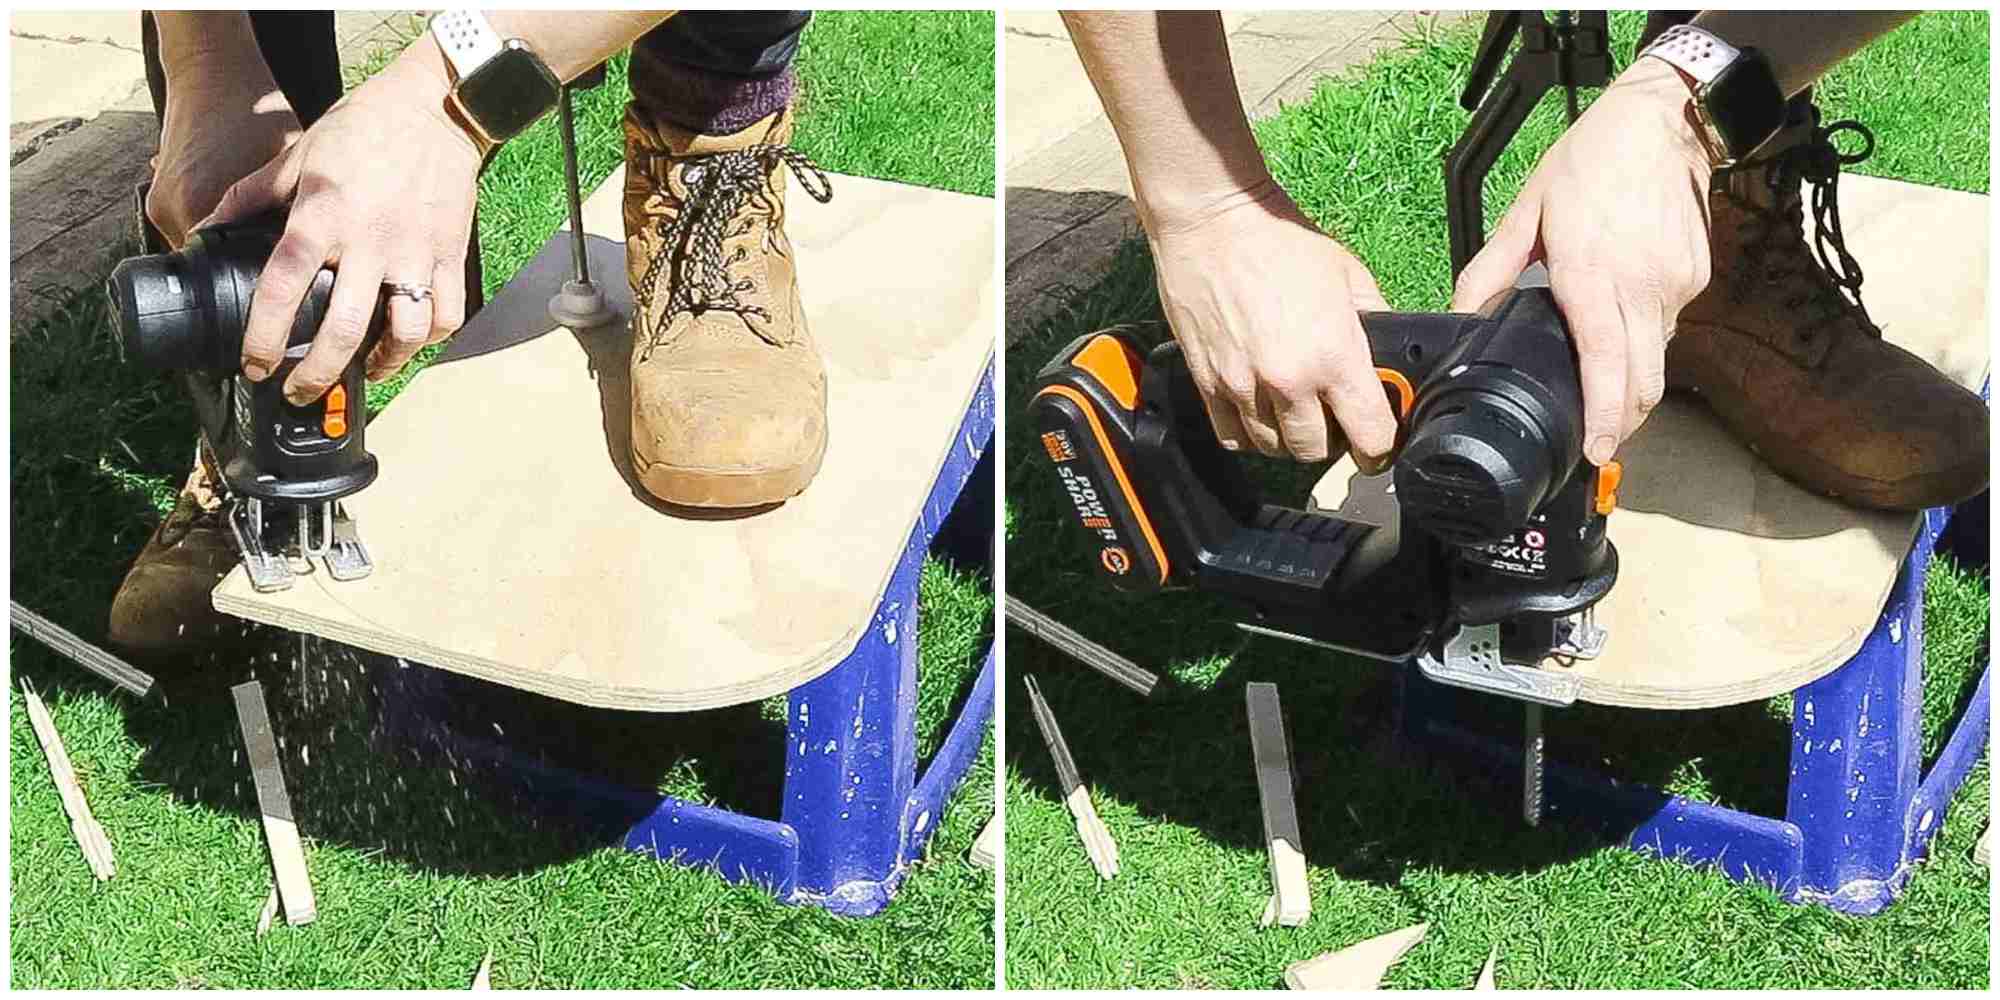
To make my custom standing desk riser, I also cut the top piece in the same way. (I'll later add a curve with the Worx AXIS in jigsaw). But I noticed the depth was smaller than the depth of my side panels.
To fix, I held each side panel on its side behind the top shelf and drew along it with a pencil before cutting.
Something I also noticed about the Worxsaw was, unlike my main circular saw, it had no issues cutting slimmer pieces off. My non-Worx circular saw has a safety guard that doesn't stay open while trying to cut around 5mm off the edge of sheet material. This made life much easier.

Cutting a Curve With The Worx WX550.3
For my computer stand, I'd seen a few very basic box shapes. And as classic as they were, I wanted something more unique, while testing the Worx WX550.3 jigsaw feature. Plus a curved shelf can later be turned into a pen pot holder with a hole saw (once I find a tapered pot I like to slot in).
It could also be a mouse pad area if you wanted to use it as a laptop desk in bed. Or, don't forget a laptop table for your sofa. You may also like my DIY lap desk with cushion, which the 2 in 1 cordless Worx AXIS will be great for.
For the curve, it meant drawing around something with a large curve; and a plate is perfect for this. The only thing I felt it was missing though, was a little guide to know where my pencil line was. Initially, I arched over to see it, but on my 2nd curve, I followed where I thought was centre and it worked out ok. But I just prefer something as a reference as the Worxsaw has.
Other Benefits of The Worx AXIS
Quite often I've used a jigsaw for trimming branches down due to its convenience. Or a hand saw.
But as mentioned previously, the AXIS can also be turned into a reciprocating saw with the press of a button.
It also conveniently comes with two batteries, a charging station and a good range of blades to choose from.

These vary for metal and wood for the jigsaw options and the larger reciprocating saw blades which is great for pruning trees or cutting pallet wood.
There's often been times when I've needed one but suffered without while trying to use reclaimed wood.
Particularly when making my chevron pallet headboard and raised planters.

Creating a Monitor Stand With Storage
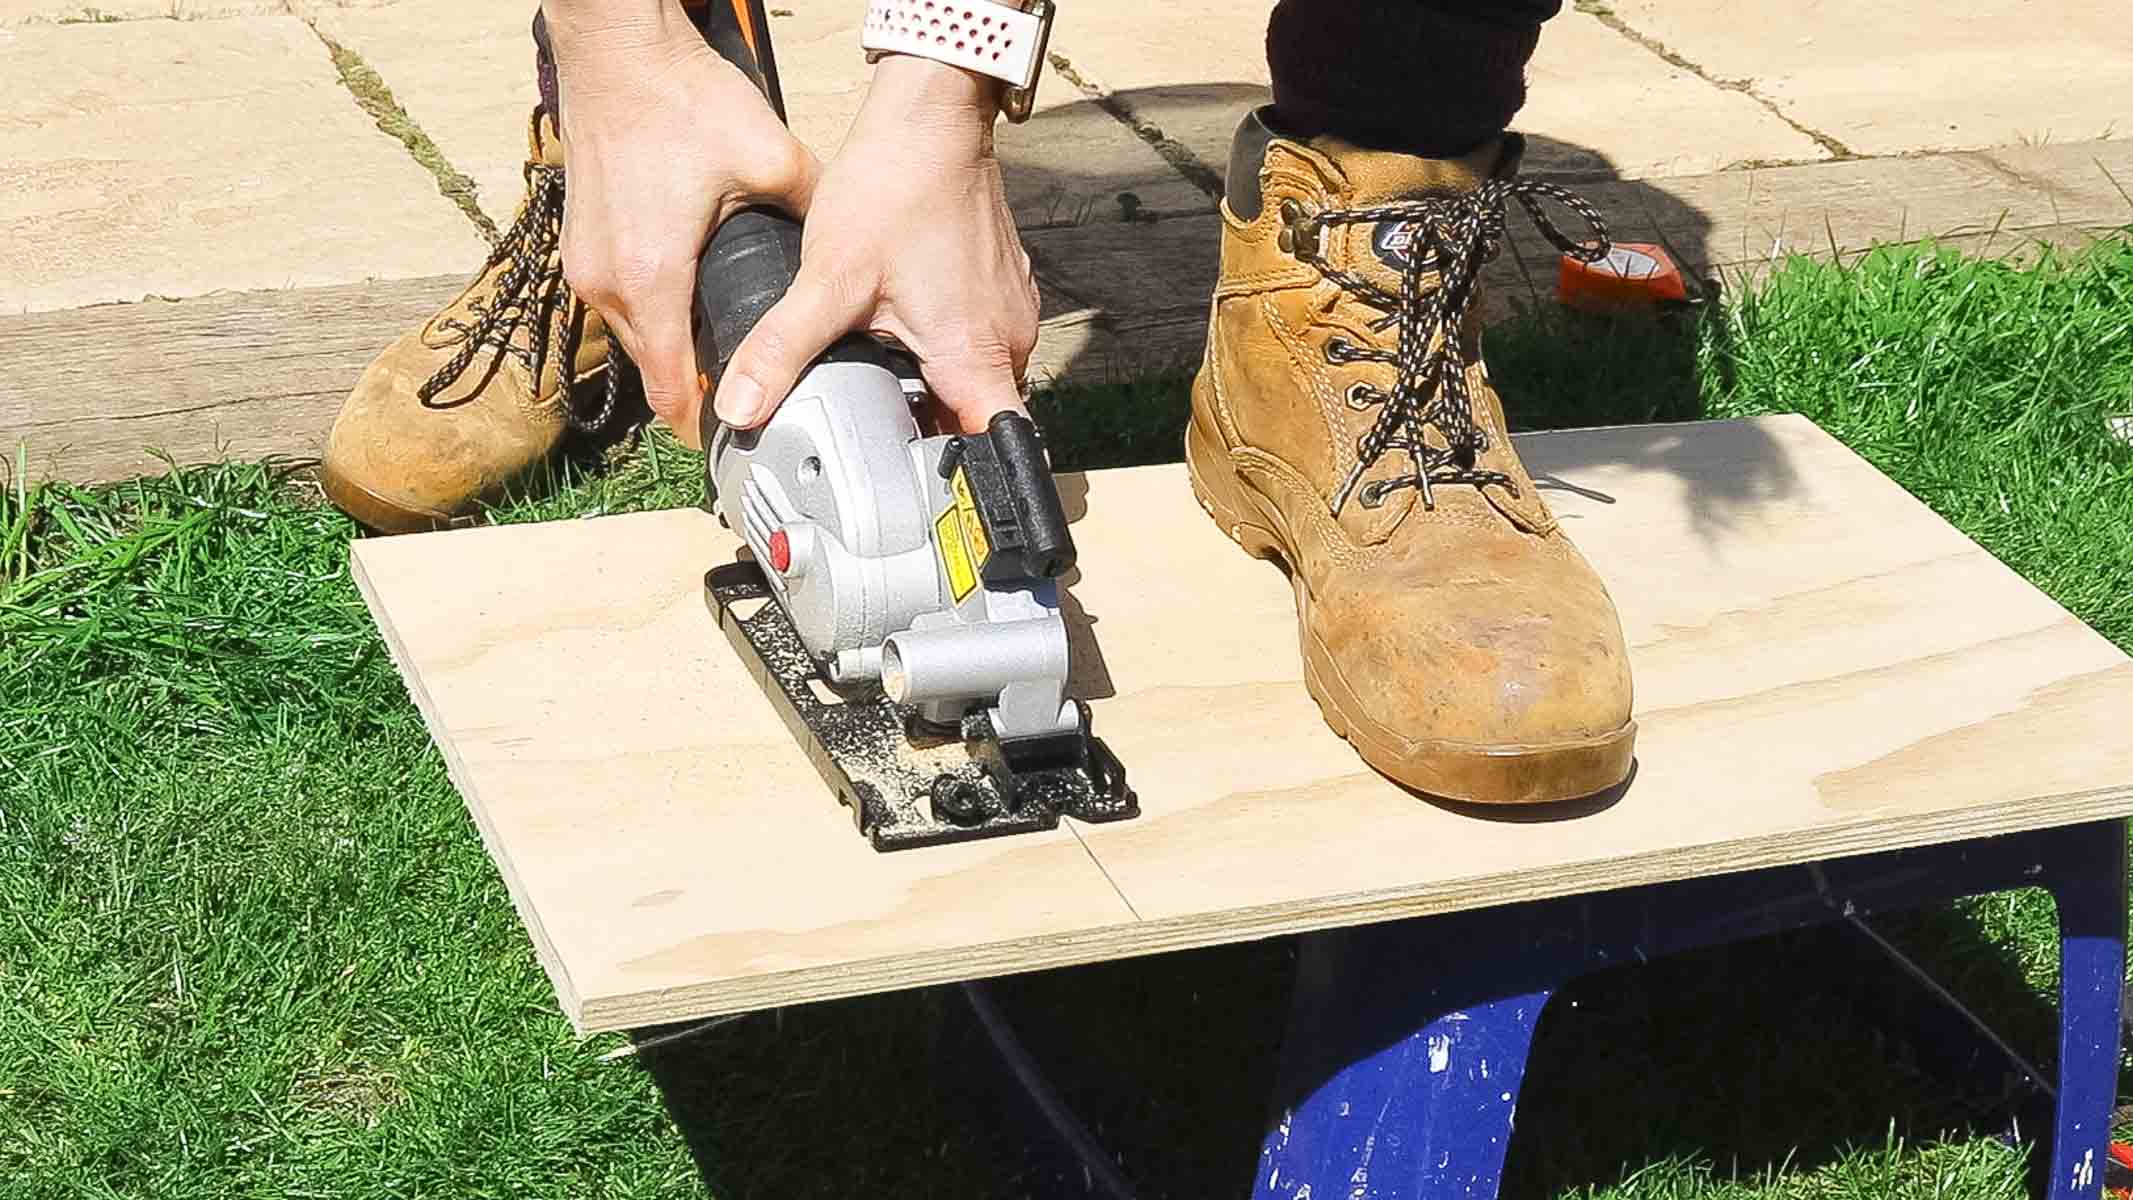
Once I had my curve, I was able to work out my shelf length, which needed to stop before the top's curve started. I also wanted my shelf to look aesthetically pleasing inline with my laptop. So I cut it roughly two inches wide than the width of my laptop.
I could have used the track guide that came with the saw and has a maximum working length of 17cm or 7 inches. However, I was so comfortable matching up my pencil line with the v-groove on the front, I kept forgetting. And I was happy with my cuts every time, so it can only be a good thing.
An alternative idea for a standing desk with storage, after you've created a simple shelf, you could cut more pieces to glue a box together as a drawer. Or, one with a very simple drop down drawer cover as I did on my kitchen recycling bins cupboard. Note though, you may want to mount your desk laptop holder to the desk itself to ensure it's secure.
Marking Out Storage Placement on Your Desk Monitor Stand
Where you want your storage shelf to be is completely up to you. I find times like these allows you to work around your day to day objects. You may want to use it as paper storage. In fact, it could be used as a printer desk stand. It's that versatile!
So far I've used mine as a notebook stand, a phone stand and sometimes some cookbooks while researching recipes for my food blog, Tastefully Vikkie. Just below that, I store the control panel for my Lifespan office walking treadmill.
And to mark out my shelf, I measured halfway between each side panel and drew straight lines with a carpenter's square. Then I could line up my shelf's edge on it as below.

Screwing Your Desk Laptop Stand Together
There are many ways you could build your desk monitor stand (or whatever stand you're want it for). You could opt for the following methods I've used before:
- Angle brackets (as featured in this project)
- Glue and nails and bury with a nail punch
- Pilot holes and screws if your plywood is 18mm thick or more
- Biscuit jointer
- Pocket hole screws if your plywood is a minimum 16mm thickness
- Dado cuts (or a routered rebate groove)
I'll be using simple L corner brackets as I already them. But it also allowed me to put the Worx slide driver with screw holder through its paces.
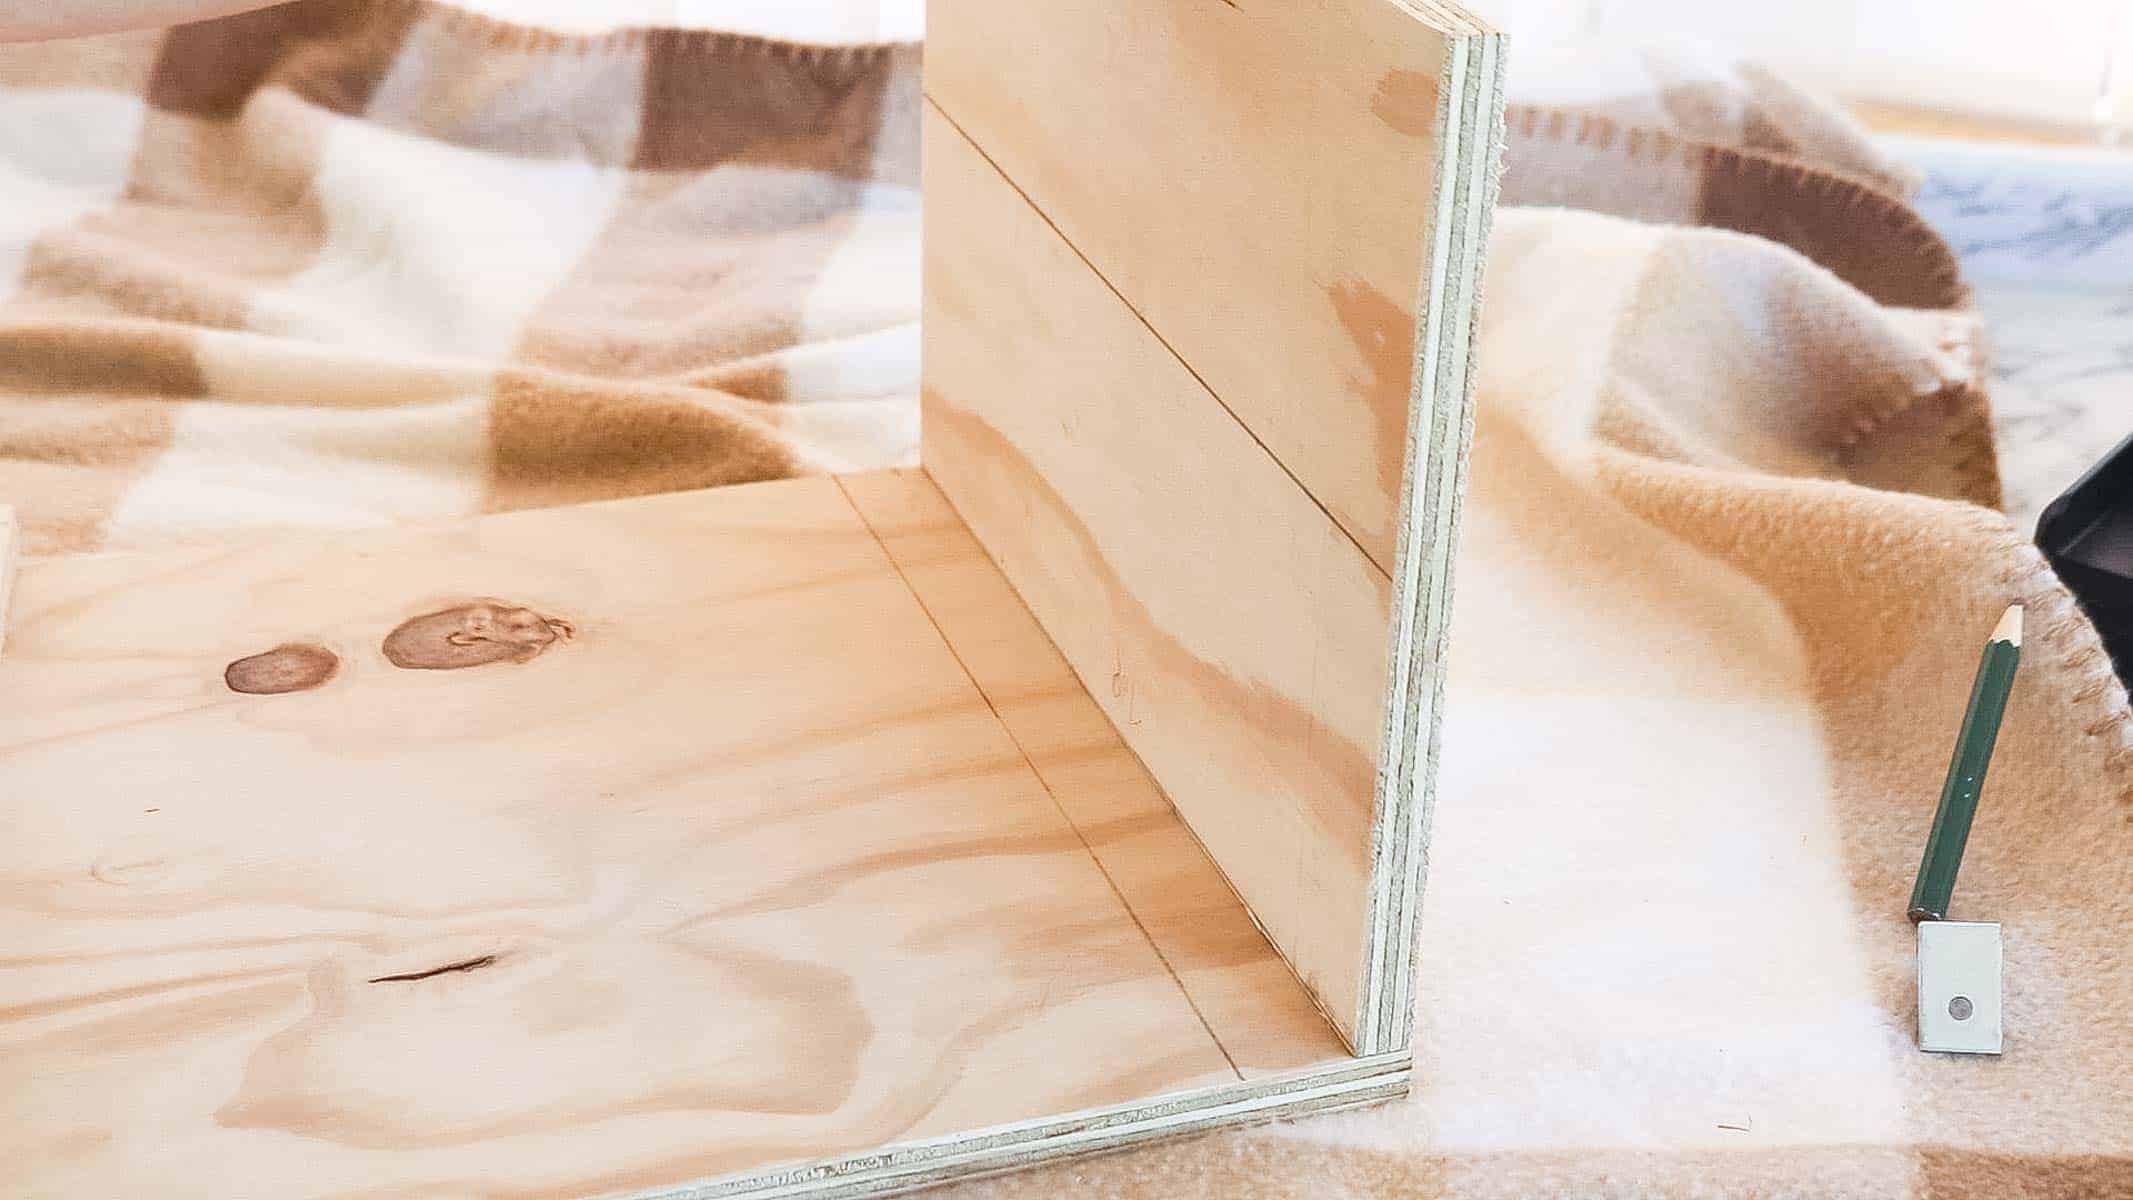
First, I held a side panel along the edge of the top of the shelf.
Then drew a line with a pencil so I could remove the side panel and treat this as a guide for fitting my l brackets.
The idea is that I could make pilot holes instead of screwing the corner brackets on directly to prevent splitting the wood.
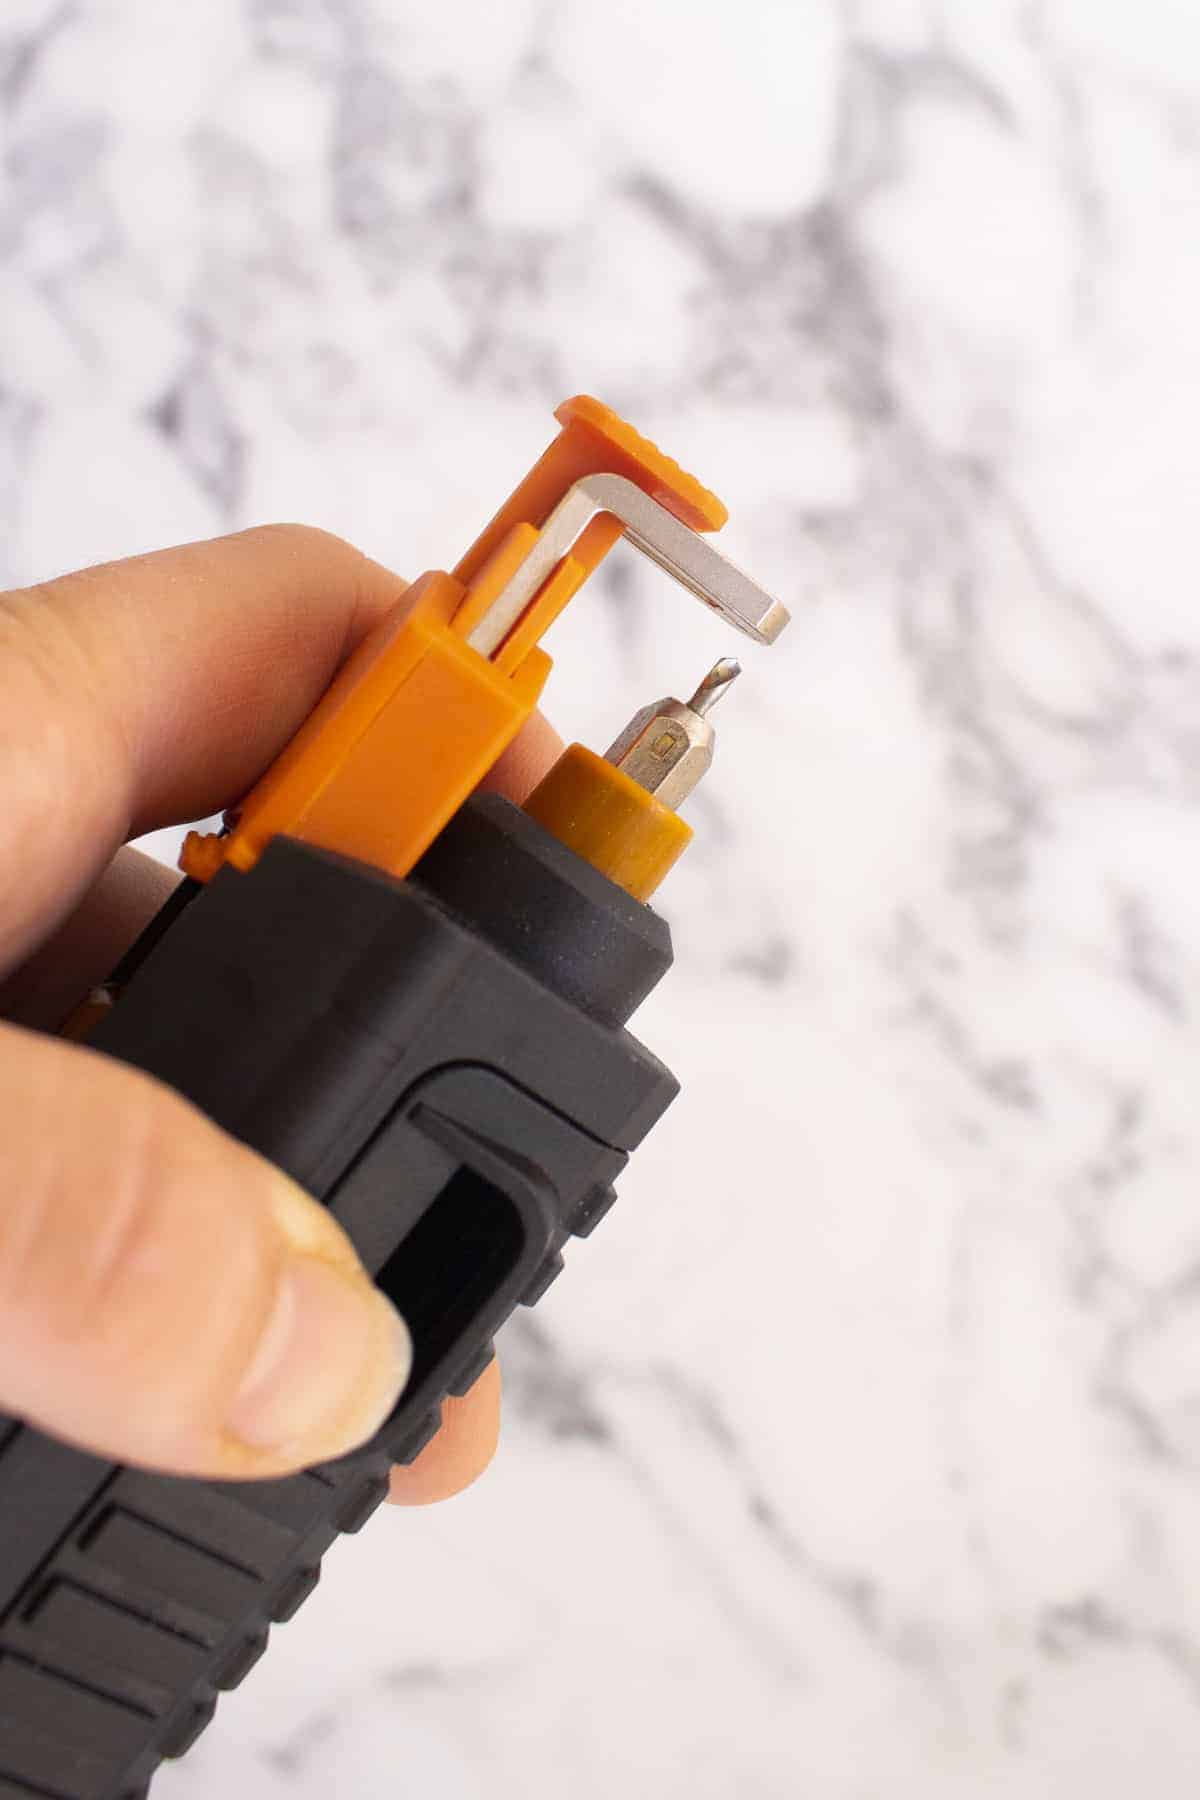
The Benefits of the Worx Slide Driver with Screw Holder
The very first time I used the Worx Slide Driver, it proved useful when I needed to refit a kitchen cupboard door on my own.
I simply pushed the orange lever back, held a screw up to one of the many screw bit attachments, release the lever and it holds the screw.
However, when coming to needing to pre-drill and make pilot holes prior to screwing, I was impressed to see a mini drill bit too. It's short depth also prevented me from drilling too far.
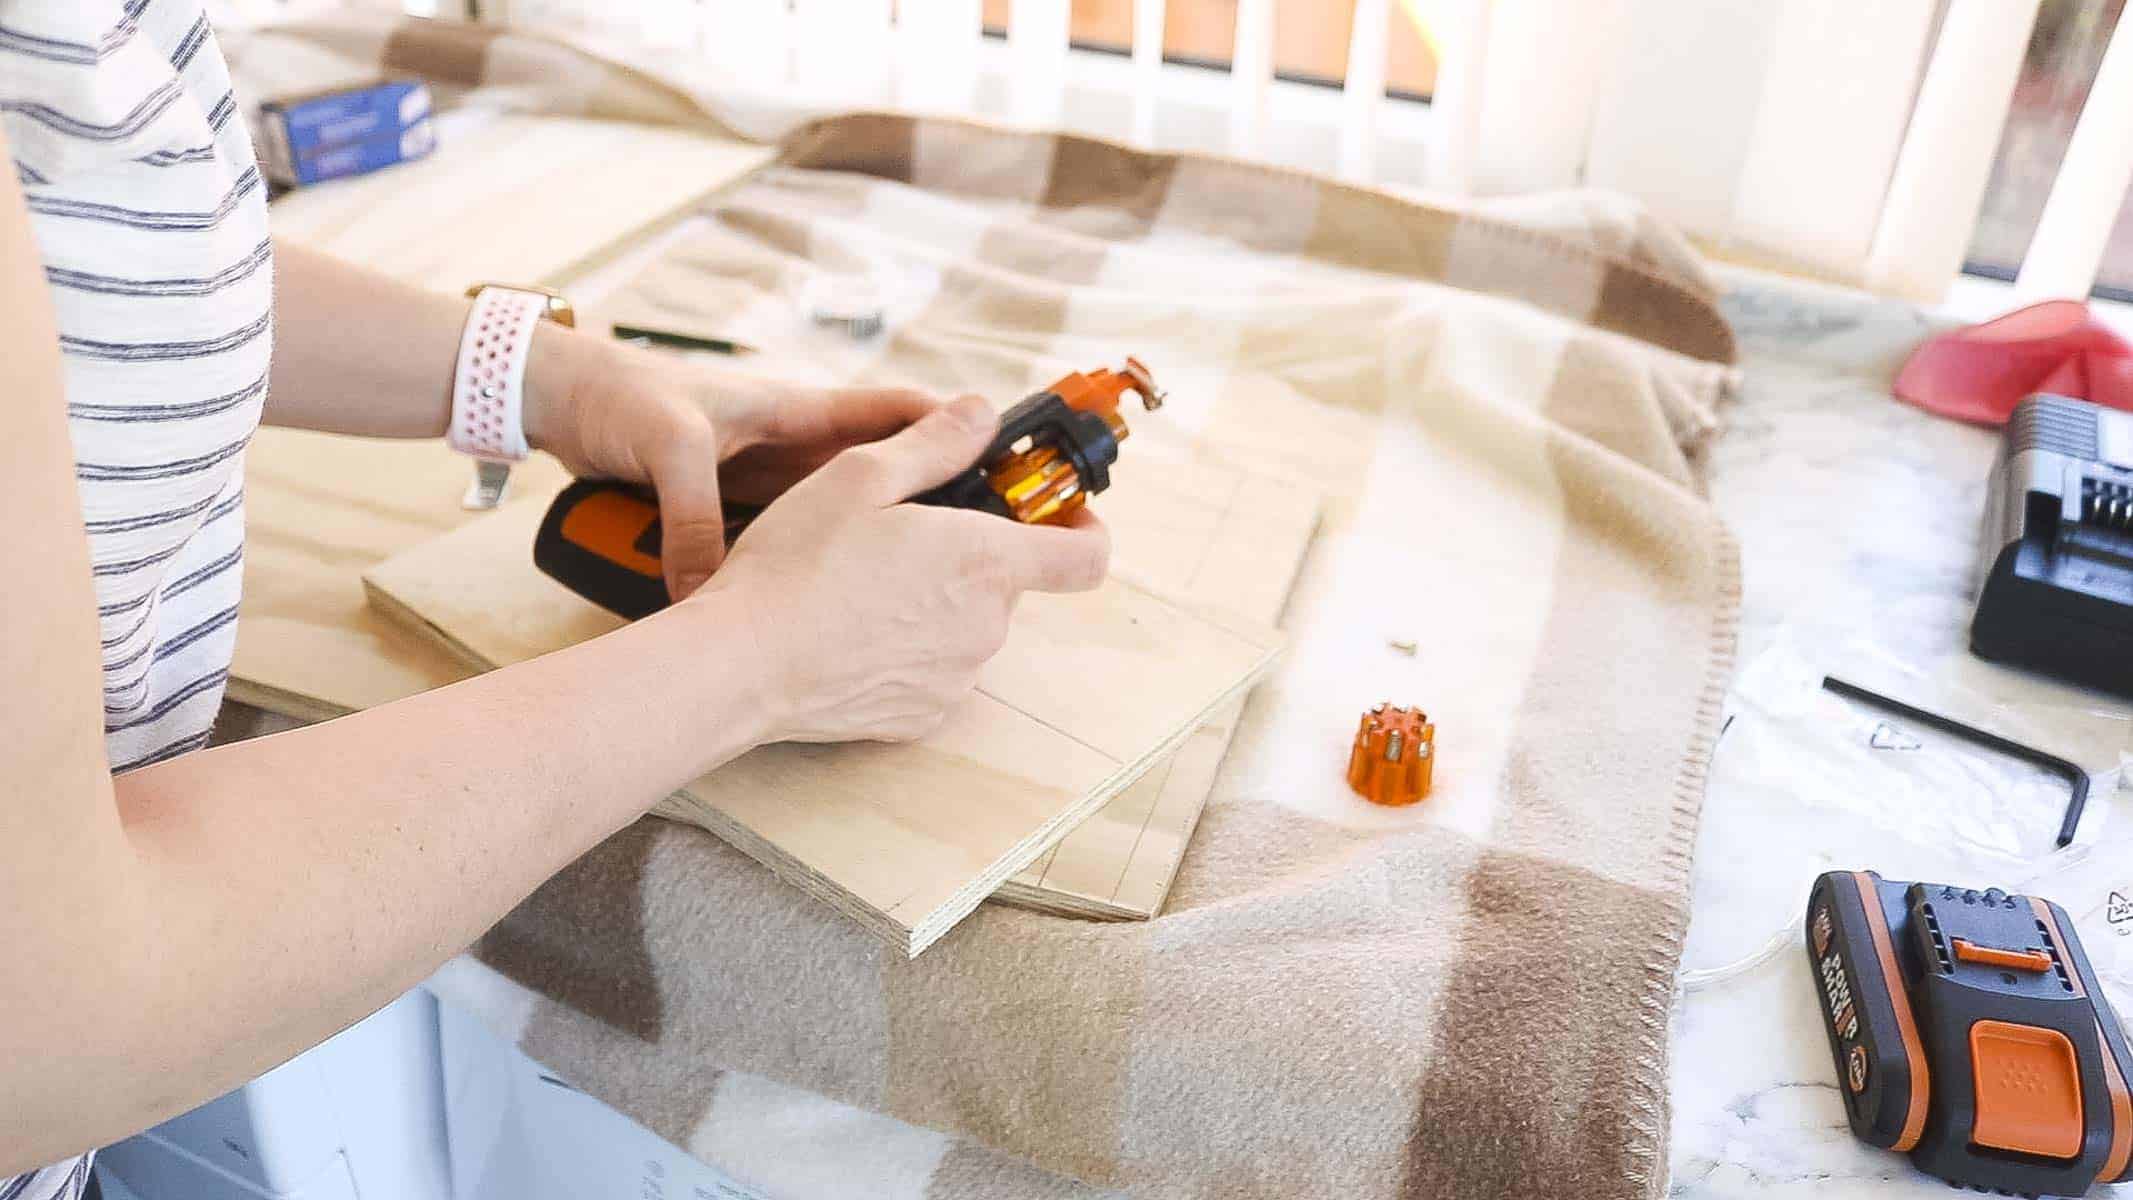
What I loved even more is that it comes with an additional cartridge full of screwdriver bits. None are the same. And to help speed the job, I was able to position the drill bit next to the screwdriver attachment to speed up my job.
Swapping and changing them feels like loading a gun. Swipe the cartridge holder back, load and away you go. It's also rather nifty that it charges with a USB adapter provided. However, although it's a cool and useful tool, there are two draw backs to it. I don't know what battery life it has and if flat, I can't change the battery and continue using.
During use, it never went flat. Although if I were to use it for screwing plasterboard to a partition wall with drywall screws, I'd probably want to have my combi drill on standby. But it's so convenient having a tool that holds screws for you during awkward jobs.

Screwing The Side Panels On To Your Desk Monitor Stand
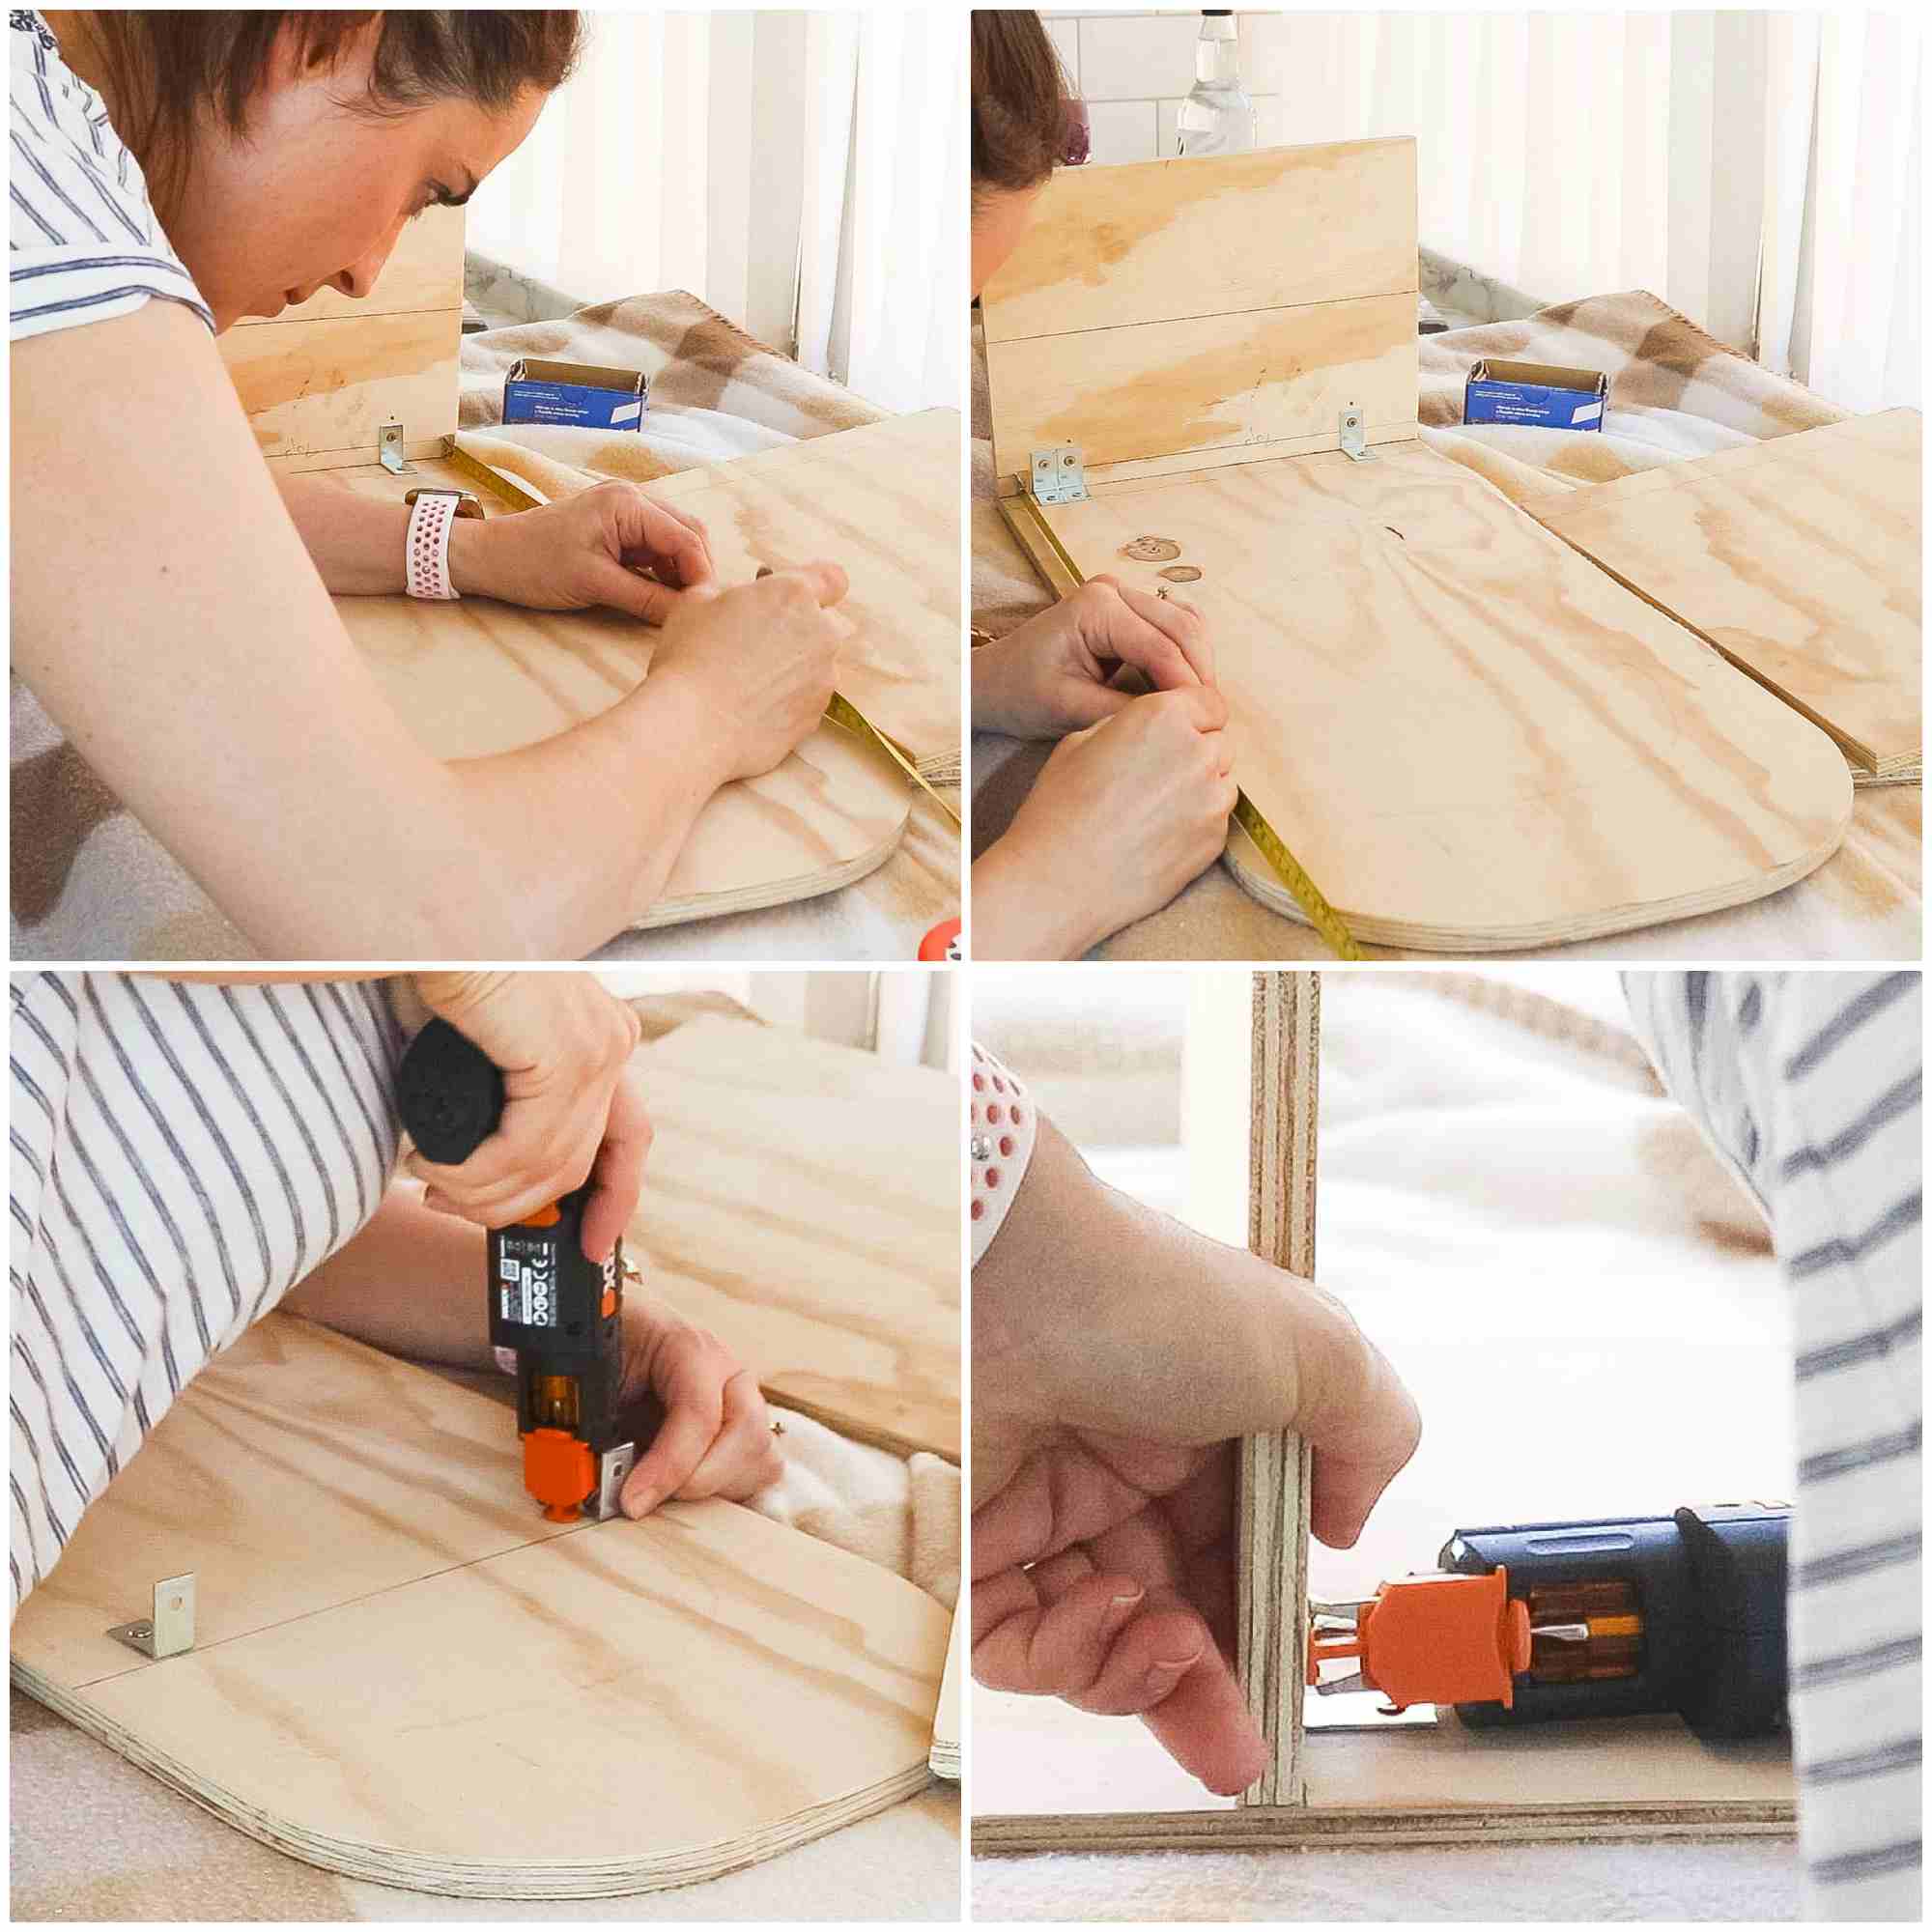
Once I'd drawn where the side panel went on the top shelf, I then held a corner L brack along the edge of the side panel. (*Ignore the pencil line in the top two images. I accidentally got carried away with myself).
Then it was just a matter of penciling inside the screw holes, pre-drilling with the drill bit and swapping over for a screwdriver bit and screwing with 12mm thick screws.
Thankfully as the screw holder does just that, I was able to focus on more important things: holding my plywood together while screwing.
I also set the brackets slightly back so they'd be less visible. But this wasn't that vital as I decided to paint over the entire piece anyway later.

I also repeated with the middle shelf section before mounting.
*You'll see a 2nd bracket adjacent on the top shelf. I later removed this as I initially hadn't held the piece together tight enough.
Clamping the entire piece while screwing would have made life easier, but it just goes to show that holding a screw by hand would've been even trickier.
Attaching the Last Panel to Your Desk Stand for a Laptop etc
For the last job to build the frame for my laptop desk stand, I needed to add the final side panel.
To do this, I transferred the measurement length of my shelf to the top of my stand (but underneath it of course). Then screwed two more l corner brackets inline with the pencil line.
And while holding the side panel up to the l brackets, pre-drilled and screwed it. Then repeated for the middle shelf
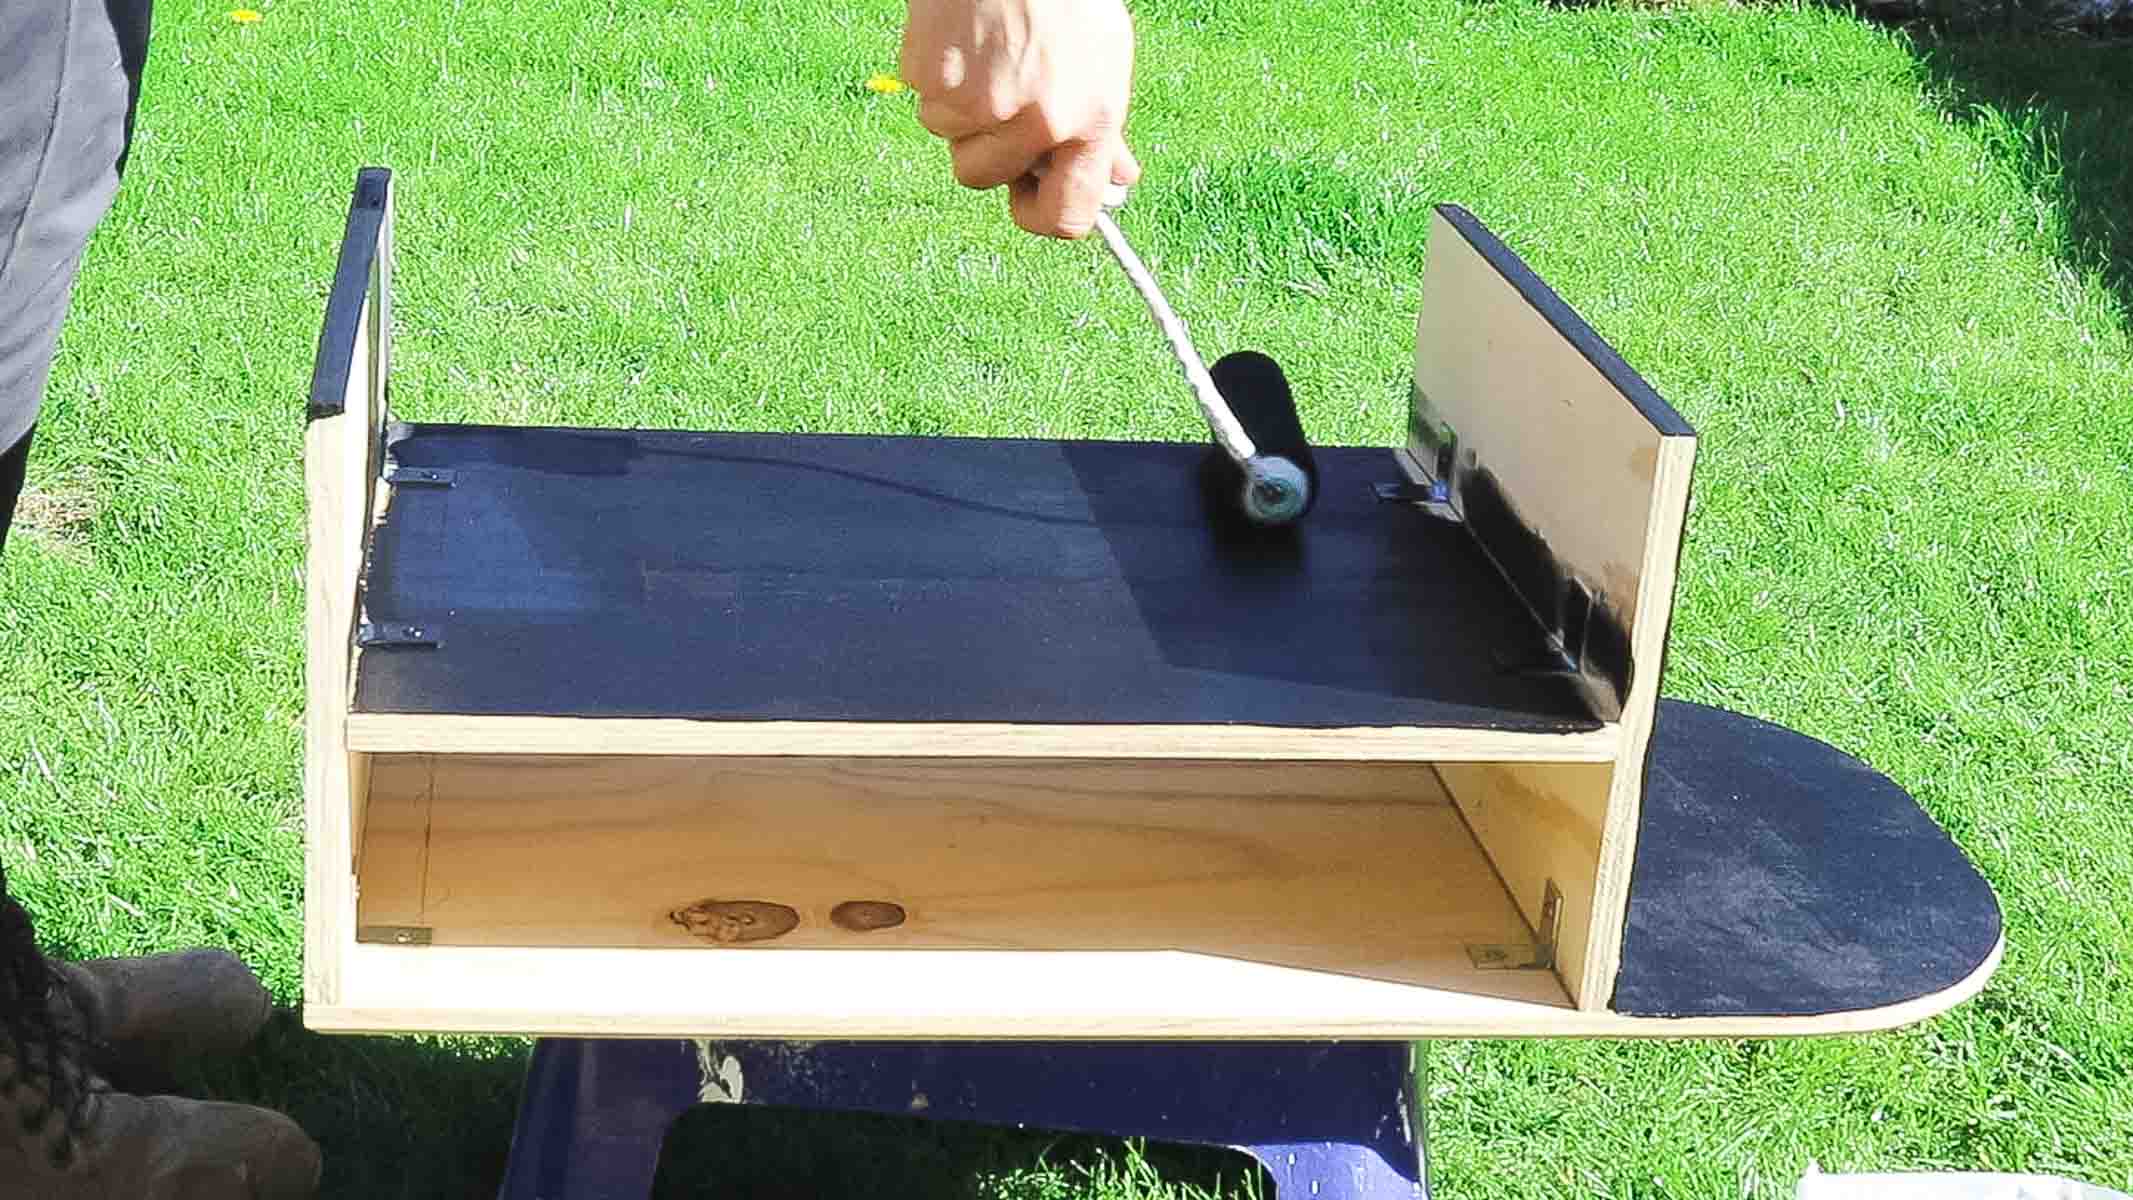
Finishing My Laptop Desk Stand To Use as a Monitor
Once you've completed most of your laptop stand desktop build, you can finish it in a variety of different ways. But I'll talk you through what I did:
- Sanded the entire piece with 120 grit sandpaper
- routered the top edge with a 45 degree chamfer bit to soften the edges
- Painted all over with a no-prep wood paint using a mini foam roller to match my DIY treadmill desk
You really can personalise it however you like. For example, if you're using a nice piece of wood, you could Danish oil it and leave it two weeks before varnishing. Or even decoupage with wallpaper and modpodge, or fabric for a more hardwearing finish.

You Might Also Like

[…] stand is made out of plywood offcuts and put together with simple l-brackets. Follow the tutorial here for all the […]