
Here I show you how I built and installed a flat packed 6 x 3 Wickes shed for more garden storage.
This DIY tutorial contains a paid AD for Wickes. I have been a regular shopper for years as I find everything I need to complete both small and large projects.
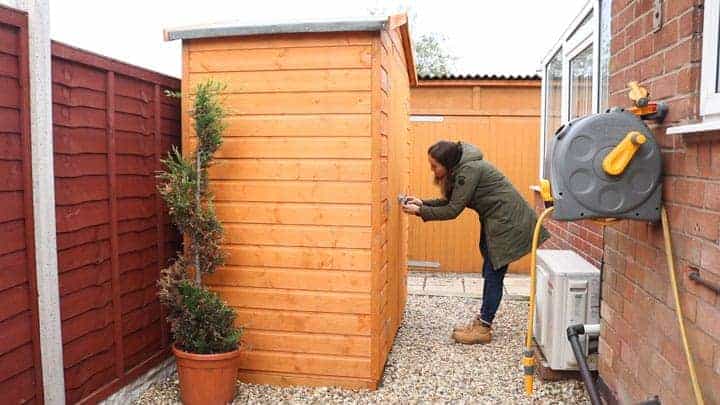
When we downsized from a rented house to buying a small bungalow, one thing we've needed is storage. I've learnt quite a few tricks like optimizing room space with hidden drawers and making cabinets. But of course, building outdoor areas too.
In fact, originally when we moved in, I didn't like how the gates on the driveway were set far back. They were roughly where the wall mounted hose is in the picture above. Oh, and they were wrought iron, meaning people could look straight through.
So about two years ago, I built some solid wooden gates, then fitted them with my husband closer to the front of the house. This allowed us more back garden space for a shed storage area. And it's private.

Now depending on your needs, I found a huge variety of Wickes sheds to choose from. They also offer an extensive range of products and tools suitable for everyone from amateurs to professionals.
So you could either build one entirely from scratch, or order a flat-packed one. The one I'm featuring here in this tutorial is their 6x3 shed. Putting one up like this is also great for amateurs if you know little to no DIY. But we opted for this design as it's shallow and wide to allow plenty of shelf storage for our camping gear.
And if you're ever in doubt on how to tackle any home improvement projects, Wickes also have a wide range of how-to guides. They've been extremely useful and given me a lot of confidence during my own DIY journey.

WHAT SHED BASE DO I NEED?
But before I fully walk you through building your new garden shed storage, you'll need to think about where you're putting it. Also what shed base you need. I've written a more in-depth post here regarding choices which I recommend you read first before continuing.
But in our instance, our shed will be positioned on a gravel base. And underneath that is compressed aggregate. With it being gravel, it's perfect for rainwater to drain away and prevent rotting. So I bought Wickes' pressure treated timber to make a cheap but solid subframe for the job.
With a 6x3 shed being fairly small, you could even use 3 treated fence posts laid in the opposite direction of the studs on the shed's base. But of course, make sure they're level. The idea is that it lifts the shed off the ground, but also adds more stability. Wickes also sell them in kits if preferred.

THINGS YOU'LL NEED TO BUILD A WICKES GARDEN SHED
Here's a list of the things I used when building our Wickes shed. And a little tip of mine is to always check their stock levels online and take advantage of their click and collect service.
- Wickes shed
- Shed subframe (read this post for guidance) or buy a shed base kit
- Spirit level
- Pry bar
- Hammer
- Step ladder
- Battery-powered drill/screwdriver
- Drill bit
- Tape measure
- Stanley knife
- Block brush
- Wood preserver (clear or in a colour if preferred)
- Ducksback Autumn Gold
- Gloves
- Respiratory mask
- Goggles
- Clear silicone (anti mould)
- Silicone gun

HOW I BUILT A WICKES SHED
Before building my shed sub frame, I wanted to immediately treat under the base of my shed. This would allow plenty of drying time as the instructions recommended treating it twice.

I also repeated for the back shed panel and left to dry before adding my desired colour.
This was also important as I knew the shed would be positioned against a fence panel. So make sure you do these things first if you'll struggle to access them later.
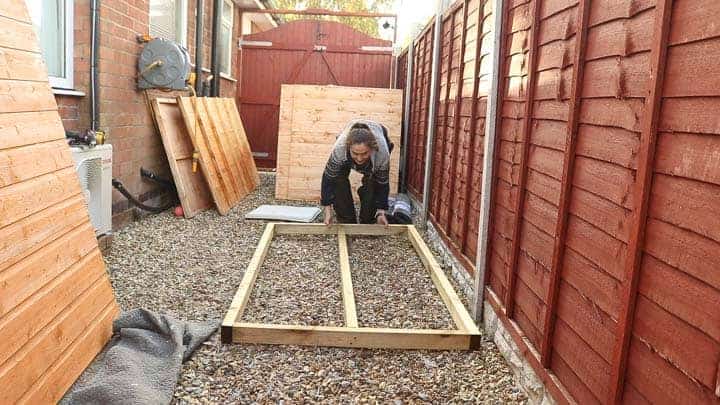
While these panels were drying, I started building my garden shed sub frame. You can read how I built it in a separate post here.
In that post, I talk about how you can use the following alternative sub frames:
- Concrete base
- Treated fence posts or sleepers
- Ecobase gravel grids
- Thick paving slabs laid with sharp sand

MAKING YOUR SHED BASE LEVEL
Ensure your subframe is level in every direction. If your shed base is on uneven ground and is a relatively small, you could use packers, such as treated Wickes lap panels cut up.
If not level, your shed may not be square when fitting. This can cause issues later when trying to close the doors. So it's best to take the time now.

Then place the shed's base directly on top and attach together.

Above I'm pre-drilling holes to prevent splitting, then screwing down to the sub frame. Note, make sure there are studs under where you're screwing.
You know where these are by following the manufacturer's nails on the shed's base.
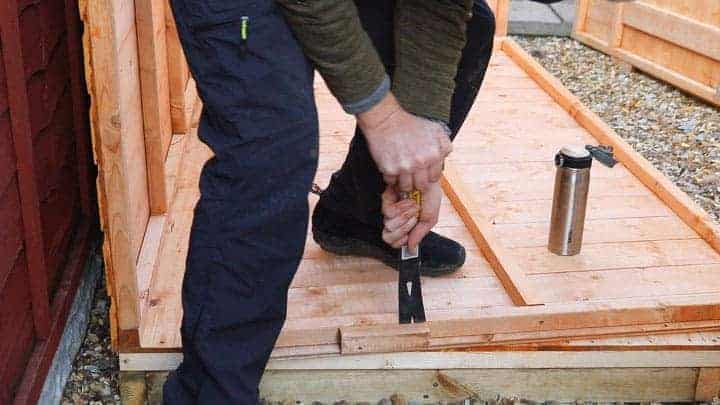
REMOVING THE TRANSIT BLOCKS
To ensure the shed arrives safely in transit, all panels had blocks attached to the bottom.
Avoid trying to remove with a hammer as you can do damage to the cladding. The cladding is lipped along the bottom.
Instead, use a chisel and hammer or a pry bar to remove and discard.

Once you've done all the main prep for your shed, you can get to work! Ensure you have a spare pair of hands with you and that it is a non-windy day.
Then, starting with the back panel we'd already treated and painted, we sat it on top.
The back bottom of the cladding should overhang. Have someone hold this for you.
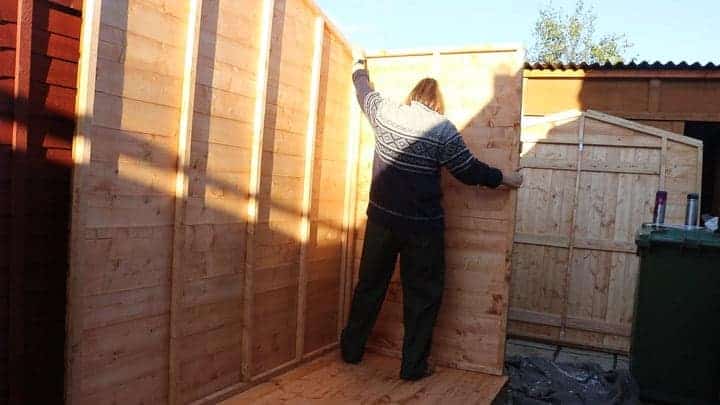
While my husband held the back panel, I went to get a side panel which I also lined up.
Then of course, asked my husband to keep both of them there while I grabbed a combi drill and screwdriver.

SCREWING THE SHED PANELS TOGETHER
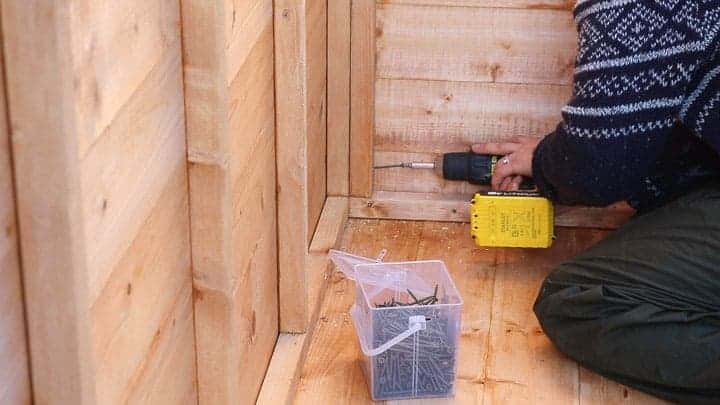
While my husband rested the panels of the shed base for me, I drilled and screwed the first two panels together.
I pre-drilled holes first with a slightly smaller drill bit than the screws. Then screwed in with screws.
You'll need about 3 to 4 screws from top to bottom. If you avoid pre-drilling, you risk splitting any wood, so make sure you don't skip it.
MOUNT THE PANELS TO THE BASE
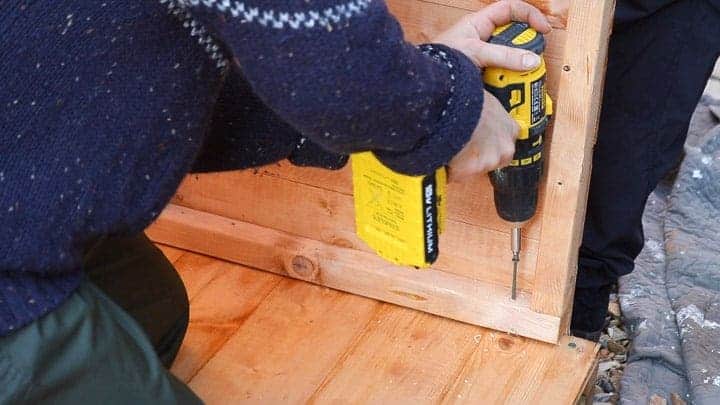
To free my husband's hands, I then drilled and screwed the two panels to the base.
Note, make sure there are studs also below where you screw. So, in the case of this Wickes 6x3 shed, I screwed in line with the nails along the longest side.
It didn't matter on the shortest sides as the shed base's studs were going in this direction.

Then repeated for the opposite side panel, including screwing them together.
ADDING THE SHED DOOR PANEL
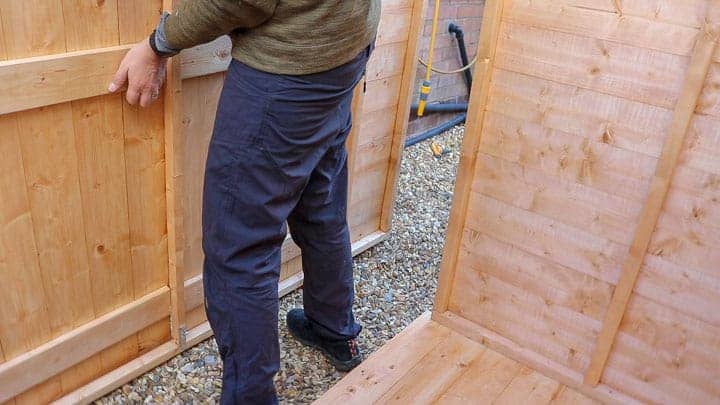
What I particularly love about Wickes' sheds is how to shed doors are already made for you. I didn't have to attach, line up hinges, or worry about clearance which is an added bonus.
In fact, this style of garden shed already had the double door mounted, unlike the very useful Wickes video I watched. Although that was a completely different shed, so I assume the instructions vary.
Mounting the shed door panel was as easy as the rest. We just placed it on the front, ensuring the cladding overhanged.
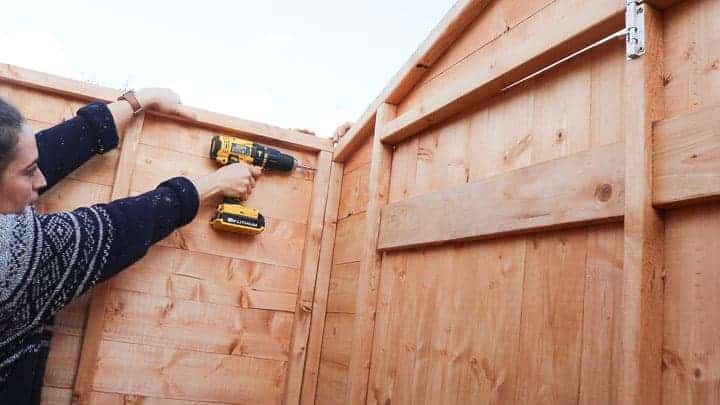
I then screwed it on the front while my husband propped it up.

ADDING THE SHED ROOF
Obviously, when it comes to mounting a shed roof, the instructions vary. In our case, the 6x3 shed has a gable roof. This means it's pitched (or pointy) in the top middle.
This one in particular comes in two separate cladded panels. But it's important to note that the middle spar on each has a gap. It's this gap that allows the shed's cladding to slot inside.
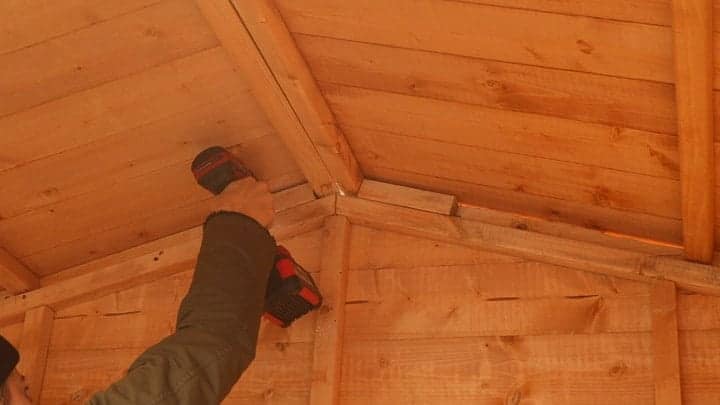
You may need a step ladder for this, but my husband is 6ft, so stood inside and angled them to slot on top. The two panels then meet in the middle (as seen below) to hook on to the shed's gable notches.

SCREWING THE SHED ROOF DOWN
There are various ways to mount the roof down the shed. You could do it before felting the shed. In my case, I screwed from the inside.
I drilled holes along the top of the shed's front and back cladding, then screwed through the same cladding to the roof.
I also screwed to the roof panels by going through the gable roof blocks.
ROOFING A SHED WITH FELT
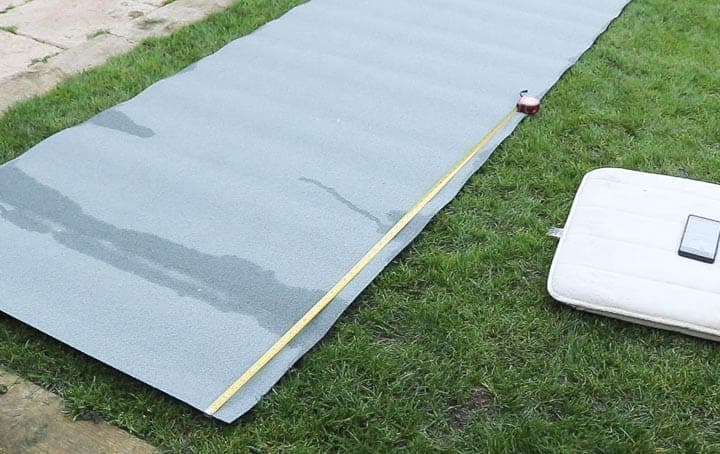
Firstly, I was impressed that I was provided which way more shed felt than I actually needed. It was comforting to know that if I made a mistake, I could start again. However, just a warning from past experiences: don't let your cute dog walk all over it while you work!
Anyway, getting back to roofing a shed with felt. Because the depth of the shed is longer than the width of the roll, there's only one way to do it.
You need to measure the depth of the shed and add another 10cm to the length. This allows a 5cm overhang for the front and back. This same length needs to be cut 3 times so they can overlap. That's one either side and one in the middle.

Then line up the first section of Wickes shed felt on one of the edges. Now ensure the front and back of the shed have the 5cm overhang. Then perfectly line up the edge of the felt with the edge of the side of the roof.
Note, this is important as there's no trim on this side, so this will be your finished look.
Then hammer every 100mm with the clout nails provided and repeat for the opposite side.
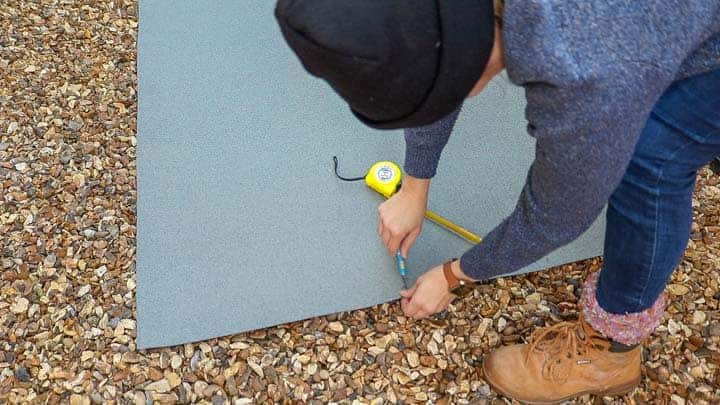
For the middle shed roof felt section, I knew I wouldn't have access to the back middle when on top. So I decided to make a 5cm slit dead centre with a Stanley knife for ease later.
I repeated the opposite side so I could use it as a reference guide for the front. This allowed me to make sure it was evenly placed when lined up on the pitched roof.

This is how the 6x3 felt roof should look like before we finally finish it. You can brush the bare wooden roof with bitumen if preferred before continuing.

FOLDING OVER THE SHED FELT ROOF CORNERS
I love this little trick and know I've shown it several times, but it's so much fun (and easy) to do!
To tidy up your shed felt corners, simply slice on the fold and away from you.
Then fold over the side flap and follow by folding over and clout nailing the upper section on top.

Continue clout nailing from the corners and work your way to the pitched roof.
Above I nailed the overlaps at the same time.

Then work your way around the edges of the middle section until you get to the back.
Note, I wasn't as thorough with the clout nails on the back as I couldn't reach it, so I'll talk you through my cheat it in the step below.

ATTACHING THE SHED ROOF EDGE TRIM
Wickes sheds also come with shed roof edge trim. And thankfully it's already mitred to meet in the middle on the gable roof. For this, I held it flush with the base of the roof edge and hammered on.
Then I repeated with the opposite side on the front. Note: when matching up, make sure you can still open/close your shed door. If not, you've dropped it slightly. (Speaking from experience).
For the back where I struggled to access, I used the long trim to fold over my middle-slit felt from a distance and hammered on as far as I could.

SLICING OFF EXCESS ROOF FELT
Once my roof trim was in place, I could slice off any excess roof with a sharp Stanley knife.
And because I'd already made sure my back section had a 5cm overhang, I didn't need to do it for this.

ADDING SHED CORNER TRIM
Another beauty when building a flat packed shed is that the corner trim is already cut for you. In the past, without a table saw, sourcing the right size trim can be tricky. Or tedious to rip by hand.
I simply held them on as high as I could and hammered on.

HOW TO TREAT A SHED
After all your hard work of building your shed, you'll need to protect it from the elements. Wickes sell a wide range of products to choose from, including shed and treatments in lots of different shades.
First, I treated my Wickes shed with a clear wood preserve using a block brush. But then to match the rest of our shed, I painted with Ducksback Autumn Gold which should last 5 years.
If not painting, ensure you treat annually and give even more attention to the end grain cuts.
NOTE: Never treat the inside of your shed as it then becomes toxic to breathe in. Instead, you can clear silicone all gaps inside to reduce damp - preferably one that's anti-mould too.
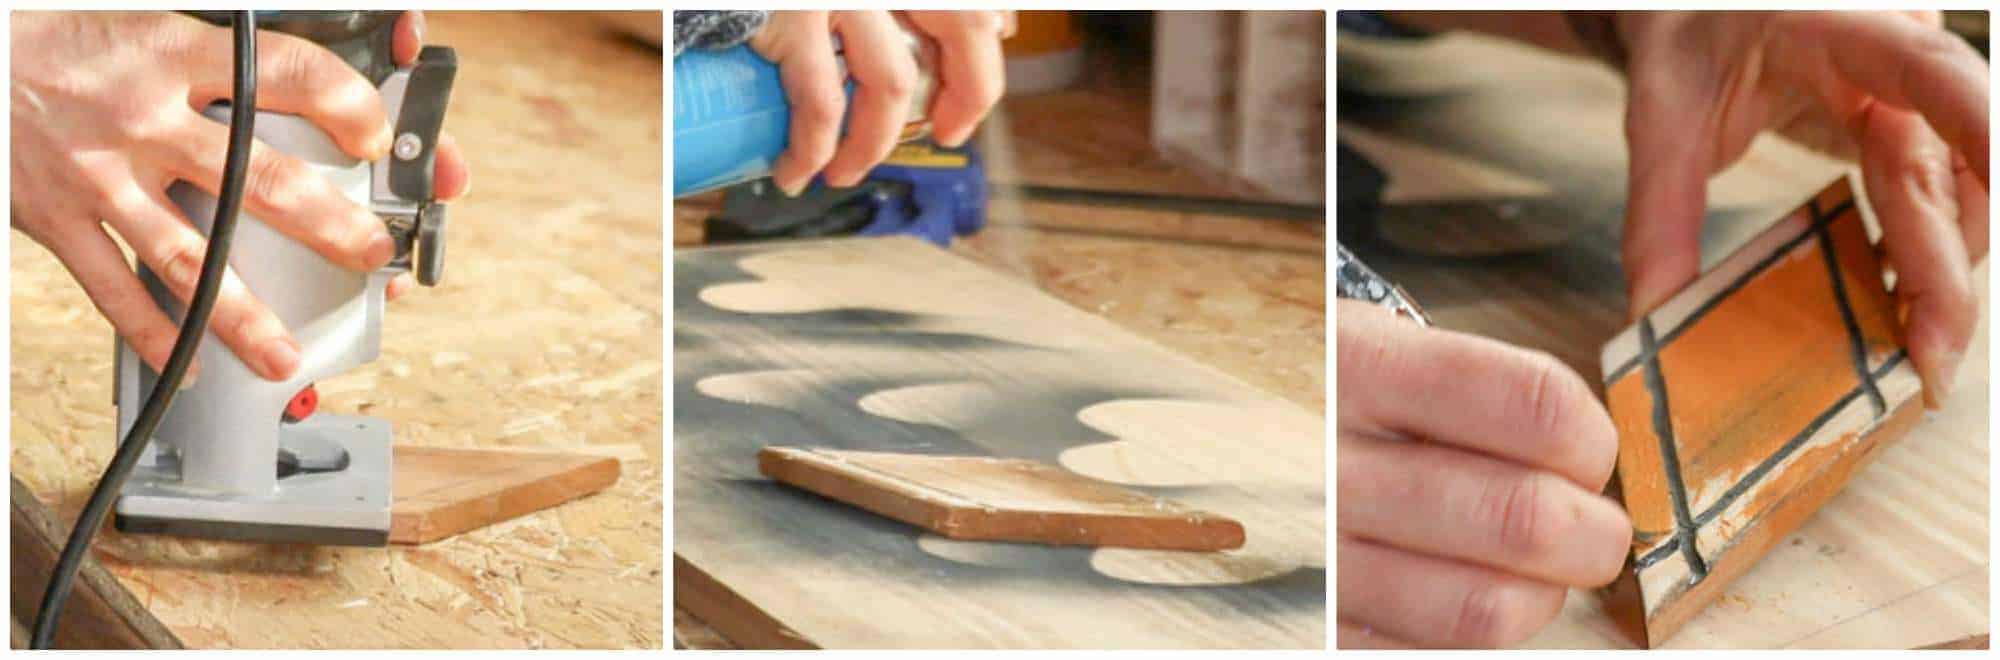
For the final detail, I decided to router an inner vine shape on the diamond piece that covers the mitred trim.
Note, I glue gunned the diamond to my workbench to stay safe. Then spray painted it black before leaving to dry and sanding away.
Finally, I painted the now bare wood with the same colour I used for the rest of the shed, then hammered on the mitre joint.

YOU MAY ALSO LIKE...
- How to Make a Subframe for a Shed Base
- Adding a lock with coach bolts for security
- How to Install Twin Slot Shelves in a Shed
- How to build a shed door from scratch
- Building a Summerhouse shed from scratch
- 20 Easy Ideas for Organizing a Shed
- Chicken coop build with free plans
- How to build a bike shed
- DIY chicken pen
- How to build a wooden gate
Good luck with building your shed and as always, feel free to comment with more tips or ask a question!
How to Build a Wickes Shed
Here I show you how I built and installed a flat packed 6 x 3 Wickes shed for more garden storage.
Materials
- Wickes shed
- Shed subframe
- Wood preserver (clear or in a colour if preferred)
- Ducksback Autumn Gold
- Clear silicone (anti-mould)
Tools
- Spirit level
- Pry bar
- Hammer
- Step ladder
- Battery-powered drill/screwdriver
- Drill bit
- Tape measure
- Stanley knife
- Block brush
- Gloves
- Respiratory mask
- Goggles
- Silicone gun
Instructions
- Decide where you want to put your shed then make your shed subframe for the shed base. For guidance once what type, see the notes in the post above.
- Make sure your shed subframe is level with a spirit level, then screw the Wickes shed base on top.
- Remove the transit blocks on the bottom of the shed panels, then have a friend help you rest the back panel on the shed base. Note the cladding on the panel should overlap.
- Then while holding the back panel, add one of the side panels alongside it.
- Now predrill 3 to 4 holes along the side panel and screw together.
- Predrill and screw the panels along the bottom to the base.
- Add the second side panel and repeat.
- Then the front shed panel with the door.
- Place the roof on top as per the Wickes shed instructions.
- Then predrill and screw the lid on from the inside.
- Cut the roof felt roof as suggested on the Wickes instructions. Mine was in 3 sections for my 6x3 shed with 5cm overhang front and back.
- Line up the side ones with the roof and hammer down with clout nails every 100m.
- Slice the corners of the felt with a Stanley knife and fold.
- Place the 3rd felt section on the top middle and slice in the centre. Then hammer down the felt from the outside, working your way to the centre.
- Hammer the shed trim on the front and back, making sure the mitred cuts meets.
- Nail the diamond trim over the mitred cut also.
- Now hammer the shed corner trims on.
- Seal any gaps on the inside with clear anti-mould silicone.
- Treat the outside of the shed with wood preserver. Do NOT treat the inside as it is toxic. Leave to dry and repeat.
- Add the lock and any shelving as featured in the links above.
Notes
Full video here: https://www.youtube.com/watch?v=ceaq9guULBk

Comments
No Comments