
Recently, my Dad and I have been building a Summerhouse. So I'm going to show you how we built the base and frame, which you could also treat it as a large DIY shed or building a tiny house.

If you didn't know, my Dad builds Summer houses in the UK for a living. Also known as garden houses which can be used as office spaces and more. In fact, he has done for over 50 years, including sheds, fencing, gates, kids huts, DIY cabins and so on.
In fact, he's such a pro, he's often making 5 a week at his woodyard. And not one is exactly the same, all being a made to measure shed.
Customers tend to bring their wooden shed plans or Summer house ideas to him. Or he'll go to "measure up" in a garden for bespoke sheds. And I've always been curious about his technique as he told me, no one else makes them as he does.
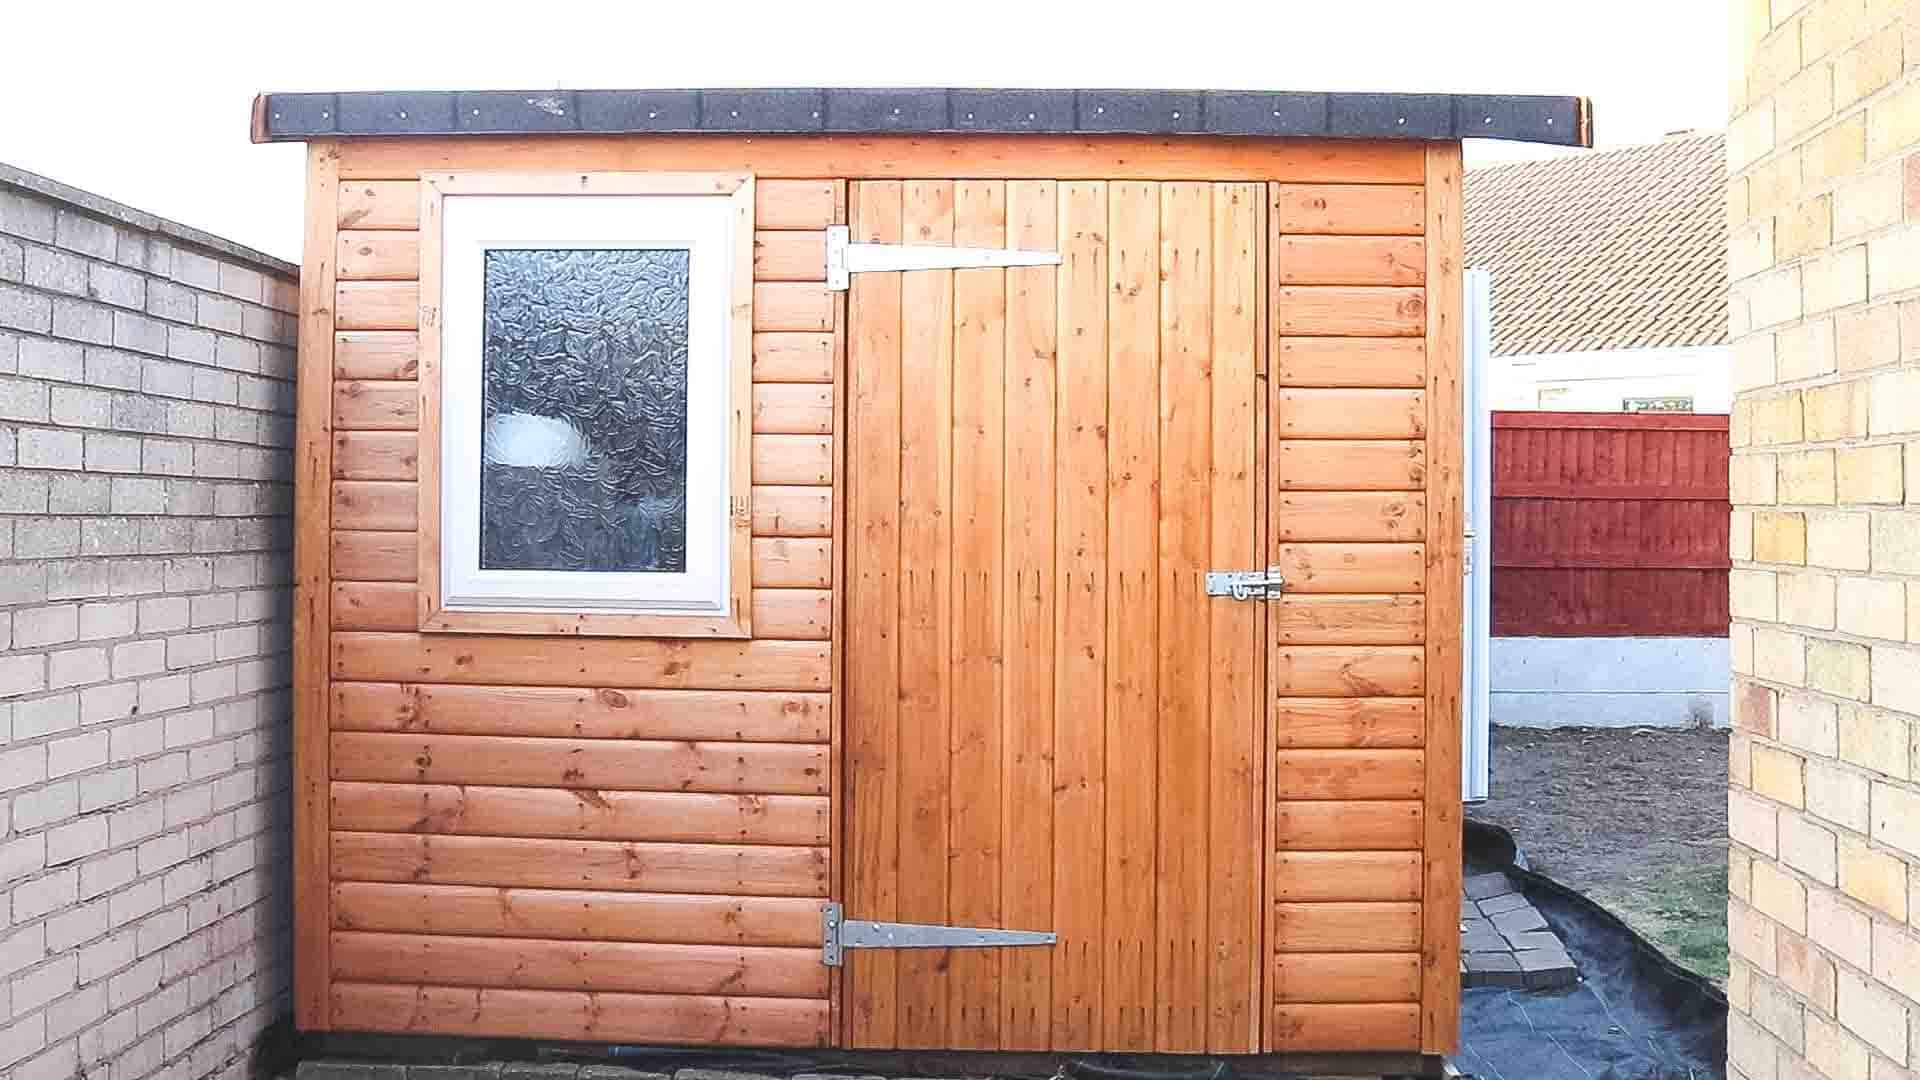
What Can I Sit My DIY Summerhouse On?
One of a key things you'll need to think about is whether you'll be building a concrete base for a Summer house or not. I know the odd one with "belts and braces" mentality will say on my video that it should have it.
Actually, I don't think it's true. Yes, it's nice to have, but it's costly, you'd need good access and would take a week to do. But, it's fine to have a gravel shed base. Or tampered down the ground, then weed control and propped up on bricks or treated wood.
The idea is that you want to lift the main part of the shed's base off the floor so it doesn't rot on the ground. So, below, we ripped out a large flower bed, dug and removed uneven soil and made it level.

How to Build a Summerhouse Base
Now, because our wooden Summer house will be about 4.8m long and about 2.4m deep, I built the base in sections. The base, also known as a sub base, is made of structural timber, either pressure treated already, or you can treat it after.
It's ideal, really to make it with extra spars in between, about 30cm apart so your Summer house shed floor doesn't bow when walked on later.
I'll show you how to to ply line it later. Below, I'm predrilling before screwing with exterior grade screws.
Could I Use a Pocket Hole Jig?
Yes, you can, but as it will take a lot of weight, I recommend you use weatherproof wood glue, too. Also, some pocket hole jigs have a maximum thickness as to what they'll cut through.
For example, my Trend pocket hole jig only drills through a maximum of 38mm. Personally, though, due to the length and thickness of structural timber, simple drilling and screwing should be stronger and easier to work with.
Tools I Used

Making Sure Your Garden Summer House's Base is Square
A top tip is to ensure your base is square to avoid all kinds of build problems later. This obviously isn't just for Summer sheds, but any you make. Particularly as we'll be cladding this and the frames later.
You'll need to get someone to hold a tape measure in the opposite corner and check the diagonal measurement. Then check the opposite side.
If you're measurements are exact, then you can skip to the next step. If not, you'll need to on the side that's longer, either with a hammer or boot. And then keep checking the opposite side and repeat until they match.

Adding 45 Degree Braces to the Brace
Now that we've checked that our garden summerhouse base is square, we want to keep it that way.
So we used offcuts of structural timber and cut 45 degree angles on each end with a mitre saw. It doesn't matter what length, providing you can fit them into the corners.
Then hold them in place and pre-drill and screw them to the frame.

Checking Your Summer House Base is Level
Now, this isn't a small Summer house by any means. But if that's what you want to build, this will be much easier for you. Below, we've now compacted our ground, laid weed control fabric and clamped the base together to check for level.
It's best for a large spirit level to do this. But a tip from my Dad if working with a large summer house base is to place a large straight edge on top. Then put your spirit level on top to check.
Remember, if you're wanting to build a corner Summer house, checking the base would be done the same way. But I'd also check with a spirit level on the V, across.

Treating Your Summerhouse Base
OK, so there's two ways to do this. You can either make pressure treated summerhouses by buying pressure treated timber right from the start.
Or, you can treat it retrospectively. The latter, is the cheaper way to do it, but requires more effort and treated more frequently, depending on the manufacturer.

Treating Tip:
When staining or painting your Summerhouse, especially if not using a pressure treated timber, ensure it says "preservative" on the label. If it doesn't, it's just coloured water, offering no protection to the elements.
We prefer to buy something like Ronseal Total Wood Preserver as it treats, but can be bought in a range of colours.

Making The Outdoor Building Framework
Once we knew our base was level in its position, we then rested it on a makeshift work table.
My Dad's technique is to use the base, or your first square frame as a template as you go.
This saves time having to check for square more often and less measuring. That is, providing, the base layer is square right from the start.

Toenailing The Wood
To get started with the first garden outhouse side, we secured the first spar by toenailing a nail down. My Dad also calls this tush or touche.
The nail is driven in on an angle to secure it in place, but doesn't fully go in. It can be tricky if never done before, so avoid hammering too close to the edge, which can cause splitting.
However, in some circumstances, you can screw it down. But here, as we'll be stacking more frames on top to match. We also added some on the longest side, too.

Where Should I Put the Studs on a Shed and Summerhouses?
To ensure the cladding you chose, even if you're wanting a more modern summer house, your studs (aka as spars) shouldn't be too far from each otehr. At the same time, if too close, (ie, 15cm apart throughout), it would be throwing money down the drain.
Don't forget, that by the time you clad custom made sheds, this will also add extra strength. So, above, we're taking a 4.8m length and diving it up by around 19 inches. It doesn't matter if they're not all consistent.
But it does matter that they're screwed together in the same place on the opposite side. Also, where we marked was dead centre of each spar.

Tips on Predrilling Structural Timber
Here, you can see I'm screwing a centre stud with a combi drill. Note, if you have an impact driver, they are brilliant for this work, which you'll see later in an upcoming lean-to shed build.
But whatever you use, sometimes it's absolutely vital to predrill holes and others, less so.
Above, I'm screwing the spar in the centre and our screws aren't really thick. This area is less likely to split when screwing. But it will if you're too close to the edge or ends.

Copying The First Spar Marks
You'll also notice at this point, the stacking method helps prop up the studs while working if at the same or taller height. And this is even more useful to mirror where you want them on the top of the first side panel.
If it's not clear, we're currently making the rear pitched roof with felt. To match them, we placed another spar on top of the first and lined it up exact.
Then transferred the same stud pencil marks to it, but placed it over half way over up and temporarily nailed it to the framework. This allowed to keep everything still to cut our pitched roof.

Marking Our Pitched Roof Summer House
If you're wanting to create the same pitched roof, then we marked a height of 1900mm from the bottom of each side. Then held the batten on the inside of this mark, while the narrow side of it faced upwards.
We then aimed it towards the height of the centre post and marked C for centre post to avoid a mistake. Then drew along the inside of where is lied. Now repeat on the opposite side, so you're left with a pencil cross on the centre post.
This is where we needed to cut with a hand saw. If you're wanting to build a pent roof summerhouse, then you'll need to do one long slope on two of your side panels instead.

Cutting the Pitched Roof
Now we have our pencil lines, we cut each one with a hand saw. I personally think a hand saw is the simplest and easiest way to cut them on an angle while in situ.
It also goes to show you don't need many fancy power tools to build your own shed or summer house. And it's safer, quieter for your neighbours and you have more control.
You could use a circular saw, but if may not cut through the entire depth. As for the centre stud, you'll cut twice to create a V shape for the next step to work.

How to Cut Mitres For the Pitched Roof by Hand
I also loved the simplicity of cutting mitred joins without anything but a handsaw. To do this, place your first batten on top of the pitched roof. Make sure the end is in line with the opposite side of the centre stud. *This is only to give you enough space to cut a straight line.
Then hand saw in line with the centre stud. I did this by pushing the hand saw against the wall of the centre stud. Just as you would do to keep it straight when getting started with your handsaw.
Now repeat with the opposite roof's spar and they should join together like they do here in my how to build a summer house video.

Screwing the Top Frame
Then I joined the two mitred cuts together and screwed the top frame.
This also gave me an overhang either end that I needed to cut with a hand saw. See below.

Mirroring the First Summerhouse Front Panel
So I'm hoping you've got the gist by now. But if not, I'll explain again. This stacking method allows us to copy duplicate panels when needed without the constant need to measure or check for square.
Below, we're stacking another spar exactly the same length as the first. After making sure it was inline, we nailed it down to the first to keep it still while we mirrored the same cuts.

So, you're now going to repeat the same for the first's frame work.
BUT, before we do that, this one is the front where our summer house doors will go.
The only difference will be the position of the studs. Let me show you.

Measuring For Summer House Windows and Doors
Firstly, you'll need to determine the type of summer house doors. You may want a double gate style one with glass panels as you can see in our crushed potatoes recipe. *Note, this was ideal when my father-in-law used it as shelter and cooked on the cadac.
If that's the case, you can create your own gap now and build a door retrospectively. This is what we did for the side gate door, which you can find in my how to build a shed door tutorial here.
However, if adding double glazed doors and windows, then you'll need to measure them. My Dad also insisted adding 5mm to the measurement so it wasn't too tight.

Once we had our measurements, for the summer house double doors, we worked out the centre point of the framework.
Then after finding the halfway measurement of our upvc double doors, we lined those measurements up and where the end started.
Below, my Dad is holding a stud and I'm telling him to stop when the tape measure is where we need it. Note, we're at the top of the pitched summer house roof here. Then he quickly screwed it in and we repeated the same method for the bottom and opposite side.

We did the same method for the windows. First, we found the position for the studs.
Then, with them being lightweight, we put them into position and screwed noggins above and below.
We then took the frame out and repeated on the opposite side for symmetry, before removing the UPVC fraem entirely. We'll screw this in during part 2.

Adding Supports
It was also important to add supports and remove any weakness when building a summerhouse. Plus, these are also important for cladding later.
After holding offcuts in the gaps, we drew from underneath and hand sawed.
Then screwed them into place. Note, we fitted these above the windows as well as the doors.

Building a Summerhouse with Shorter Sides
As we're building a summerhouse with a pitched roof, ours is longer width ways and the depth is shallower. So now, we're making the two sides, which were pretty much square while.
Again, I'm building the frames while stacking and duplicating them. However, we're repeating the working around doors and windows method. Note, although it's not shown, we'll be adding a small window, but also another door in the style of a gate.
So below, we decided what width we'll do and make it later as some of you may desire with your own summer house building plans.

Adding More Corner Braces
It's no doubt that you'll be left with some offcuts. So we took this as an opportunity to cut more pieces, both having a 45 degree angle and screwed them into the corners.
This reinforces the framework, making them more quality summer houses. These are particularly important to pre-drill and screw at an angle and not too close to the edge. Otherwise, they will split.
Note, if you've decided to buy one of the summer house kits that has arrived as flat pack shed, you could add these to make it more robust.

Summer House Roof Construction
For the final framework when it comes to building a summerhouse, we worked on the roof.
We needed some overhang for the roof for a bit of rain shelter. So we stacked while copying on end of it. Then screwed studs across, but added two studs closer at one end, which will later be used to screw the roof and cladded roof together.
Then mirrored it again.

Coming Up in Part 2
In my upcoming post, I'll be talking about whether I'll make it an insulated summer house. And I'll also discuss how to build a pallet Summer house or choose our method, which is a tongue and groove summer house, depending on your budget.
But hopefully, this will encourage you to stop looking at Summer houses for sale and consider making something stronger for much less. But to give you an idea, you could also be building a summerhouse as a:
- Office shed or summer house office
- Gym shed
- Bar shed for bbqs and parties
- Bike storage shed
- Workshop sheds or a tool shed
- Big shed for brewing
- Beach hut shed
- Ultimate man cave shed or for women of course!
- General outdoor storage shed
- Perhaps an outdoor sauna shed?
However, in terms of wood shed plans, unfortunately I won't be working on any to share in 2020 due to the size. But I do plan to teach myself Sketchup in 2021.
More Shed Style Projects You Might Like
If you're into building shed type projects, you might also like my how to build a backyard chicken coop. I also made a DIY chicken coop in a lean-to design to match, with free plans.
Or what about an easy DIY dog kennel built out of external plywood? Or a garden storage chest box that I made using lap panels, which is an ideal woodworking project for beginners!
I've also put a list together of 20 storage shed organization ideas for tools if using it as a workshop!
How to Build a Summerhouse Shed Base
Building a Summerhouse: Base and Frame

Recently, my Dad and I have been building a Summerhouse. So I’m going to show you how we build the base and frame, which you could also treat it as a large DIY shed or building a tiny house.
Materials
- Screws
Tools
- Stanley Fatmax combi drill
- Handsaw
- Tape measure
- Dewalt mitre saw
Instructions
- First, build your base to your desired size and ensure square and treat if not using pressure treated timber. See the full post for imagery.
- Prep your ground.
- Build your frame with studs approx 30-40cm apart. See post for our stacking hack to ensure you can keep it square and duplicate panels as you go.
- Place studs around window and doors. Either make these later, or measure UPVC doors and windows and add 5mm to the measurements.
- Build the roof frame in two sections - it, ours is just over half each to overlap the shed, but includes overhang to prevent rain going in.
- Note, in my next post, I'll be cladding the framework.

Richard Andrew
Has no one commented atal? Absolute sacrilege after all the work you have done along with your dad! I am making a concrete base after the Father in laws advice but I should of just built it on concrete paving grr anyway; I would like to know what do you suggest for an overhang for the sides and front and back? Plus while I'm here I've got some windows minus the upvc frames, could I fit these as well as some opening windows as long as theirs adequate ventilation? Thanks in advance even if you don't reply I've got a lot from your blog. Thank you
MM
Inspiring. We are hoping to build a summer house for a gym. Very interesting that it’s much cheaper than paying for a building. I would love to see how to price it out roughly. Thank you for spending the time to set this out for us.
Nicola
I’ve just come across your YouTube channel and now forwarded it to my family lol my son who is 14 got excepted into college this year and is sleeping under the stairs currently so wanted his own space to study and relax so Iam going to try to build this in the summer Iam in Milton Keynes 👍🤗 so the houses are tiny , I have some building confidence So I just wanted to say this was a amazing achievement well done 👍 where did you buy your wood materials , sizes and how many bits of wood 😁
Gavin
Hi, going to build my own summer house in the next few months and came across your video and guide. You have done a cracking job of describing what your doing with an easy step by step guide. Really useful and will come in handy when I’m ready
Thanks
Ellie
I'd love to build my own summer house too. I really liked your tutorial. Thanks for the inspiration
Michael Cookney
Very Good Instructions, Thank You
Vikkie Lee
Thanks! I've also noticed you've subscribed and wondered if you could help? Where did you find my sign up form? I've been trying to locate it as I keep getting spammed from this particular form and to be honest, I thought I'd deleted it.
Cheers,
Vikkie
Gavin
Hiya
Your form was on your website.
What type of timber did you use? Was it c24?
Thanks
Gavin
Liam
Hi
Can you advise what lengths timber you got?
I'm a teacher and looking to follow this over the Easter break.
Thanks
Liam
John Wakes
Hi, What is the price for the summerhouse in your video minus the side shed. Cheers.
Vikkie Lee
Hi John, I know I've replied to your email already, but will reply here too for others wondering.
The total was about £1300 for the materials.
Graeme Farrington
Hi Vickey,
What brilliant video🤙
I’m looking to build something like this with my sons this Easter, I was wondering if you can provide a materials & cutting size guide.
I appreciate if you can’t. Thanks for the great videos 🤙
John Molesworth
Where is the best value place to get the windows and doors? You’ve inspired me, this is going to be my summer project 🙌🏻🙌🏻
Vikkie Lee
Try to get ex-display ones at your local double glazing company or 2nd hand ones, then build around them 🙂
Dan Kelloway
Hi there, really brilliant work.
I’m looking to do similar in the coming months. Have you or can you post a list of materials and sizes/ qty’s? Or how you worked out the qty’s?
Mark Holdstock
Hi Vicki,
Good videos by the way.
Little puzzled with how you did the sides panels, especially when cutting the roof angles, I noticed you set a height of 1900 for bottom edge of the roof angle, does that mean you made your side panels that height ? Did cut an angle on the side panel spars to match the slope of the roof?
Regards
Mark
Tony Davies
Thanks for this brilliant guide on how to build a summer house. I am demolishing our old shed and want to do a completely DIY build and your guide is invaluable. thanks
Joanne Found
Love this summer house. You are an inspiration. Keep you the great work.
My husband and I are going to attempt this over in Australia.
Do you have a list of all the materials used please?
Thank you
Ant
Fantastic build, one thing missing from your instructions is a materials list, this would really help a novice like myself.
Keep up the great work