
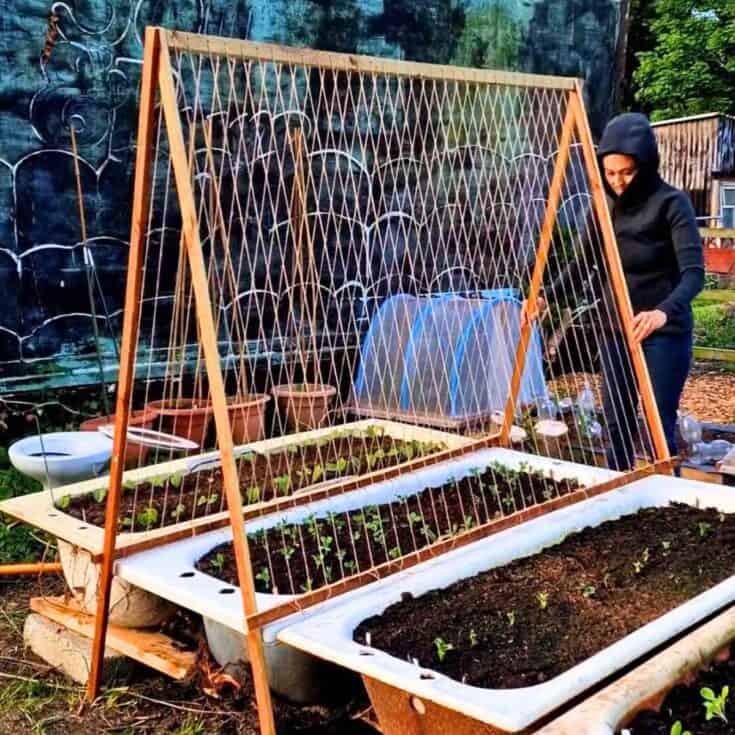
Here's how to make a cheap and easy DIY pea trellis to position on your garden beds. I made this in an afternoon with wood and twine to allow pea tendrils to latch on.
Includes step by step instructions, tips, and my viral Instagram and Tiktok how-to video you can follow.
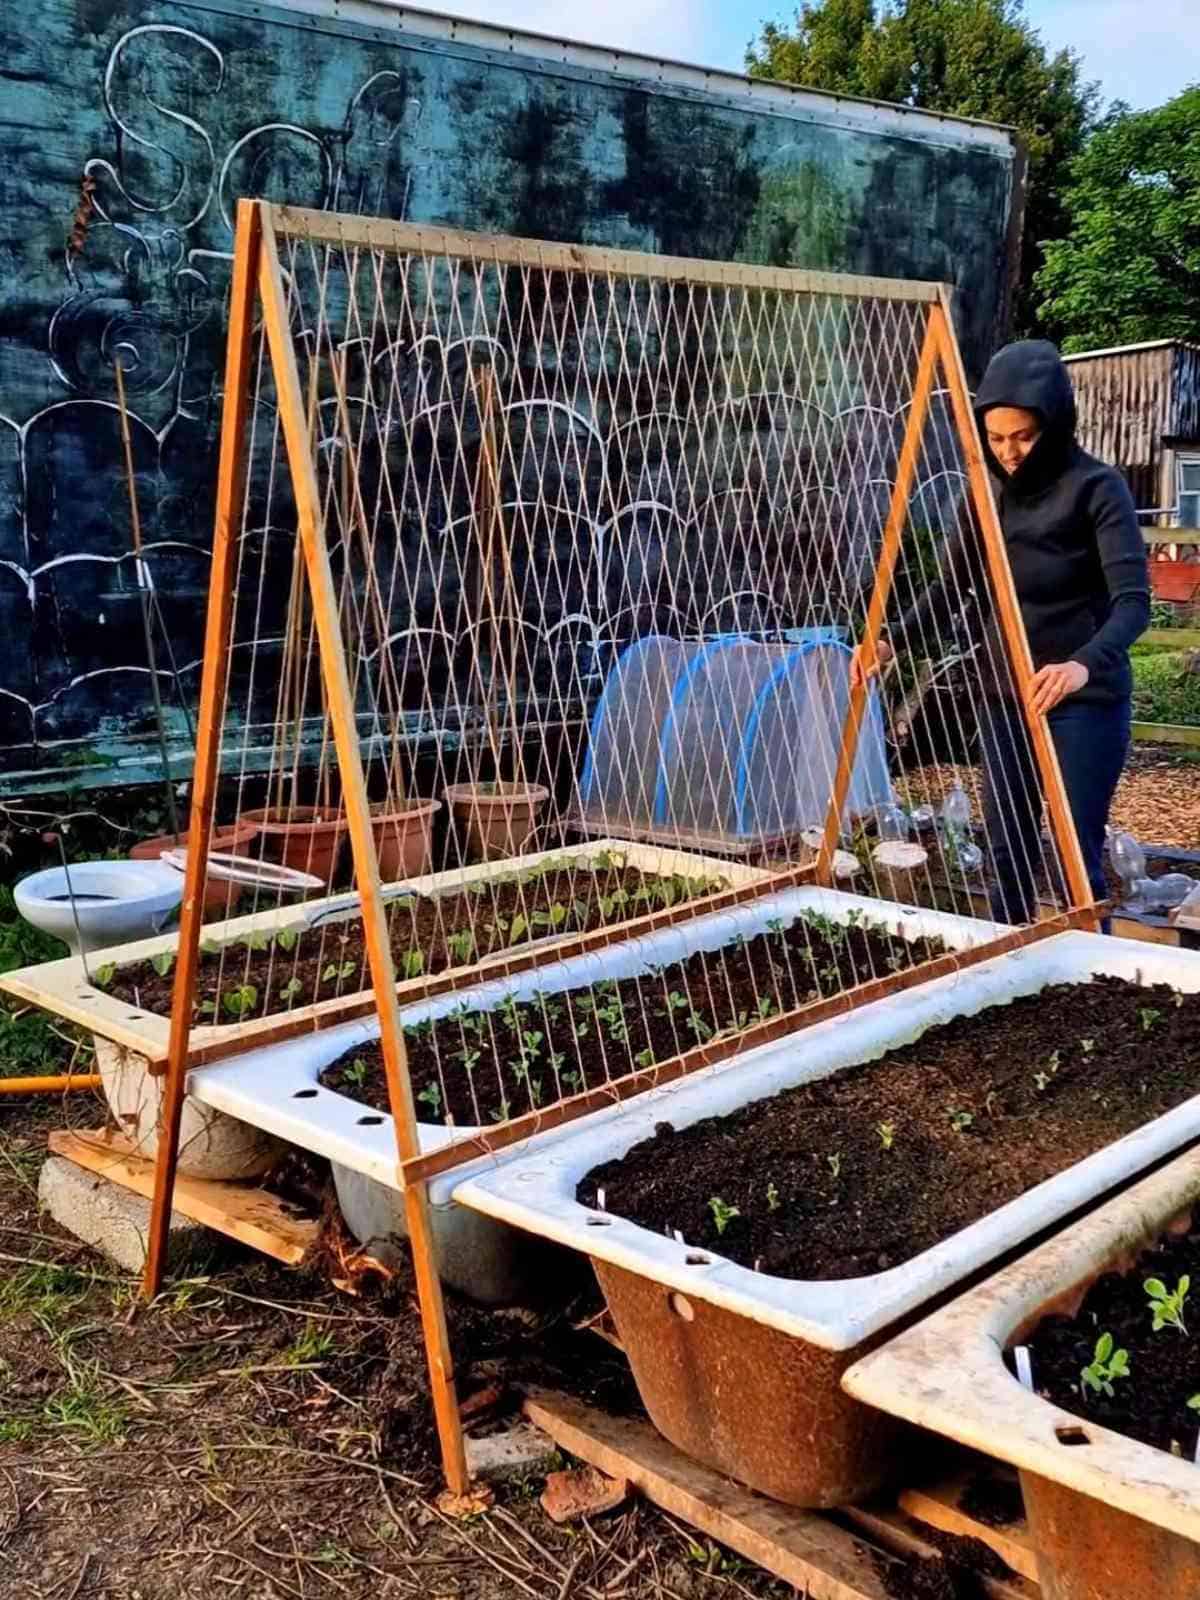
Since early Spring, I've been sowing and growing a variety of vegetables, including garden peas on our new 4 acre farm. It's been quite a learning process!
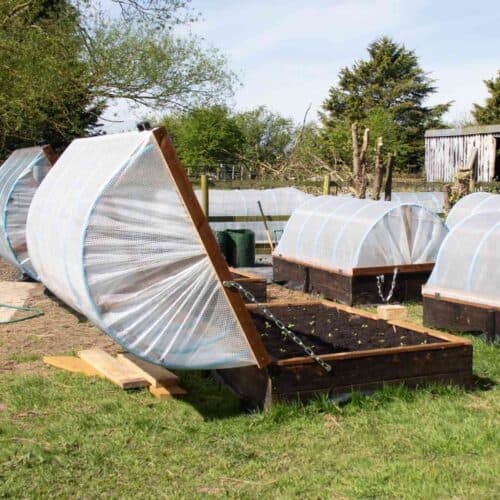
I've been having fun building hinged hoop houses for my raised beds, and repurposing bath tubs into cheap beds. And also experimenting with trellis peas using bamboo posts tied into teepees.
Then after seeing DIY pea trellis idea, it inspired me to make this heavy-duty trellis one lovely, sunny afternoon. It's perfect to fold and store away at the end of the season.
Jump to:
✔️ Why You'll Love This Project
Here are just a handful of reasons why we think you'll love making this project!
- Easy to position over bed pots
- It's great for using offcuts of wood
- All you need is wood and jute twine!
- Can be made in an afternoon at any skill level
- The best part is that it is SO much cheaper to make than buy
- You'll feel a sense of achievement, (especially the taste of fresh peas!)
- It can be used for sweet peas, sugar snaps, snow peas and many other types of peas
⚒️Tools and Material Notes
You can refer to my shorter printable guide in the how-to card at the bottom of this post. However, I recommend reading the entire post as I have more detailed tips, tricks, and step-by-step images.
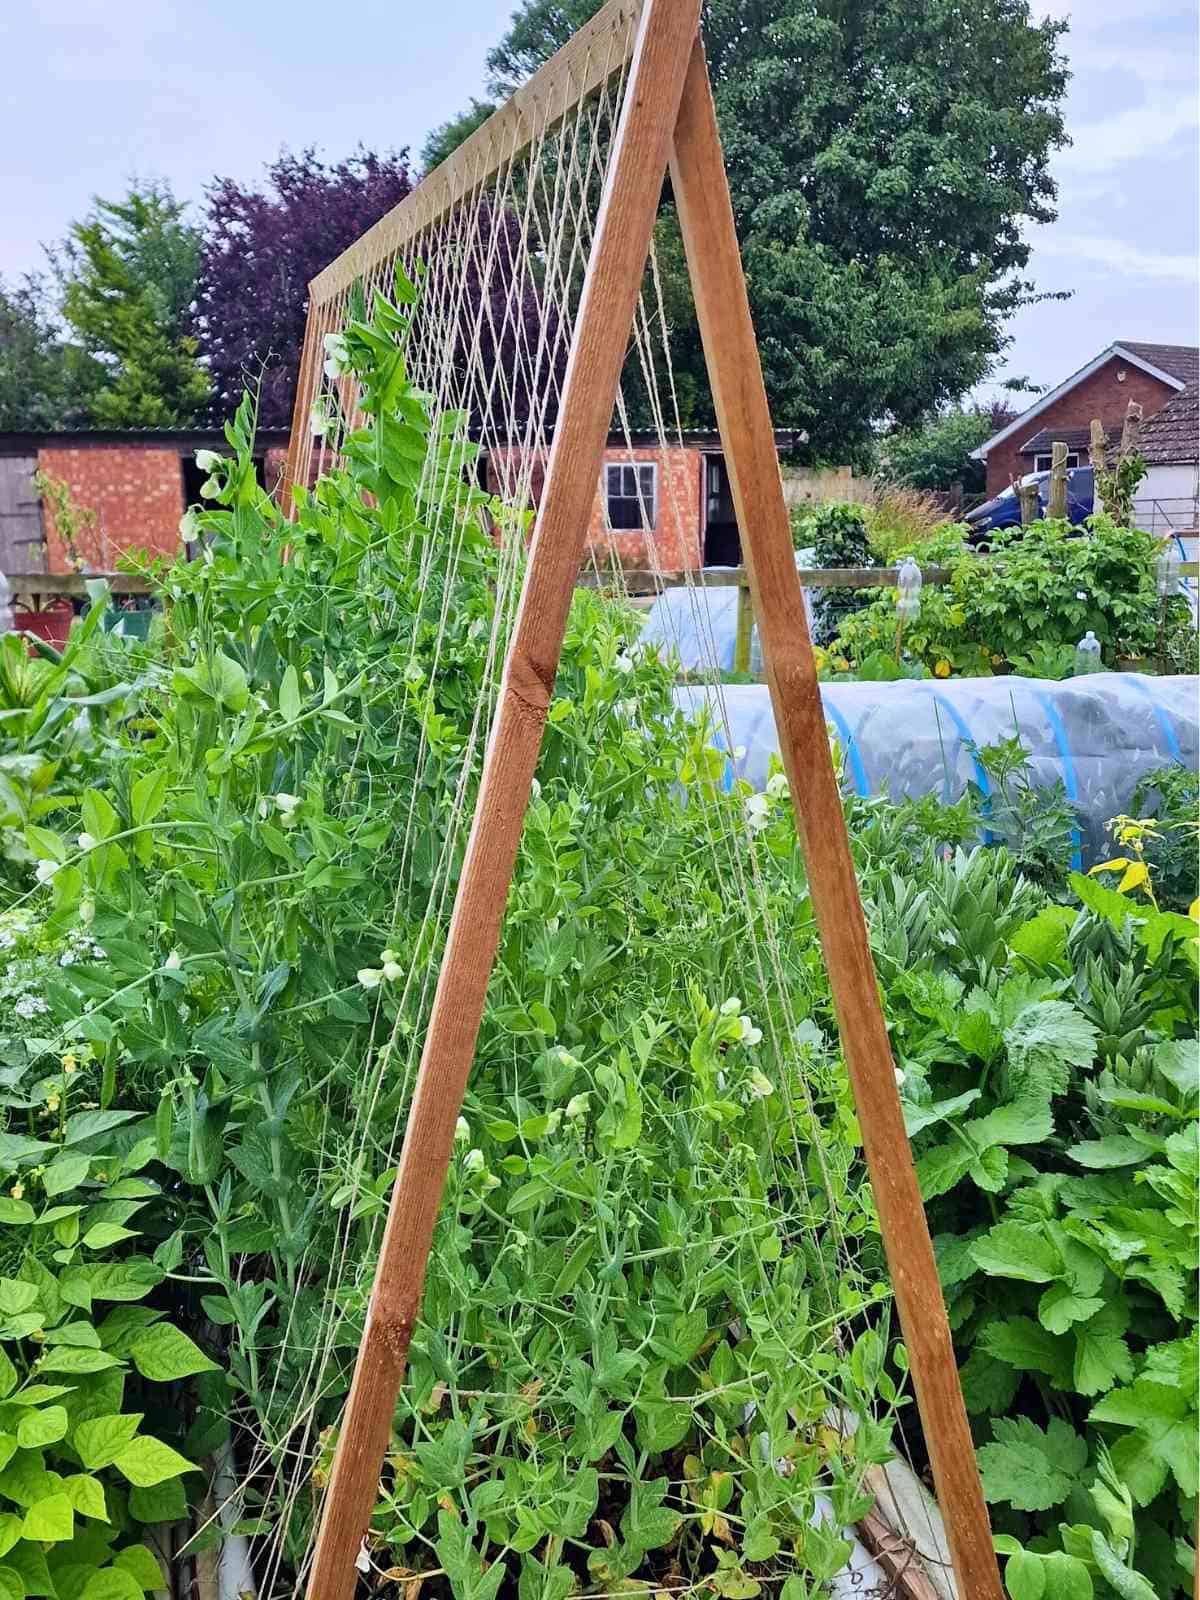
Please note that as an Amazon Associate, I earn from qualifying purchases made through affiliate links.
- Garden twine - this is a natural string that is often readily available in a gardener's supply kit. Or you could staple chicken wire if more accessible which is quicker
- Slat wood - any slim wood will work, or you could use bamboo poles, but you'd need to tie and loop around with string
- Combi drill - for drilling and screwing
- Impact driver - this is for quick screwing, or you can change bits in your combi drill instead
- Hand saw - to cut slats down to size
- Seed spacing planting ruler - this isn't vital, but it's great as a template for even and tidy hole spacings, which is usually used in conjunction with a seed packet
- Wood drill bit - this is a drill bit smaller than the planting ruler if using and bit enough to poke string through
📋 Step by Step Instructions

1. First, I screwed 1 leg to the top of the trellis until tight.
Then repeat on the other side.

2. Next, I drilled and screwed a 2nd leg over the top of that (avoiding the 1st screw head).
Note, this screw shouldn't be driven REALLY tightly in as this is the leg that needs to be able to move back and forth.
Repeat for the side until you have an A frame.

3. Open out your A frame, then position on or around where you planted your bush peas.
Then drill and screw a horizontal piece at one end.
Note, for the height of this, I just rested it on top of my garden bath bed.

4. Then I went to the opposite side of the frame trellis and hand sawed the horizontal piece to that is was flush with the end.
Then drilled and screwed.
Next, I repeated for the opposite side.

5. To drill the string holes, I held up my seed spacer ruler and drilled every 2 inches along the top.
Note, that it's quicker to make marks will your drill bit first. Then take the ruler away so you hold the frame firmly while you drill straight through the wood.
Then drill holes in the bottom horizontal piece that is attached to the inner frame pieces (in this photo's case, it is the piece attached to the bottom left leg as it is the same length).
To make sure the drill holes line at the 2 bottom horizontal flats, you need to temporarily close the frame.
Then use the drilled holes as your new template to drill holes into the final horizontal slat.

6. Now start threading the string through each hole.
I start at one of the bottom horizontal hole and tie it in a knot.
Then temporarily drape it over the top and take it to the other hole and cut down the end of the twine, leaving yourself plenty for tieing.
Now you thread it through the top, then through the opposite hole and tie in a final knot.
Repeat until you have threaded through all of your holes.
Tip: if preferred, you could add more string running the opposite way to your vertical lines for to make a grid pattern. Also, you could add string in between the A frame as I did in this trellised peas Instagram update video.

⚖️ Project Variations
Here are some different pea trellises you could do instead of using a ball of twine if preferred:
- Chicken wire - an easy solution, although more expensive, is to staple chicken wire to the wooden frames, or wire panels, wire mesh, etc
- Hinged - a great way to tie to frames together is to make 2 frames and attach together at the top with 2 hinges or tie wraps
- Plastic netting - a great idea is to use a bird netting that could be stapled to the widest sides
- Bean poles - another type of trellis you could do is stick poles in the soil in the shape of an A frame and tie them together as they cross over at the top. Then rest and tie another top piece horizontally on top
🦺 Safety Tips
- Never wear gloves while using a drill as they can get caught and yank your wrist
- Ensure you know where your wood came from if using old materials, such as old pallet wood
- Sand the wood if preferred to avoid splinters while handling
🧽 Care and Maintenance
Treat with a natural wood preservative each year, or you may need to replace it for next season.
Replace the string as and when needed for a sturdy support.
💡Pro Tips
- Use a seeds spacing ruler as a jig for pristine-placed drill holes
- Remember that the bottom horizontal slats are different lengths, so drill matching holes with a spacing ruler on the 2 slats that are the same length - then close the frame and use the bottom drill holes as a template to drill through the last horizontal slat
- If using treated timber, avoid it resting and leaching into the soil
- Position it just after your pea plants have started to grow, to let them latch on to is as early as possible
❓ FAQ
The height of a pea trellis depends on the pea variety you are growing. Terrain peas and bush peas grow around 3ft tall, vine peas can grow up to 6ft and sugar snap around 8ft tall.
➕ More Gardening Related Projects
Looking for more projects like this? Try these:

Why not subscribe to my newsletter to hear about the latest projects and exclusive news from The Carpenter's Daughter? You can also connect with me on social media at Facebook, TikTok, Twitter, and Instagram!
How to Make an Easy DIY Pea Trellis {Simple Build}
Here's how to make a cheap and easy DIY pea trellis to position on your garden beds. I made this in an afternoon with wood and twine to allow pea tendrils to latch on. Includes step by step instructions, tips, and my viral Instagram and Tiktok how-to video you can follow.
Materials
- Garden twine
- Slats
Tools
- Wood
- Combi drill
- Impact driver
- Hand saw
- Seed spacing ruler
- Wood drill bit
Instructions
- First, I screwed 1 leg to the top of the trellis until tight. Then repeat on the other side.
- Next, I drilled and screwed a 2nd leg over the top of that (avoiding the 1st screw head). Note, this screw shouldn't be driven REALLY tightly in as this is the leg that needs to be able to move back and forth. Repeat for the side until you have an A frame.
- Open out your A frame, then position on or around where you planted your bush peas. Then drill and screw a horizontal piece at one end. Note, for the height of this, I just rested it on top of my garden bath bed.
- Then I went to the opposite side of the frame trellis and hand sawed the horizontal piece so that is was flush with the end. Then drilled and screwed. Next, I repeated for the opposite side.
- To drill the string holes, I held up my seed spacer ruler and drilled every 2 inches along the top. Note, that it's quicker to make marks will your drill bit first. Then take the ruler away so you hold the frame firmly while you drill straight through the wood. Then drill holes in the bottom horizontal piece that is attached to the inner frame pieces (in this photo's case, it is the piece attached to the bottom left leg as it is the same length). To make sure the drill holes line at the 2 bottom horizontal flats, you need to temporarily close the frame. Then use the drilled holes as your new template to drill holes into the final horizontal slat.
- Now start threading the string through each hole. I start at one of the bottom horizontal hole and tie it in a knot. Then temporarily drape it over the top and take it to the other hole and cut down the end of the twine, leaving yourself plenty for tying. Now you thread it through the top, then through the opposite hole and tie in a final knot. Repeat until you have threaded through all of your holes.

Comments
No Comments