
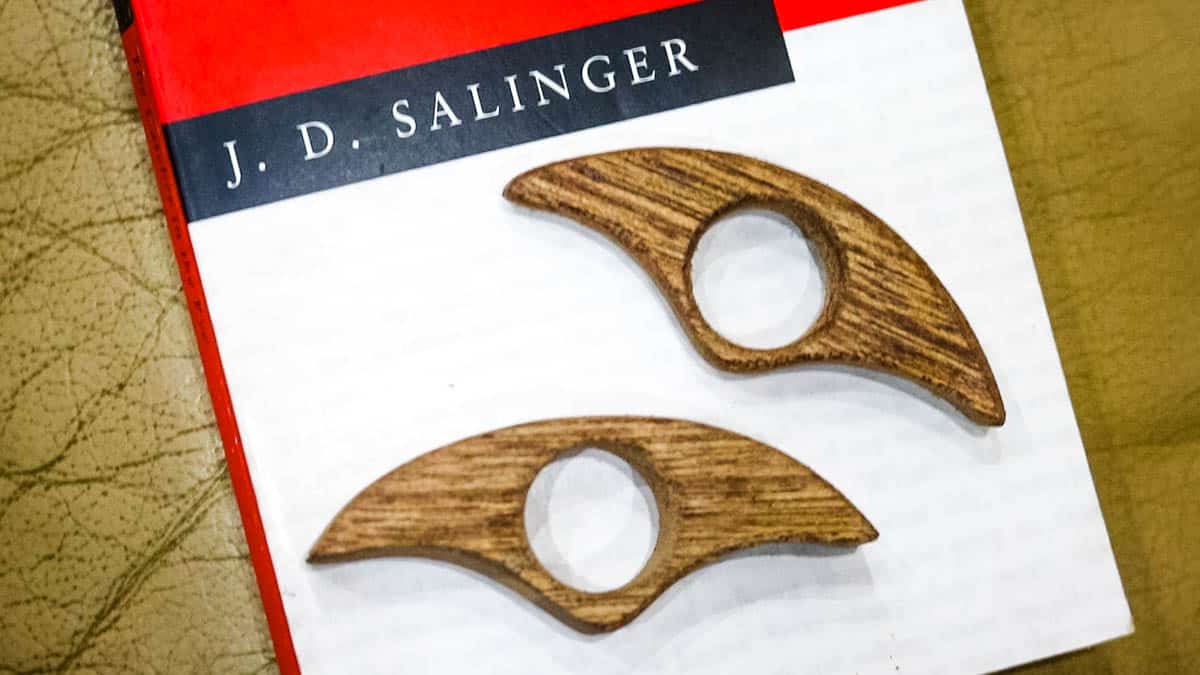
If you're looking for woodworking gift ideas for book lovers, then this thumb book page holder DIY is such a cheap and easy project that anyone can make! I'll also show you a trick where you don't need to buy a template (or download mine for free here).
This project was created as part of my 12 Days of Giftmas series and includes a how-to video you can follow along.

Jump to:
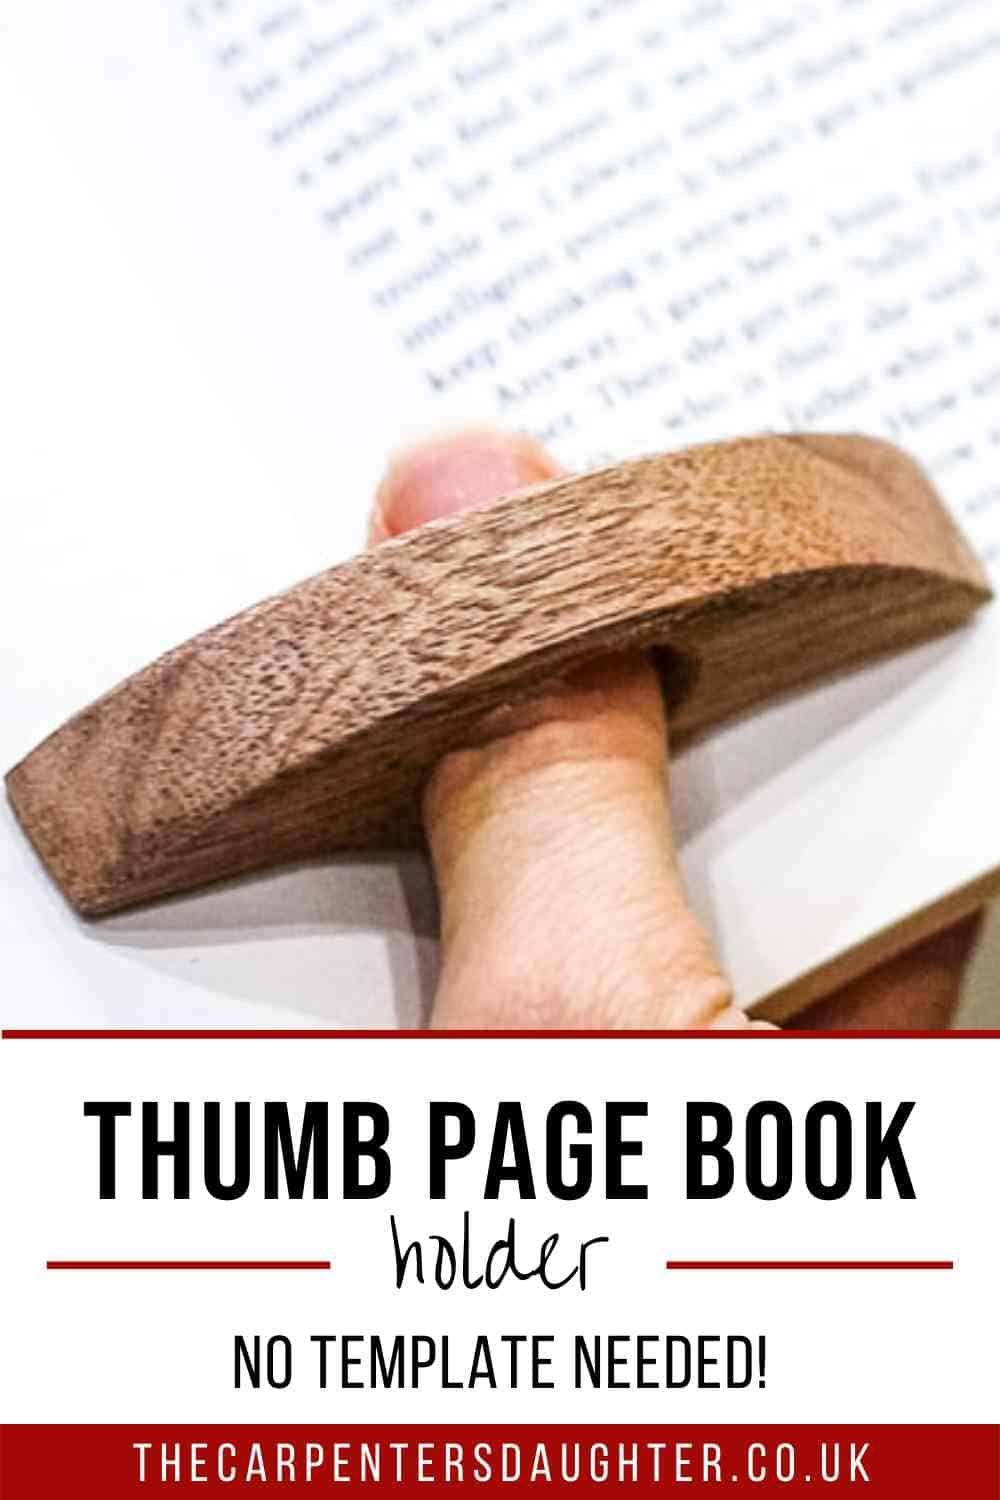
What is a Book Page Holder?
If you don't love reading physical books, you might not know what a thumb book page holder is.
I shared a sneak peek on my Instagram the other week, asking people to take a guess as to what it was and some of the responses were so funny.
Some people thought it was a single-finger knuckle duster, a massager, a napkin ring (and more that I can't remember). Nope, it's for fully opening a book and reading it with one hand.
🪚Tools & Materials
Offcut of hardwood - you only need a small bit and how thick depends on your needs. Mine was approximately ½ an inch. You may be successful with softwood, but it won't be as strong near the V section if your thumb hole is too close!
Sheet of paper, pencil and scissors - you won't need to waste money buying a template or plans on Etsy here as we'll fold the sheet of paper and cut a quarter of a circle, then open it up to reveal our design. Simple!
Bandsaw - this has a narrow blade to cut out curvy shapes in wood. If you don't have one, you could use a coping saw and do it by hand (much slower), or a jigsaw, providing you've clamped it well. A scroll saw is also great for the job!
Combi drill or drill press - I used a combi drill to create my thumb holes, but for accuracy, a drill press is better (although not an everyday home DIYer tool!)
22mm or 25mm Flat wood drill bit - this is necessary as a minimum to drill thumb holes. I'm female and the 22mm hole is fine, but males or anyone with bigger hands may need 25mm +. However, if possible, try to use a Forstner bit instead for a cleaner cut.
Bench sander or heavy belt sander upside down - To tidy your cuts, you'll need to do a lot of sanding. If you don't have either of these, I have been known to hand-sand things while watching TV 😂 And sandpaper for the thumb hole is a good idea!
Safety goggles & ear defenders - if you're using power tools, then wear your PPE! Also, if you're sanding lots, I recommend a dust mask to protect your lungs!
Varnish - I used spray varnish, but I wouldn't recommend oiling it in case it tarnishes pages in a book.

📋Instructions
To create your free thumb page holder template, this is how quick and easy it is!
- Fold a piece of paper in half
- Using scissors, cut a quarter of a circle with a v-shape towards the fold. It's just 2 cuts!
- Now let's use it as a free handmade book holder stencil!
Download My Free Cutout - Or, if you want to skip this, you can sign up for my free mailing list to instantly download, print, and cut out my free template.

Using Your Wooden Book Page Holder Stencil
Next, place your stencil on an offcut of hardwood and draw around it. Or you could draw inside the hole of your large sheet of paper.
Note, these are so easy to make, why not consider making several thumb book holders at the same time for stocking fillers for friends and family?
Other Book Holder Design Ideas - mine is very simple, but you could draw a Batman logo, a love heart, or a Harry Potter Snitch. Why not have fun and get creative?
Drilling a Thumb Hole
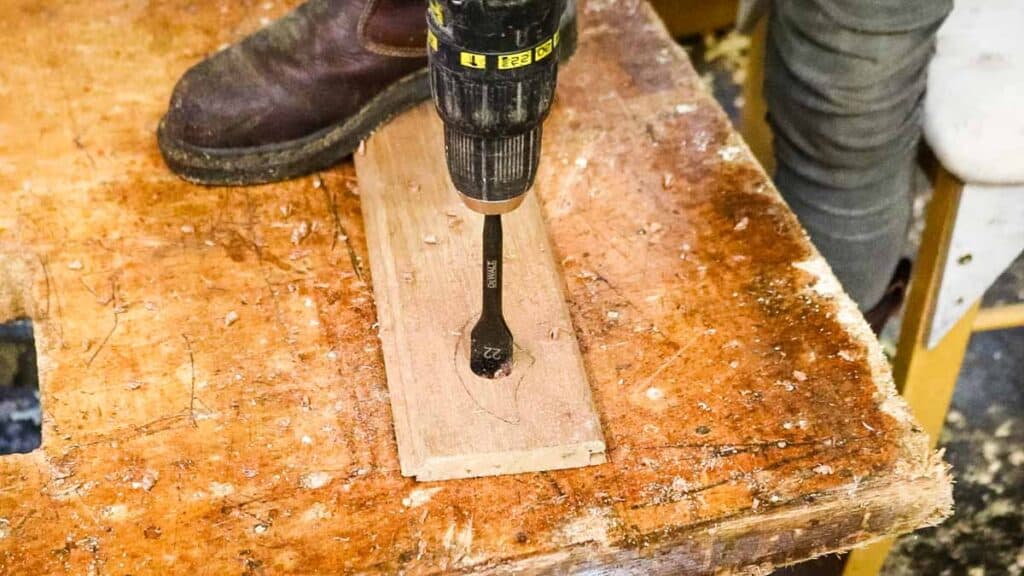
Now we need to drill a thumbhole. As a guide:
- I'm an adult female and a 22mm/7/8" is perfect for my thumb
- My Dad (with carpenter's hands) needed 25mm/1"+
- For children, you may need a smaller hole
I recommend doing some test drill holes first to check your or other peoples' thumb sizes! It's not a one size fits all situation.
Cutting Your Page Holder Ring
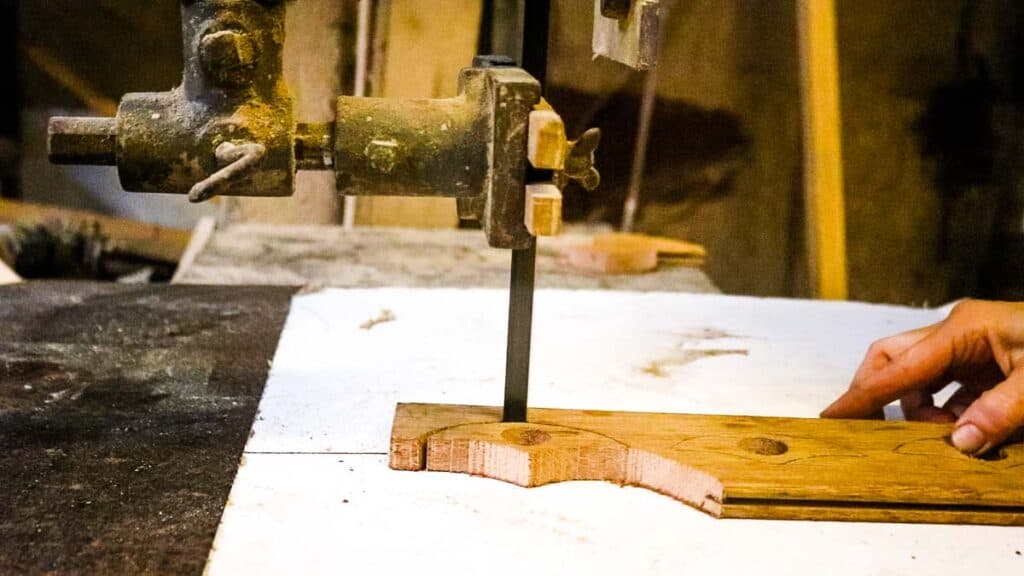
Now it's time to cut your wooden book holder thumb design!
I cut mine with a bandsaw, but if you don't have one, you could clamp the waste of the material to a workbench and use a jigsaw.
Or use a scroll saw or coping saw.
Sanding Your Wooden Thumb Ring
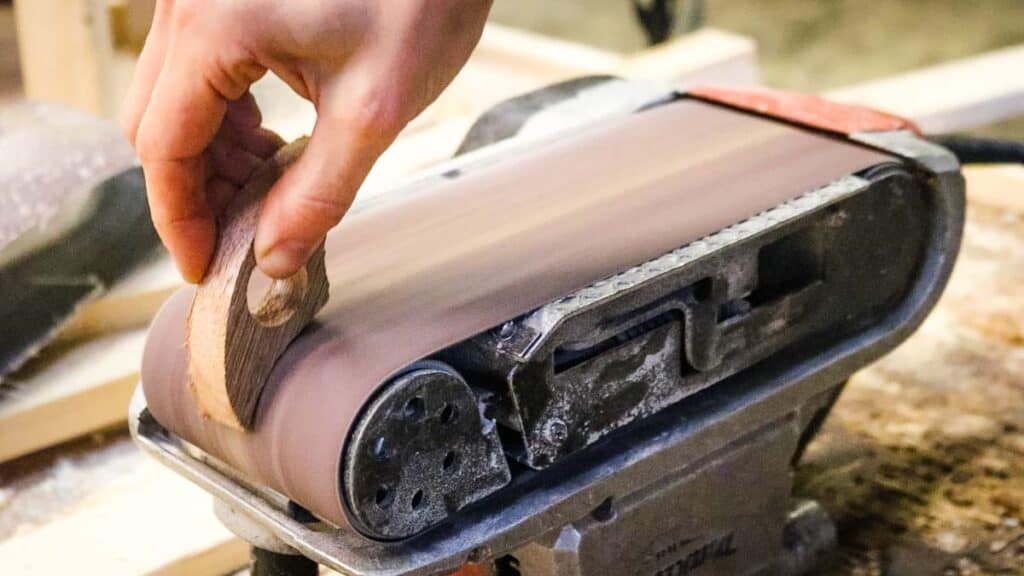
Hand sanding is perfectly ok if you have the time.
But for speed and accuracy around the curves, I used a belt sander upside down as this one is so heavy, it doesn't move about. Or you could use a bench sander.
I also rolled up some sandpaper in the thumbnail to smooth it. But a spindle sander attachment in a drill would work too!

Then to finish, I sprayed them with matt varnish and left them to dry.
Alternatively, you could use a water-based stain to enhance the colour, and leave to dry before varnishing.
I'd refrain from using oil in case it marks the pages of a book.

💡Tips
- To prevent a tear out while drilling your thumb holes, only drill until the pointy end is poking on the other side, then do it from the reverse. Or you could clamp a sacrificial piece below.
- Do a test drill hole first to check your thumb size per flat wood drill bit. It's difficult to make the hole bigger once it's cut (otherwise you'l need to temporarily hot glue a piece of wood underneath to make a bigger hole).
- If using a jigsaw, you may need to hot glue it to a bigger piece of wood in case it vibrates, making it less safe. Or, you could use a scroll saw or coping saw
- If you're worried you won't be able to cut perfectly on your pencil line, then you could cut just outside, and finish with a sander. You'll probably need to saw out blade marks anyway, which may take you inside your lines if not.
❓FAQ
Can you share the dimensions? Mine is 3.5" x 1.5" and approximately ½" thick. As long as it's big enough for your thumb hole, you should be ok - then you can sand it down to whatever size you prefer!
Do you have plans or an outline? You can download them here for free by signing up for my free mailing list and also get my latest how-to projects in your inbox when they go LIVE. (And unsubscribe at any time!)
Have you got any advice on cutting hardwood to prevent the blade from turning? You may need to tighten the tension on your blade and that it's close to the bearings. Also, ensure the guard is as low as possible (close to the project as possible) to prevent the blade from wobbling.
Can you stain the wood before varnishing? Yes! Make sure it is fully dry first. Or, if you're using a coloured preservative, you'll need to let the oils soak in properly for 2 weeks prior to varnishing. A tip Cuprinol once told me!
➕More Handmade Gifts on a Budget
- DIY Sharpie personalised mugs
- Wooden sycamore/maple leaf trivet
- Upcycled DIY mud kitchen for kids
- DIY lap desk with removable cushion
- Homemade knife block
- Tea towel ladder
- DIY chopping board with spaghetti measures
- Walnut & nails coasters
Thumb Page Book Holder DIY + Free Printable

If you're looking for woodworking gift ideas for book lovers, then this thumb book page holder DIY is such a cheap and easy project that anyone can make! I'll also show you a trick where you don't need to buy a template.
Materials
- Offcut of hardwood
- Sheet of paper
- Varnish
Tools
- Offcut of hardwood
- Pencil
- Scissors
- Bandsaw
- Combi drill
- Flat wood drill bits (⅞" & 1" or 22mm & 25mm)
- Bench sander
- Safety goggles
- Dust mask
- Ear defenders
Instructions
- Fold a piece of paper in half and cut a quarter of a circle with a v-shape towards the fold (or download my free template by signing up to my mailing list here). See note 1 below.
- Draw around the template o an offcut of hardwood
- Find the centre point and drill your thumbhole with a flatwood drill bit.
- Now cut your shape out with a band saw
- Sand everywhere on a bench sander and a rolled up piece inside the thumb hole until smooth
- Spray with varnish and leave to dry before using!
Notes
Note 1 - make sure the cut out if big enough for your chosen thumbhole
Pin for Later

Comments
No Comments