
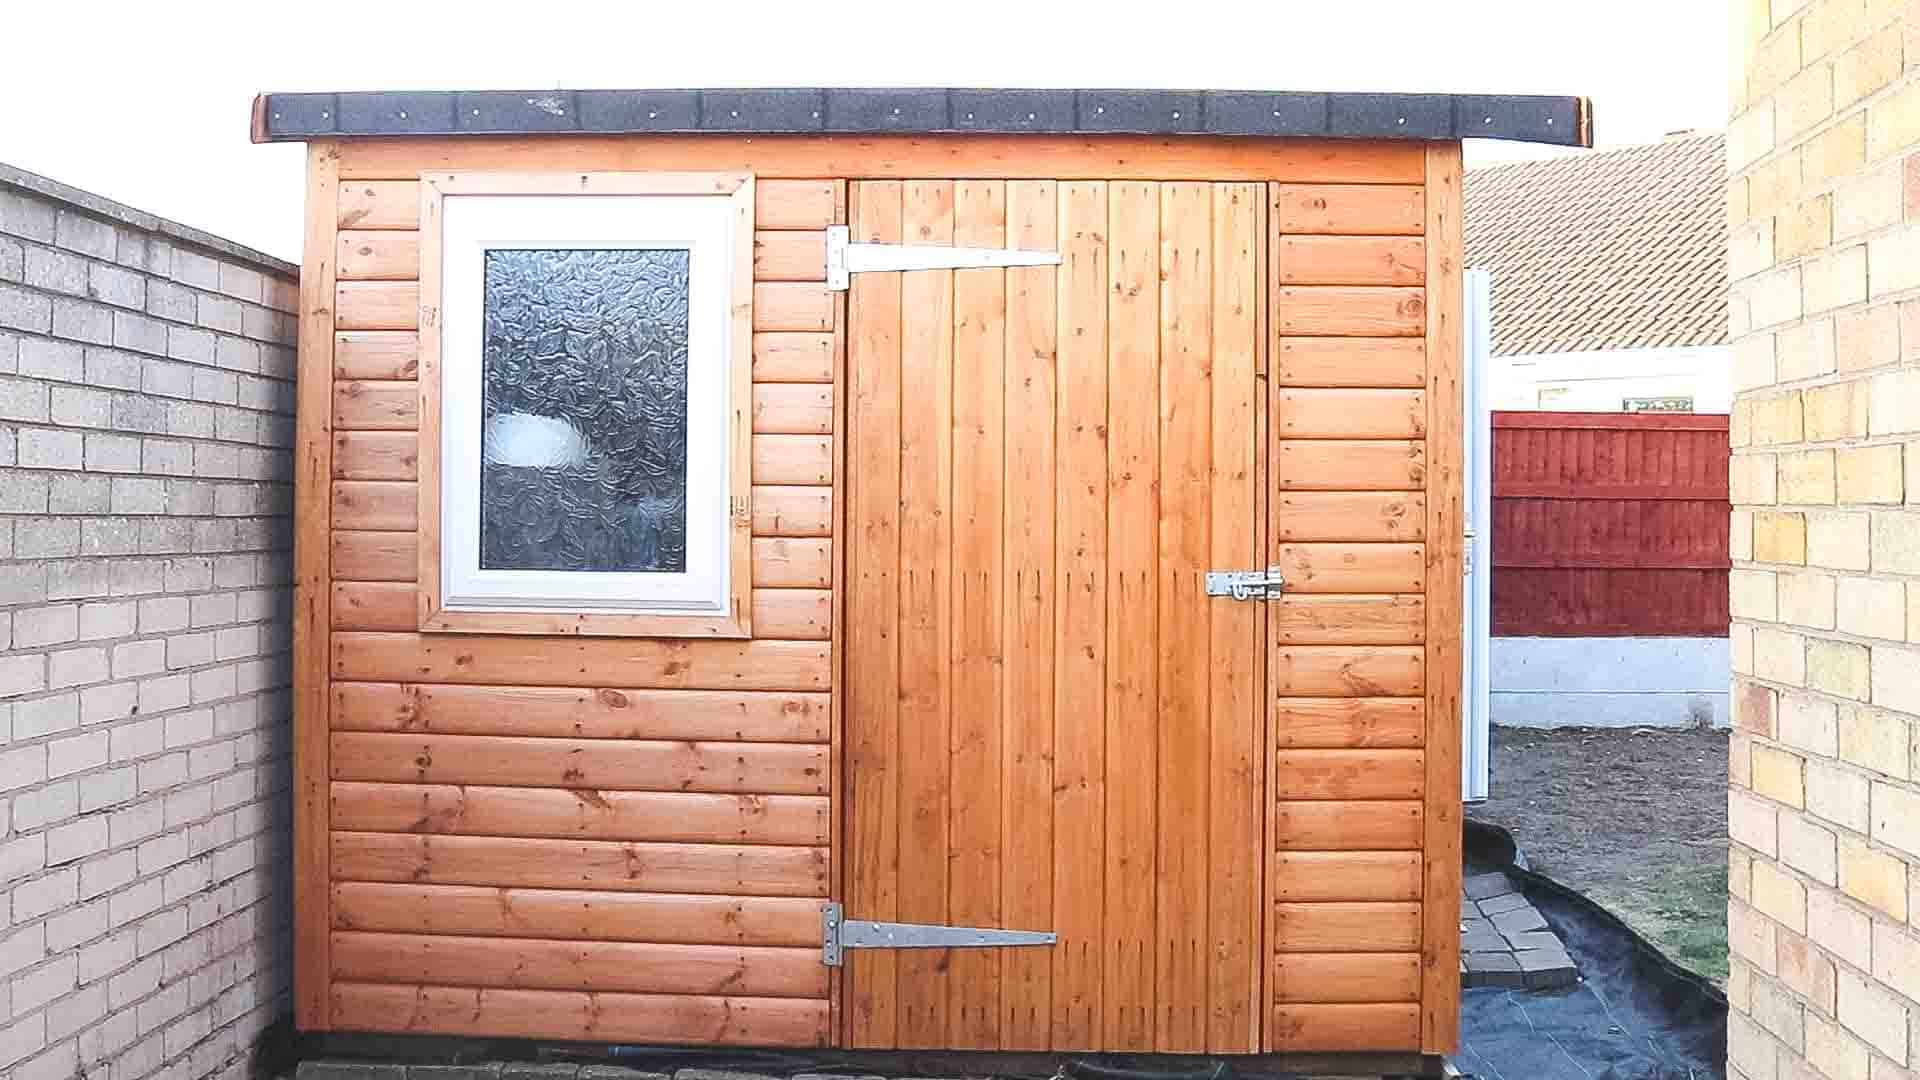
This week, it's cladding shed time on the Summer house shed that I started documenting last Sunday. So here, I show you how we did it.
Note, I recommend you reading part 1 first, which is about building a Summerhouse base and frame and planning windows and doors.

There are many ways to and different types of wood cladding you can use when cladding a shed or Summer house. We're using cladding, tongue and groove style, but other options are:
- Larch cladding
- Shiplap cladding for shiplap shed, similar to:
- Overlap cladding, also similar to fence cladding
- Cedar cladding *According to my Dad, most commonly available in the US, but more experience and inferior in the UK
Alternative cladding materials could be pallet wood or other recycled timbers. But it would prove more difficult to source and could require more studs in your framework for shorter pieces.
Things We Used For Our Shed Cladding
- Tongue and groove cladding for sheds
- Dewalt nailgun
- Ringshank nails for Dewalt nailgun on coil
- Combi drill
- Drill bit
- Hand saw
- Router
- Flush trim router bit
- Worx Worxsaw compact saw *Unpaid AD - previous client
- Tape measure
- Wood preserve
- Mitre saw
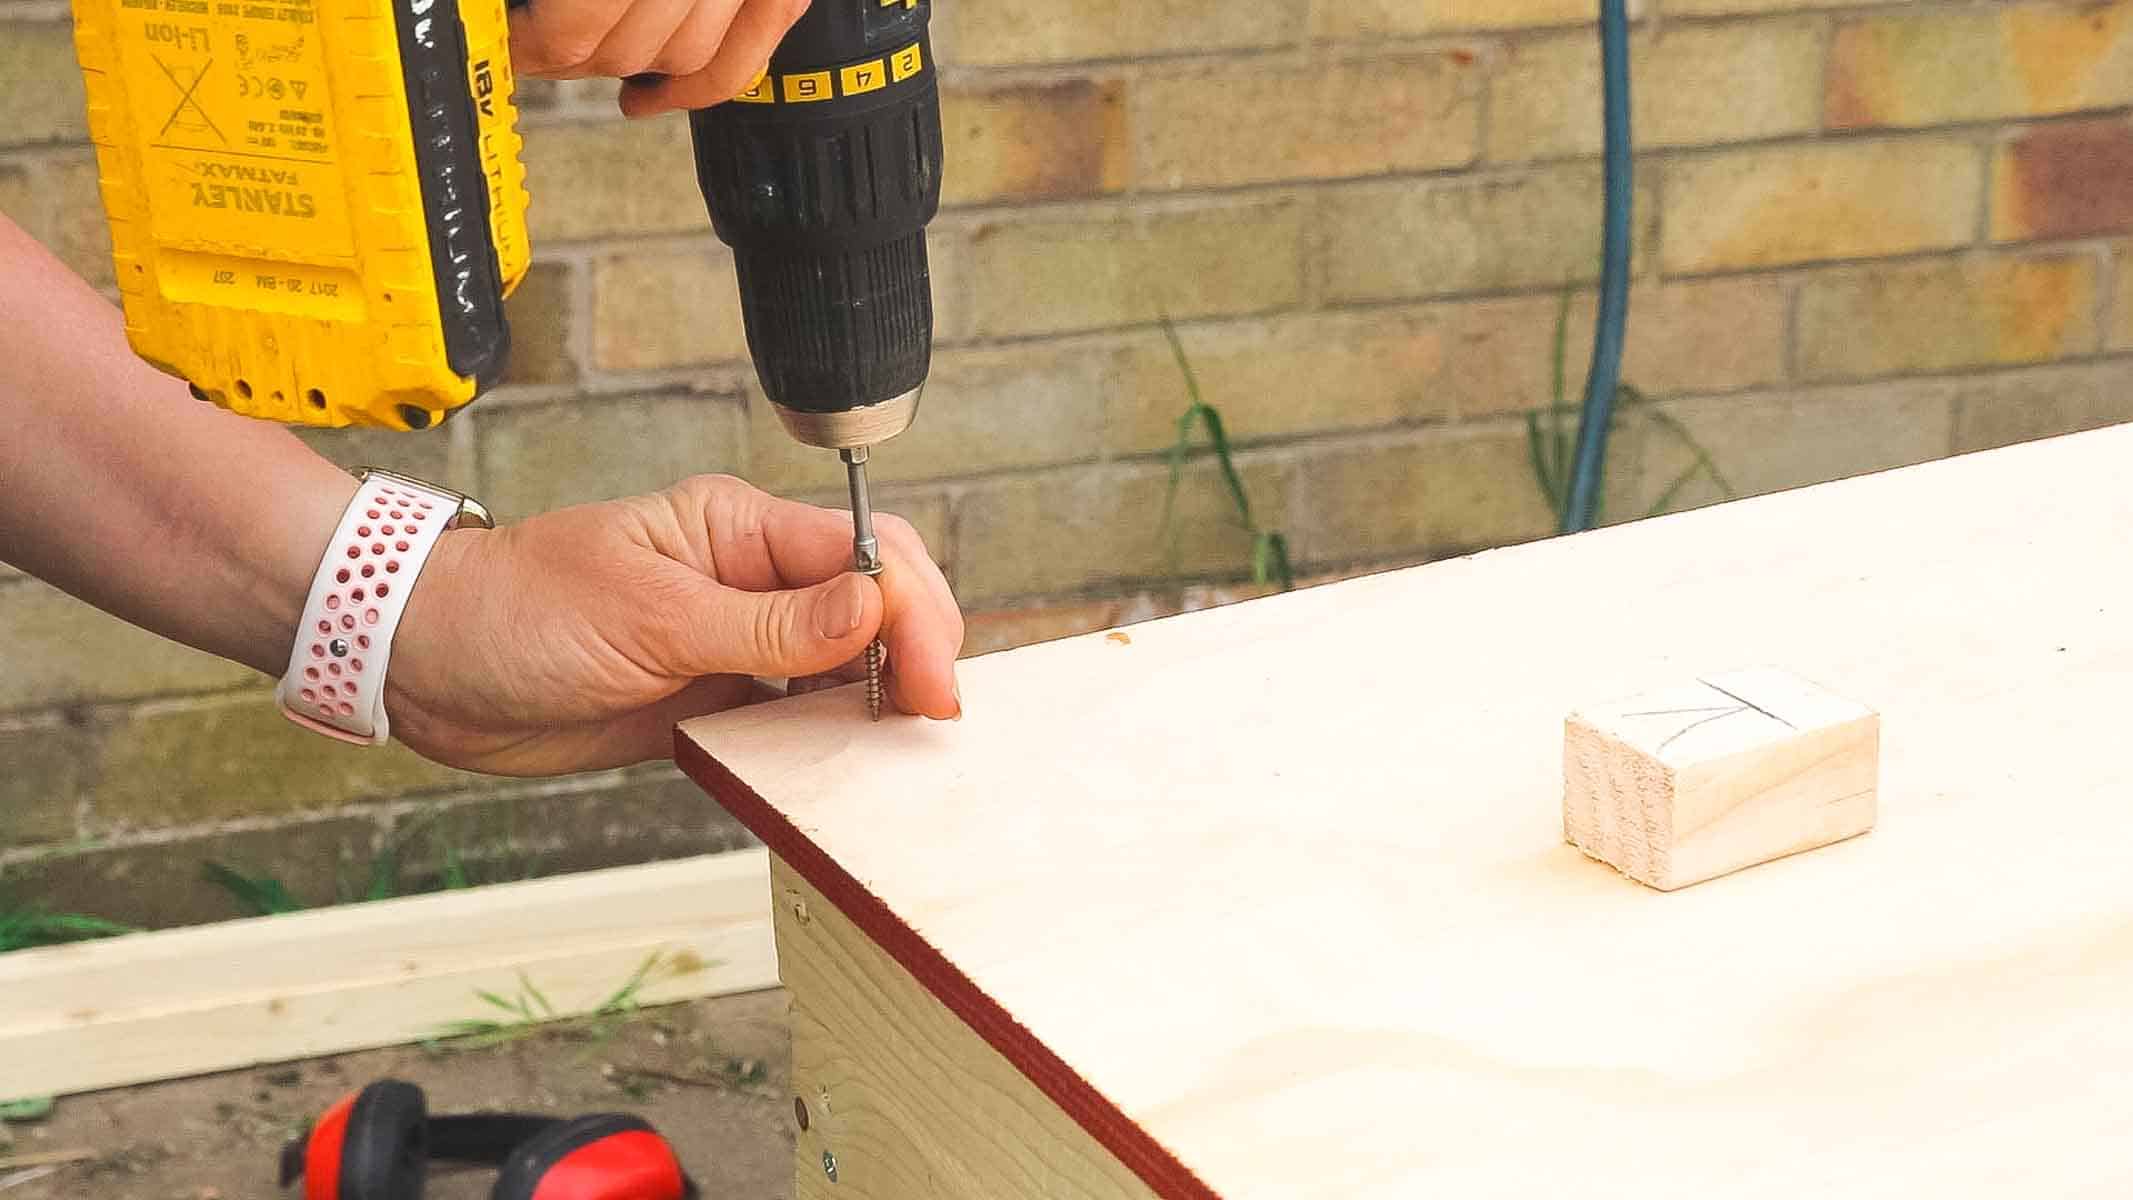
How to Clad a Shed With Timber
Remember I told you in last week's Building a Summerhouse video that not all sides would have tongue and groove shed wall cladding? The reason for this is, in the main photo at the top, one side will have a lean-to shed attached.
And the rear would be facing a brick wall where no one can see it. So, I first worked on the lean-to shed side and started cladding a shed with plywood. Summerhouse or shed... the methods are the same to me.
Note, you will want to decide whether you want insulated cladding sheets which you can do from the inside. But let's take a closer look on how I', fixing cladding to the Summer house below.
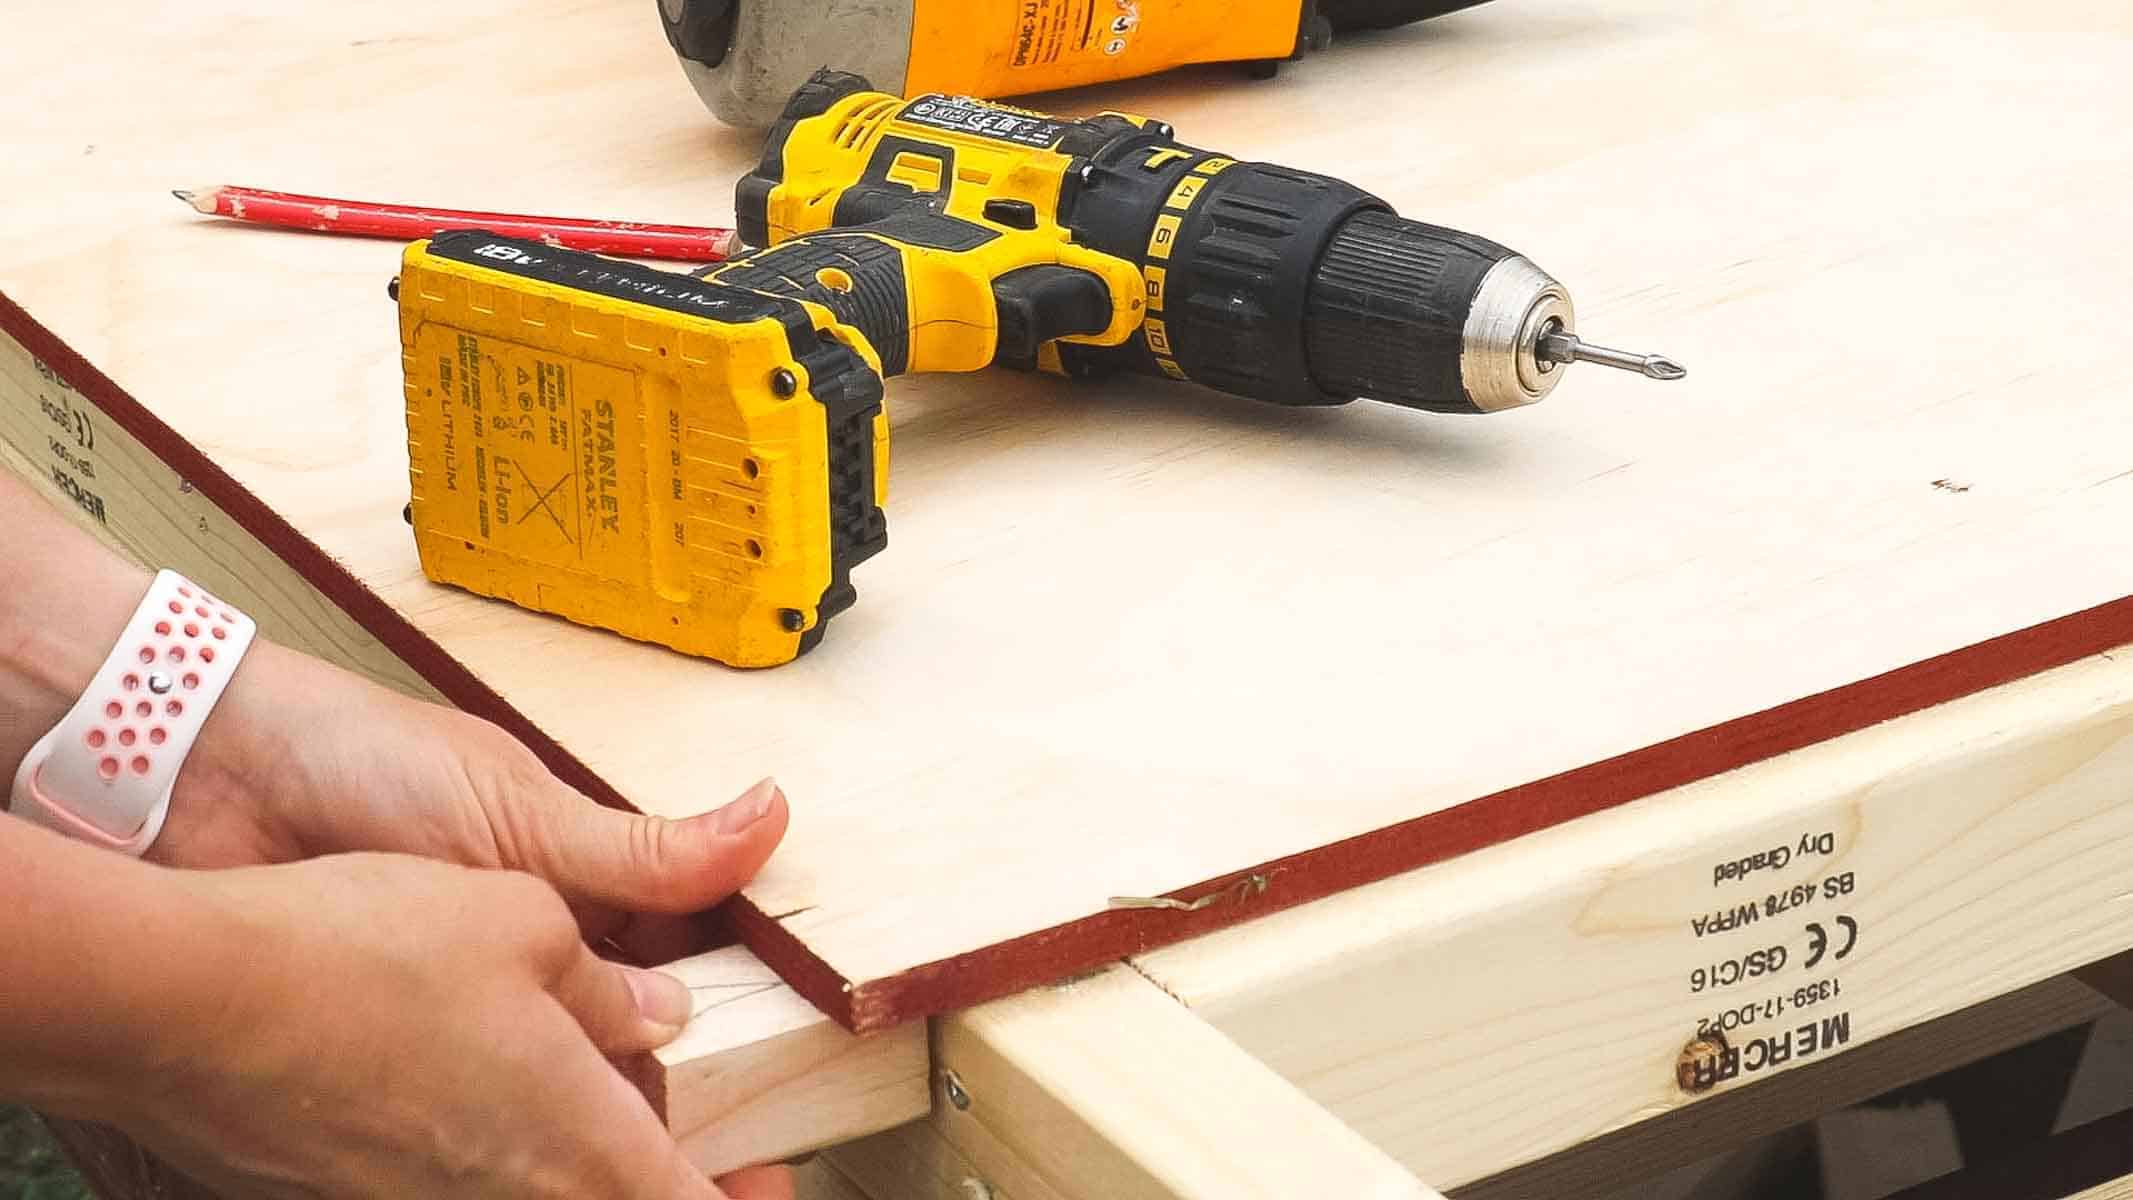
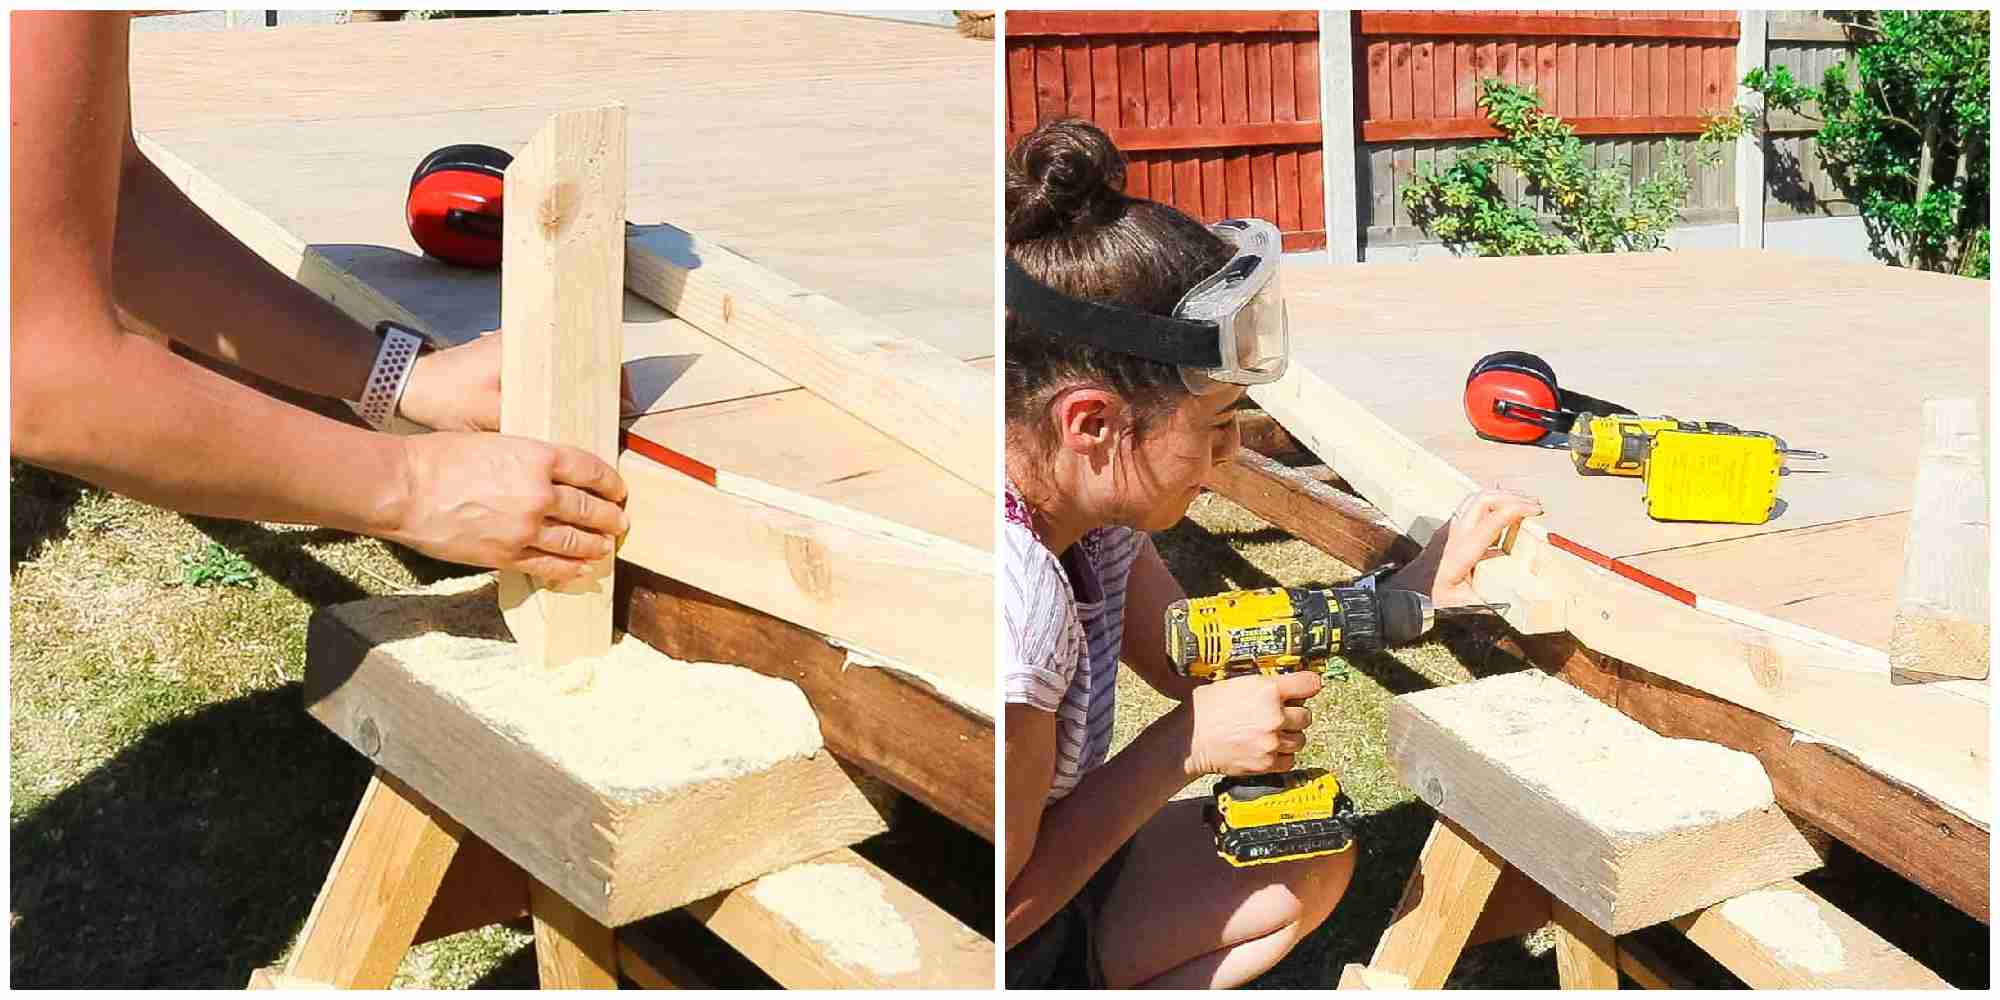
For my first shed wood cladding wall, I marked an offcut of wood with a 1 inch marker. I use this as I go on all the panels of cladding, no matter what type I use, including tongue and groove for shed
The idea is, that I'm creating an overlap on the bottom of all the wall panels. So when we do come to screw the shed wall panels together, they should be square on the base.
Note, I only do this on the base and never the sides of the summer house panels. Then screw it down to the studs.
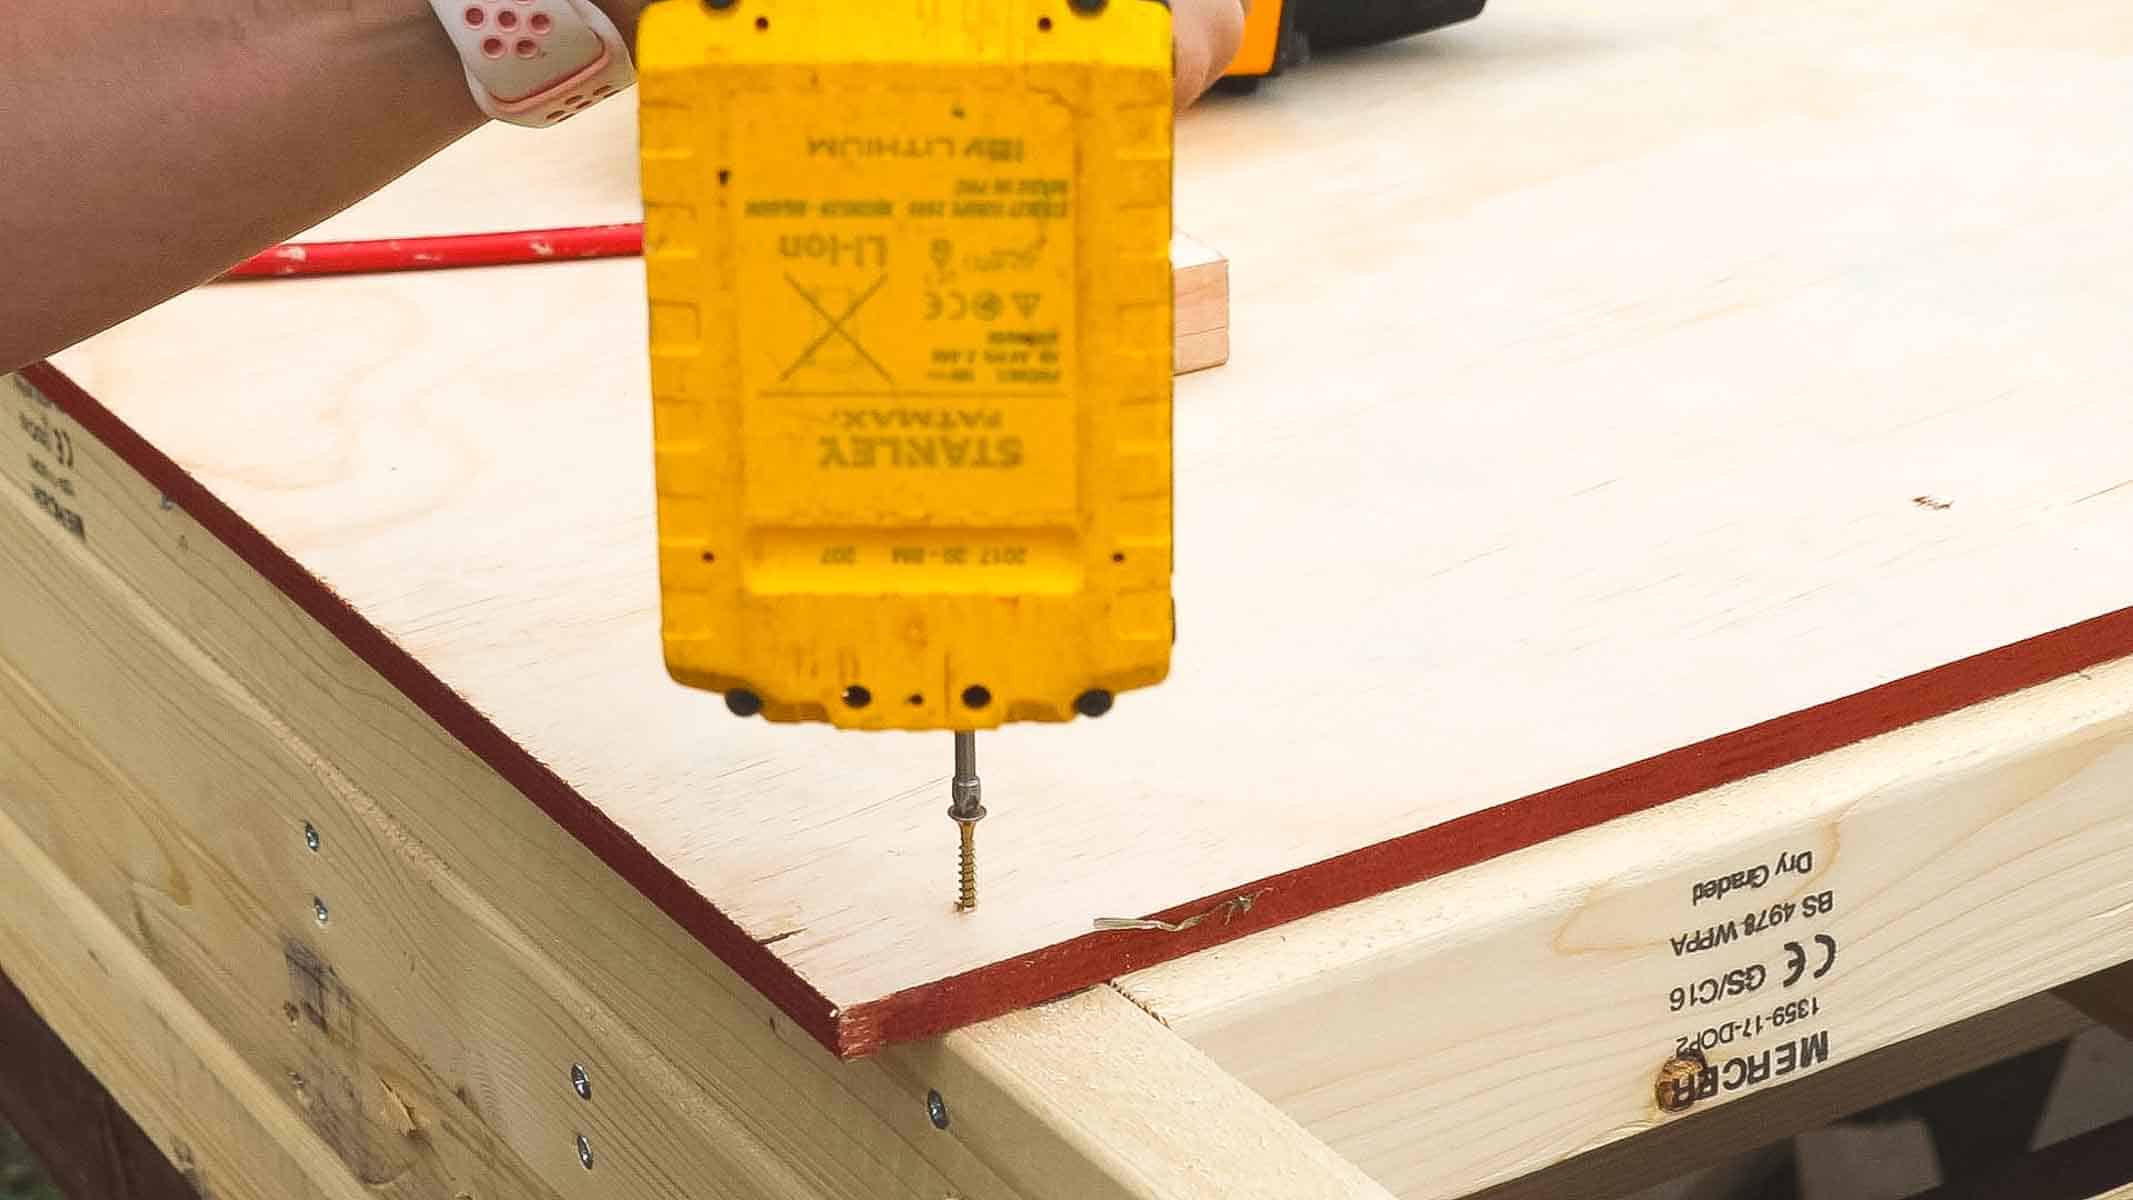
Tips for Screwing Shed Cladding Sheets
There's a few essential tips you need to know.
- Always make sure your sheet cladding finishes in the middle of a stud, otherwise, you'll need to trim it down or add another stud
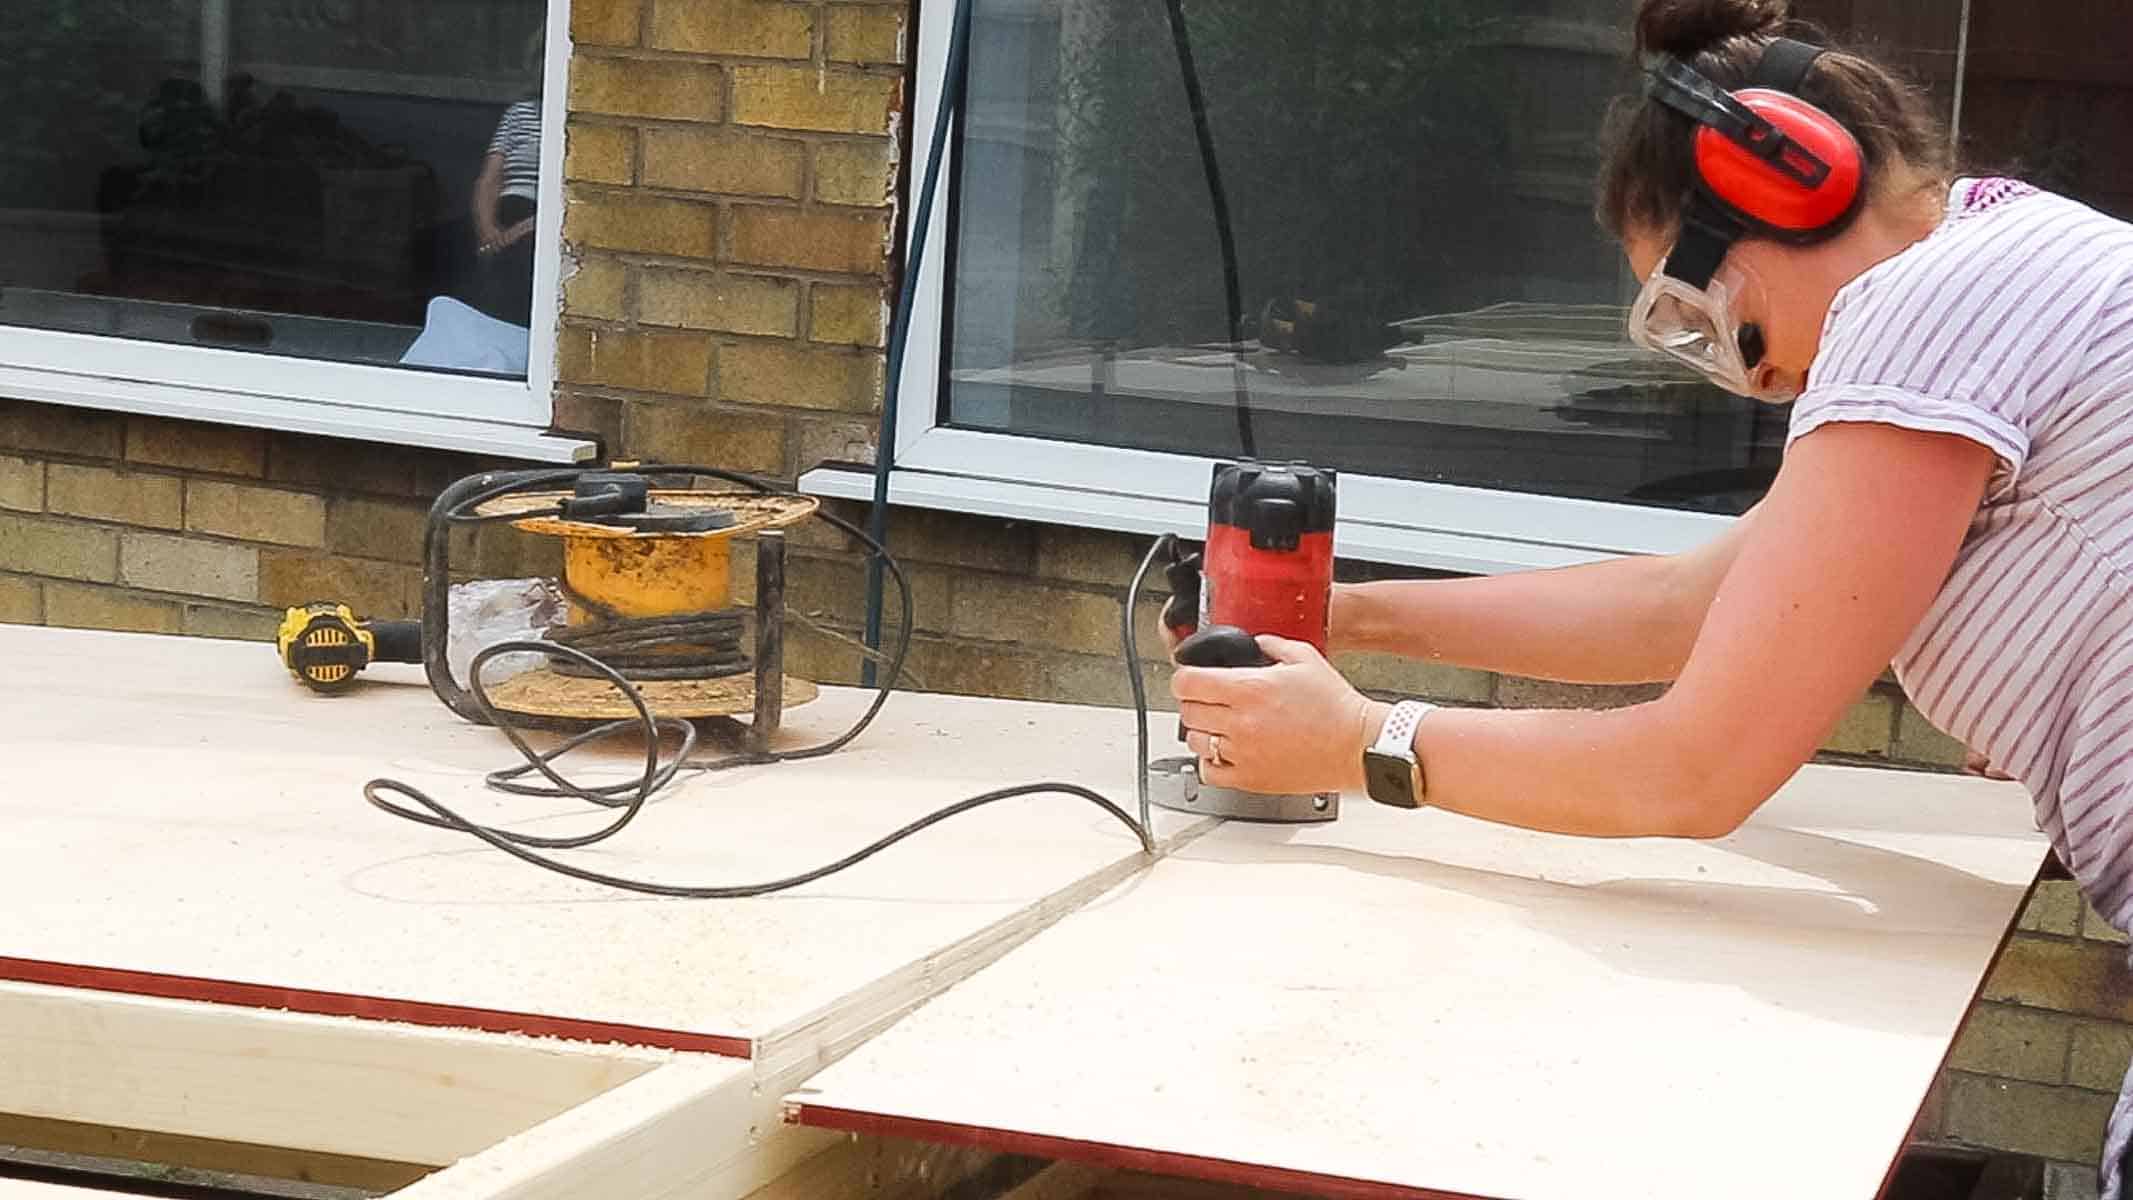
- Once you've done the above, you can trim the excess along the opposite edge where the shed panel starts with a flush-trim router (see below). Or cut with a hand saw.
- Note I didn't predrill before screwing. This is because I stayed well away from the edge or screwed on an angle into the upright stud work to avoid splitting.
- You'll also need to use plenty of screws when cladding sheds with plywood. Our tip is to hold a straight edge on top of the plywood cladding and in line with your upright studs. Draw along it with a pencil so you know where to screw.
- We also advise using exterior cladding wood, which may have the edges treated, but it's always best to preserve anyway.
Treated Cladding Choices
While we're on the topic of wood for exterior use, it is best to buy, but not always convenient for the pocket.
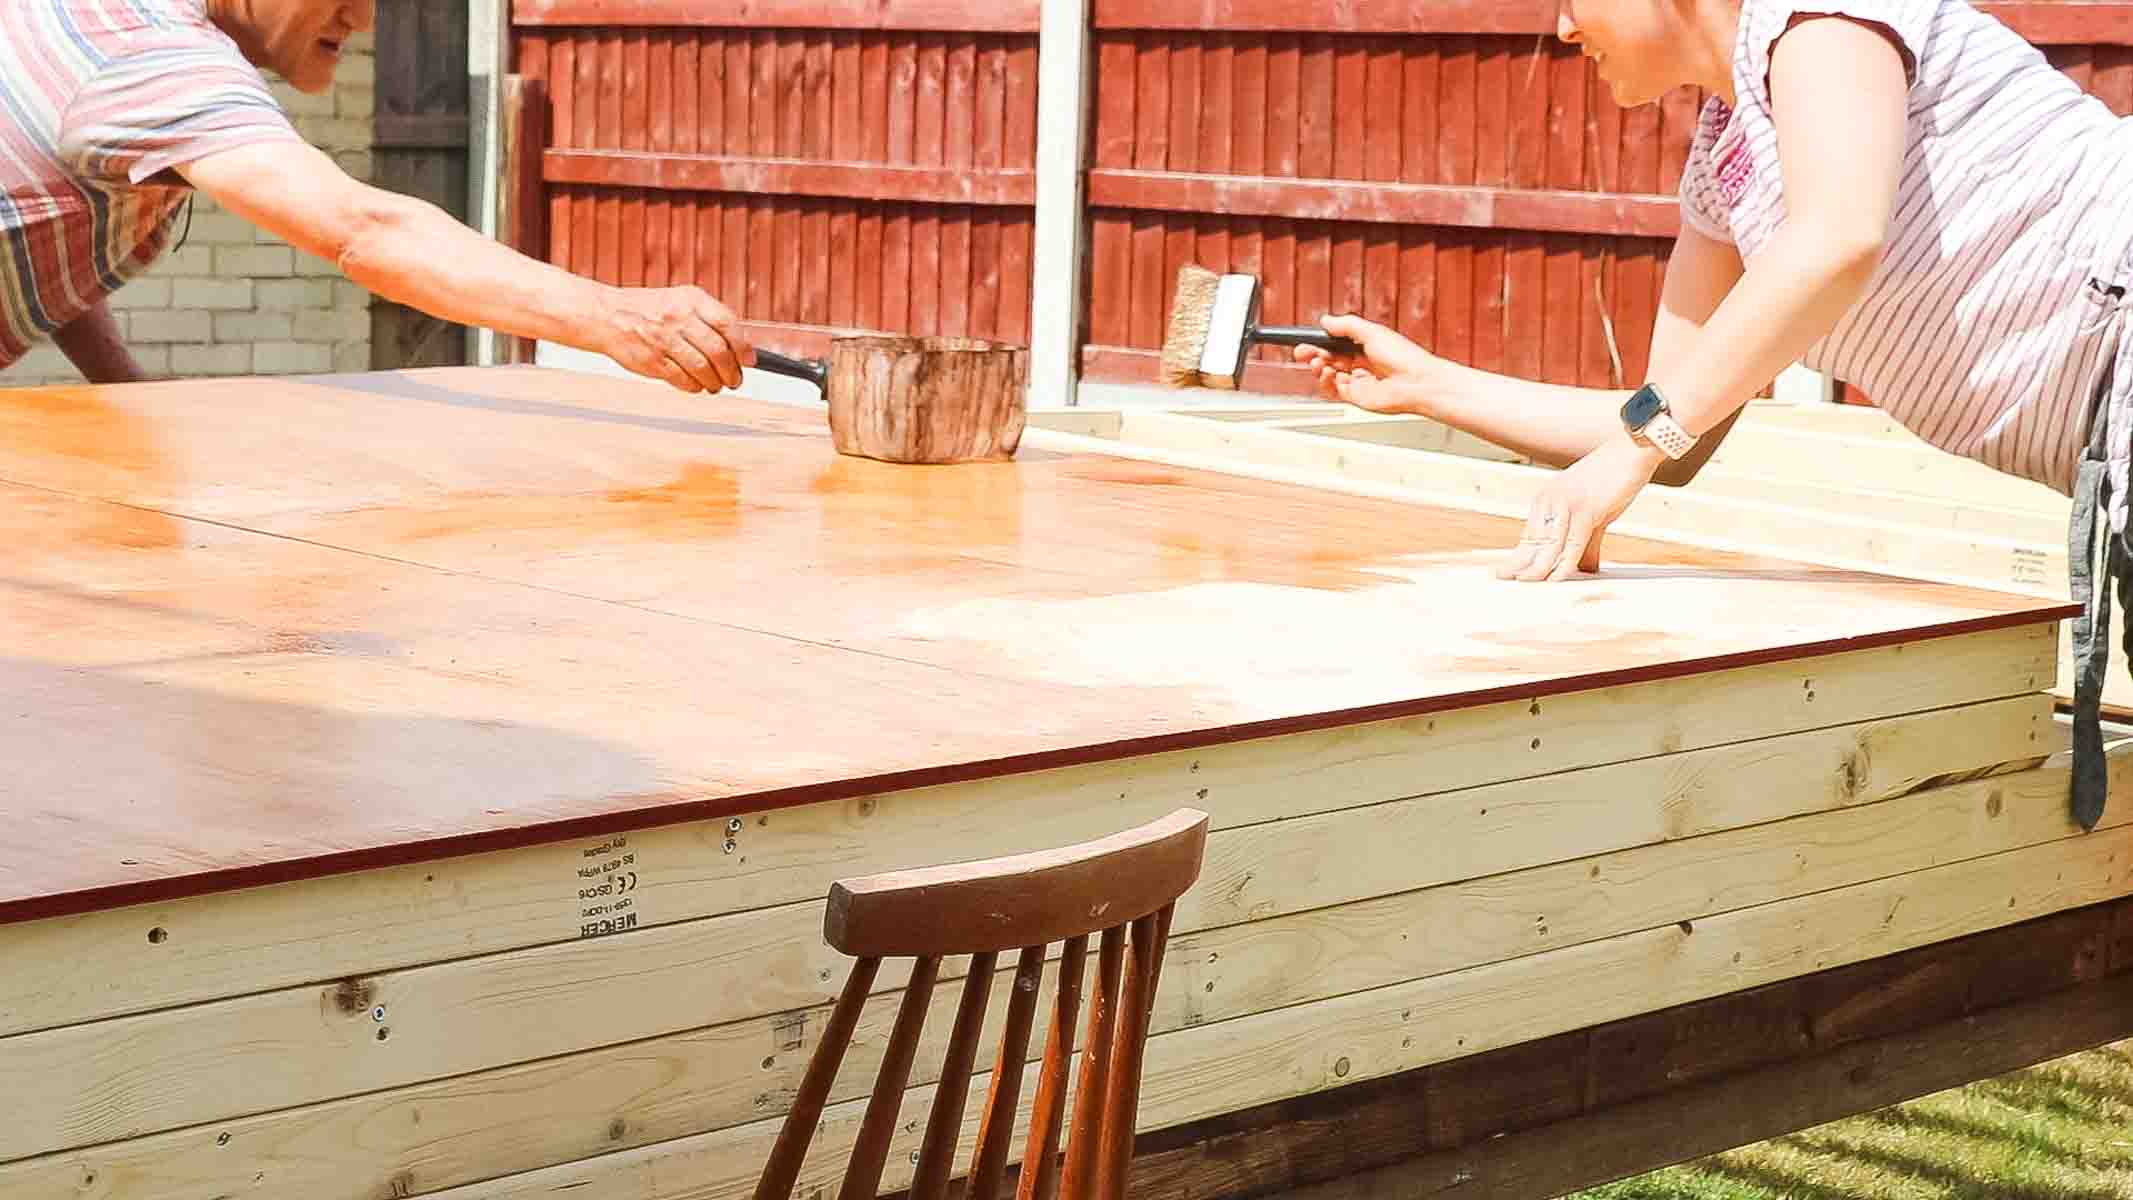
So if you have bought untreated timber like we're mostly using, then treating it with a preserver is essential. Below, we're making sure we have treated cladding for our summer house shed.
In fact, we did this as we went along, giving each of our now exterior cladding sheets time to dry in time for a 2nd coat. Our absolutely favourite we like to use is a coloured oil preservative. *Clear always looks unfinished and boring, particularly when plywood doesn't have any wood cladding texture.
Top Tip: If it's water-based and does not say preservative, then it's not going to protect your hard work. Also, for painted cladding, we love Duck's Back in Autumn Gold.
Working With Tongue and Groove Shed Cladding
When working with t & g cladding, we repeated the exact same overhang. This ensures the heights of our panel cladding is consistent throughout and no uneven lines.
I started with the bottom strip to ensure it was lined up correctly with my 1 inch marked offcut. Then slotted in 3 more strips at a time and ensured they all slotted together correctly, which is important as some can be stiff and require a mallet.
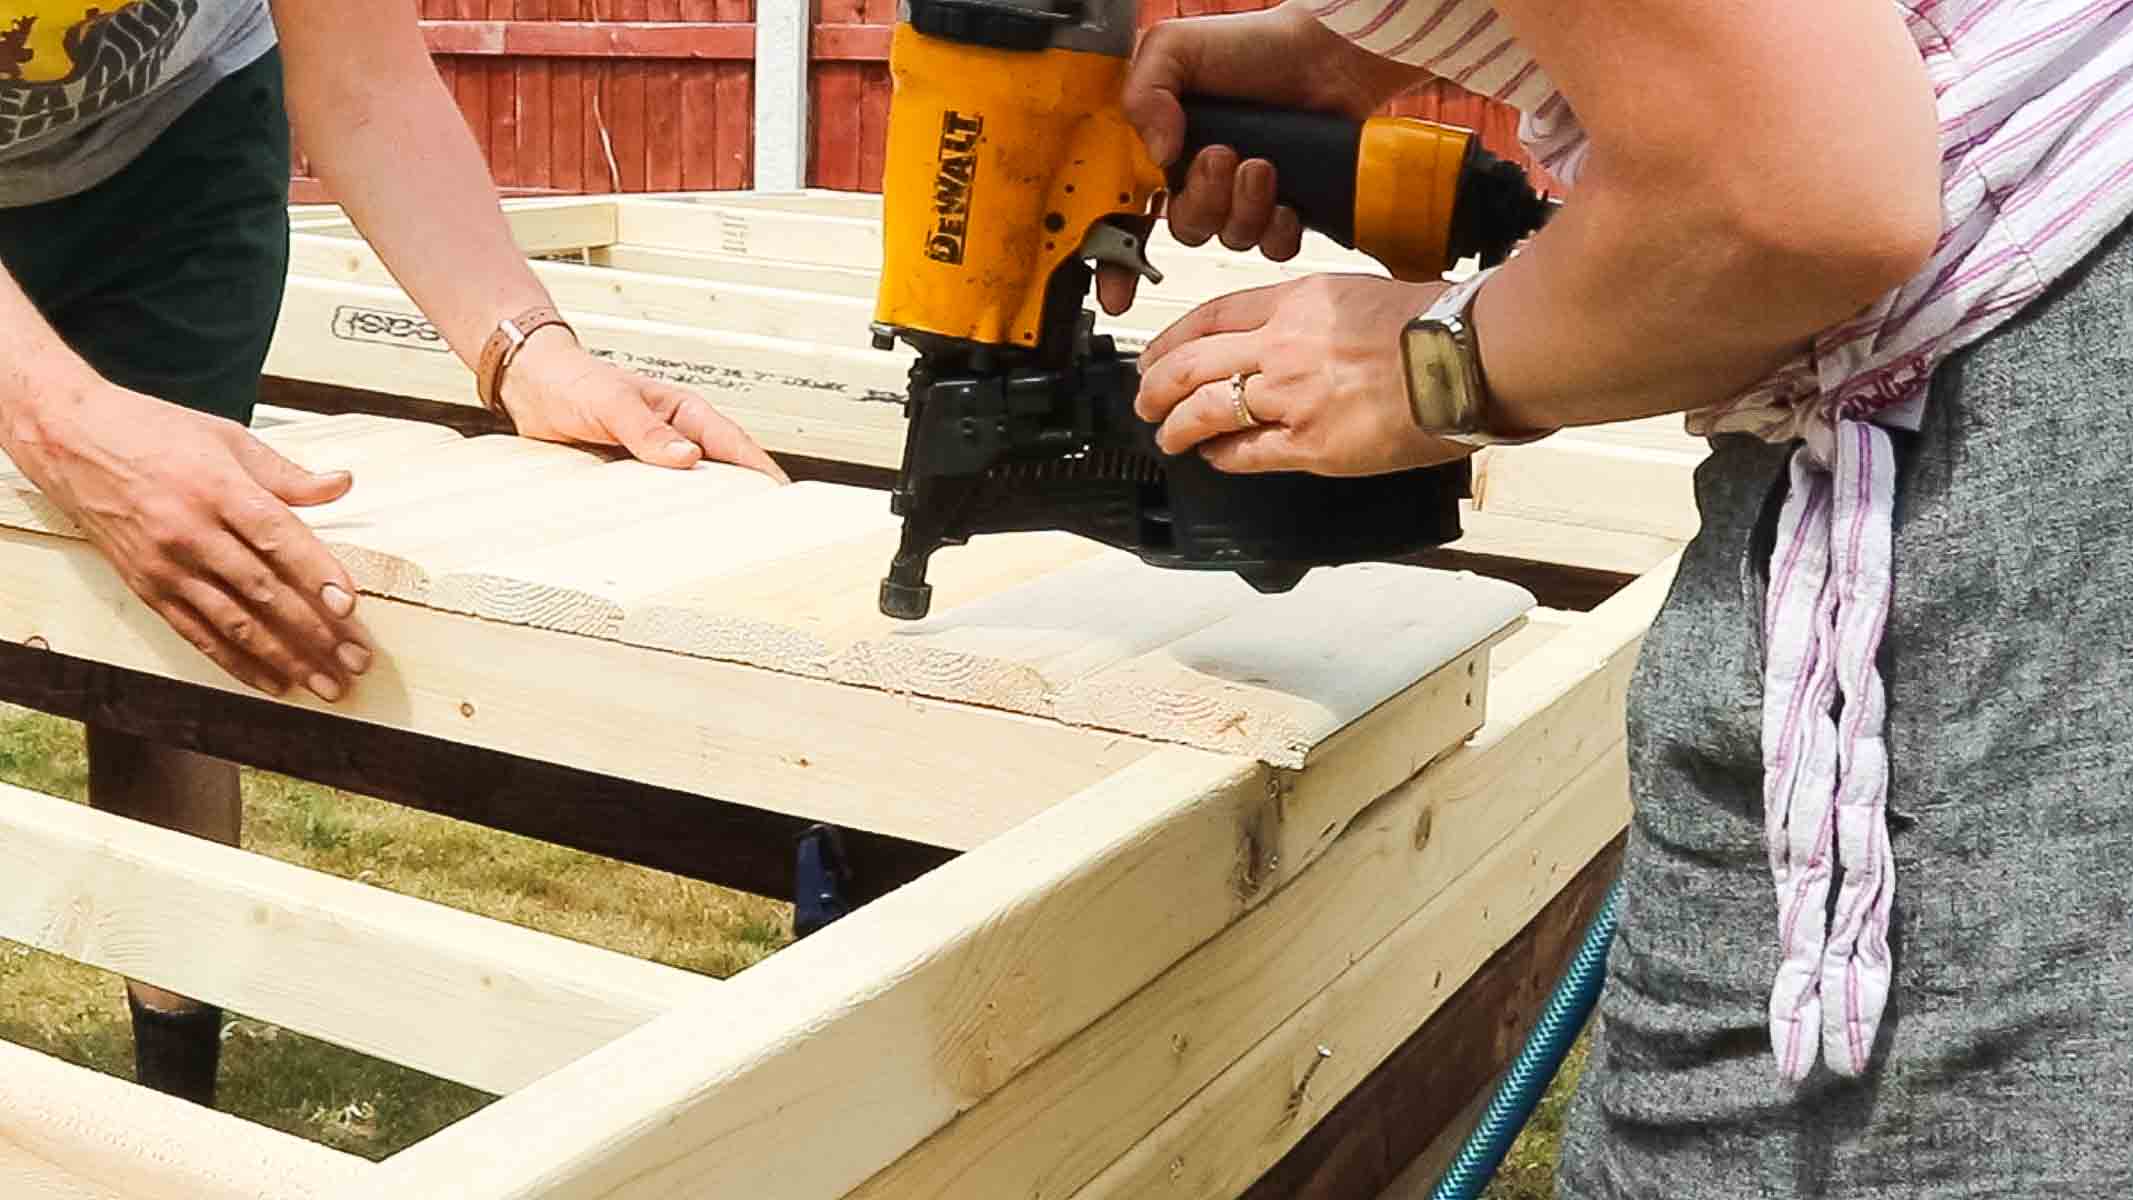
Now make sure the top one is in line with the start of your shed wall panel. *If not, you could come back with a flush trim router bit. Then nail it down with a nail gun using timber cladding nails. Line up the other ones with the edge and once happy, nail the rest down.

Above, I nailed up until I got to the window, which later, any excess was cut off partially with a hand saw and a flush-trim router bit.
And then moved on to the opposite side where I'll be adding a gate style side door. Note, for quickness, my Dad cut them at his woodyard with his crosscut saw, but normally I would use my Evolution mitre saw.
You can see my husband is also helping by lining more up for me as I go.
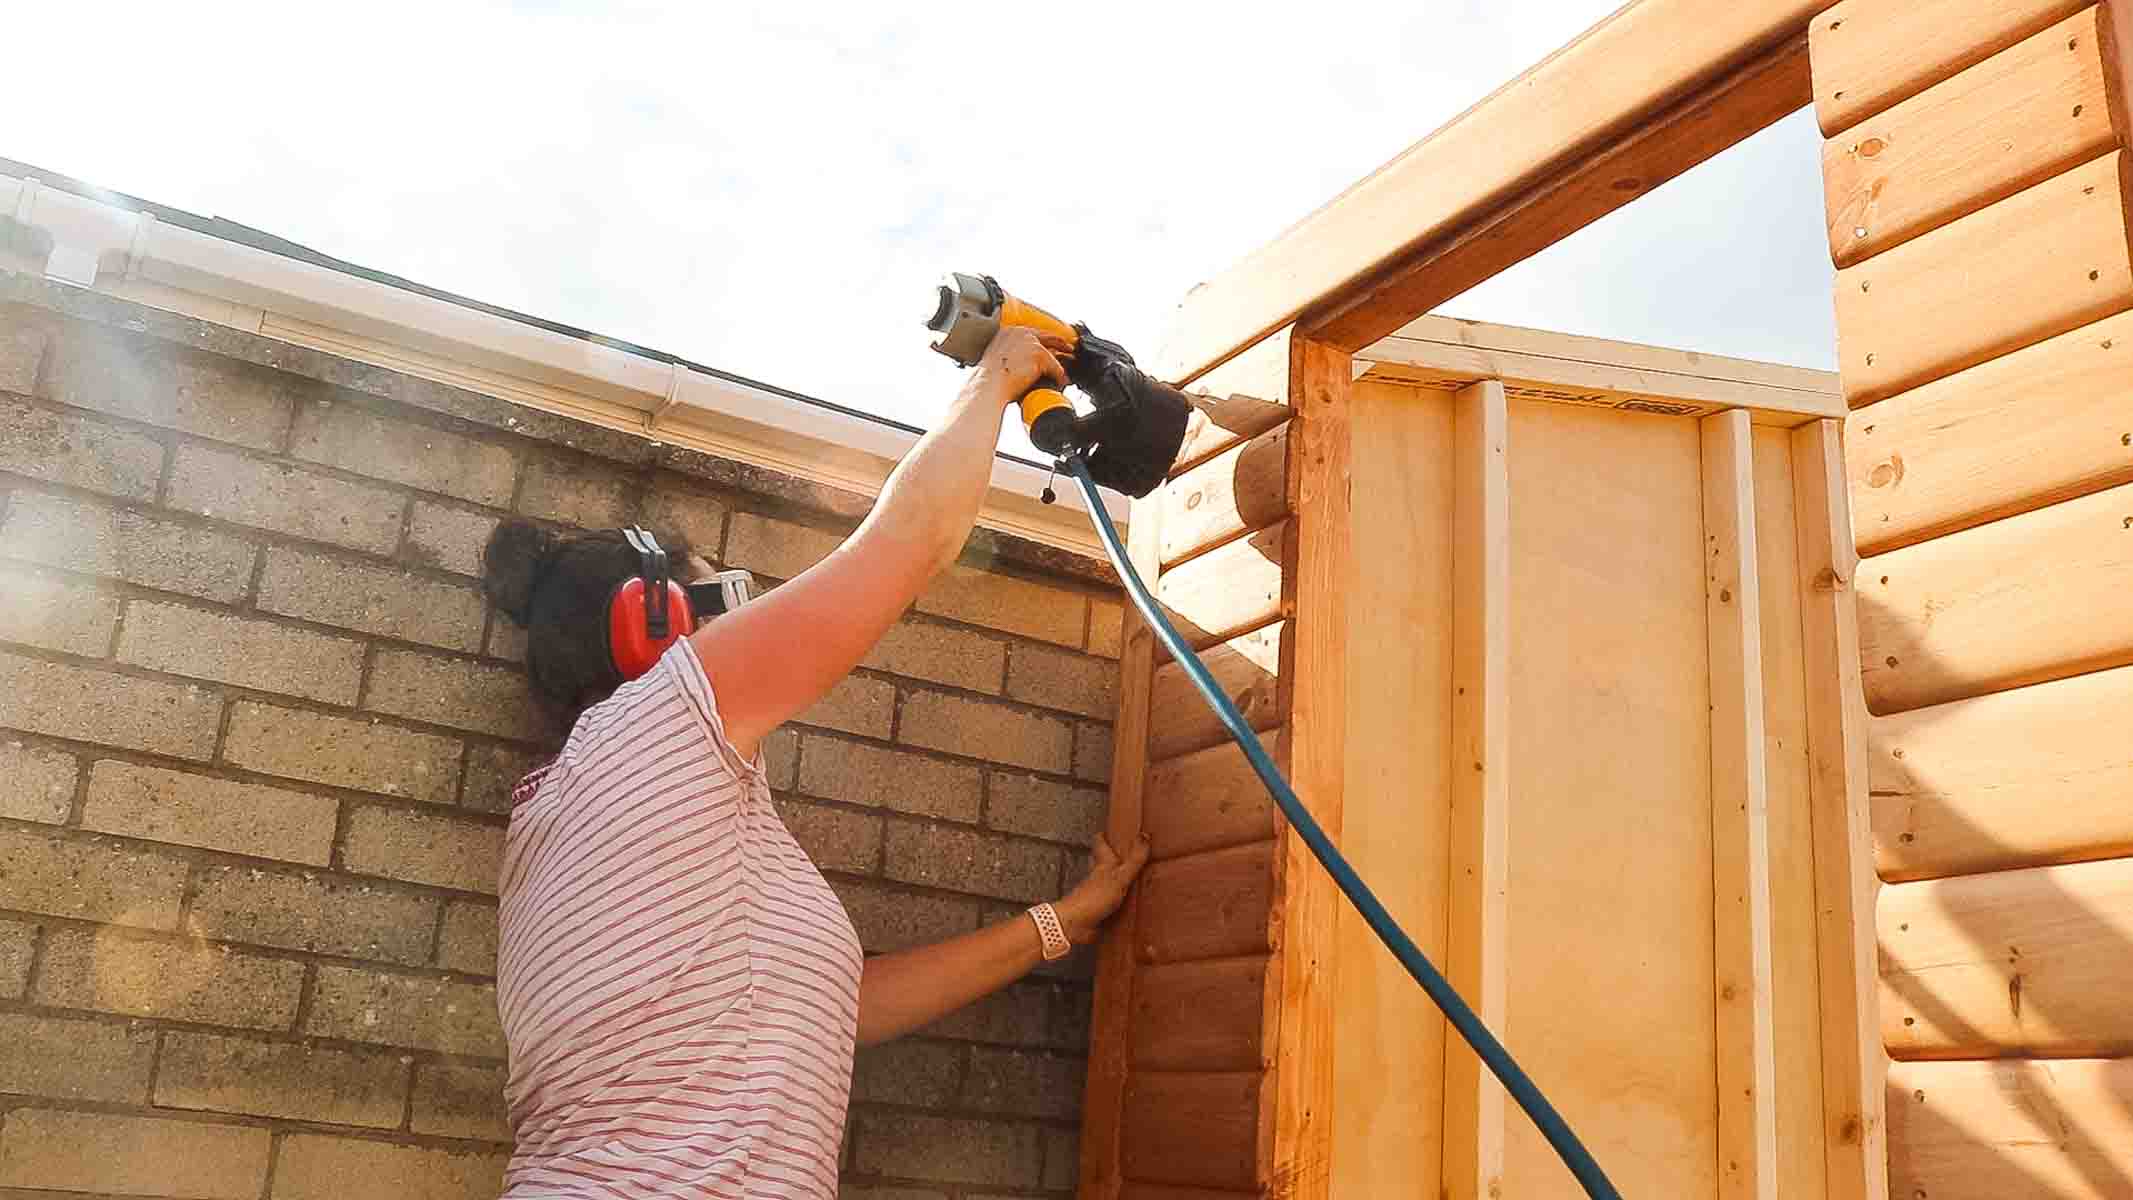
Nail Gun Safety Tips
While we're here, I thought I'd talk about some tips that you should read before even using one.
- Always wear goggles to protect your eyes
- Wear ear defenders - they're noisy
- Keep pets away (it frightens our dog)
- Don't nail near your hands as sometimes, they can go in on an angle and spike through the side of studwork
- Don't wear loose clothing with ties, etc
- Tie long hair back
- I'm not a pro, nor a health and safety advisor, so read the manufacturer's instructions
Cladding Towards Your Shed Roof
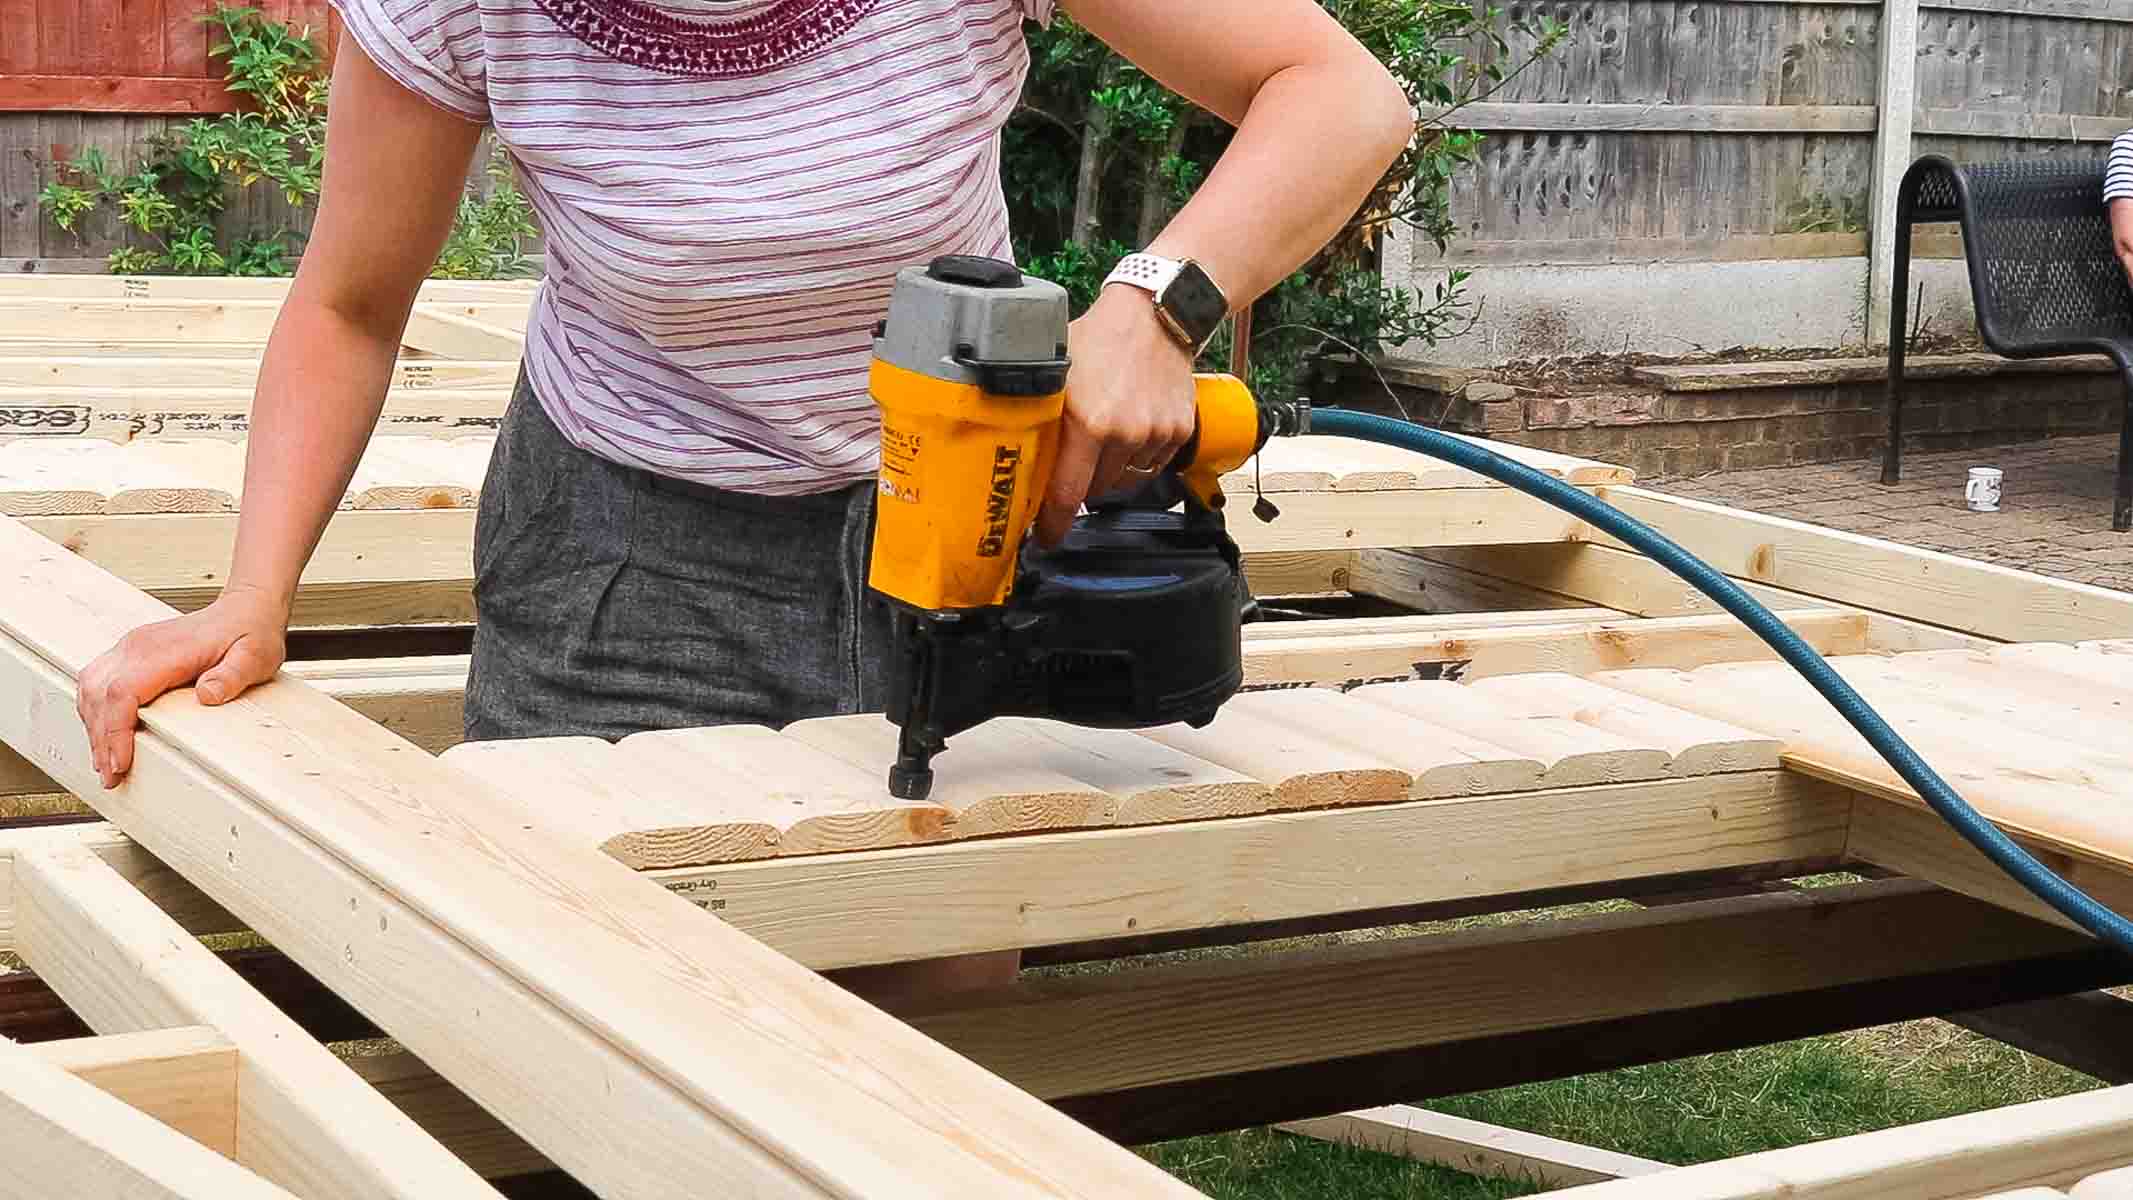
As your cladding reaches towards the top, above your windows and doors, you'll be left with long stretches up until the roof.
It's very important that these long pieces join up with the rest where you had to separately clad around things. If you haven't ensured your tongue and groove slotted in properly, it may look uneven.
So a tip we have is to not nail down your cladding all the way to the to top yet. Simply slot them in for now, like doing a dry lay. And if your long strip looks uneven here, space them out a little, evenly, before nailing down.
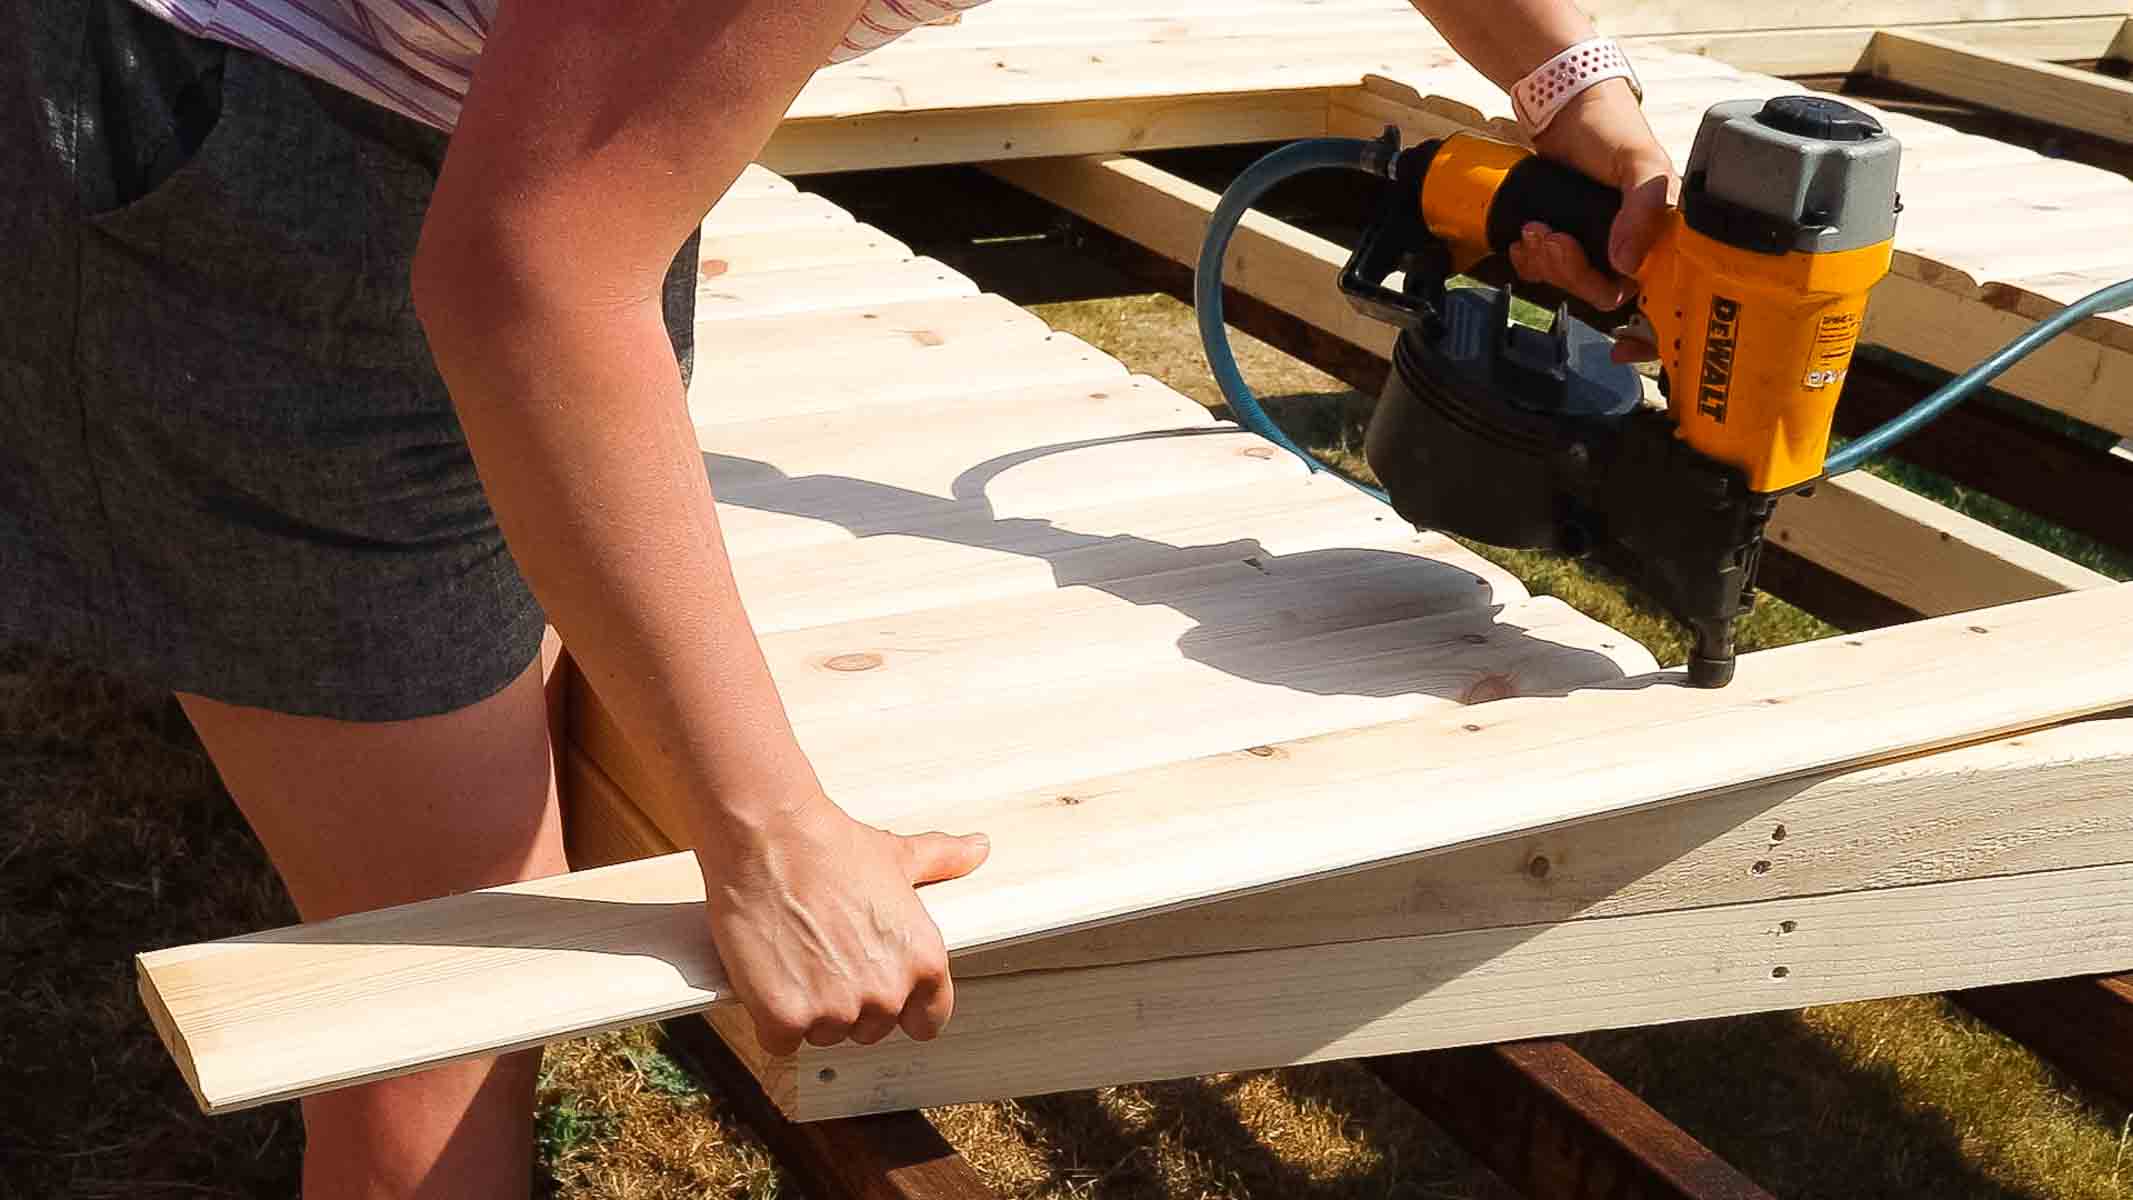
Trimming Down Tongue and Groove Shed Panels
As we've built a Summer house with a pitched roof, we only needed smaller off cuts of cladding for the top.
And after slotting them in and nailing, we used a flush router trim bit.
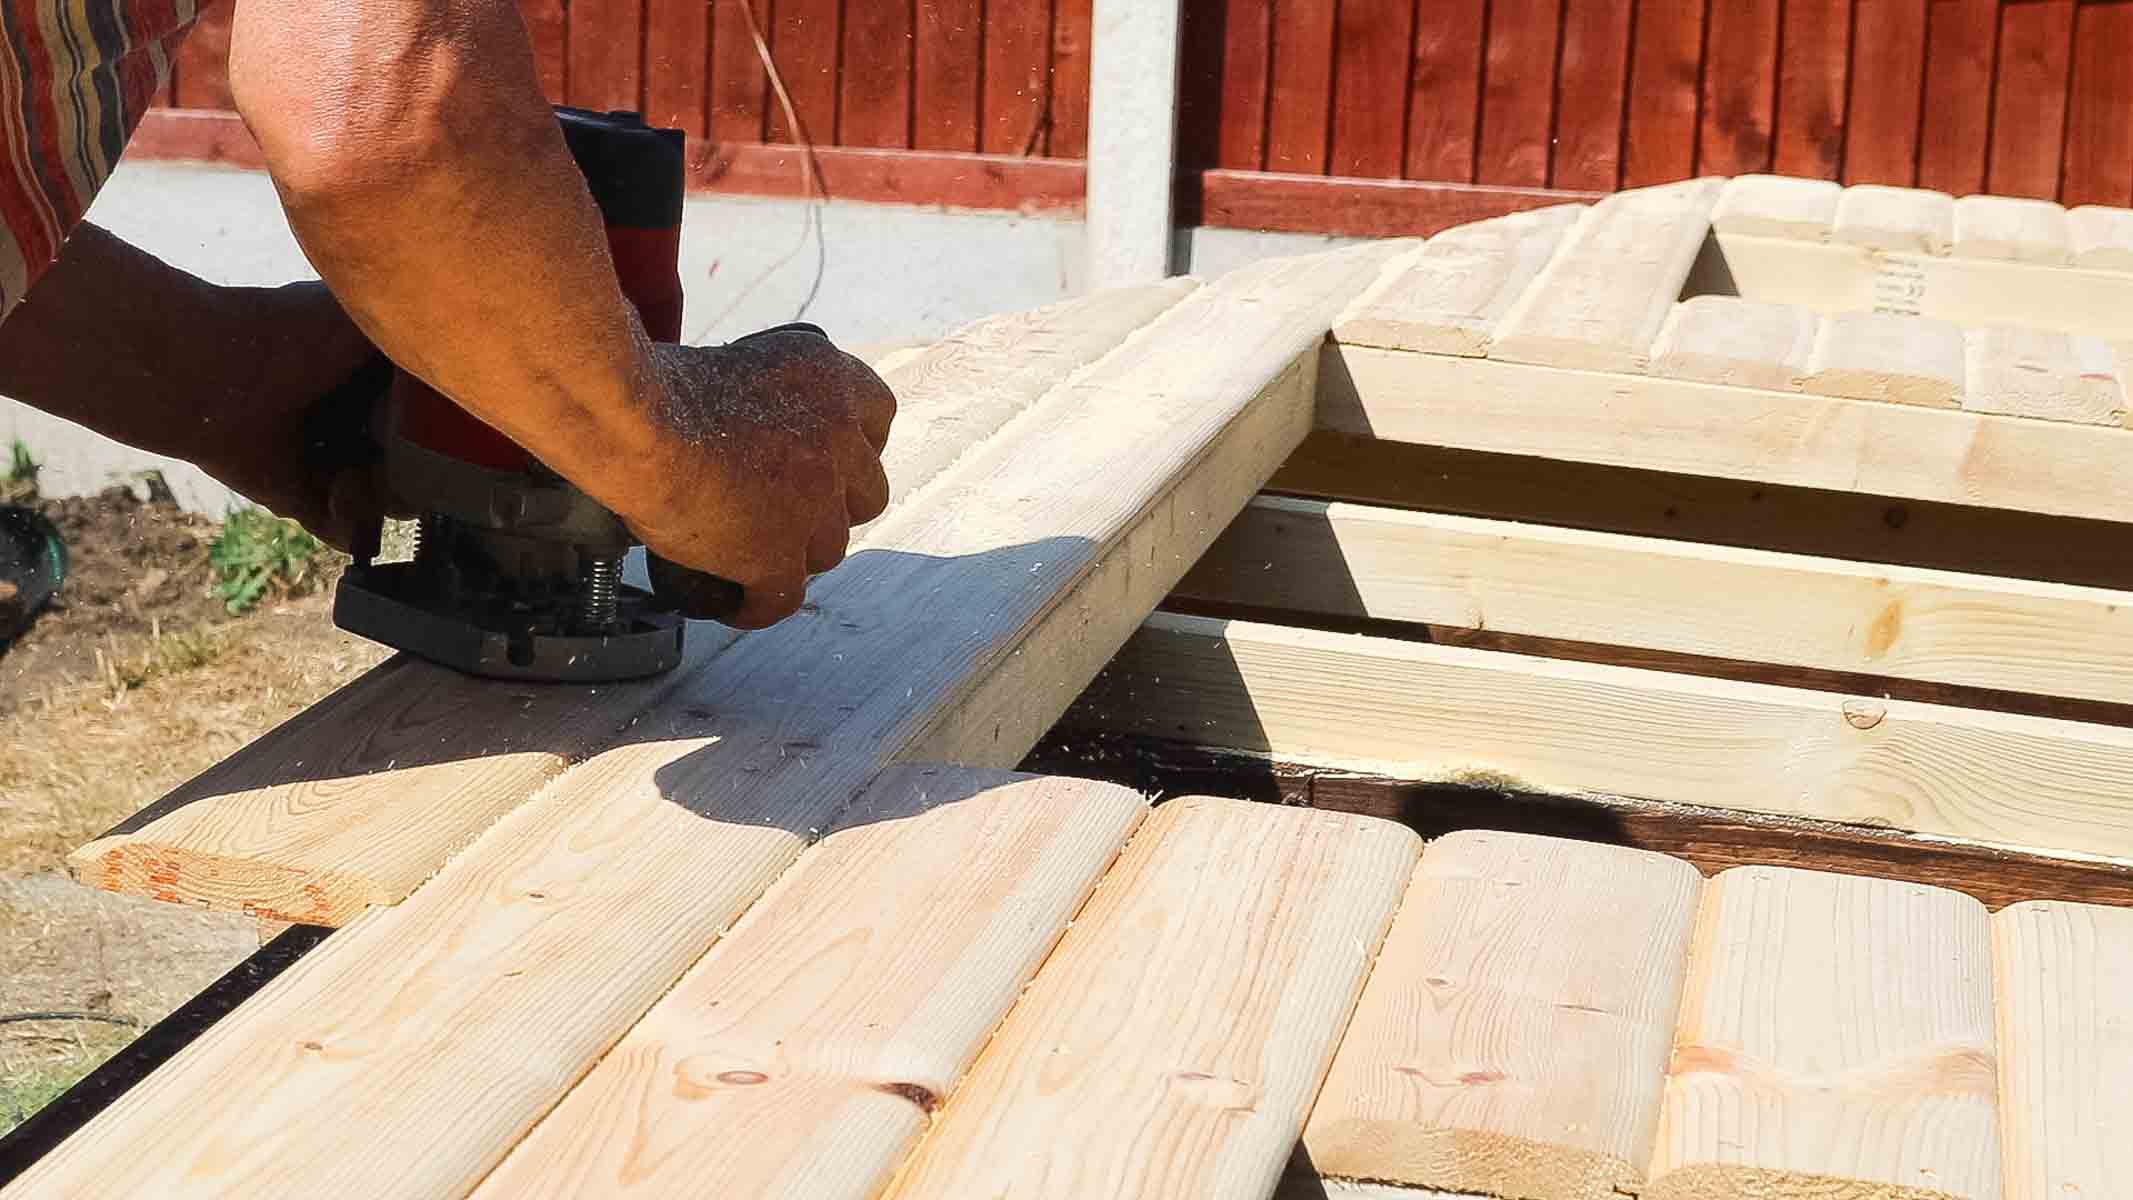
What If I Don't Have a Router?
As this is the top of the shed, you won't see the very edge as it will be covered with a roof batten to screw to the shed itself. So if you don't have a router to trim off the excess, you could use less accurate methods is a:
- Jigsaw with a wood blade - be careful you don't cut into the framework, so if it's resisting, check where your blade is going
- Hand saw - I've found this is both often mine and my Dad's favourite to use. You have control, its safe, doesn't require a plug or safety gear and it's quieter.
Adding Battens For Roof Support
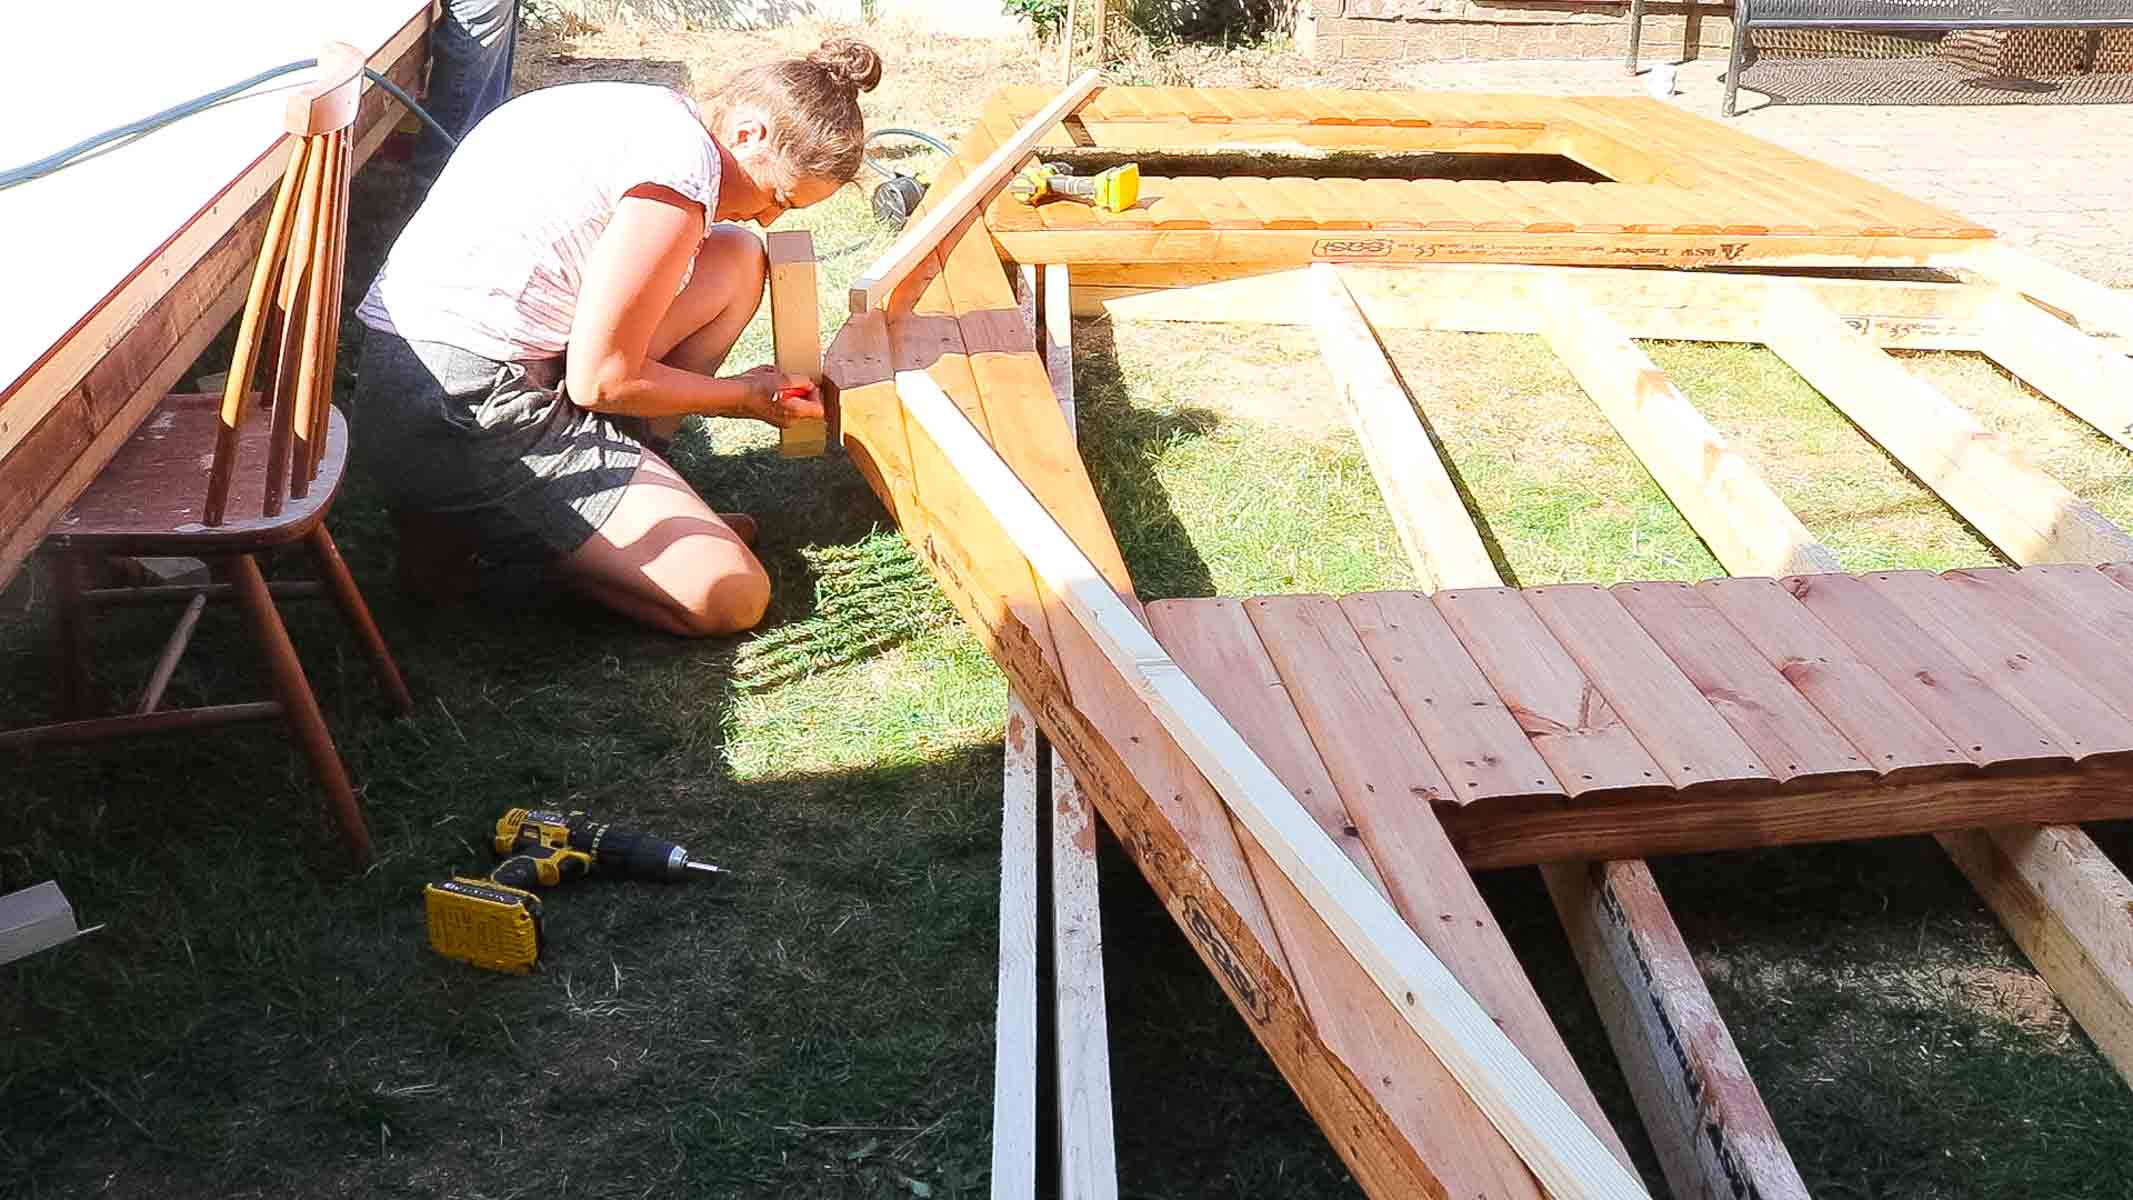
Now, as for the back of the summer house shed, notice above, we used plywood timber cladding sheets again. And now every shed had some form of board cladding, I'm going to briefly sidetrack from my cladding shed tutorial.
Above, I'm adding battens on the top of our summer house, but offset from the middle using more structural timber offcuts. *This is the same thickness of our shed roof, so it can slot in.
After offsetting it, I drilled and screwed the battens on and repeated for the front to ensure they were on both cladding wall panels.
Getting the Summer House Base Ready for Floor Cladding
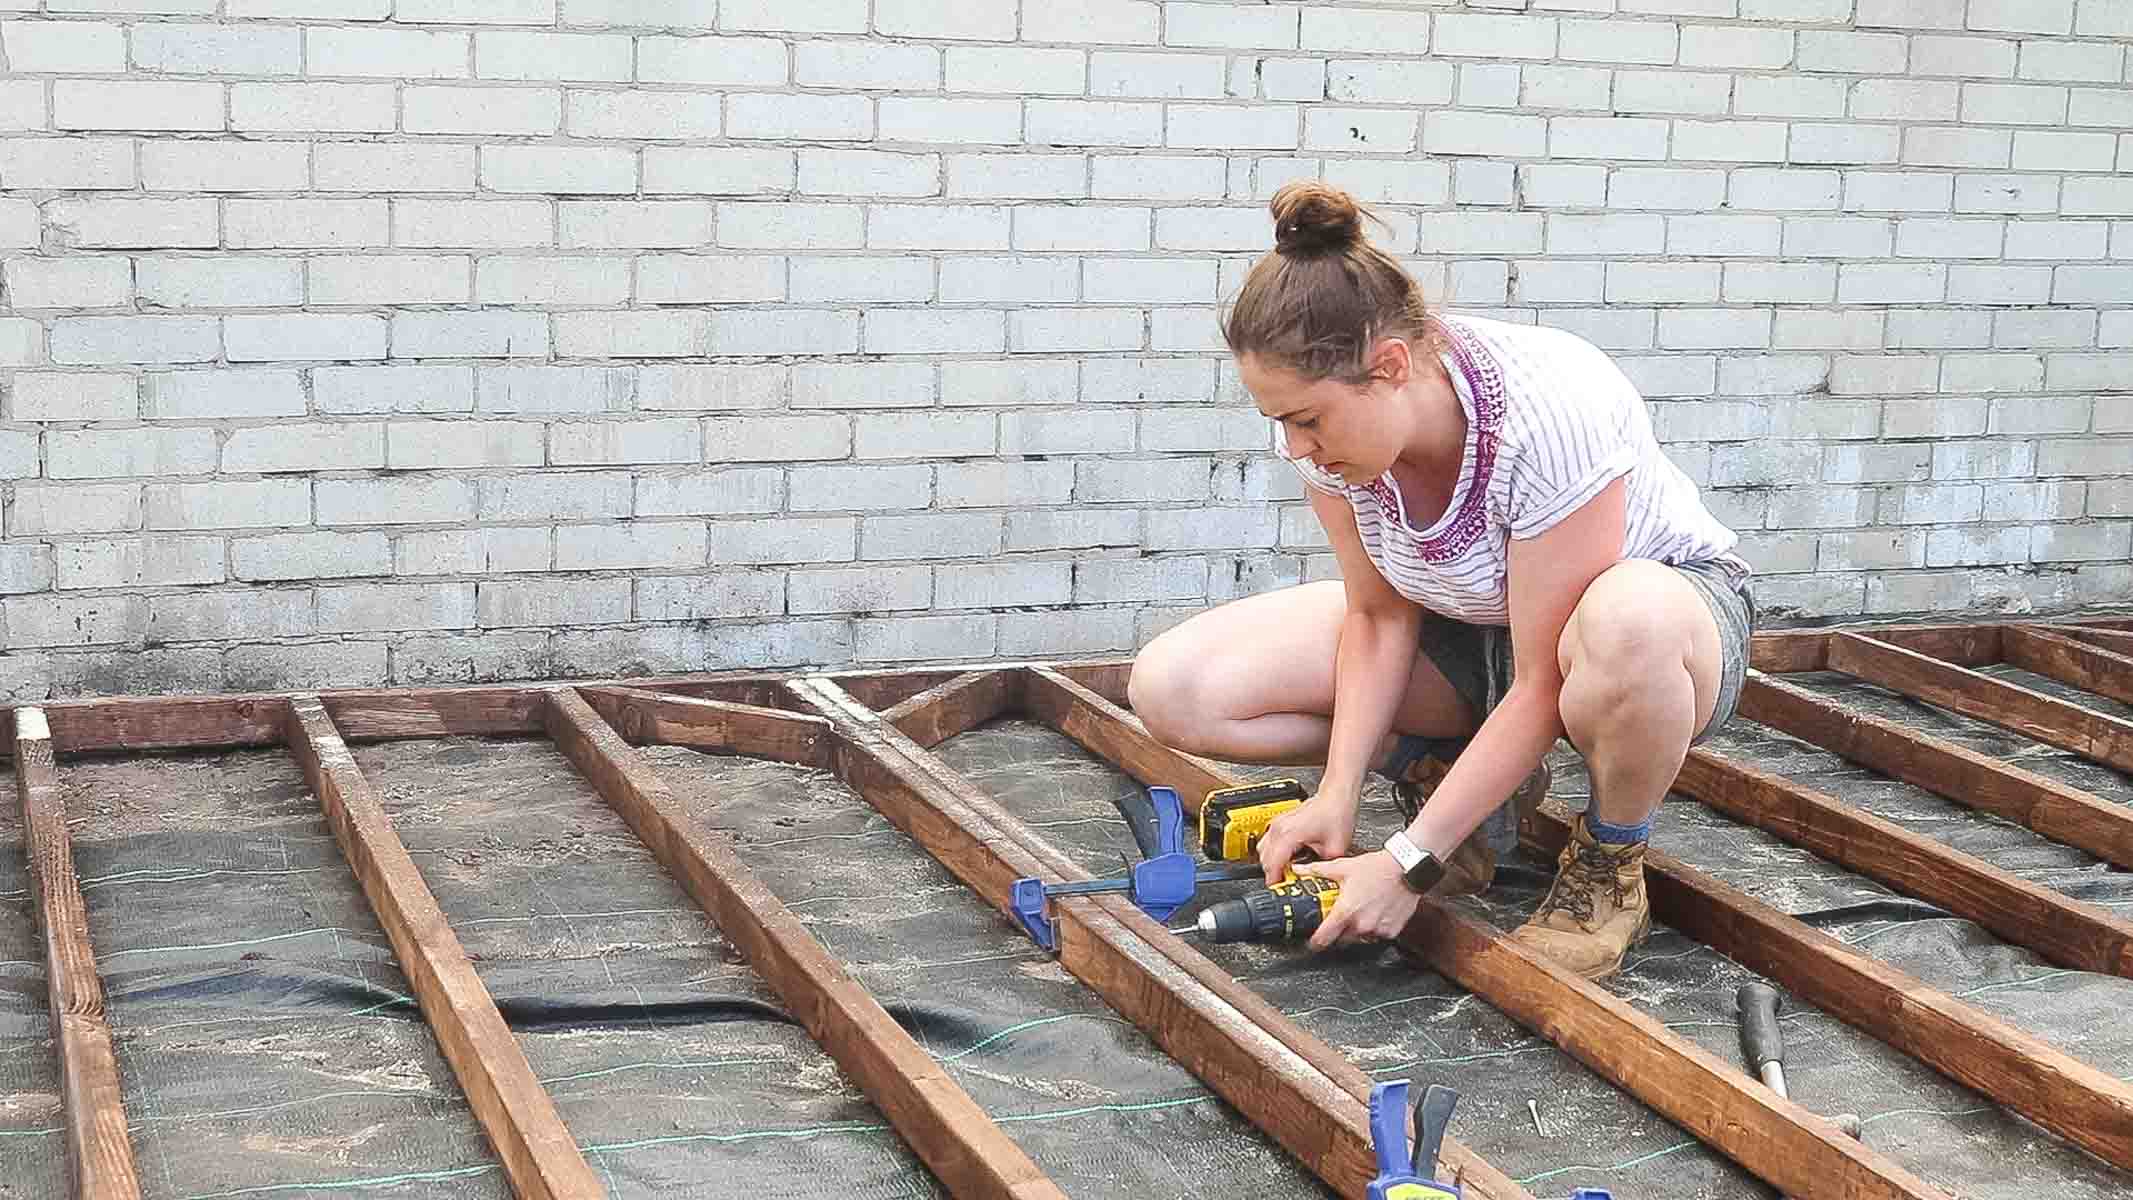
Now, before we started adding floor cladding to our shed base, it was so large, I had to clamp and screw it together. Note, this is also treated, which is just as important as the wood cladding exterior.
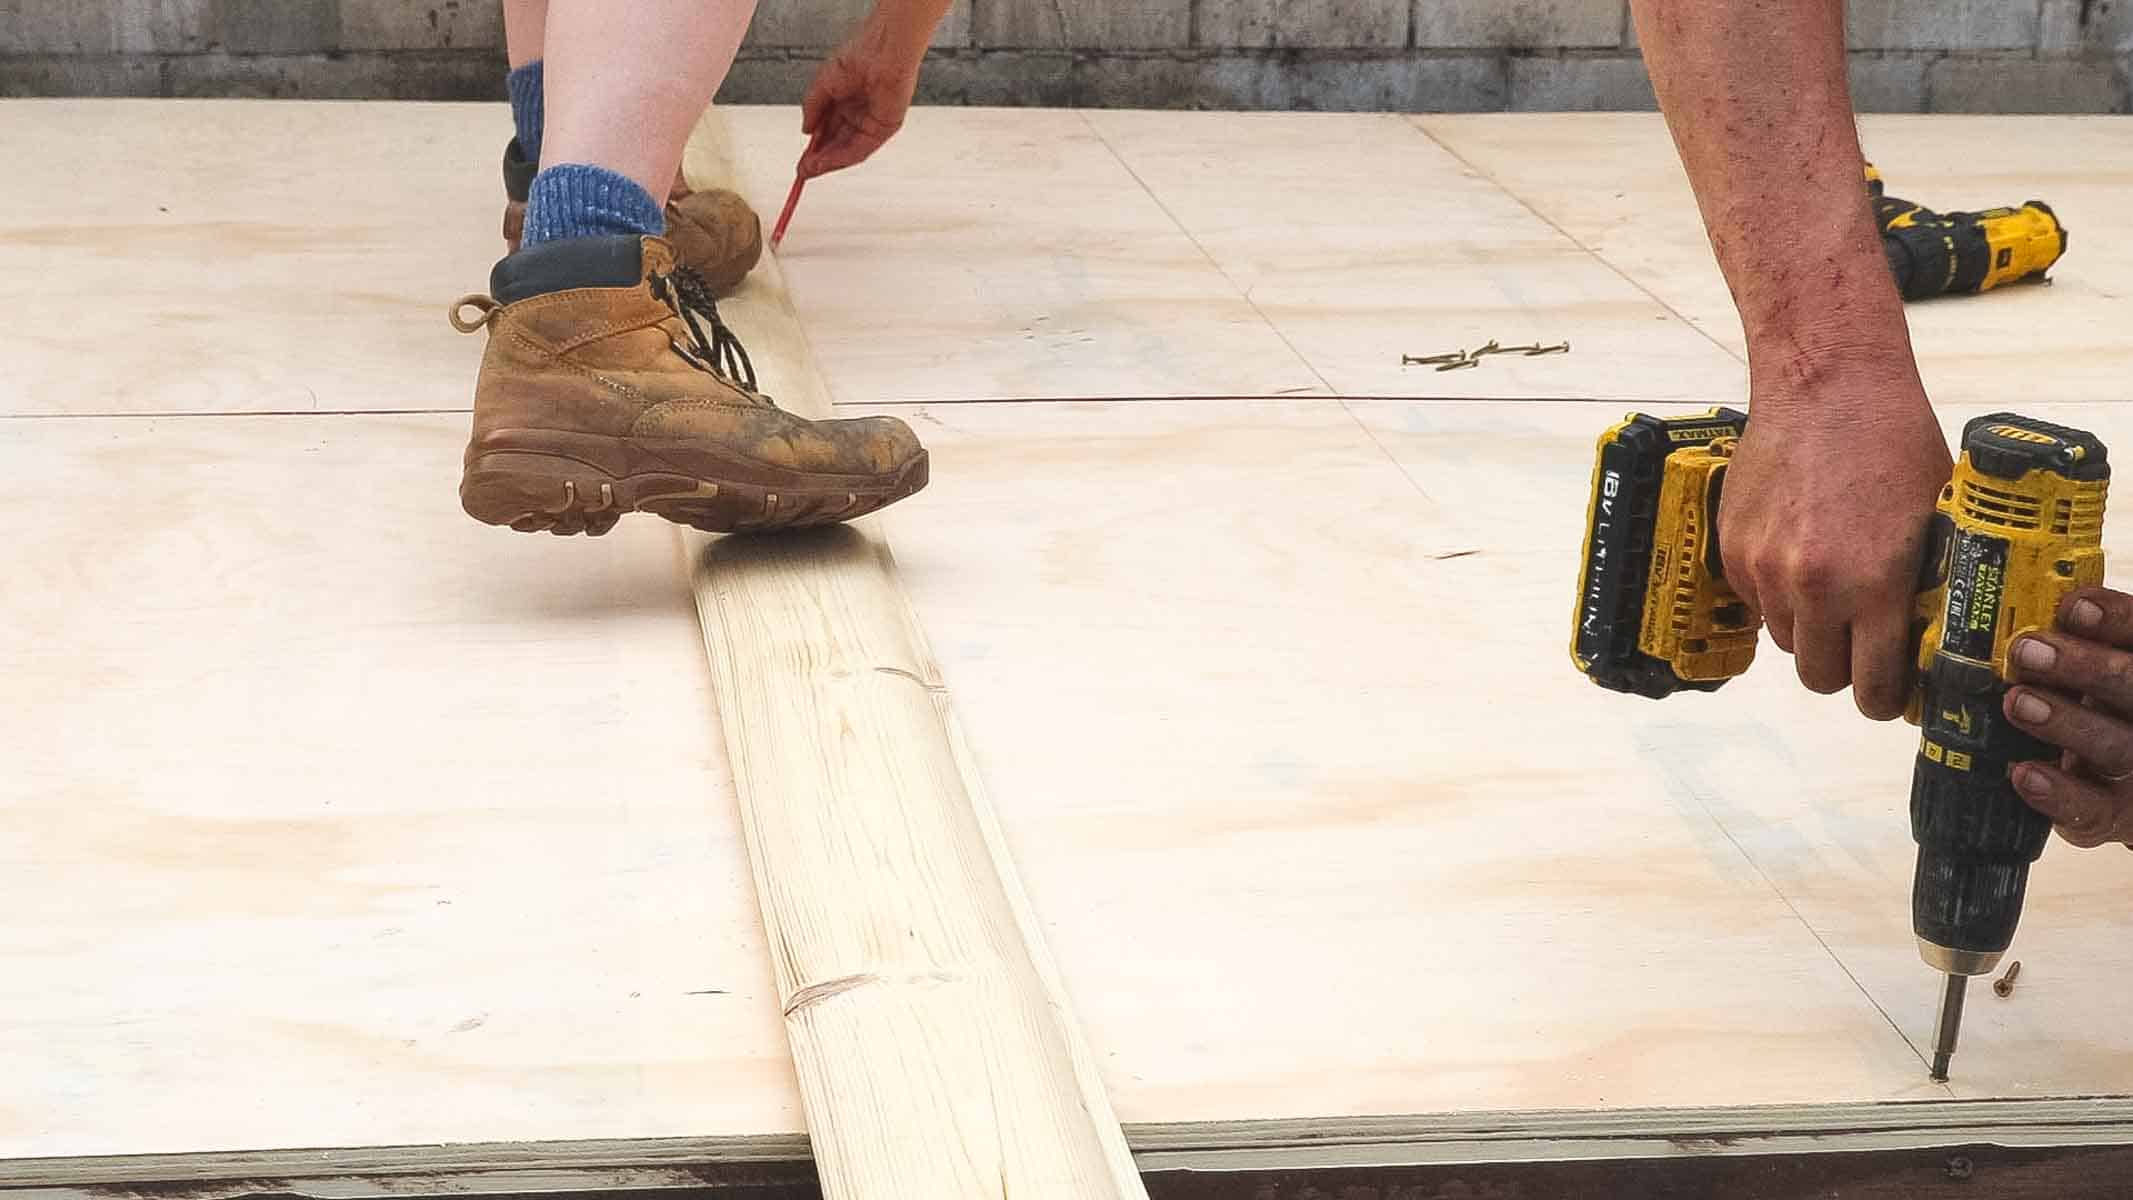
We then also made our shed base level on the ground and packed with lots of offcuts of treated timber. Then finally, we moved on to more plywood cladding.
Below, you can see I'm drawing where the floor studs were with a straight edge, while my husband screws the plywood to the base.
Screwing Your Shed's Timber Cladding Walls Together
So now we're ready to screw our tg cladding shed walls together.
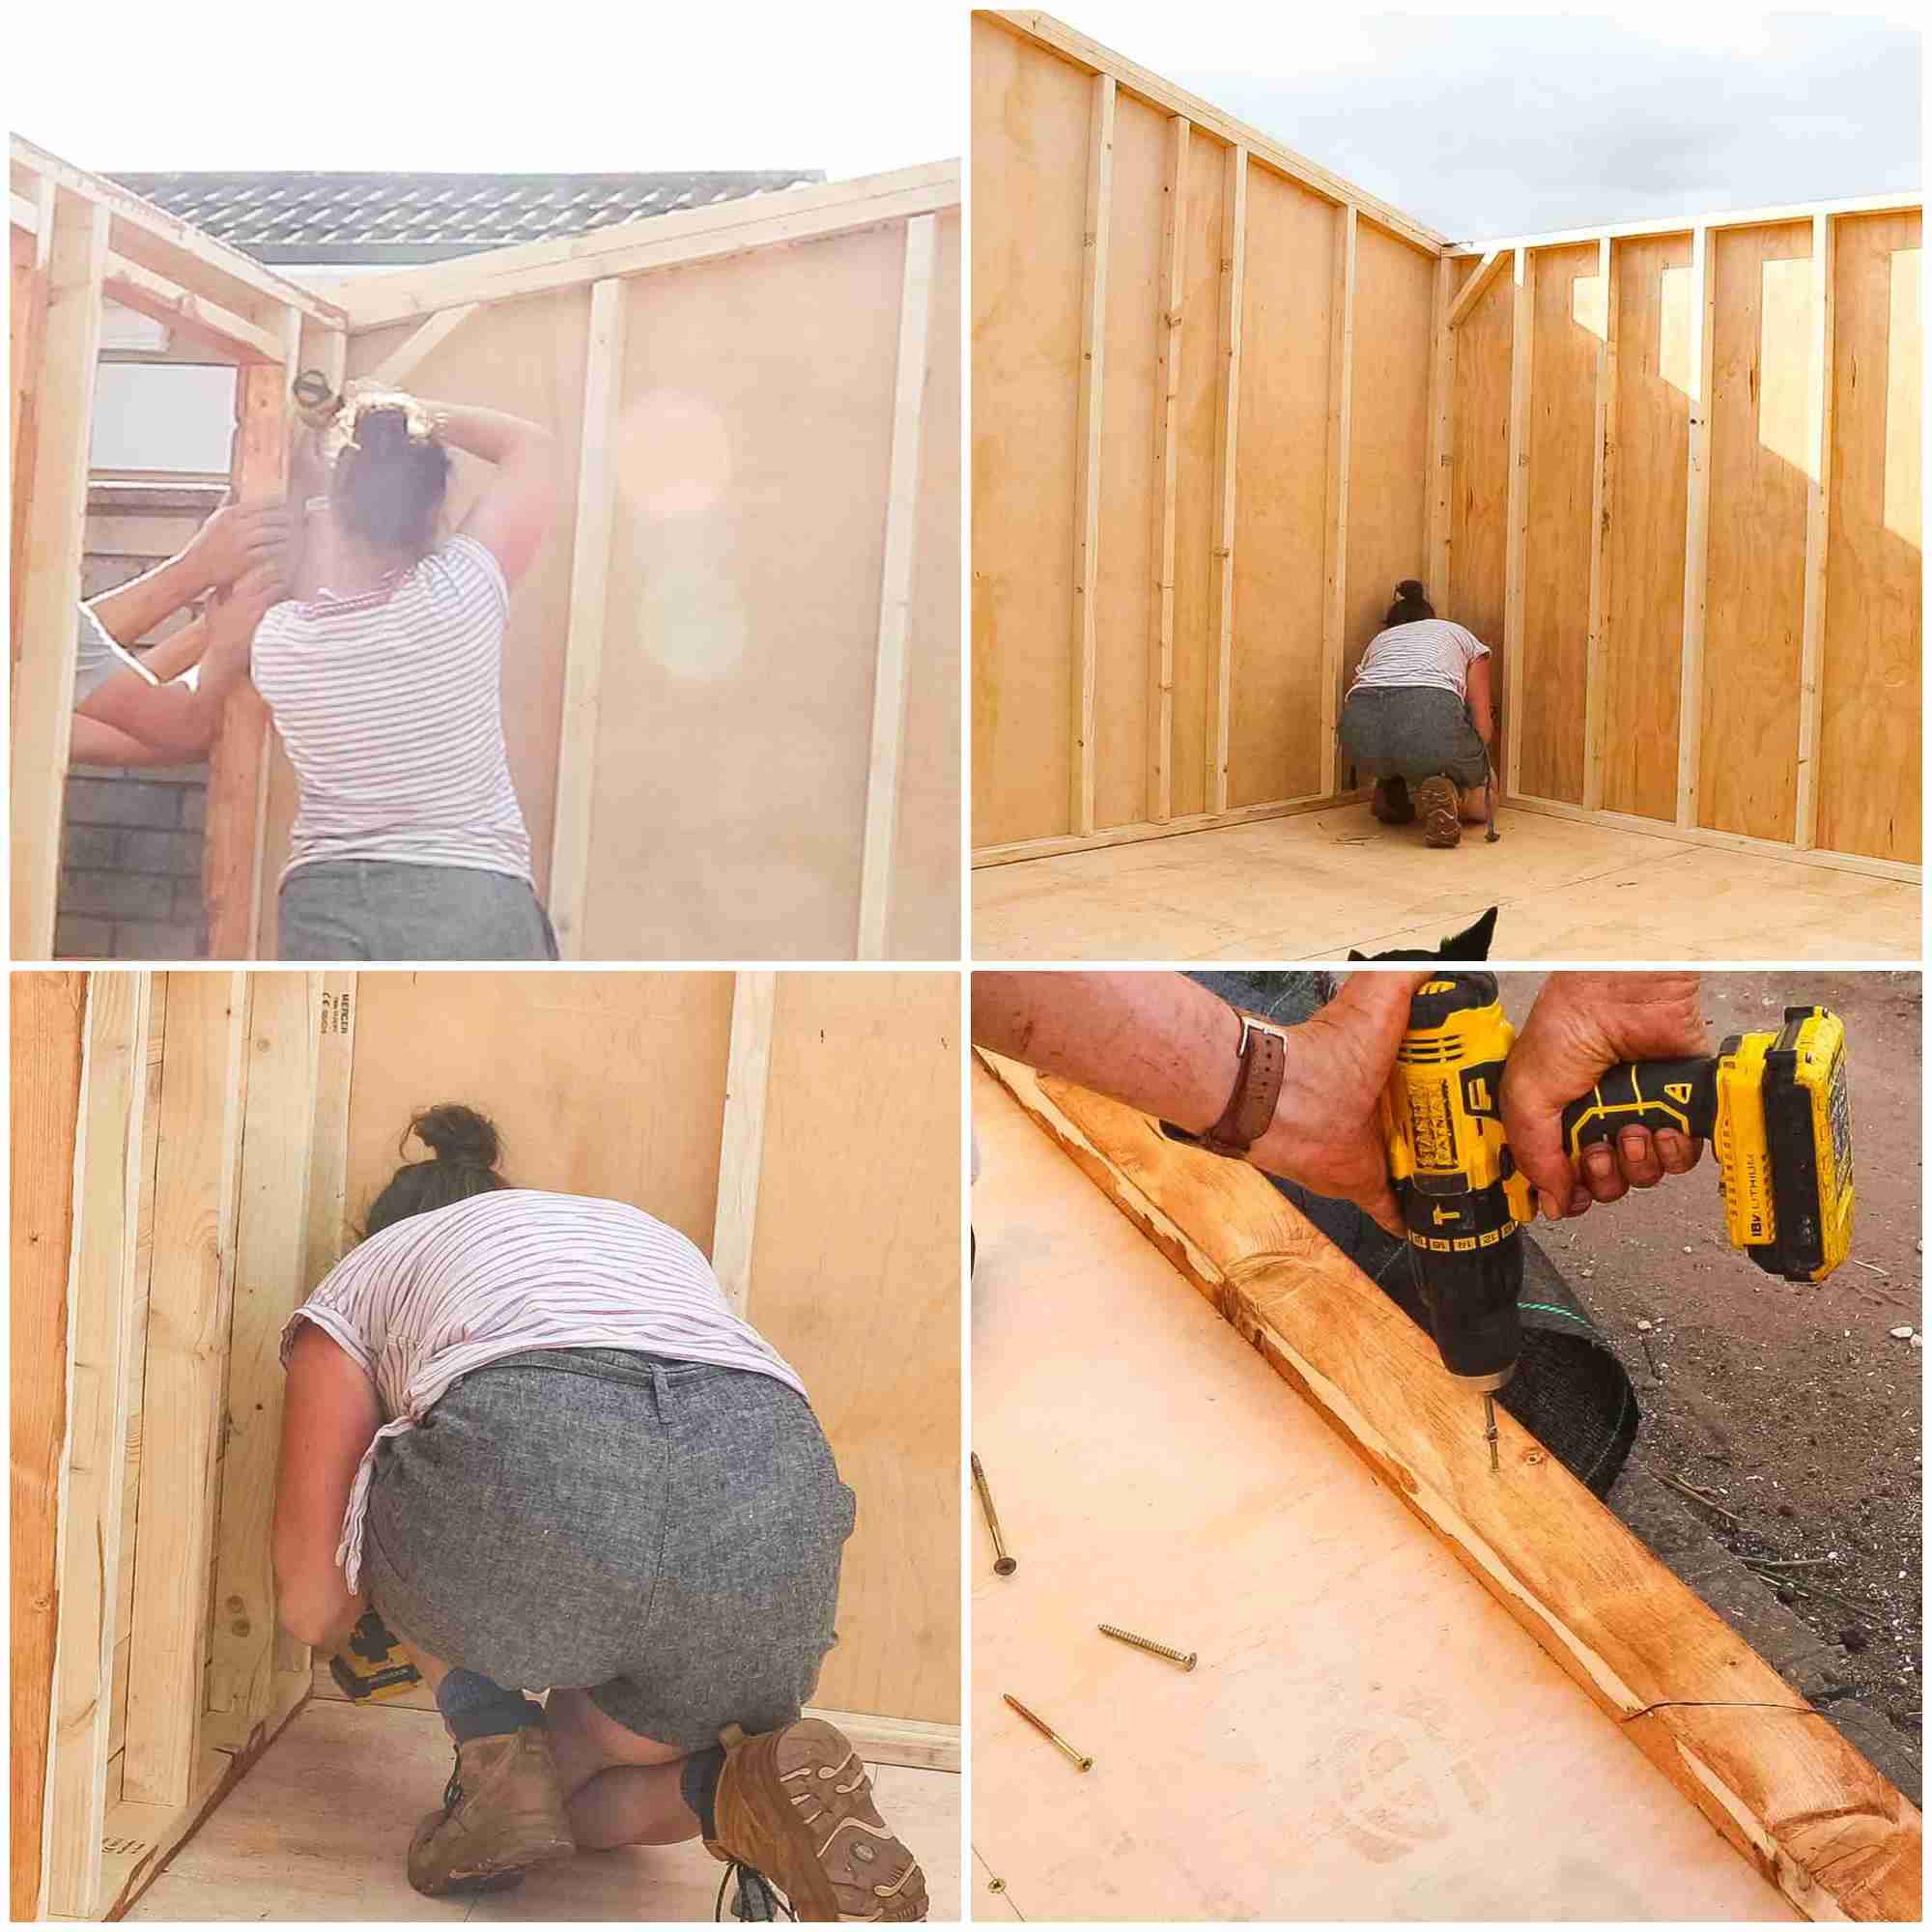
Ours were so heavy, three of us lined maneuvered them on to the base.
And over overhang helps around the floor cladding.

Once we lined up the first panel, it was a team effort to hold everything i place while I screwed together.
In each corner, I added several screws. The once done, my husband and I worked on screwing the cladded panels to the base.
Note, these are screws long enough to go screw the floor cladding and framework combined for extra strength.
Adding Trim Pieces
Once you've screwed your cladded panels together, you'll notice there will be exposed CLS timber on the outside corners.
To make these look pretty and give them more protection, I also nailed trims on top that we'd already treated.
Note, you may need to rip some pieces down for the right size using a circular saw if you can't find any for sale. But I often find most places that sells sheds and fencing stock them.
Similar Shed Projects You Might Like
- Building a Summerhouse: Base and Frame
- How to Fit a Shed Lock
- Flat Pack Shed Build
- Outdoor bike shed
- How to build a shed door or building a wooden gate
- Making double wooden garden gates
- Installing Twin Slot Shelves in a Shed
- Fitting London Bracket Shed Shelves
- DIY dog house using plywood
- How to make a chicken coop, then build a lean to chicken pen with free plans

In my upcoming blog posts, I'll talk about:
- How we fitted the windows, doors and felt roof
- Then turned it into a workshop, featuring 20 storage shed organization ideas for tools.
If you don't want to miss it, then search "subscribe" on this page to add yourself to my mailing list.
And feel free to subscribe to The Carpenter's Daughter YouTube channel.

Sean
Hi Vikki
What type of plywood did you use? And how has it help up?
Im thinking about going the same for the back of my shed but unsure if it will hold up.
Thanks
Sean